How to deploy the on-premises version of OpenResty XRay on Microsoft's Azure cloud
Today we’re going to demonstrate how to deploy the on-premises version of OpenResty XRay on Microsoft’s Azure cloud. For a detailed description of the commands used in this video, see the documentation.
Create a subscription and a resource group
The first step is to create a subscription and a resource group. Open the home page of Azure. Click on the subscription icon.
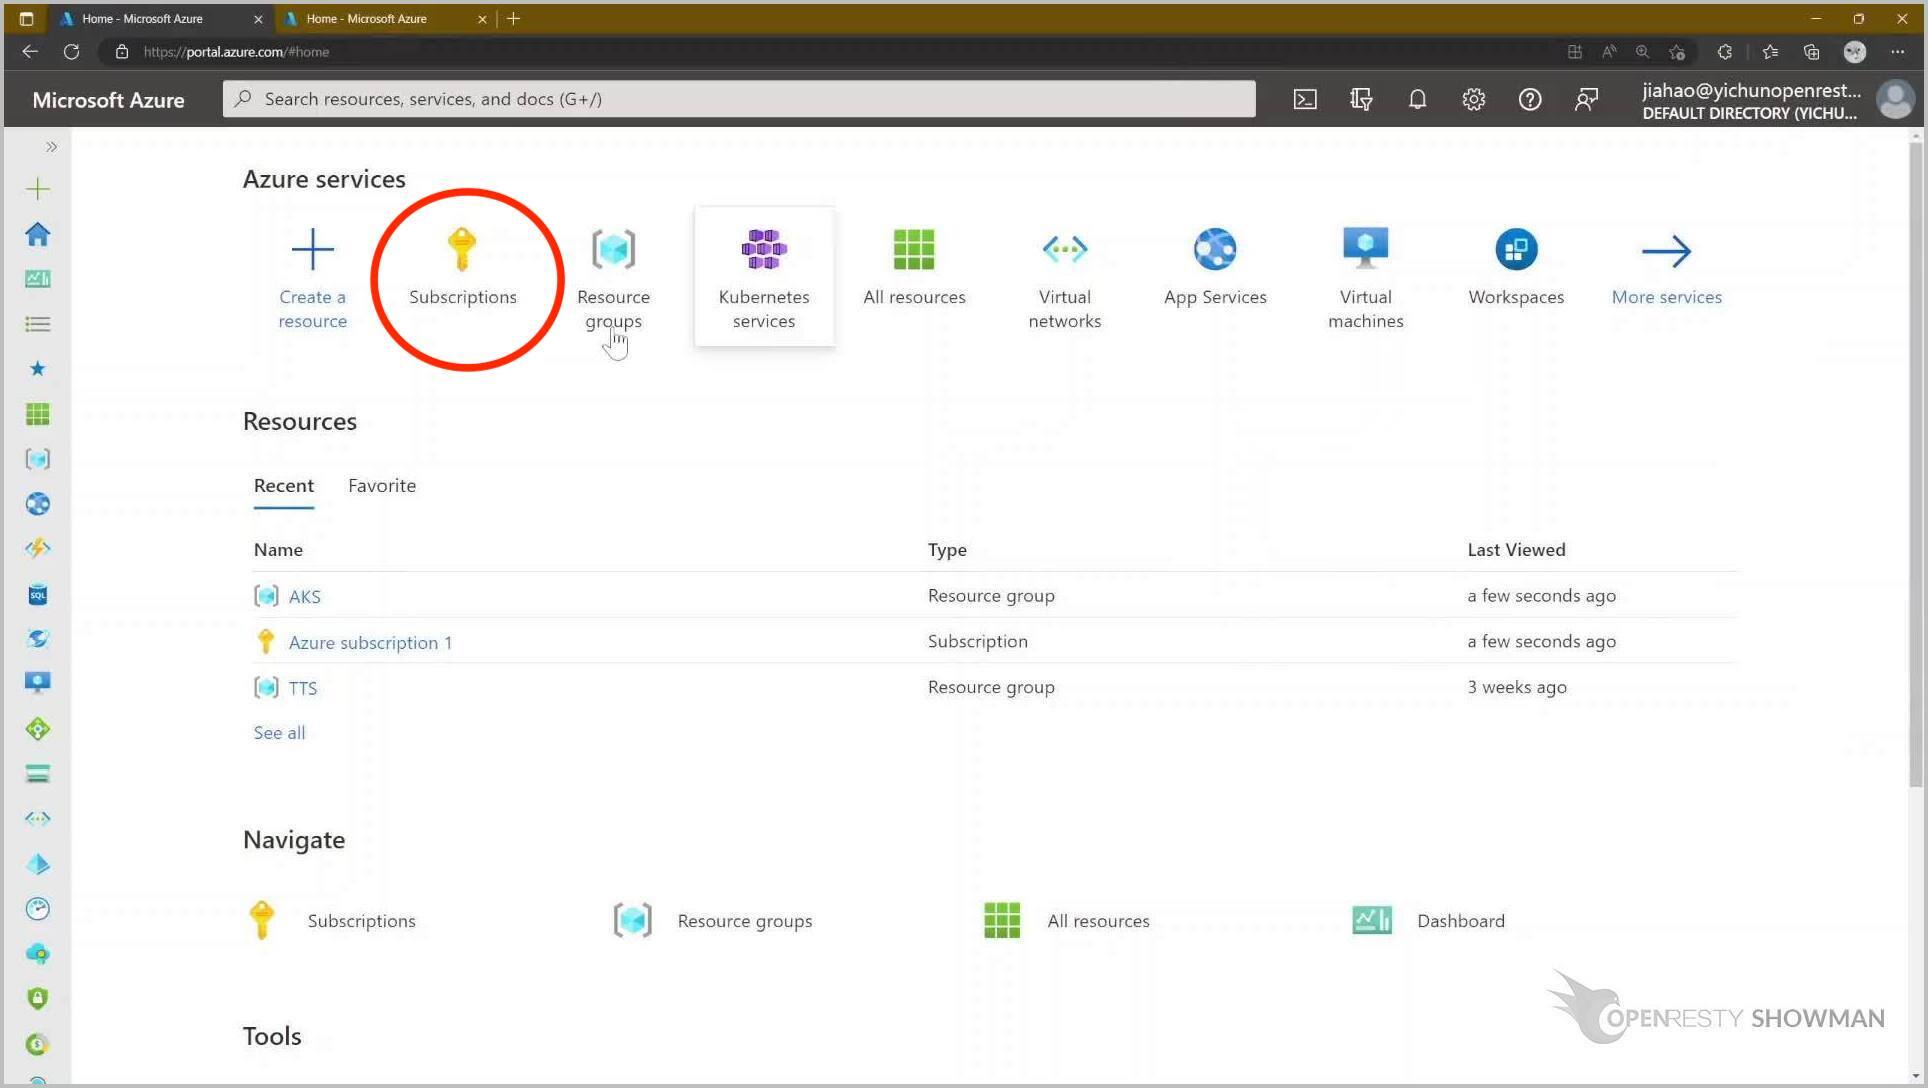
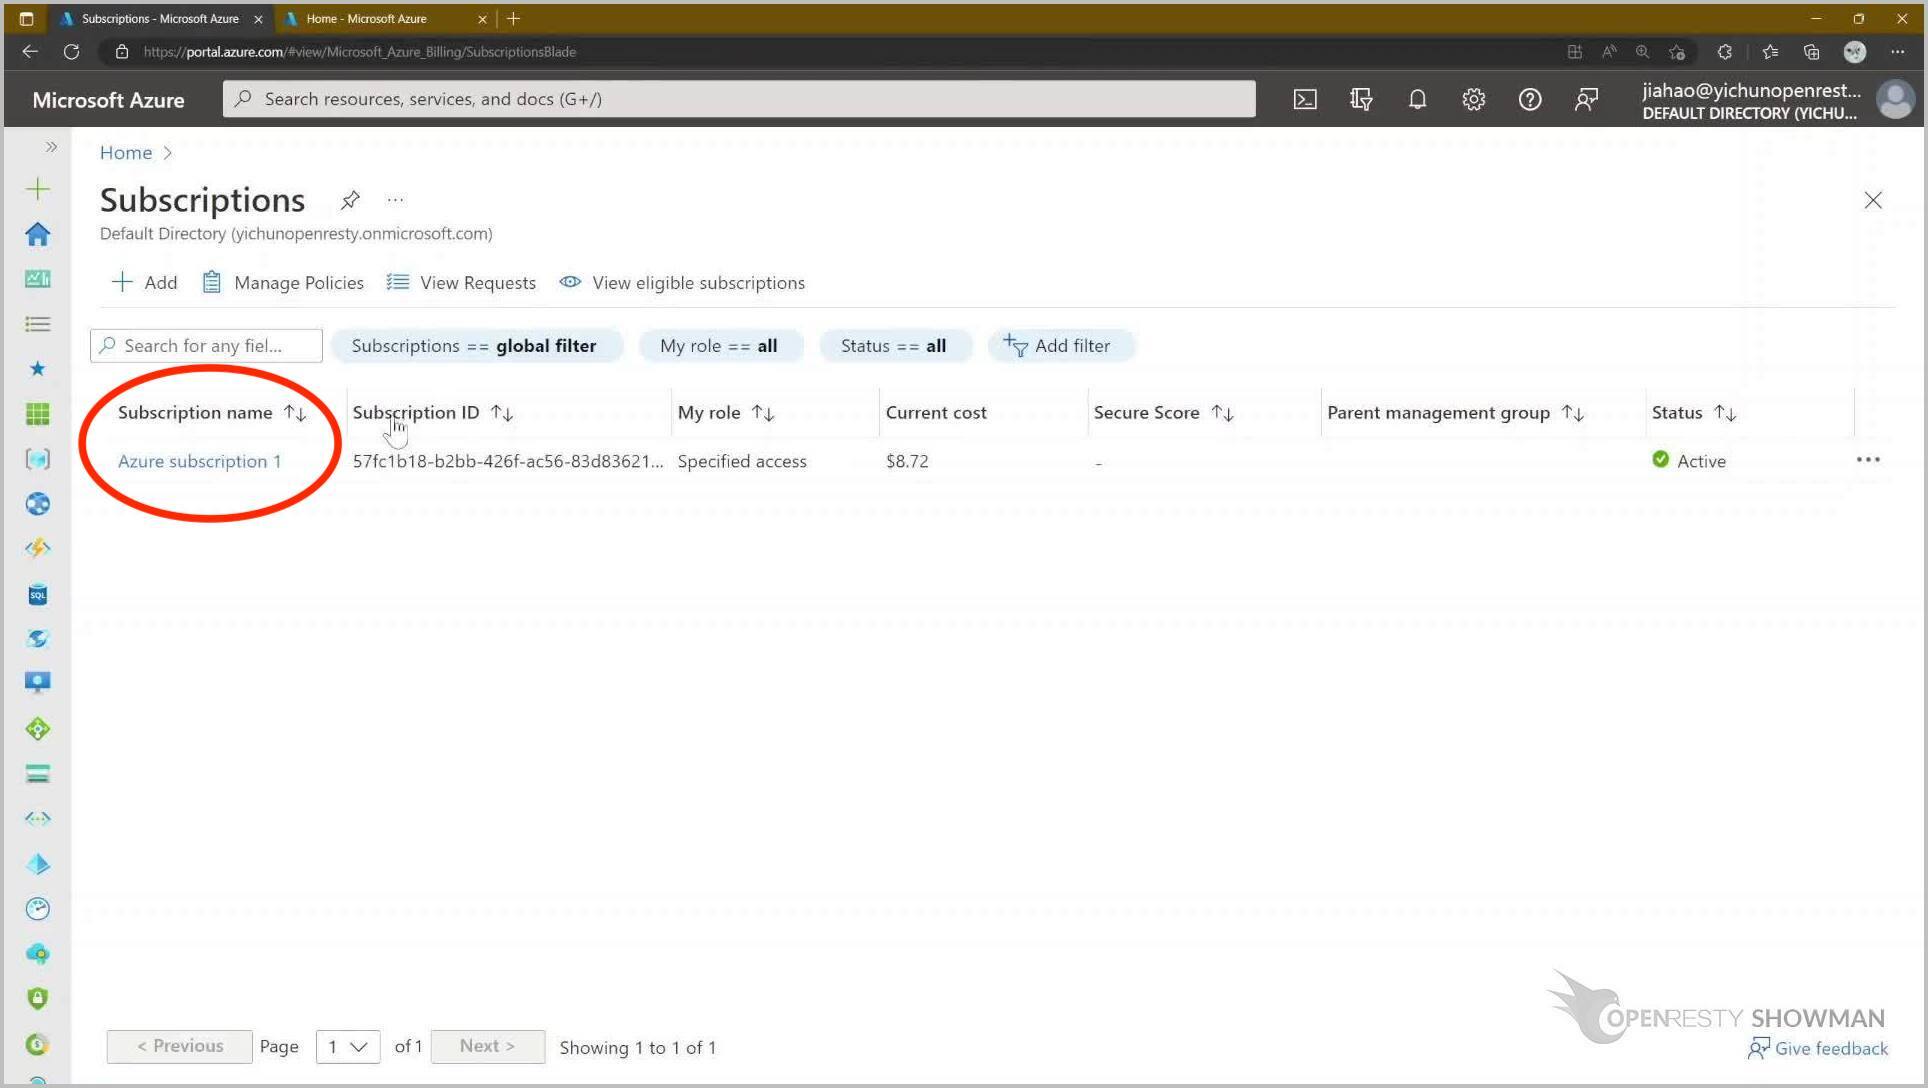
Here we’ve created a subscription previously. It’s called Azure subscription 1.
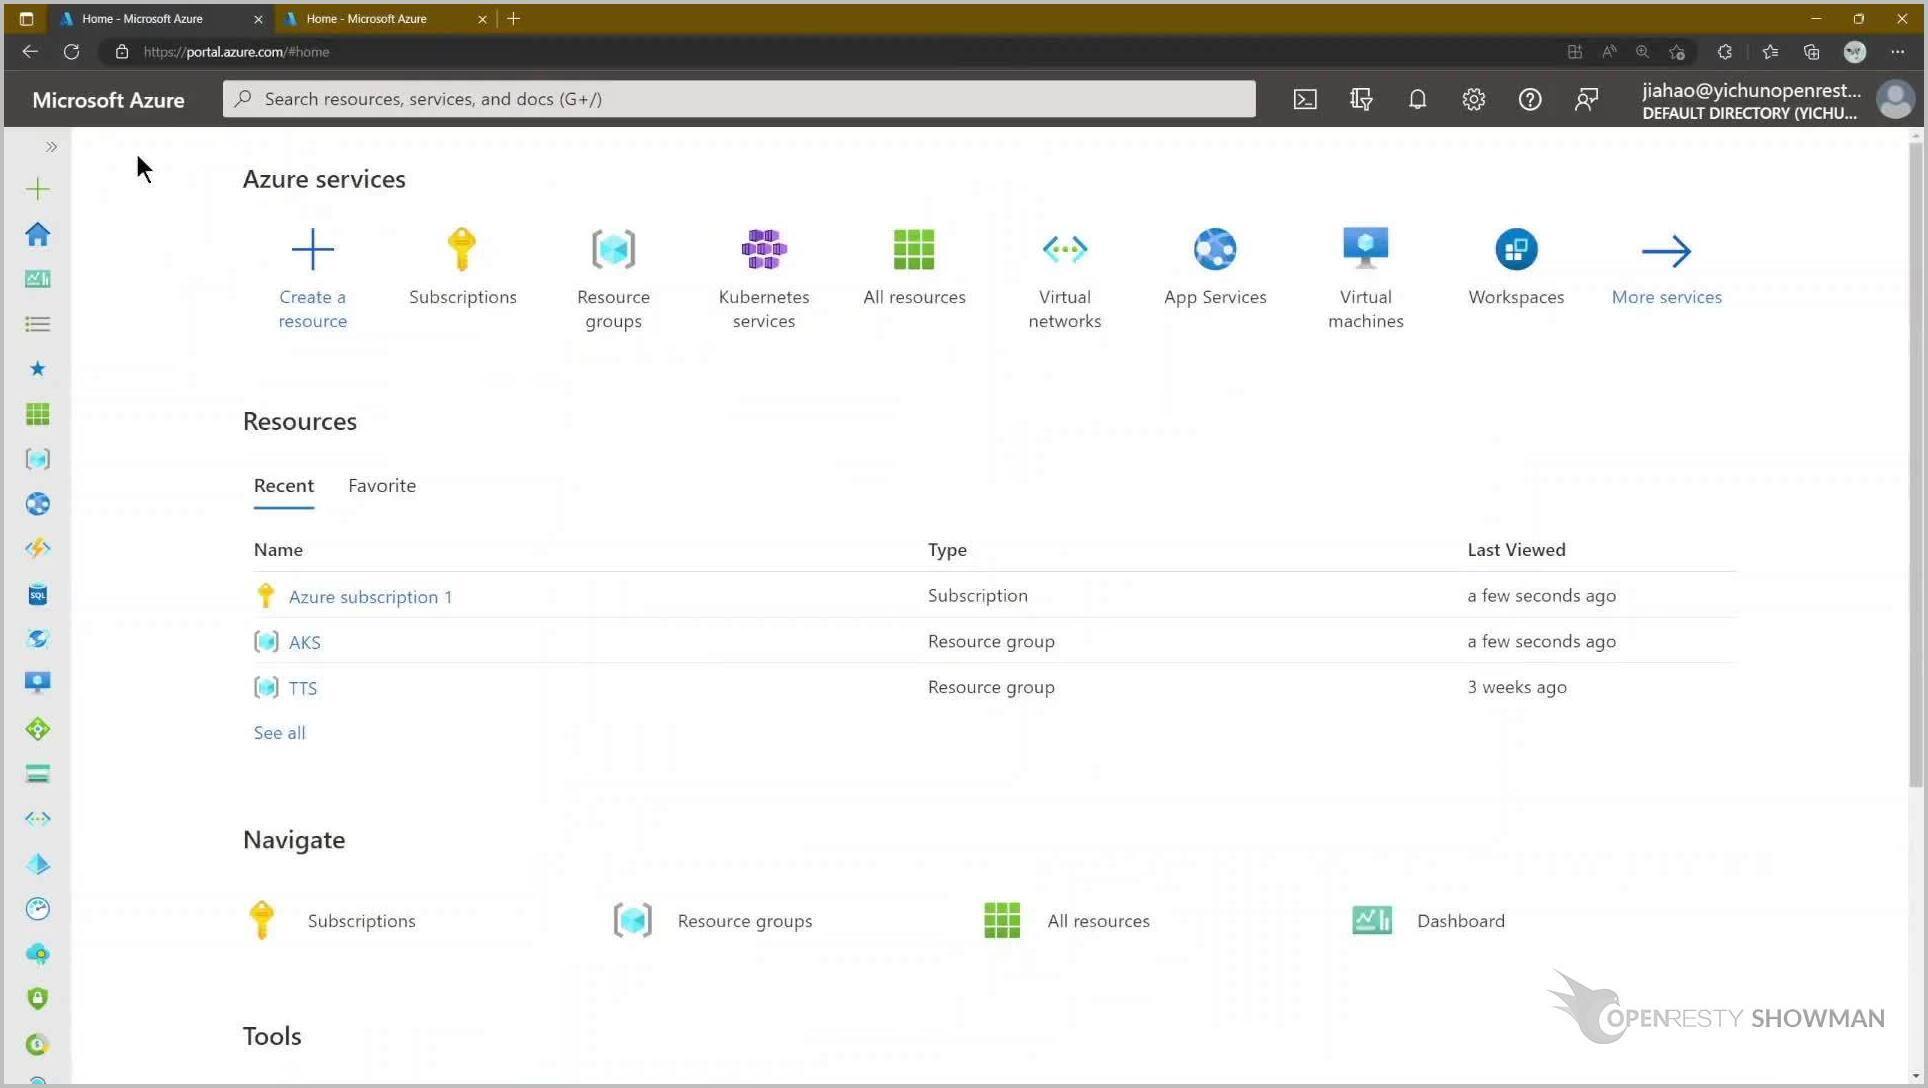
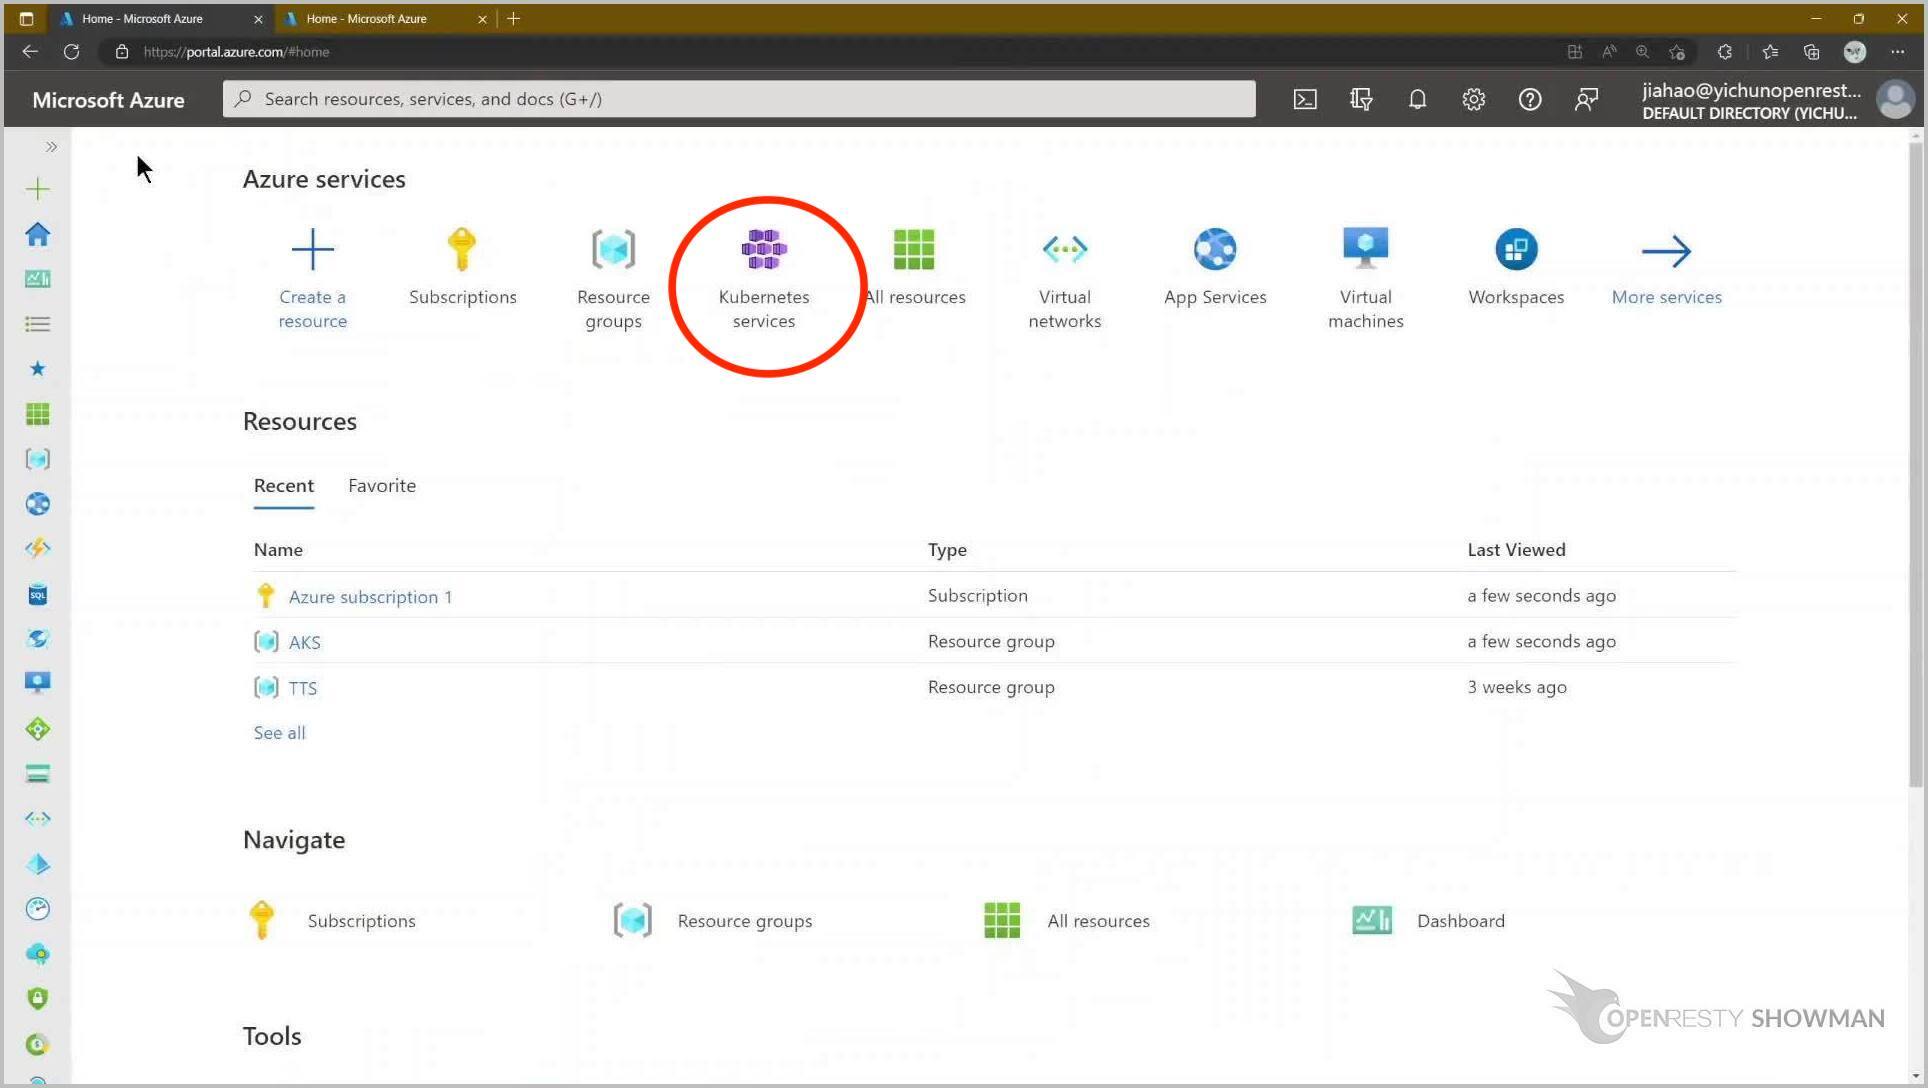
Go back to the Azure home page.
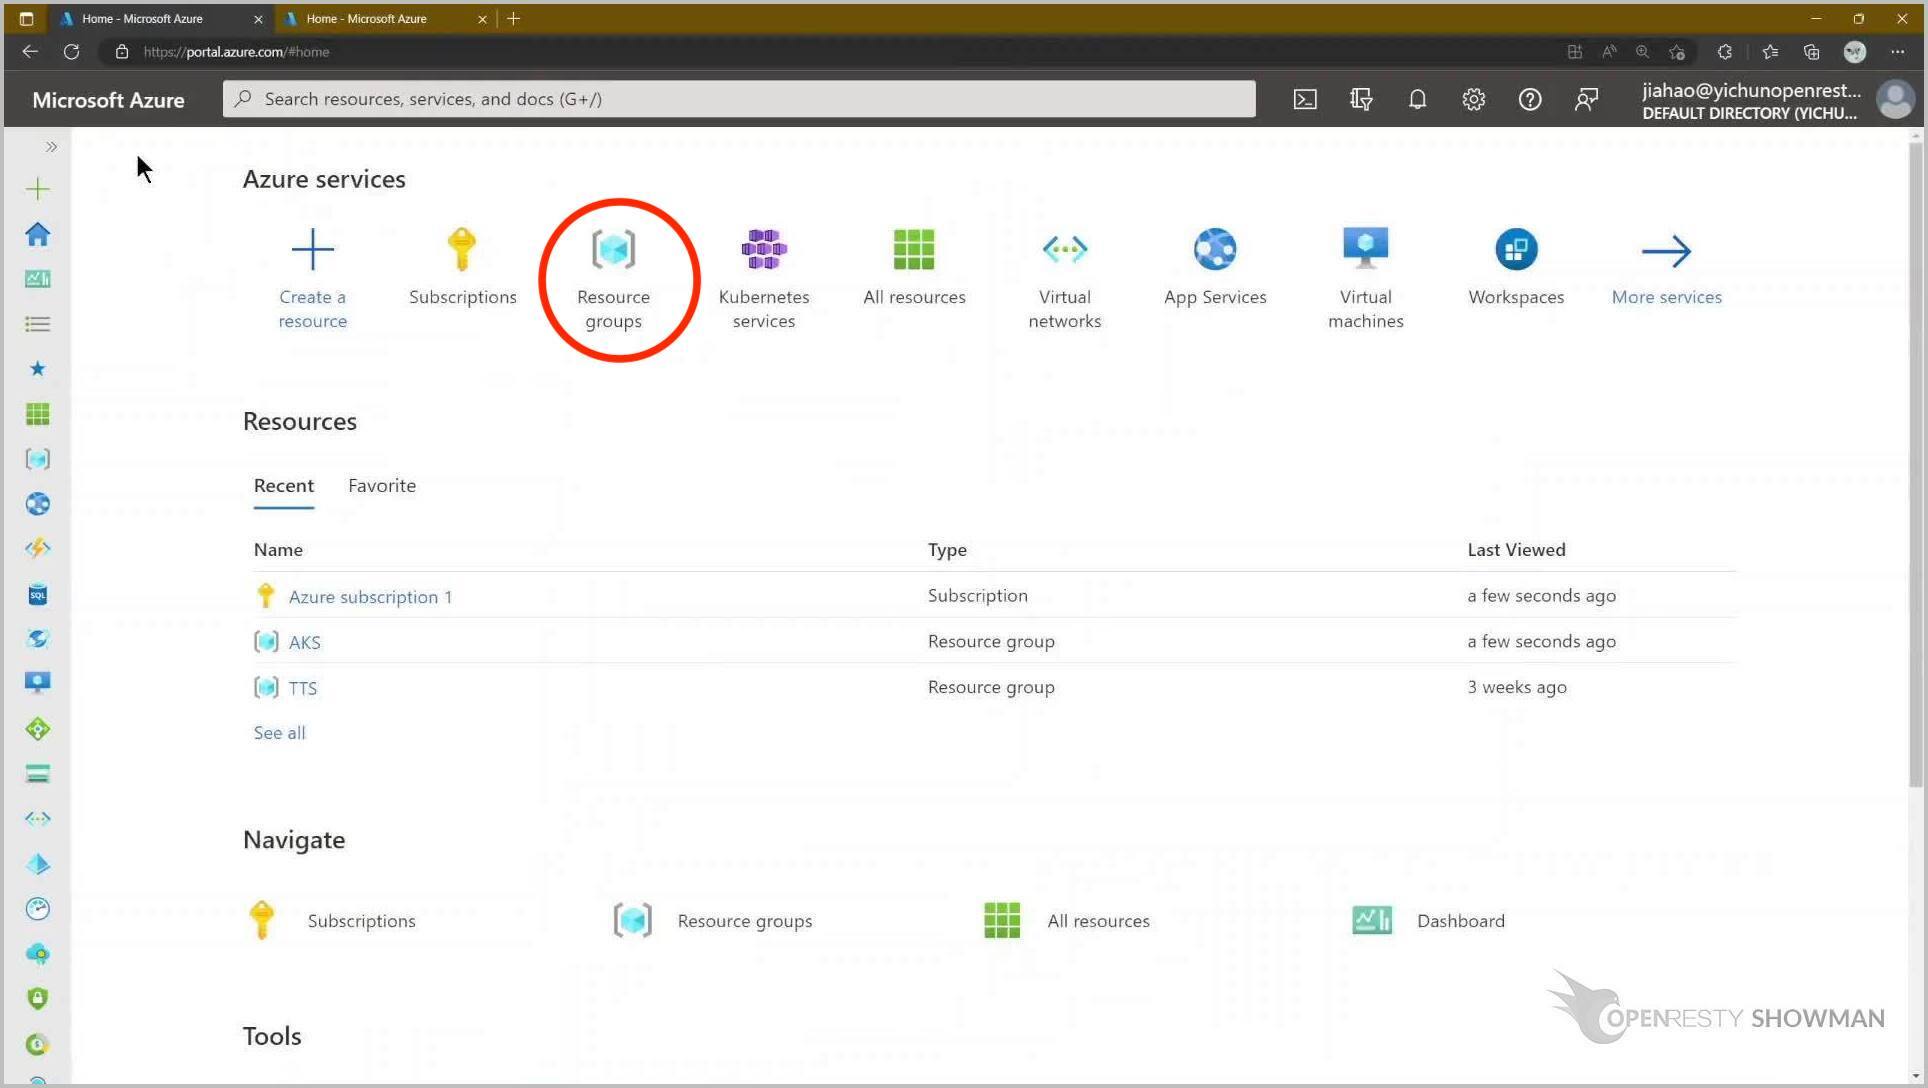
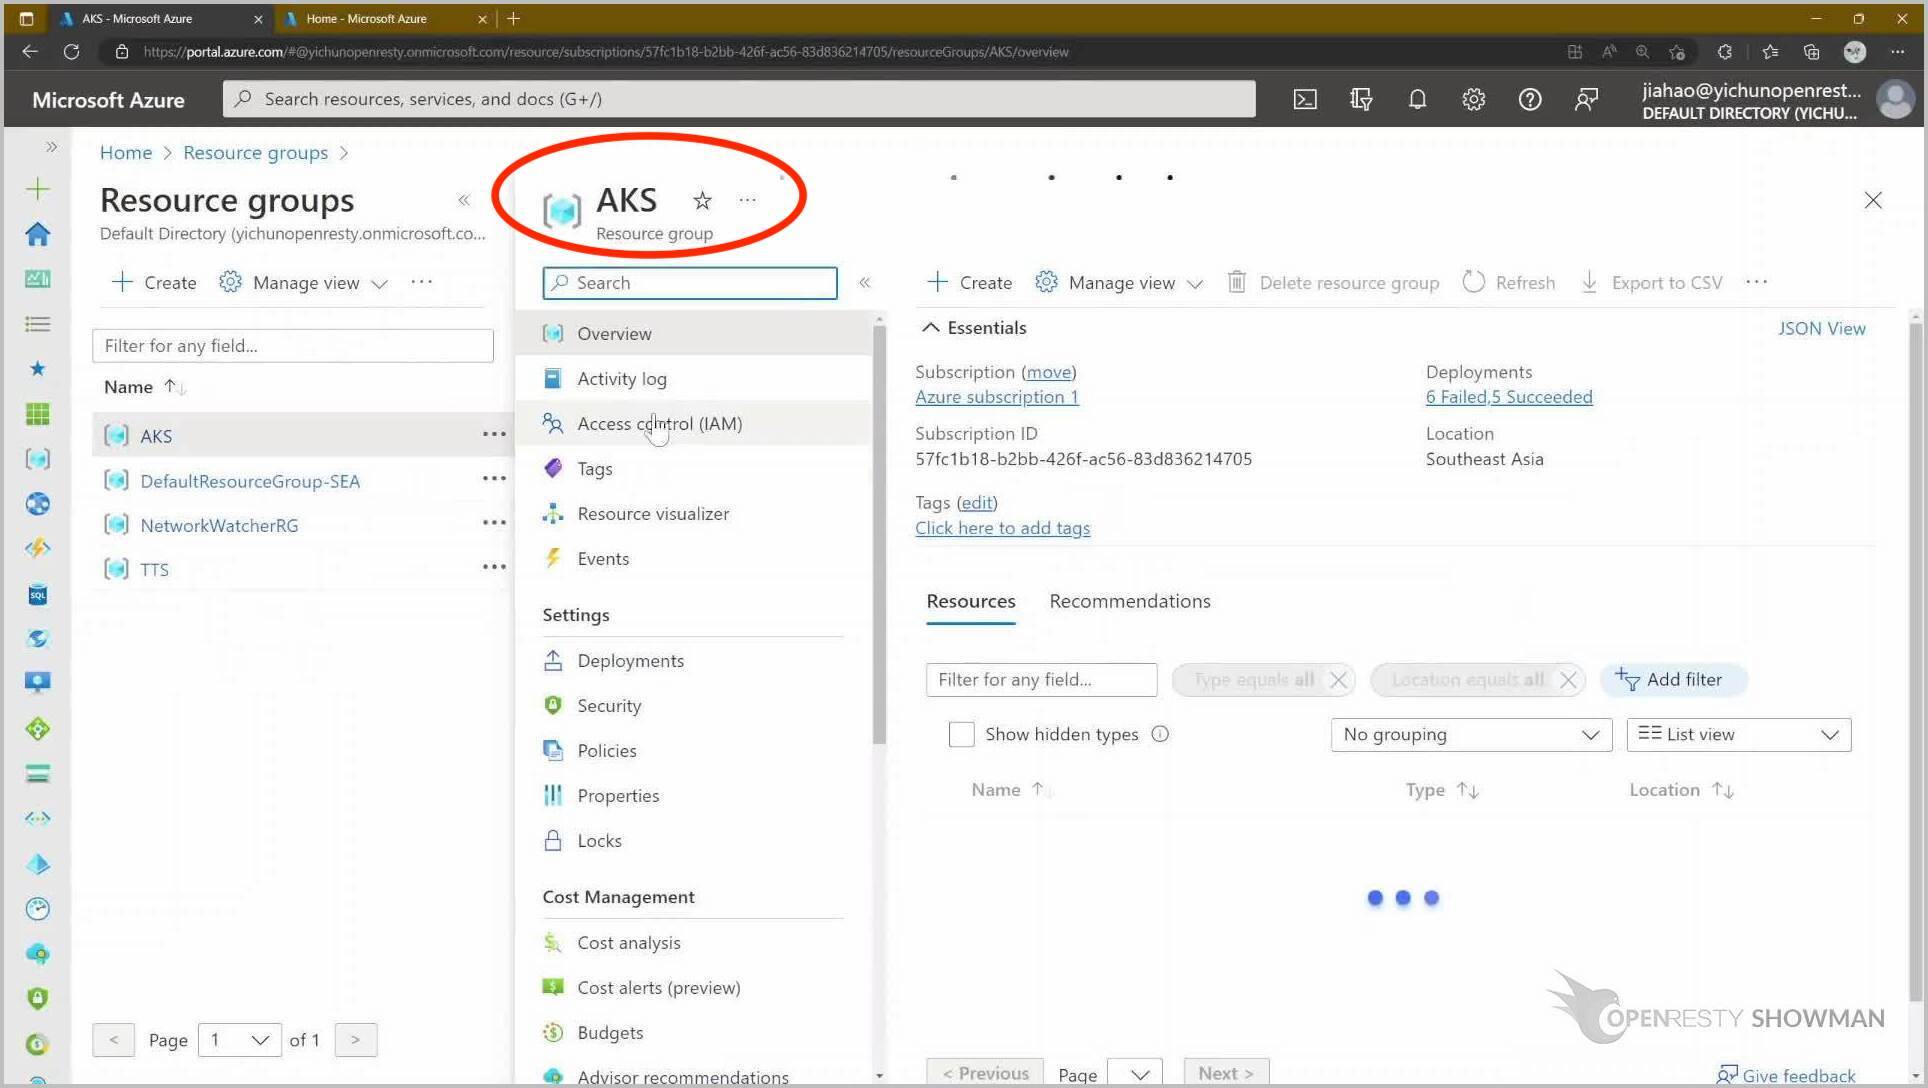
We are going to create a resource group. Click on the resource groups icon.
The resource group named AKS has been created successfully. AKS is a resource group of the subscription Azure subscription 1 that we just created.
Create the Azure Kubernetes service
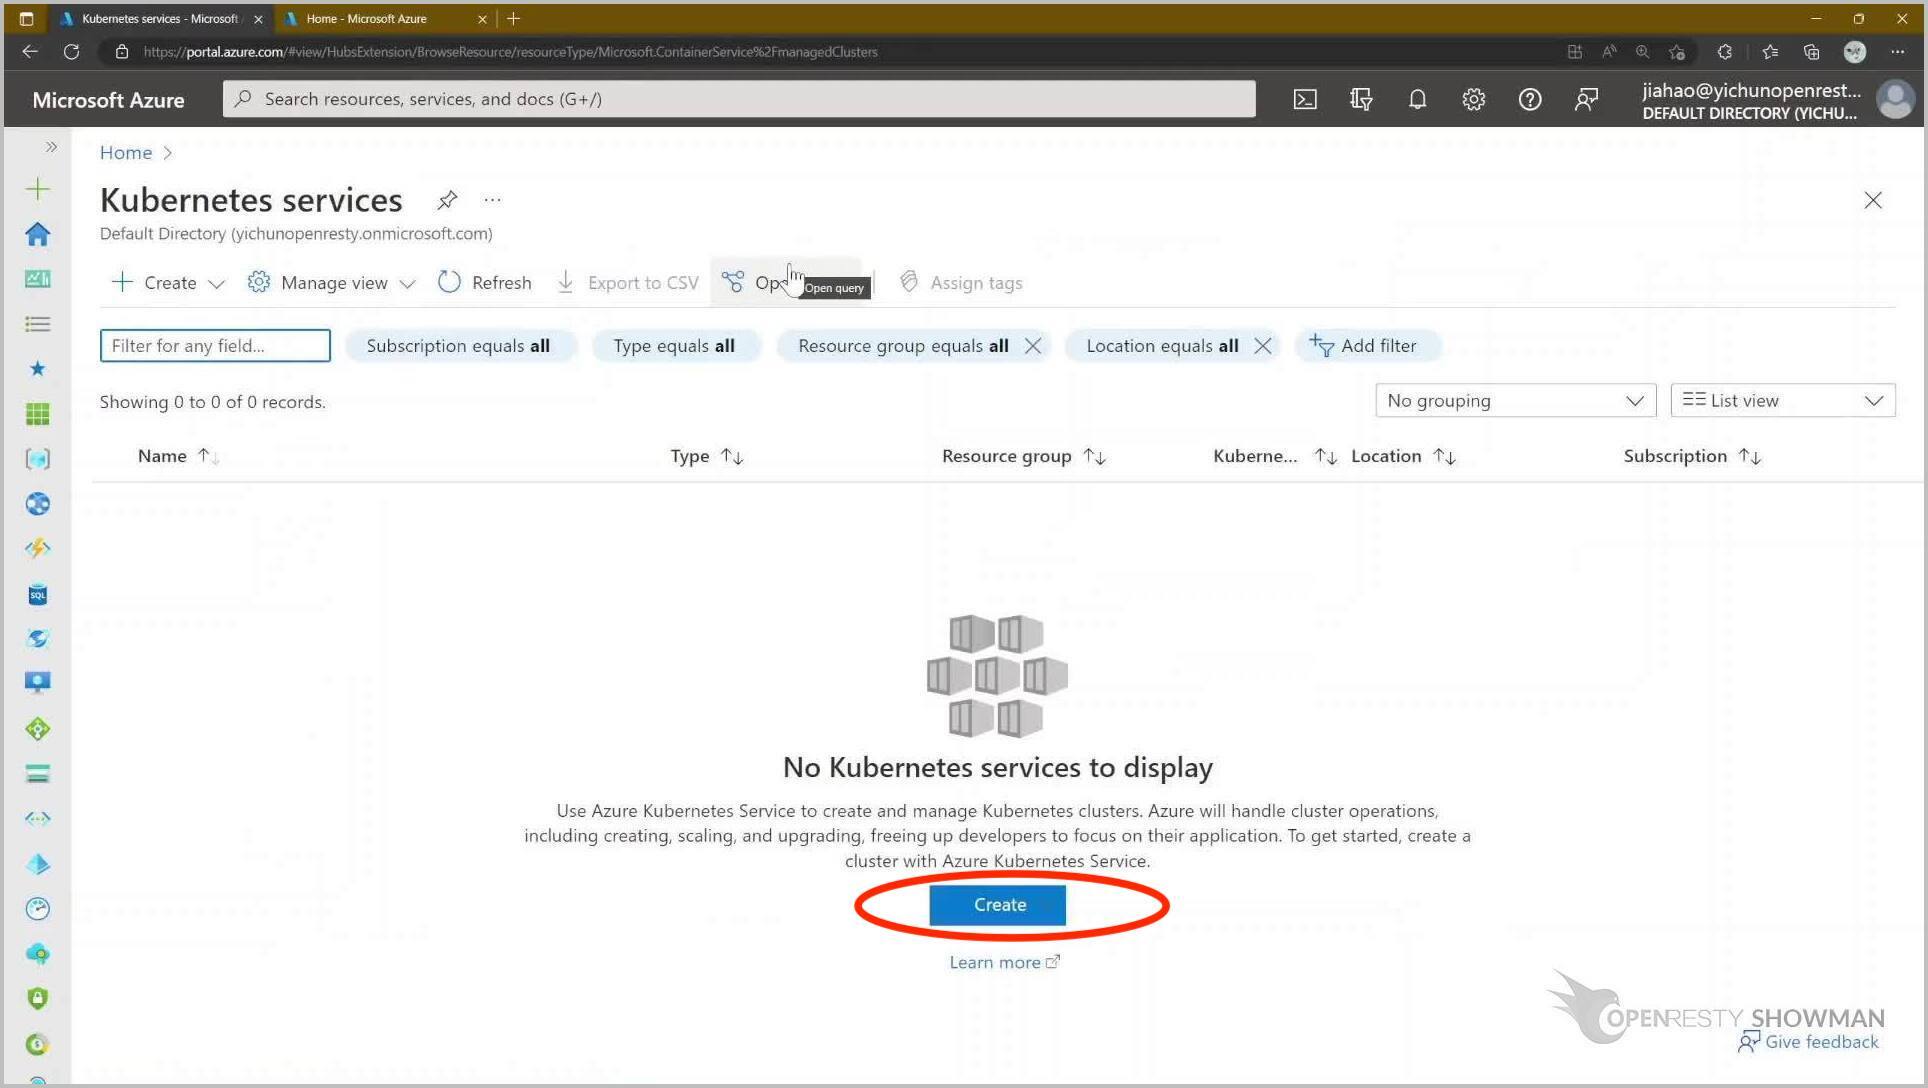
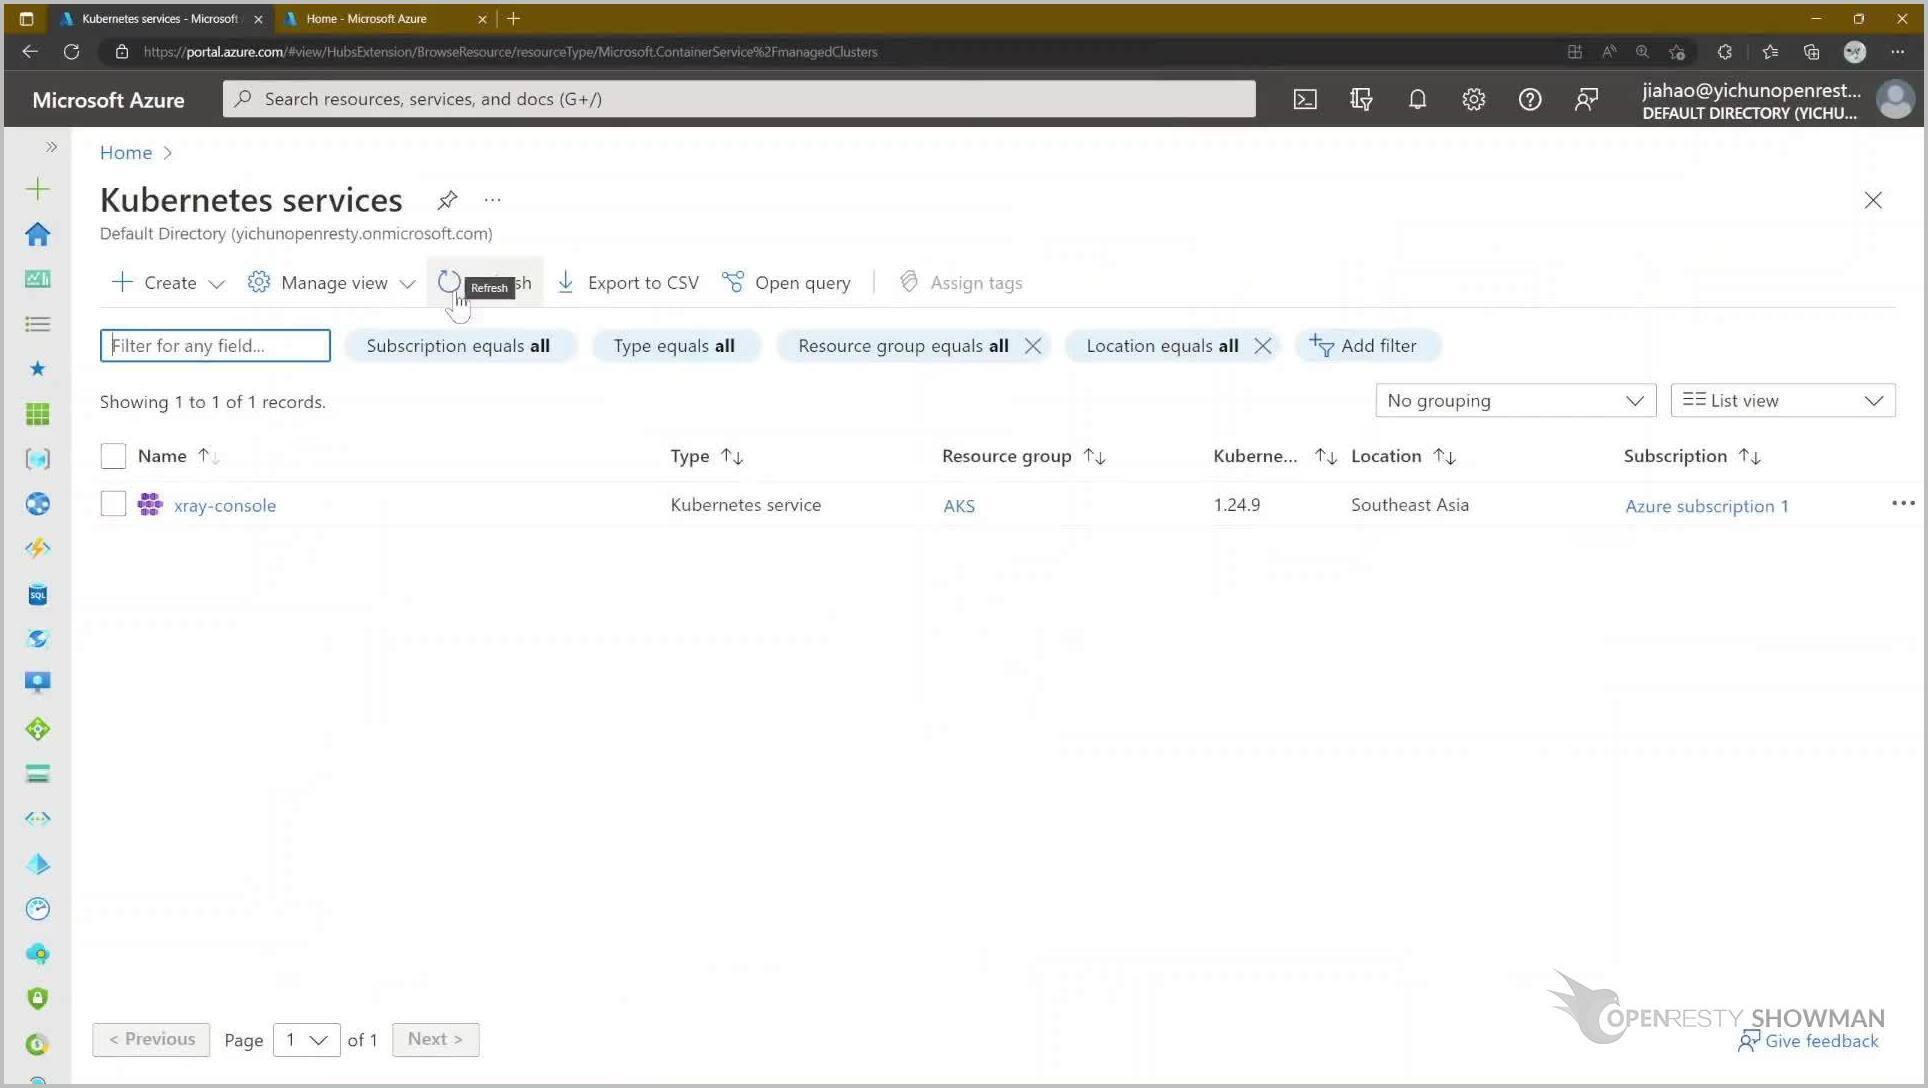
The second step is to create the Azure Kubernetes service. We go back to the Azure home page and click on the Kubernetes services icon.
Click the “Create” button and select “Create Kubernetes cluster”
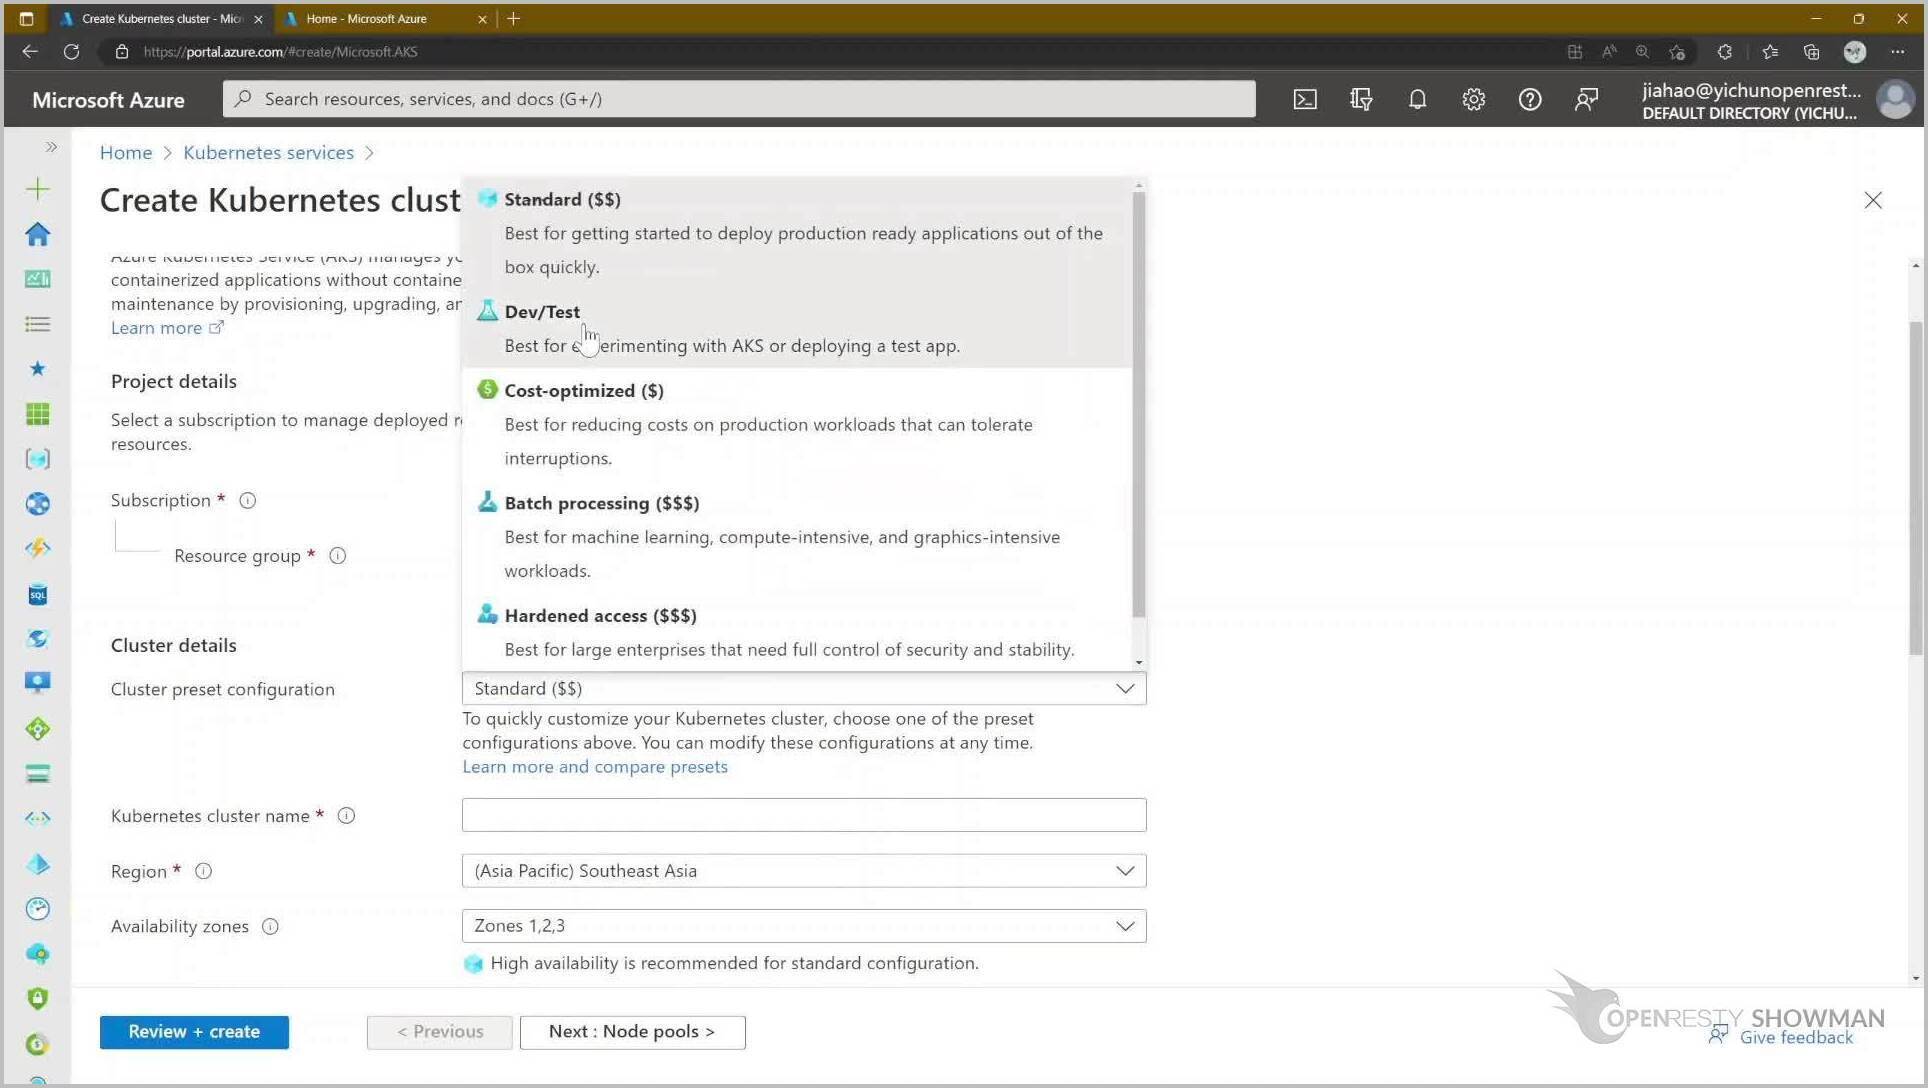
Select the resource group that we just created, named AKS.

Here we choose the preset configuration of the cluster according to our needs.
Here we can select the size of the node.
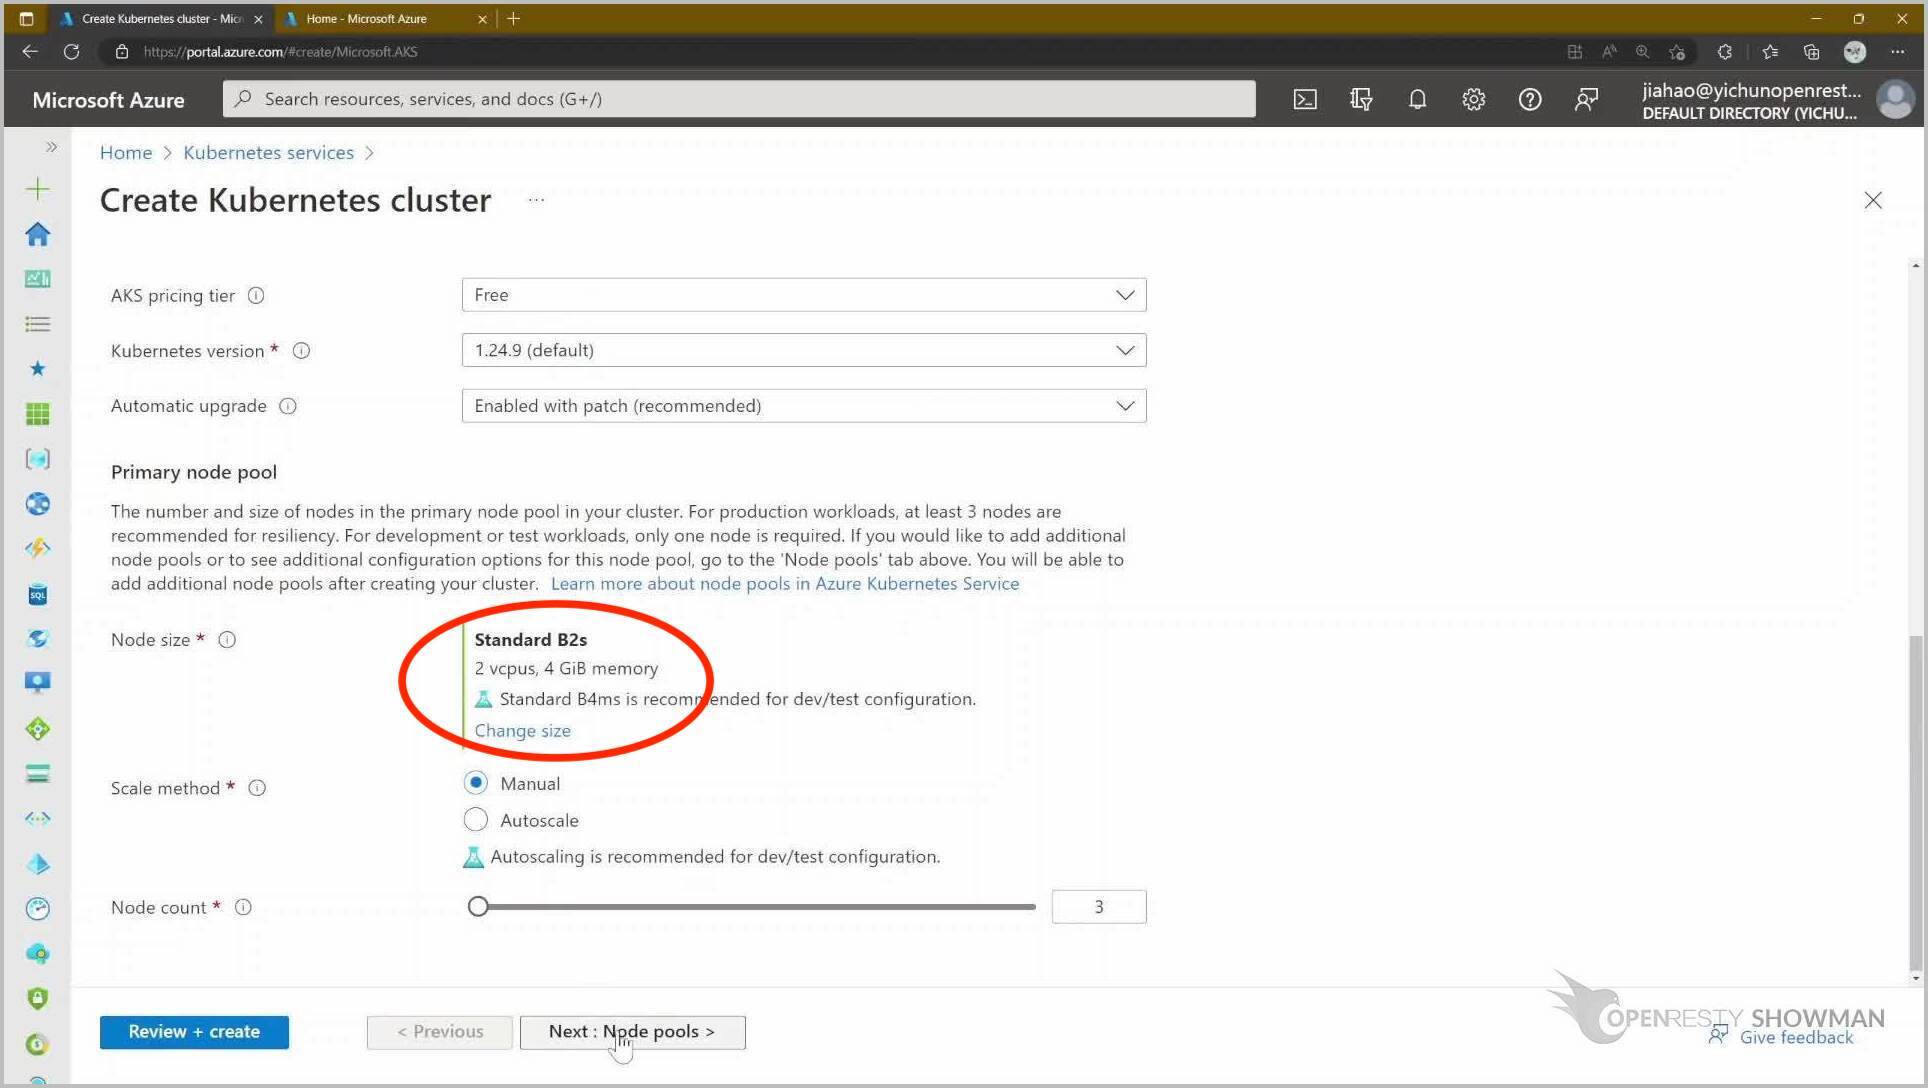
We can modify the configuration as needed, and then click on Review + Create.
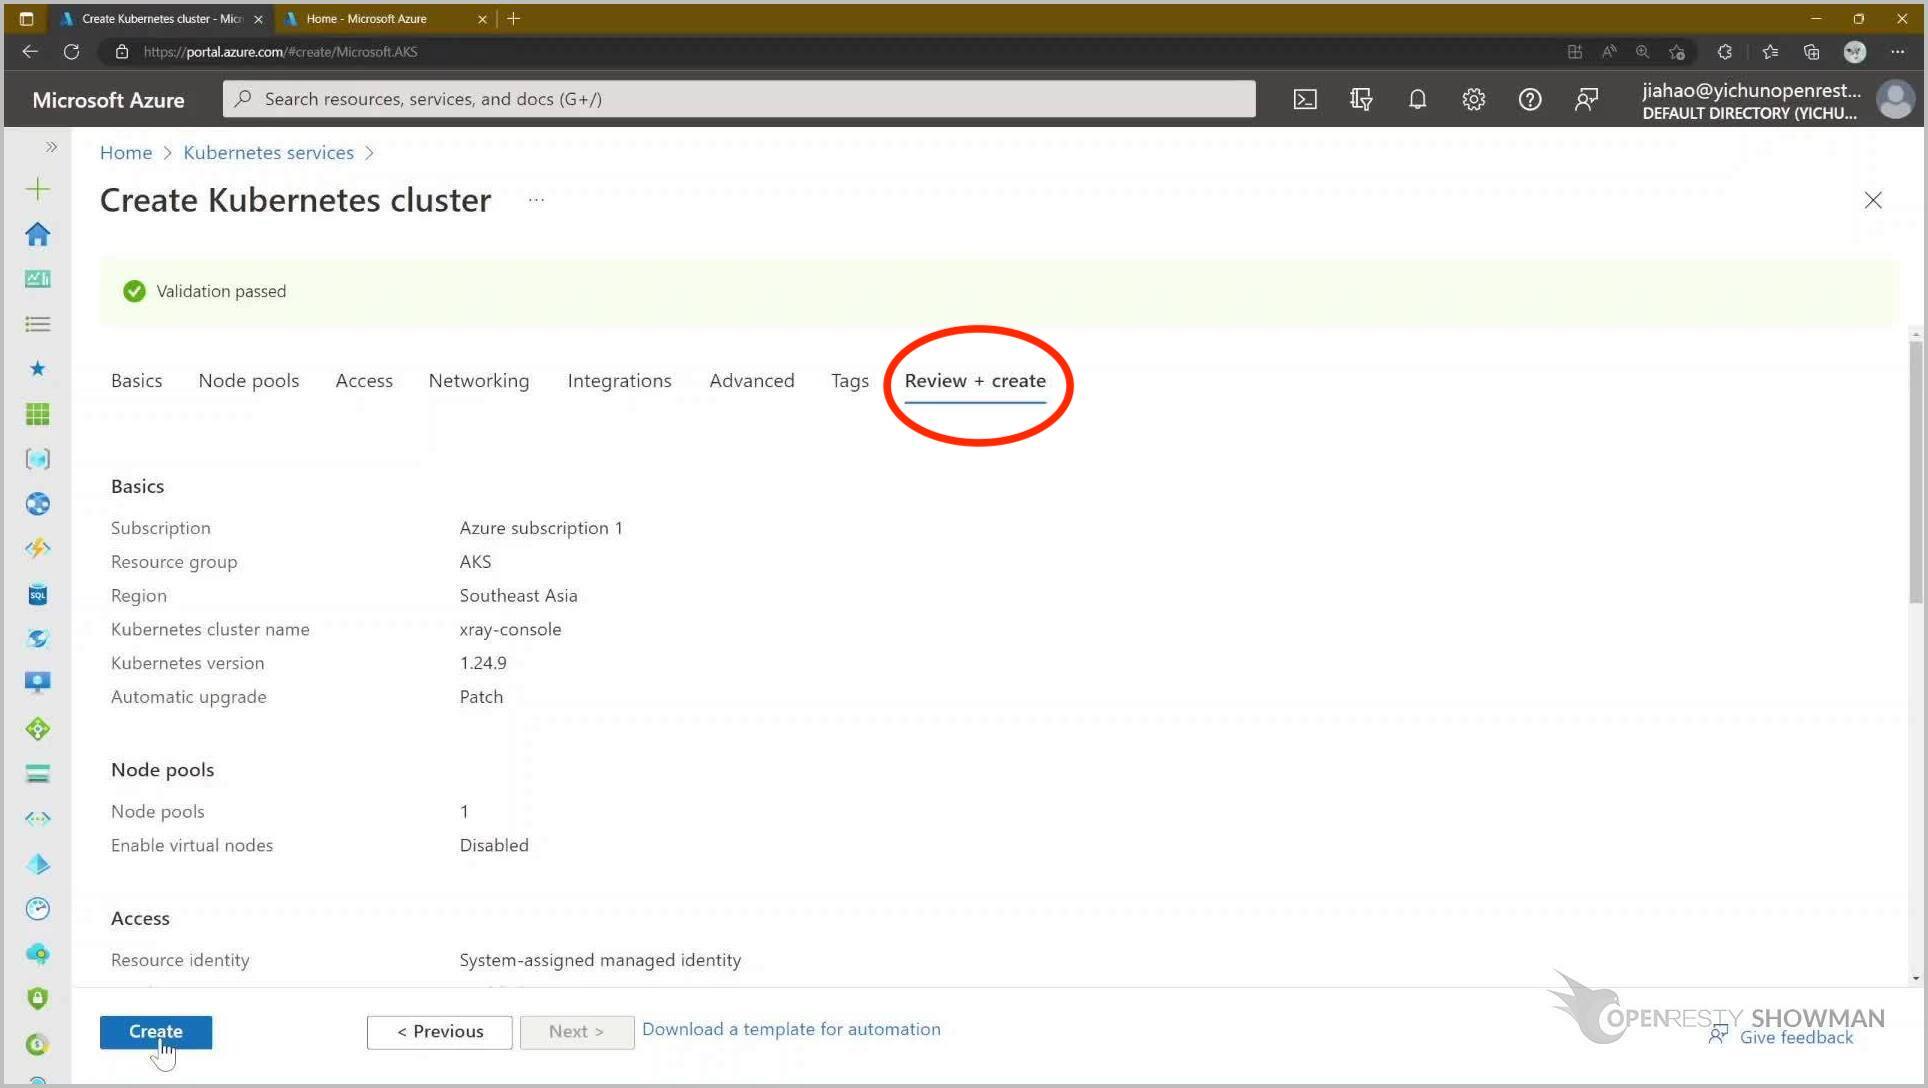
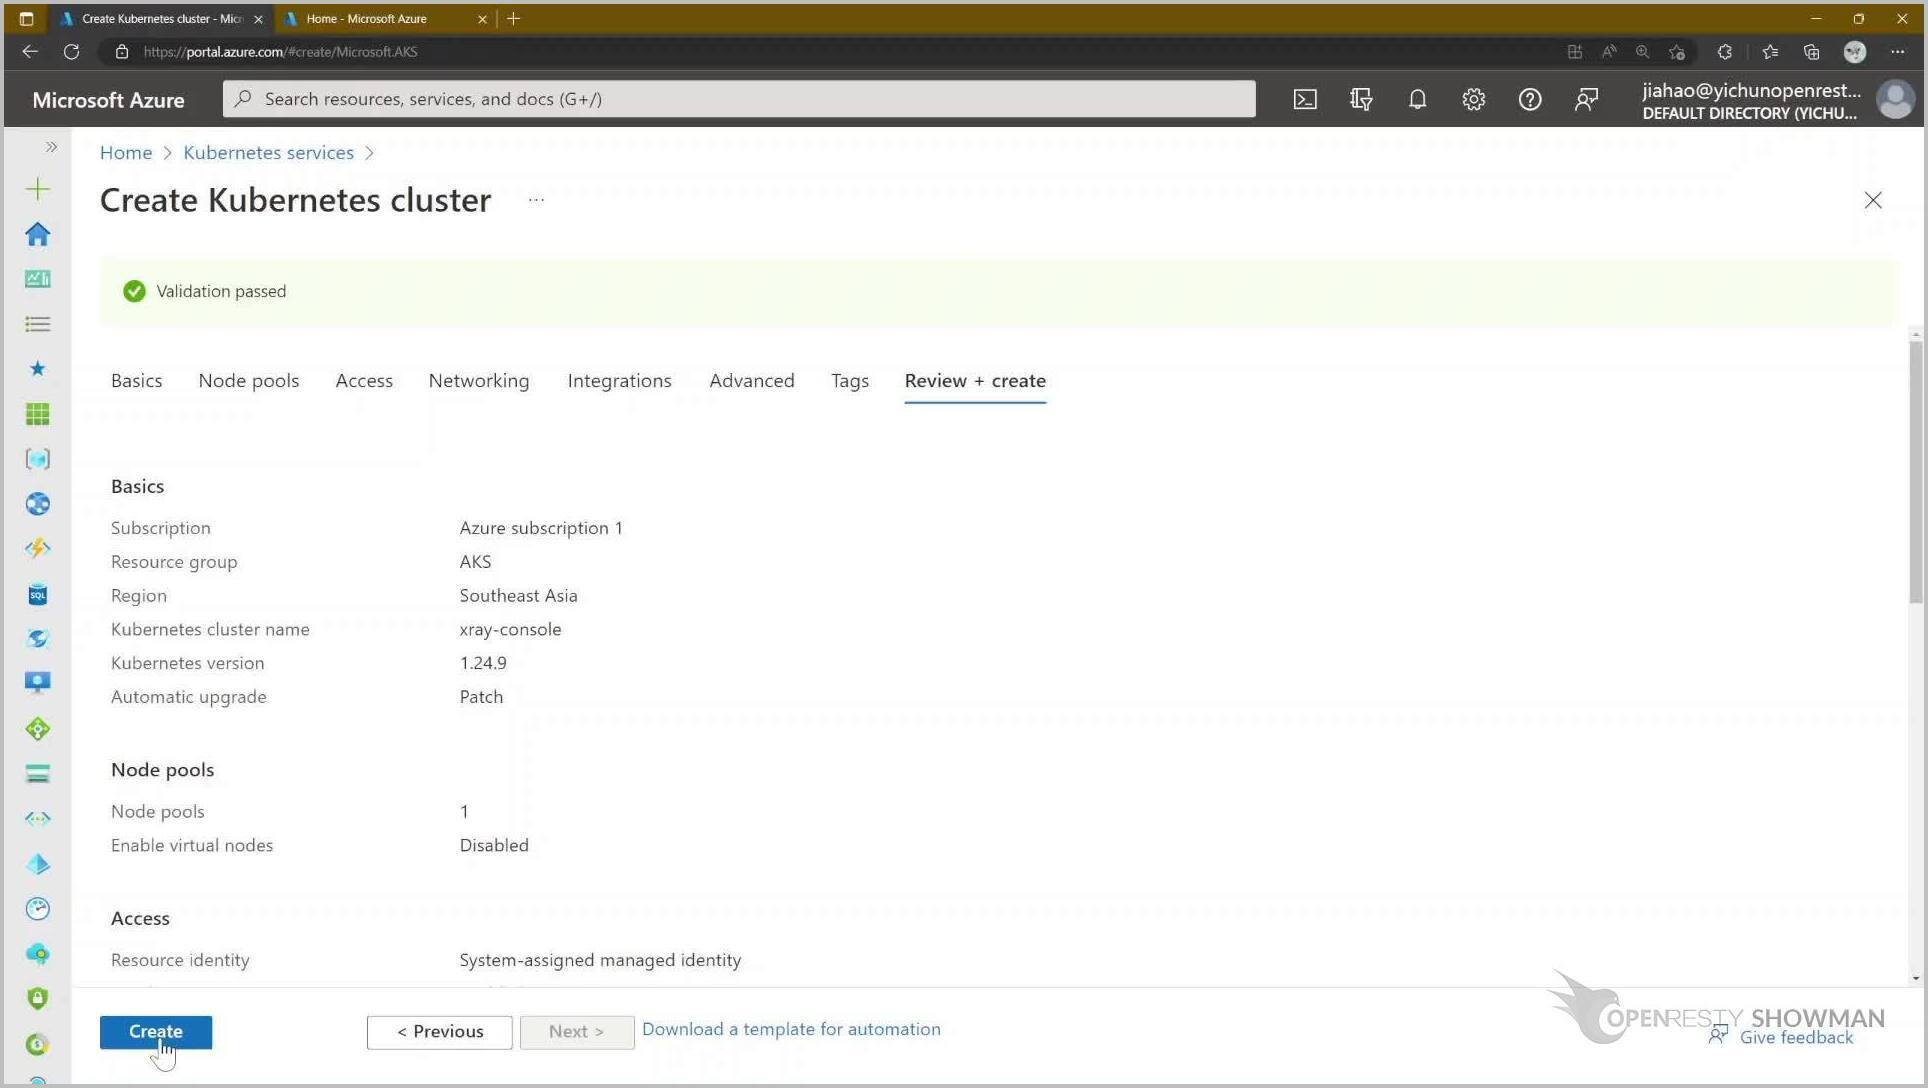
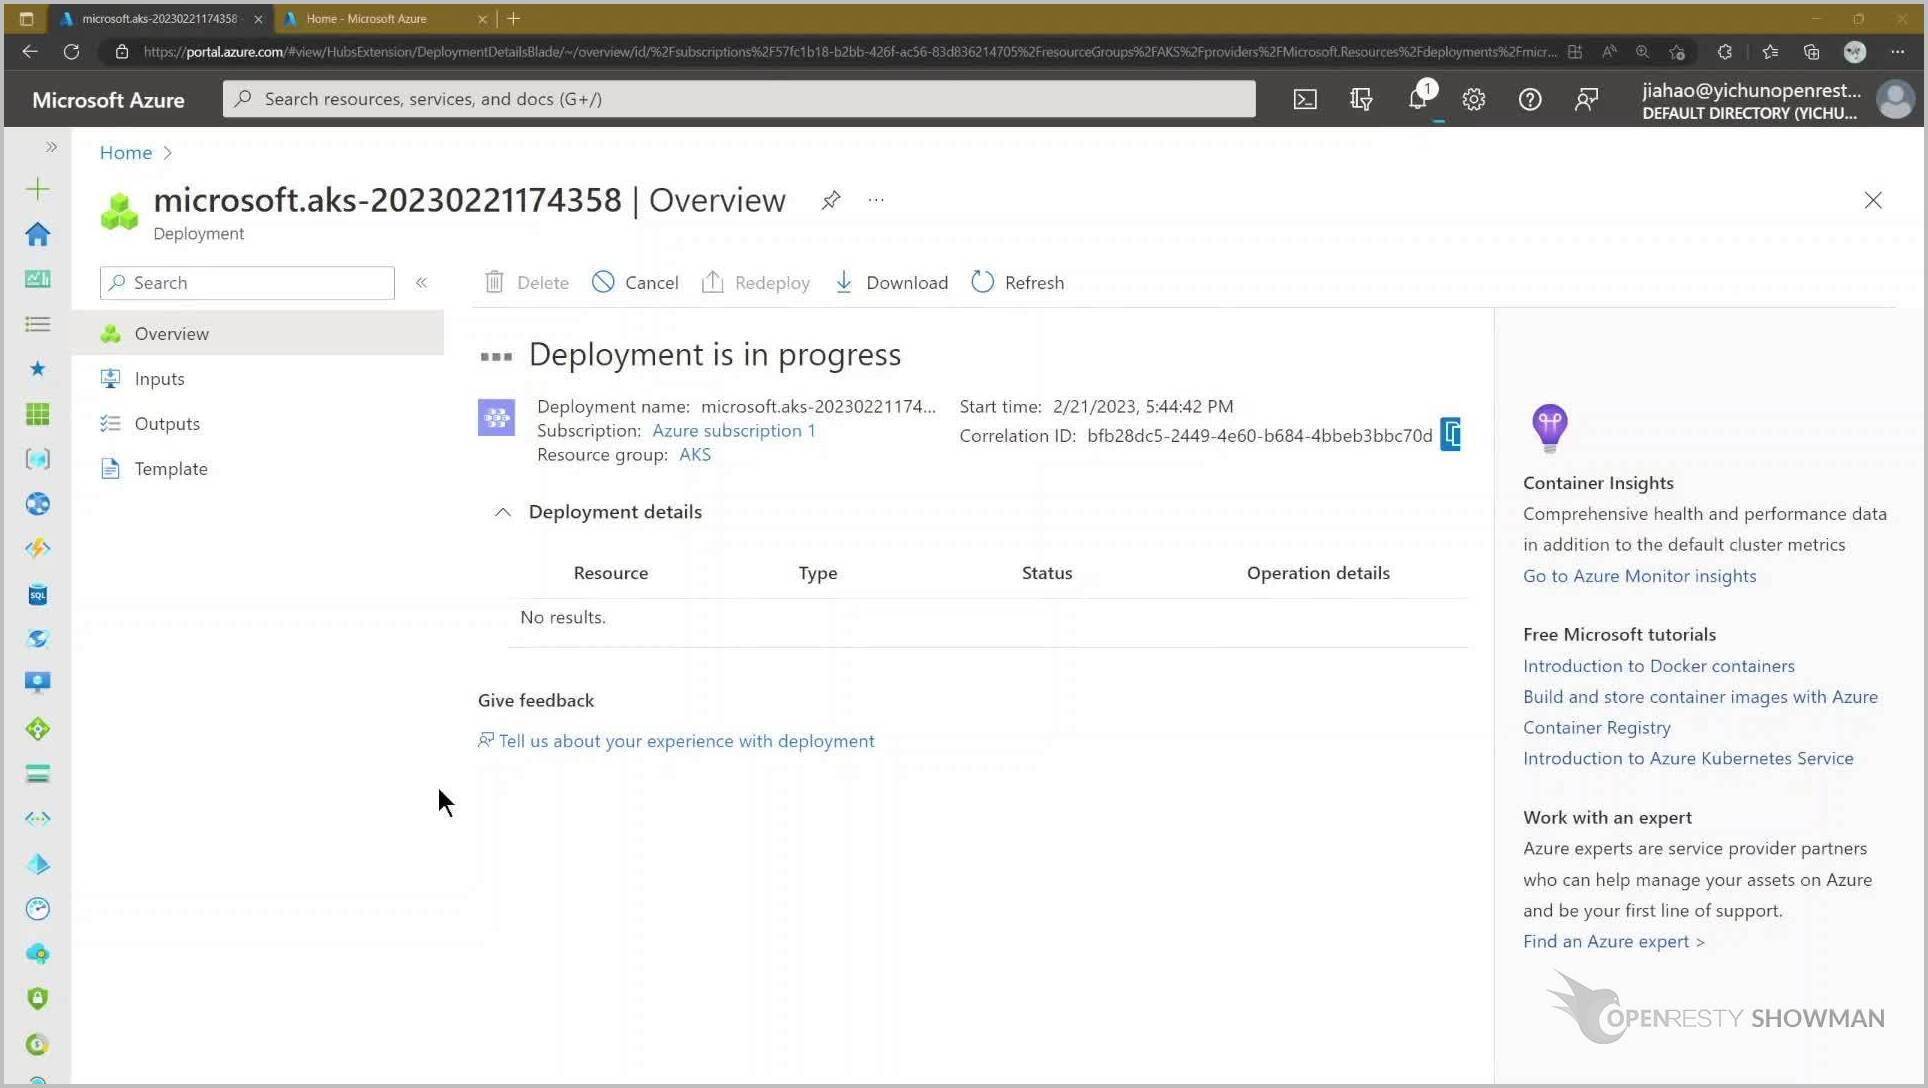
Wait until the deployment is complete.

Prepare the environment variables
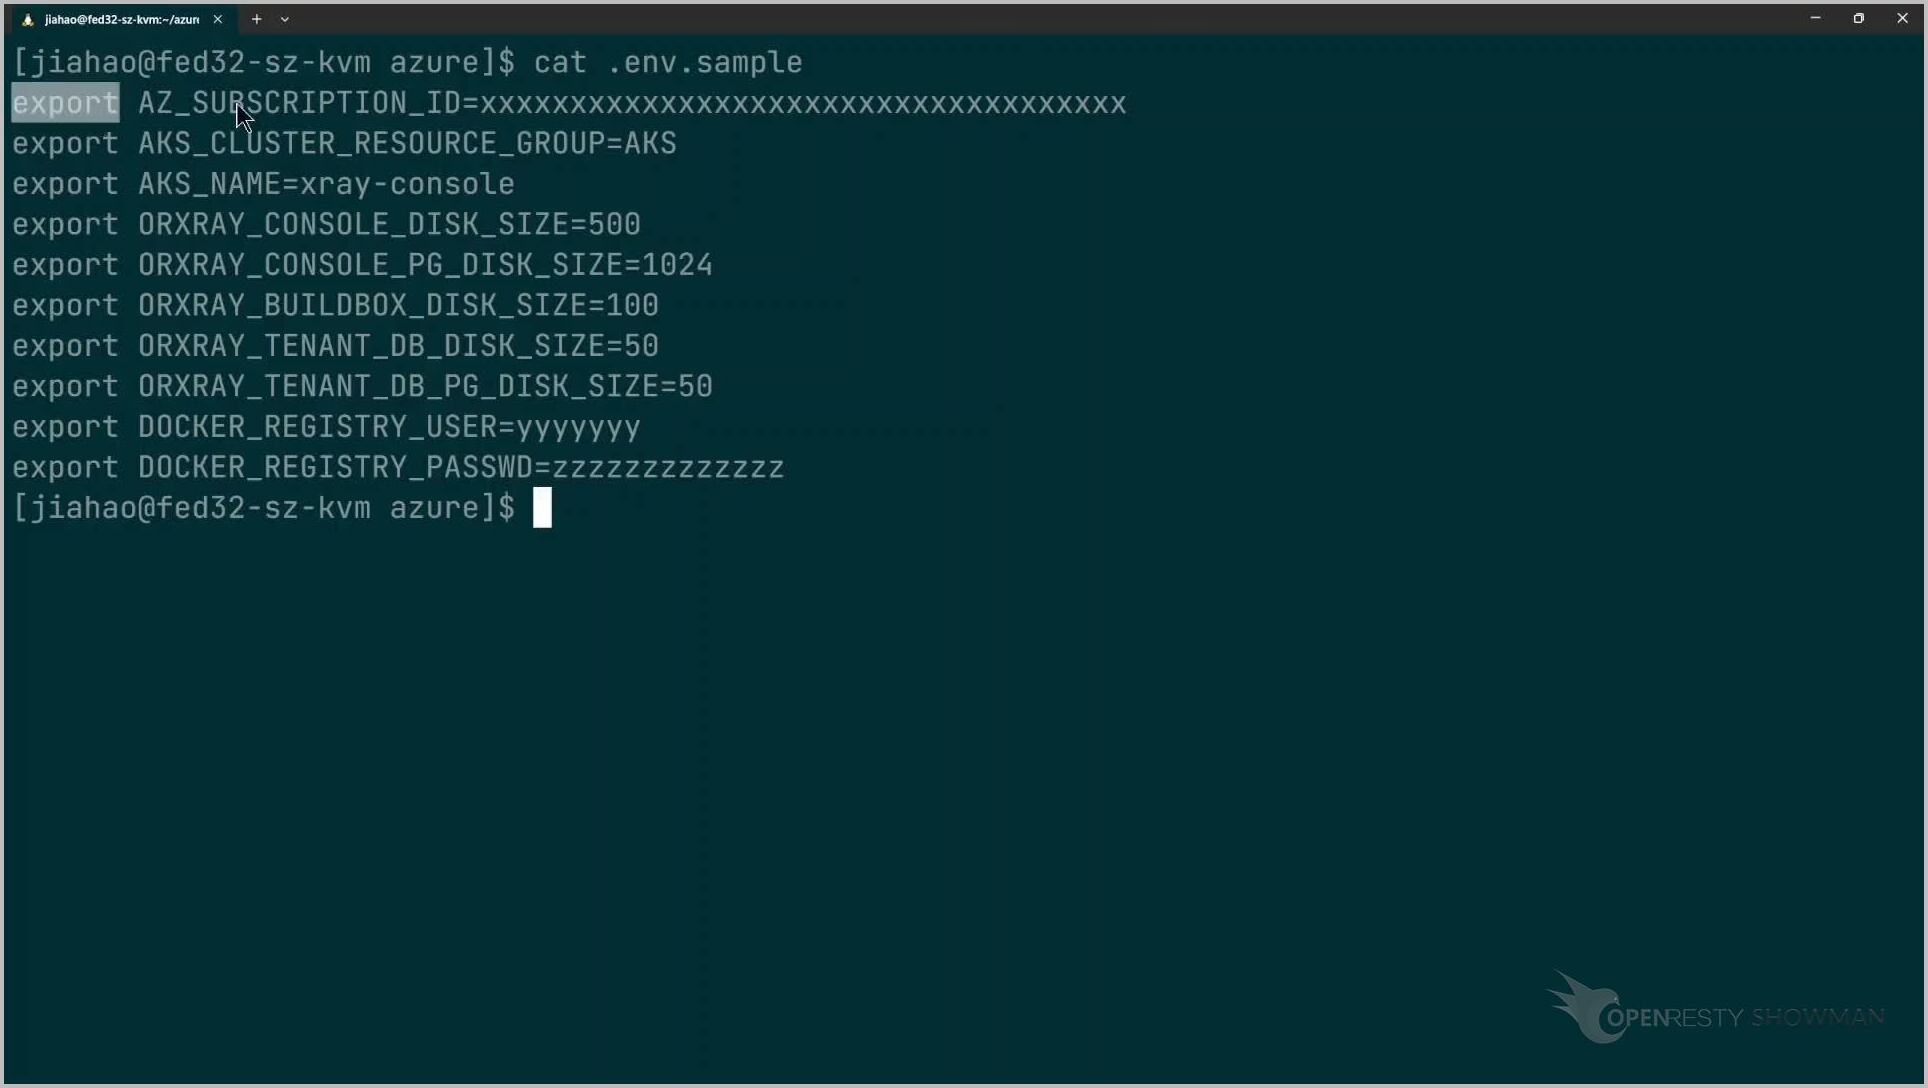
Step 3: Prepare the environment variables to be used later.
Open a terminal and log in to the Linux machine.
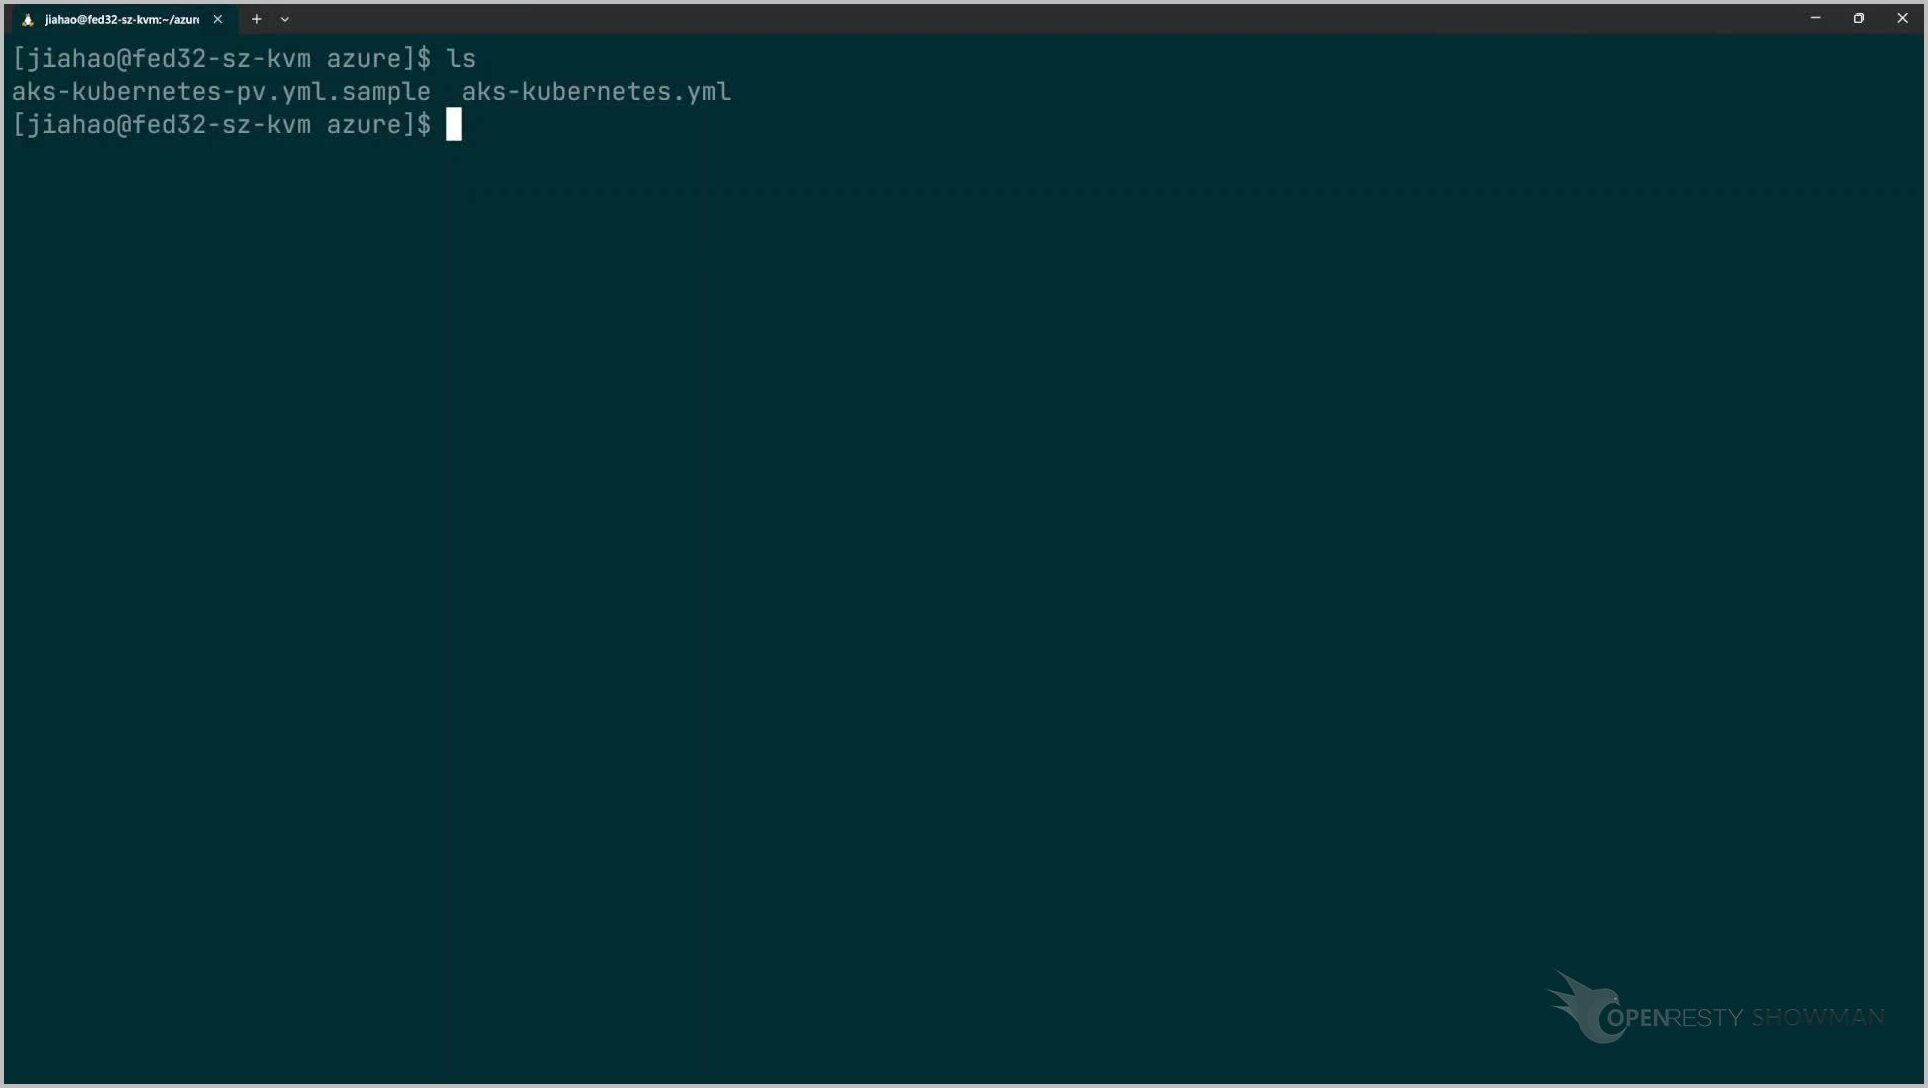
Let’s use the .env.sample file to do the demonstration.

The instructions for using these environment variables are described in the documentation.
Log in to Azure from the command line
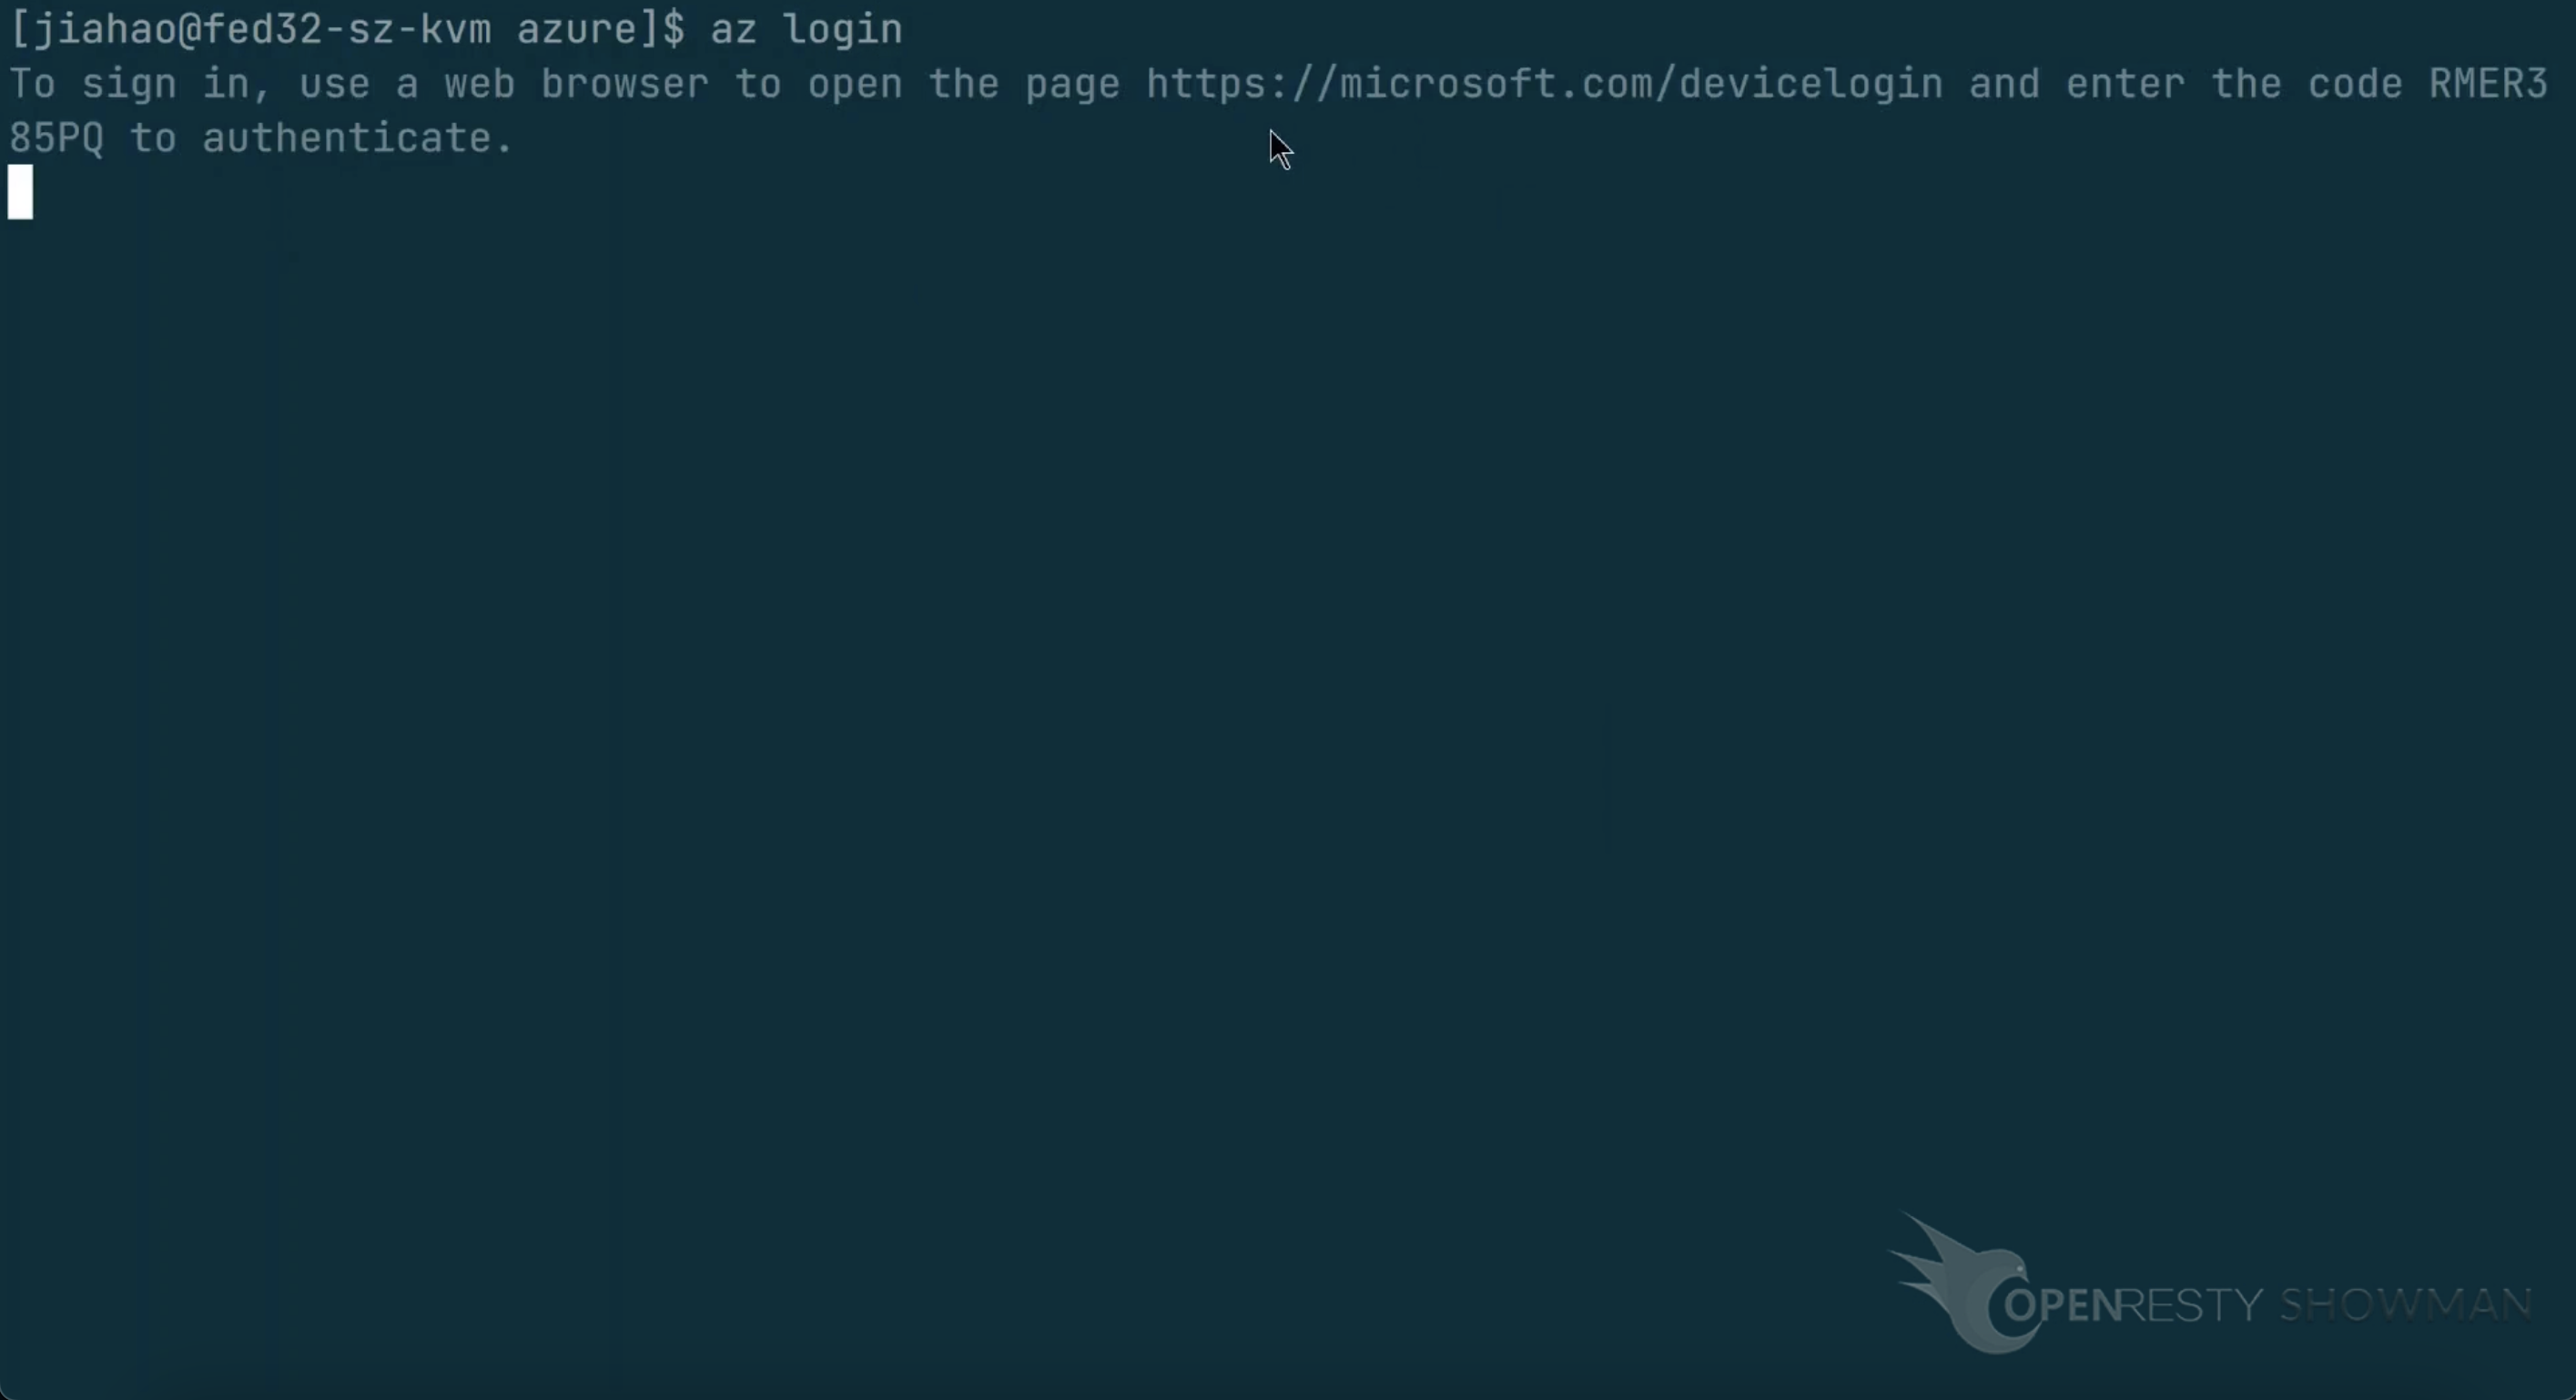
Step 4: log in to Azure from the command line.
Please note that we need to have Azure’s command line tool az to be installed in advance.
Refer to the official Azure documentation for the installation details.
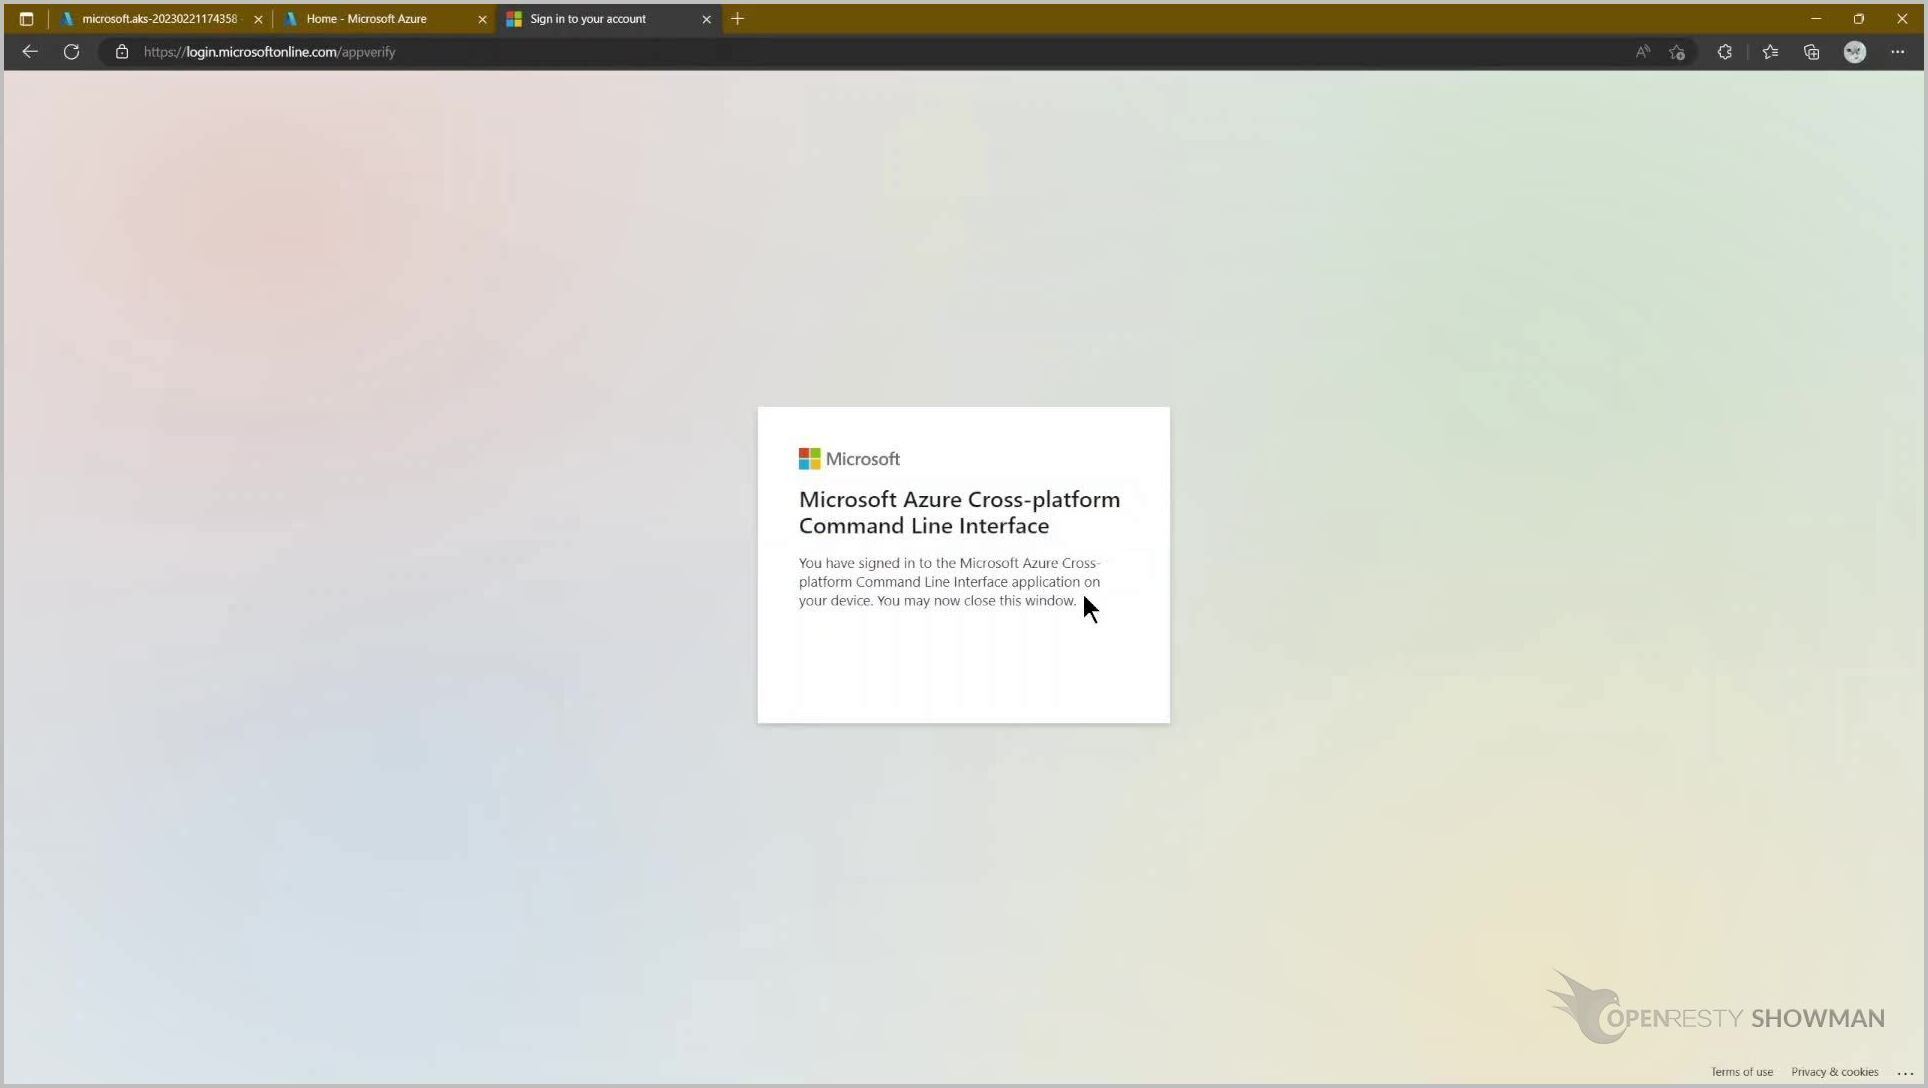
We use the command az login to open the URL on the prompt.
After successful login, the screen should display as follows.
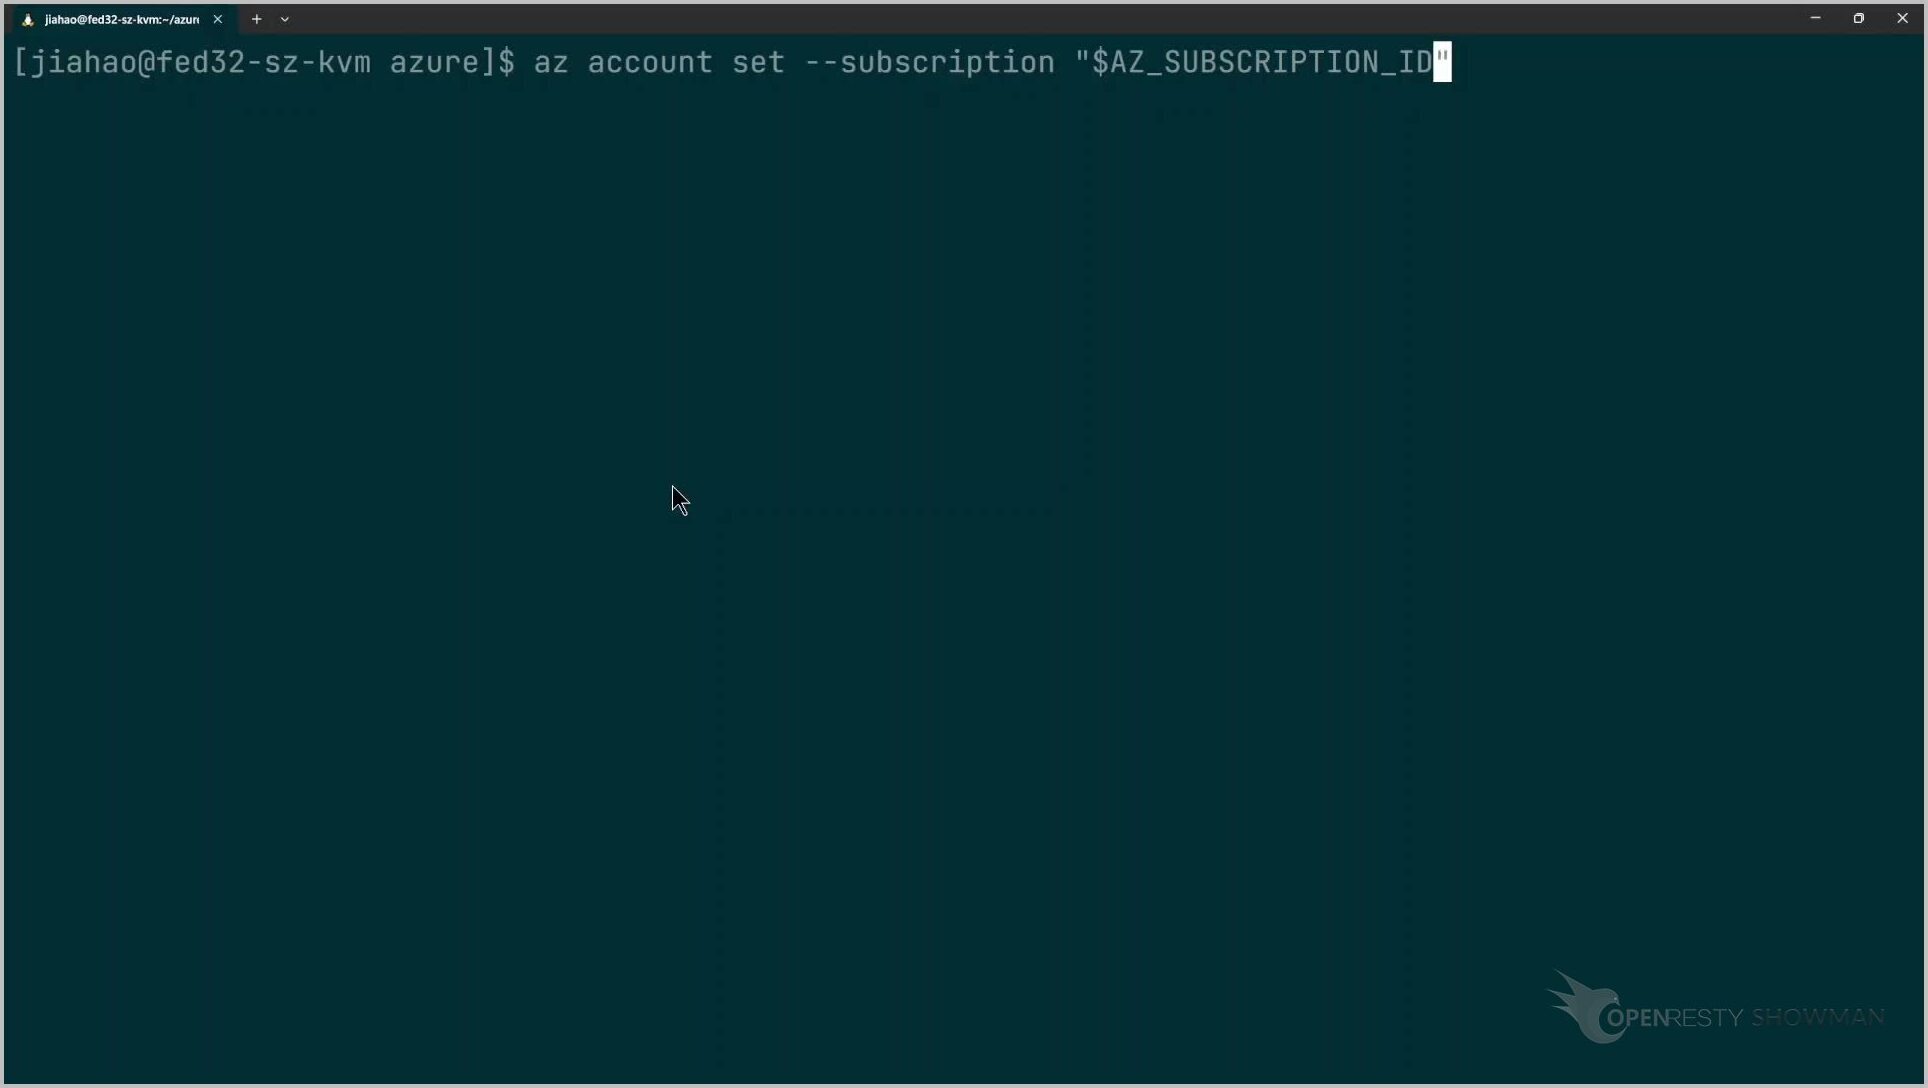
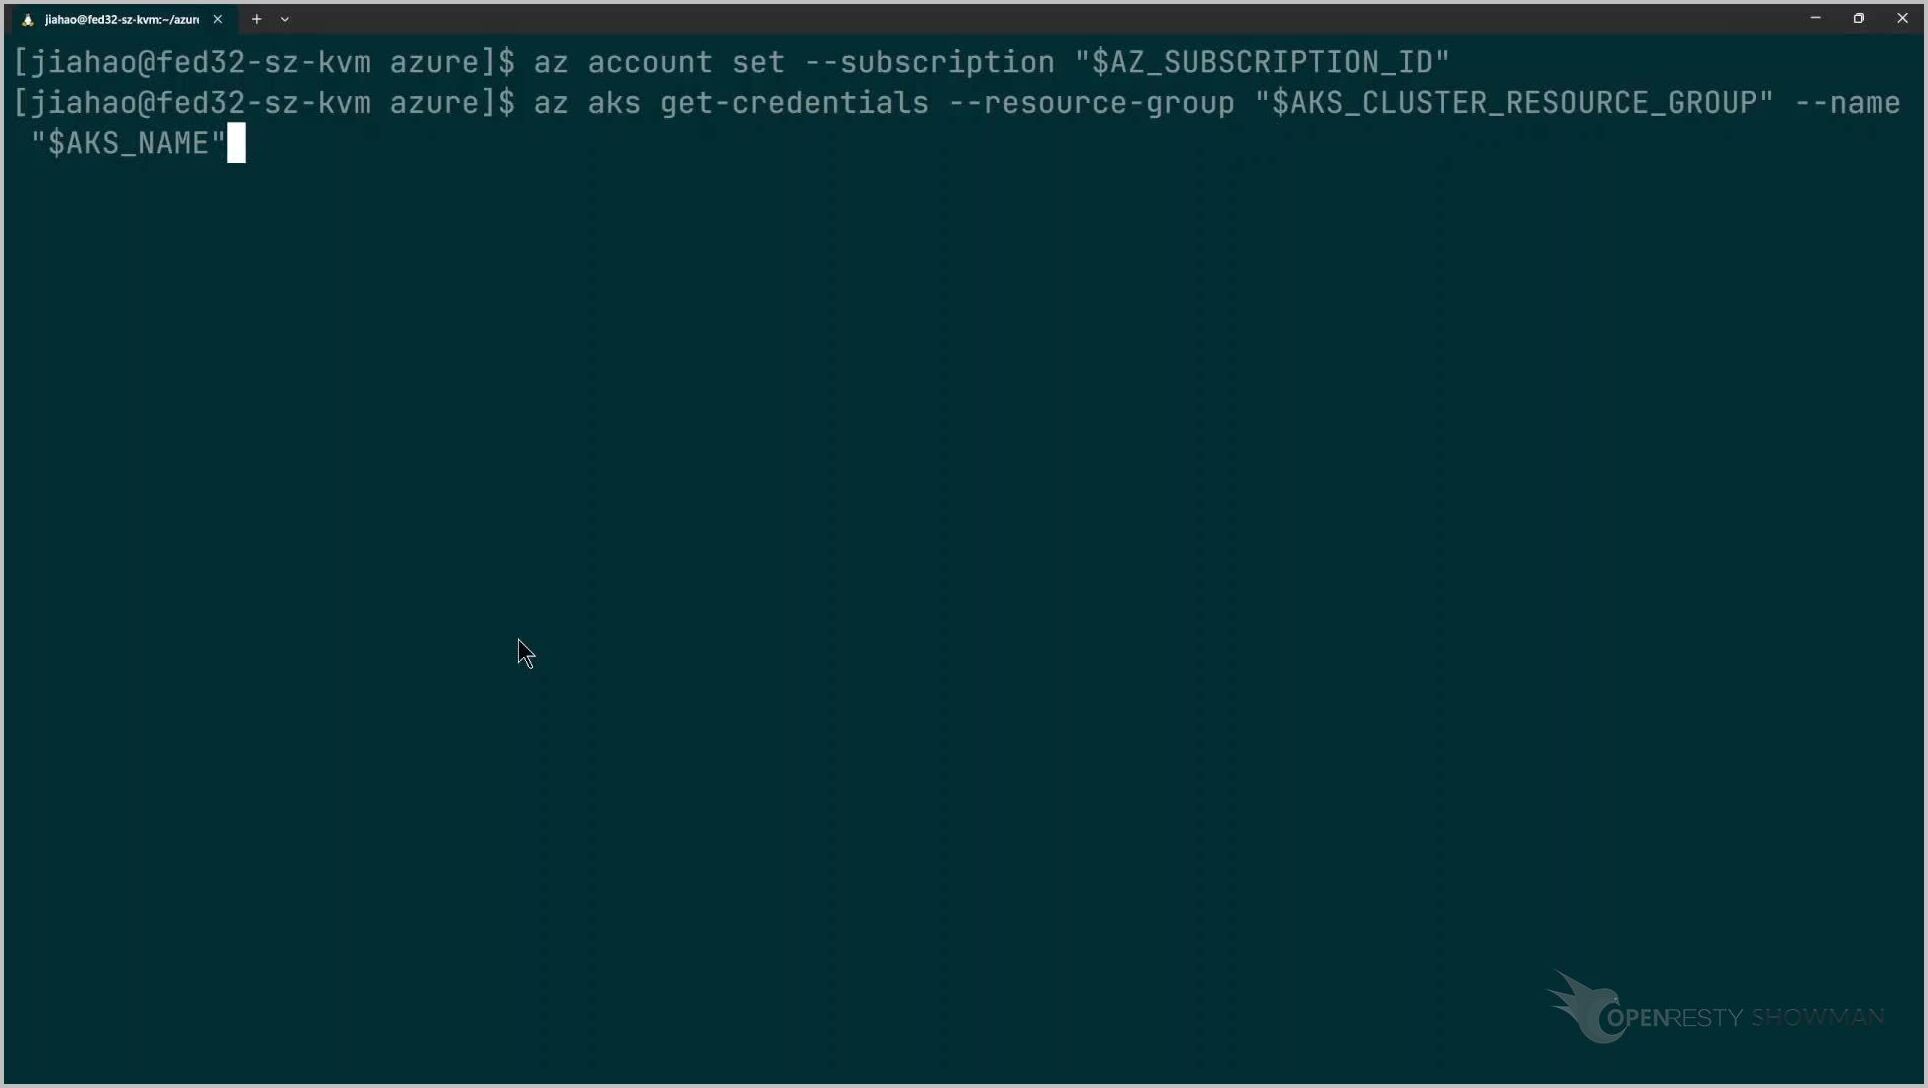
Execute the command az account to bind the subscription.

Next, execute the az aks command to get the Kubernetes access configuration.
Create the namespace and secret for Kubernetes
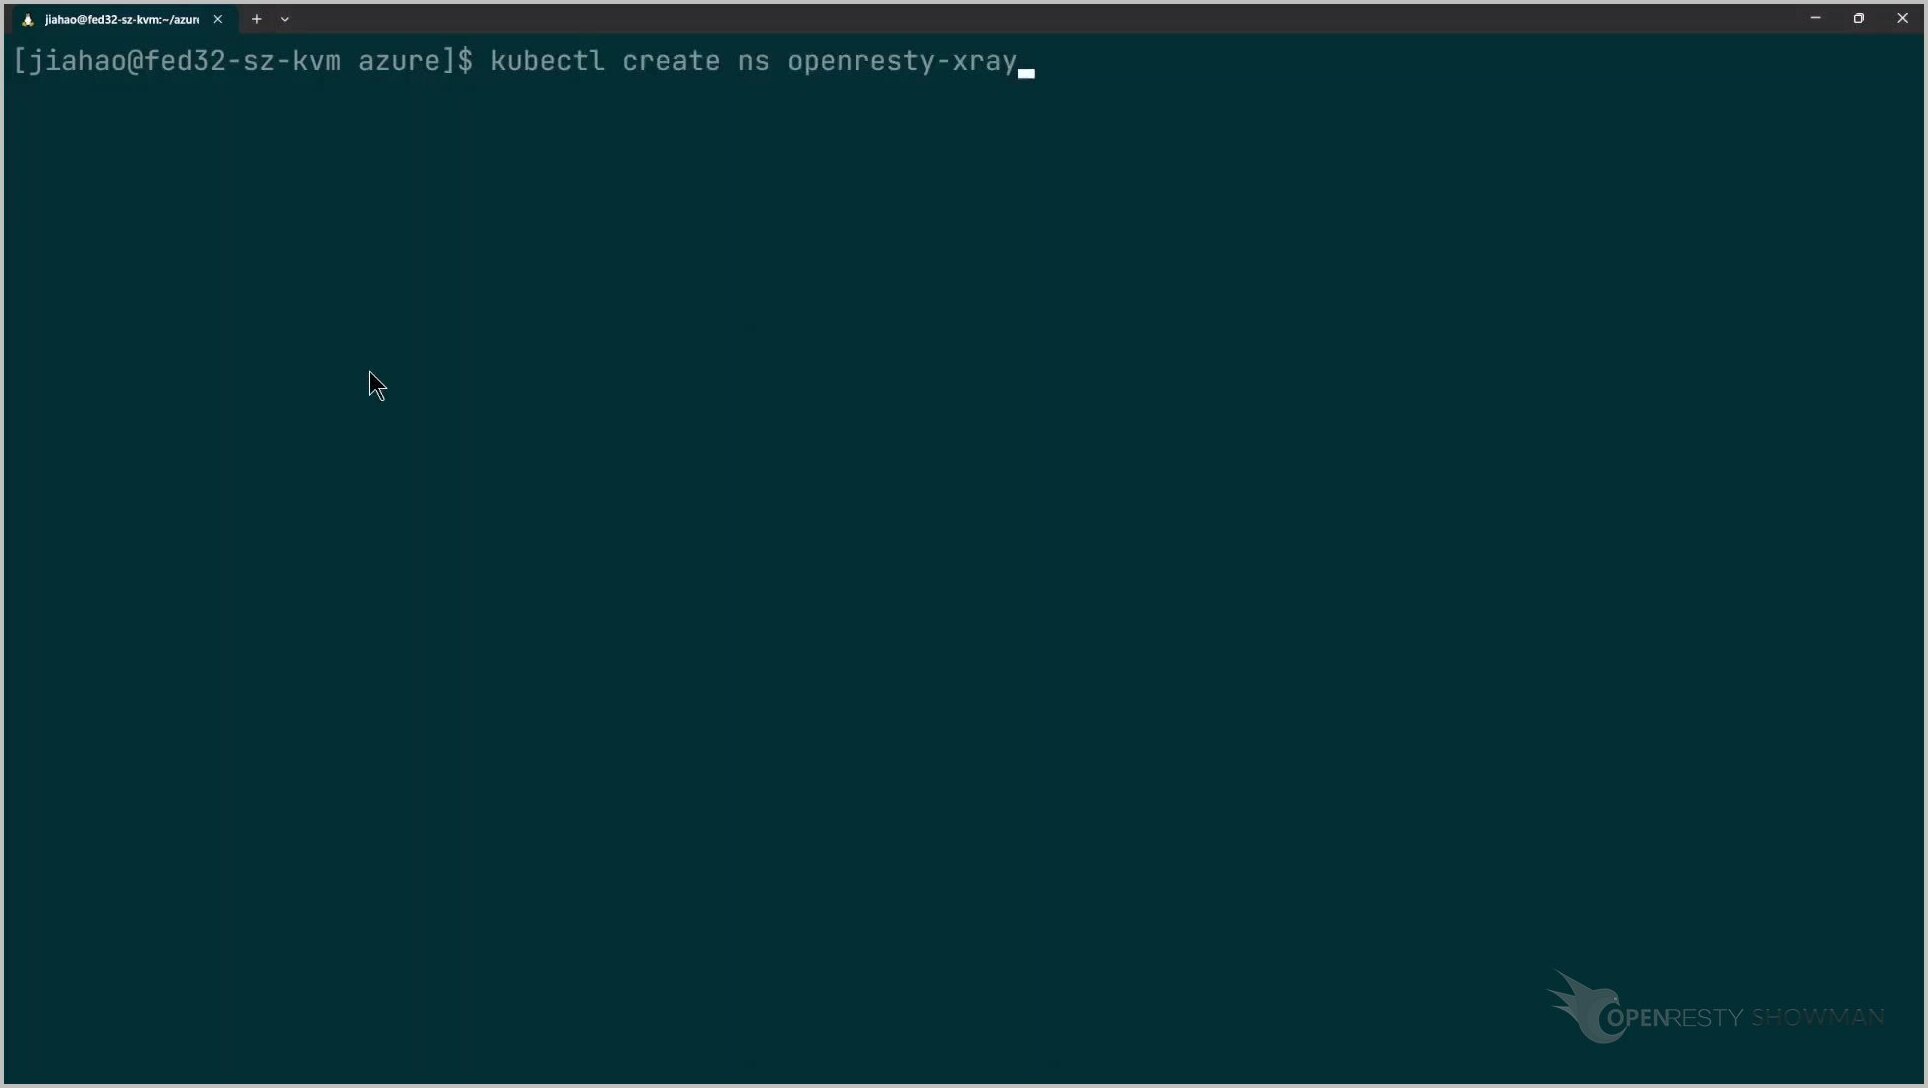
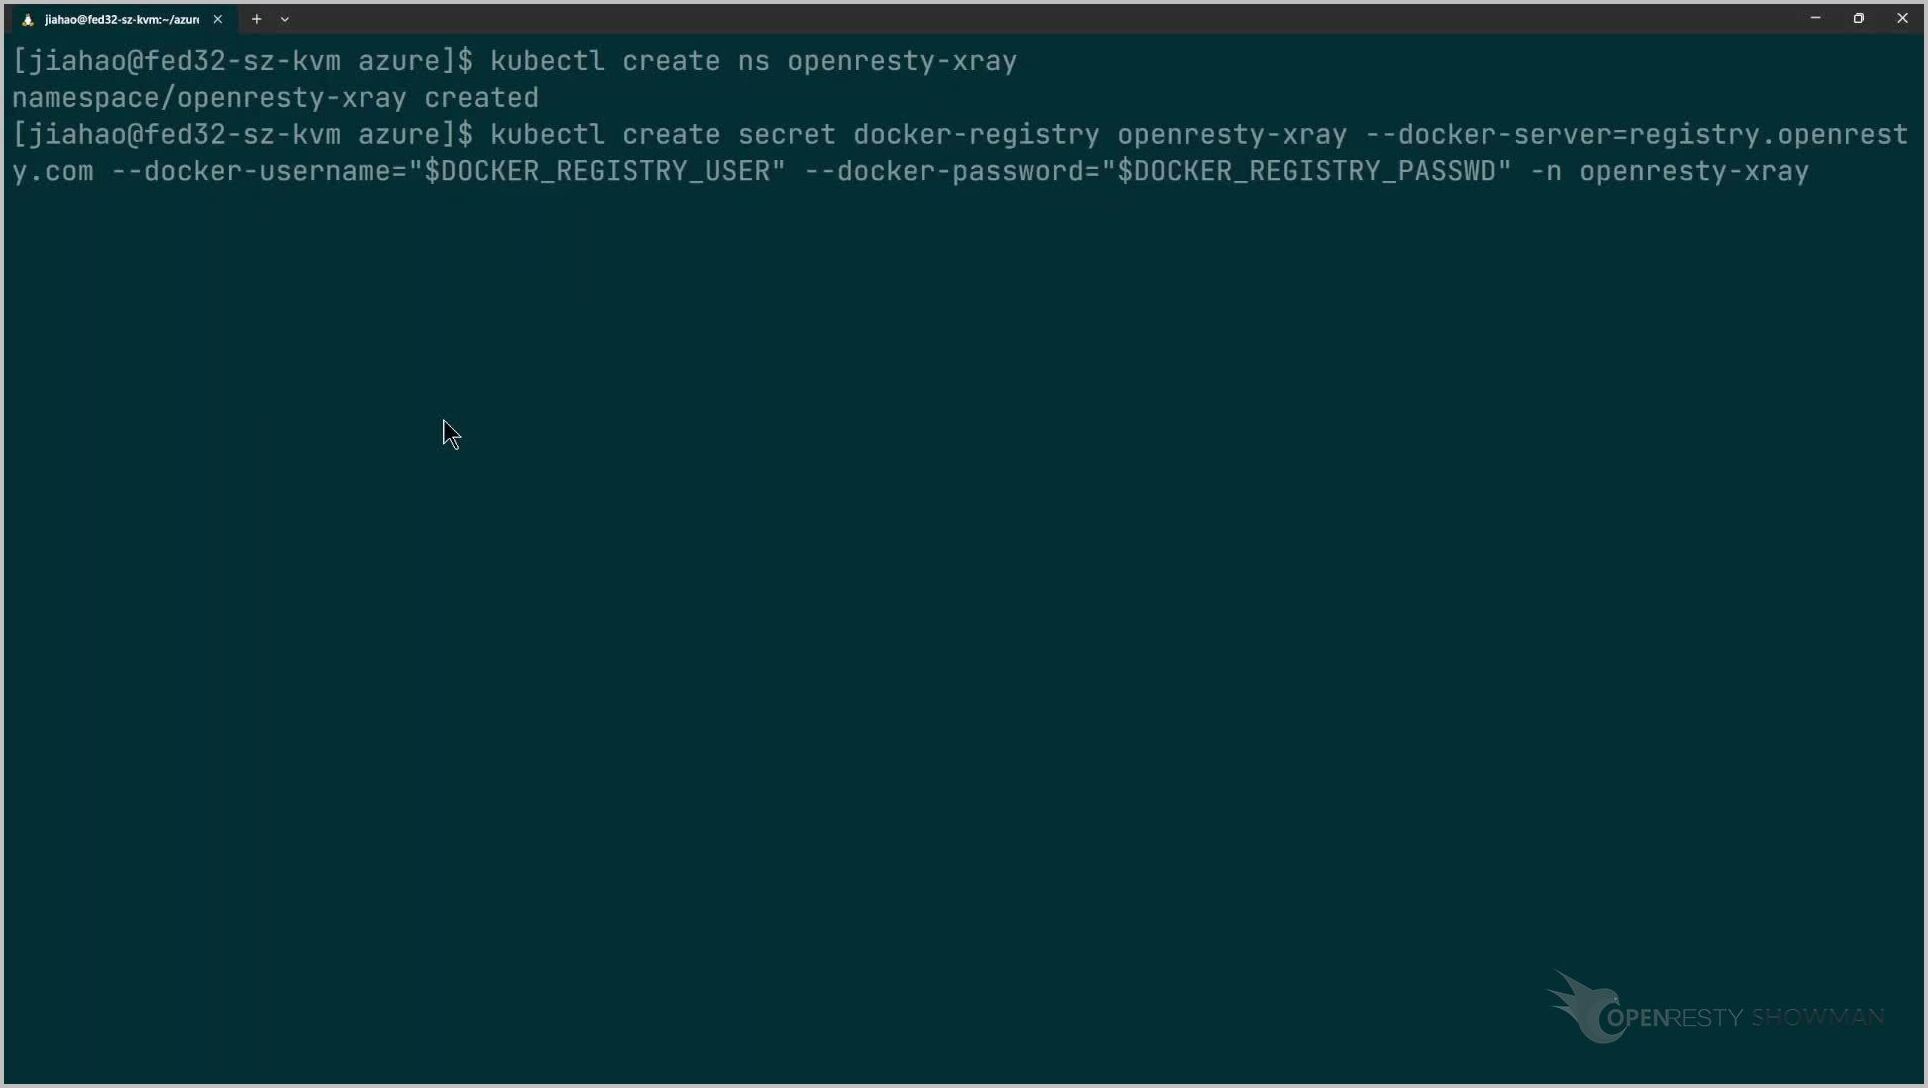
Step 5: create the namespace and secret for Kubernetes.
First, create the Kubernetes namespace.
And then create the Kubernetes secret.
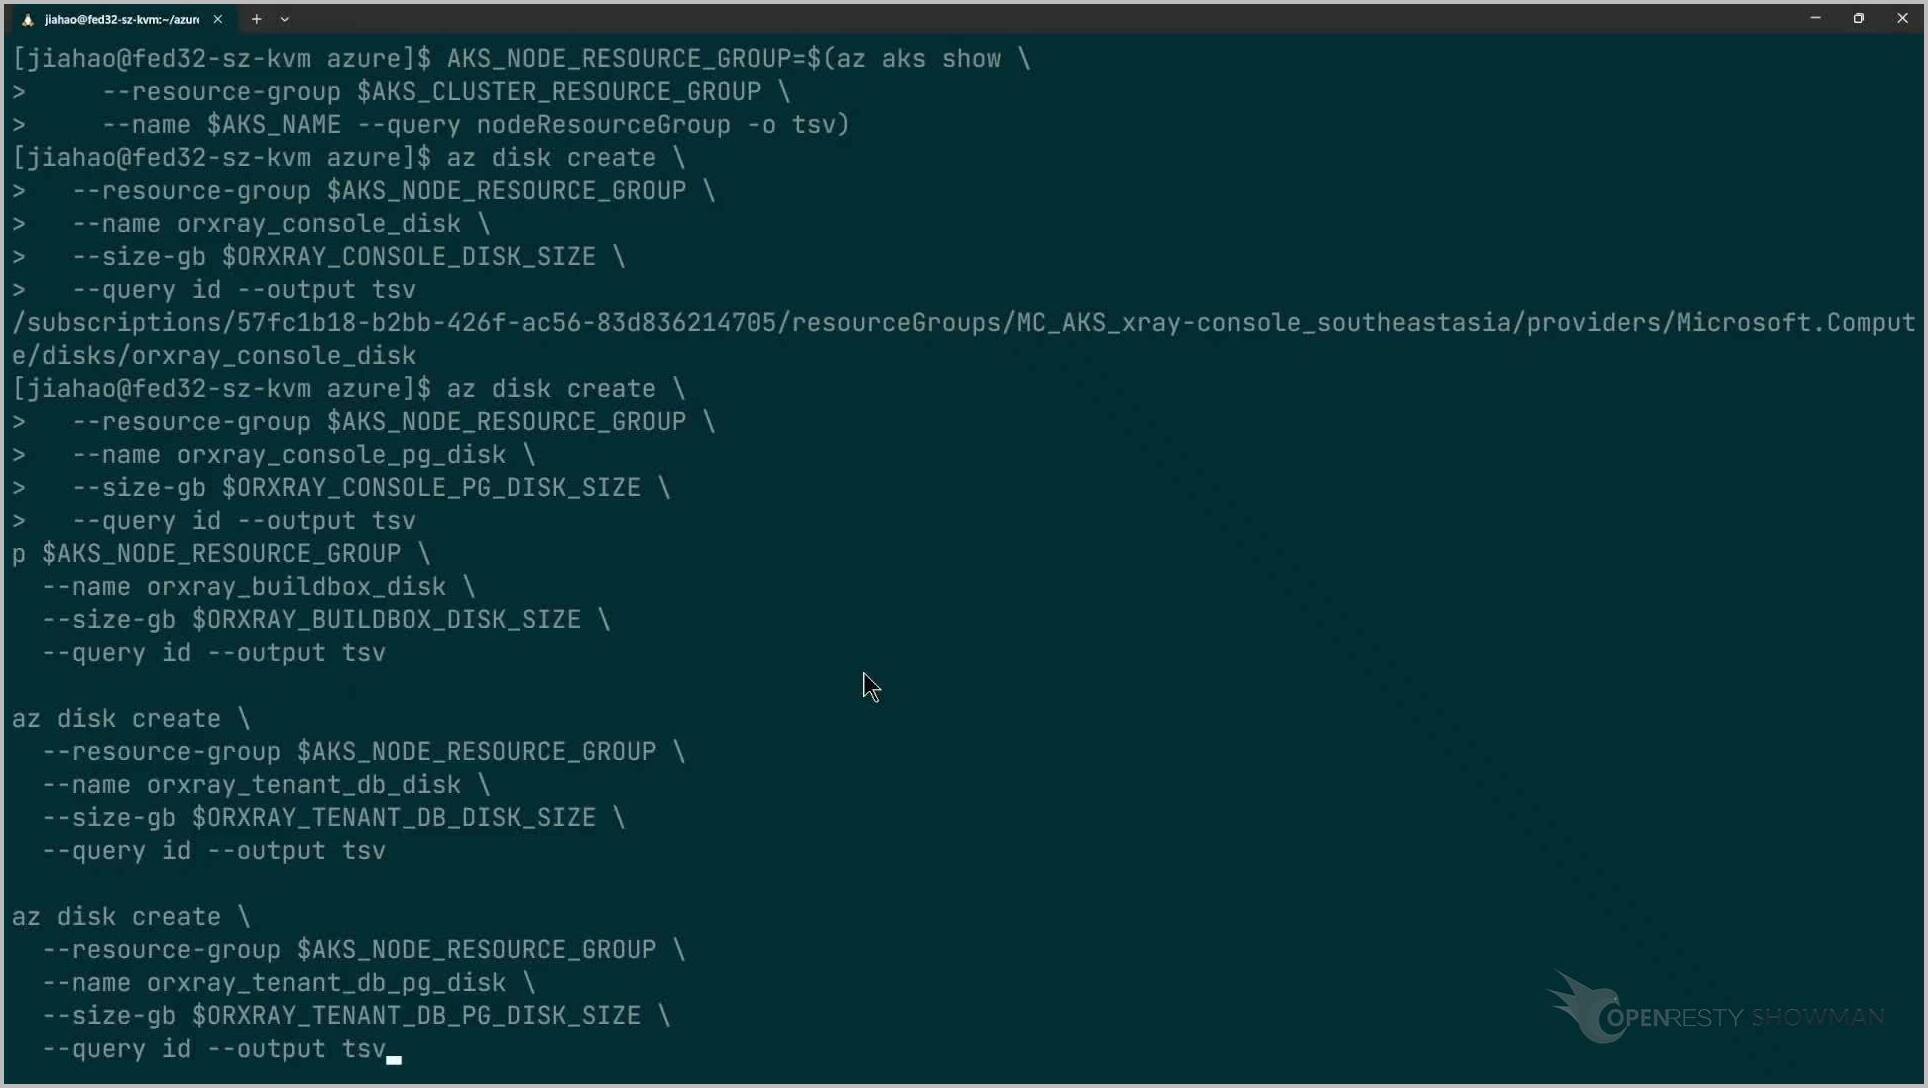
Create the Azure Disk
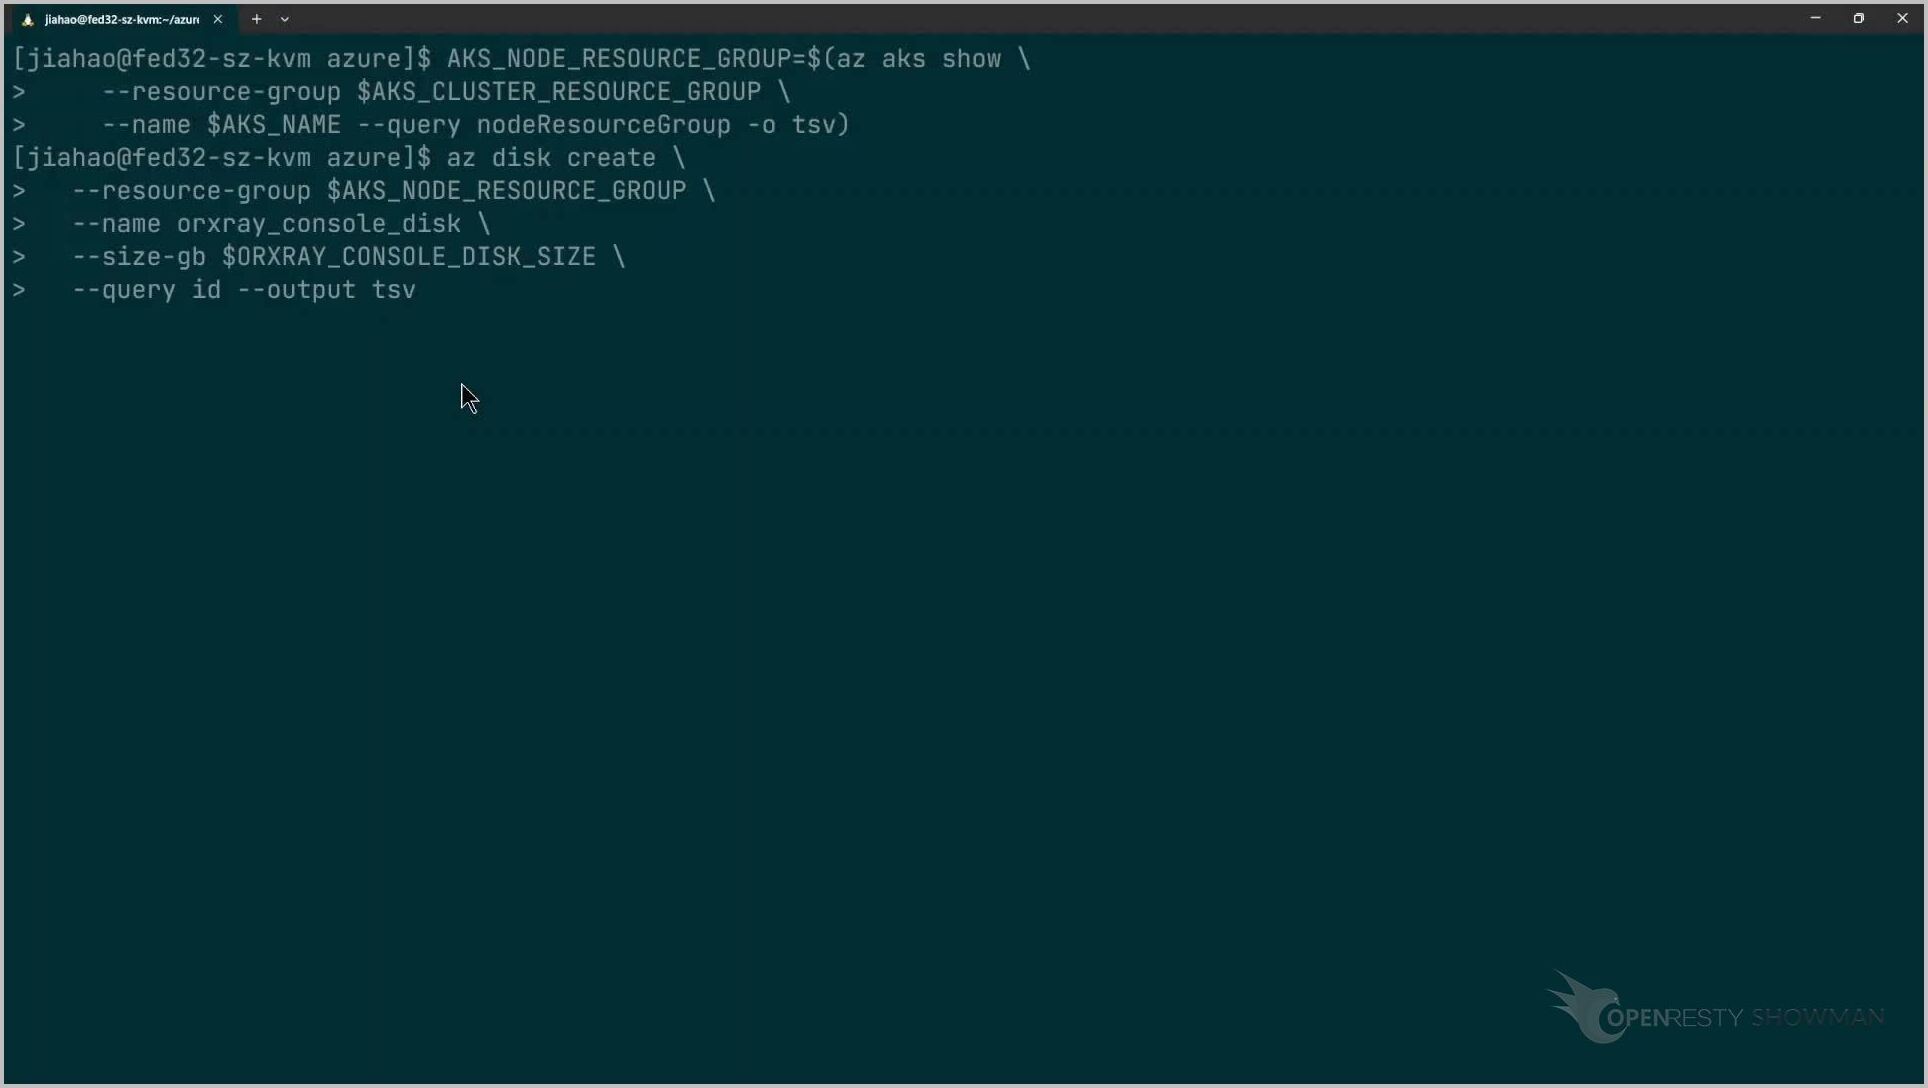
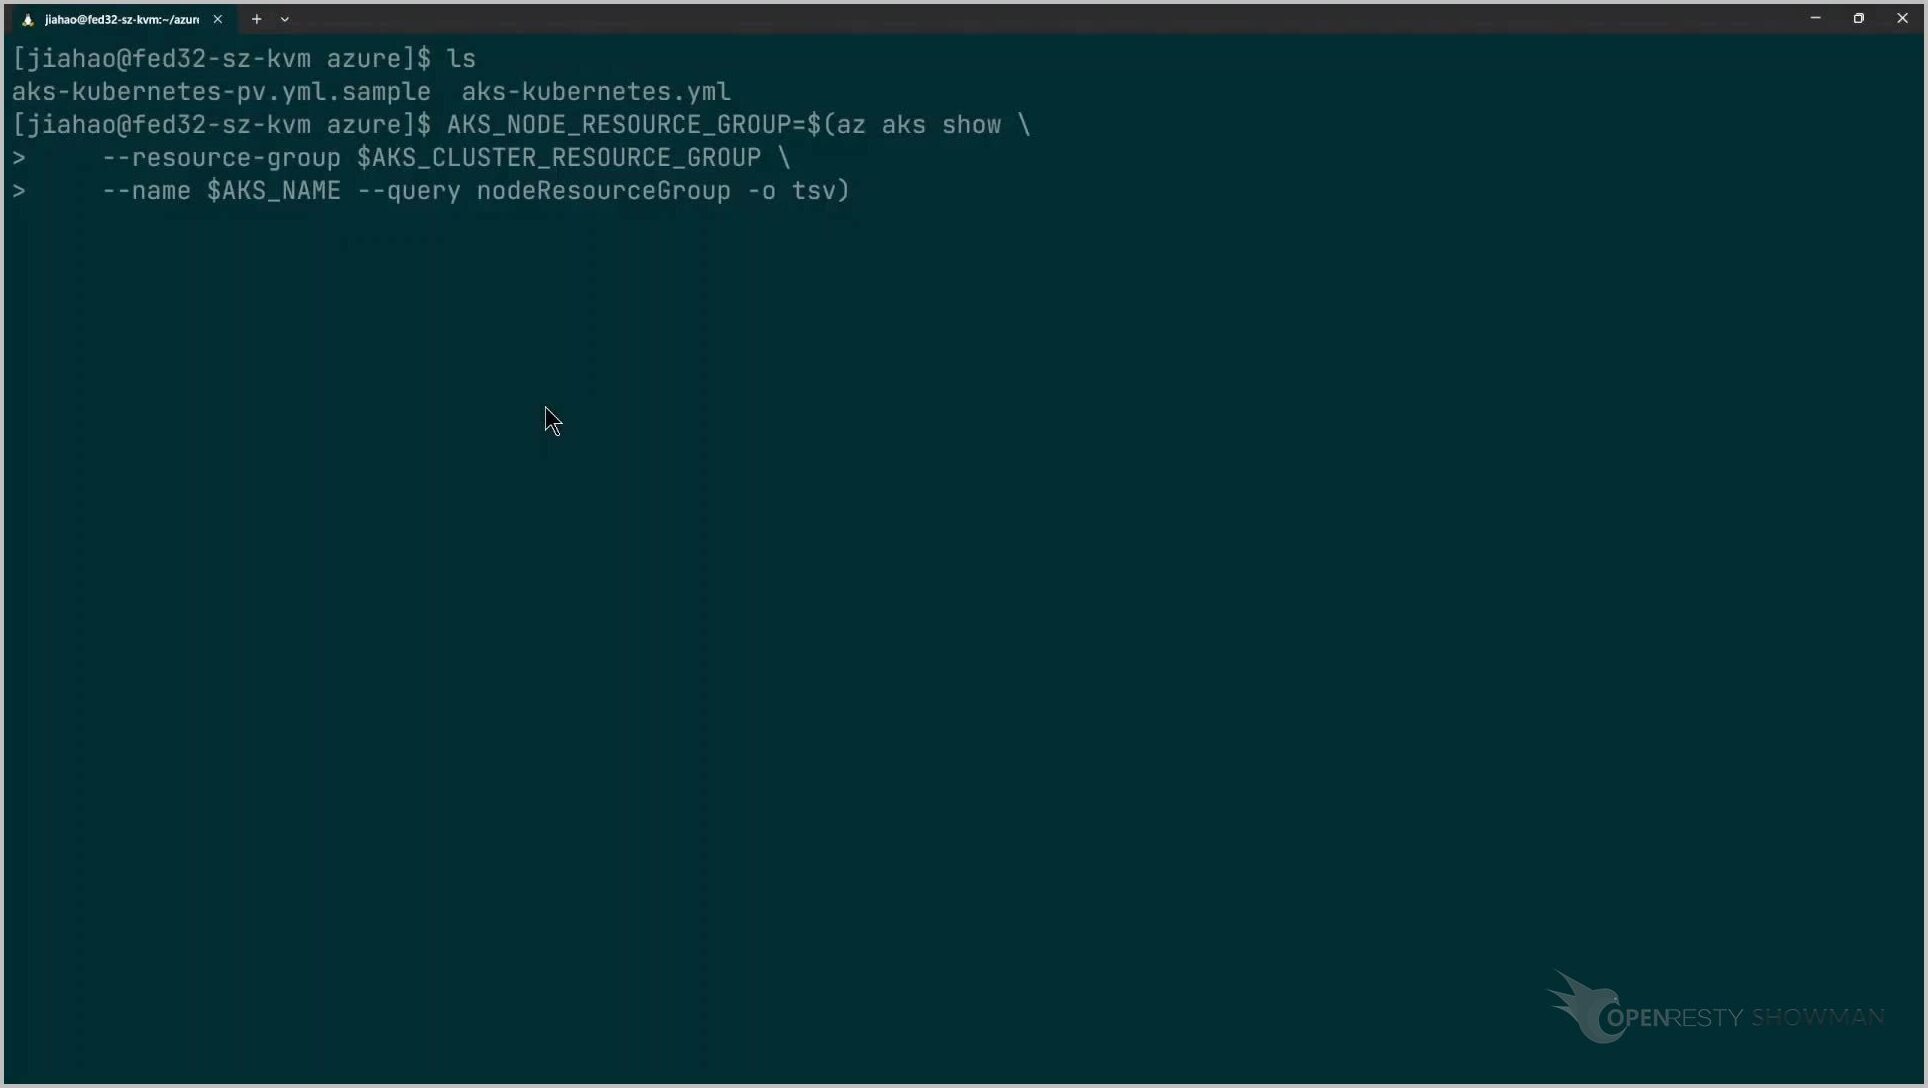
Step 6: Create the Azure Disk.
First, get the resource group name of the node.

Then use the command to create an Azure disk.
Use the same commands to create multiple disks to be used. These commands are described in our documentation.
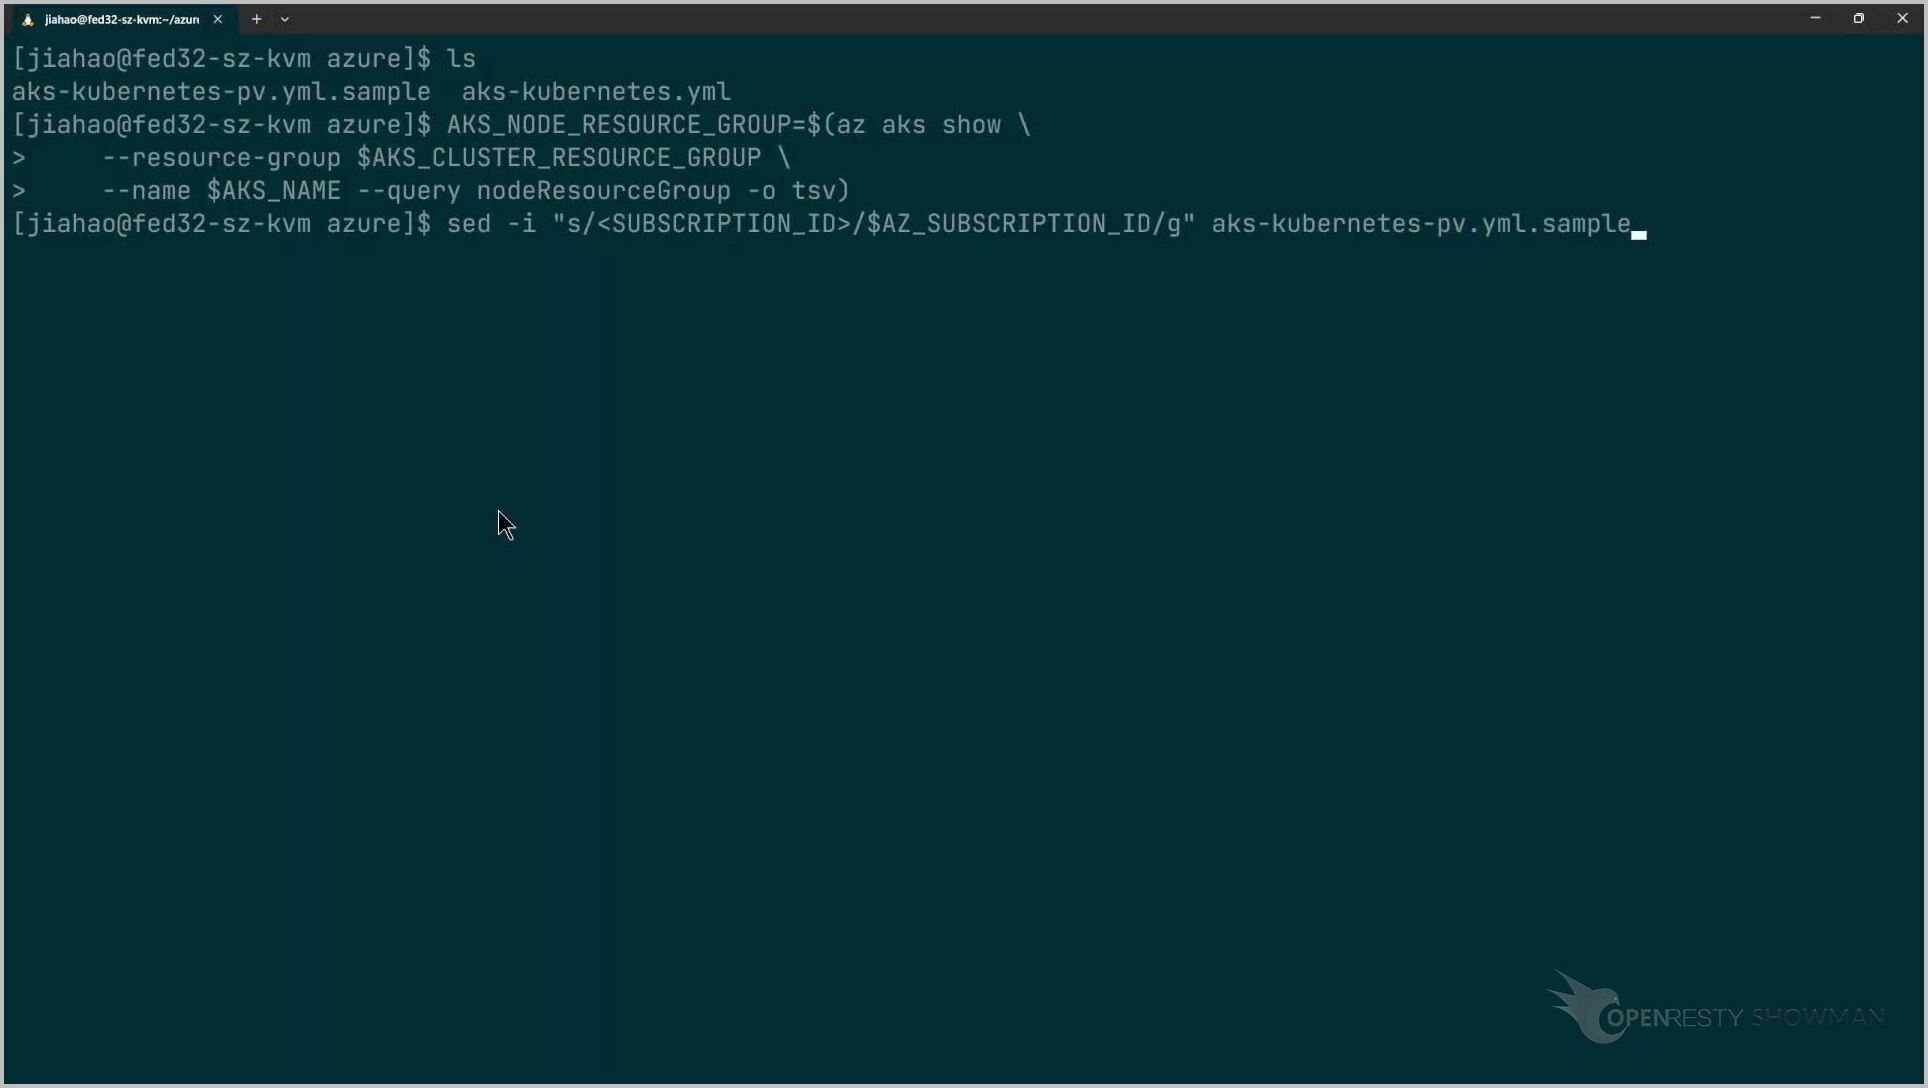
Update the configuration file for the persistent volume
Step 7: update the configuration file for the persistent volume.
Use the configuration file we provide in this step.
Get the resource group name of the node.
Replace the configuration of the persistent volume using the command sed.
Update the Kubernetes configuration file
Step 8: update the Kubernetes configuration file.
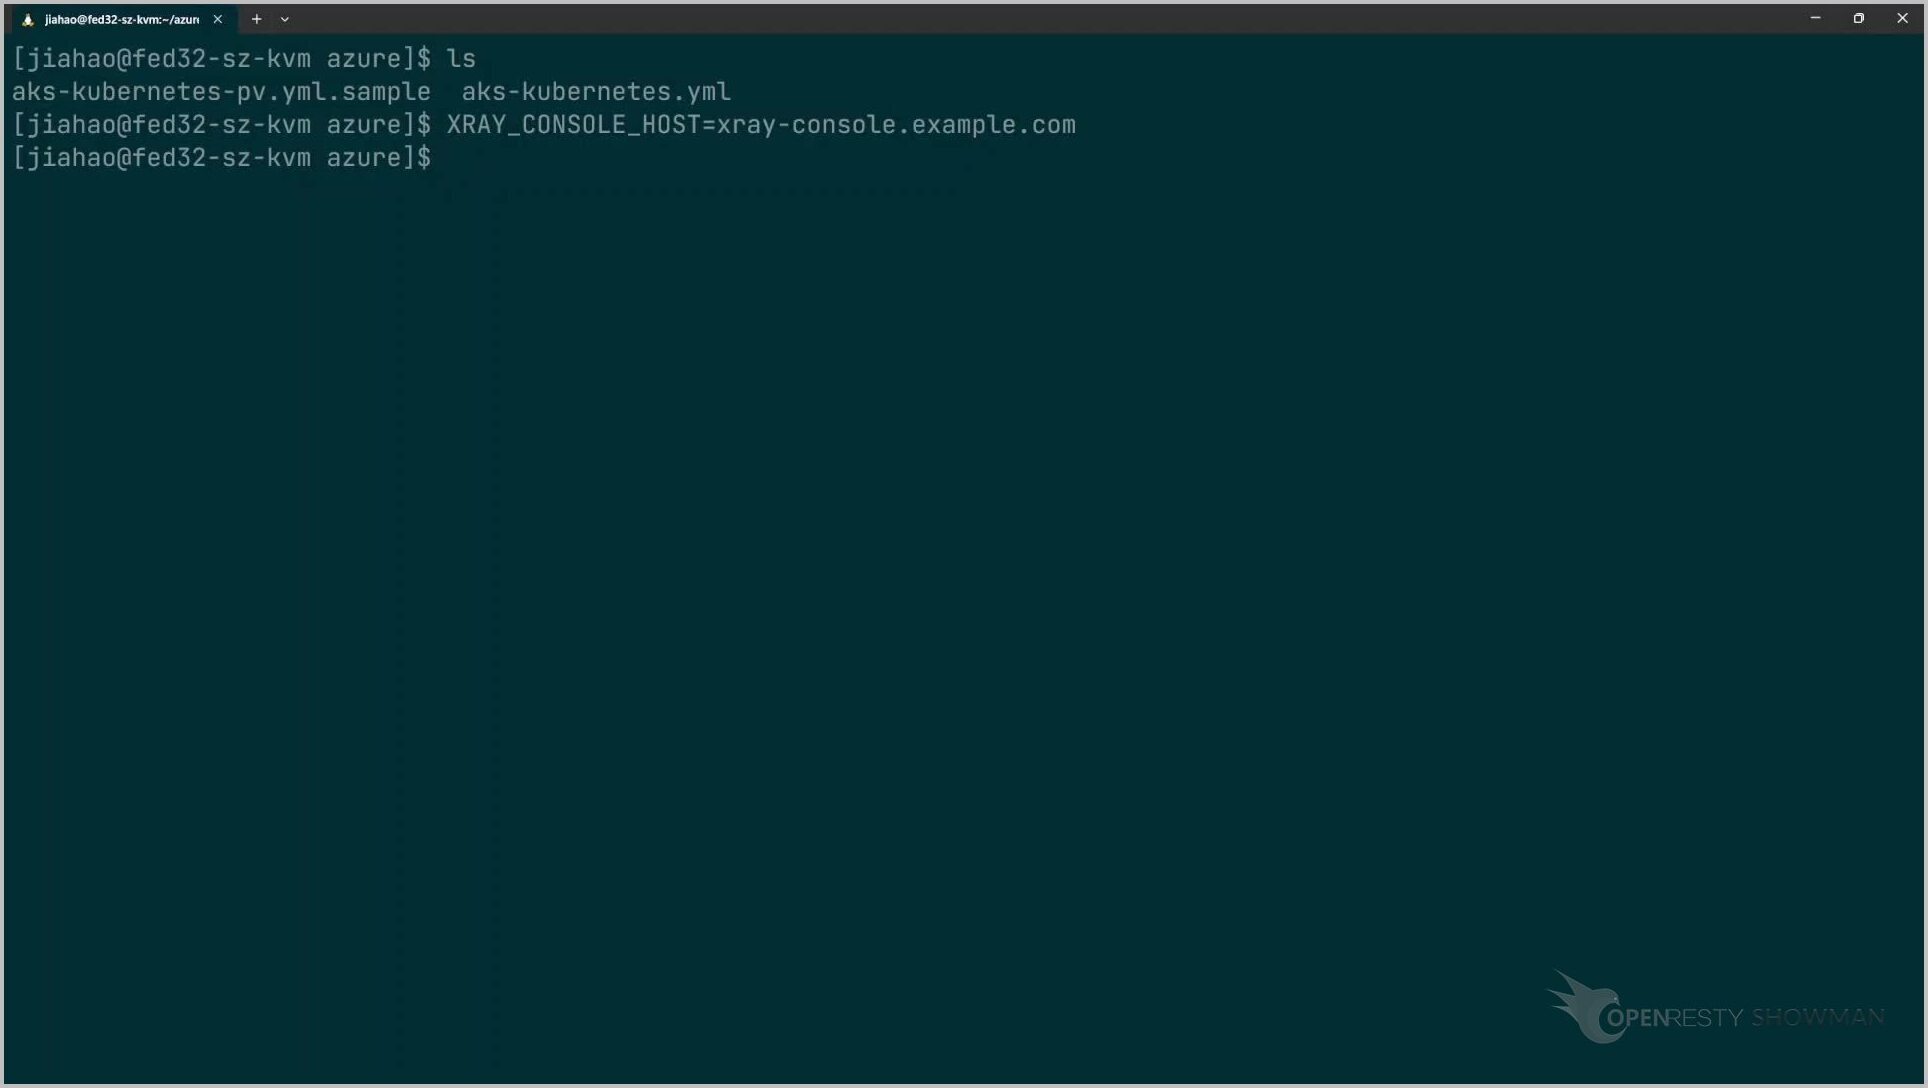
The variable XRAY_CONSOLE_HOST is the domain name to use once the OpenResty XRay service is deployed.
Replace the Kubernetes configuration using the sed command.

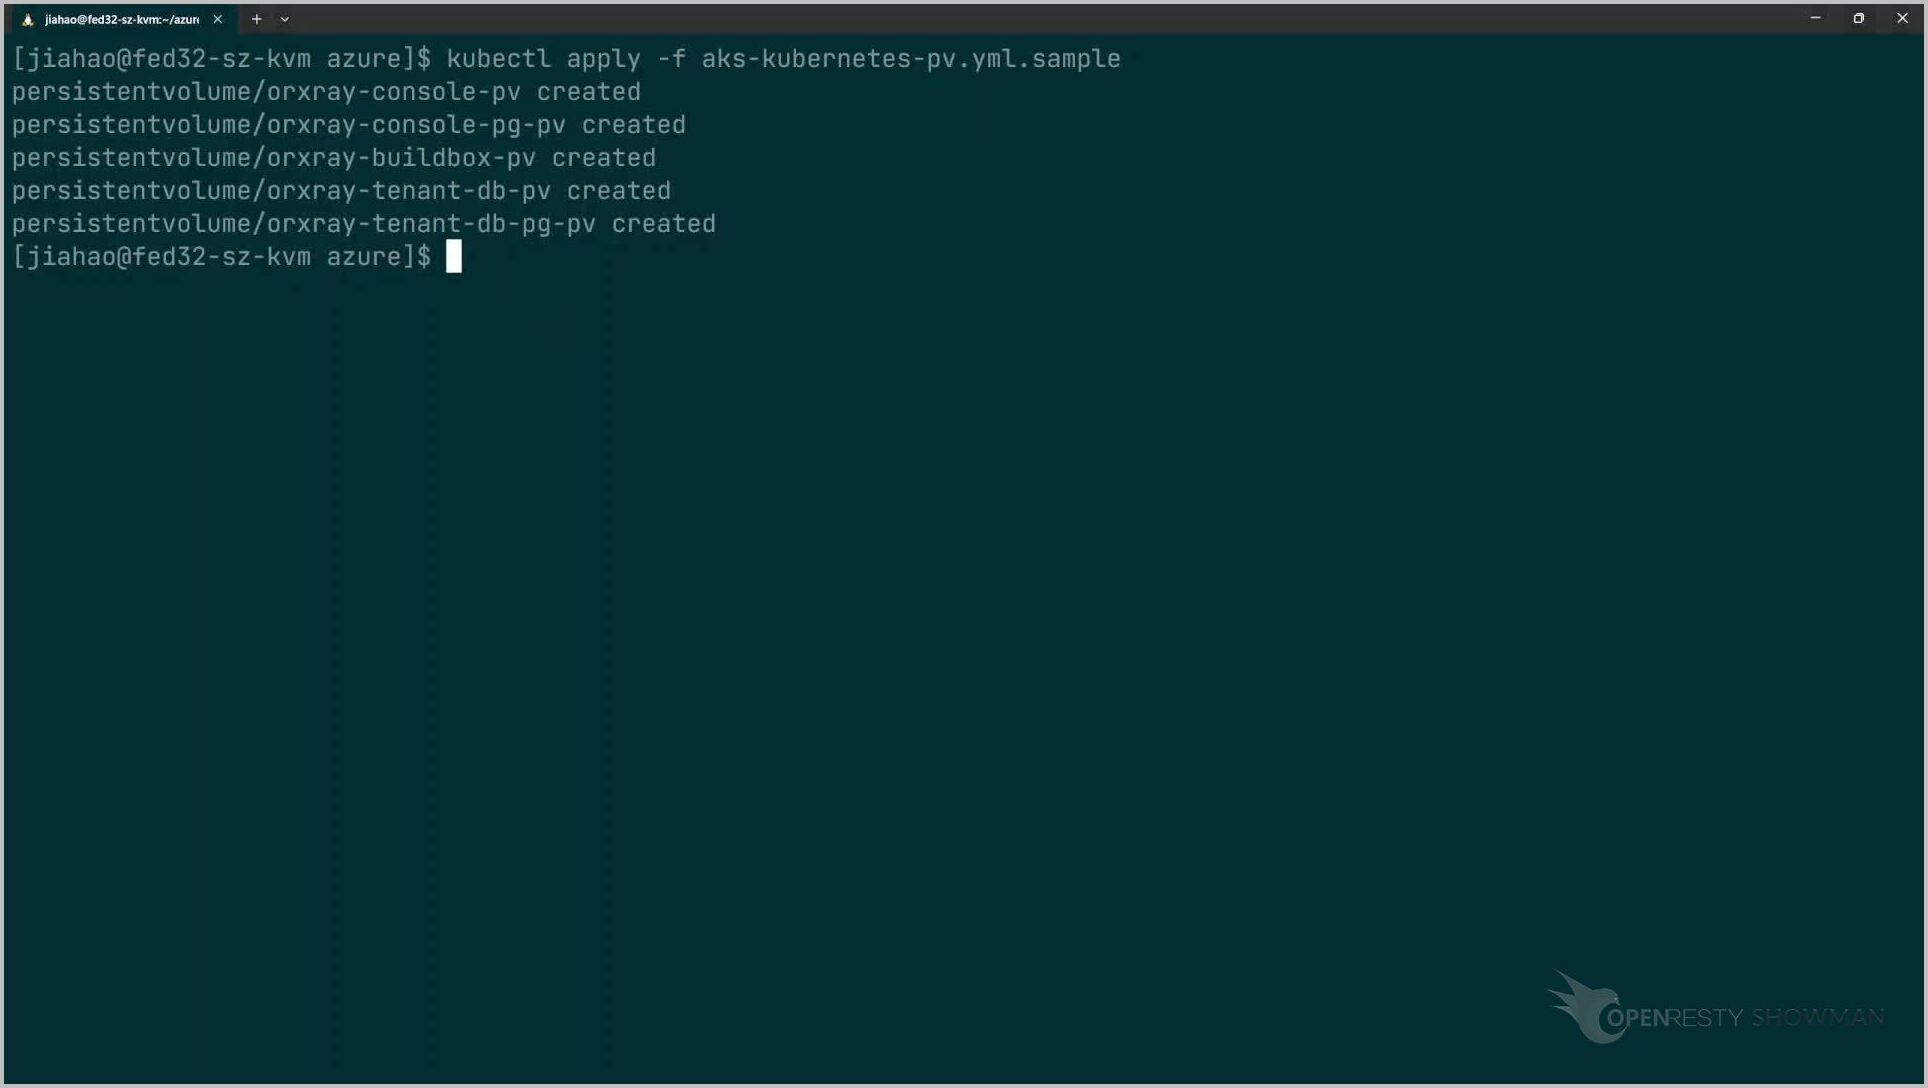
Create the persistent volume
Step 9: Create the persistent volume.
Just use the kubectl apply command.
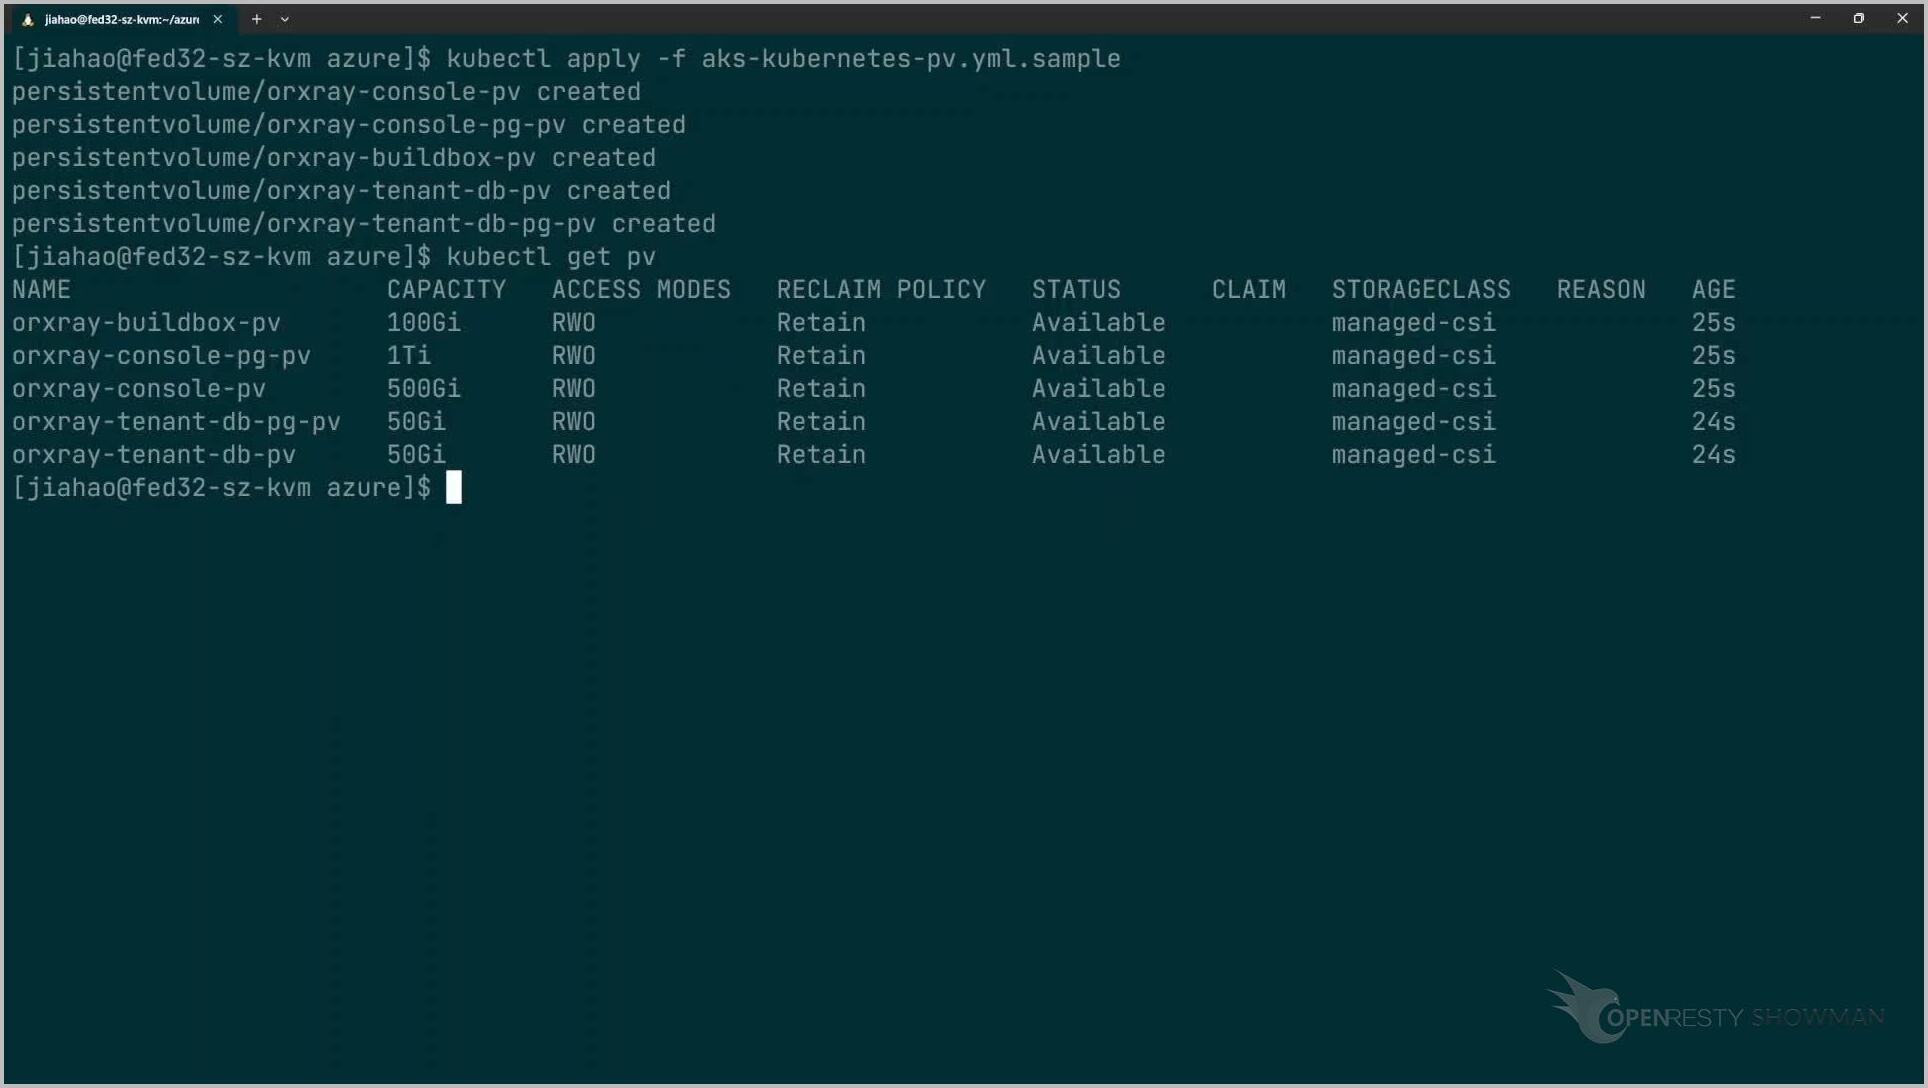
Once the persistent volume has been successfully created, we can check it using the kubectl get command.
Deploy the Kubernetes service
Step 10: Deploy the Kubernetes service.
Here we use the command kubectl apply to deploy the Kubernetes service.
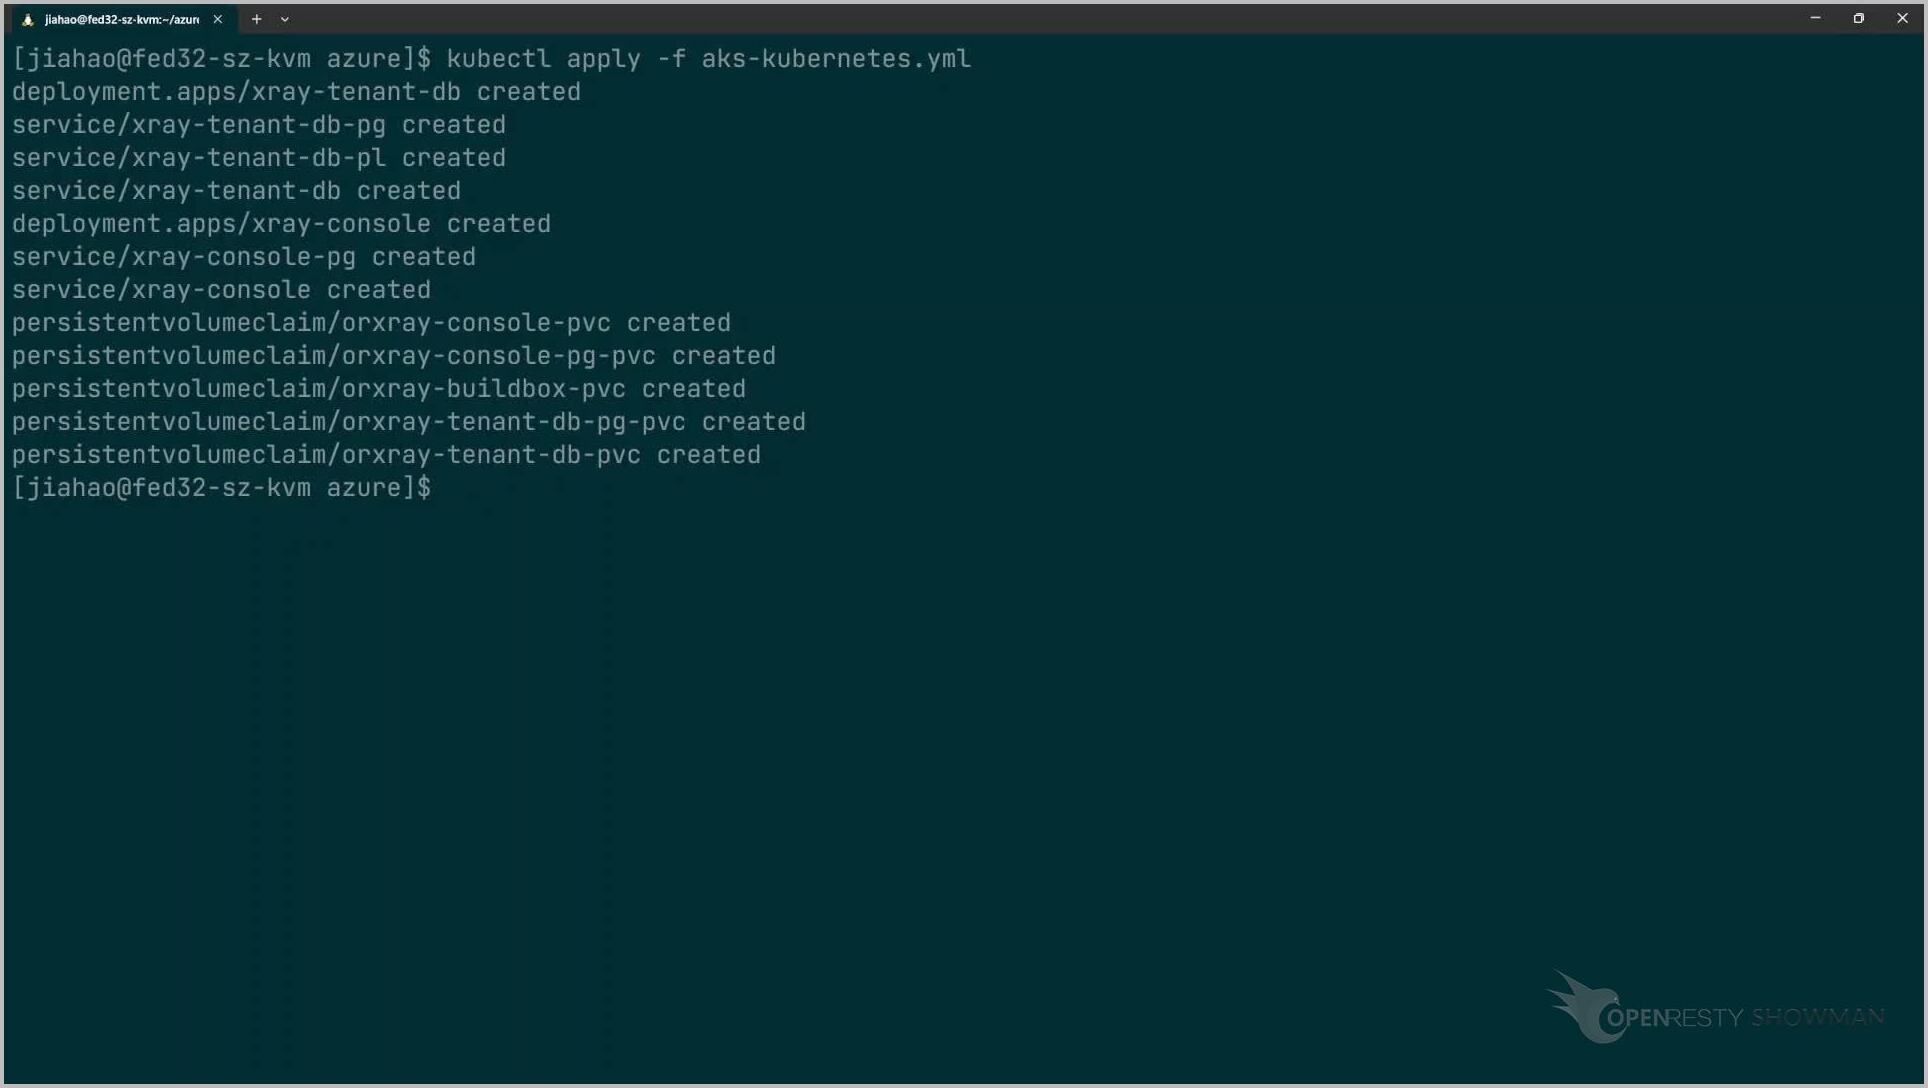
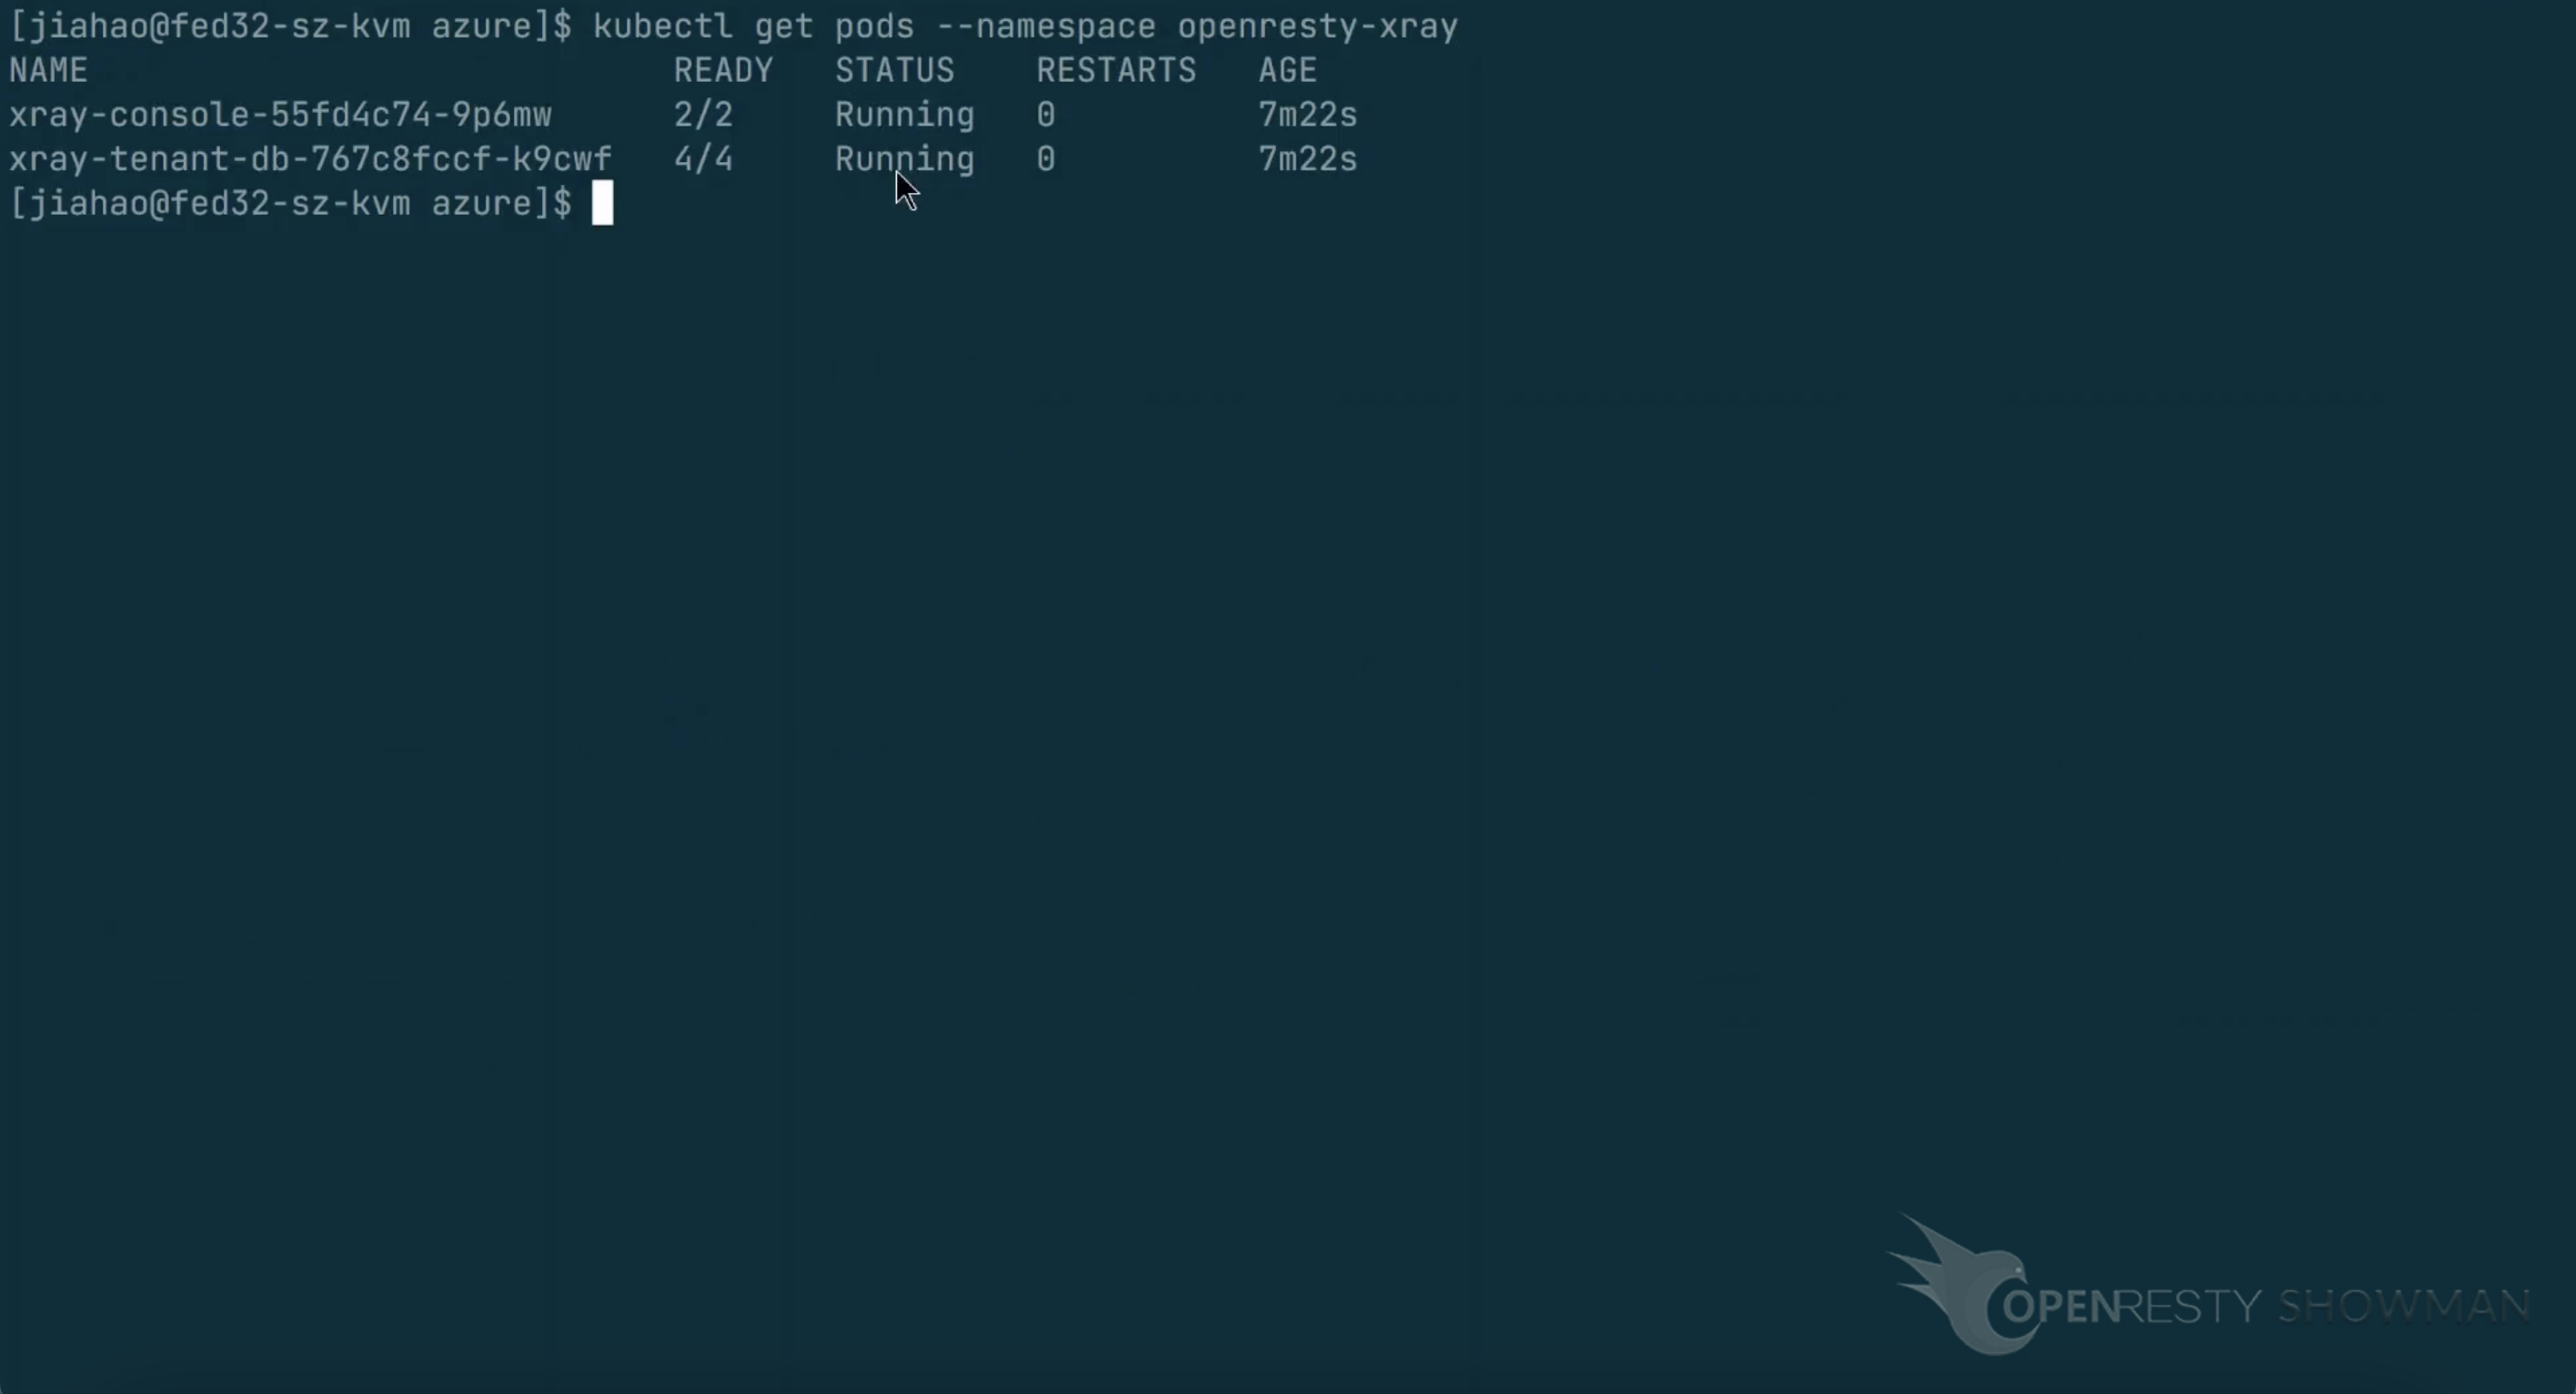
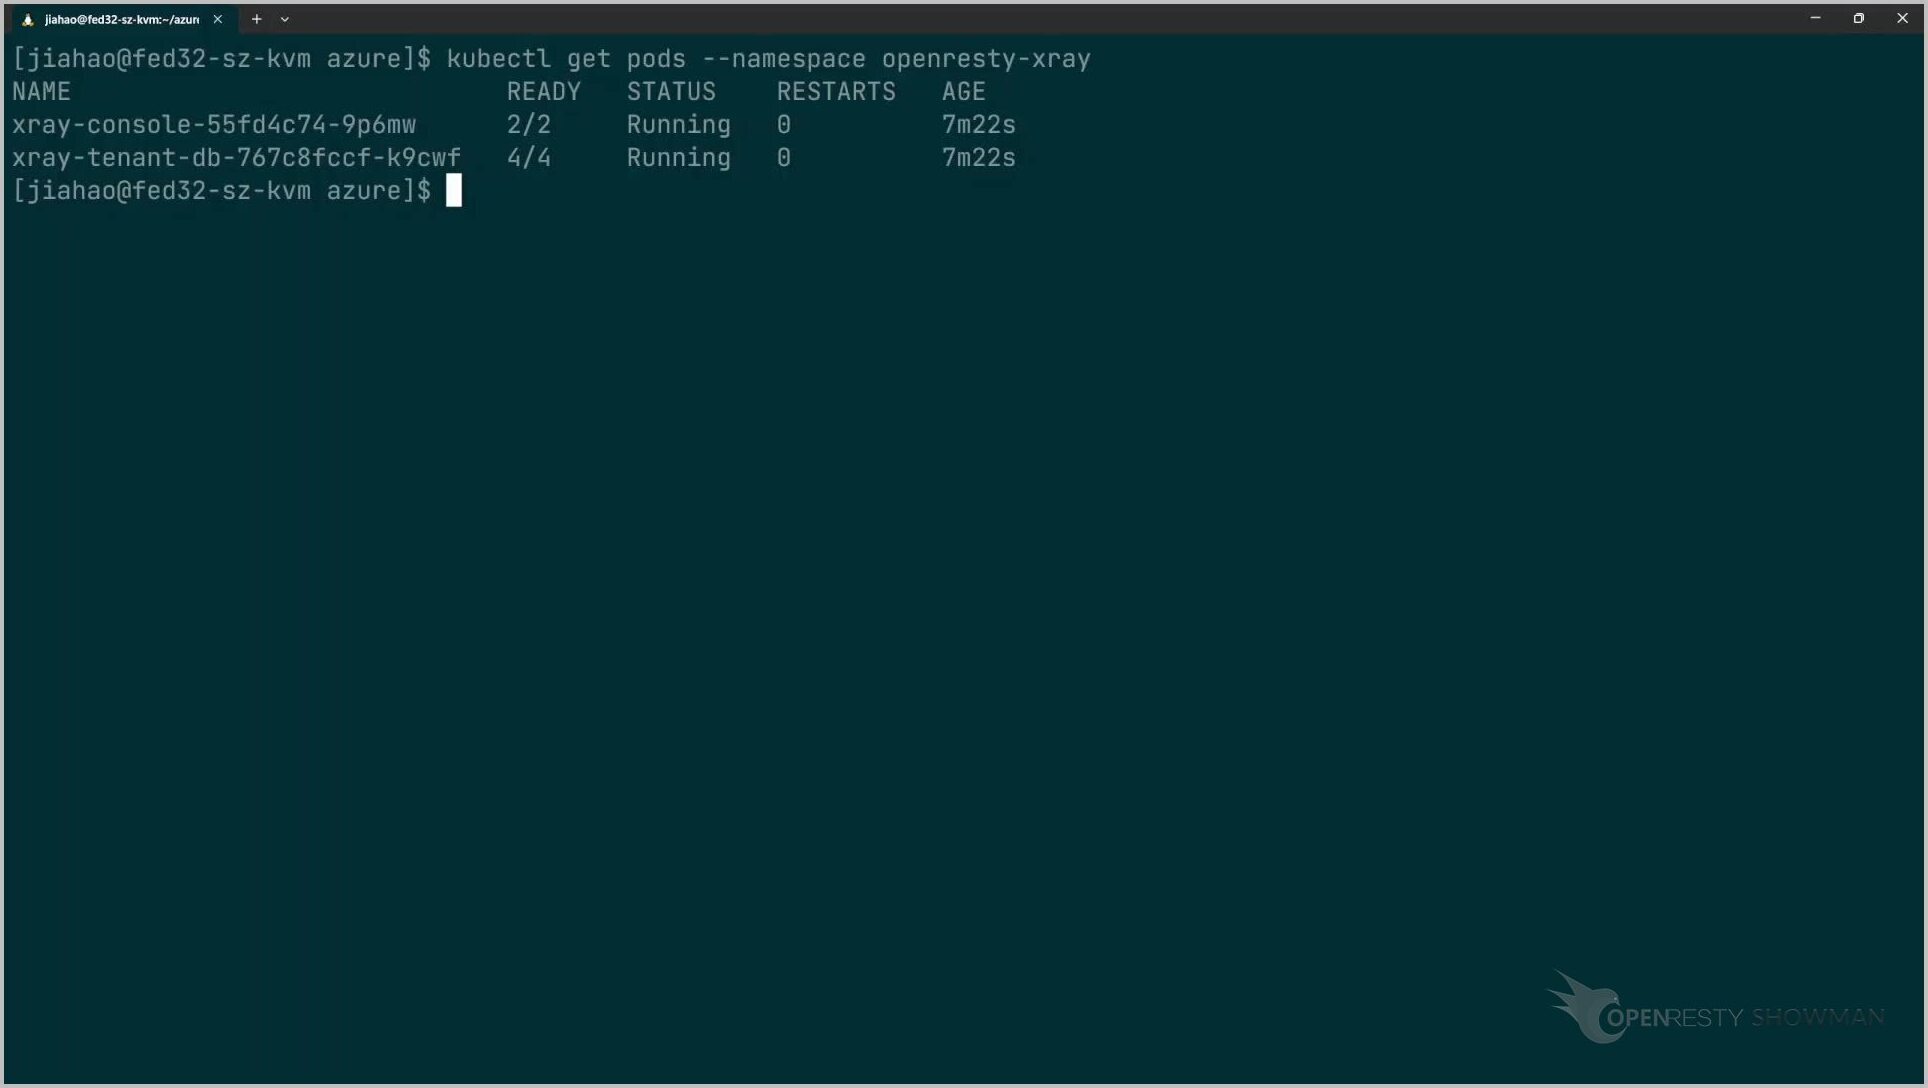
Check the service status using the kubectl get command. Running means that the deployment was successful.
Configure the application gateway
The last step is to configure the application gateway.
Open the Azure home page. Open the Kubernetes service.
Choose Networking to configure the network.

Check “Enable ingress controller”.

Save.
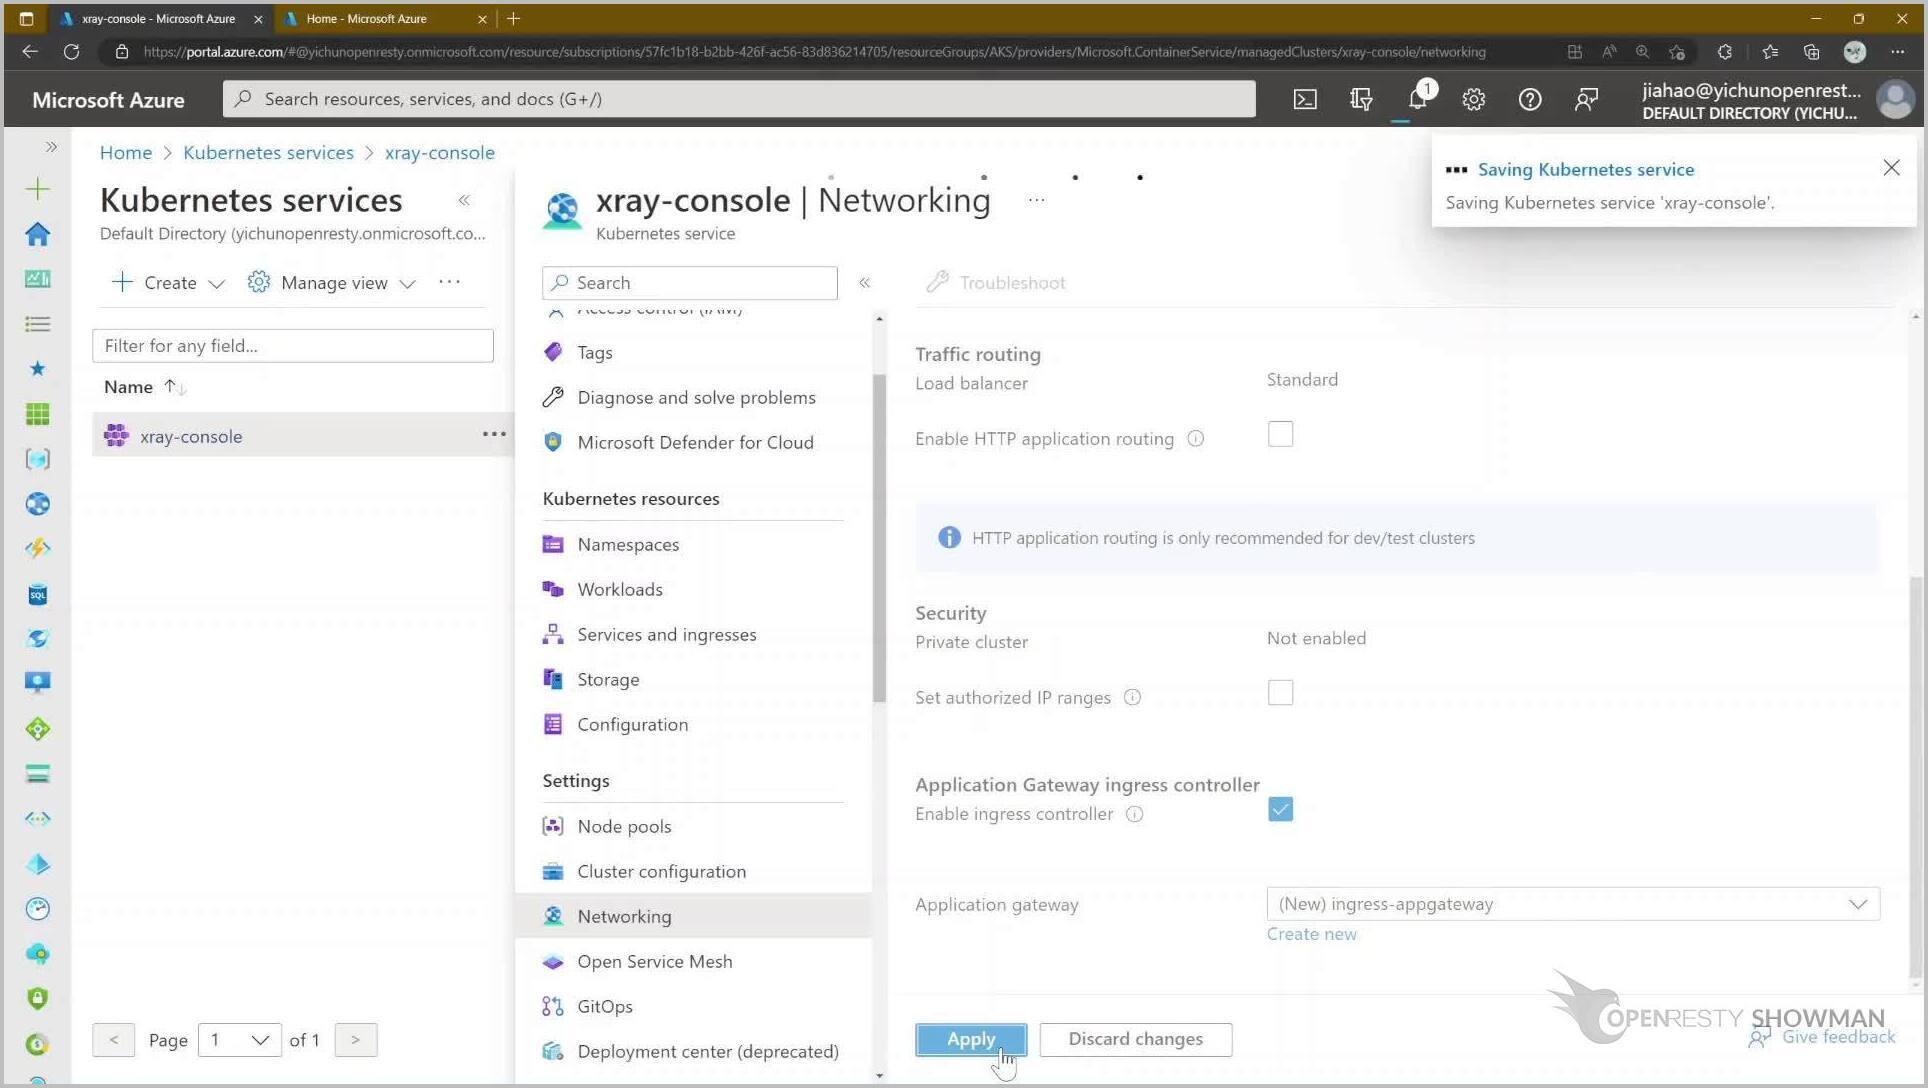
An ingress controller will be created clicking on apply.
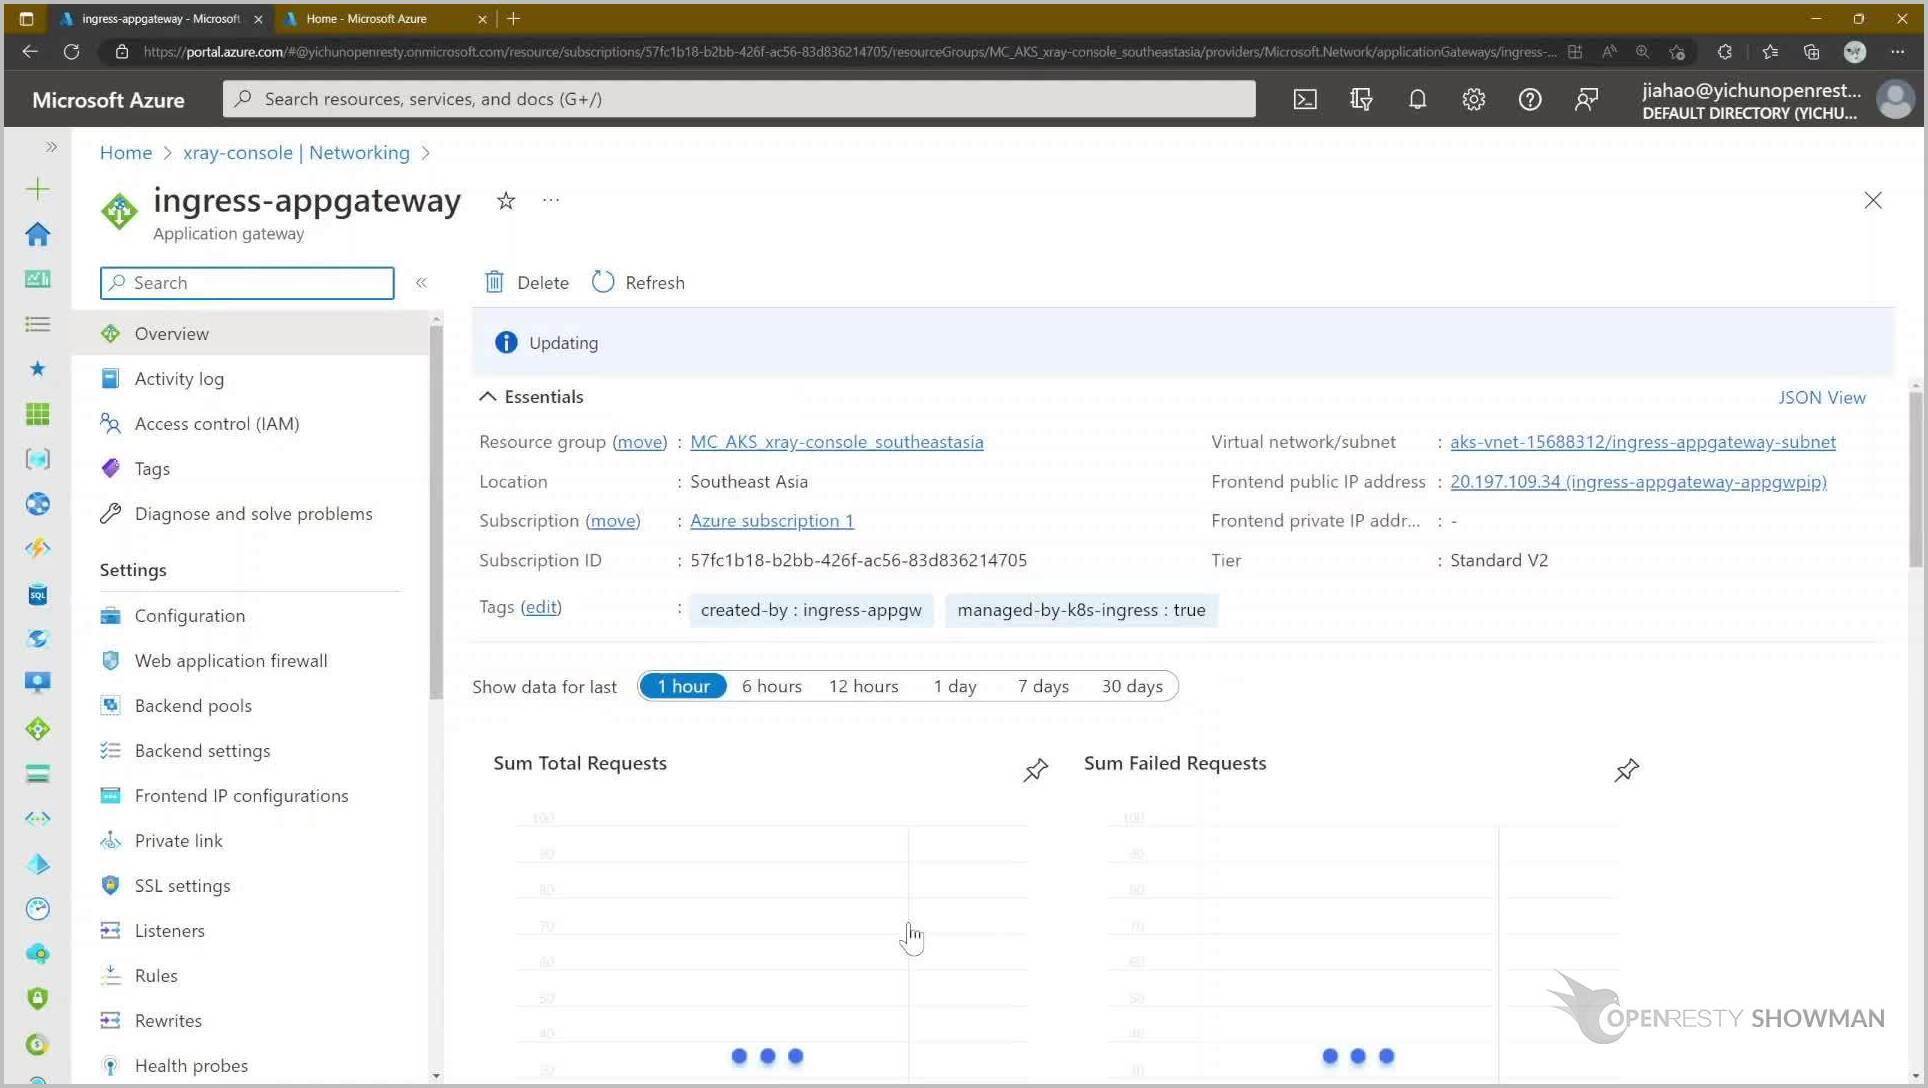
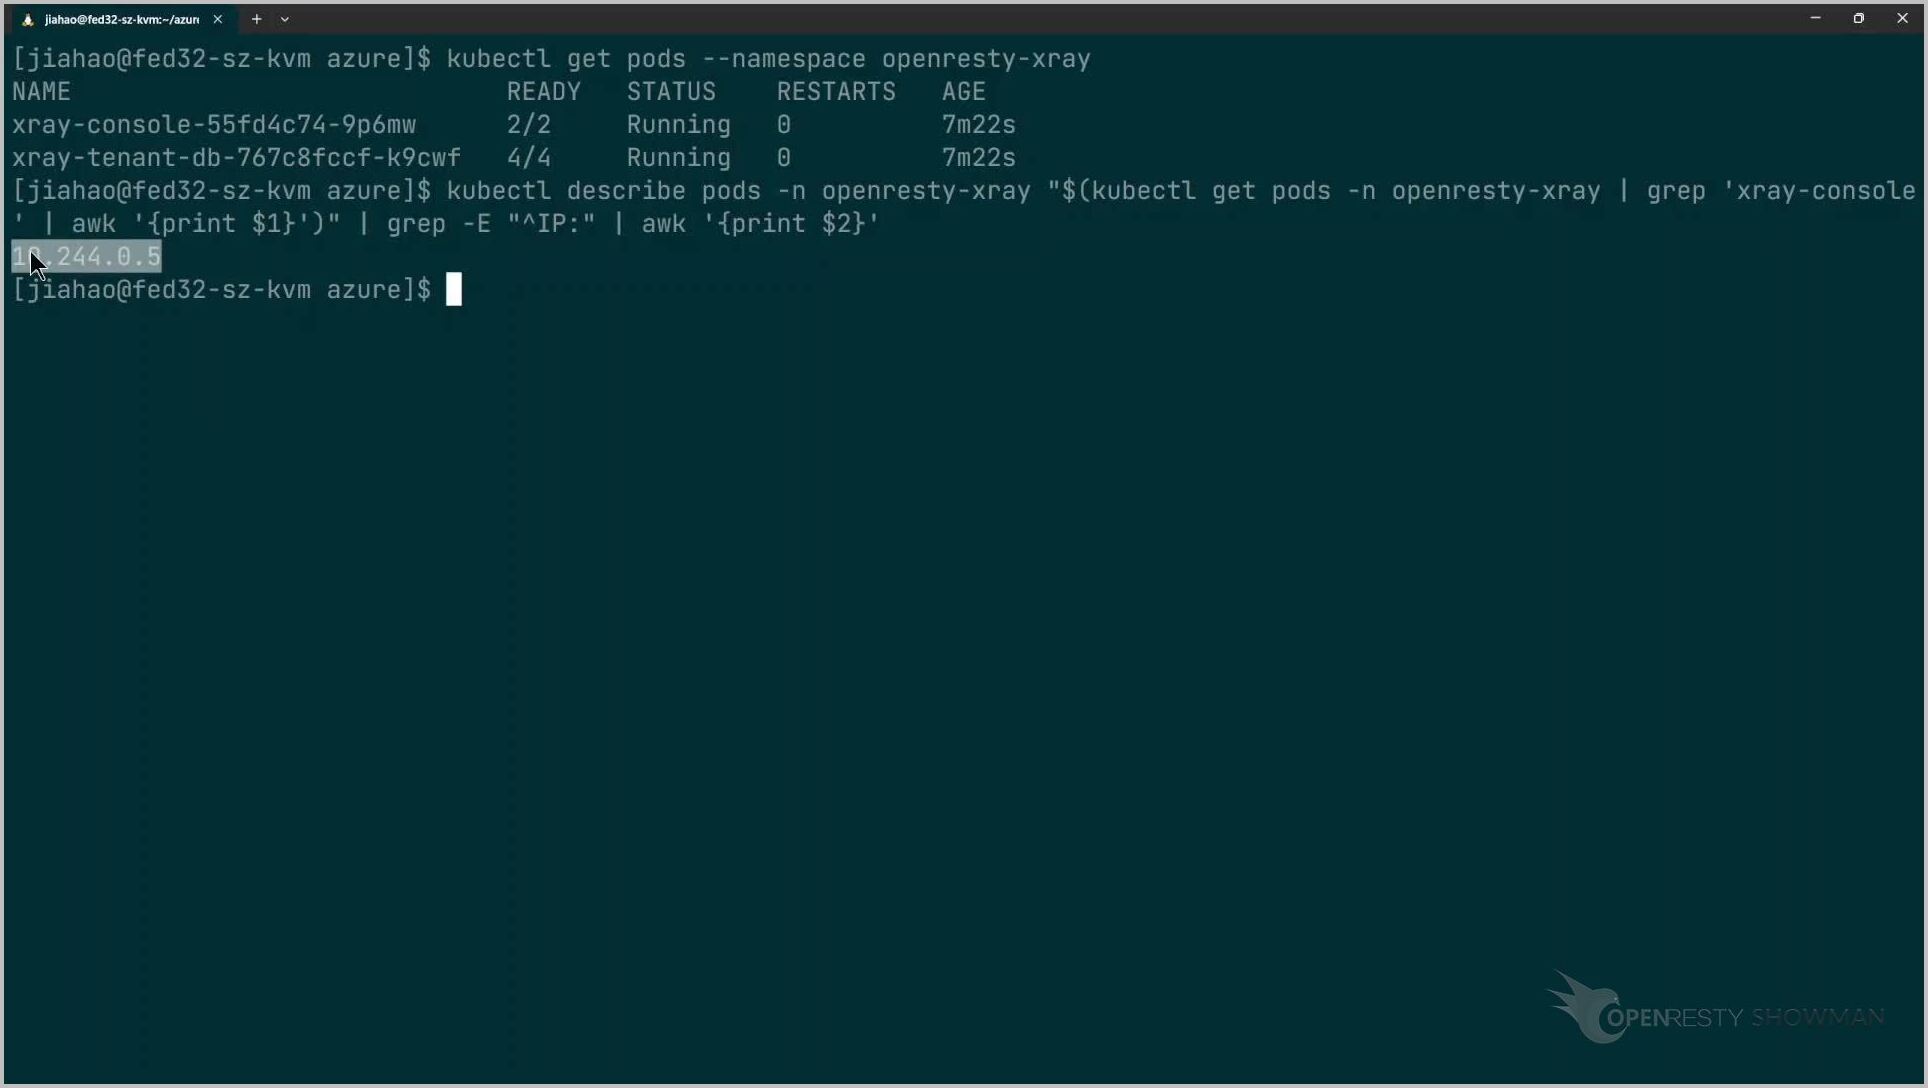
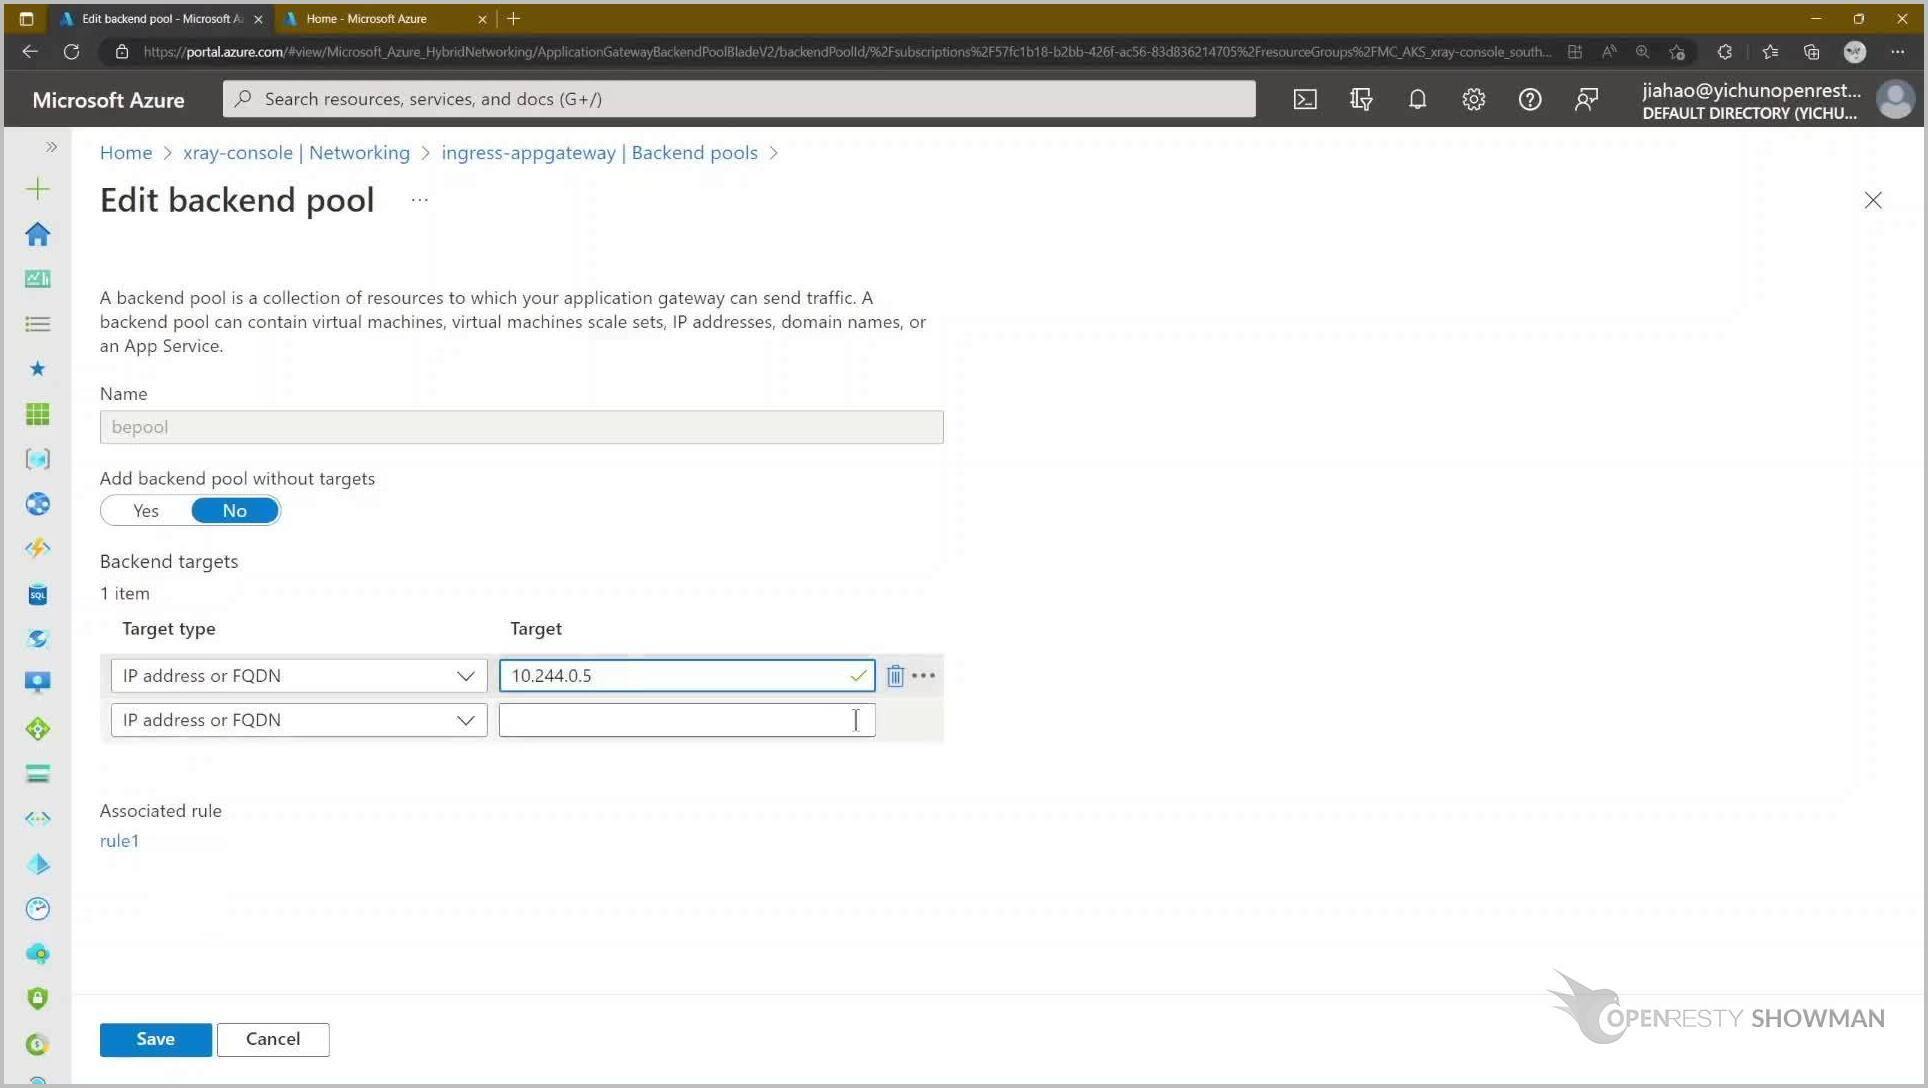
Select the ingress controller just created and choose the Backend pool configuration.
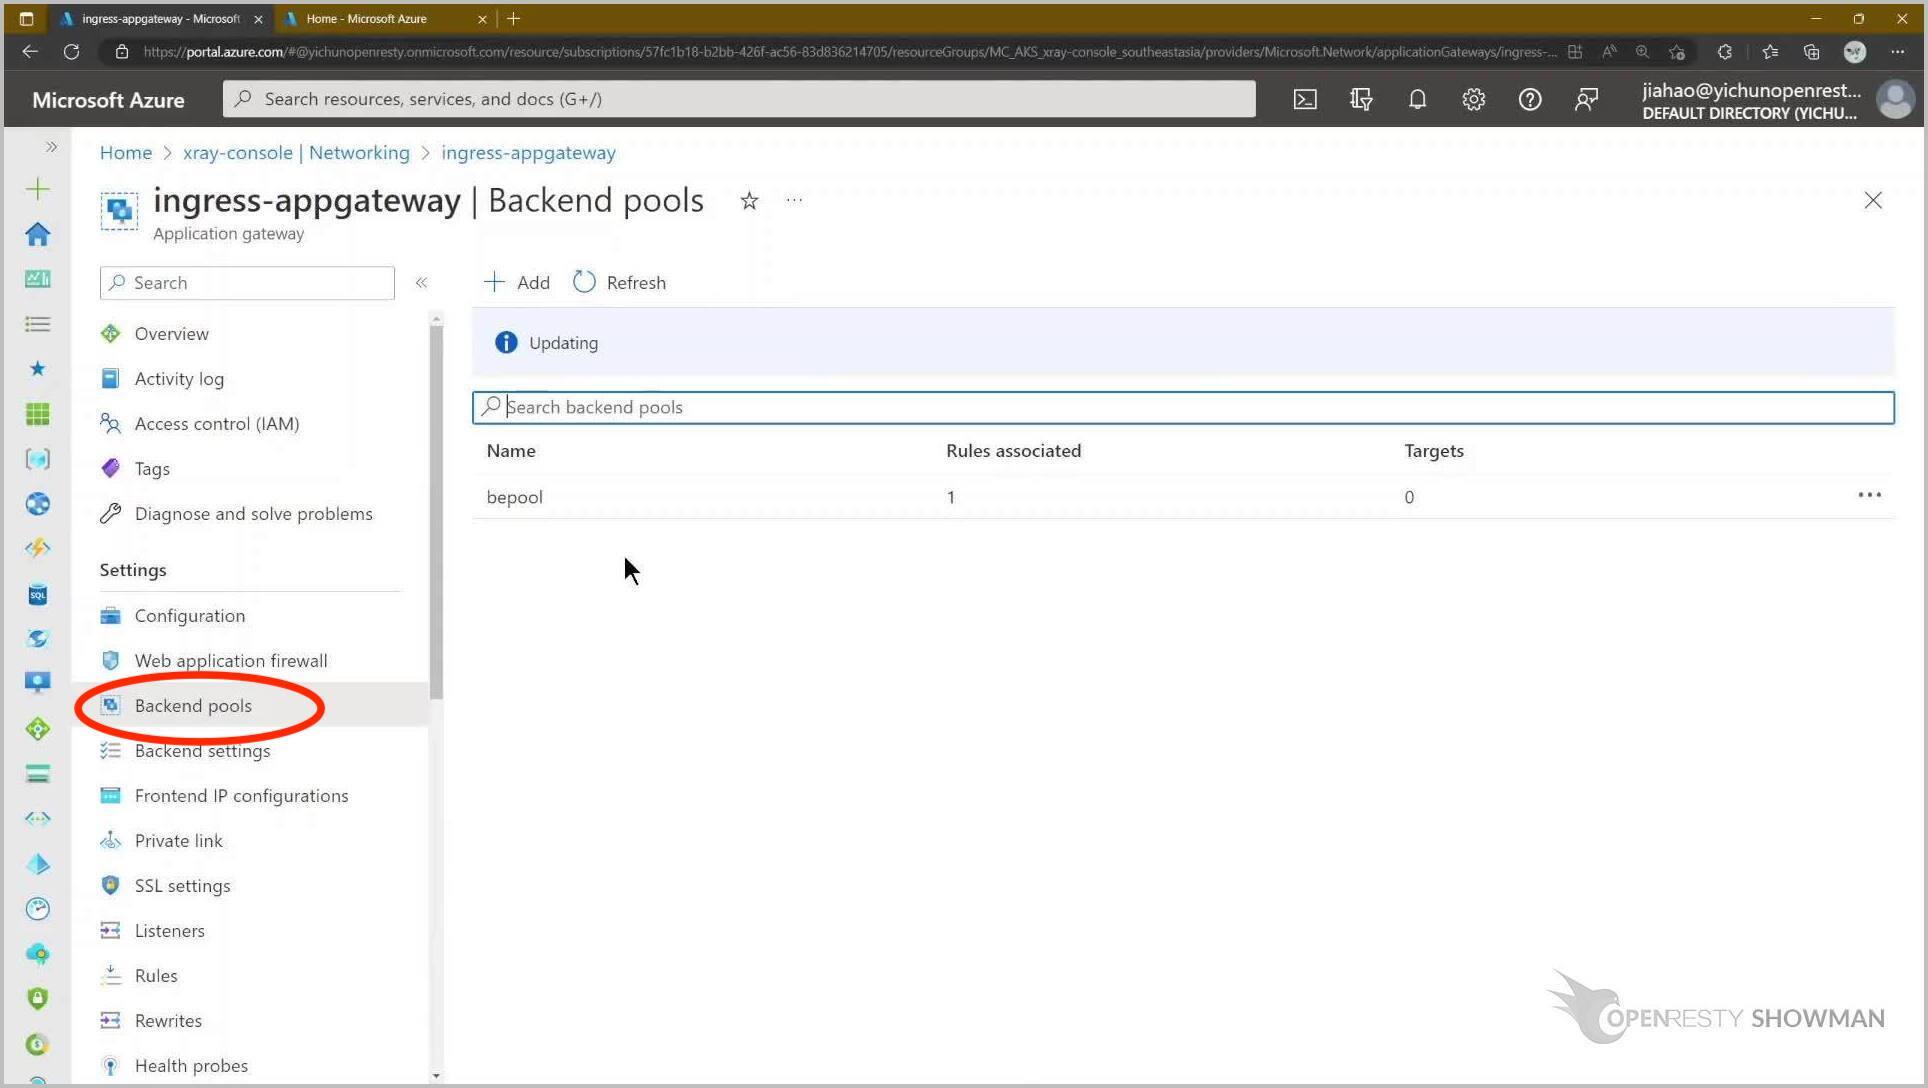
Edit the existing backend pool.
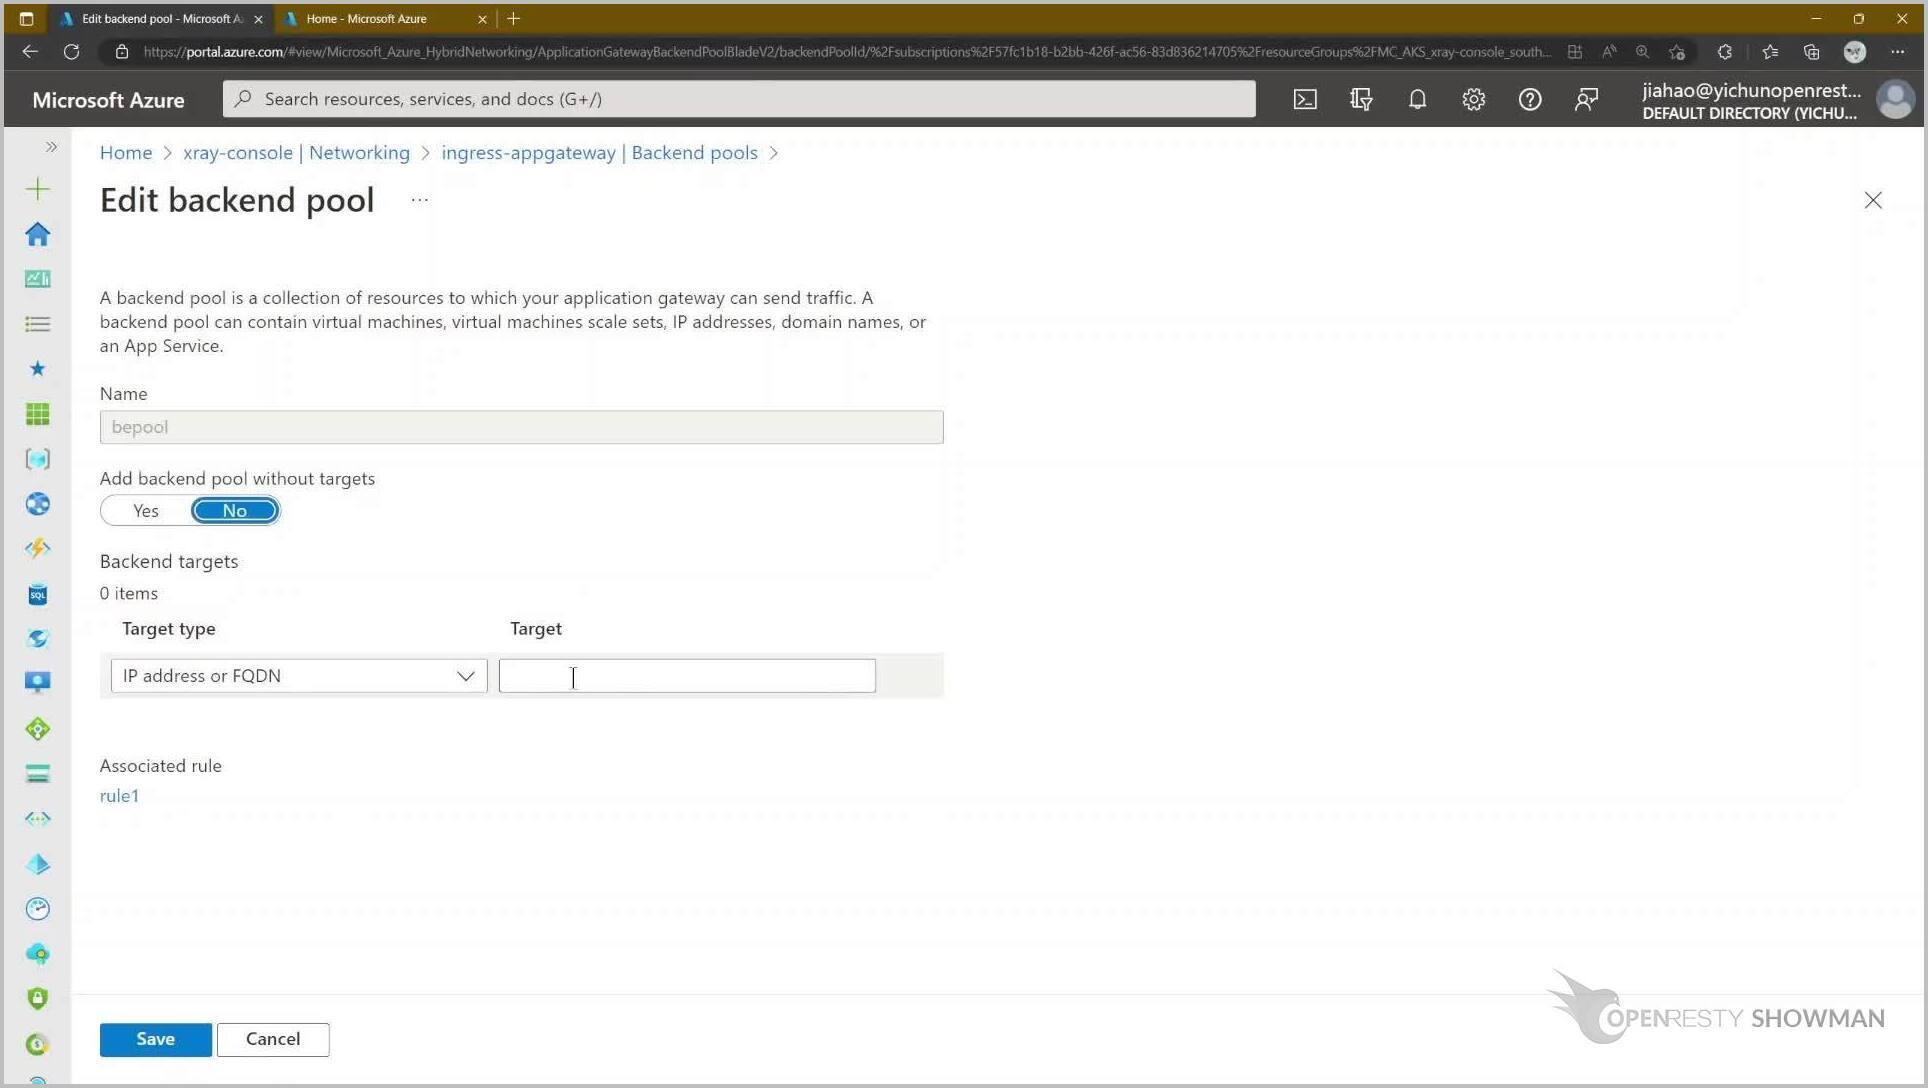
The IP address of the backend can be obtained using the command shown in the documentation.
Save.
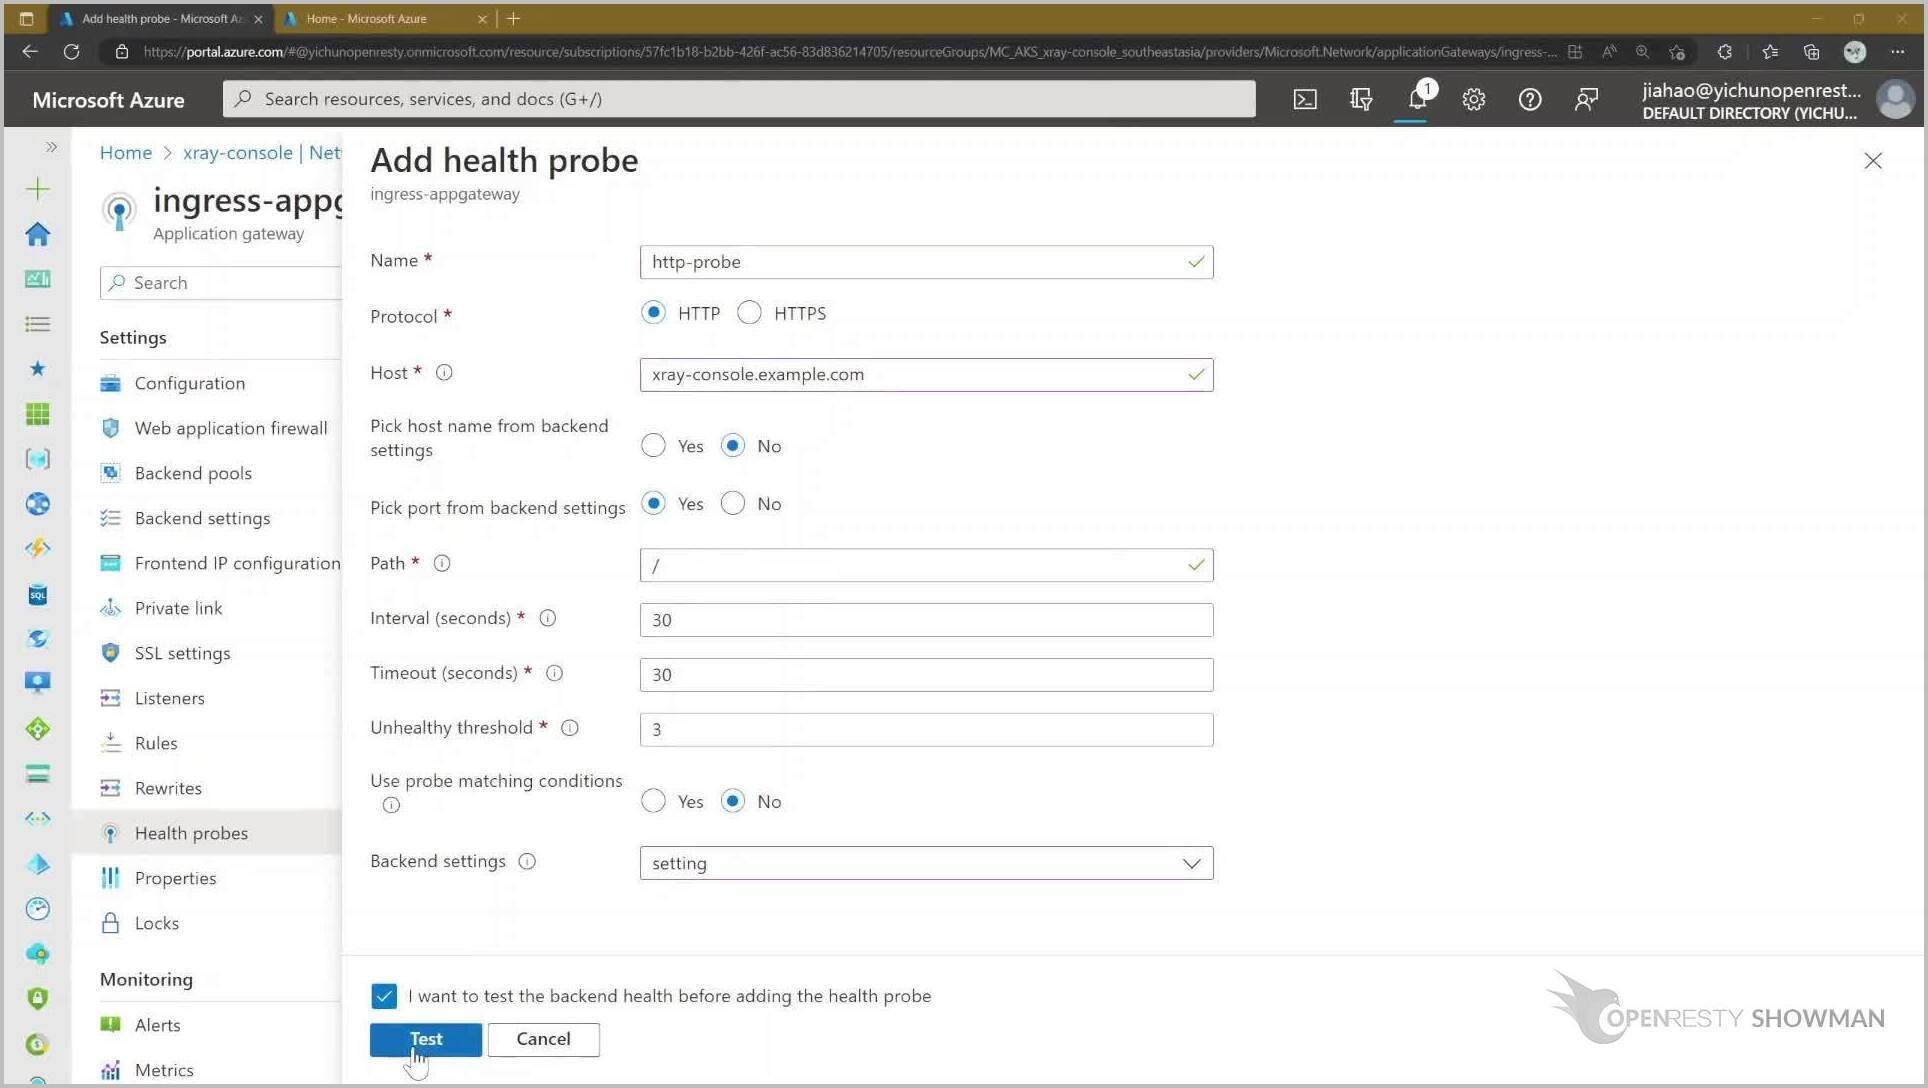
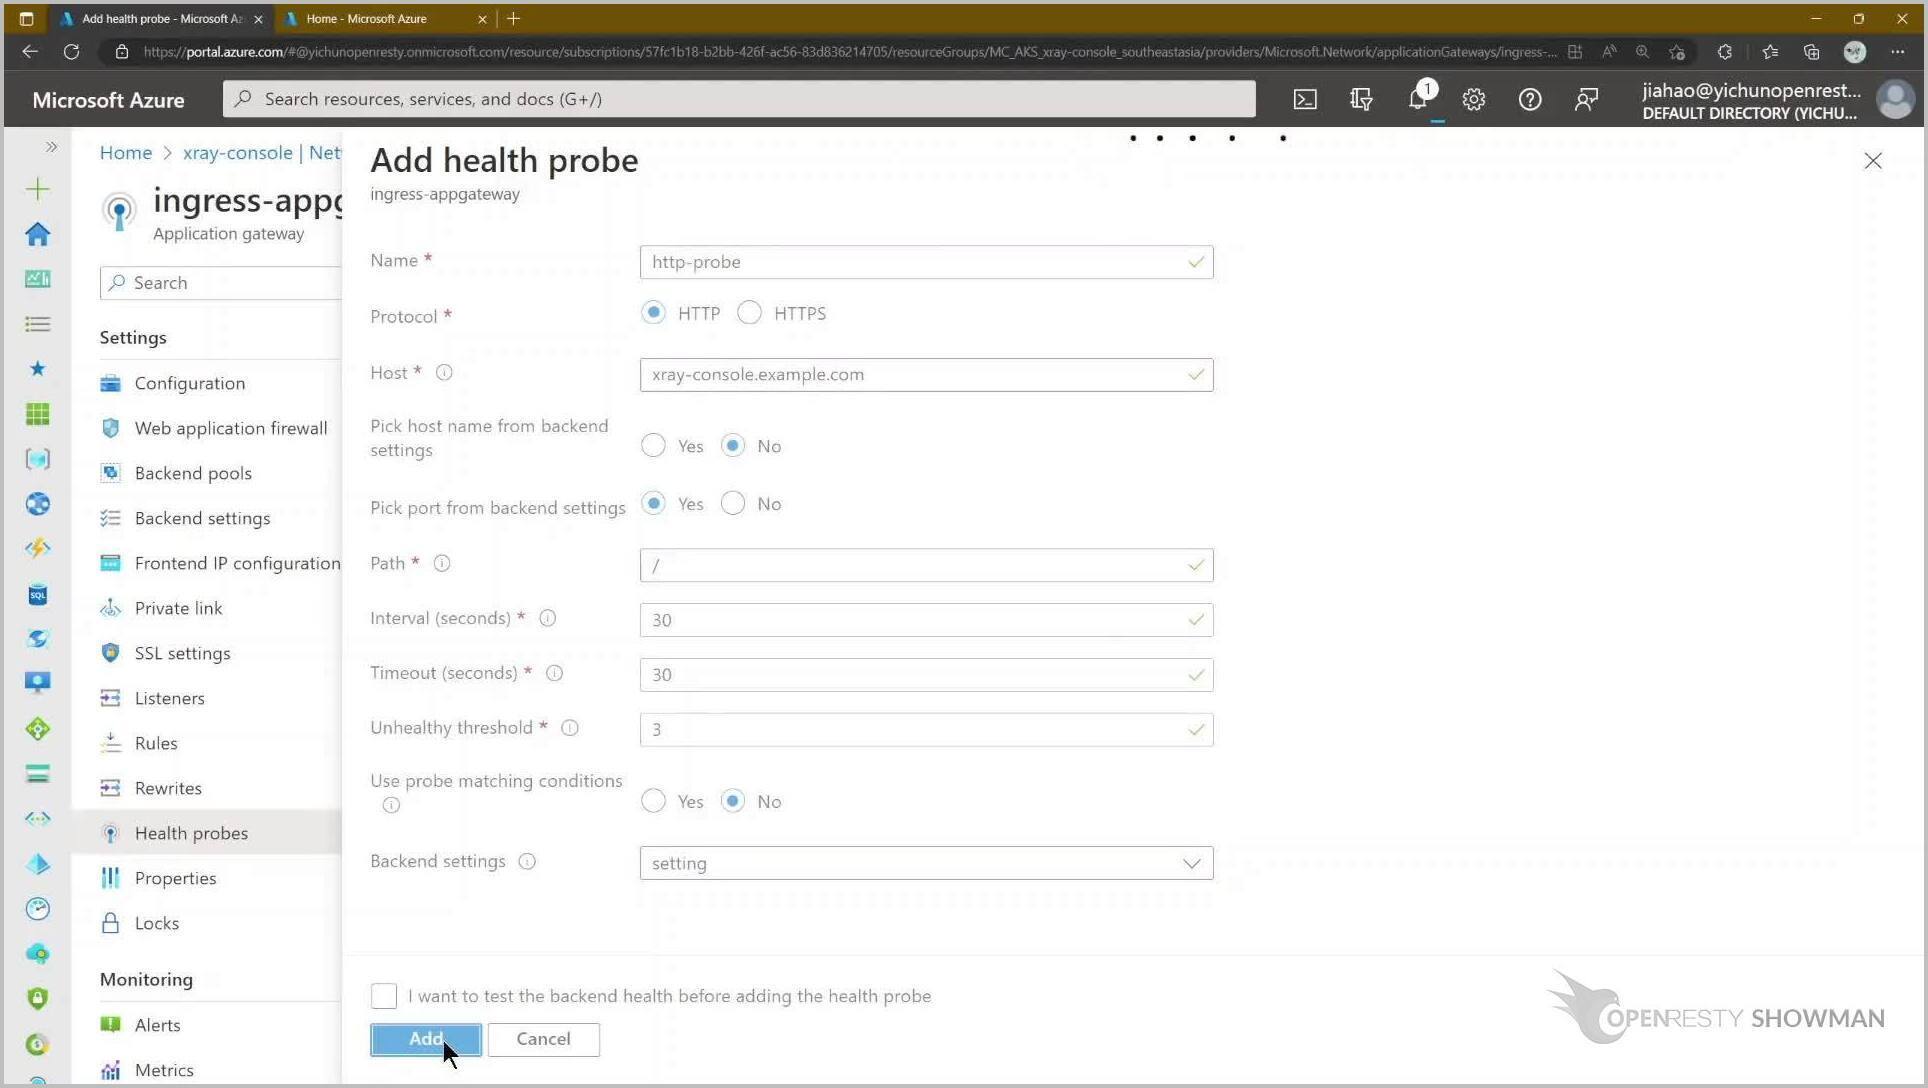
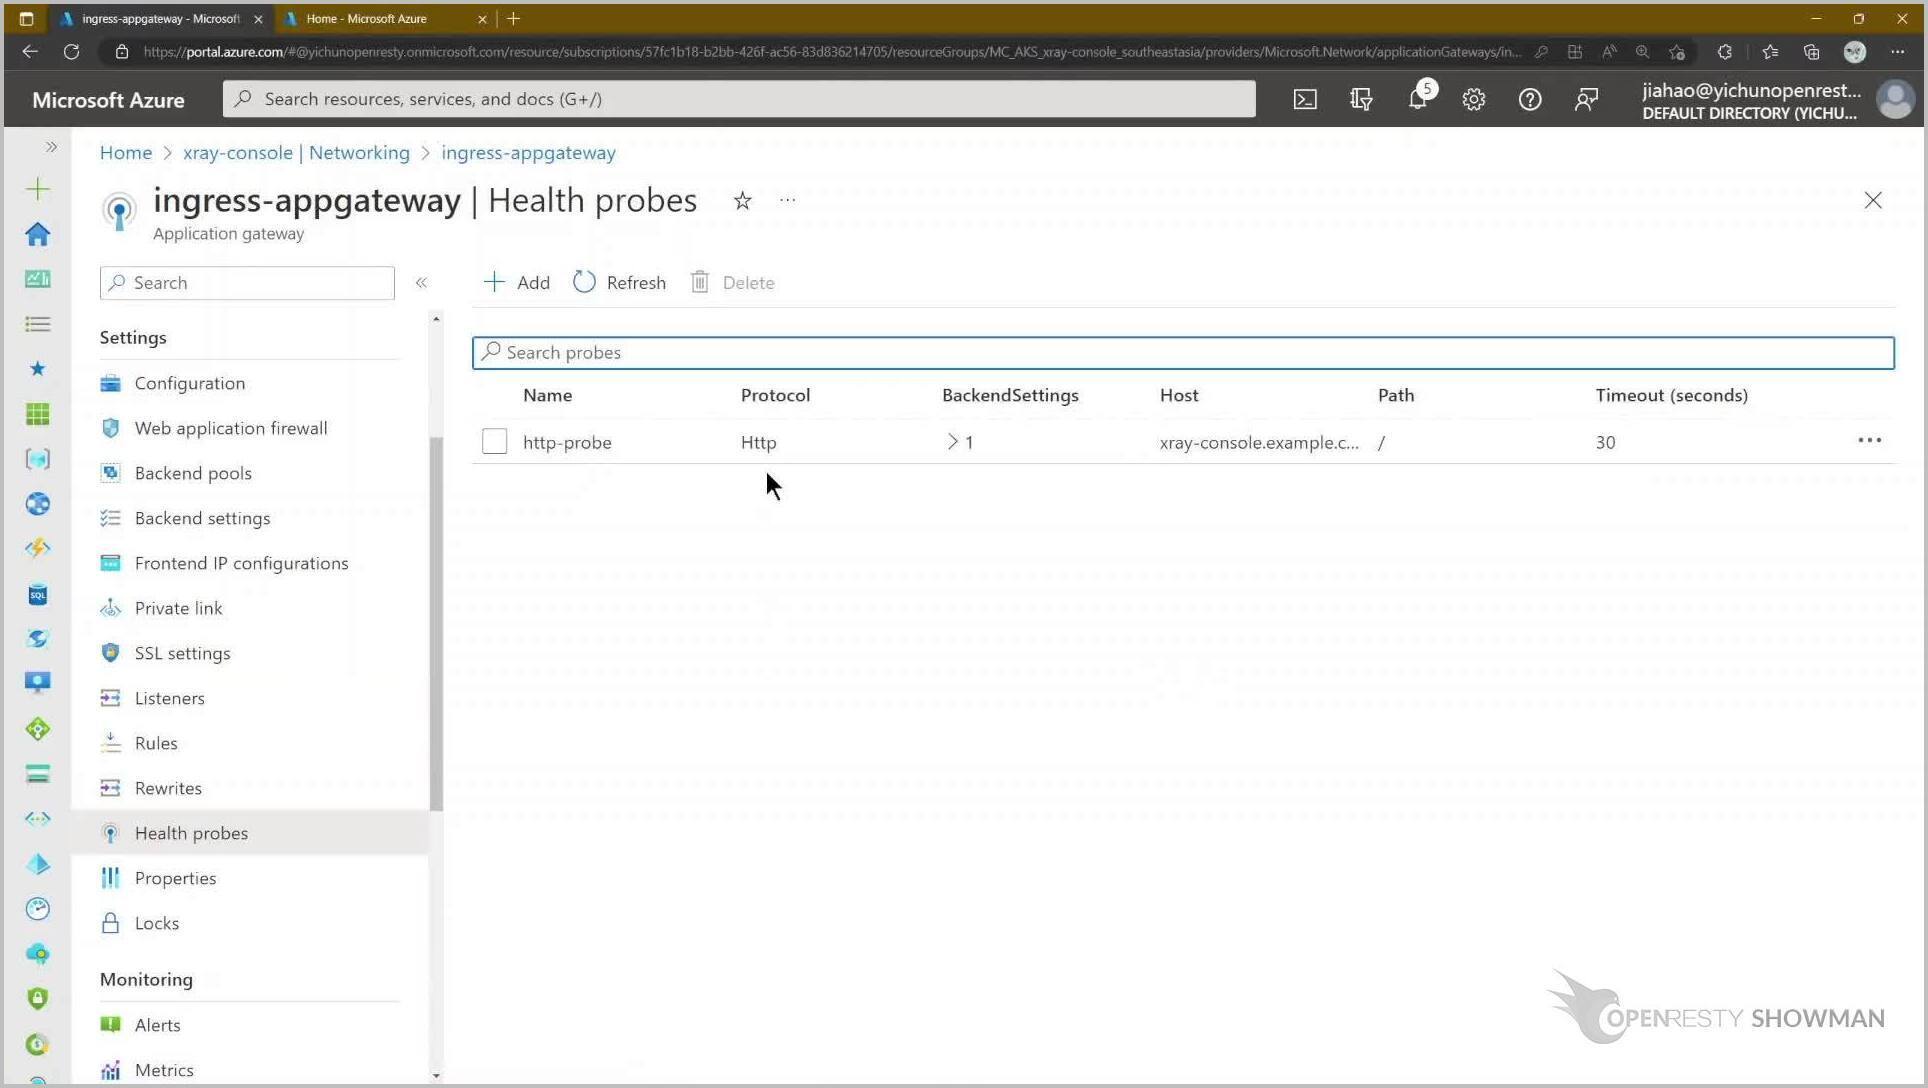
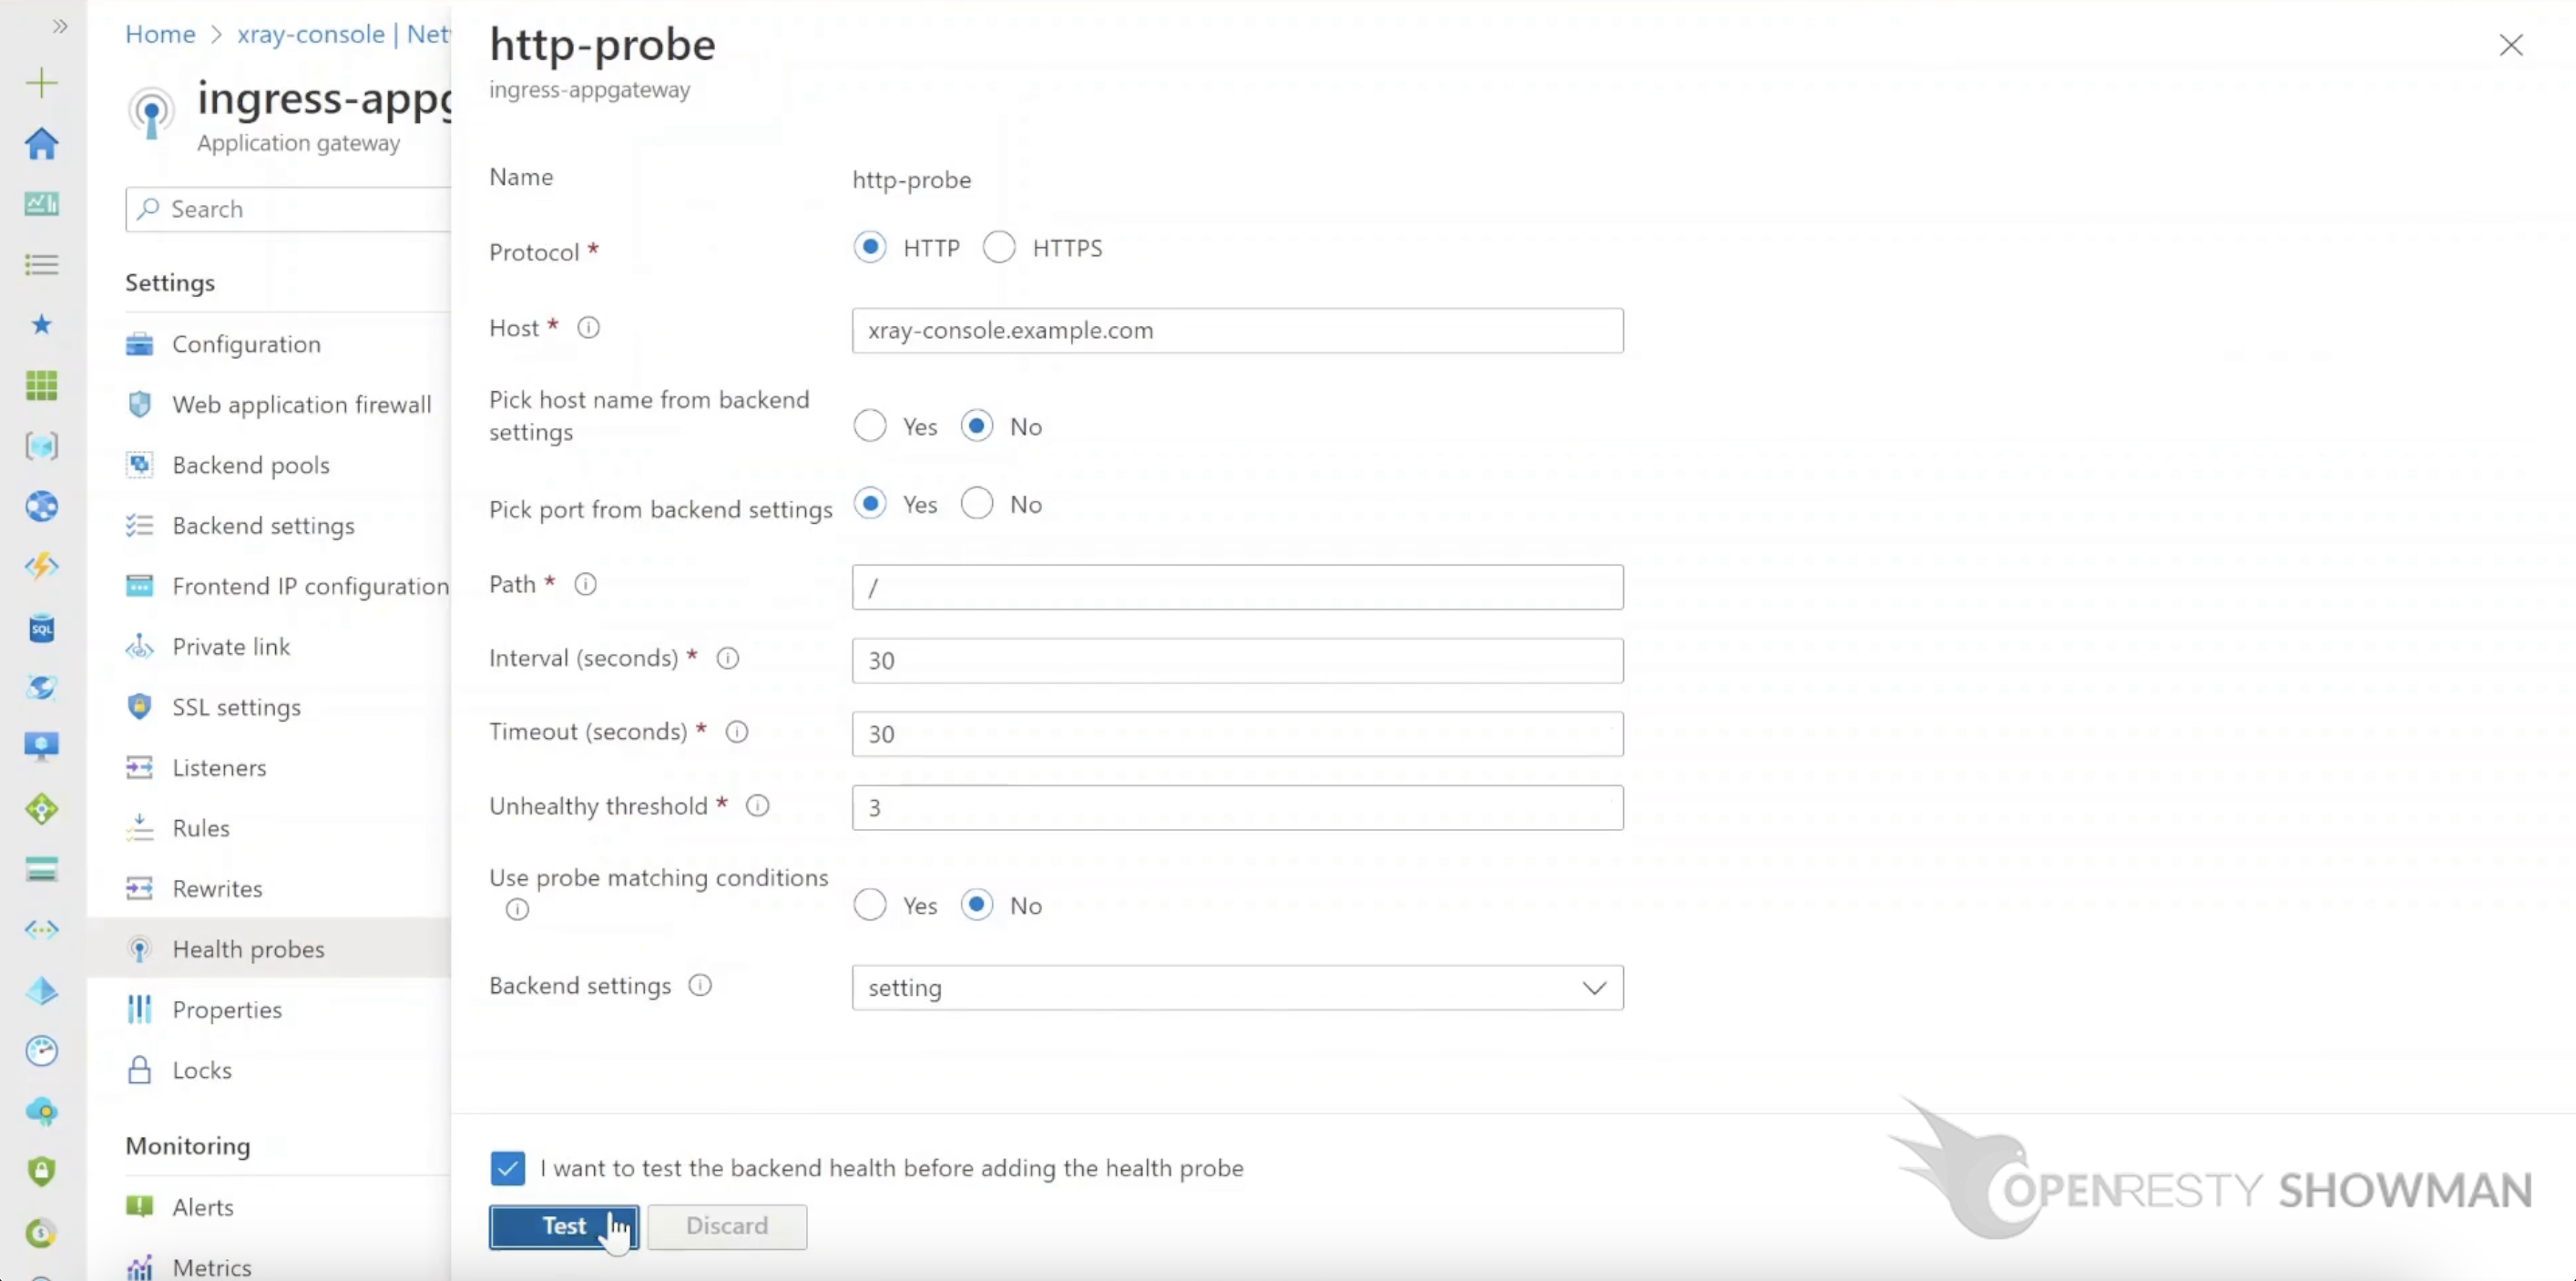
Next, configure Health Probes. This step is to configure the health check to the backend.
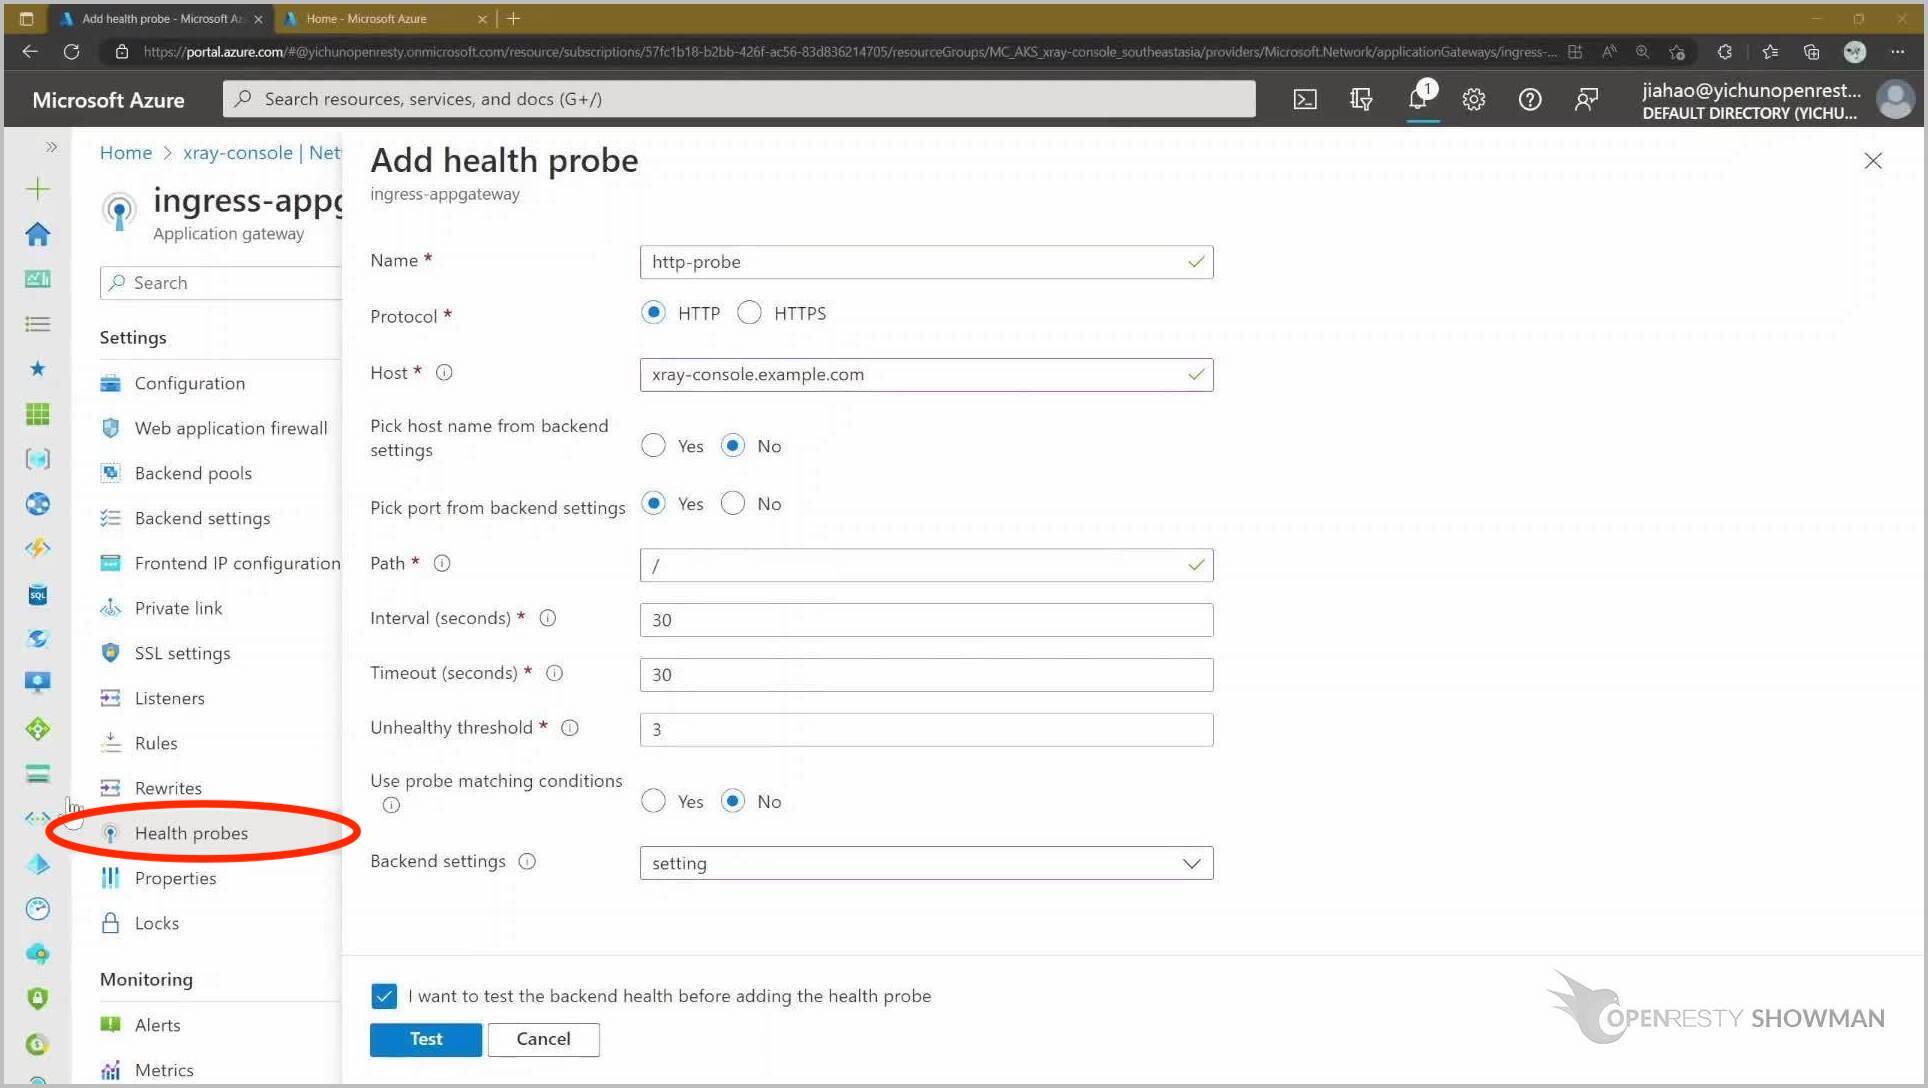
Fill in the form as shown on the screen and save it.
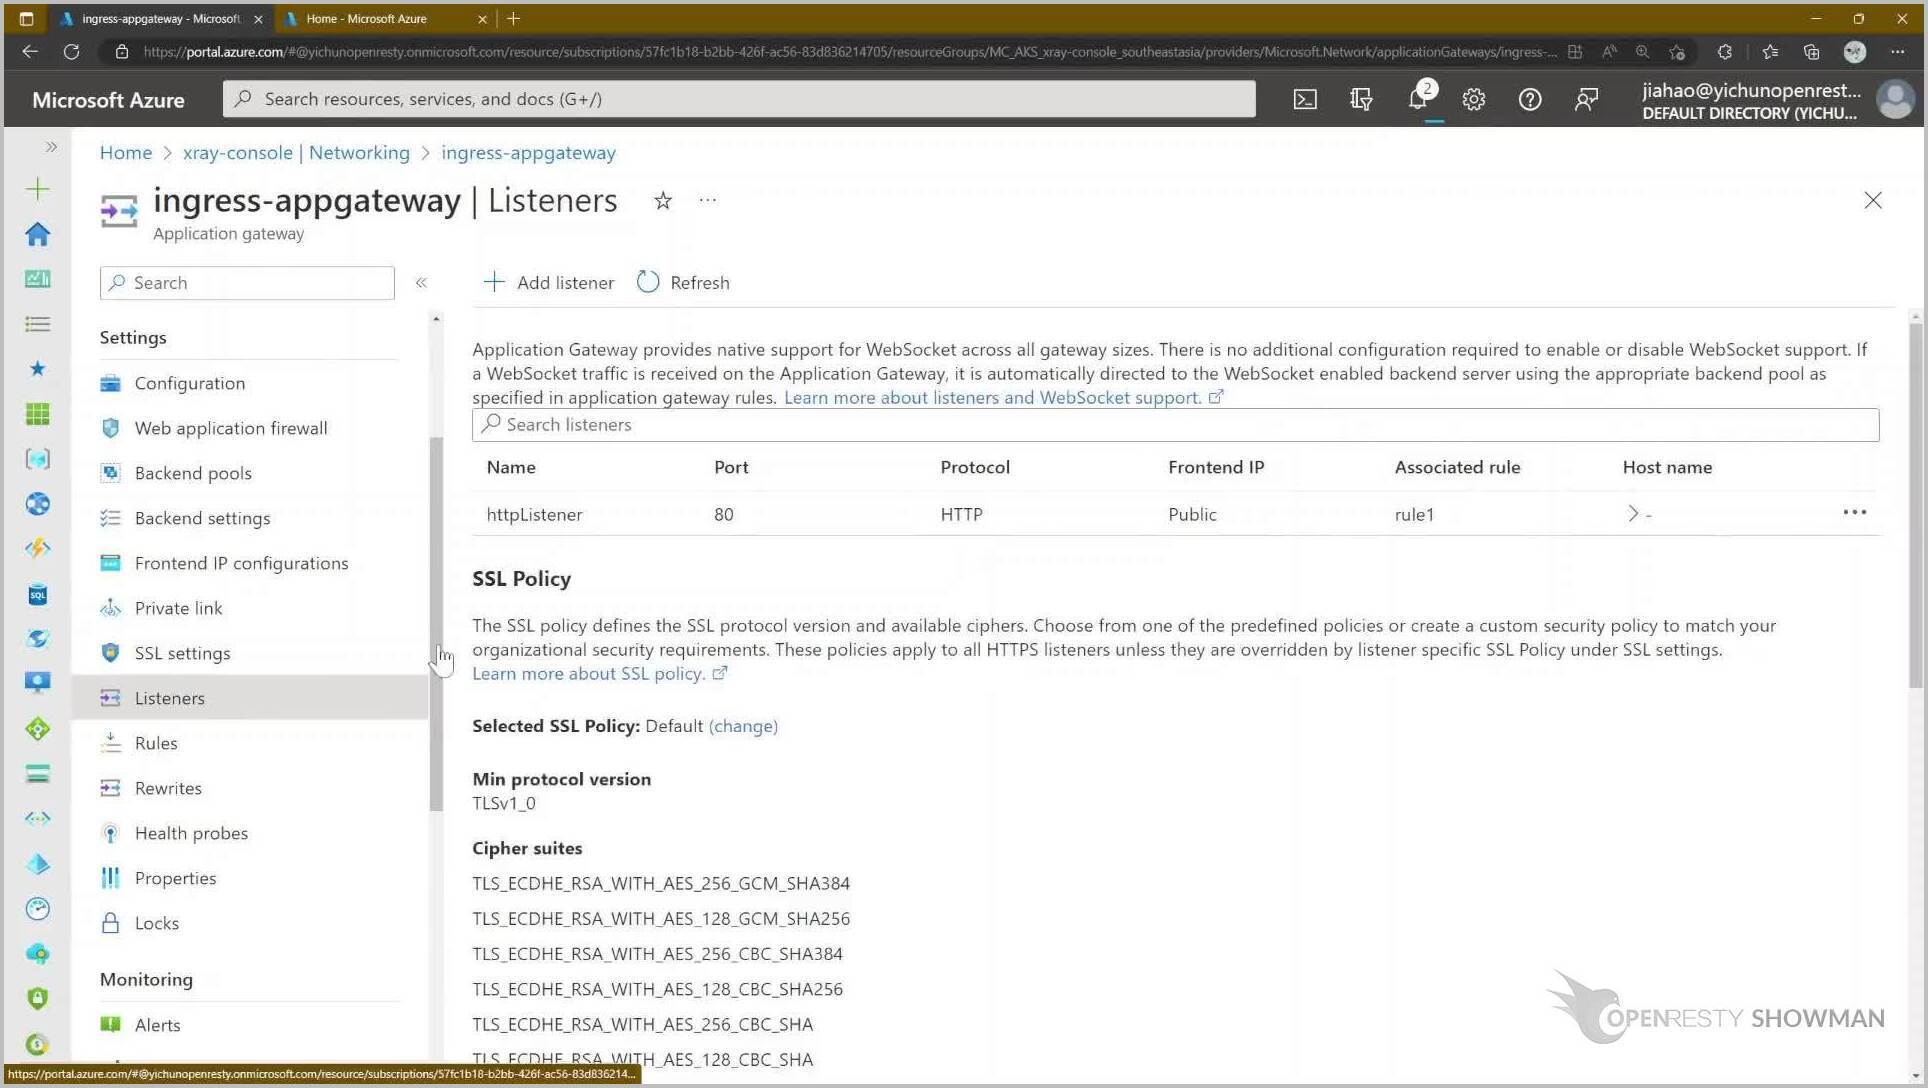
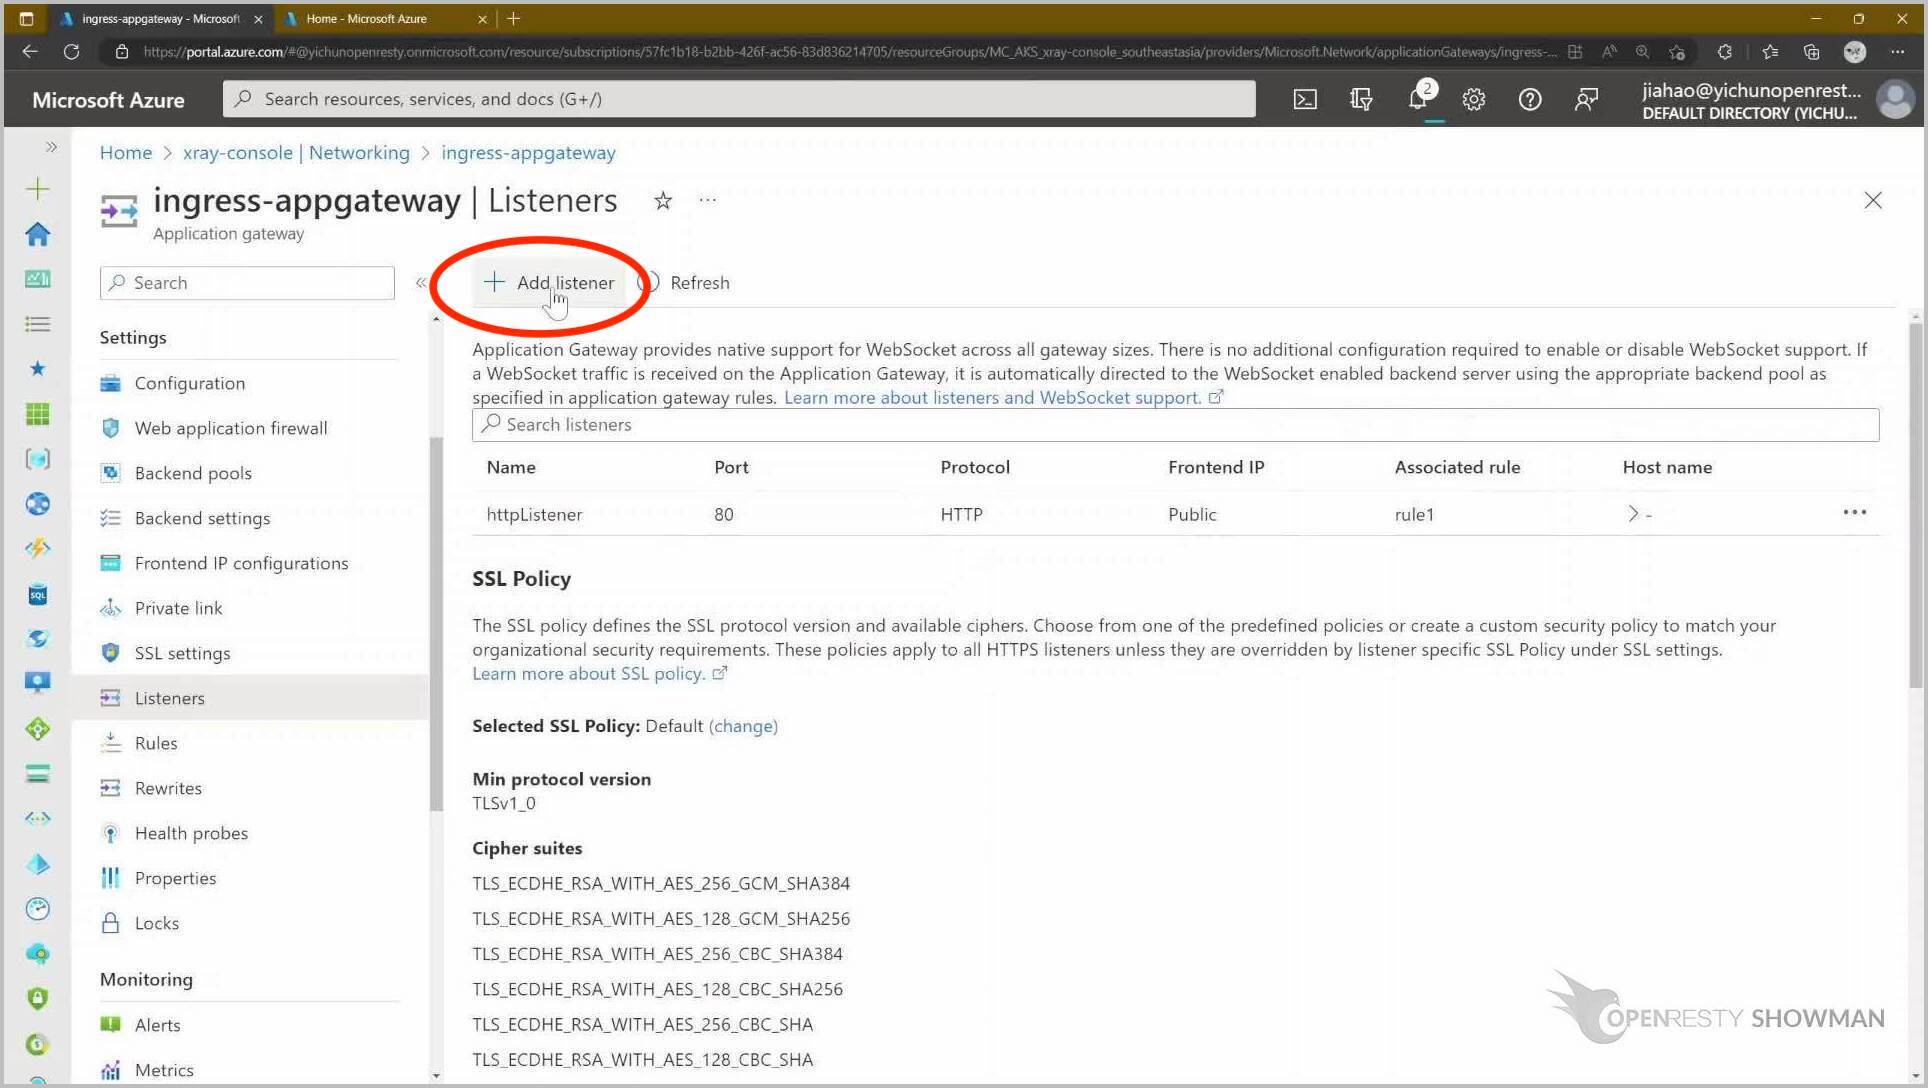
Next, we start configuring the Listeners. That is, configure the gateway’s listening ports and services.
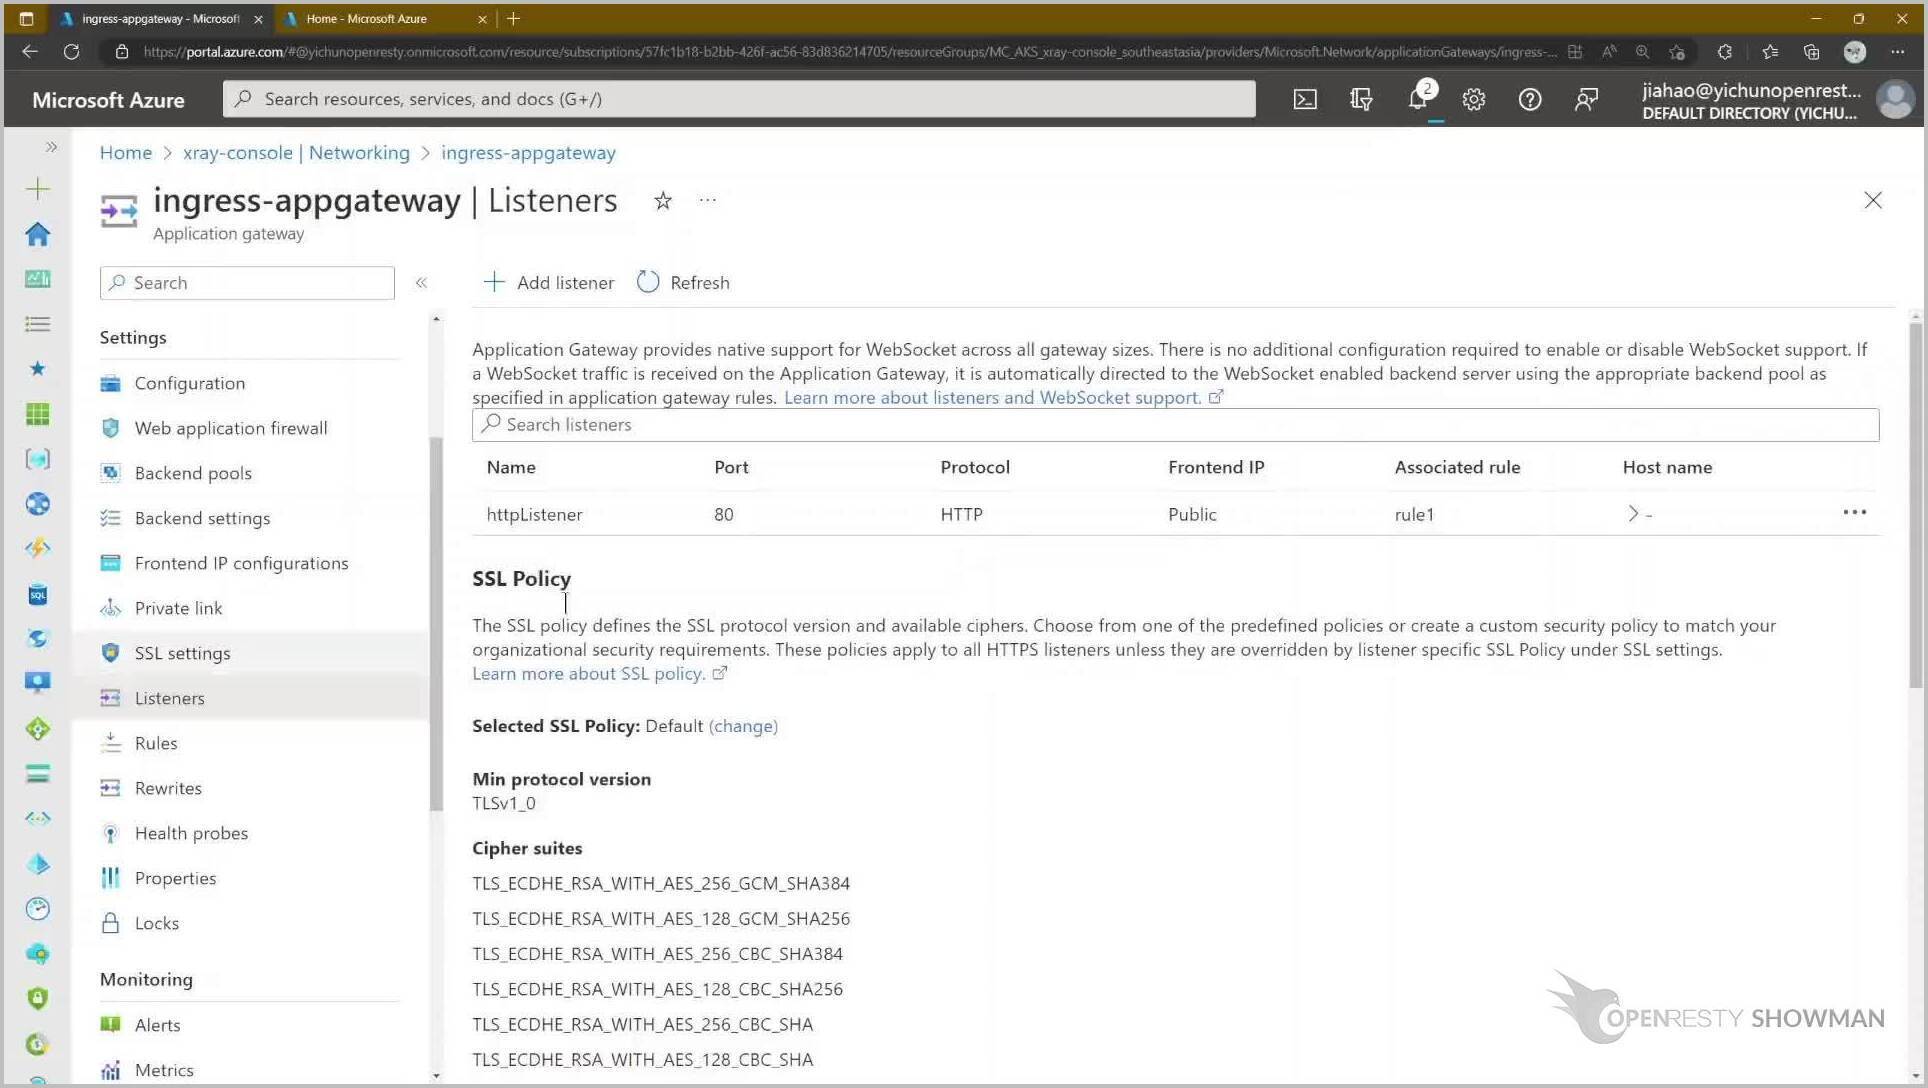
We see that the http service listening on port 80 is already configured by default.

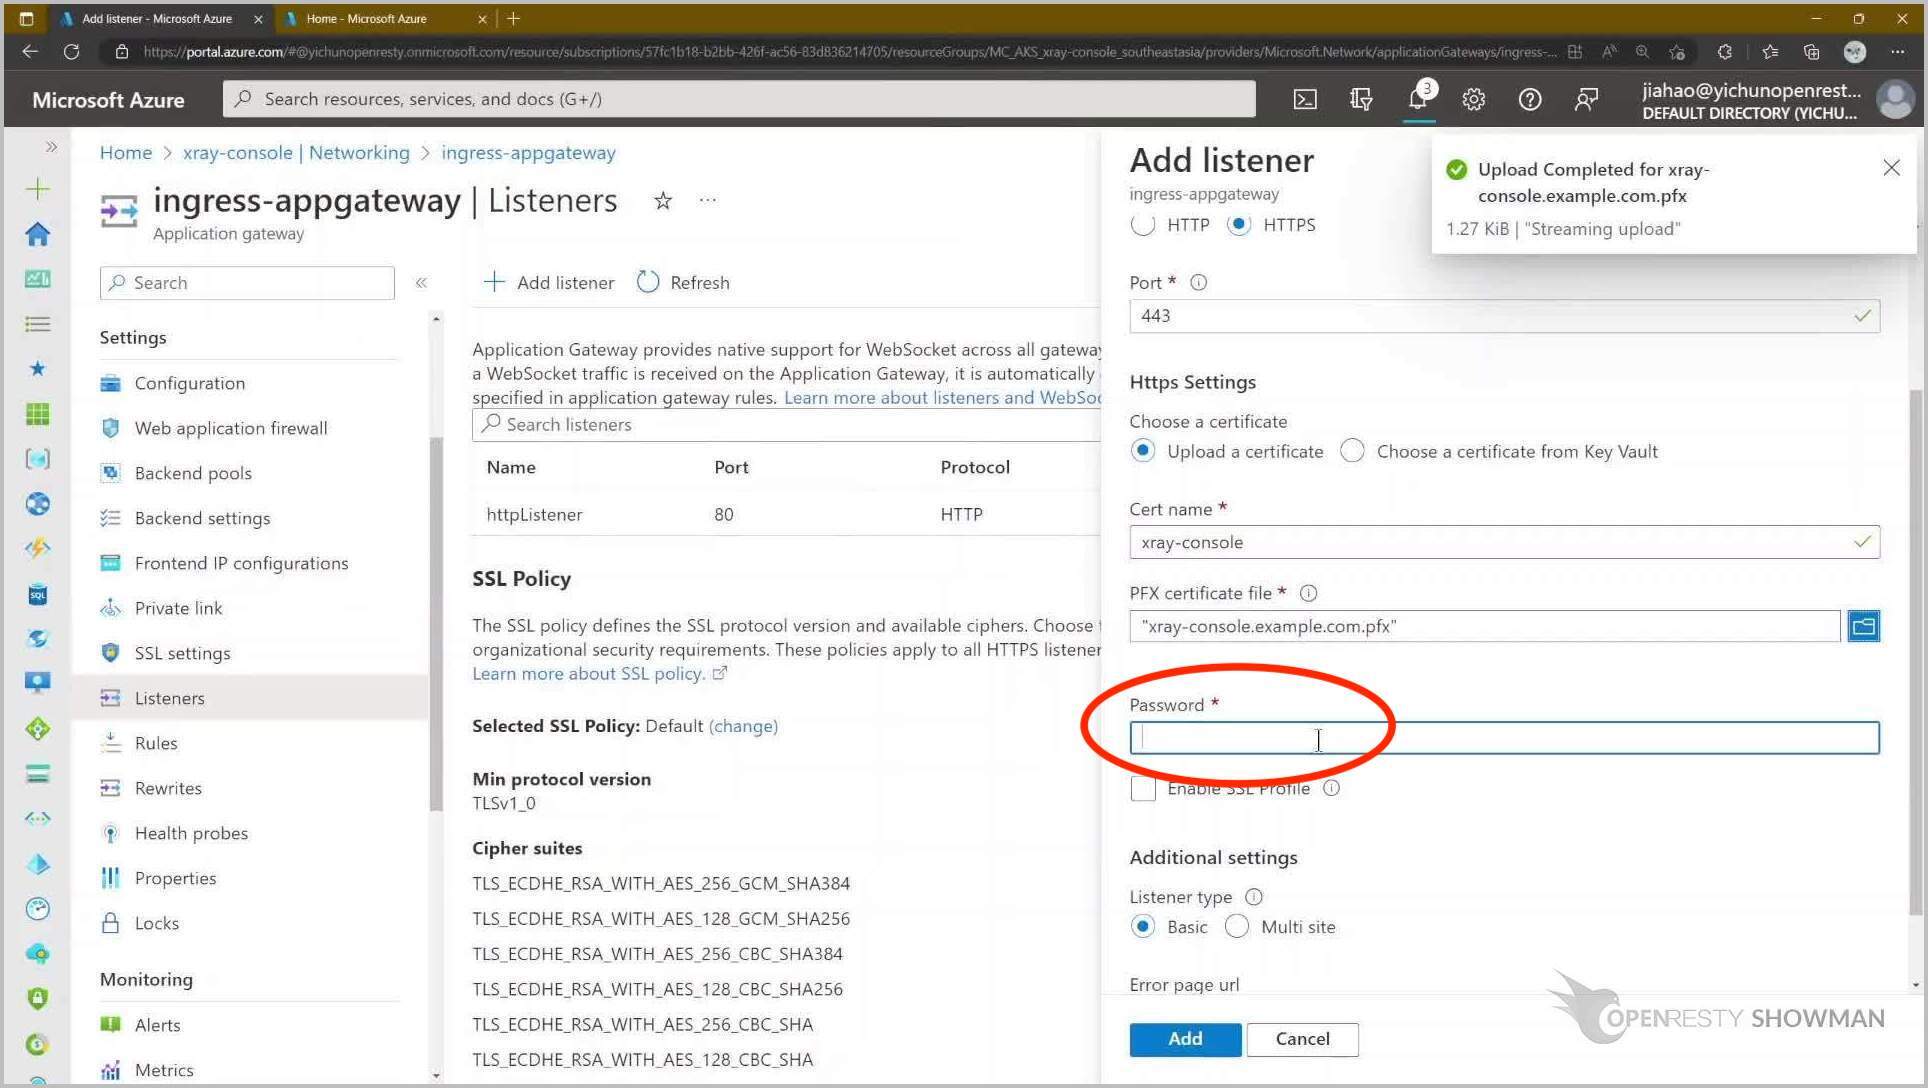
Let’s add an https service listening on port 443.
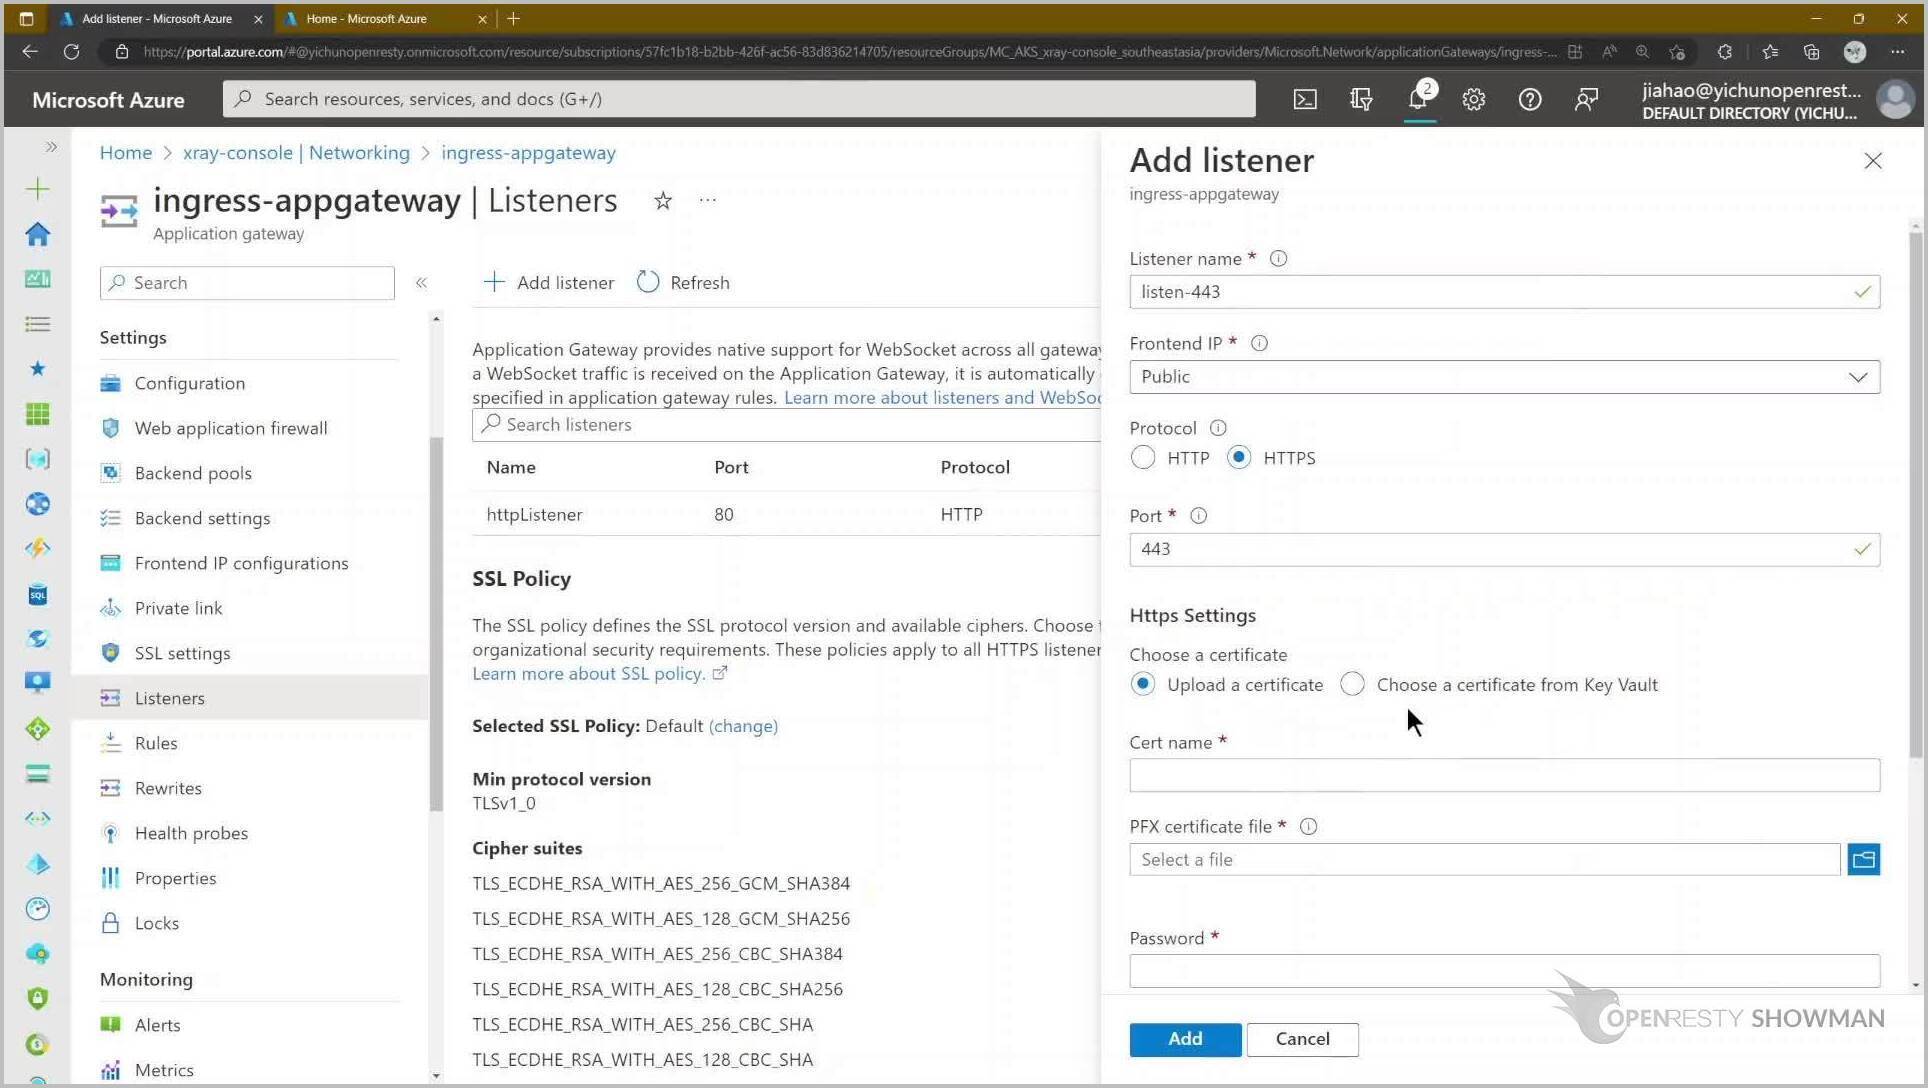
Here we need to upload the required certificate for the https service.
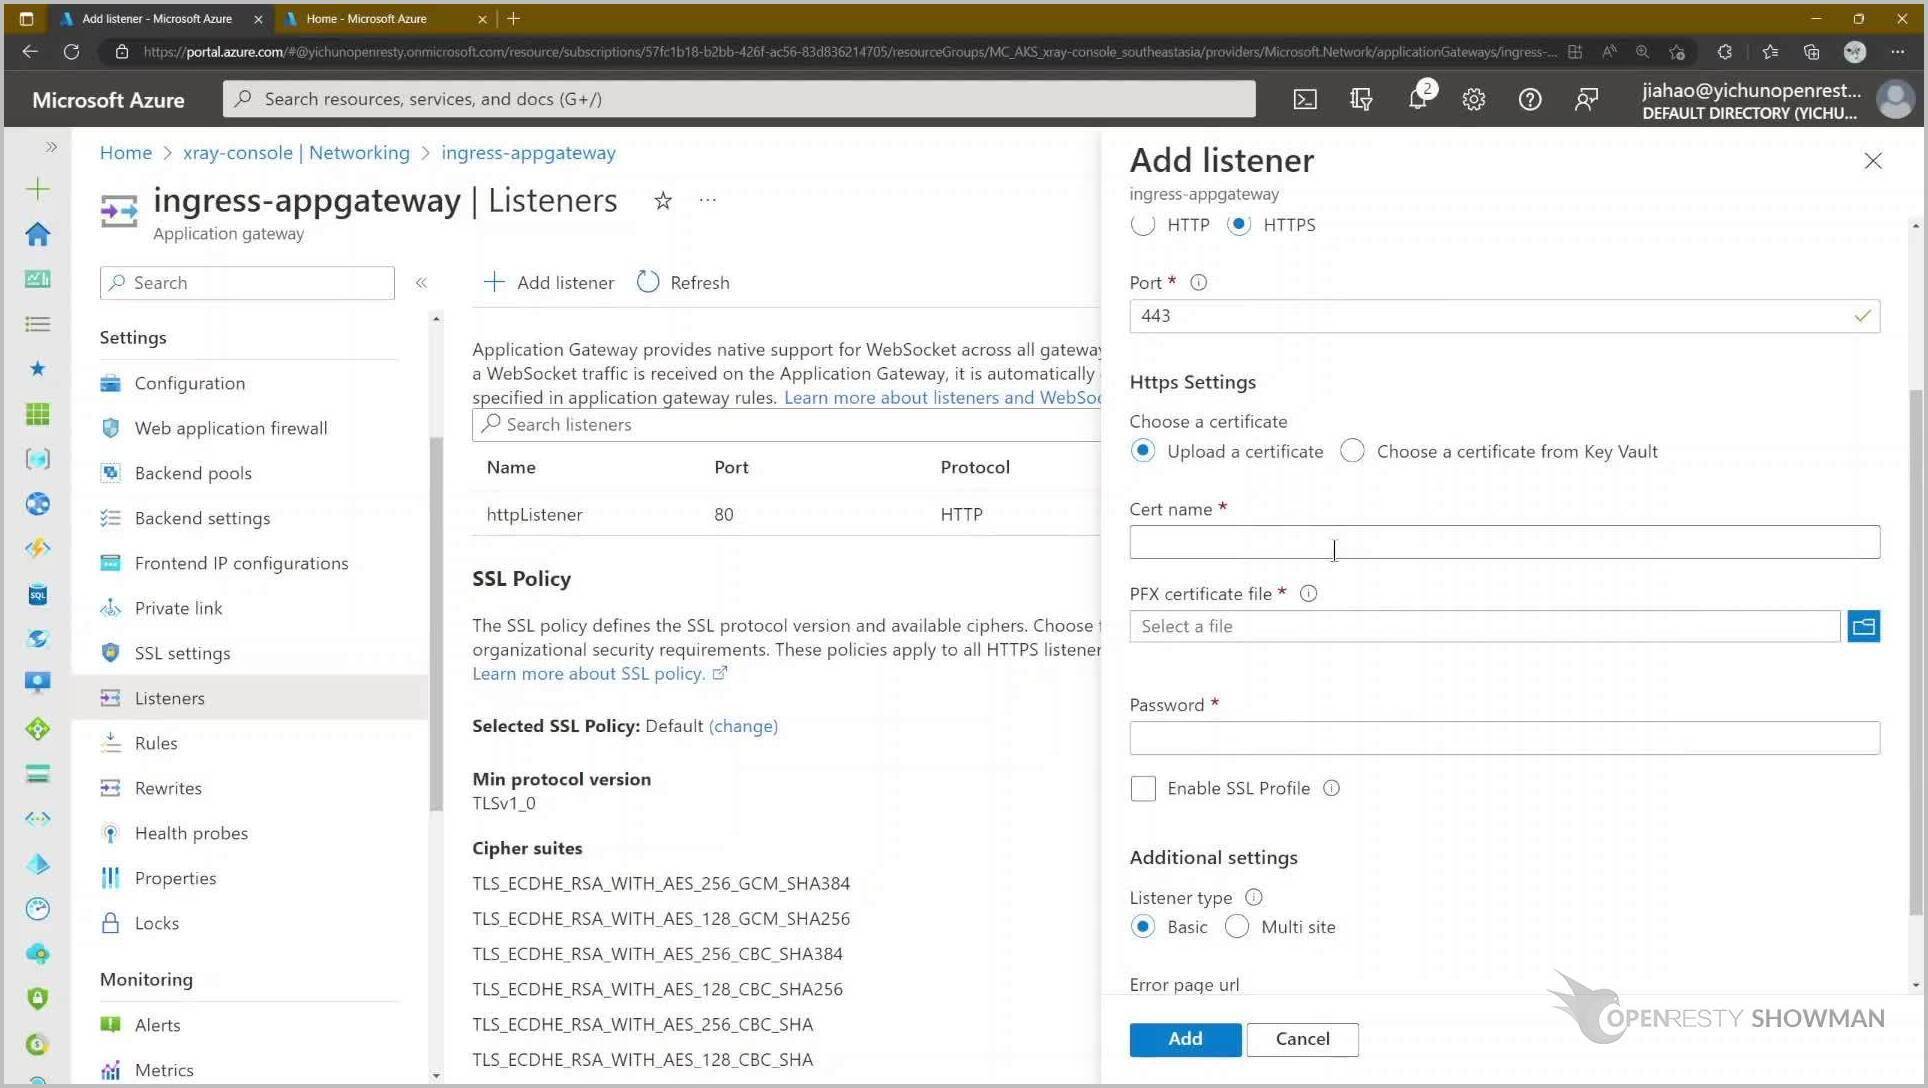
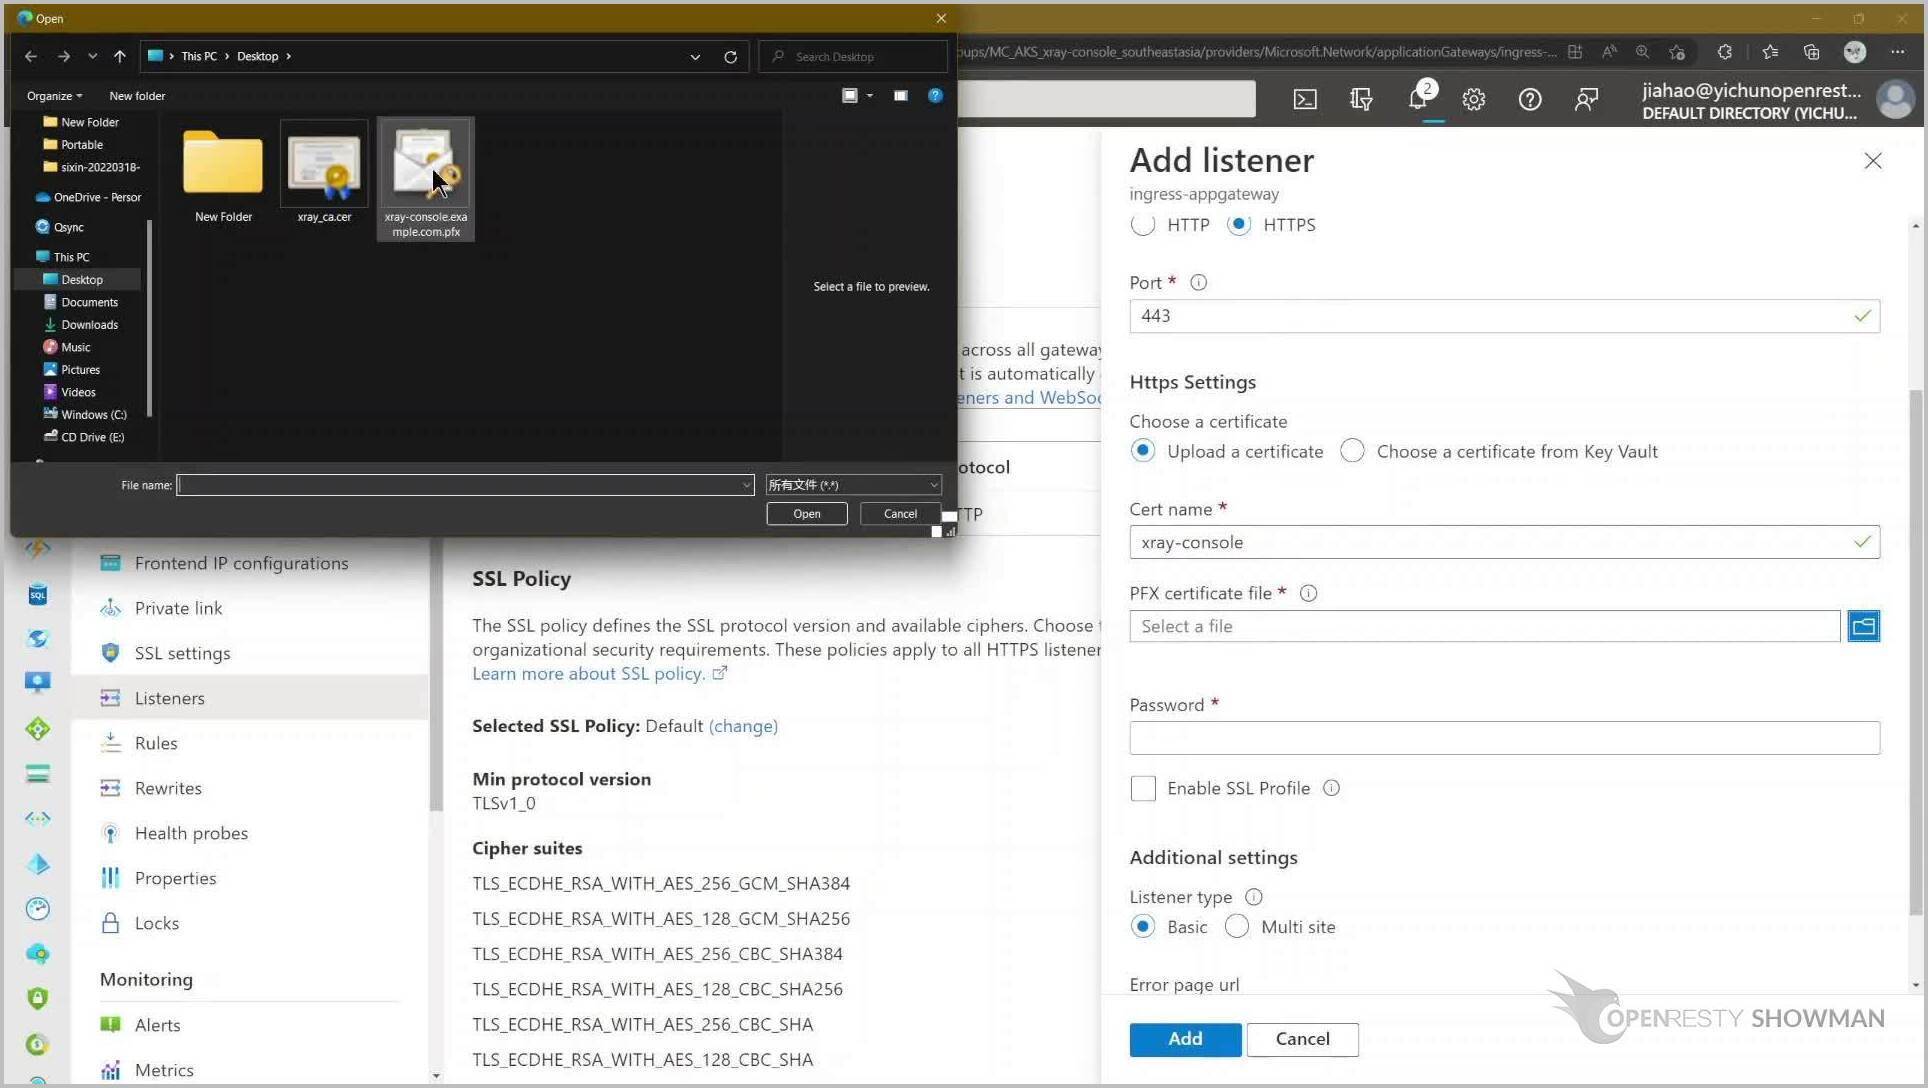
Follow the command described in the documentation to convert the normal certificate to the pfx format.

Enter the password of the certificate in pfx format in the Password field.
We select Rules to configure the forwarding rules.
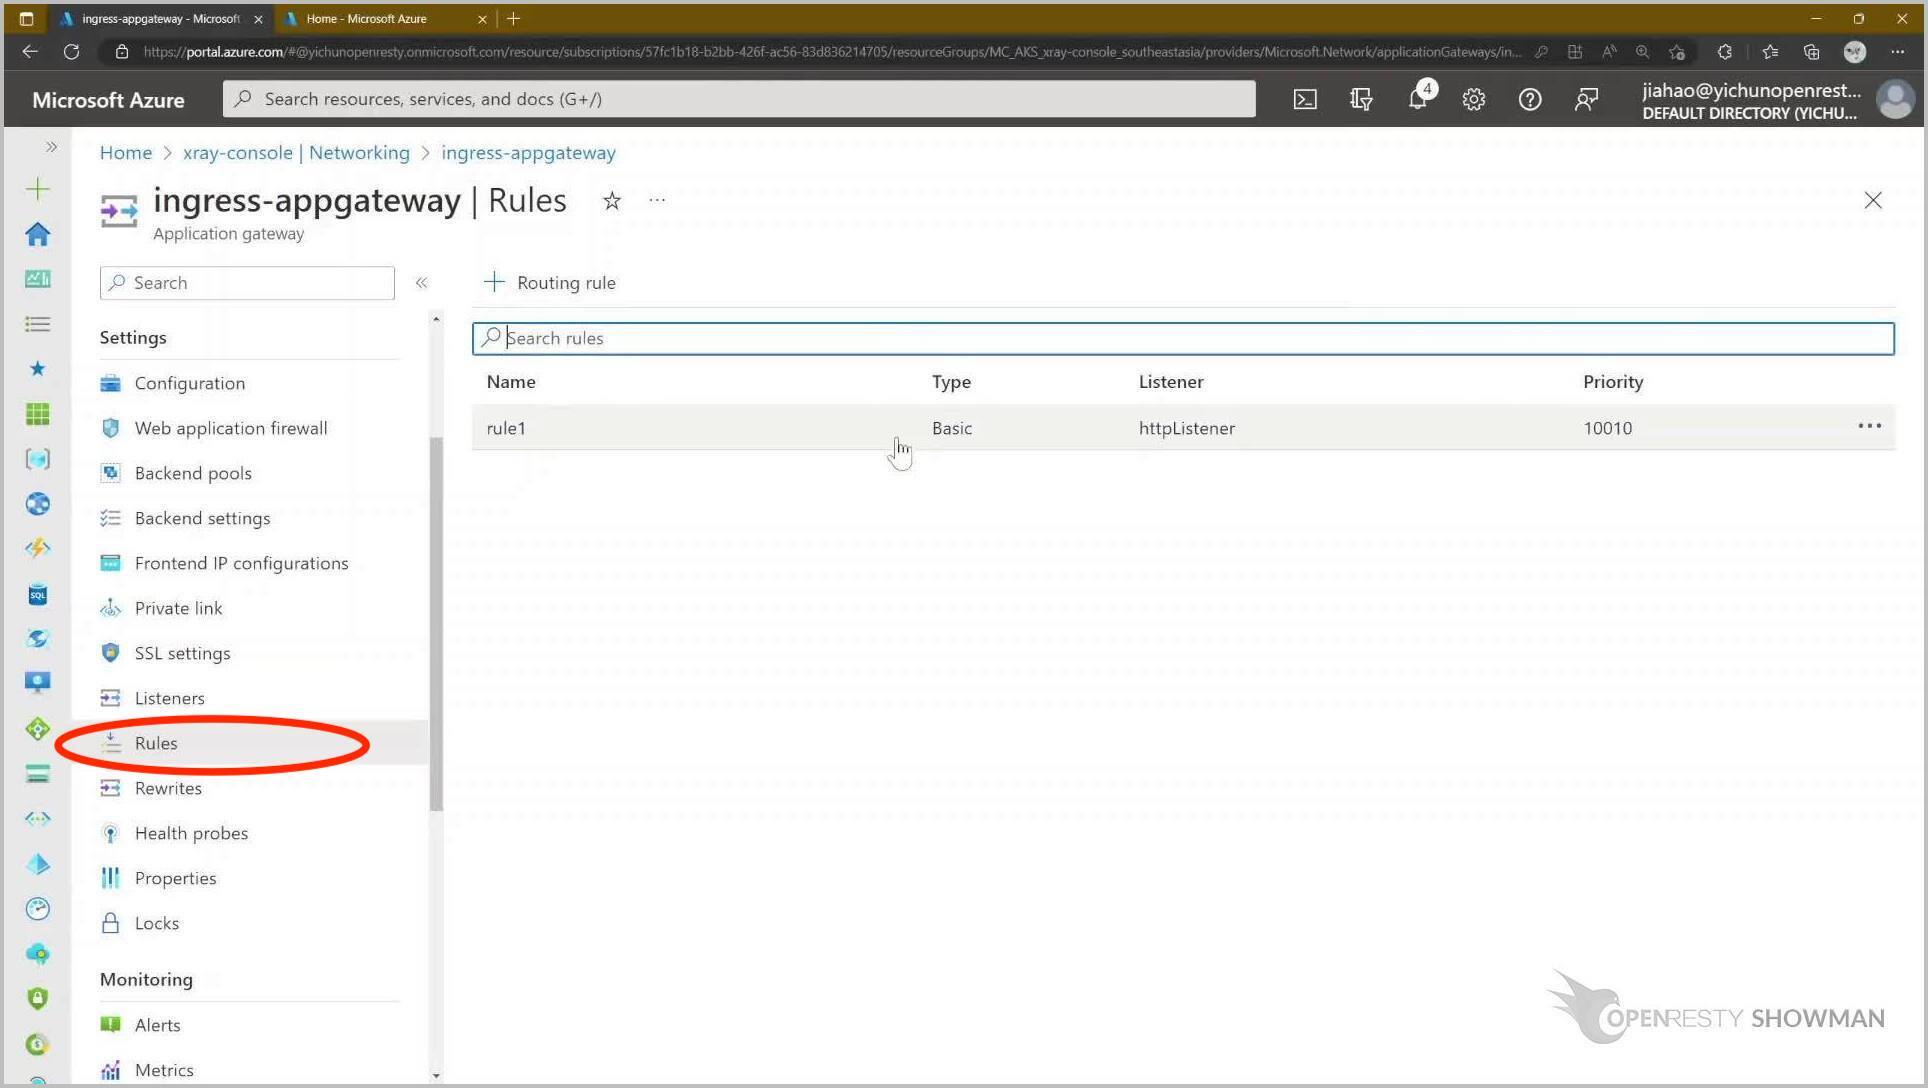
Modify the default rules.
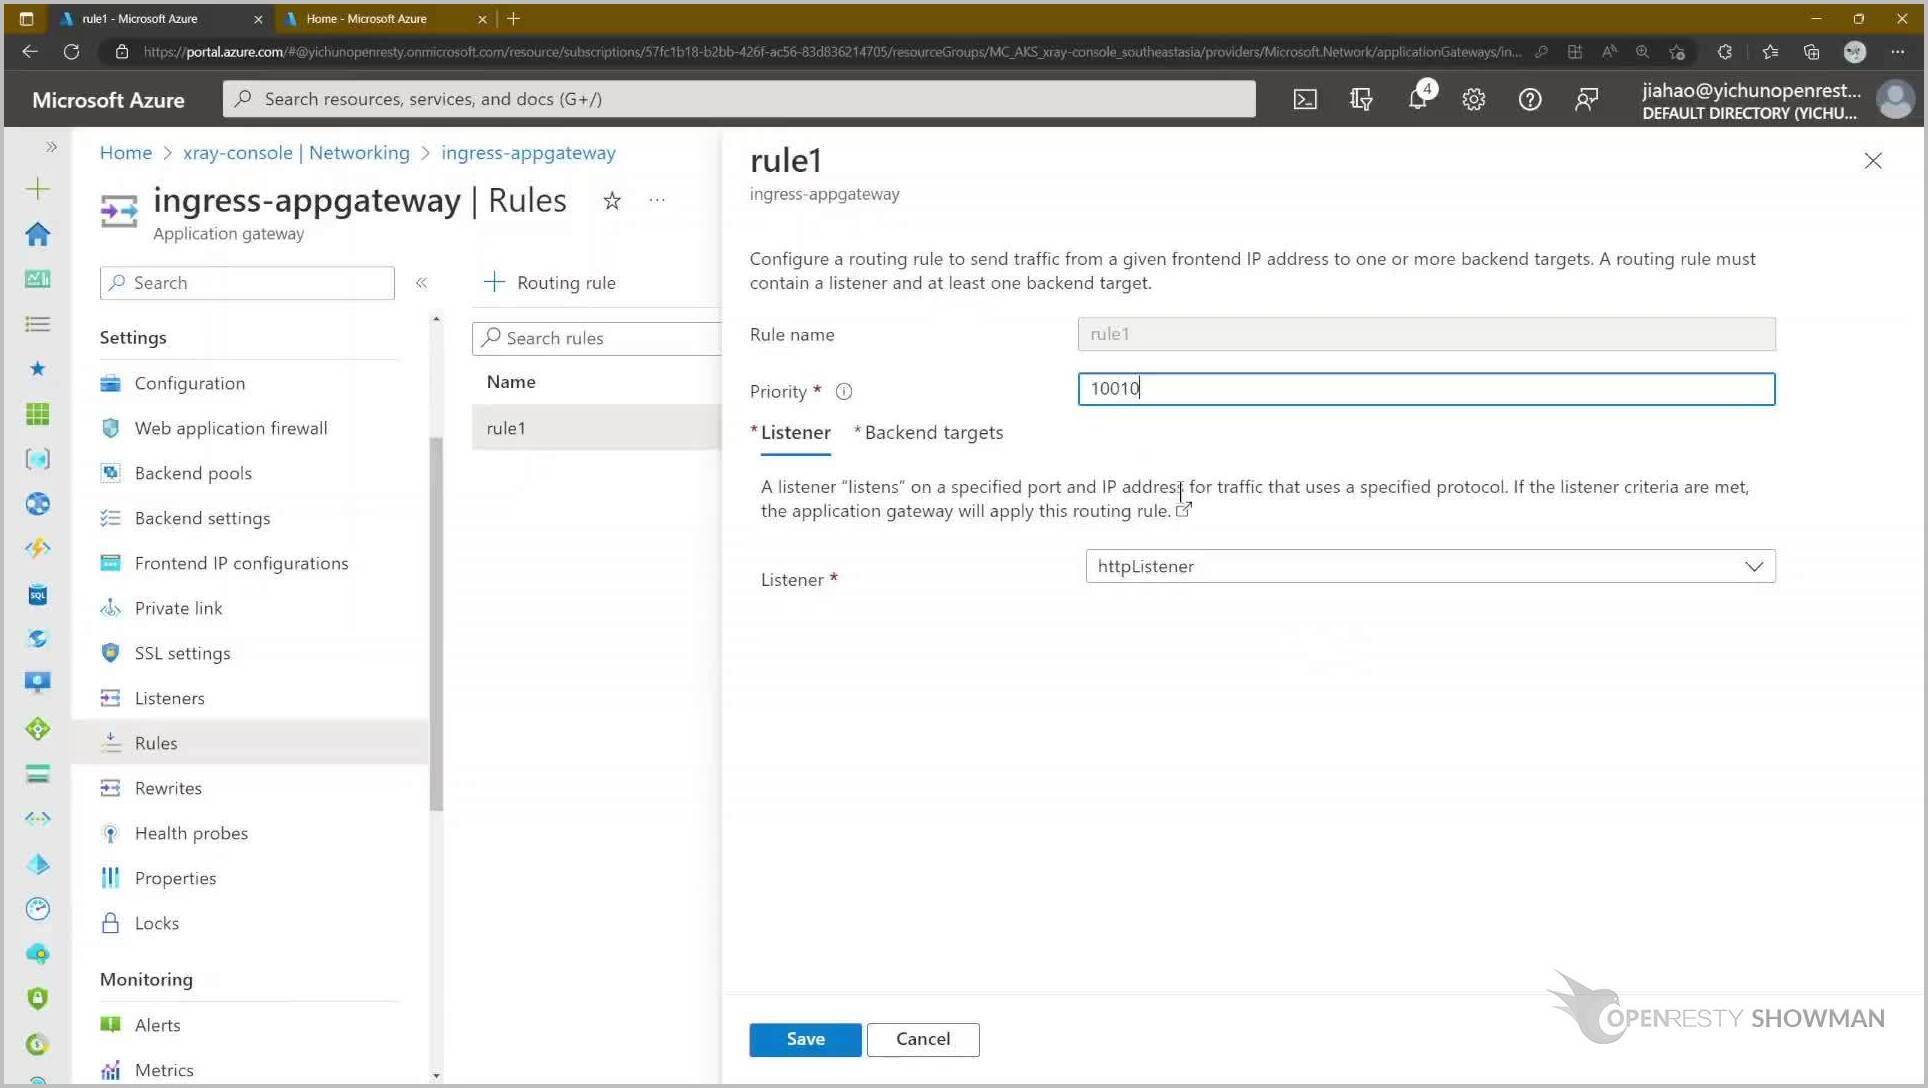
Change the Listener to the https service we just created which listens on port 443.
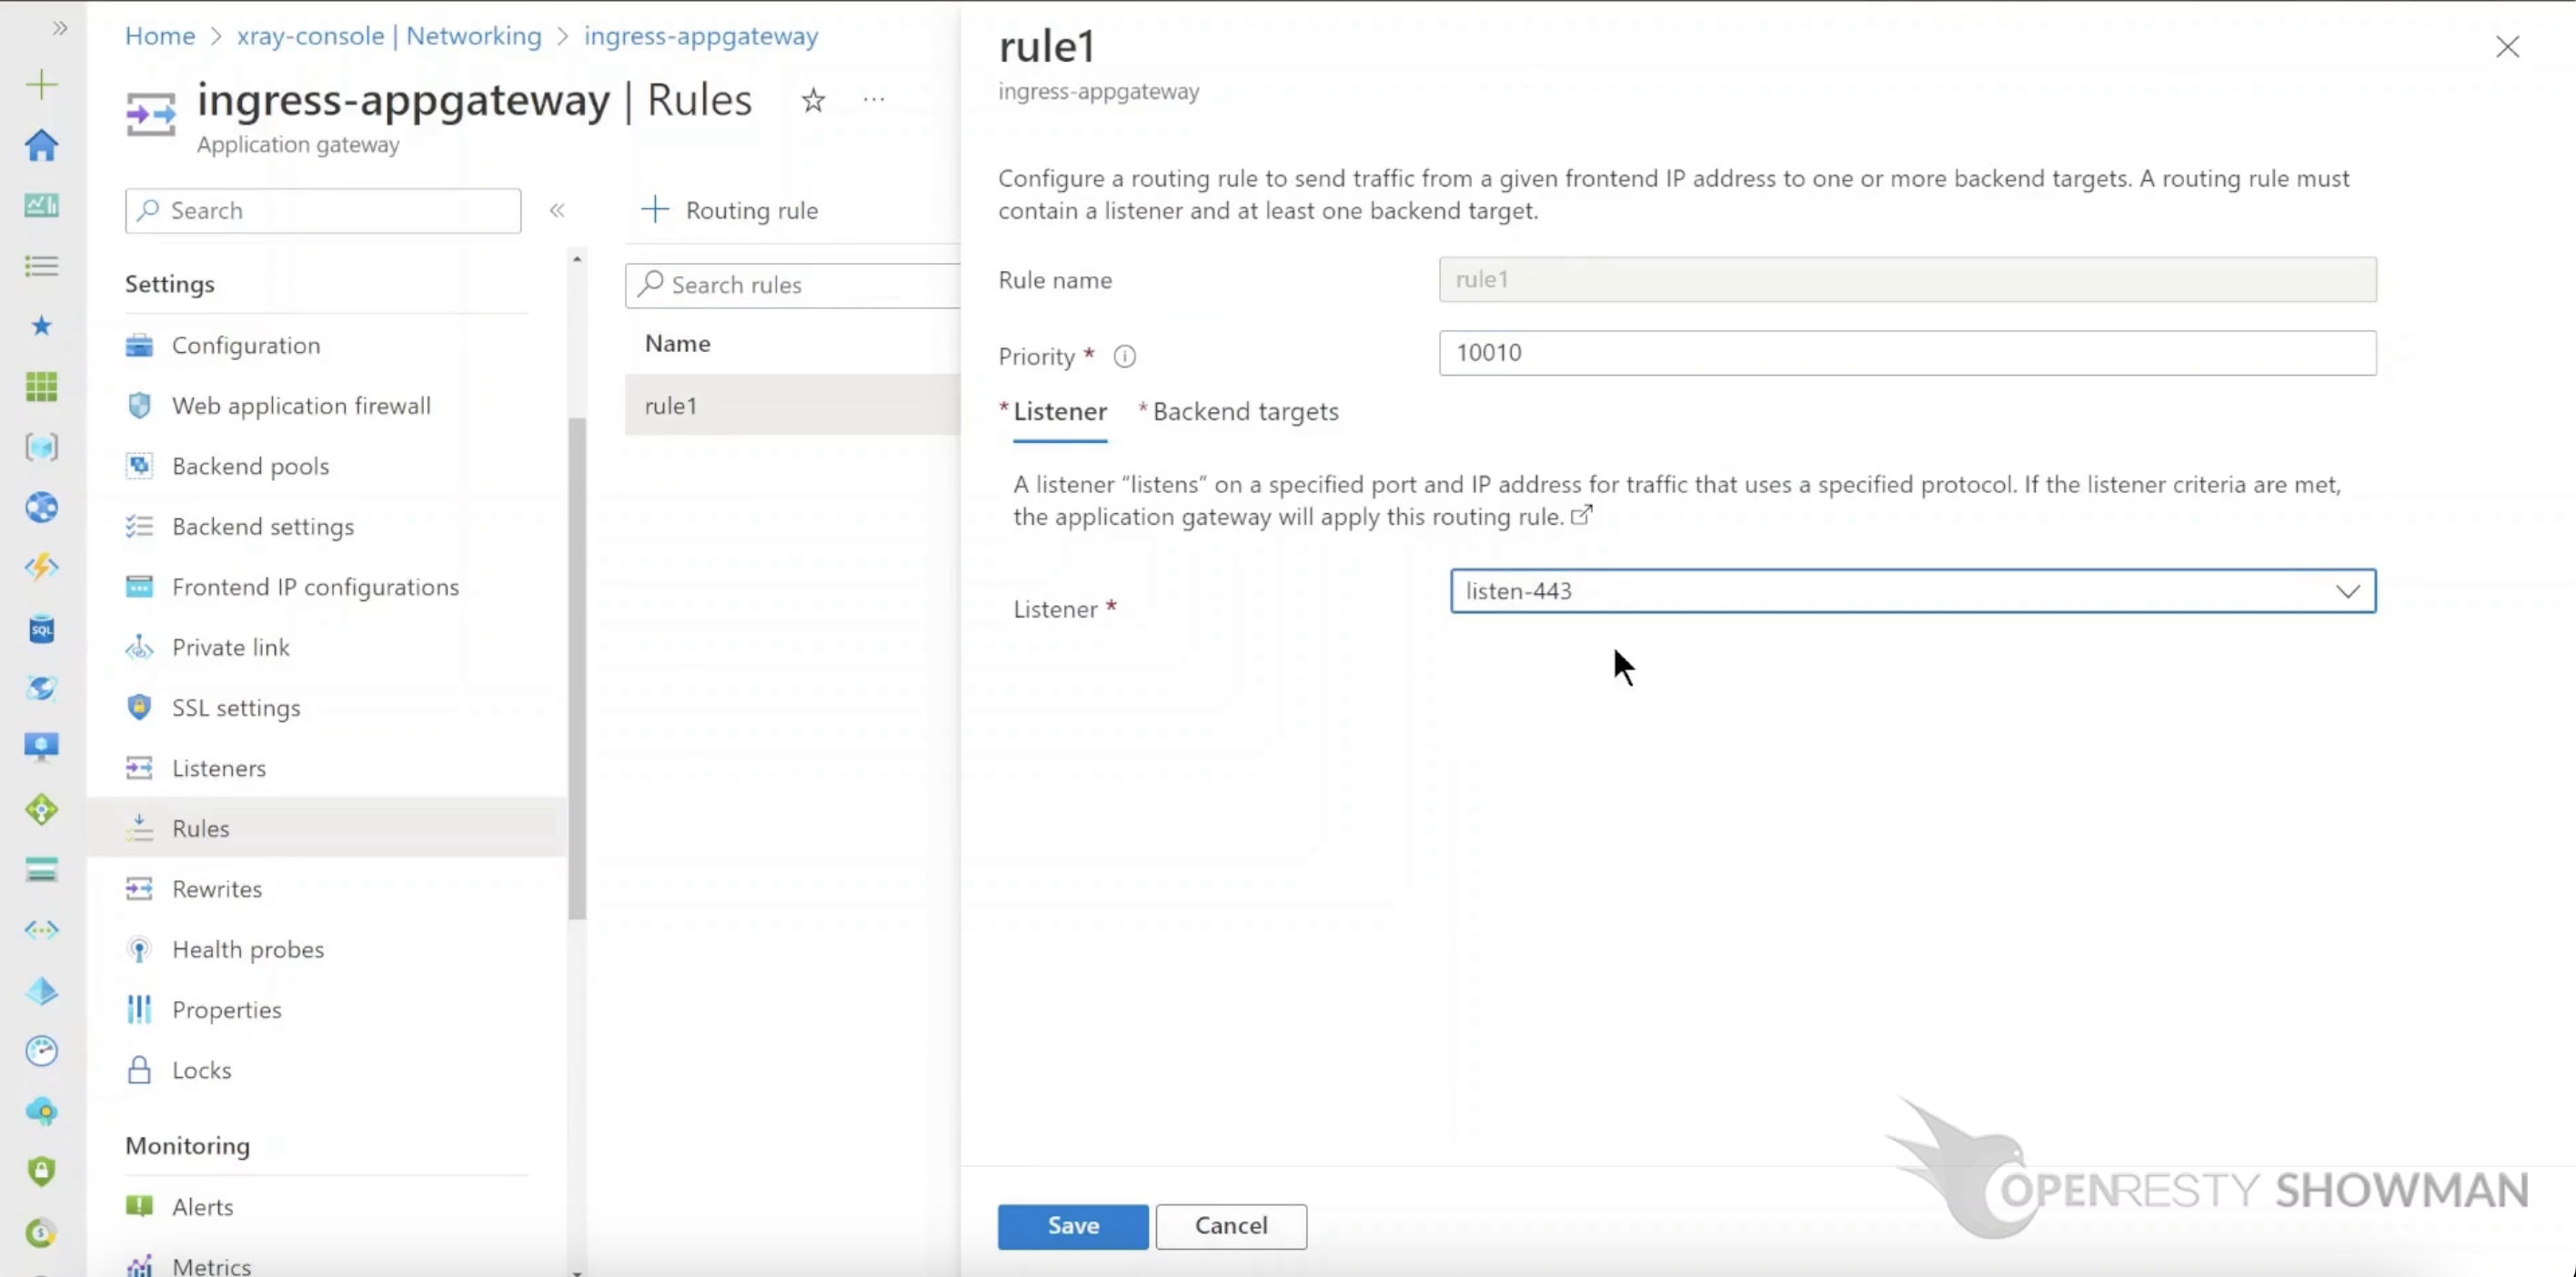
Select the tab Backend targets and make sure that the Backend targets and Backend settings are configured correctly.
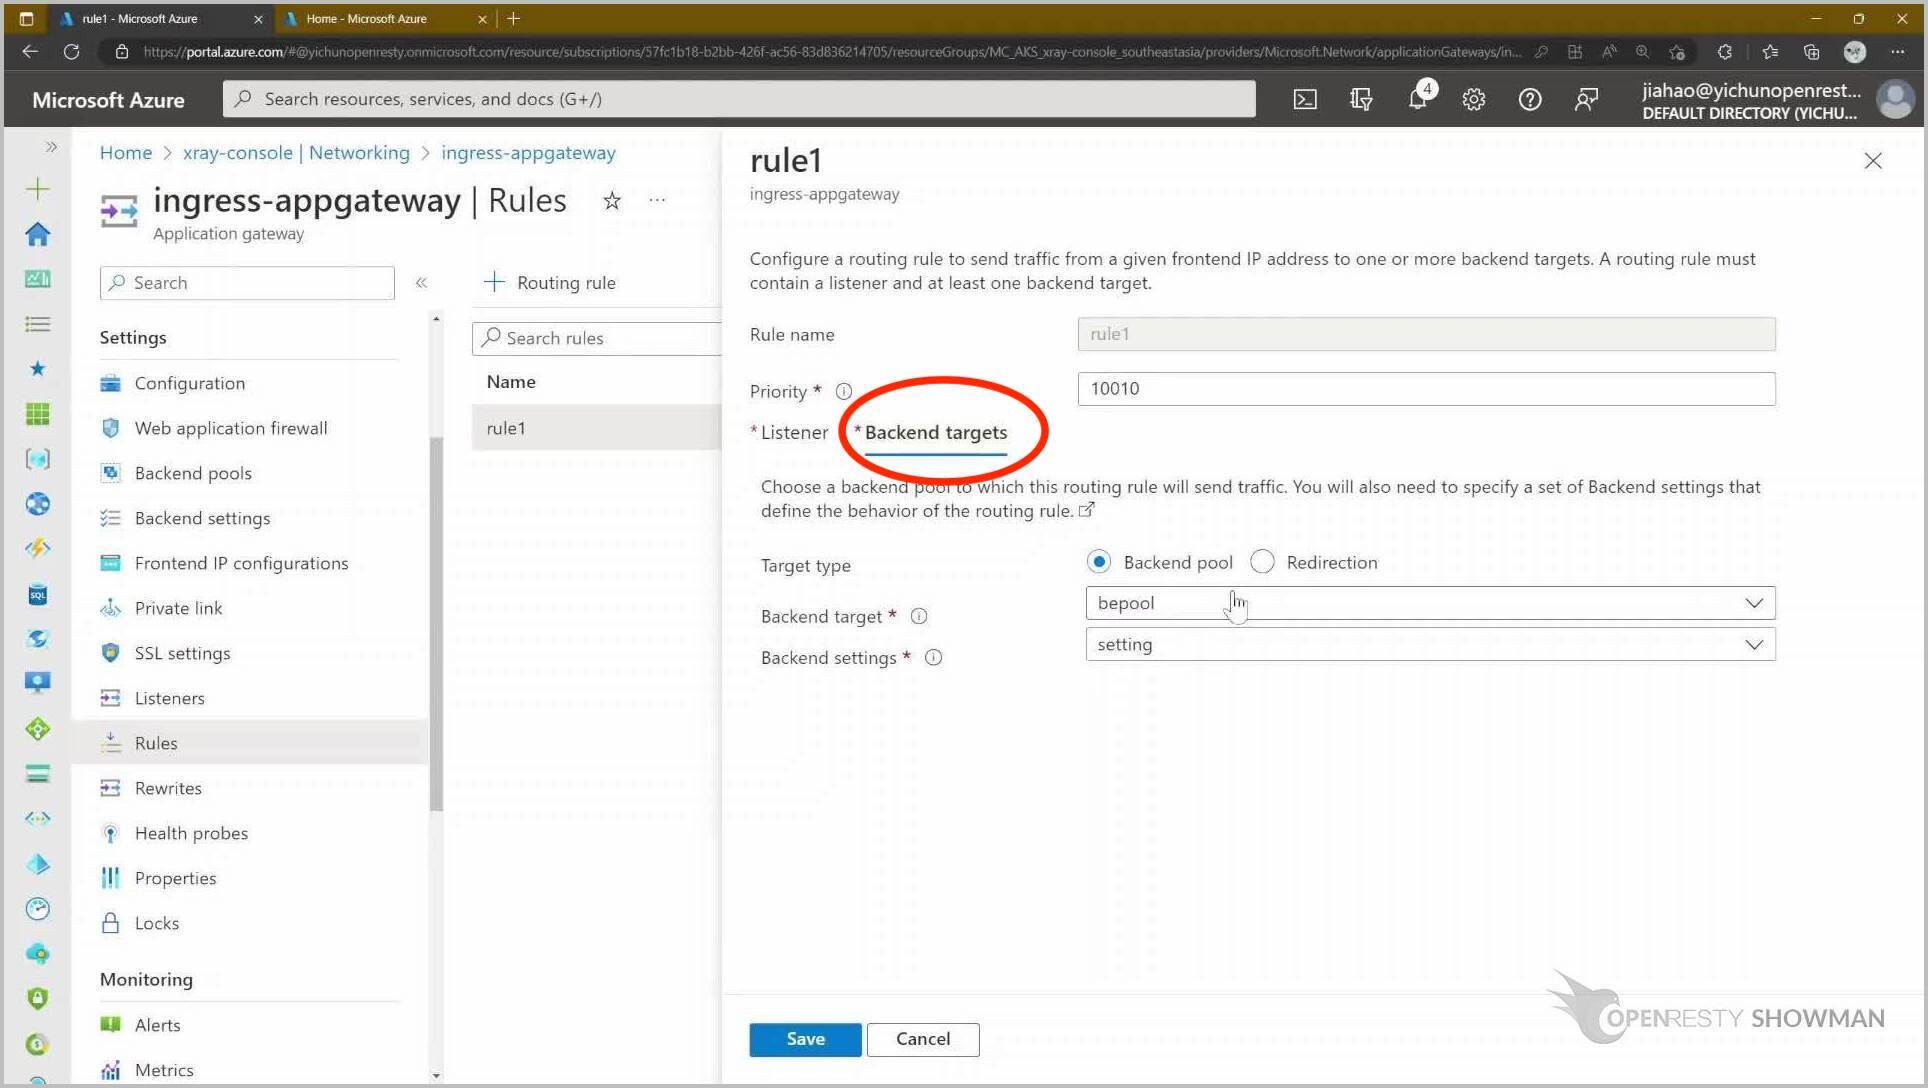
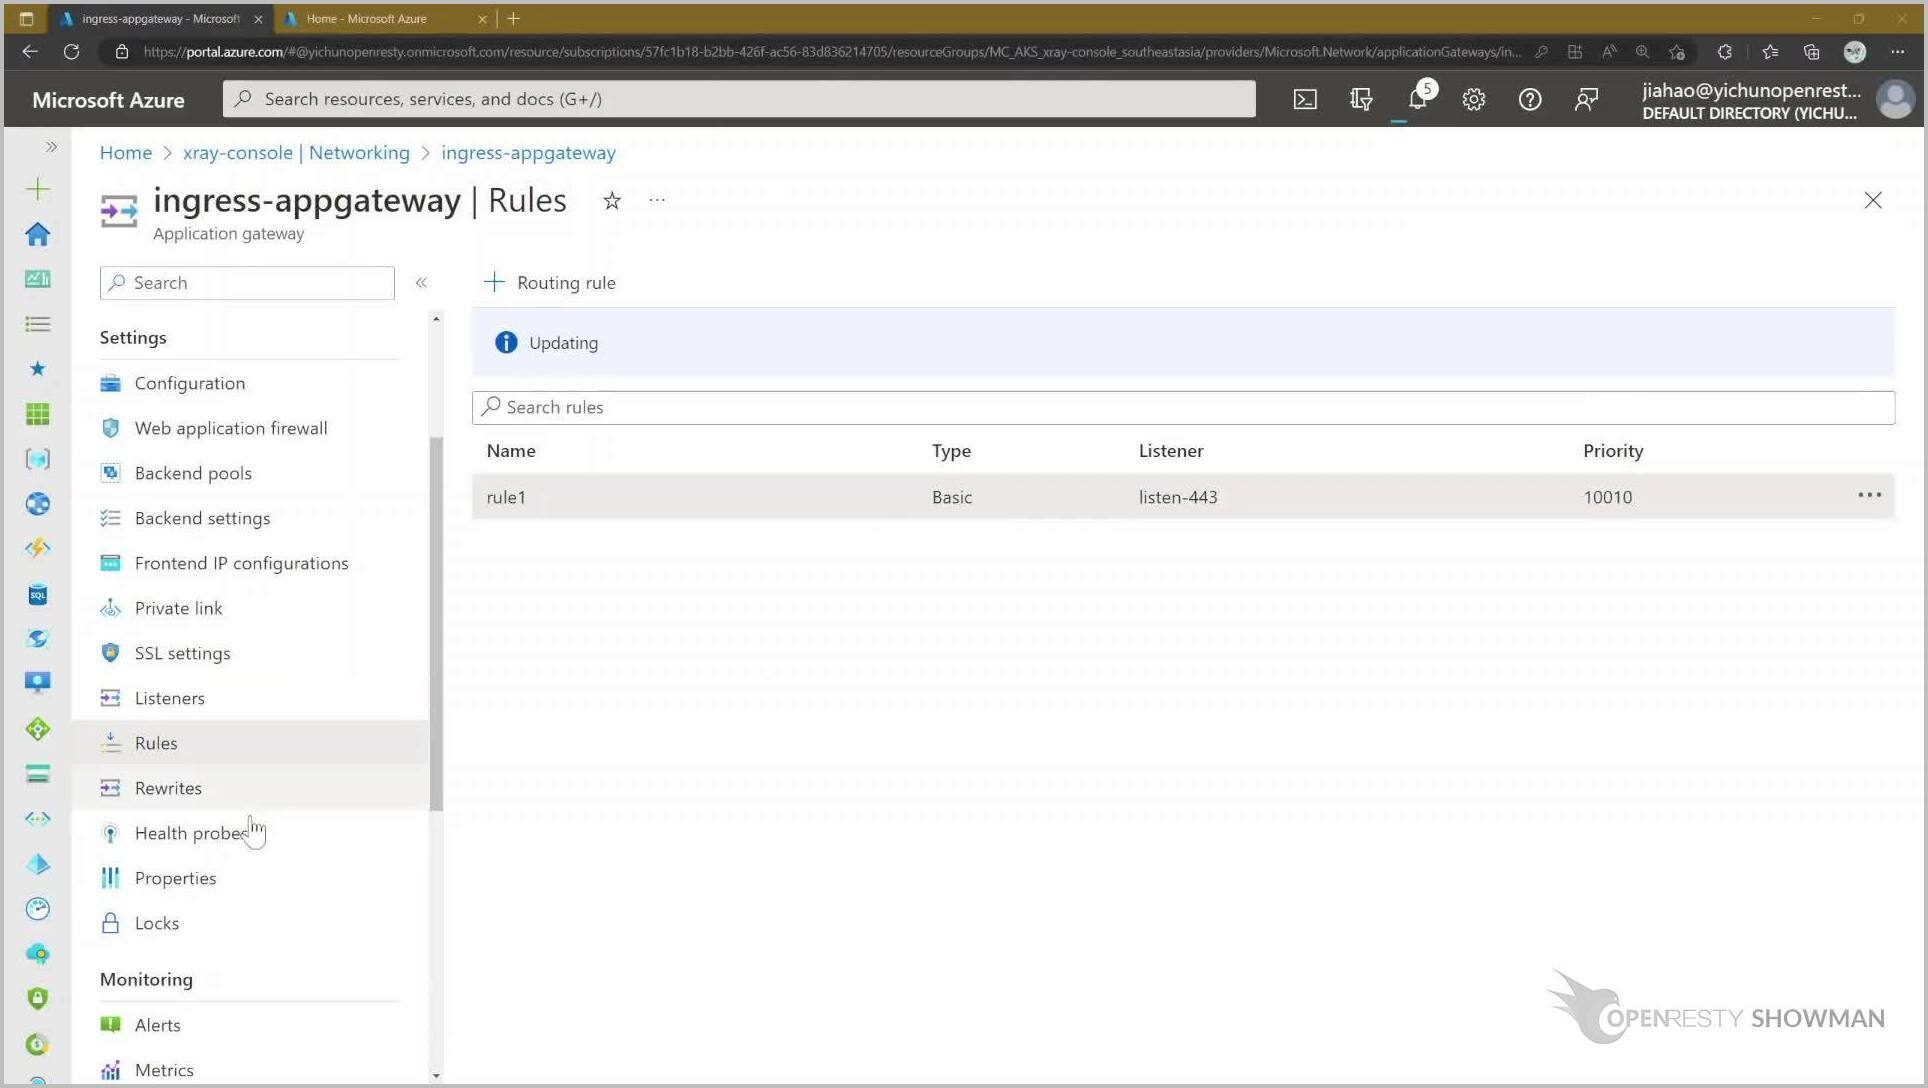
Click save.
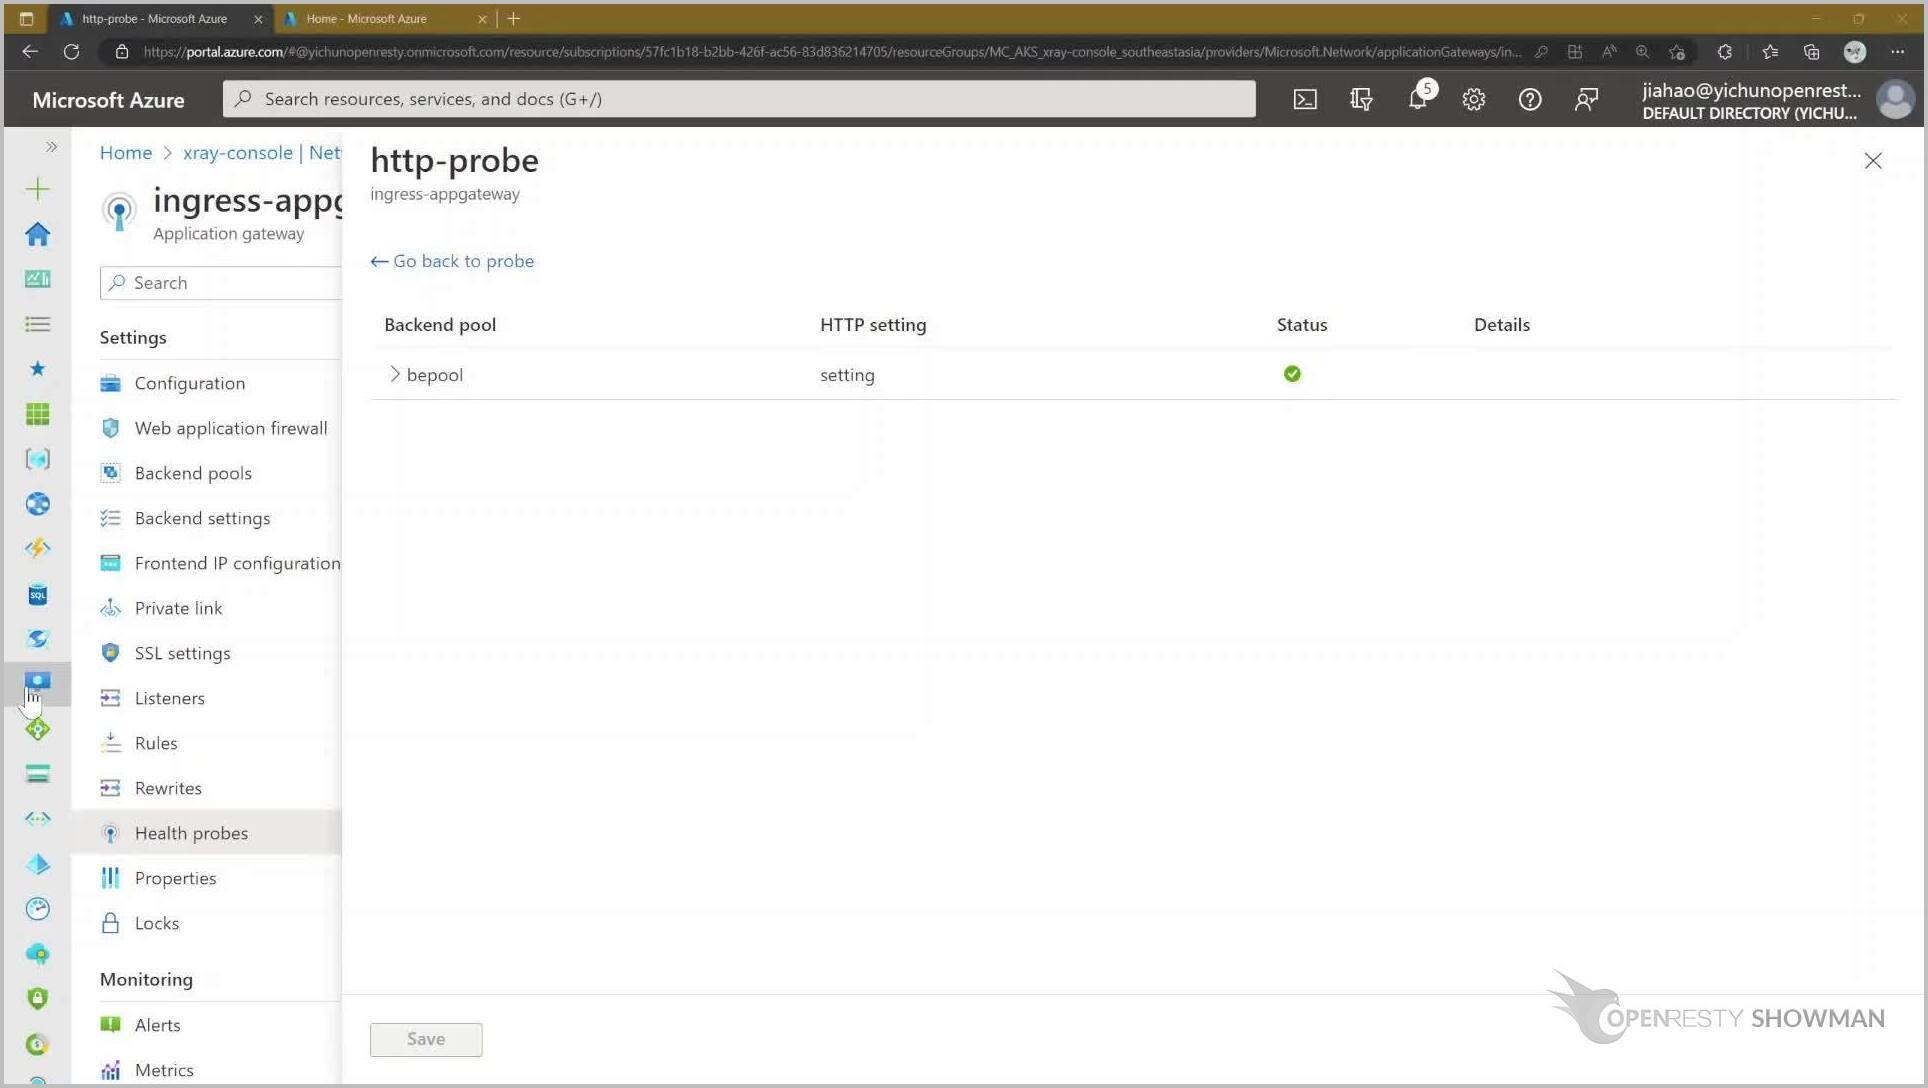
Select Health Probe to see if the health check has been passed.
The Status is passed.
Make sure that the domain name being accessed has been resolved to the public IP address of the gateway.
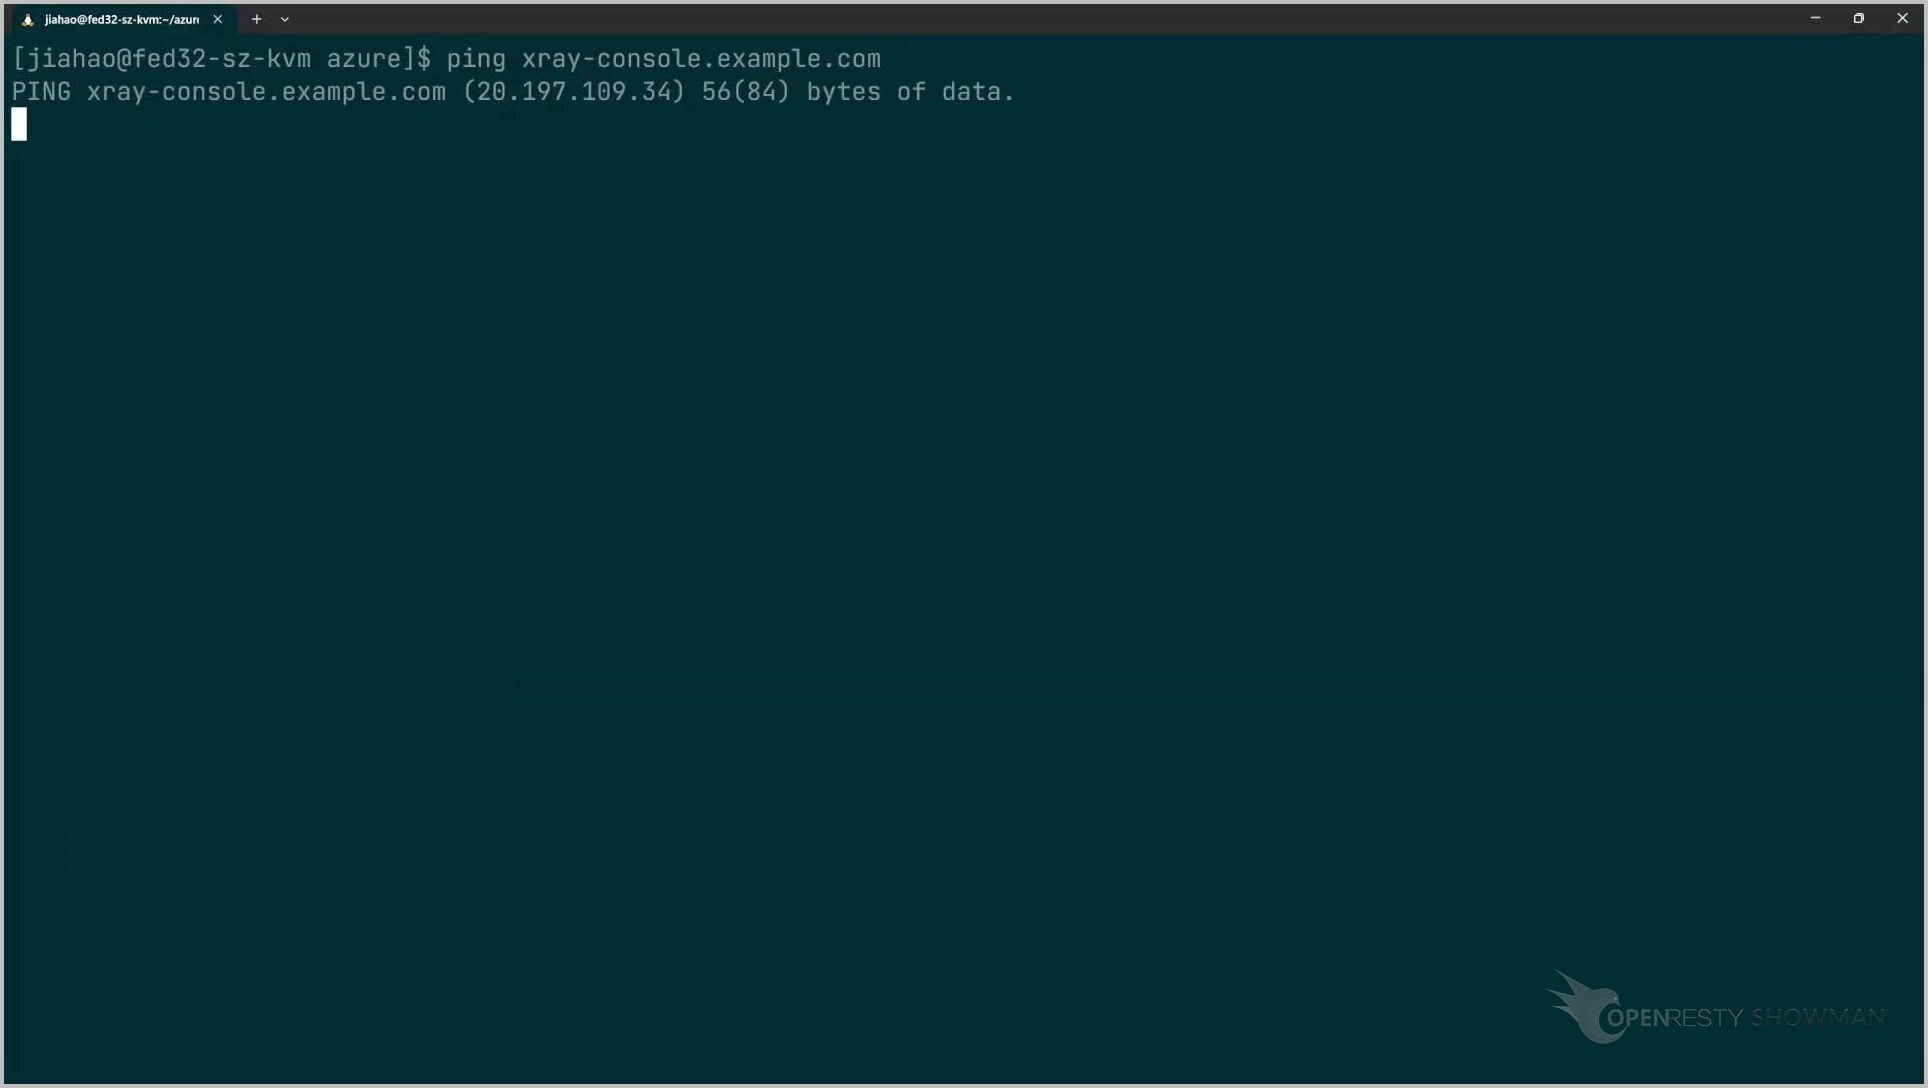
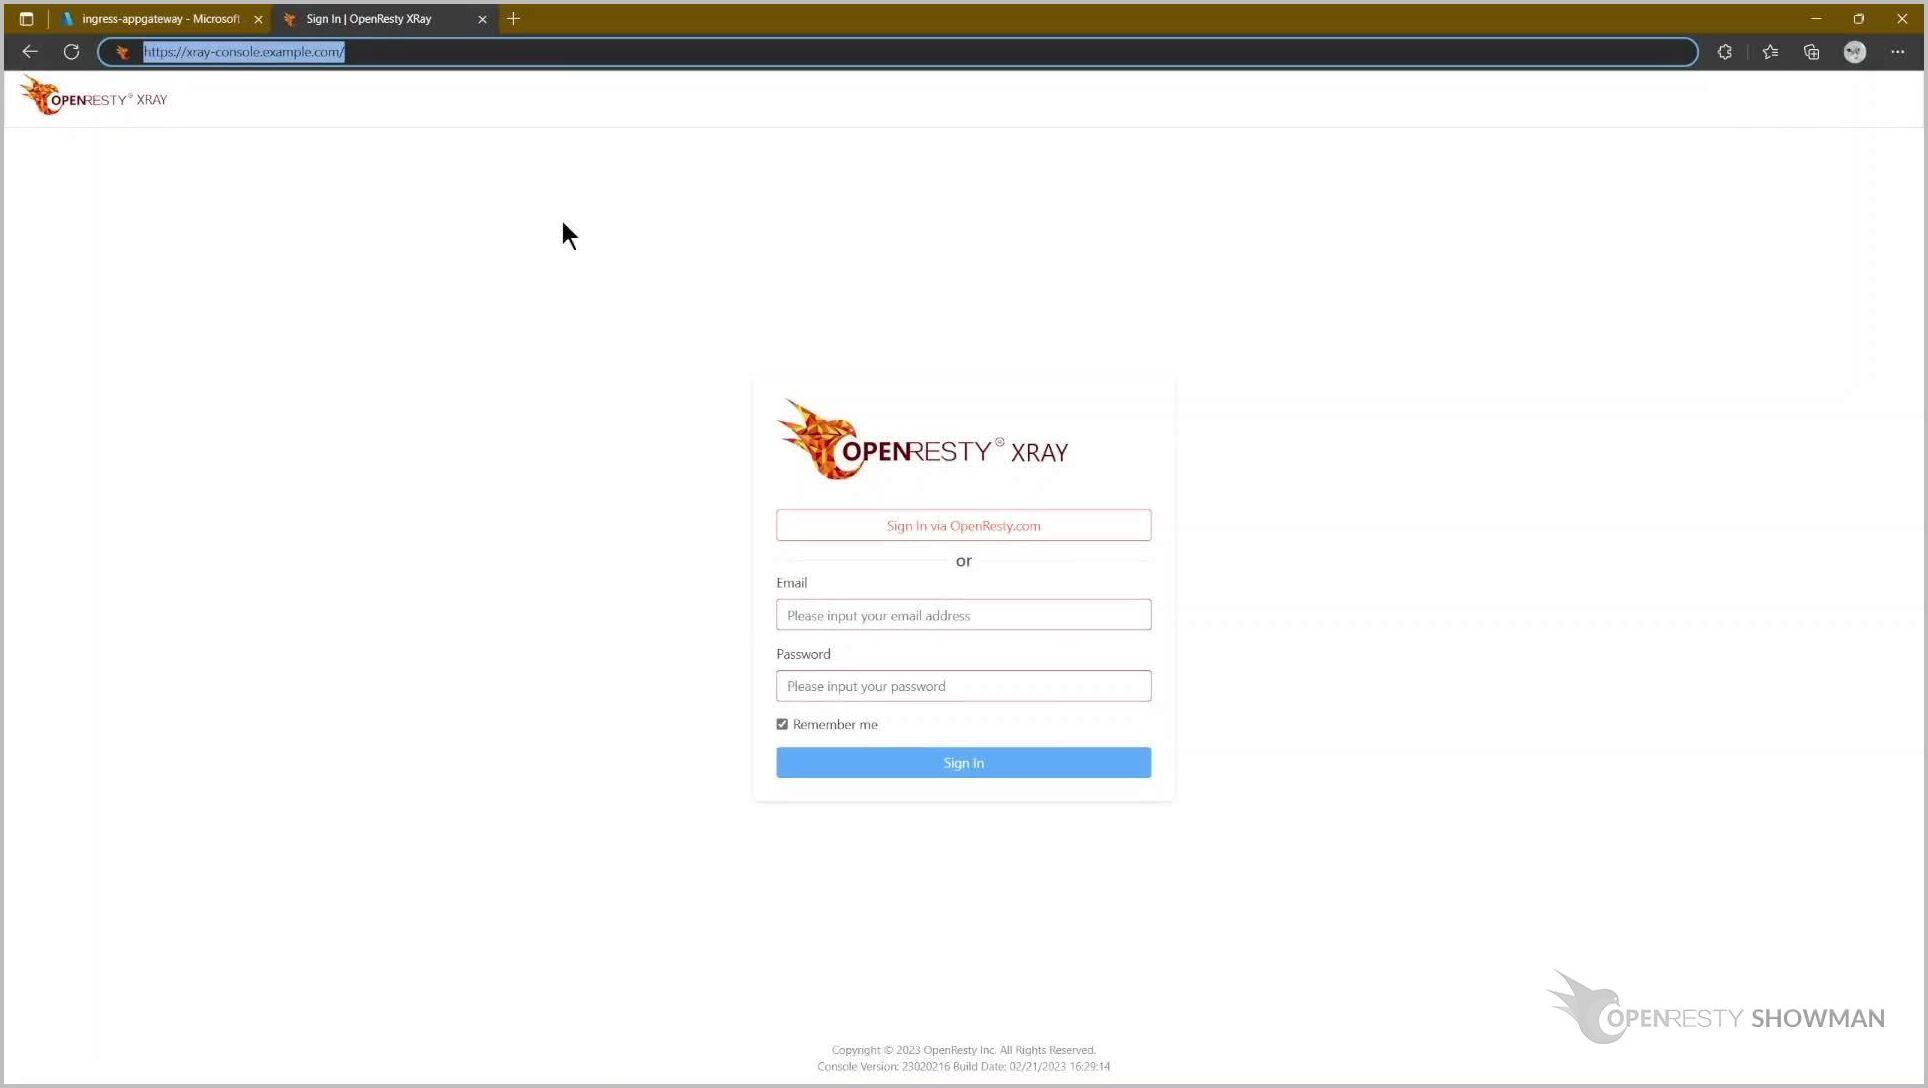
Now let’s access the domain name to check if the OpenResty XRay service has been deployed successfully.
When we see the following login screen it means that the deployment has been successful.
If you like this tutorial, please subscribe to this blog site and/or our YouTube channel. Thank you!
About The Author
Yichun Zhang (Github handle: agentzh), is the original creator of the OpenResty® open-source project and the CEO of OpenResty Inc..
Yichun is one of the earliest advocates and leaders of “open-source technology”. He worked at many internationally renowned tech companies, such as Cloudflare, Yahoo!. He is a pioneer of “edge computing”, “dynamic tracing” and “machine coding”, with over 22 years of programming and 16 years of open source experience. Yichun is well-known in the open-source space as the project leader of OpenResty®, adopted by more than 40 million global website domains.
OpenResty Inc., the enterprise software start-up founded by Yichun in 2017, has customers from some of the biggest companies in the world. Its flagship product, OpenResty XRay, is a non-invasive profiling and troubleshooting tool that significantly enhances and utilizes dynamic tracing technology. And its OpenResty Edge product is a powerful distributed traffic management and private CDN software product.
As an avid open-source contributor, Yichun has contributed more than a million lines of code to numerous open-source projects, including Linux kernel, Nginx, LuaJIT, GDB, SystemTap, LLVM, Perl, etc. He has also authored more than 60 open-source software libraries.
Related Articles
OpenResty XRay Dec 29, 2023

OpenResty XRay Dec 25, 2023
")
OpenResty XRay Dec 25, 2023

OpenResty XRay Dec 15, 2023
")
OpenResty XRay Dec 7, 2023


")

")
