Streaming HTTP Response Output in OpenResty
Check out how OpenResty XRay helps organizations troubleshoot issues and optimize the performance of their applications.
 Learn More
LIVE DEMO
Learn More
LIVE DEMOIn this video, I’ll demonstrate how to do streaming HTTP response body output in OpenResty.
cd ~/
mkdir stream-resp/
cd stream-resp/
We create the sub-directory structure as always.
mkdir logs conf html
We write the boilerplate configuration quickly.
vim conf/nginx.conf
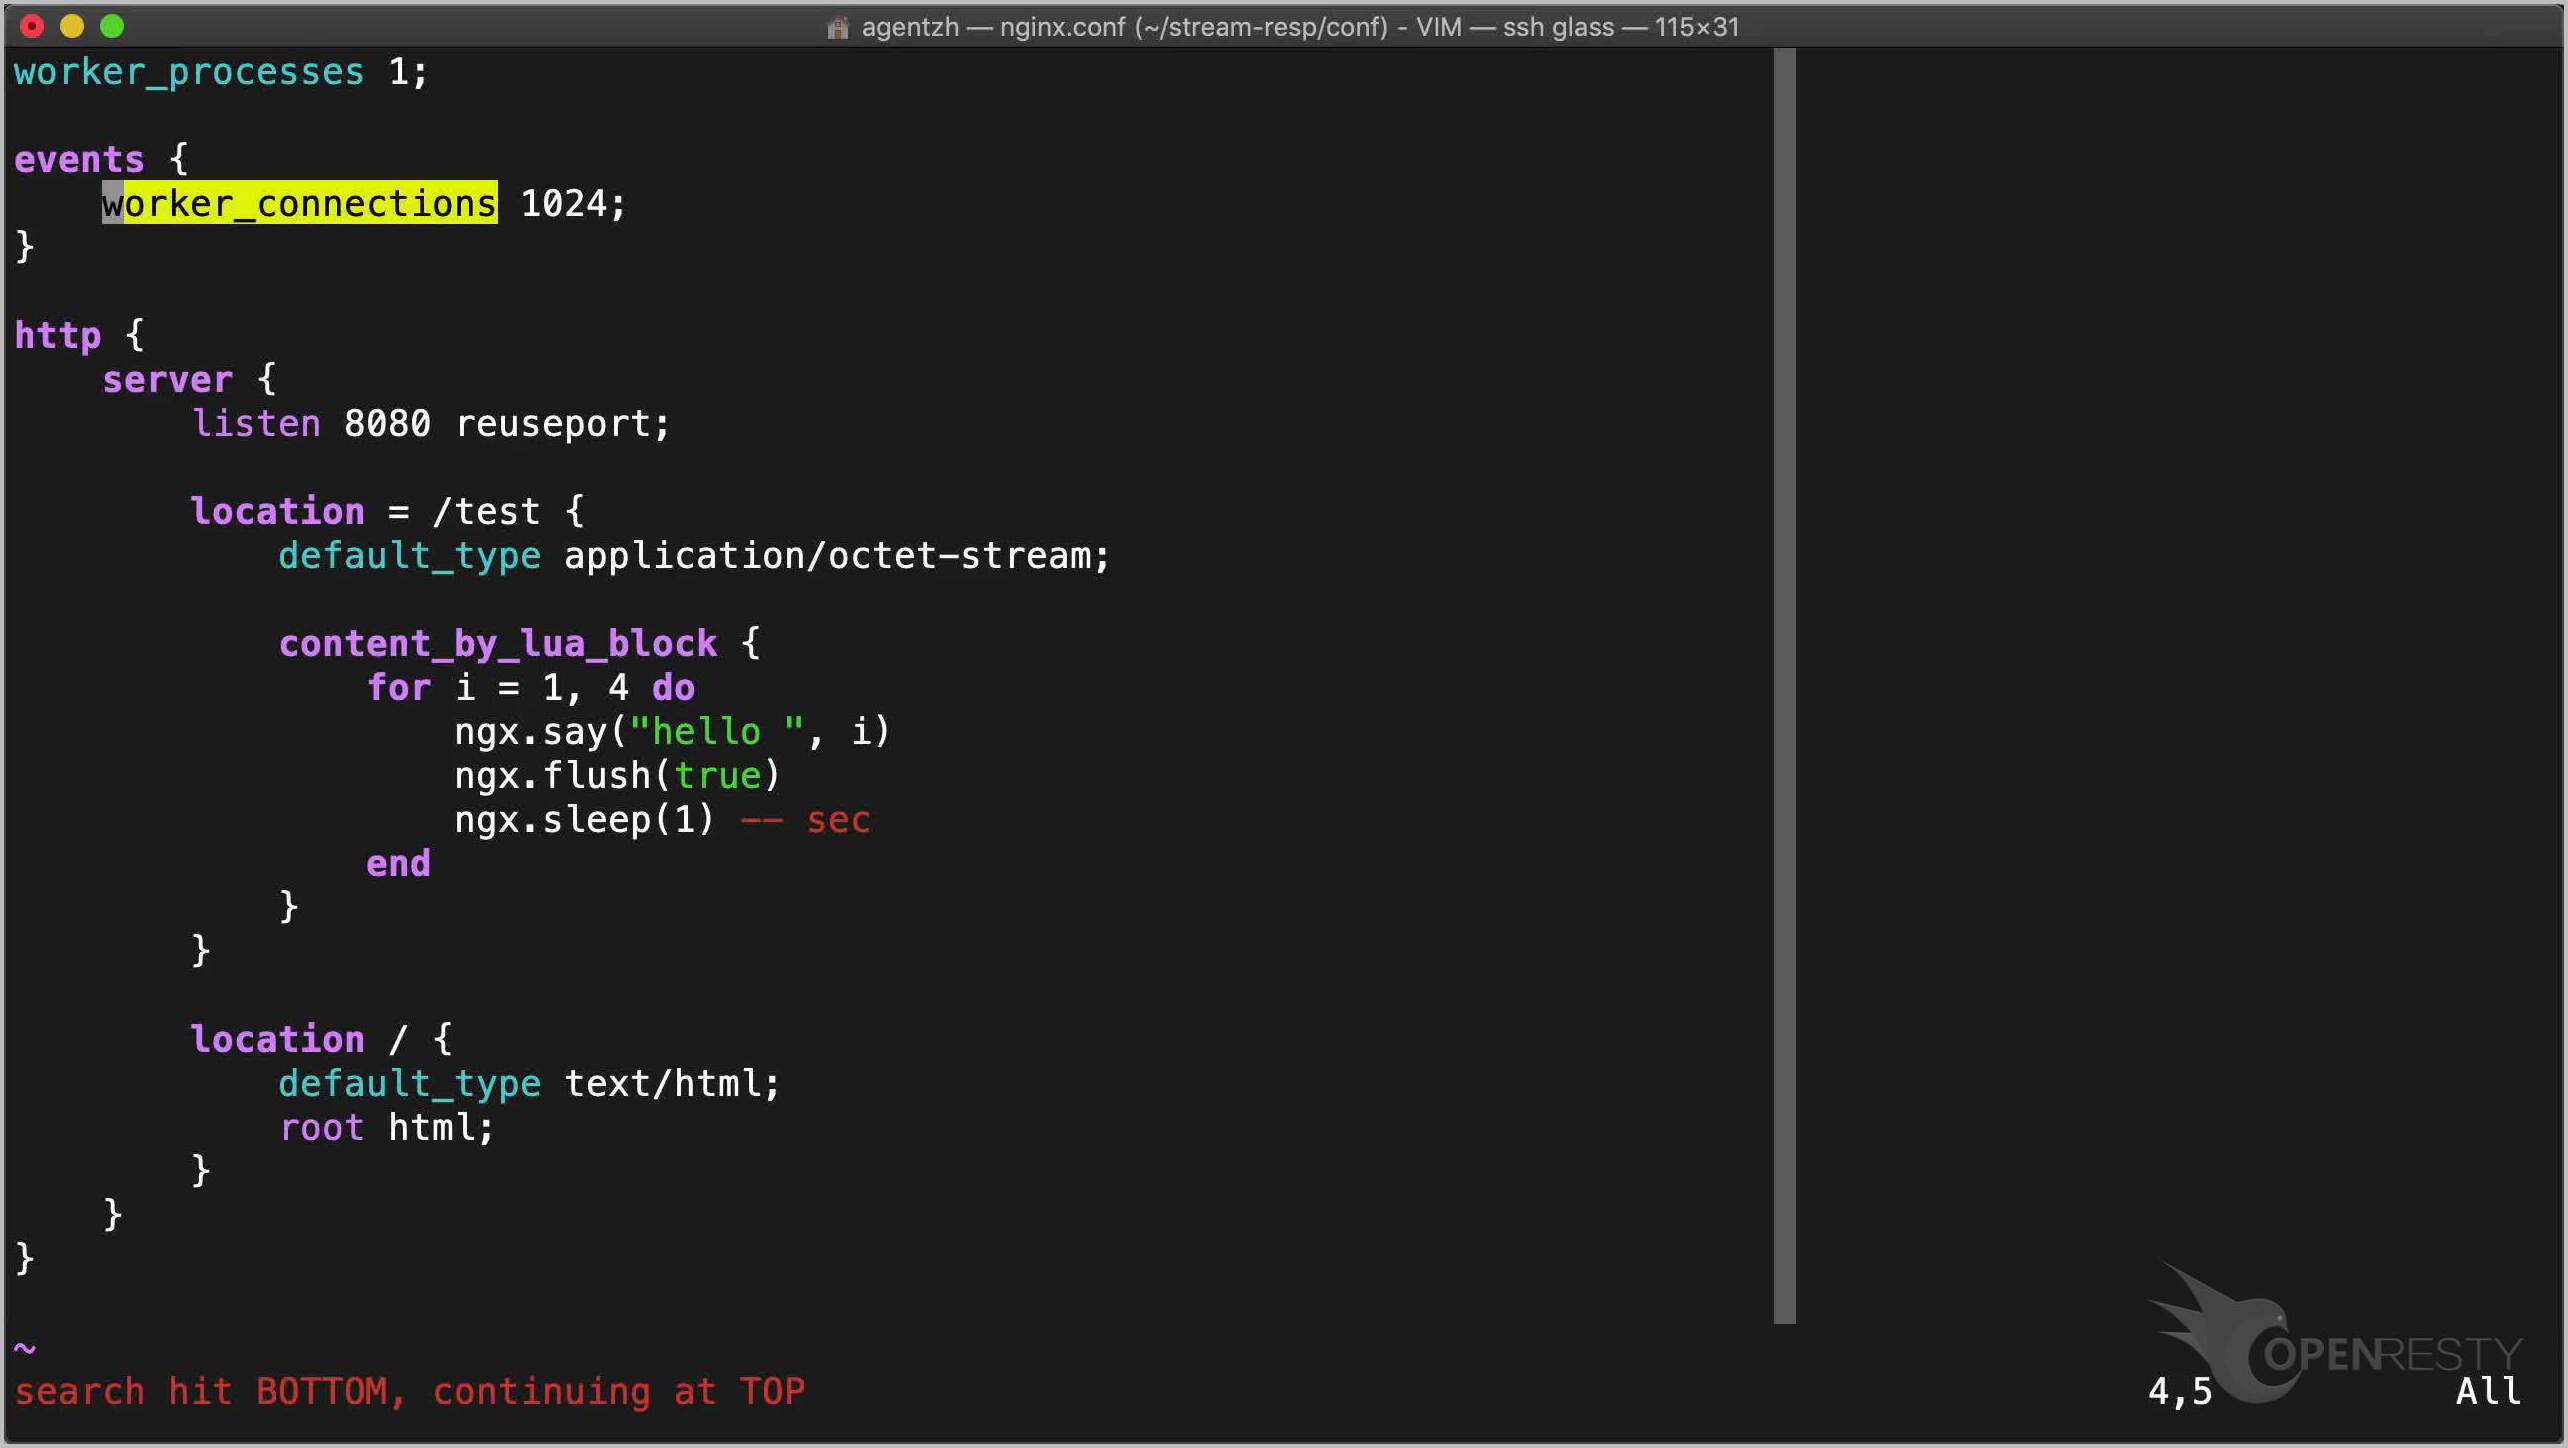
And make the following edits in this file:
- We create an HTTP server listening on the 8080 port.
- Add a
/testlocation. - It is important to specify this
application/octet-streamMIME type to make the Chrome web browser happy. - Add some Lua code via the content_by_lua_block directive.
- We output one line of output every one second.
- We need to call the ngx.flush method explicitly to flush Nginx’s write buffers. This is a 100% nonblocking call.
- And we use
ngx.sleepto sleep for one second in each loop iteration. This is nonblocking as well. - Then we create a root location for the
htmldirectory.
worker_processes 1;

events {
    worker_connections 1024;
}

http {
    server {
        listen 8080 reuseport;

        location = /test {
            default_type application/octet-stream;

            content_by_lua_block {
                for i = 1, 4 do
                    ngx.say("hello ", i)
                    ngx.flush(true)
                    ngx.sleep(1) -- sec
                end
            }
        }

        location / {
            default_type text/html;
            root html;
        }
    }
}
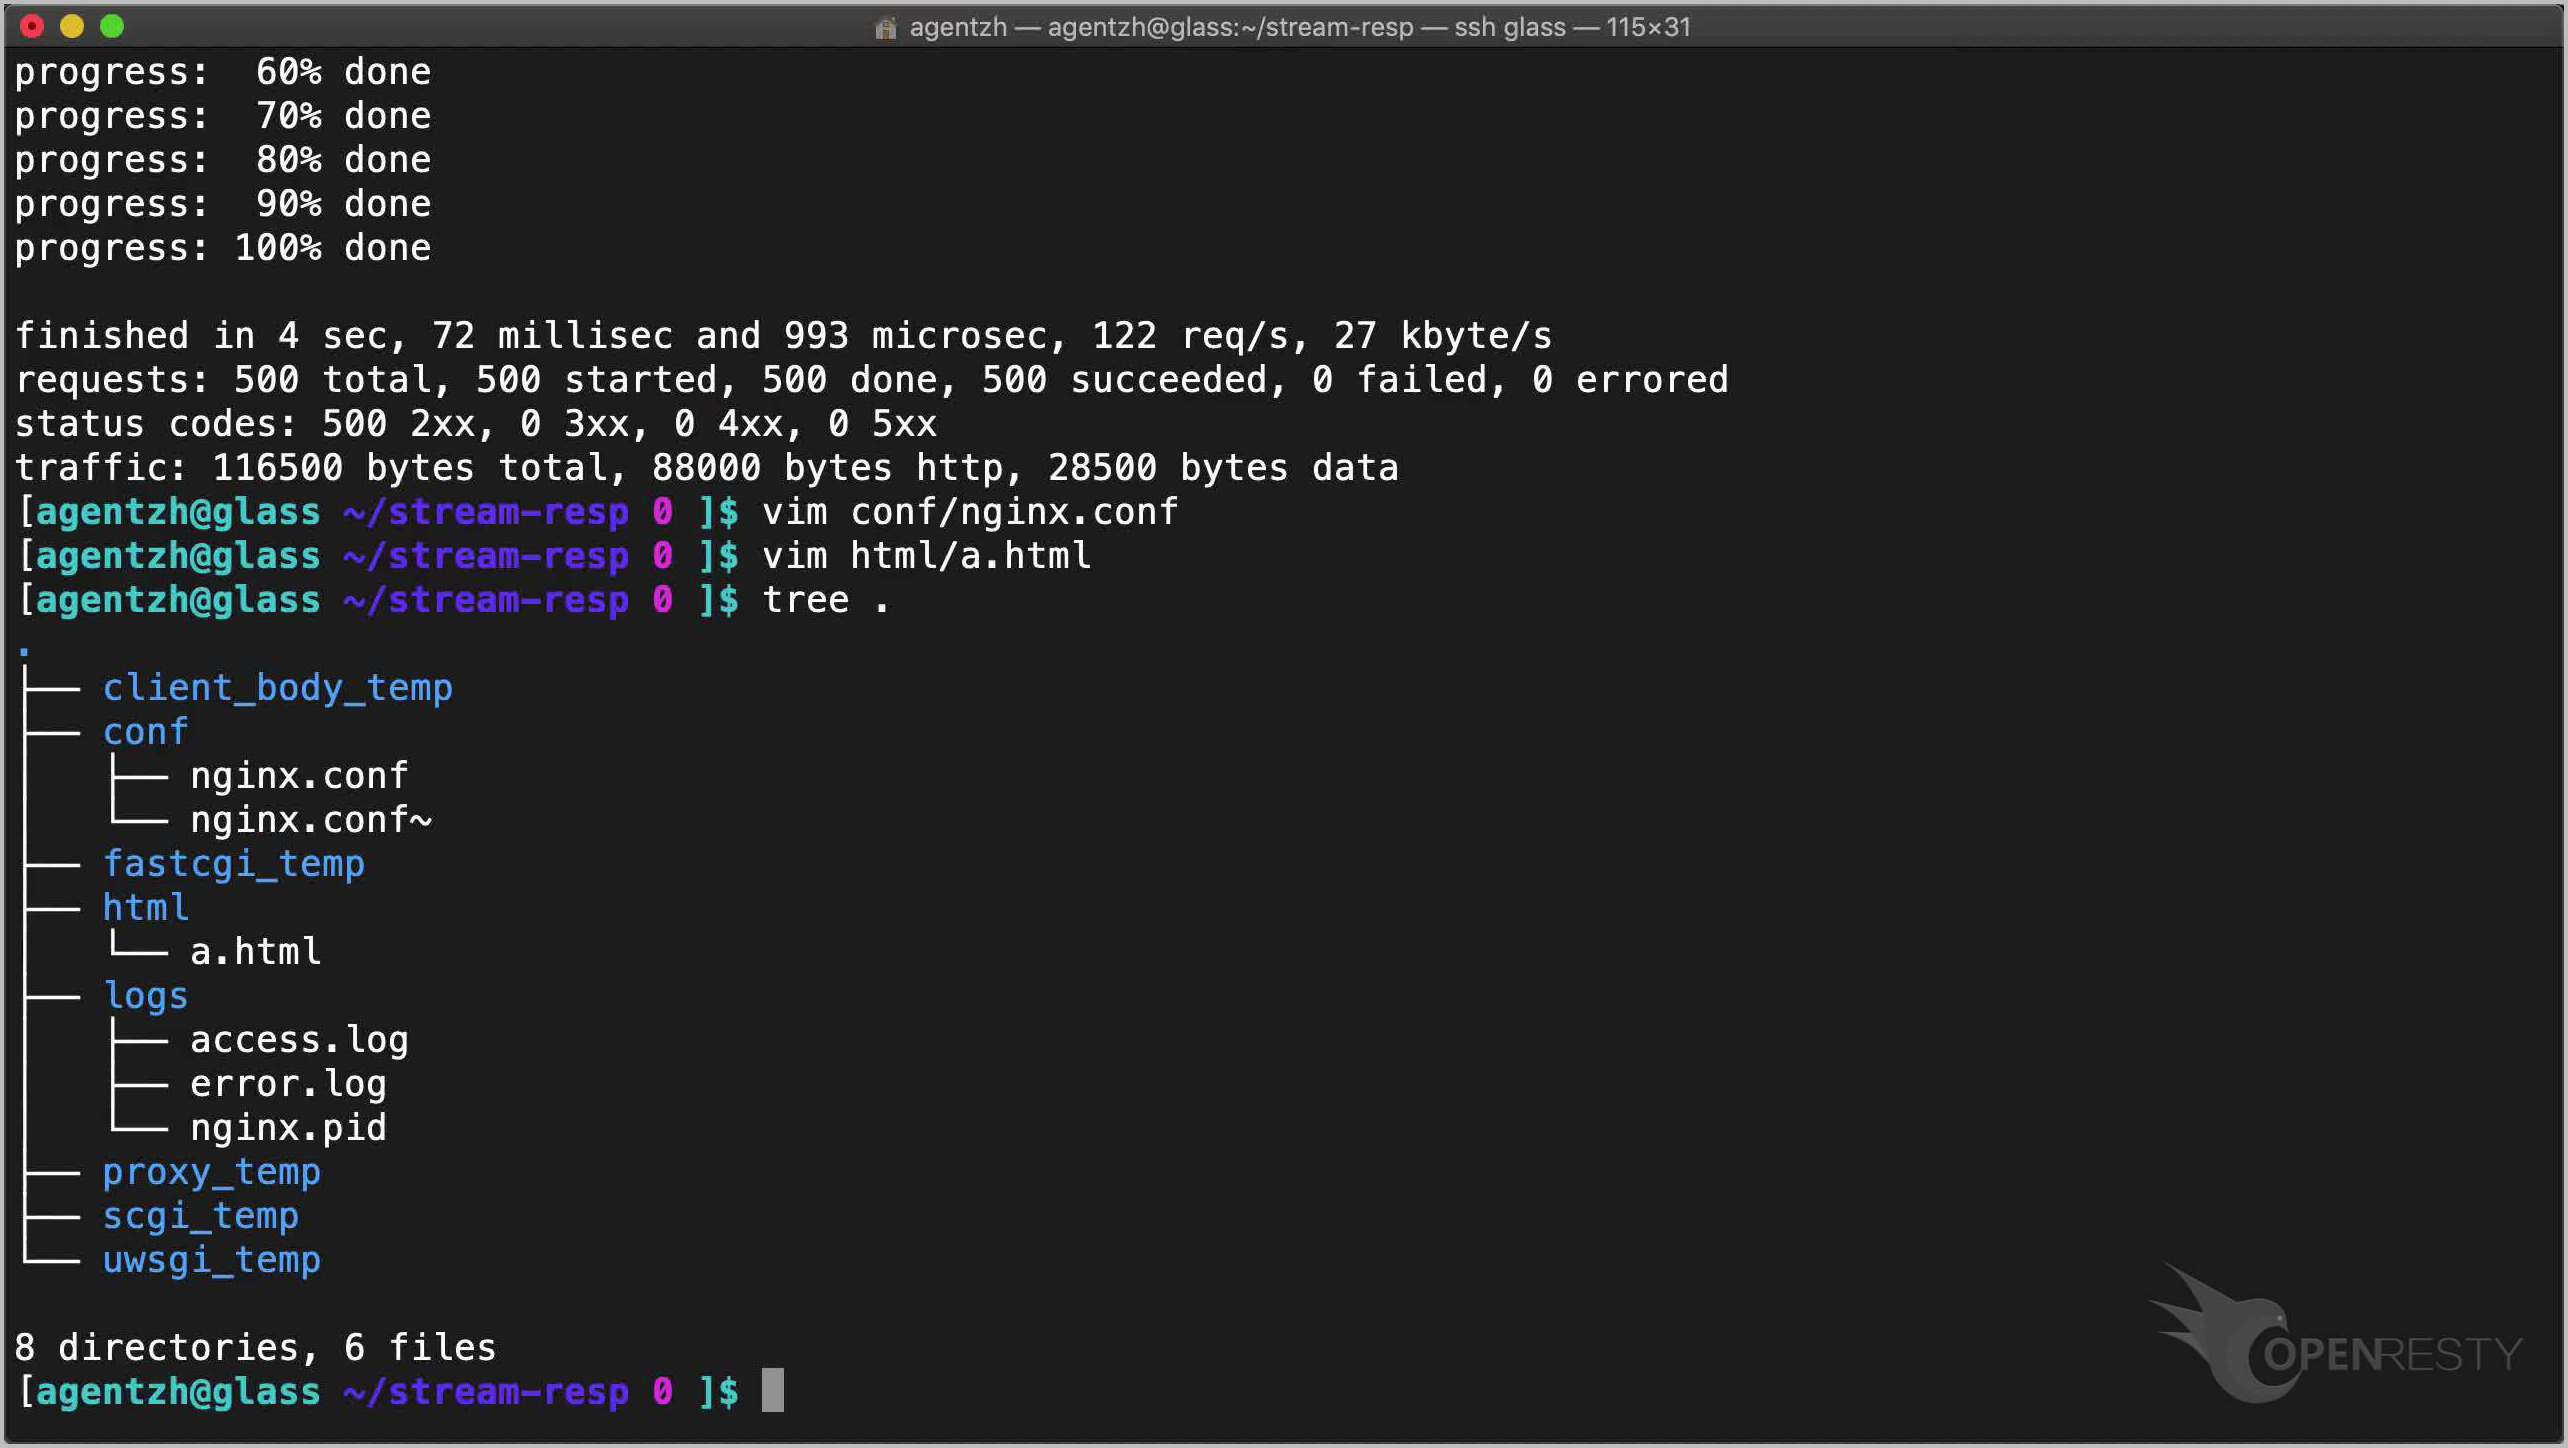
Let’s check the whole directory tree right now.
tree .
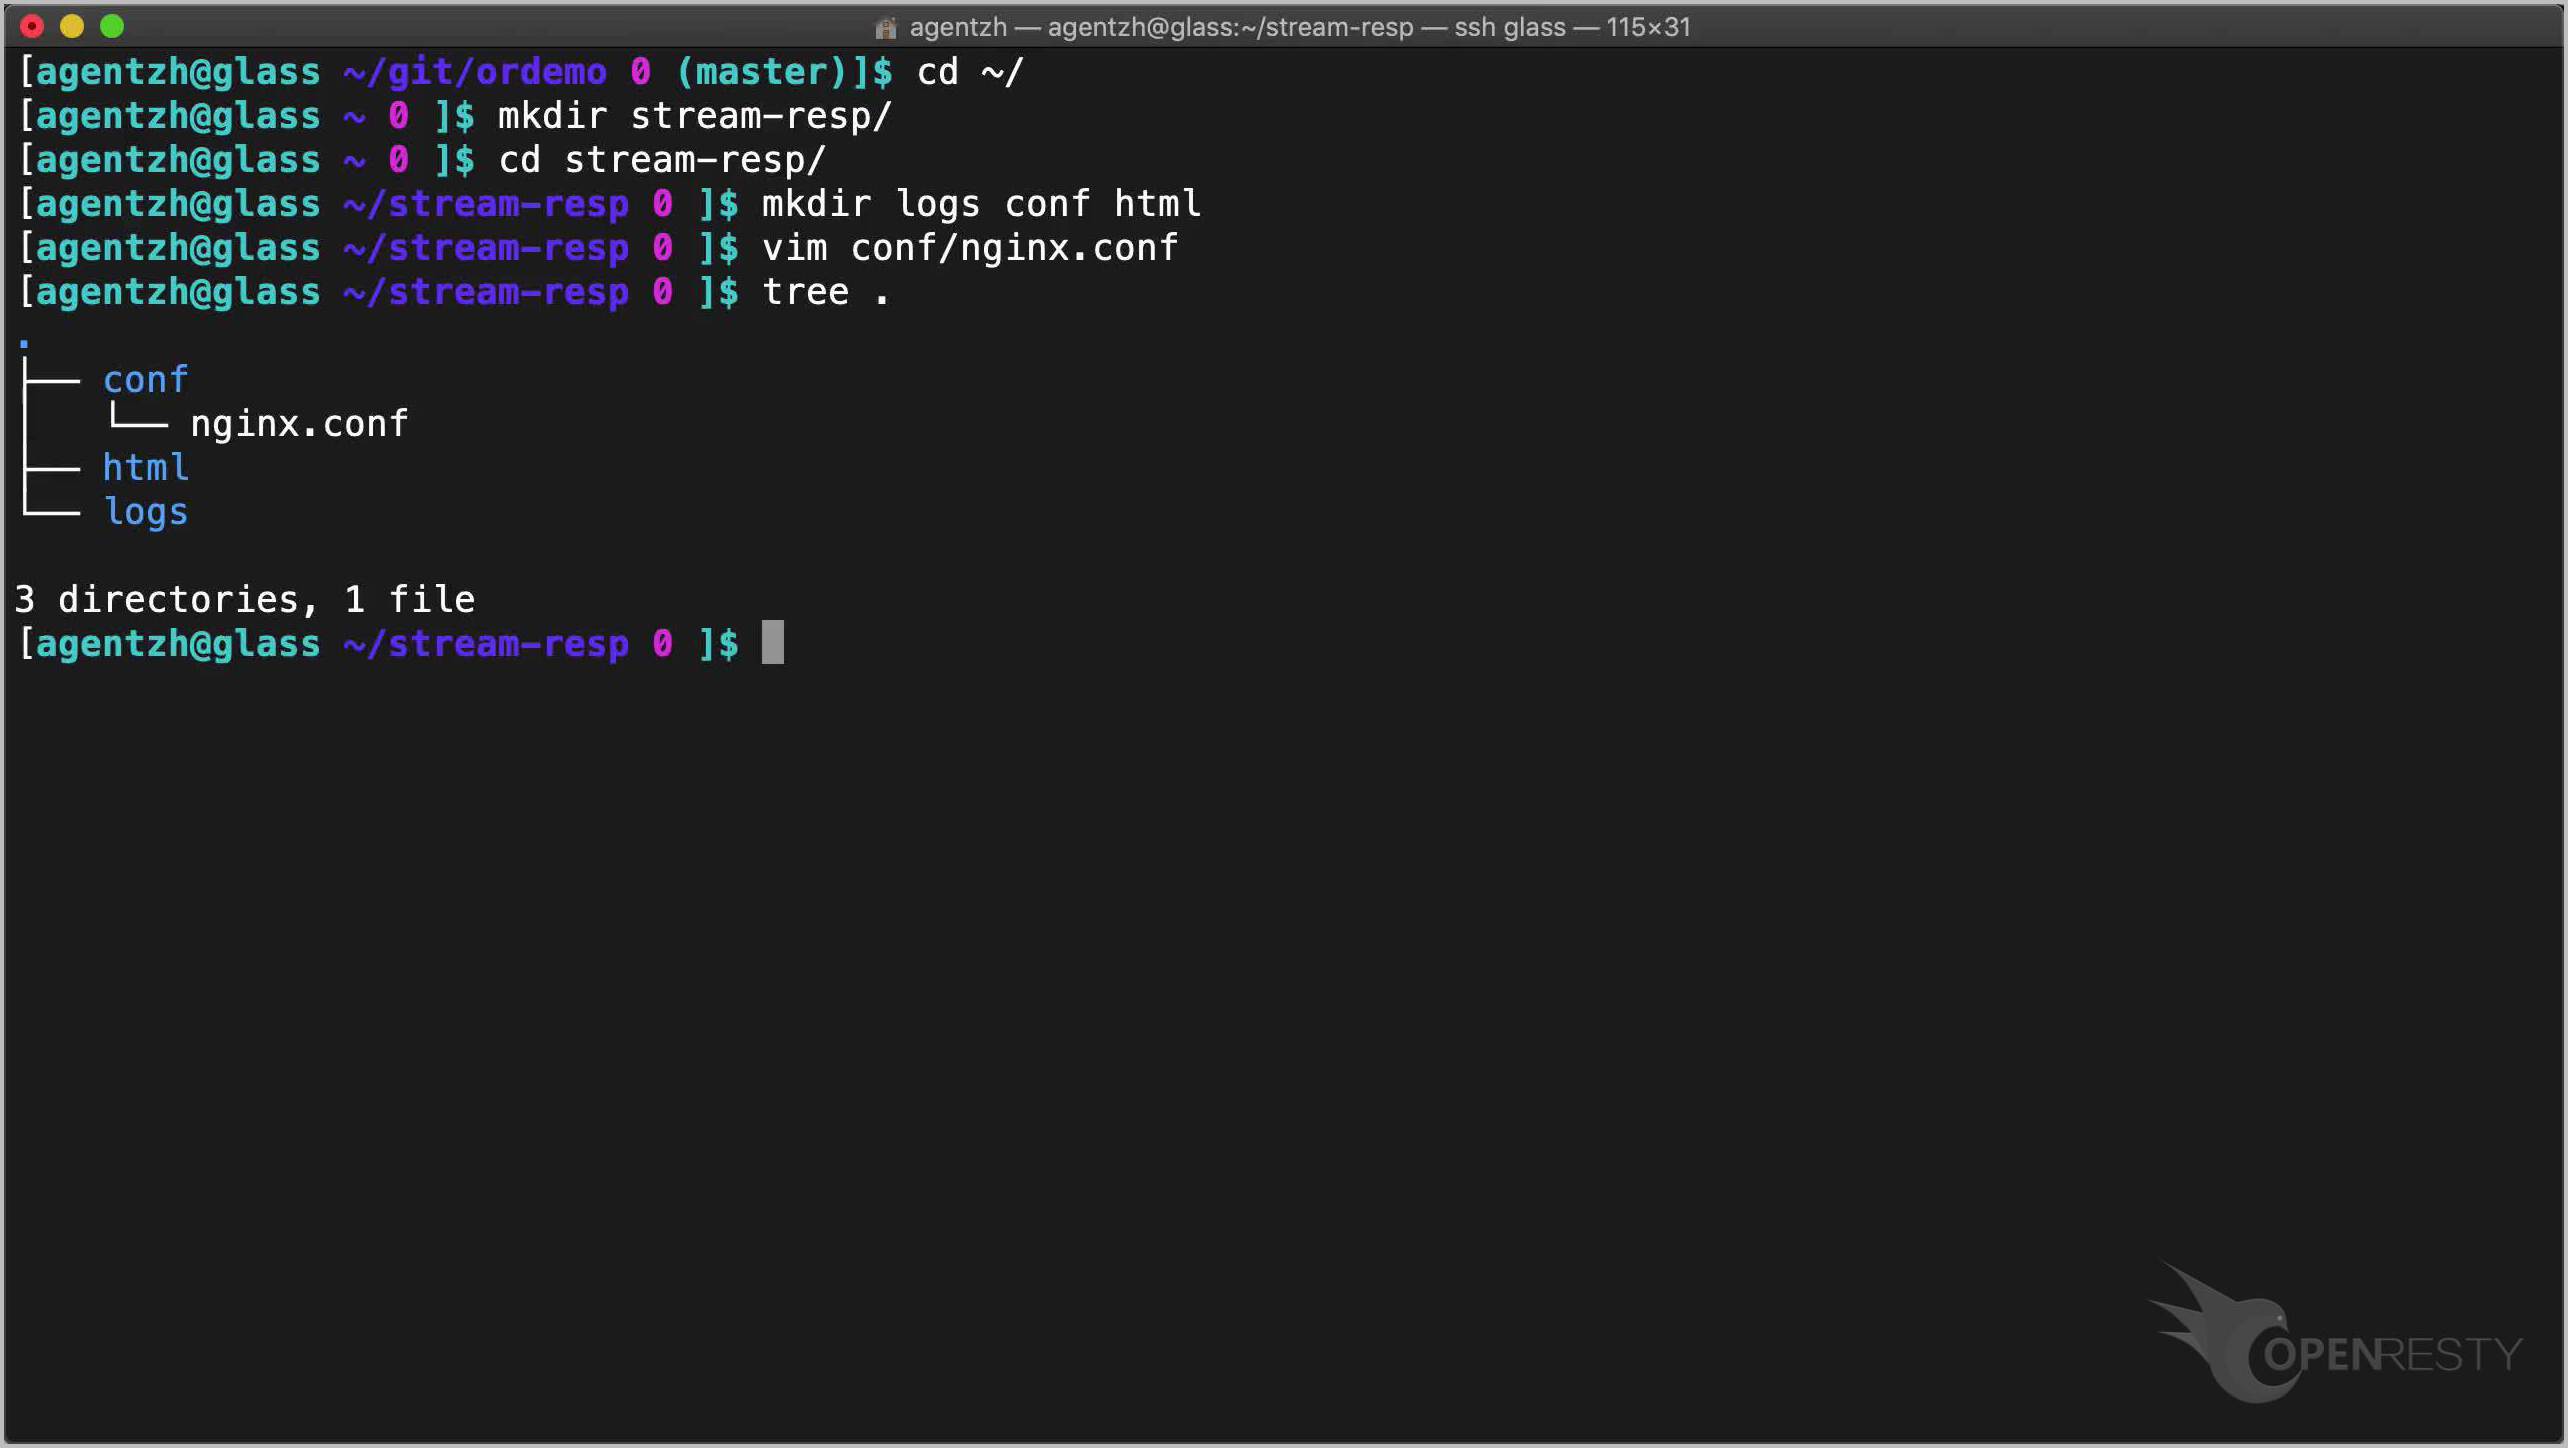
Looking good.
Now start this OpenResty application.
openresty -p $PWD/

Time to query our HTTP location with curl.
curl 'http://127.0.0.1:8080/test'
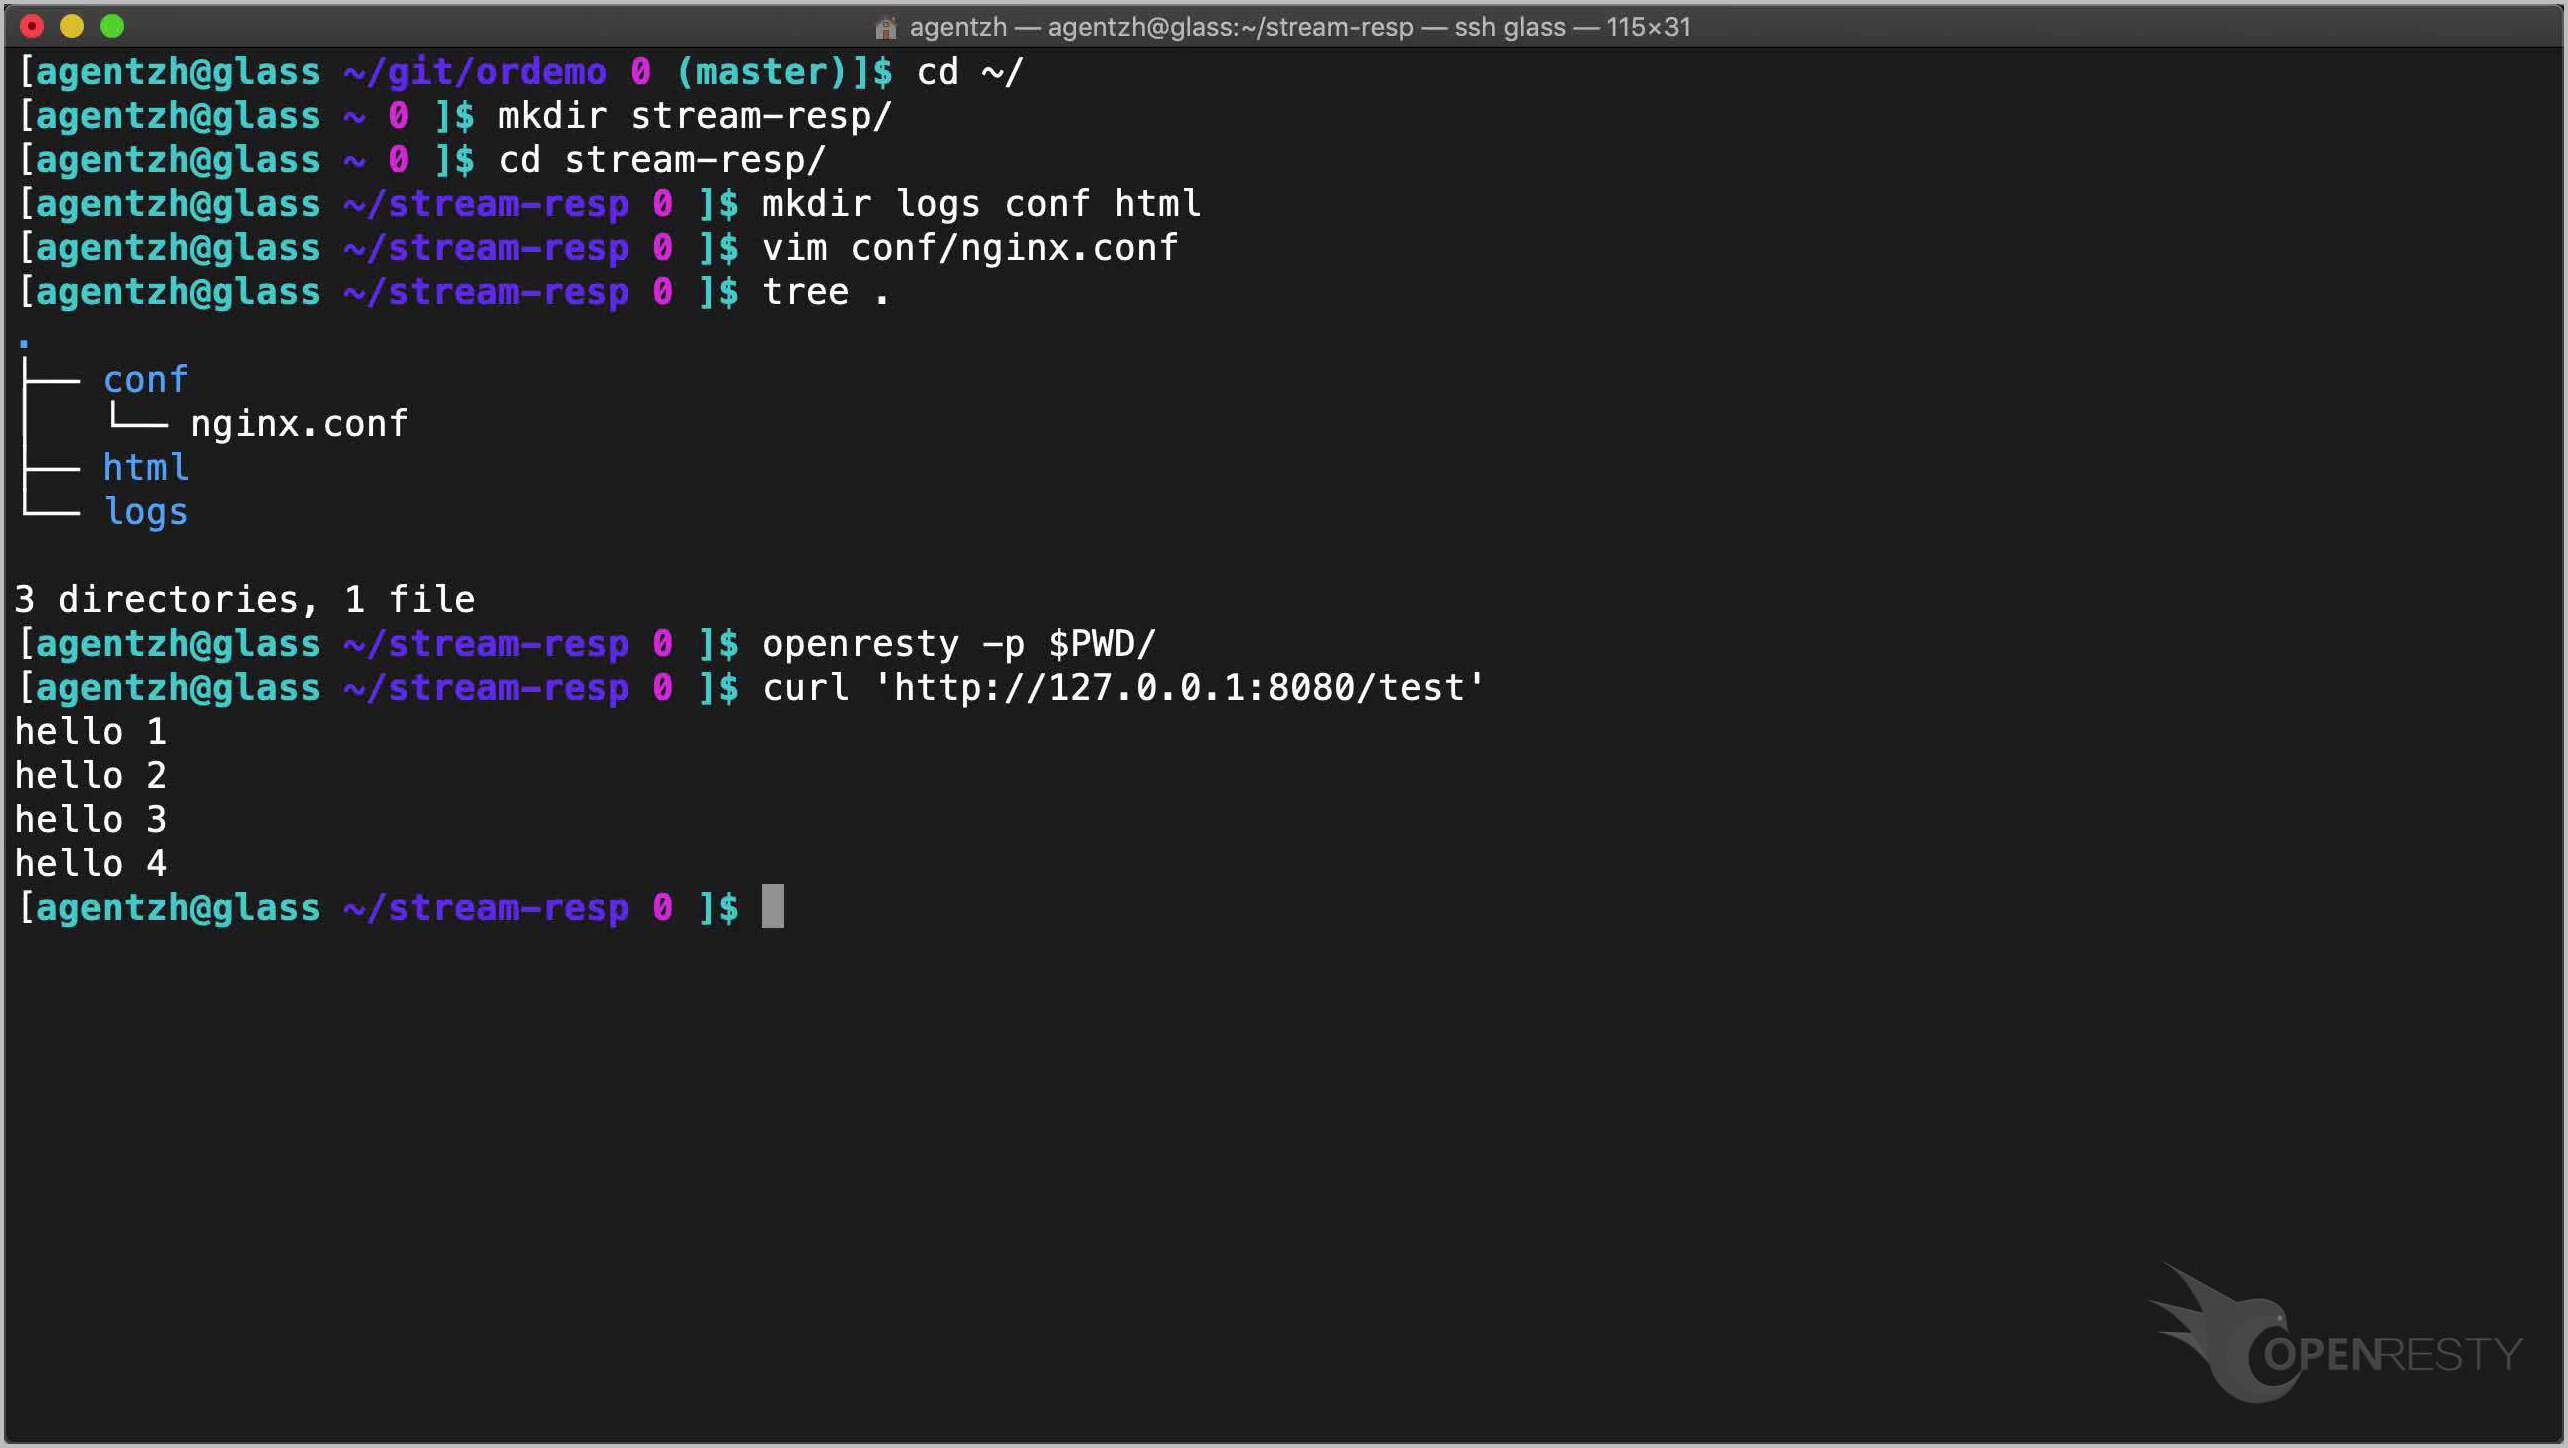
Cool, it is indeed generating one line of per second!
To verify if everything is indeed nonblocking, we can load this HTTP API with the weighttp utility. Note that it will take a while because we have intentionally slow responses here.
weighttp -c 500 -k -n 500 127.0.0.1:8080/test
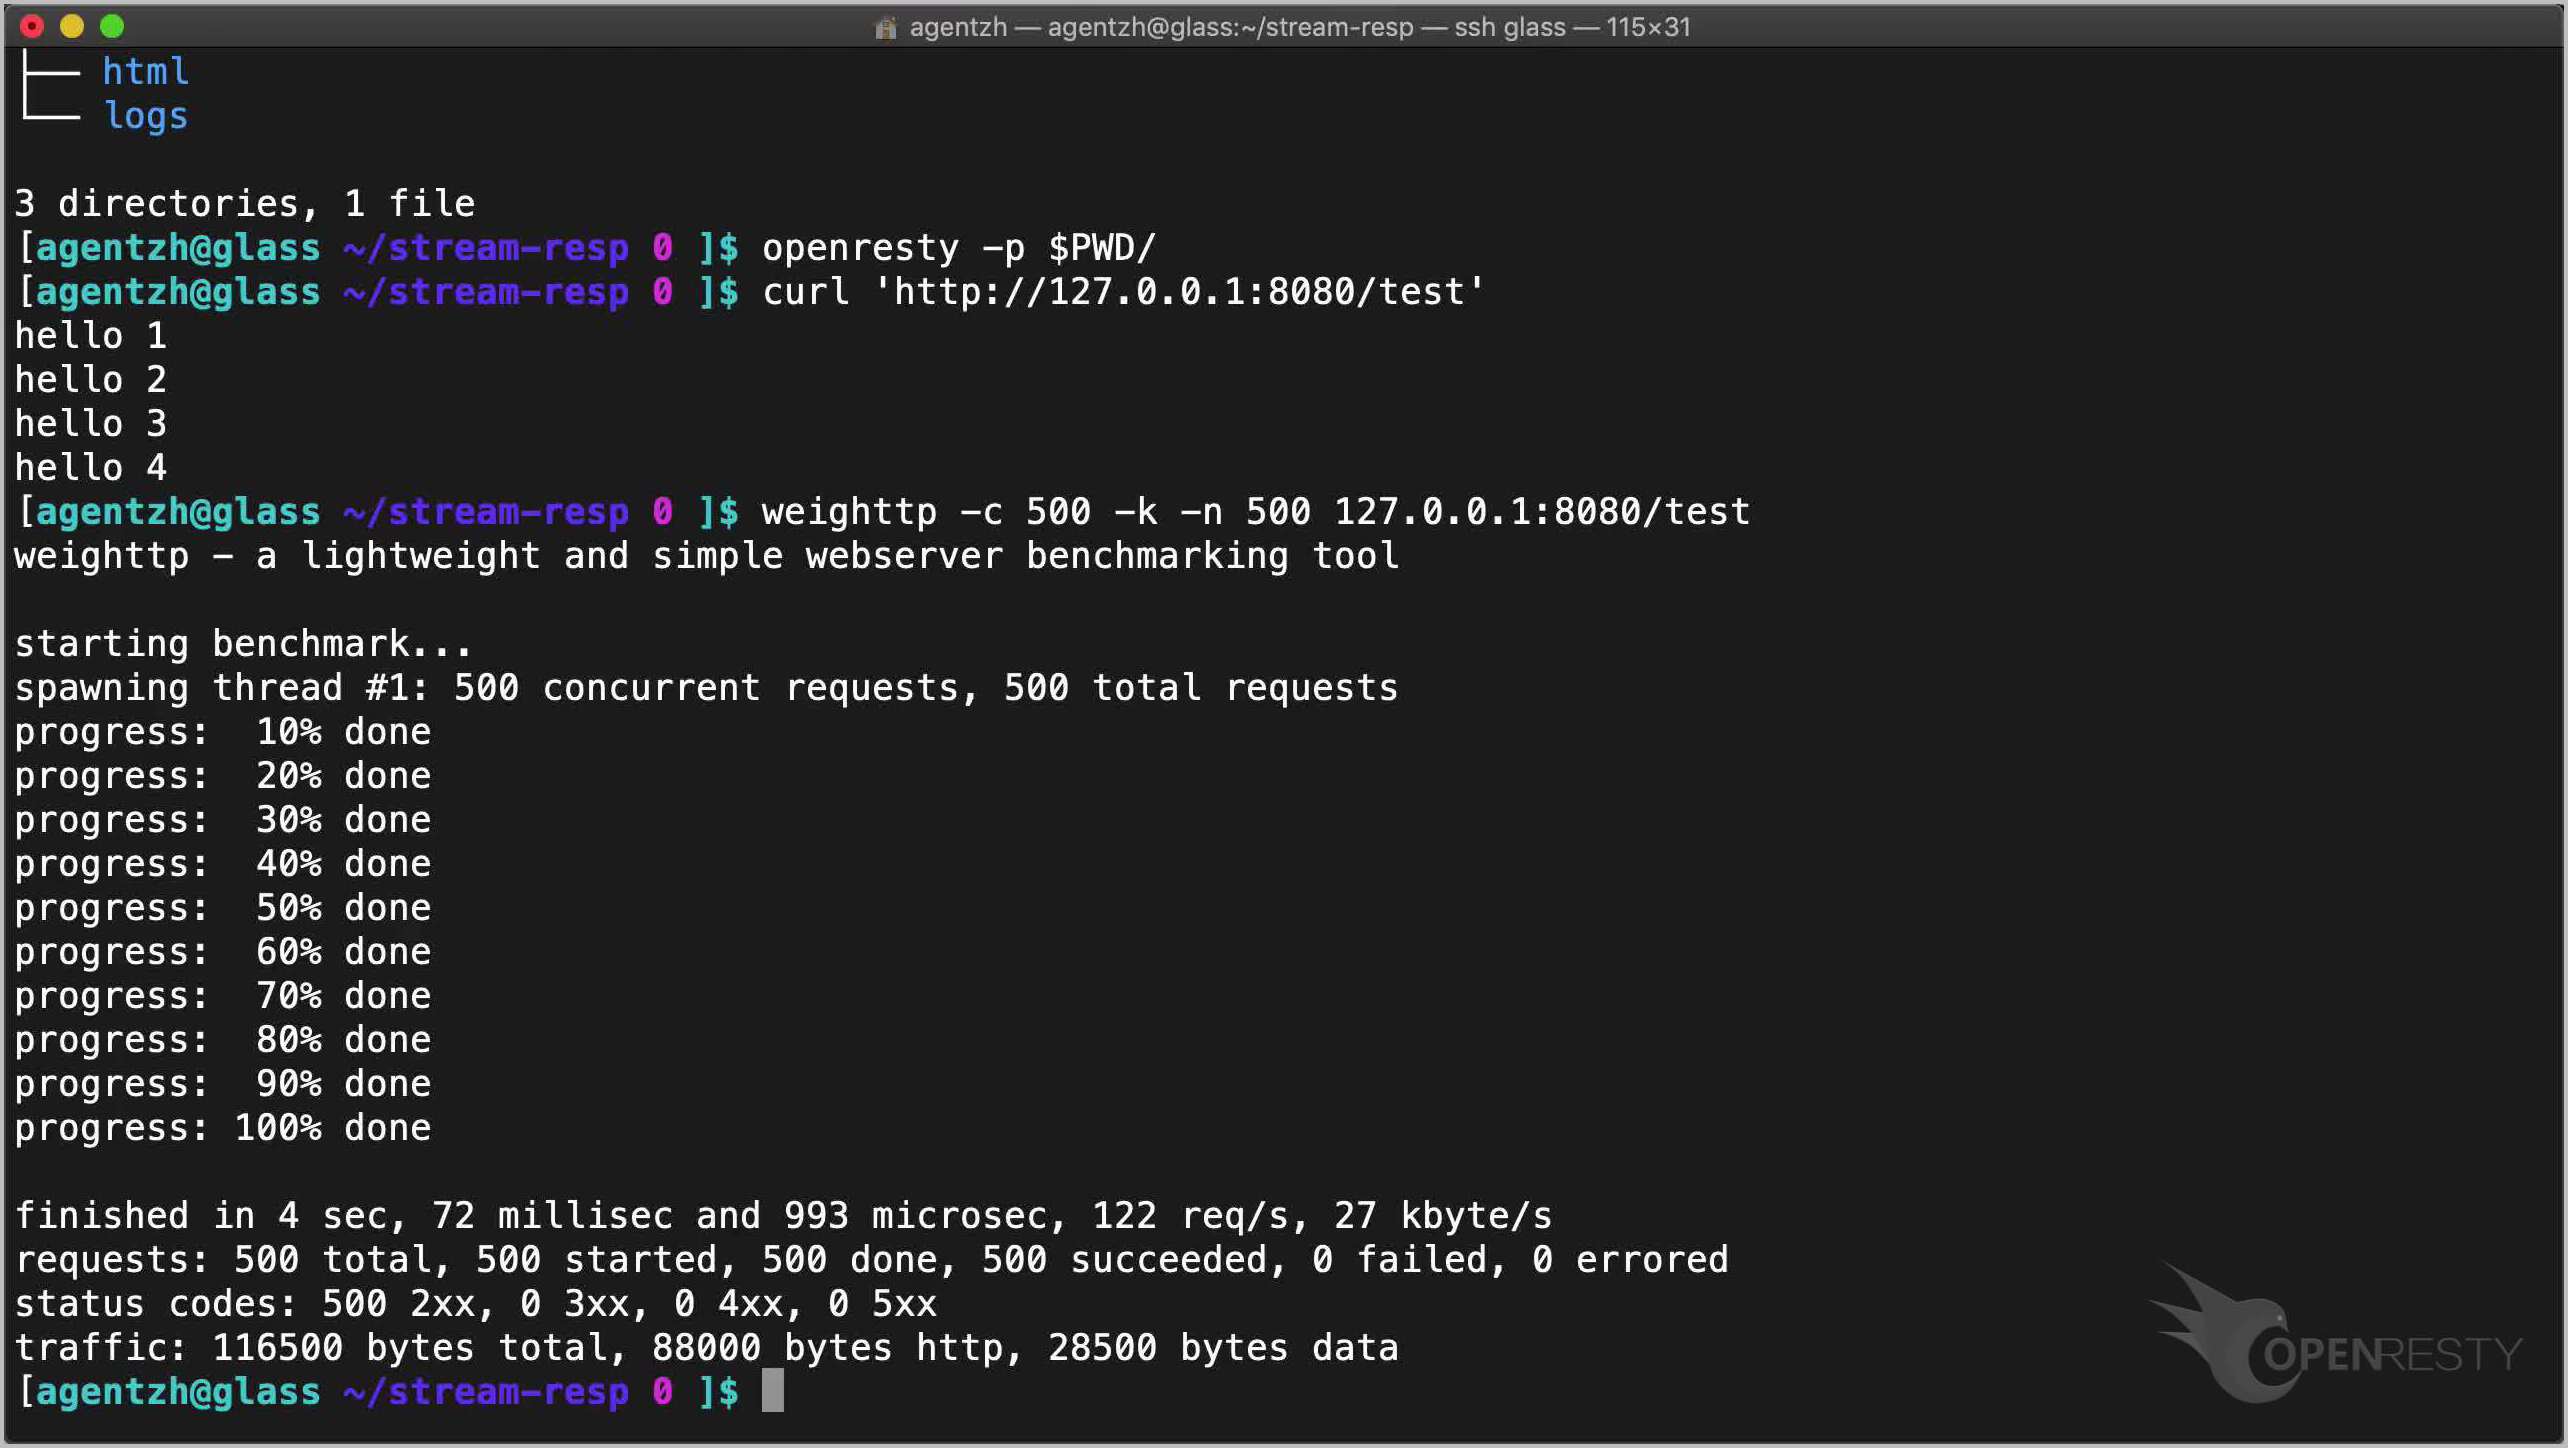
So with 500 concurrent requests, we can still achieve more than 120 requests per second! Note that each request takes 4 seconds to complete. And here we are using only a single worker process and a single operating system thread.
We can still increase the concurrency level a lot. But we will need to tweak the Nginx configuration accordingly.
vim conf/nginx.conf
Like tuning the worker connections to a larger value.
Better performance can also be achieved by enabling the access log buffering. We can also reduce the request memory pool size.
Now let’s create an HTML page to test it out in a web browser.
vim html/a.html
We make the following edits in this file.
- Add a
DIVtag to hold the output. - Add some JavaScript to send an AJAX request to our previous HTTP location.
- We fetch out
DIVelement. - Let’s add a JavaScript function to do streaming response receiving.
- Make sure there is new data.
- Append our new data to the
DIVelement. Here we are lazy. We do not bother escaping special HTML characters. - And we check new incoming response data every second.
- Firefox supports a more clever way but we have to support Chrome as well.
- Finally, we handle the end of the response body stream.
- Check the response data for one last time.
- Remove our periodic timer.
- And append the final output to the web page.
- We omit error handling here for brevity.
<!doctype html>
<html>
<body>
<div style="margin: 2em;" id="out"></div>

<script>
(function () {
    let xhttp = new XMLHttpRequest();
    xhttp.open("GET", "/test", true);
    xhttp.send();

    let div = document.getElementById("out")

    let total_len = 0
    let check_resp = function () {
        let resp = xhttp.responseText
        let len = resp.length

        if (len > total_len) {
            let new_data = resp.substring(total_len, len)
            total_len = len;

            div.innerHTML += new_data + "<br/>"
        }
    };

    let timer = setInterval(check_resp, 1000);
    check_resp();

    xhttp.onreadystatechange = function () {
        if (this.readyState == 4) {
            check_resp();
            clearInterval(timer);
            div.innerHTML += "done<br/>";
        }
    };
})();
</script>
</body>
</html>
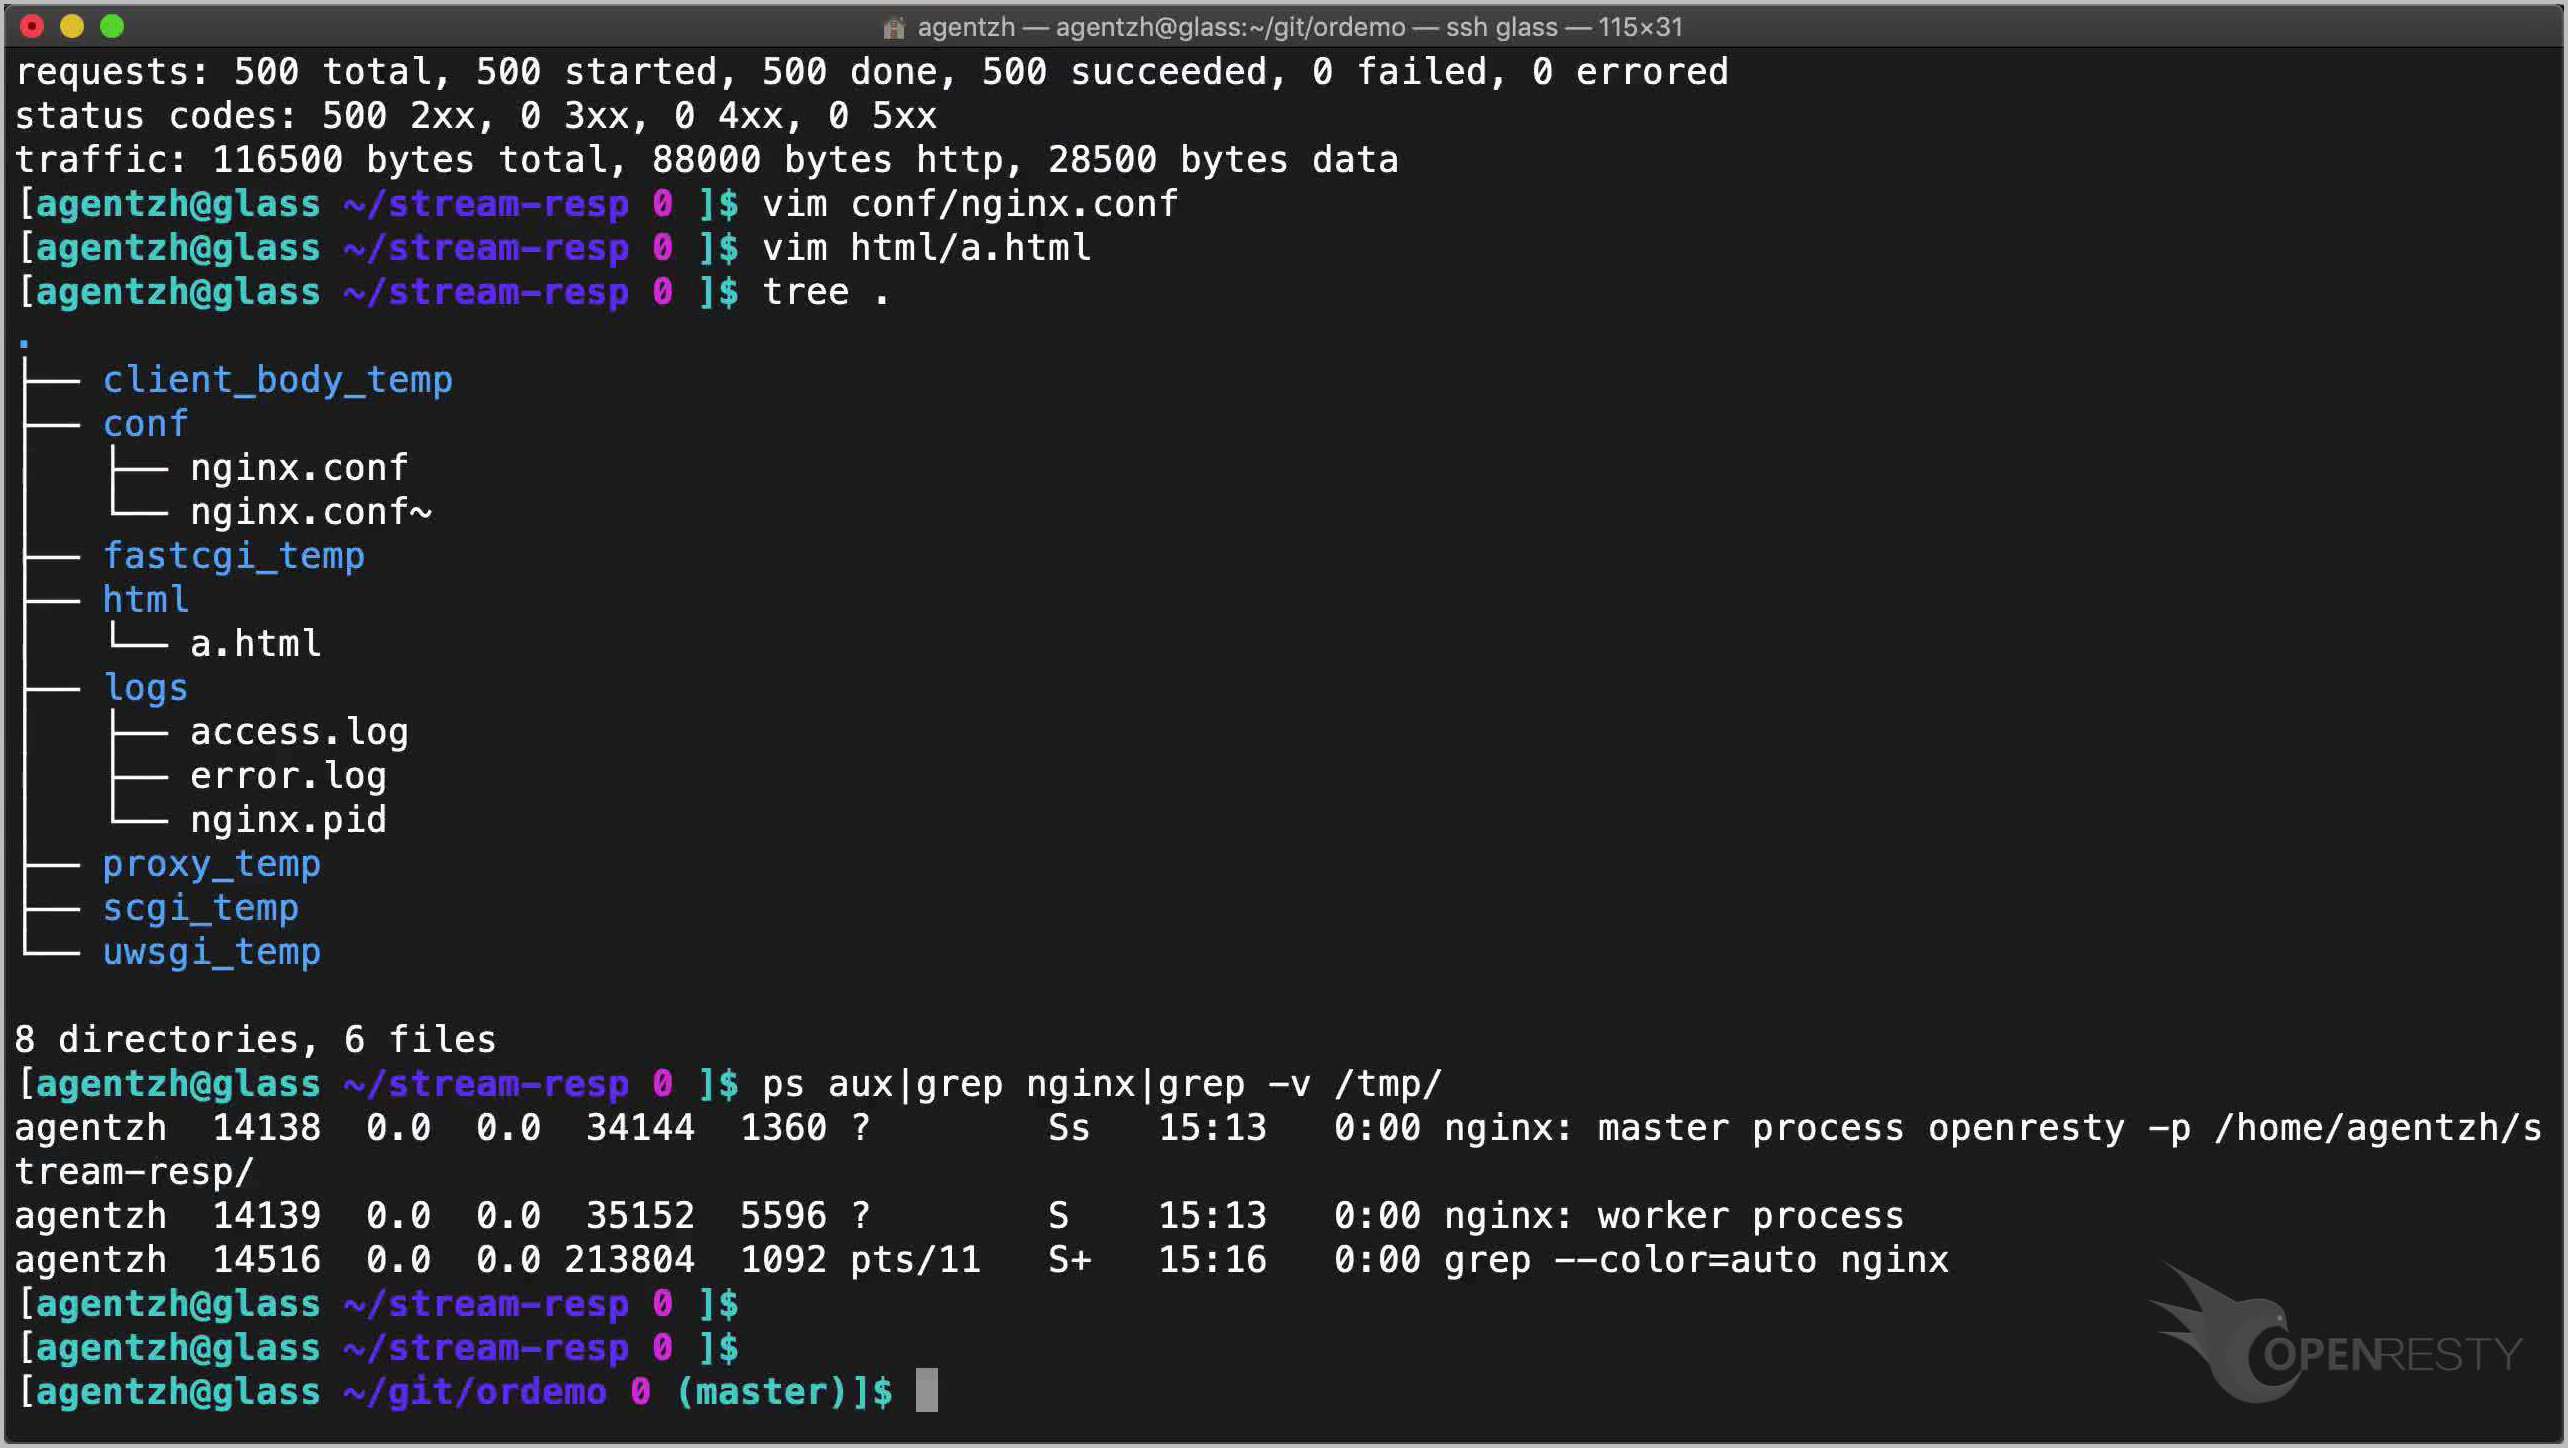
Let’s check the whole directory tree again.
tree .
We don’t need to reload or restart the OpenResty server since it is just a static HTML page.
ps aux|grep nginx|grep -v /tmp/
Time to point chrome to this HTML page.
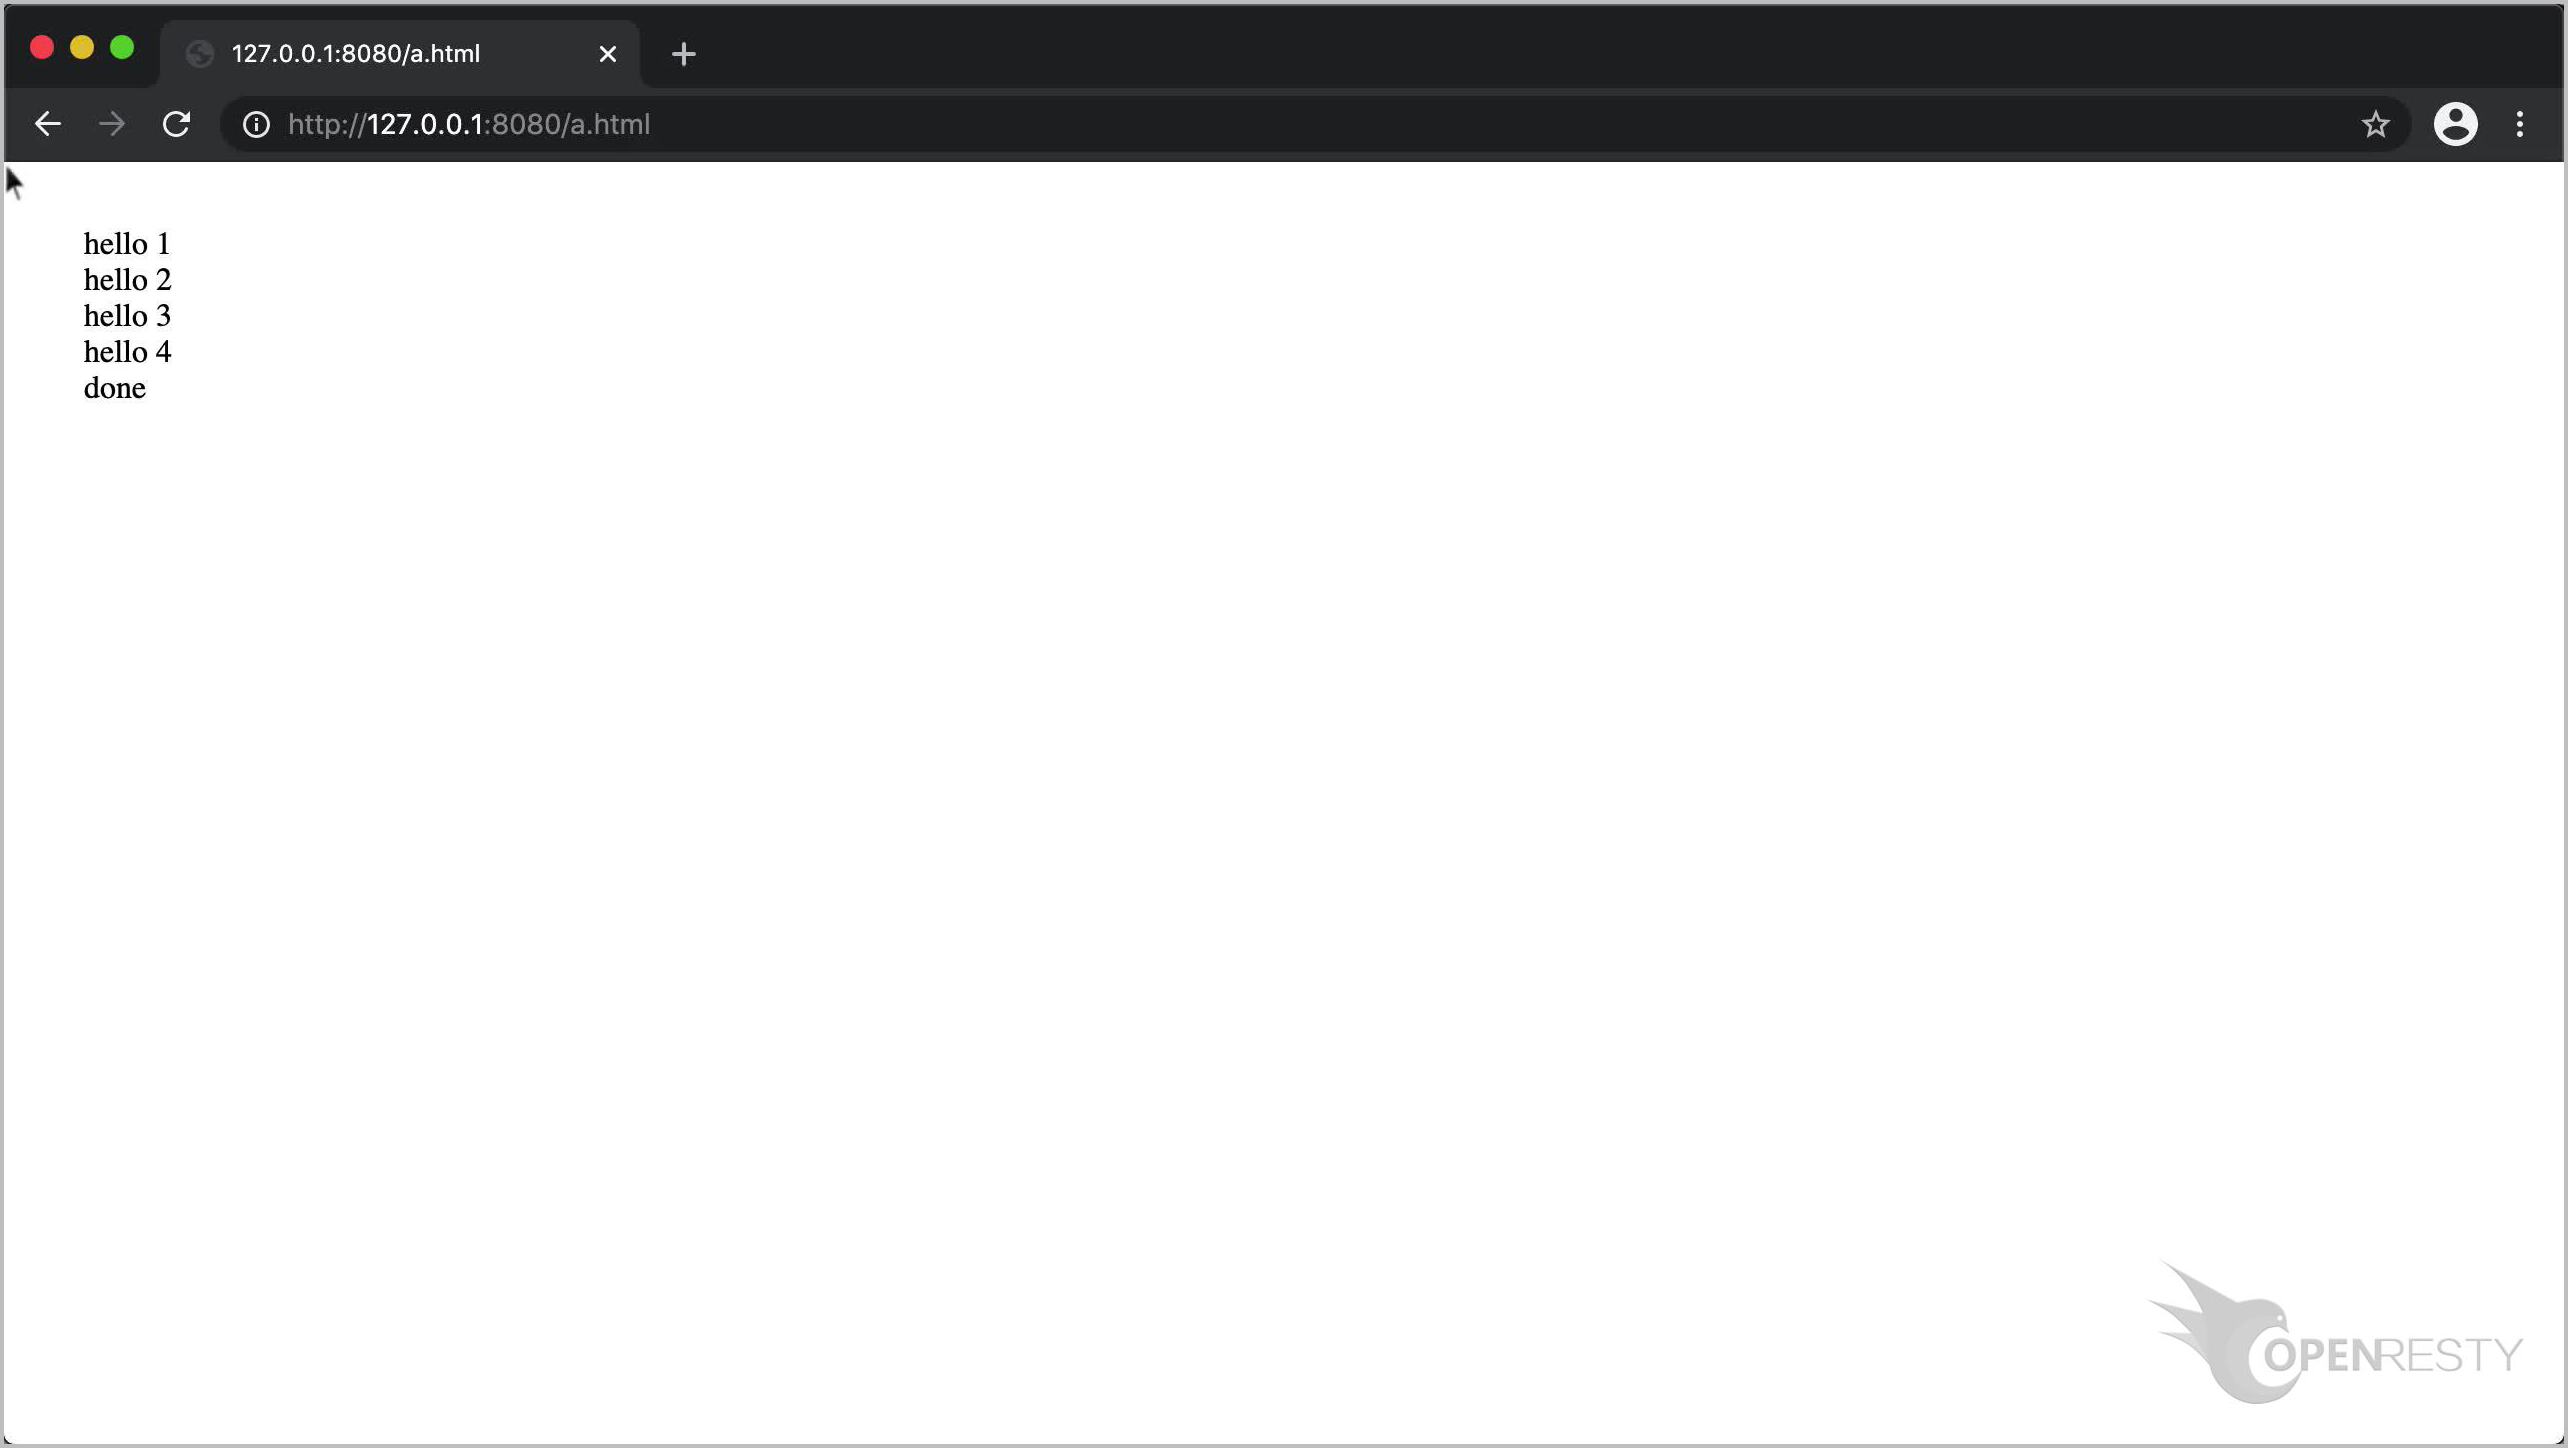
It works! This is all I want to cover today.
If you like this tutorial, please subscribe to this blog site and our YouTube channel. Thank you!
About The Author
Yichun Zhang (Github handle: agentzh), is the original creator of the OpenResty® open-source project and the CEO of OpenResty Inc..
Yichun is one of the earliest advocates and leaders of “open-source technology”. He worked at many internationally renowned tech companies, such as Cloudflare, Yahoo!. He is a pioneer of “edge computing”, “dynamic tracing” and “machine coding”, with over 22 years of programming and 16 years of open source experience. Yichun is well-known in the open-source space as the project leader of OpenResty®, adopted by more than 40 million global website domains.
OpenResty Inc., the enterprise software start-up founded by Yichun in 2017, has customers from some of the biggest companies in the world. Its flagship product, OpenResty XRay, is a non-invasive profiling and troubleshooting tool that significantly enhances and utilizes dynamic tracing technology. And its OpenResty Edge product is a powerful distributed traffic management and private CDN software product.
As an avid open-source contributor, Yichun has contributed more than a million lines of code to numerous open-source projects, including Linux kernel, Nginx, LuaJIT, GDB, SystemTap, LLVM, Perl, etc. He has also authored more than 60 open-source software libraries.
Related Articles
OpenResty XRay Dec 9, 2020

OpenResty XRay Dec 7, 2020

OpenResty XRay Dec 1, 2020

OpenResty XRay Nov 29, 2020

OpenResty XRay Nov 15, 2020