
OpenResty resty CLI Tutorial: From Hello World to JIT Profiling
Check out how OpenResty XRay helps organizations troubleshoot issues and optimize the performance of their applications.
 Learn More
LIVE DEMO
Learn More
LIVE DEMOresty is OpenResty’s command-line Lua runner — it spins up a headless Nginx behind the scenes so you can test cosockets, shared dictionaries, and LuaJIT behavior directly from your terminal, without writing a single nginx.conf. Think of it as the node or python interactive runner for the OpenResty ecosystem.
In this tutorial, we walk through every major resty feature: from the first “Hello World” one-liner all the way to inspecting LuaJIT machine code dumps. This article is part of the OpenResty Tutorial Series.
Installing the resty CLI
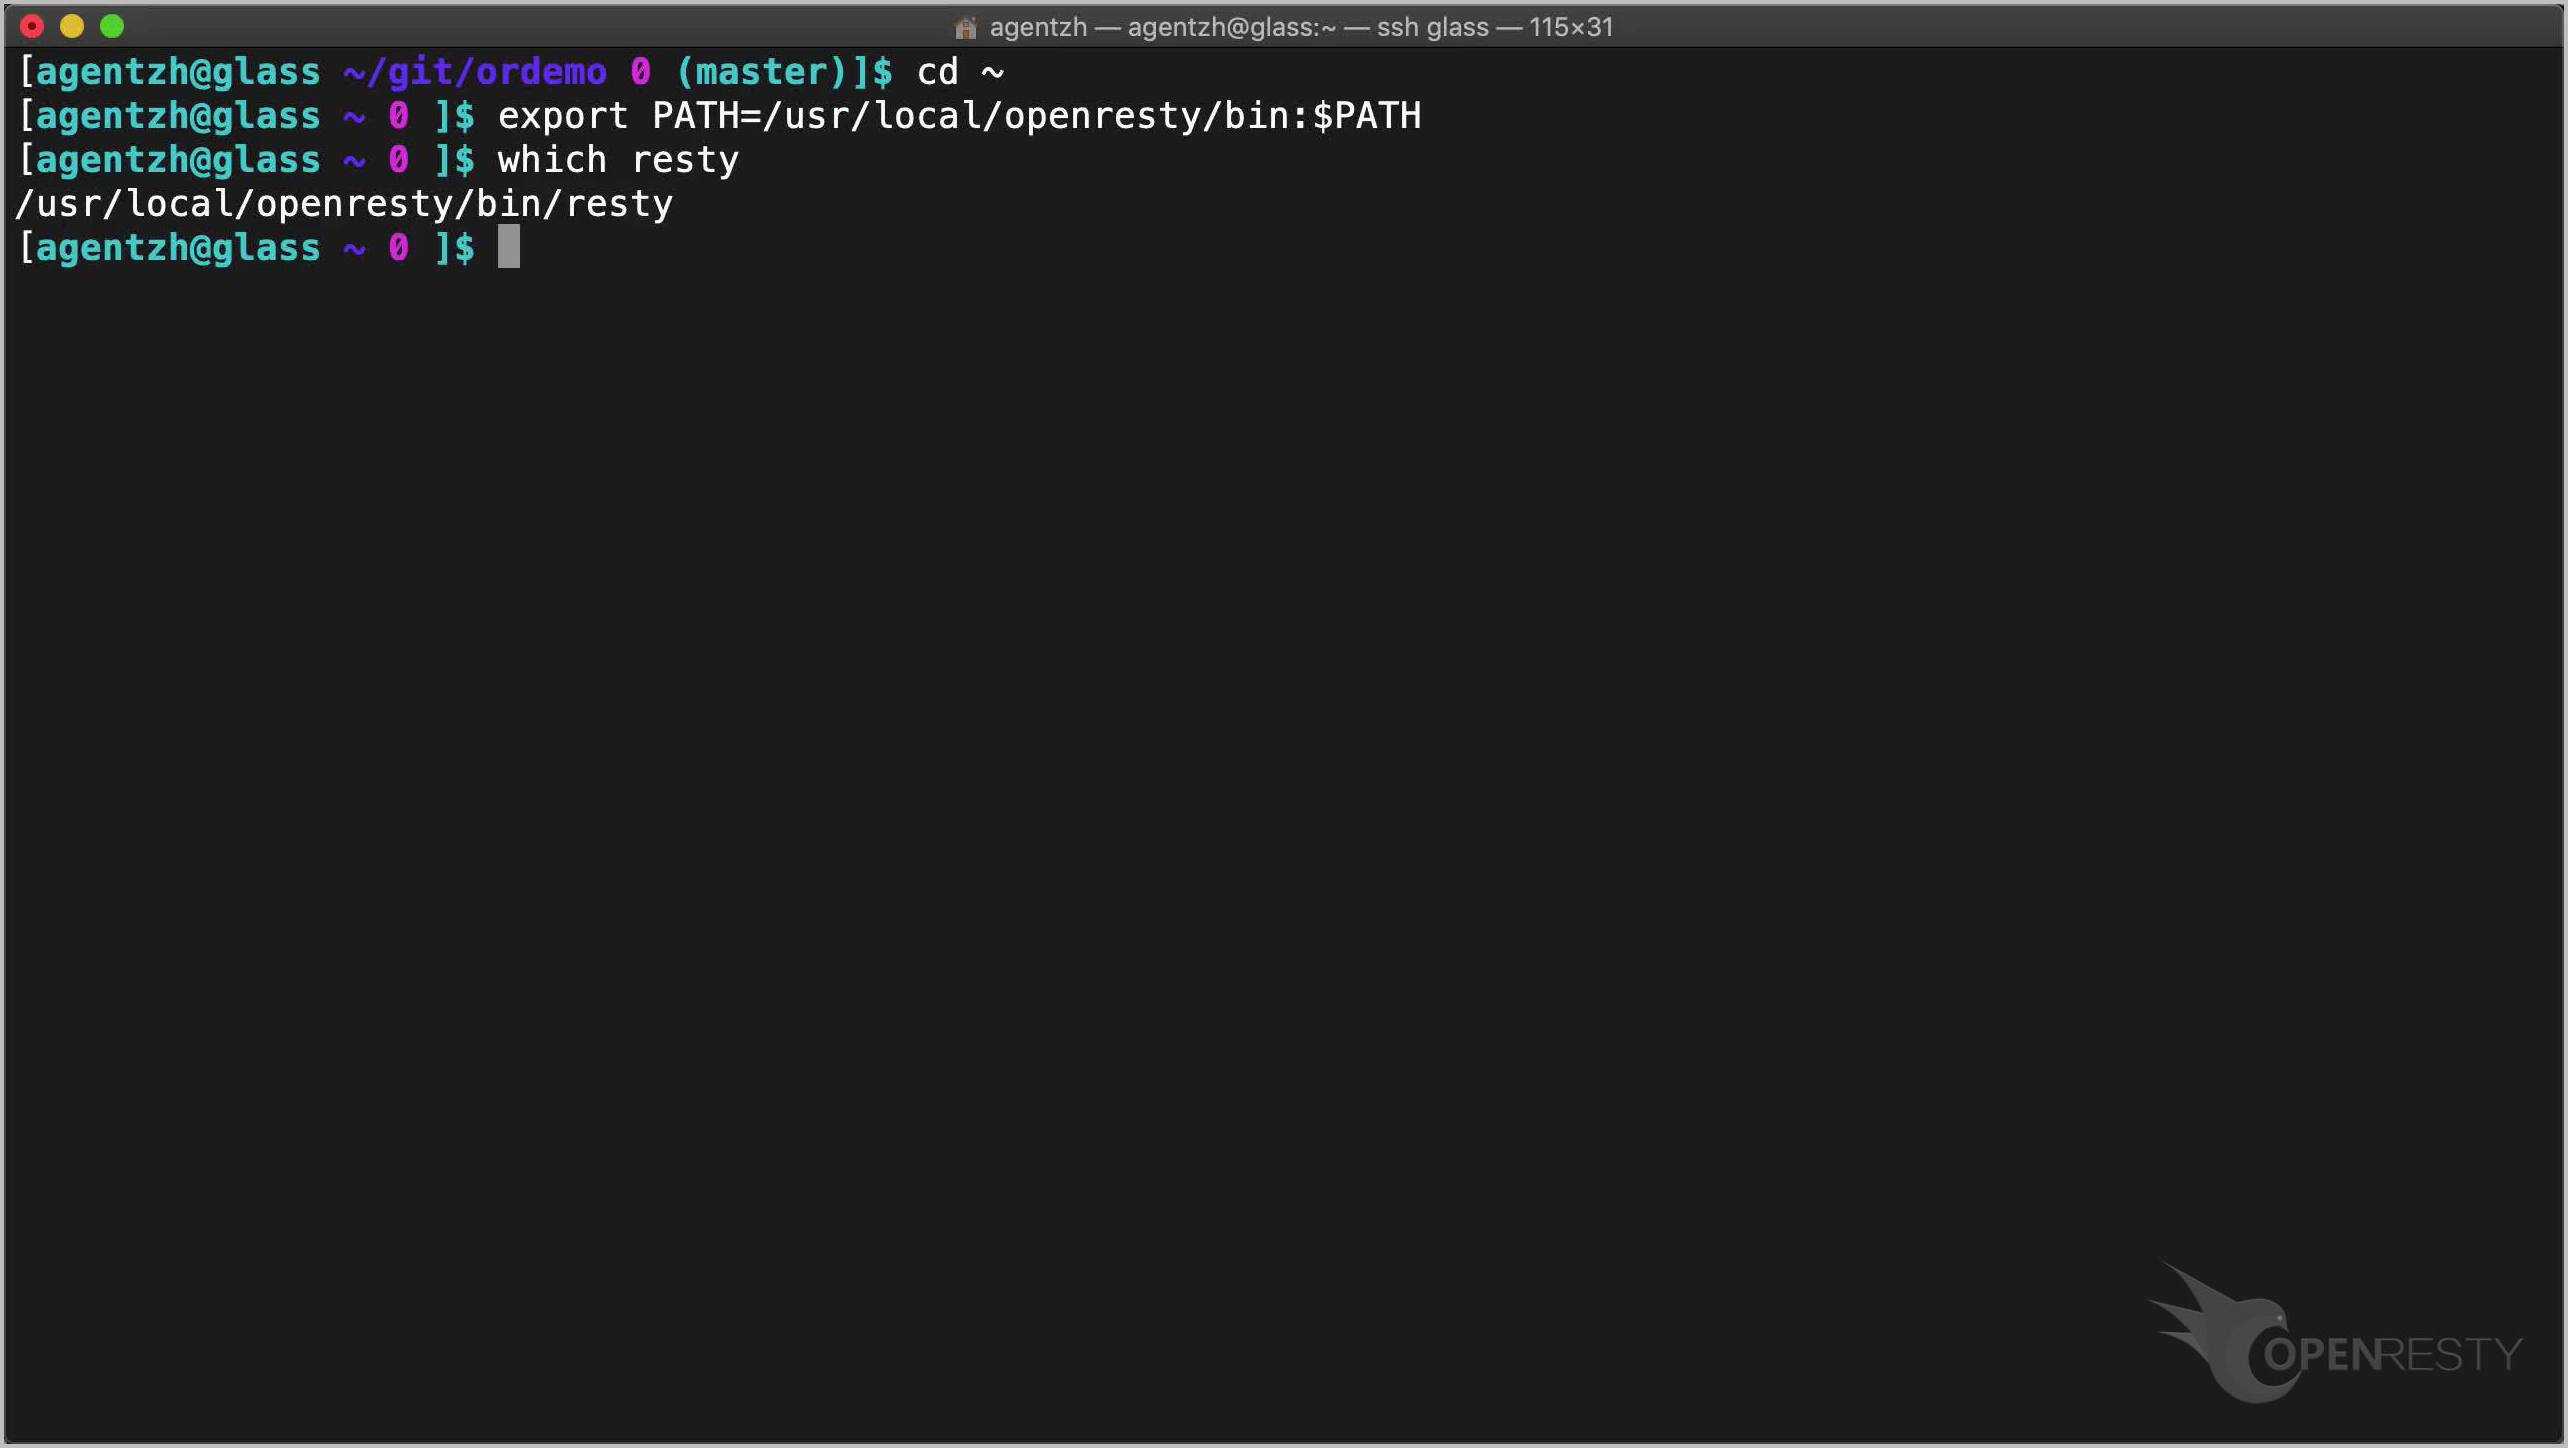
The resty utility is usually found at /usr/local/openresty/bin/resty. Add it to your PATH:
cd ~
export PATH=/usr/local/openresty/bin:$PATH
which resty
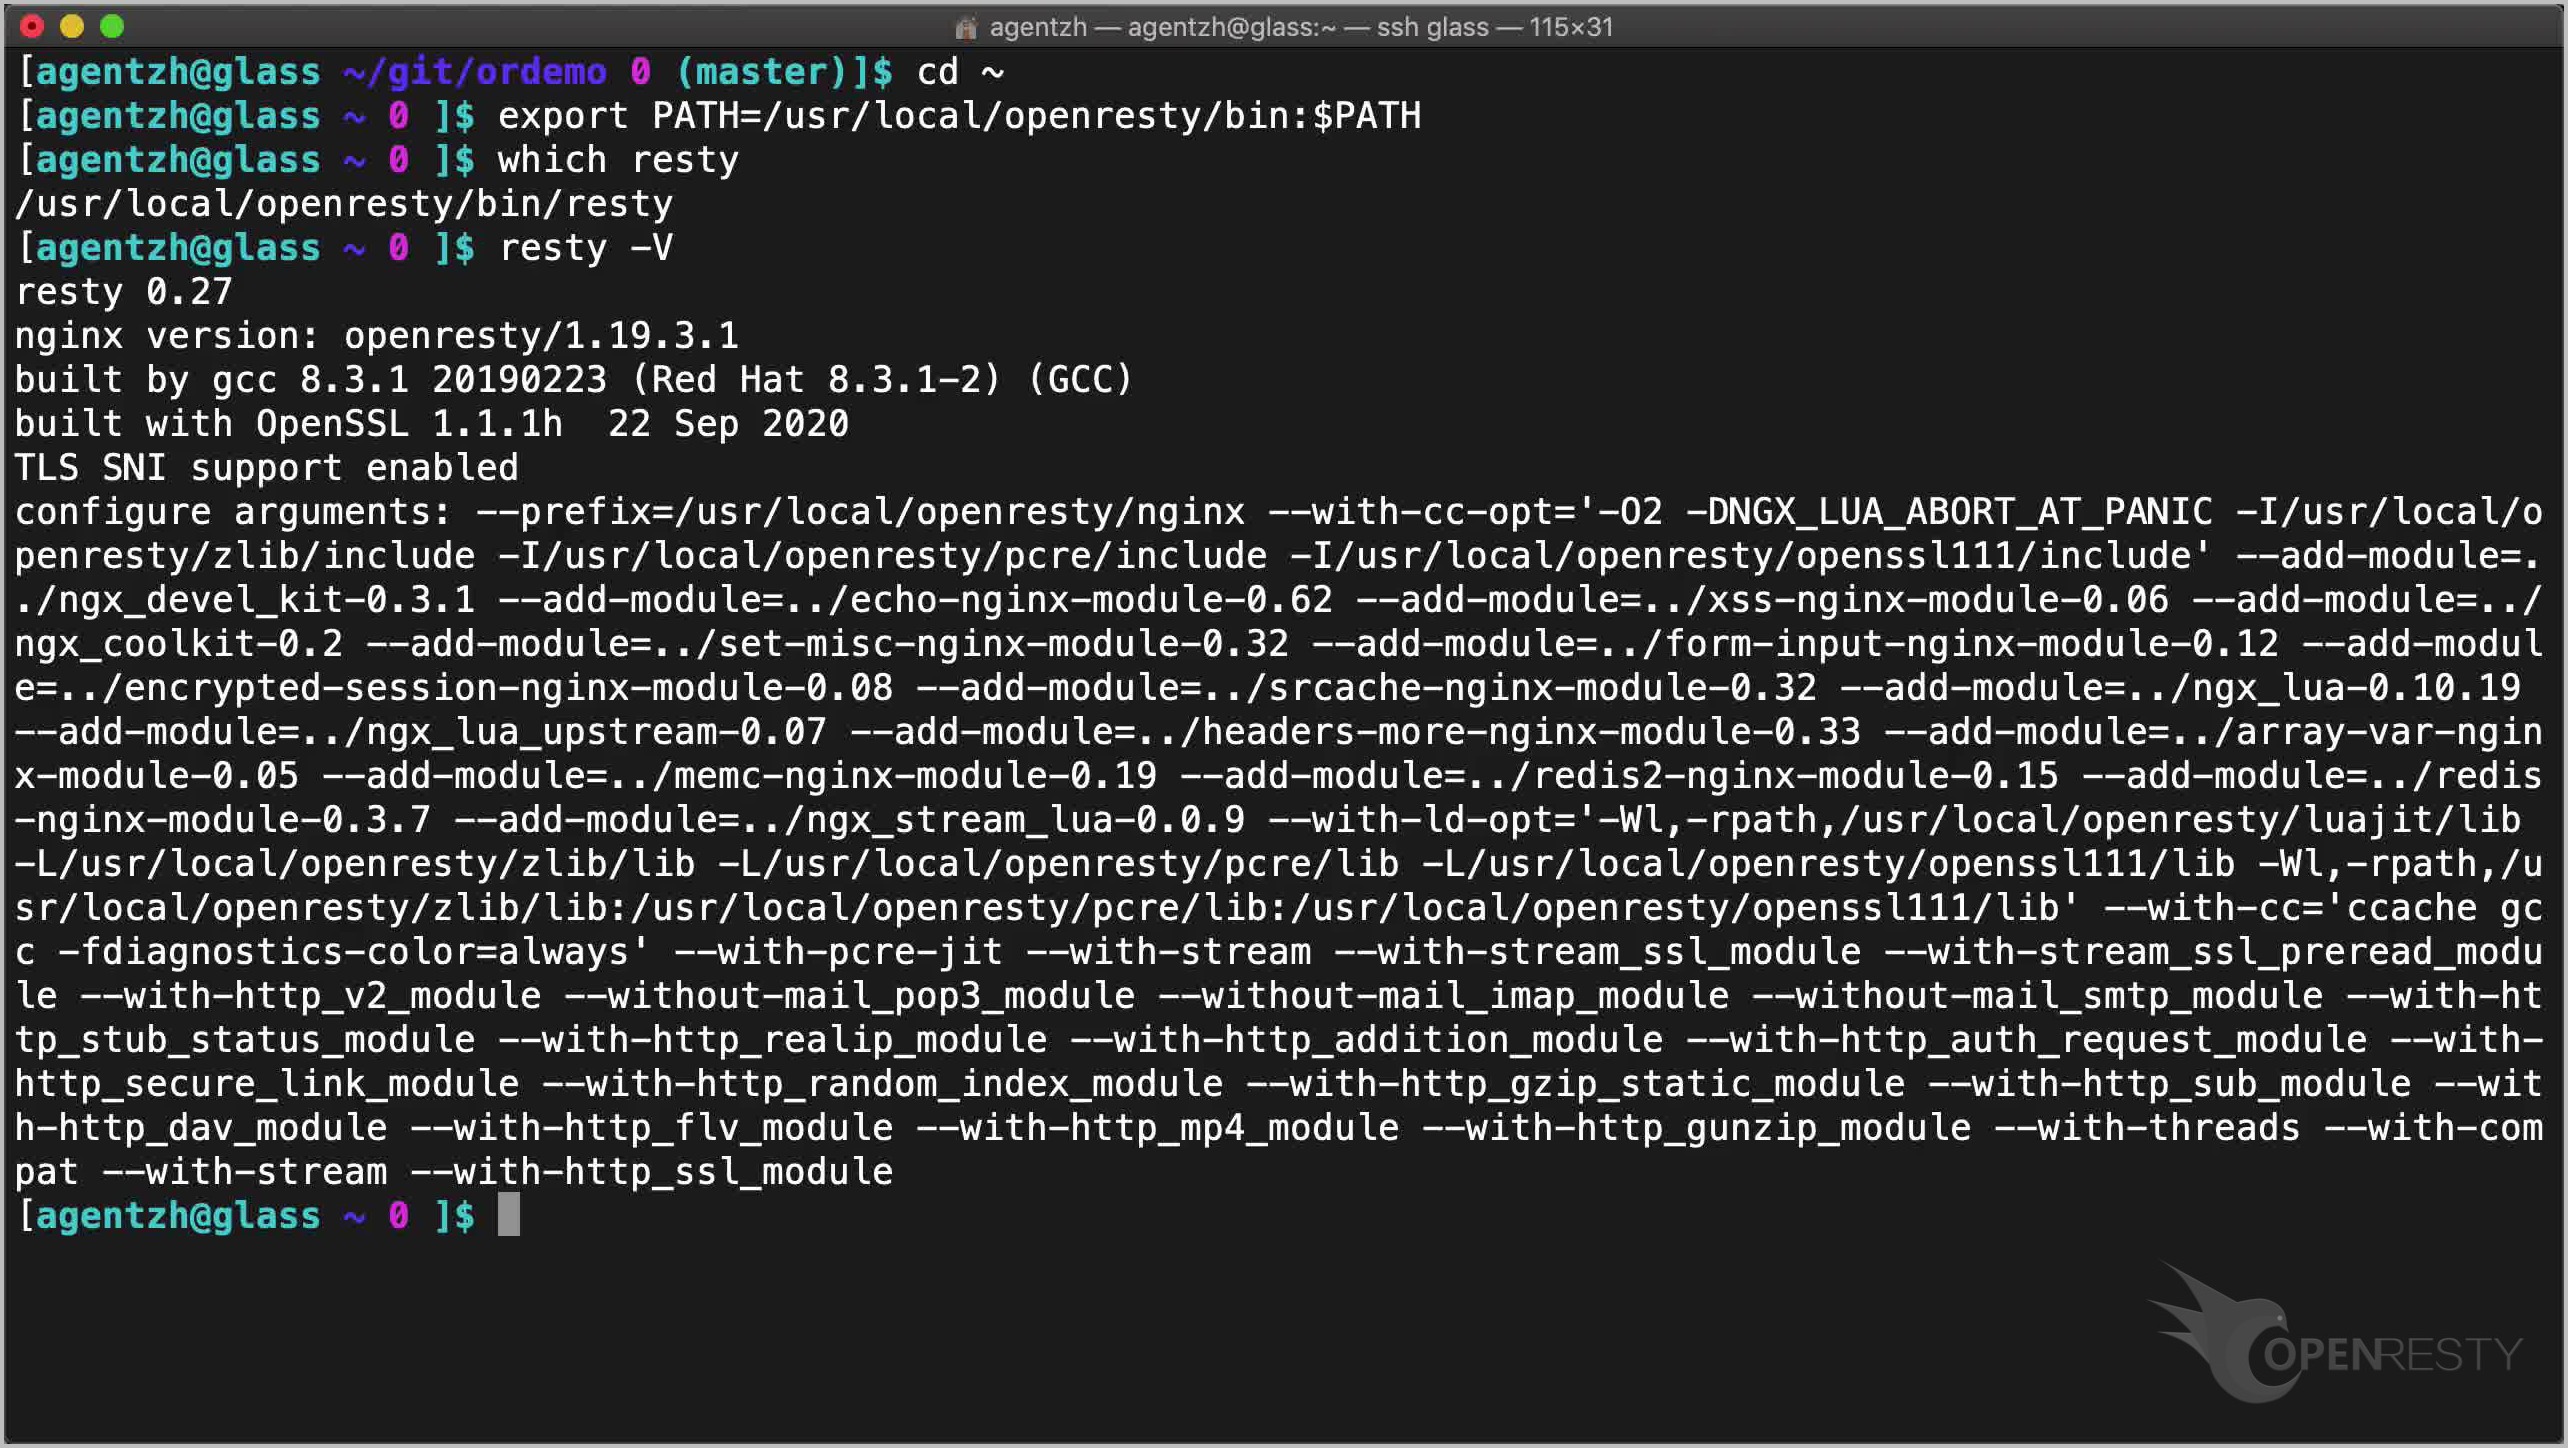
Check its version with the -V option:
resty -V
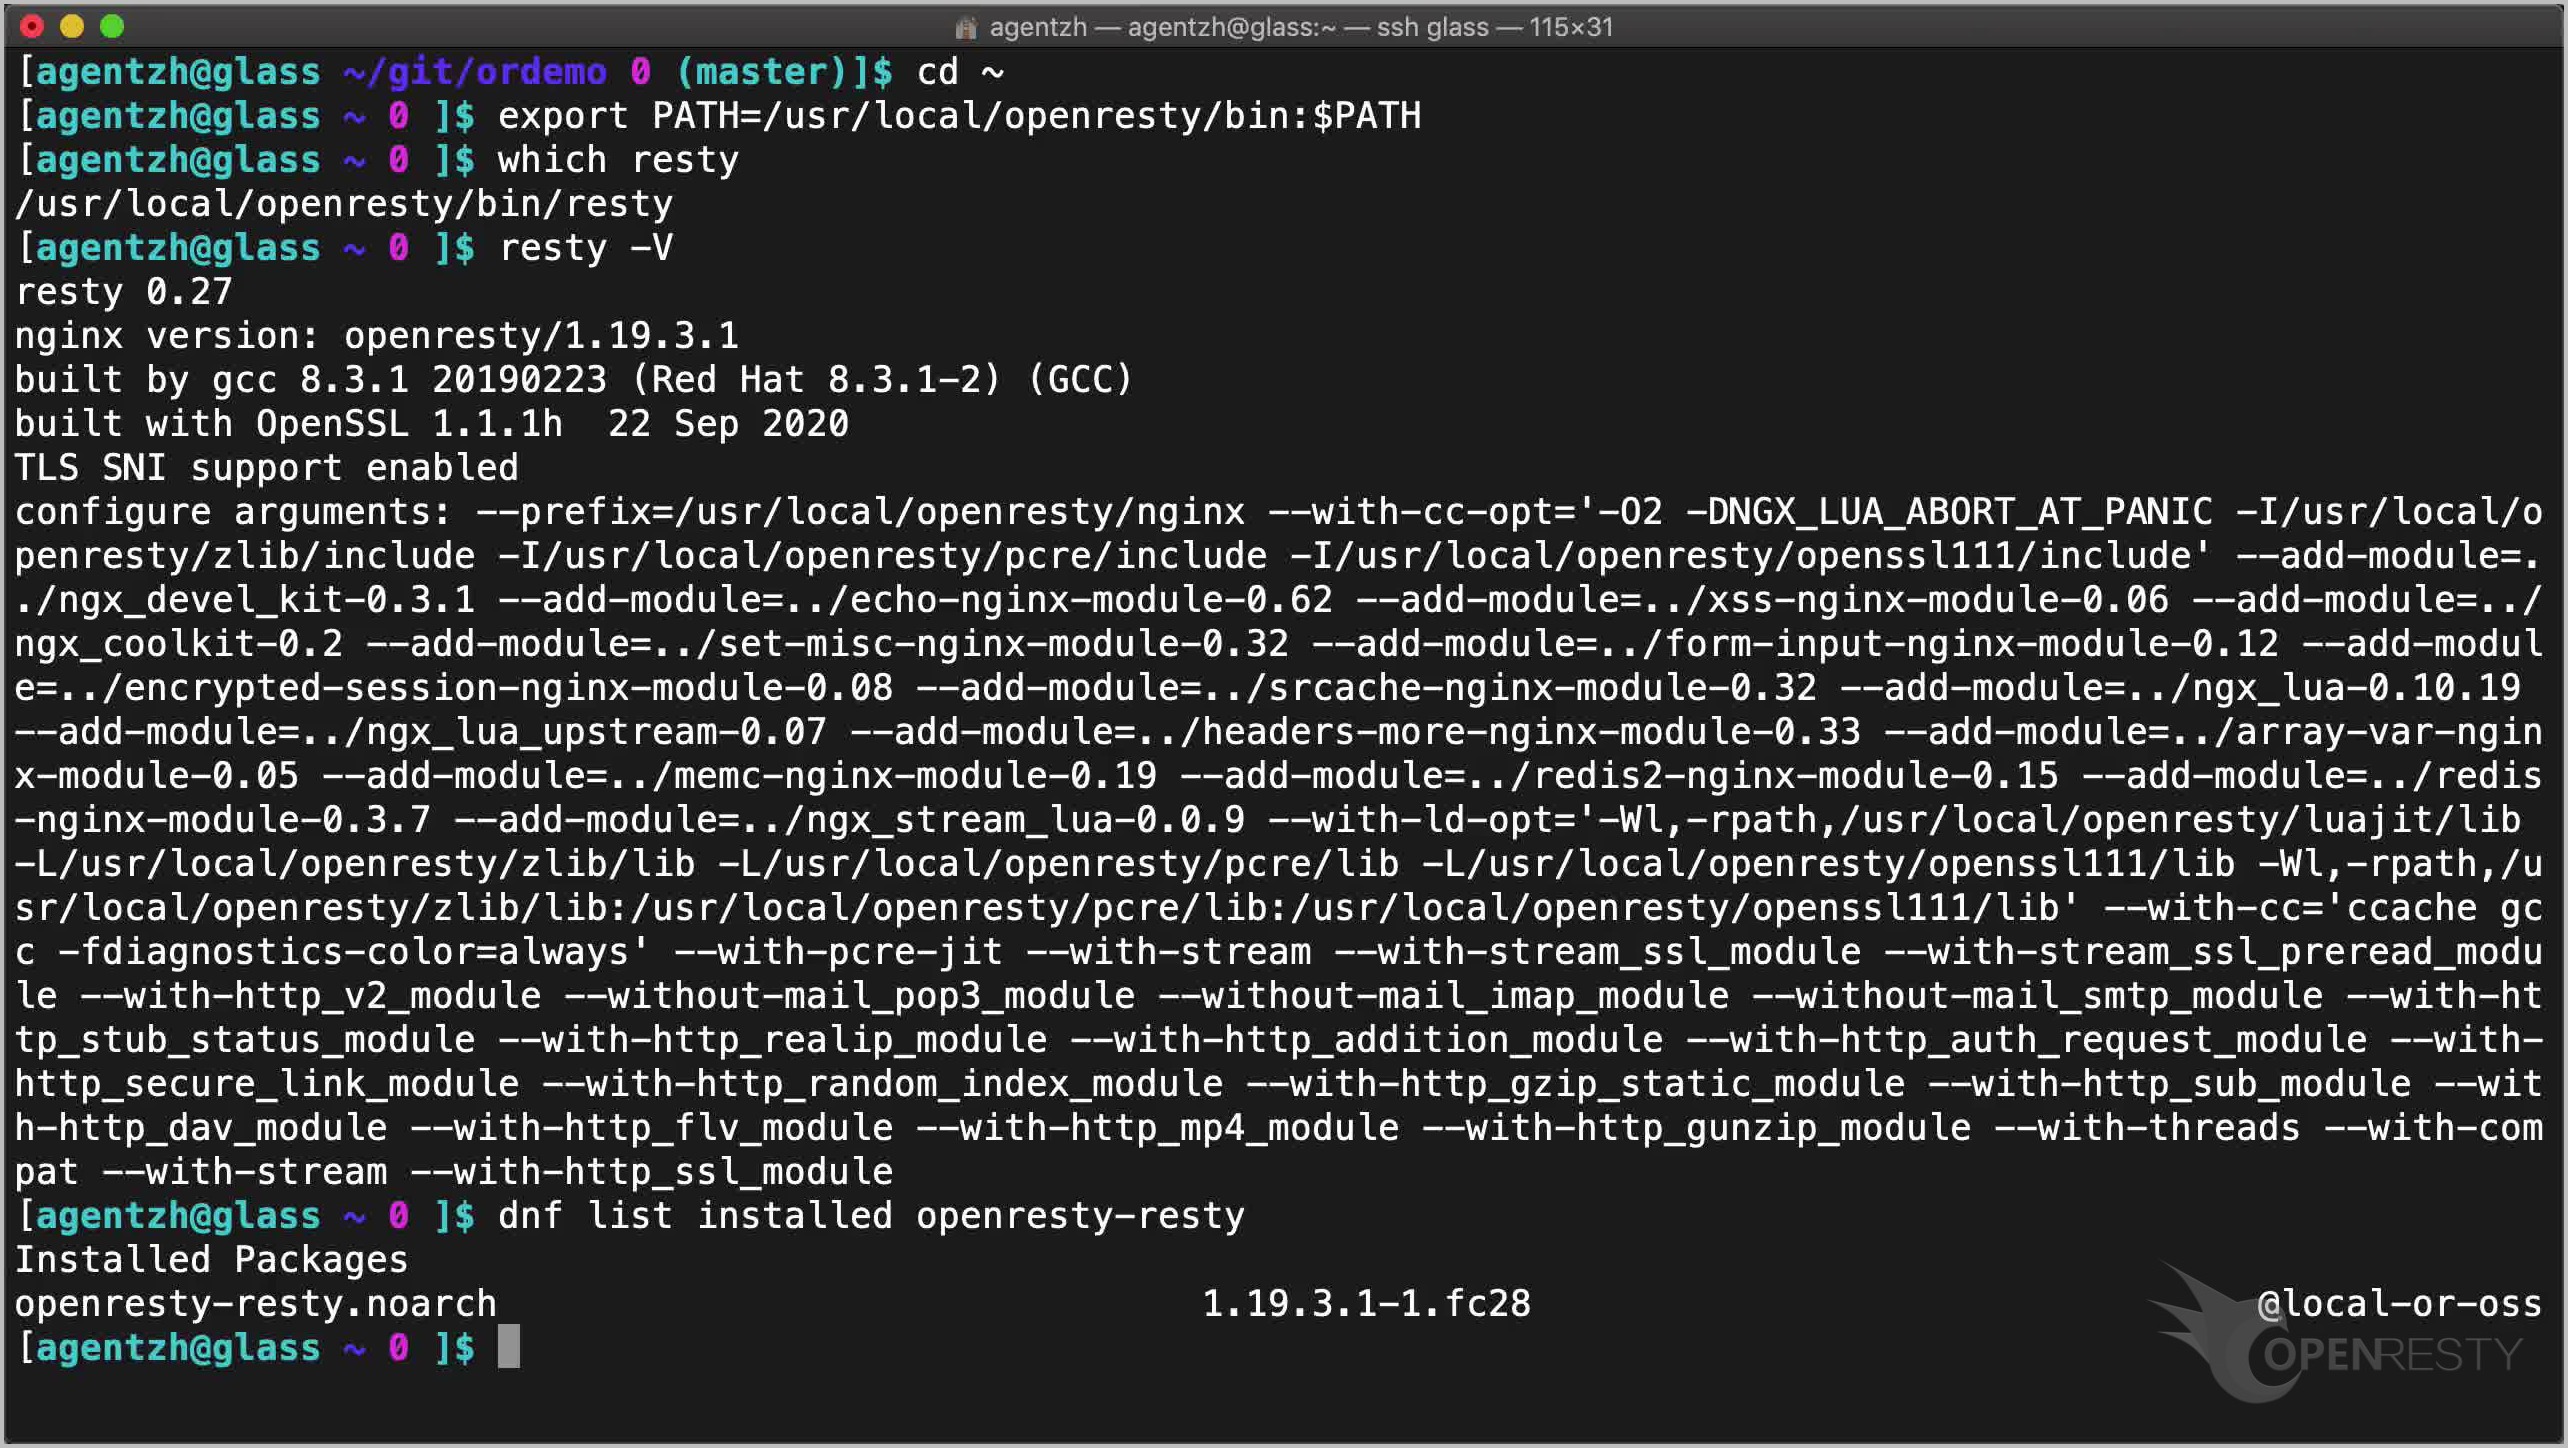
If you install OpenResty using our pre-built binary packages for Linux, resty is not included in the main openresty package — install openresty-resty separately:
dnf list installed openresty-resty
Running Inline Lua with resty -e
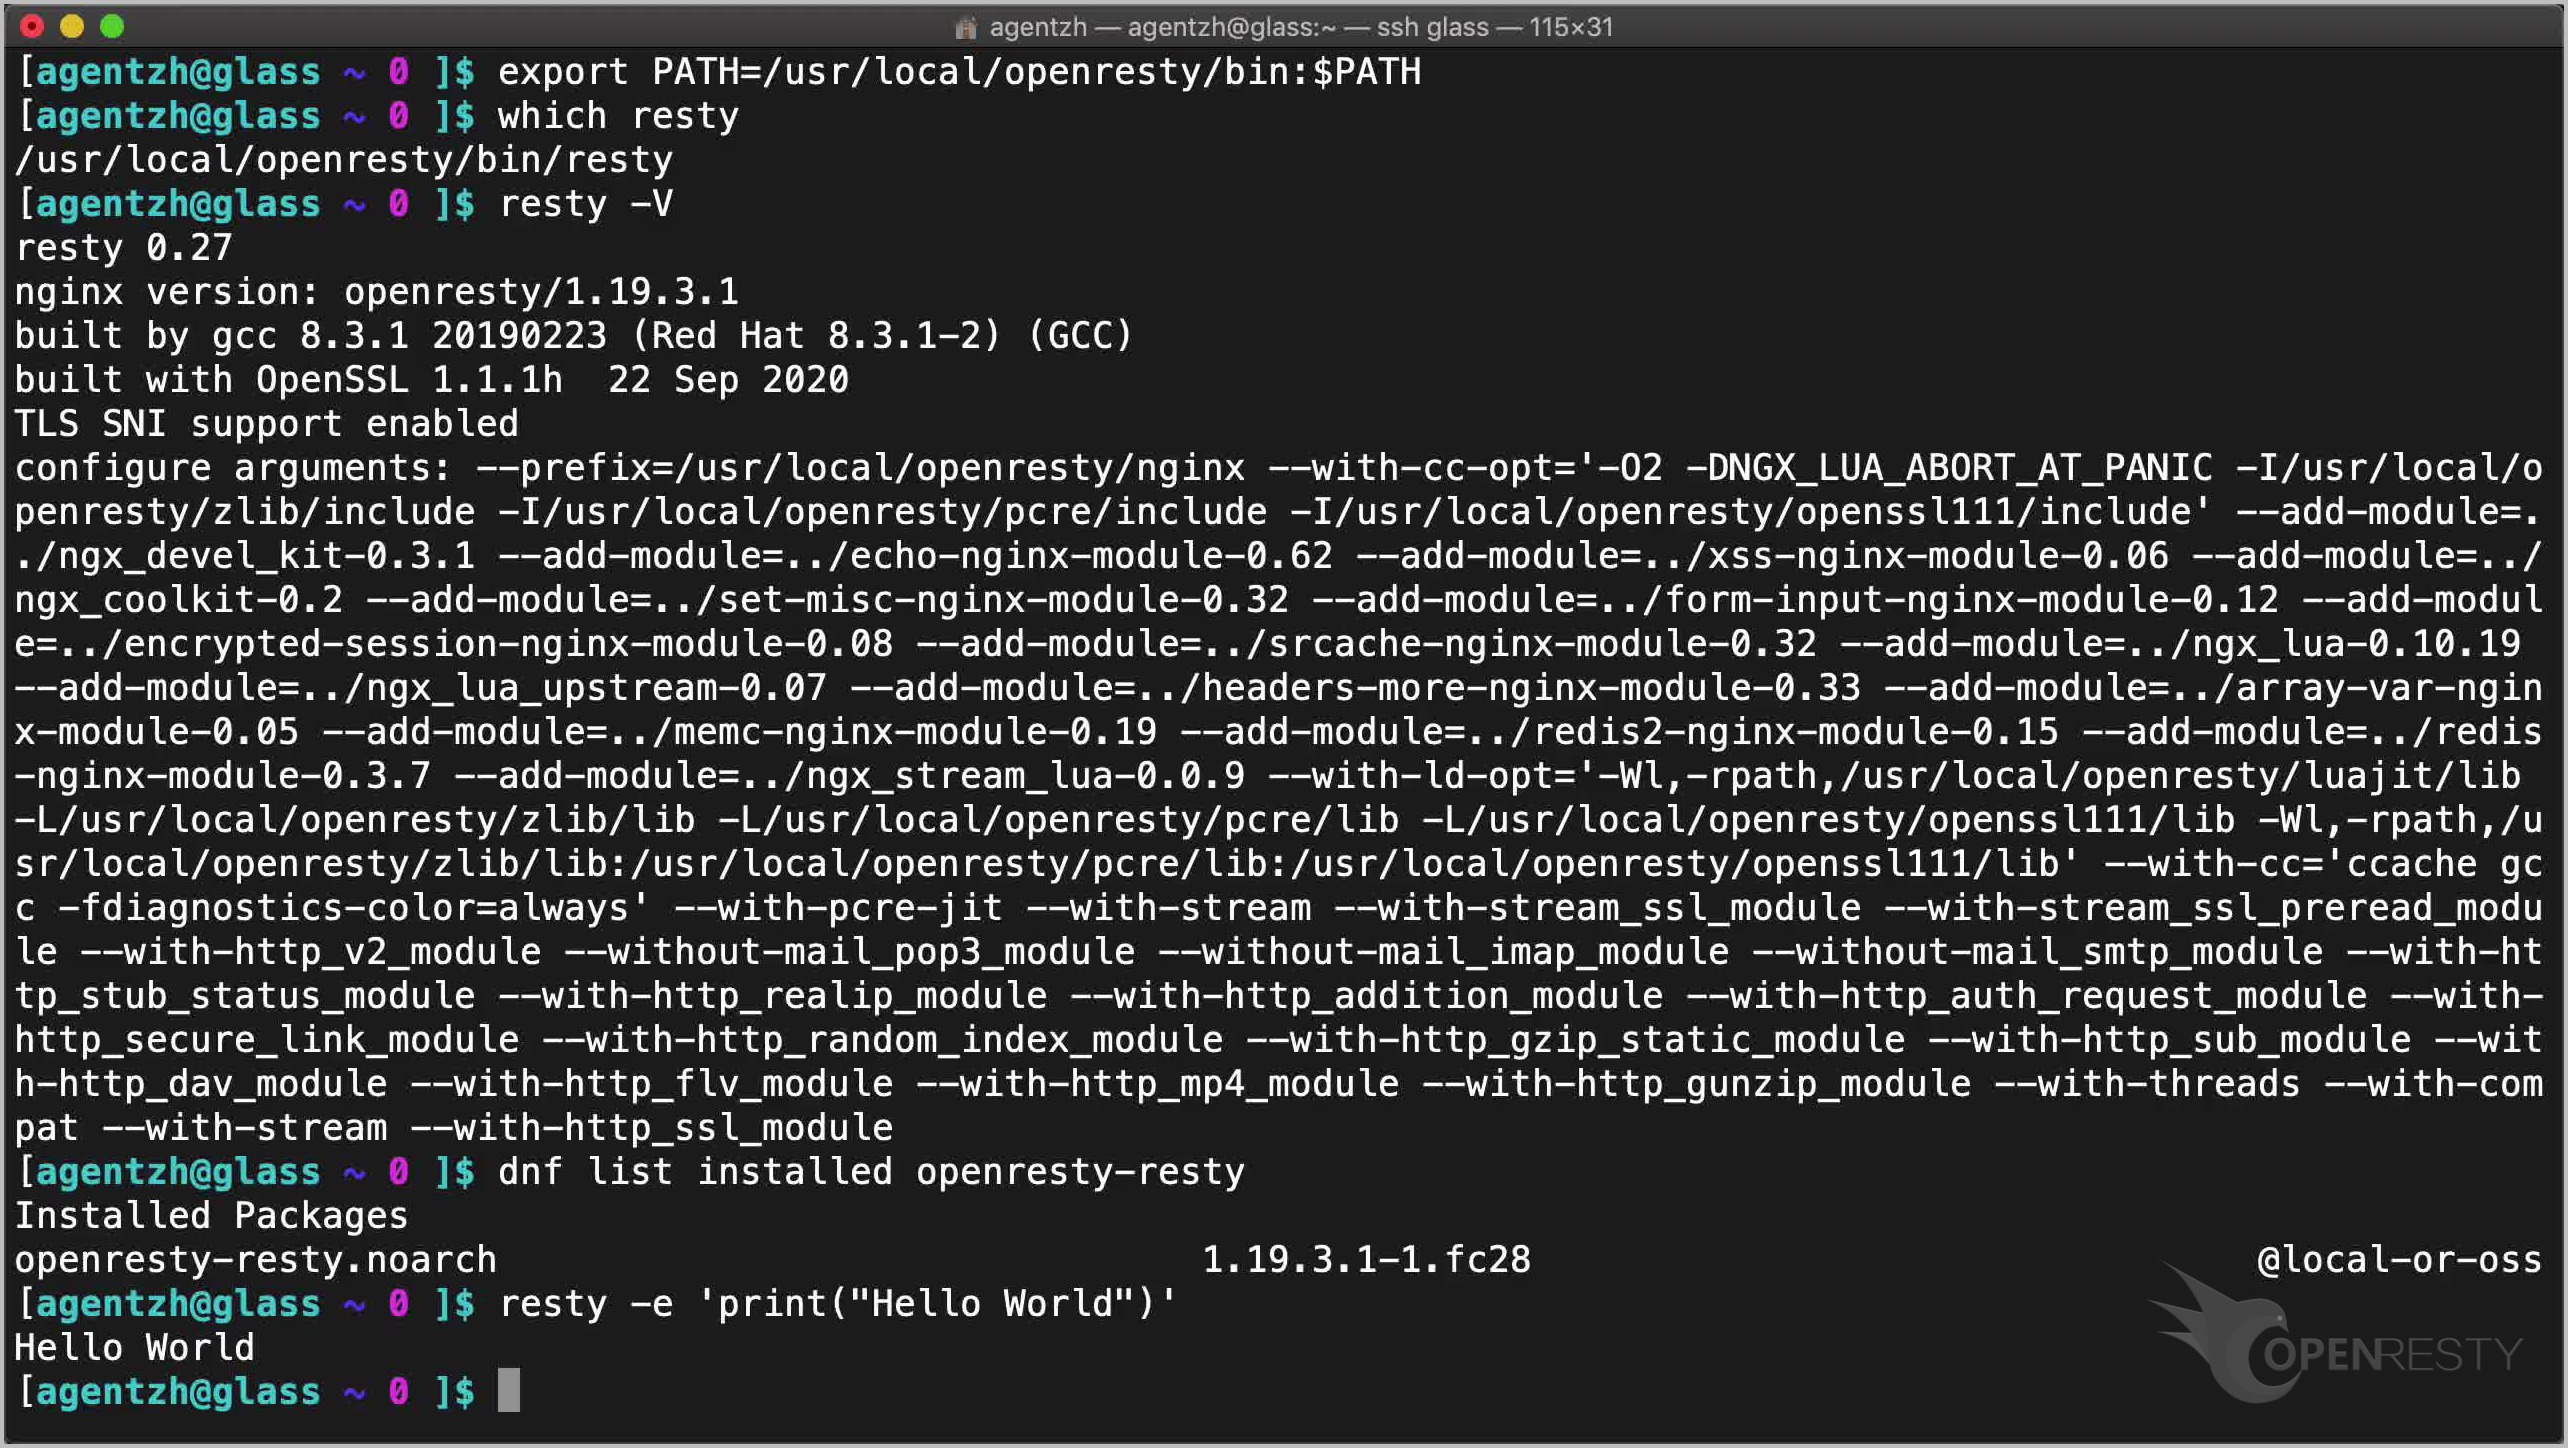
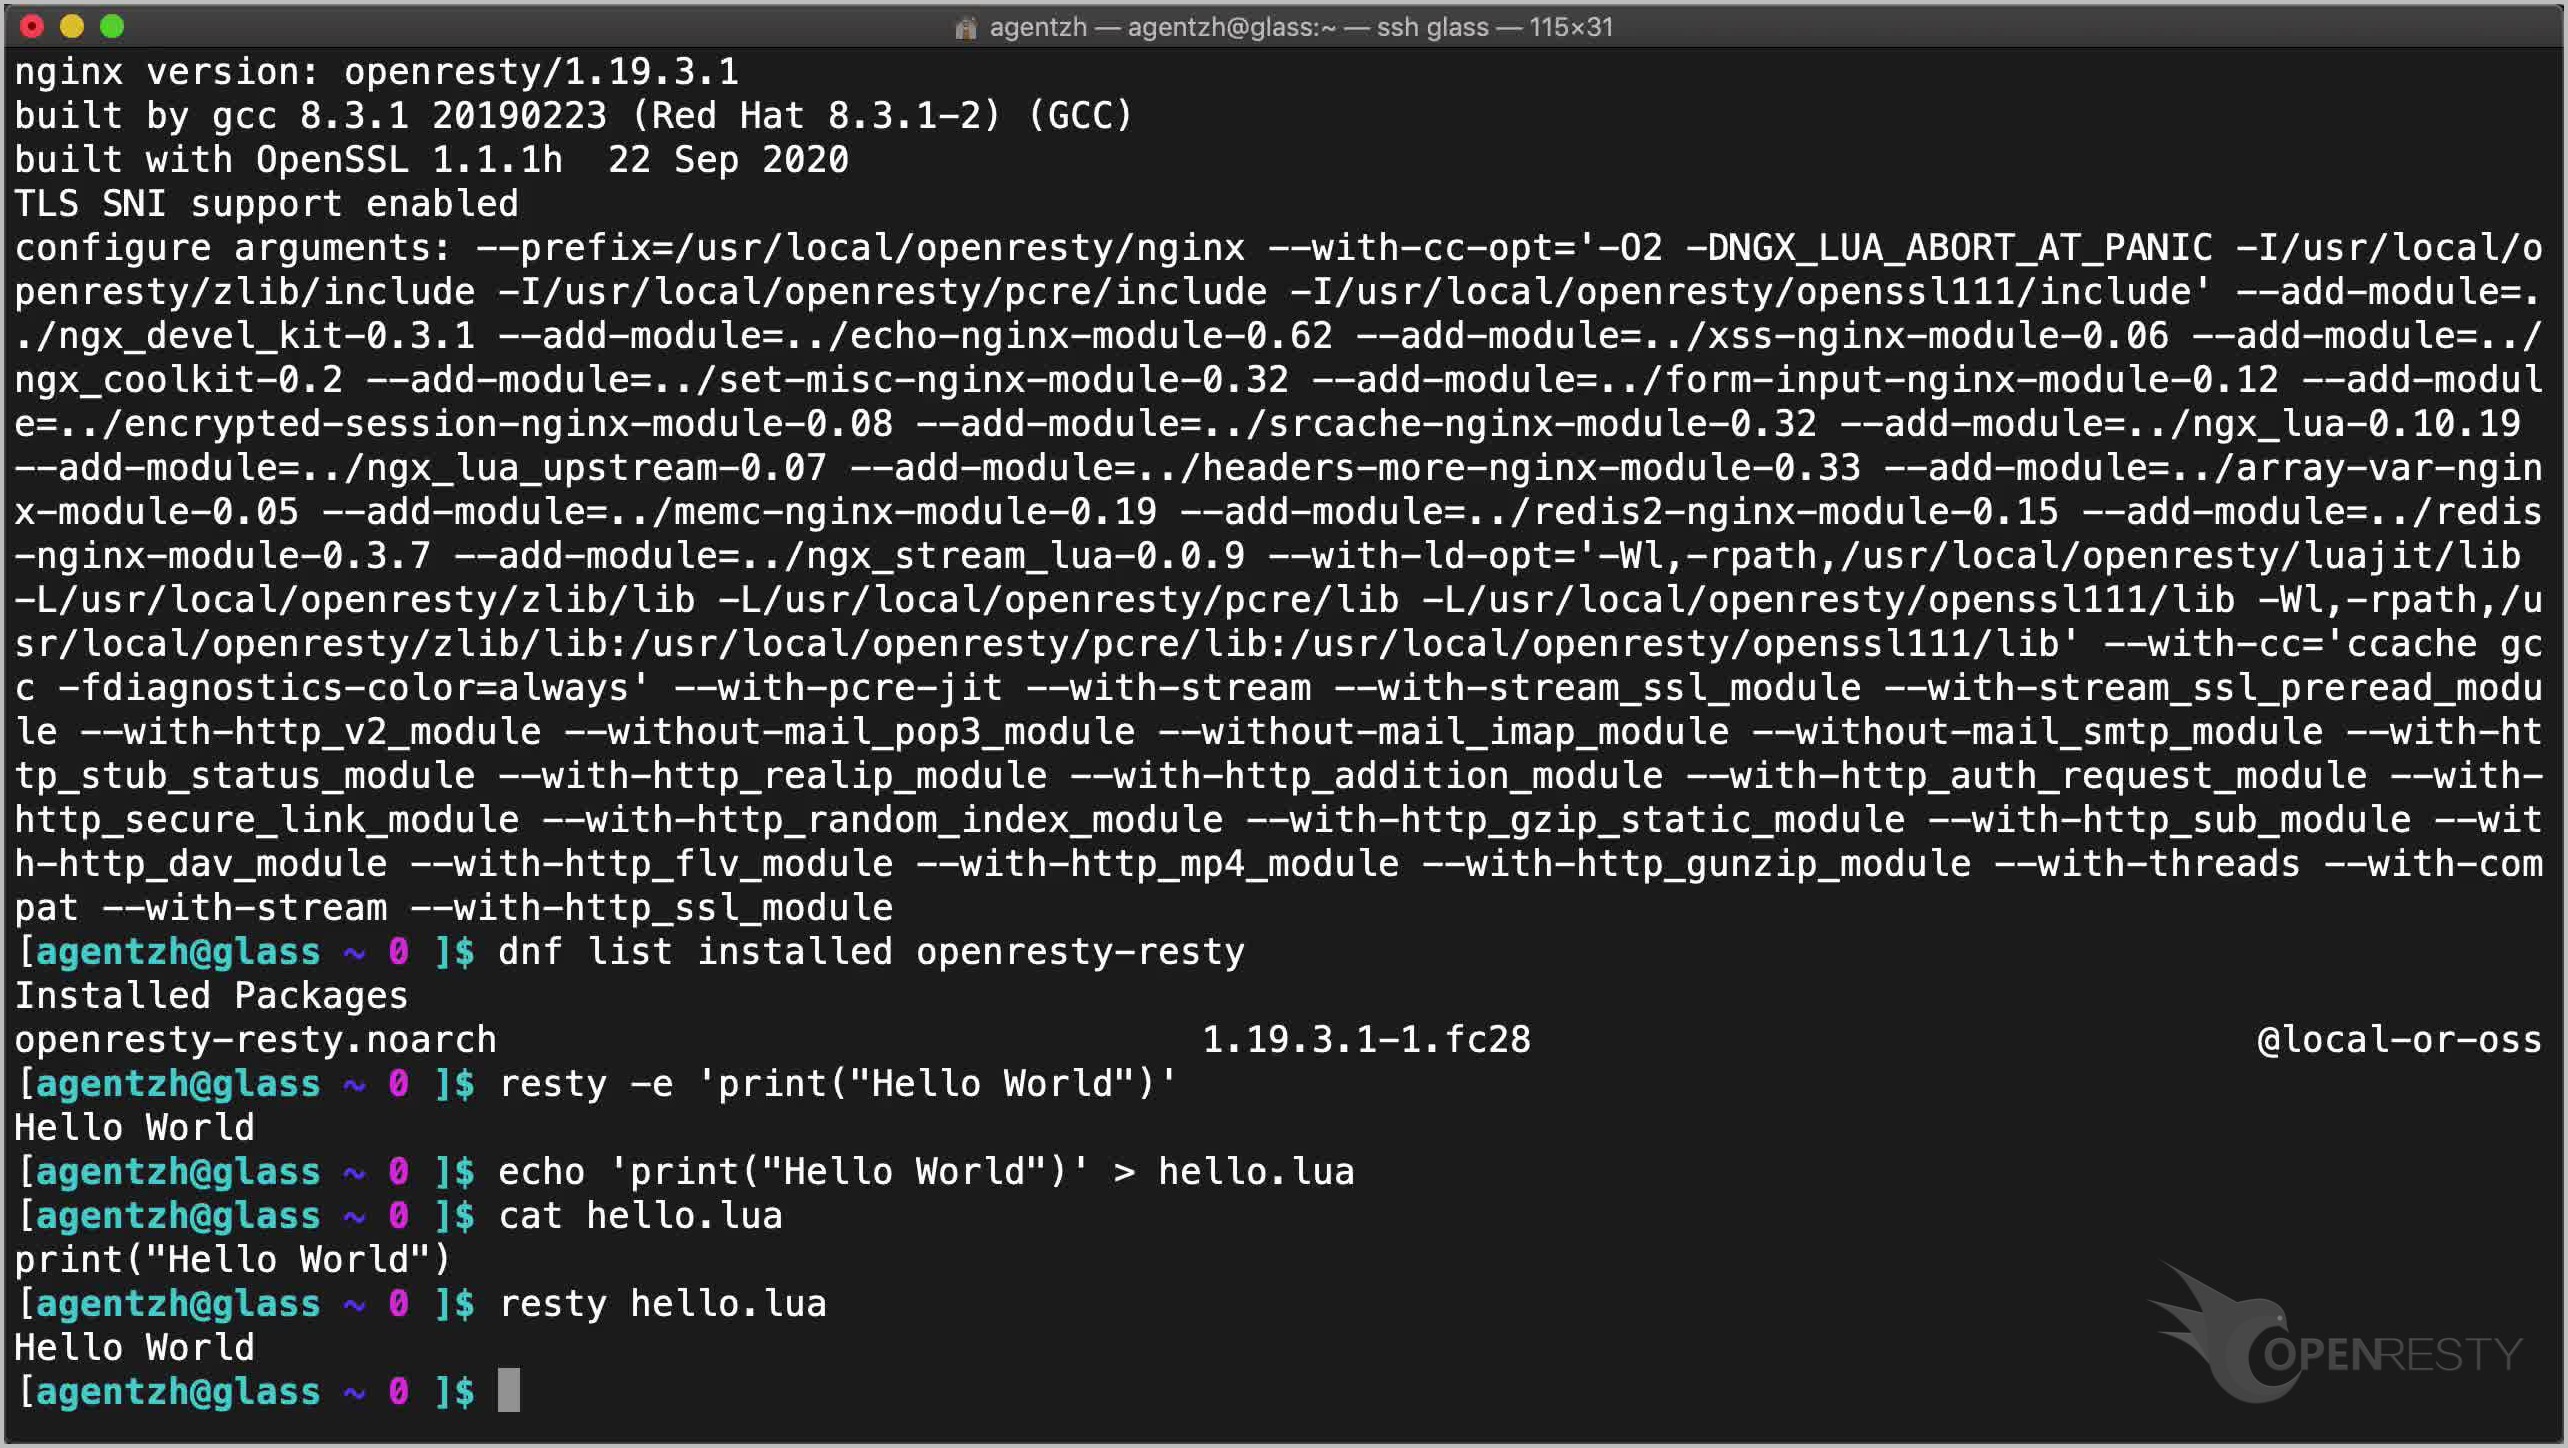
The quickest way to run Lua is the -e flag, which executes an inline code string. If you followed our Hello World tutorial, you can now do the same without any nginx.conf:
resty -e 'print("Hello World")'
Running a Lua Script File
You can also point resty at a .lua file directly, making it a practical tool for building command-line applications with OpenResty:
echo 'print("Hello World")' > hello.lua
cat hello.lua
resty hello.lua
Nonblocking I/O and the Cosocket API
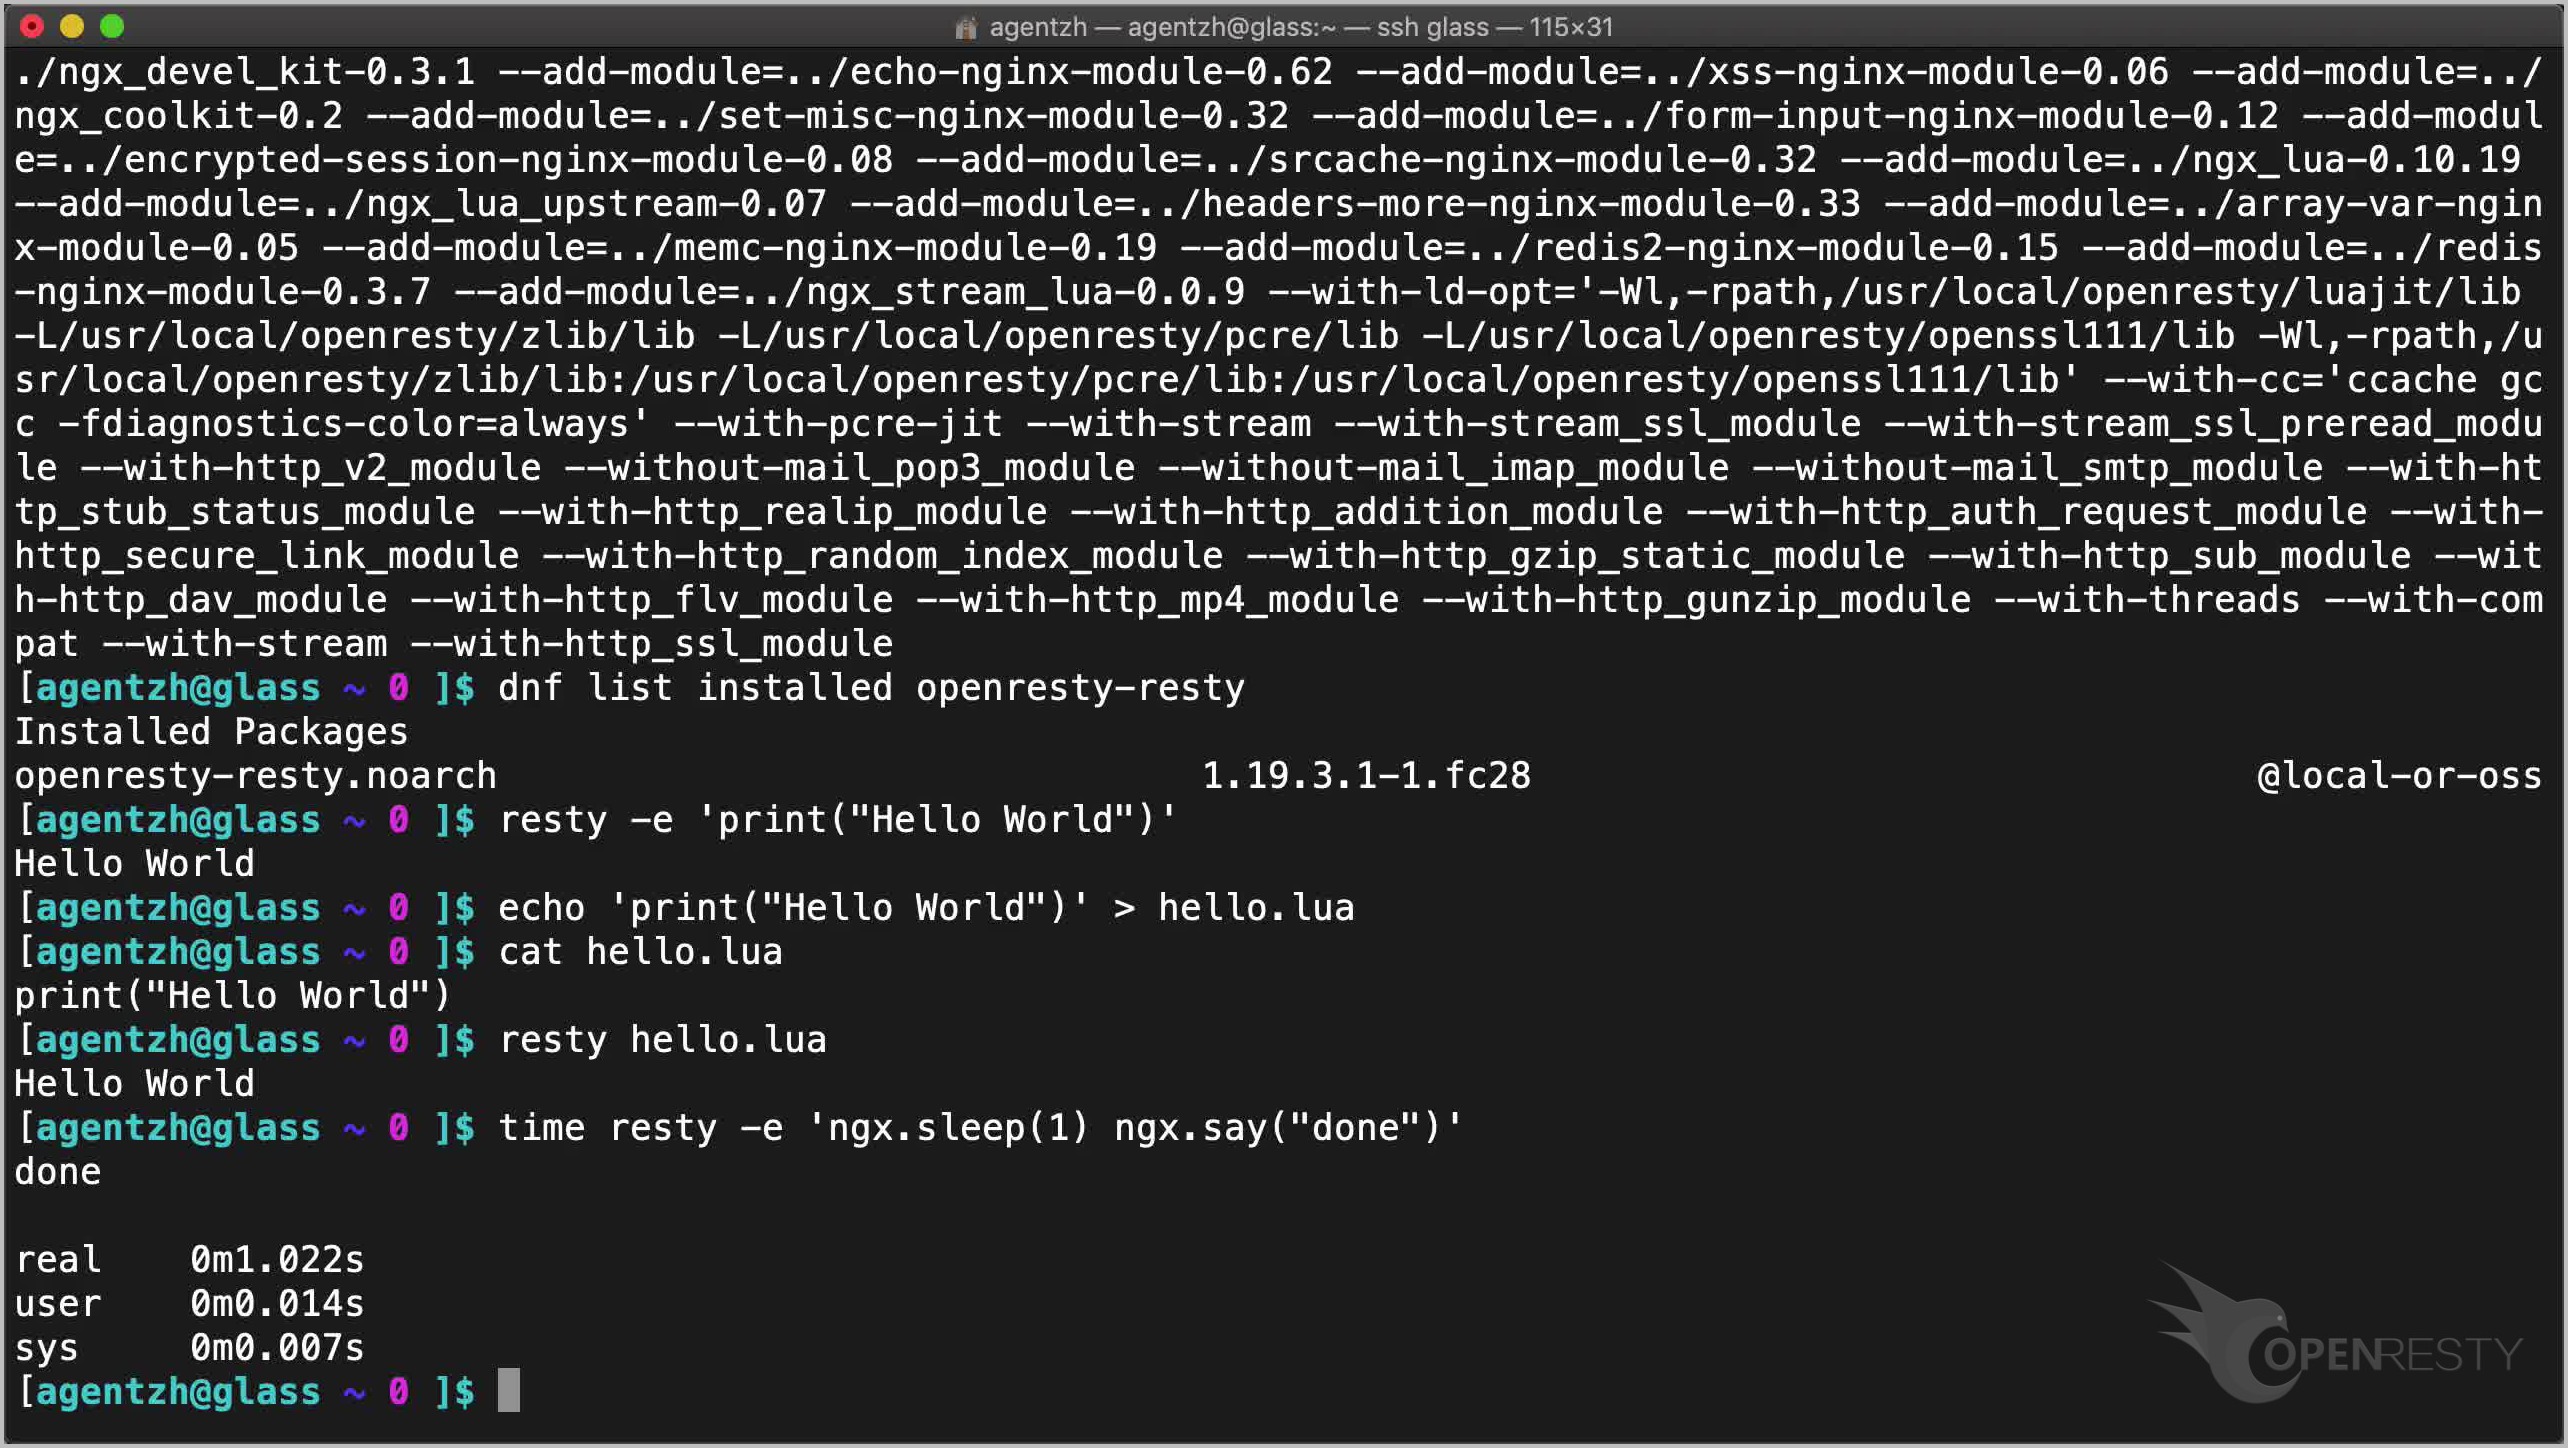
Unlike a plain lua or luajit runner, resty gives you full access to OpenResty’s nonblocking I/O primitives. Here, ngx.sleep(1) yields to the event loop rather than blocking the OS thread:
time resty -e 'ngx.sleep(1) ngx.say("done")'
For more on timing and sleep APIs in OpenResty Lua, see our Lua timing tutorial.
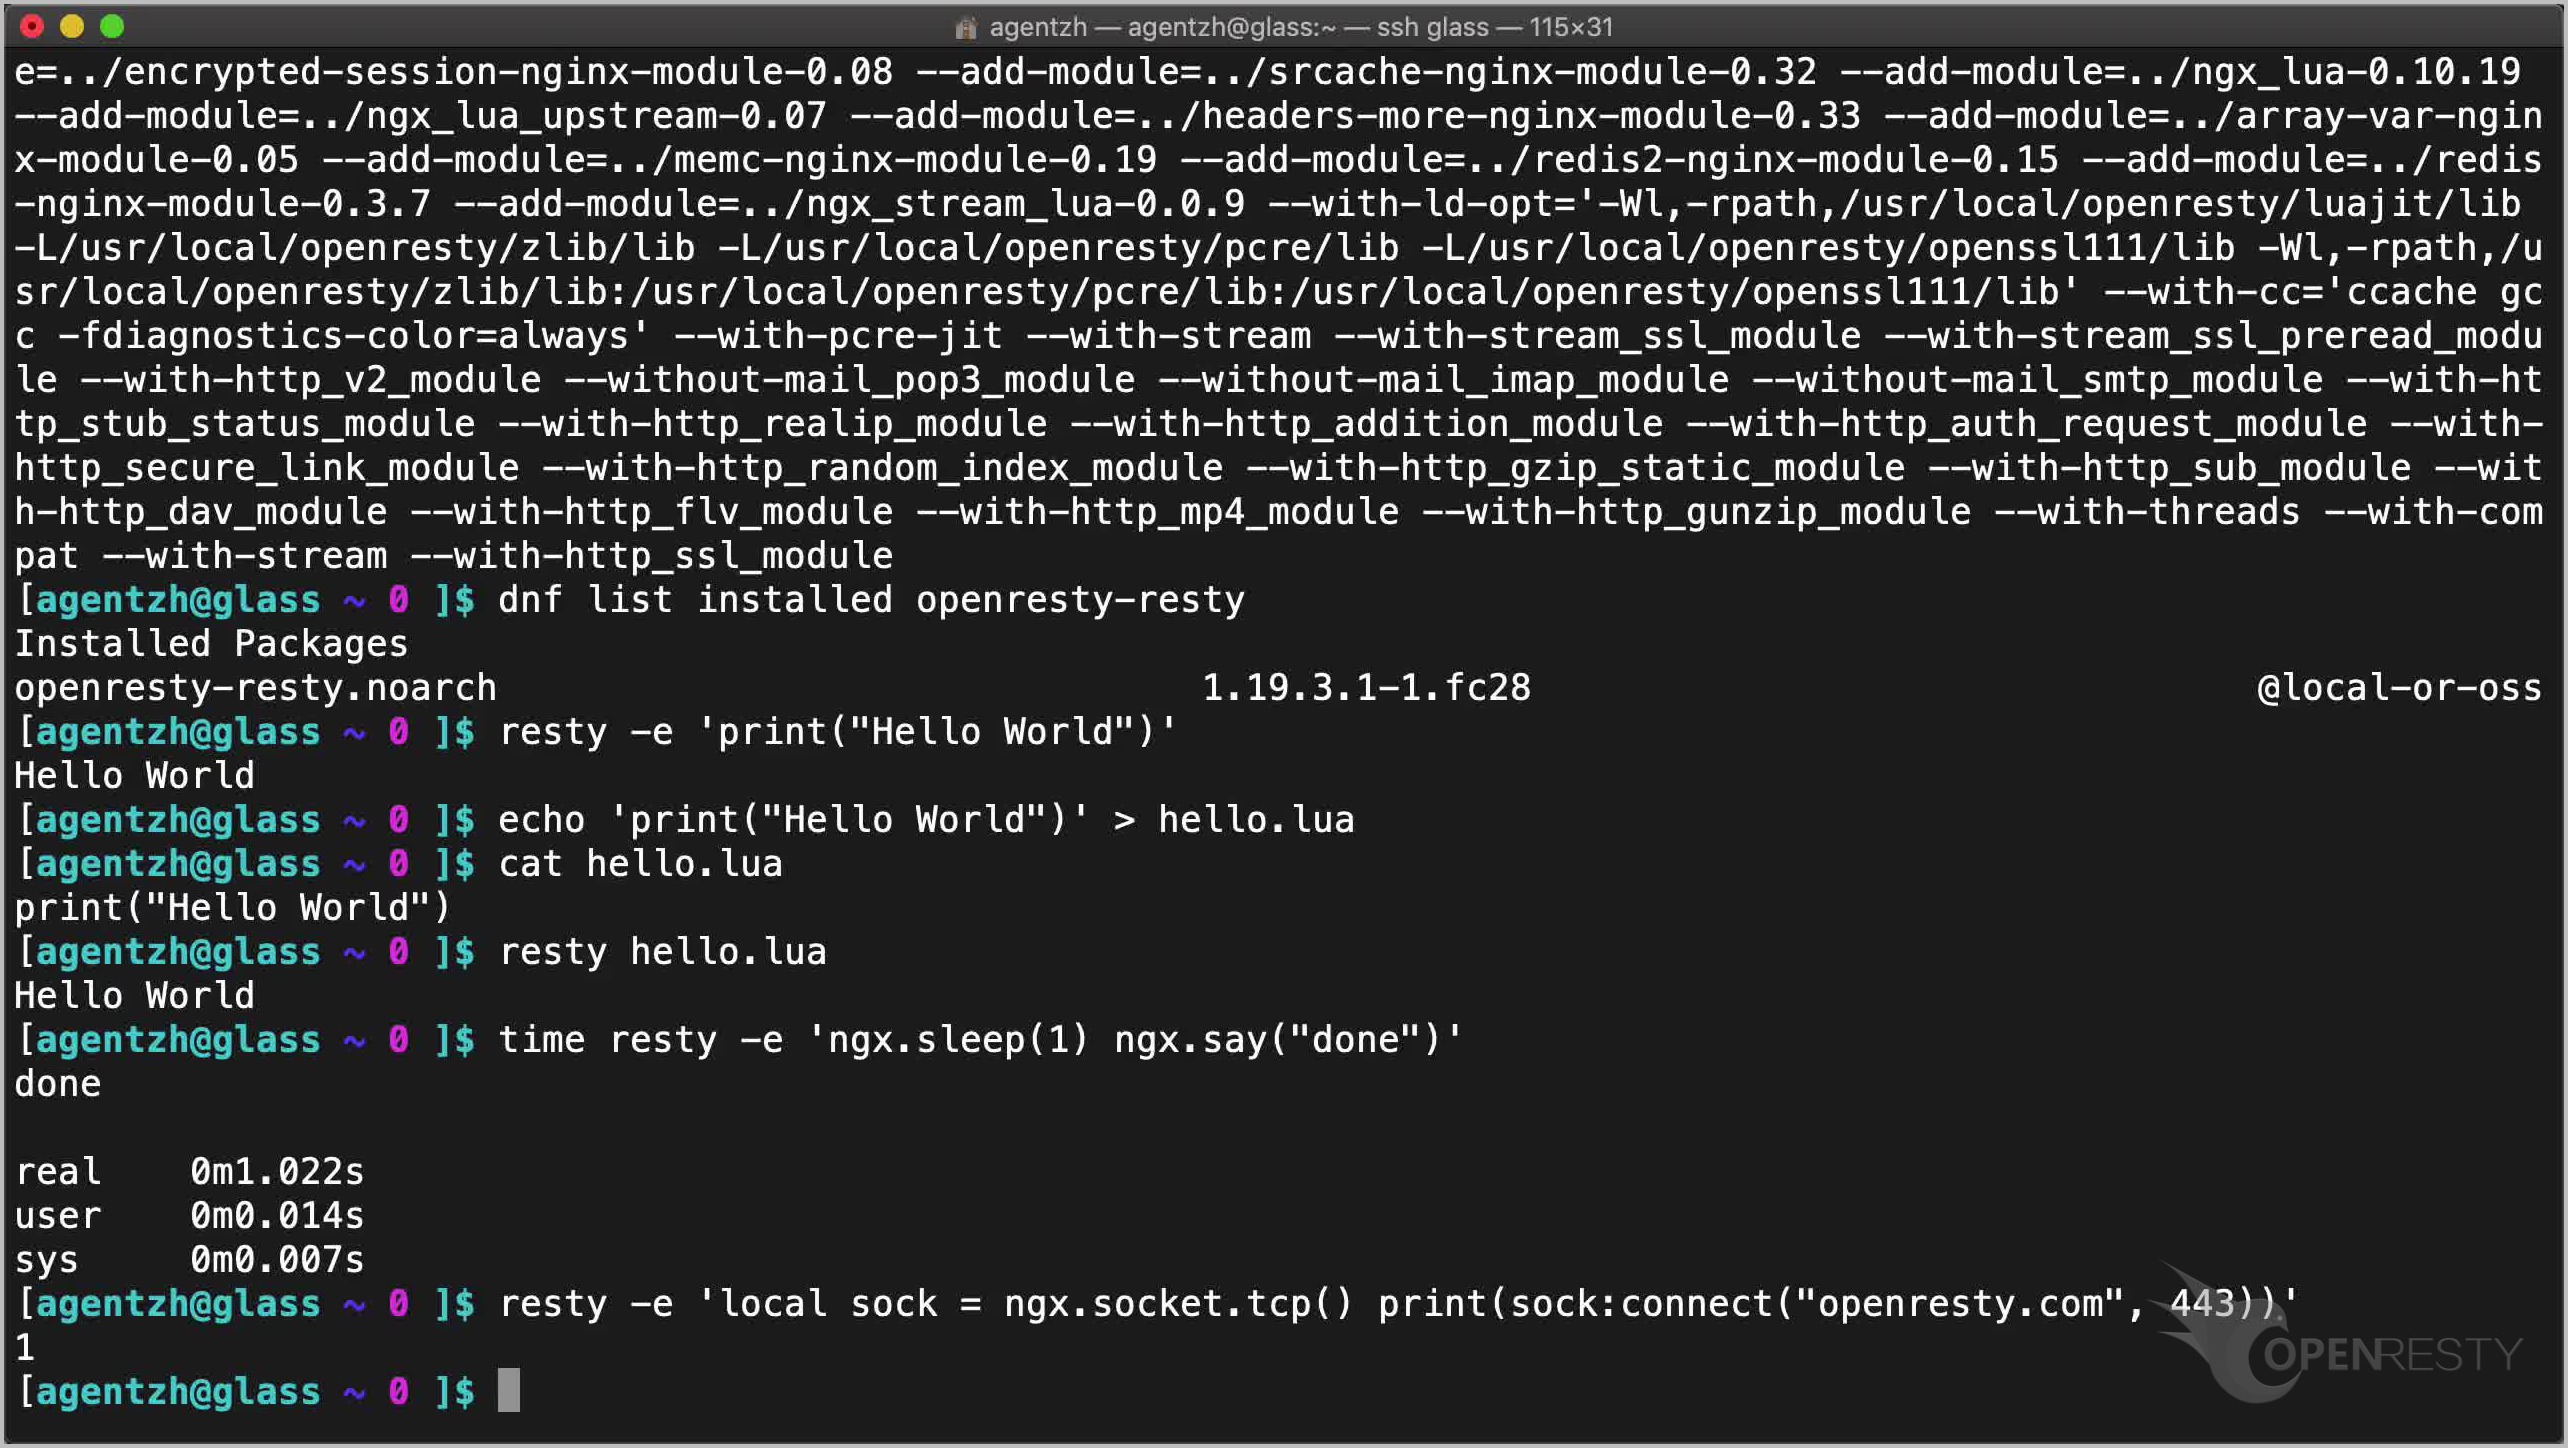
The cosocket API works the same way. Let’s connect to openresty.com’s 443 port:
resty -e 'local sock = ngx.socket.tcp() print(sock:connect("openresty.com", 443))'
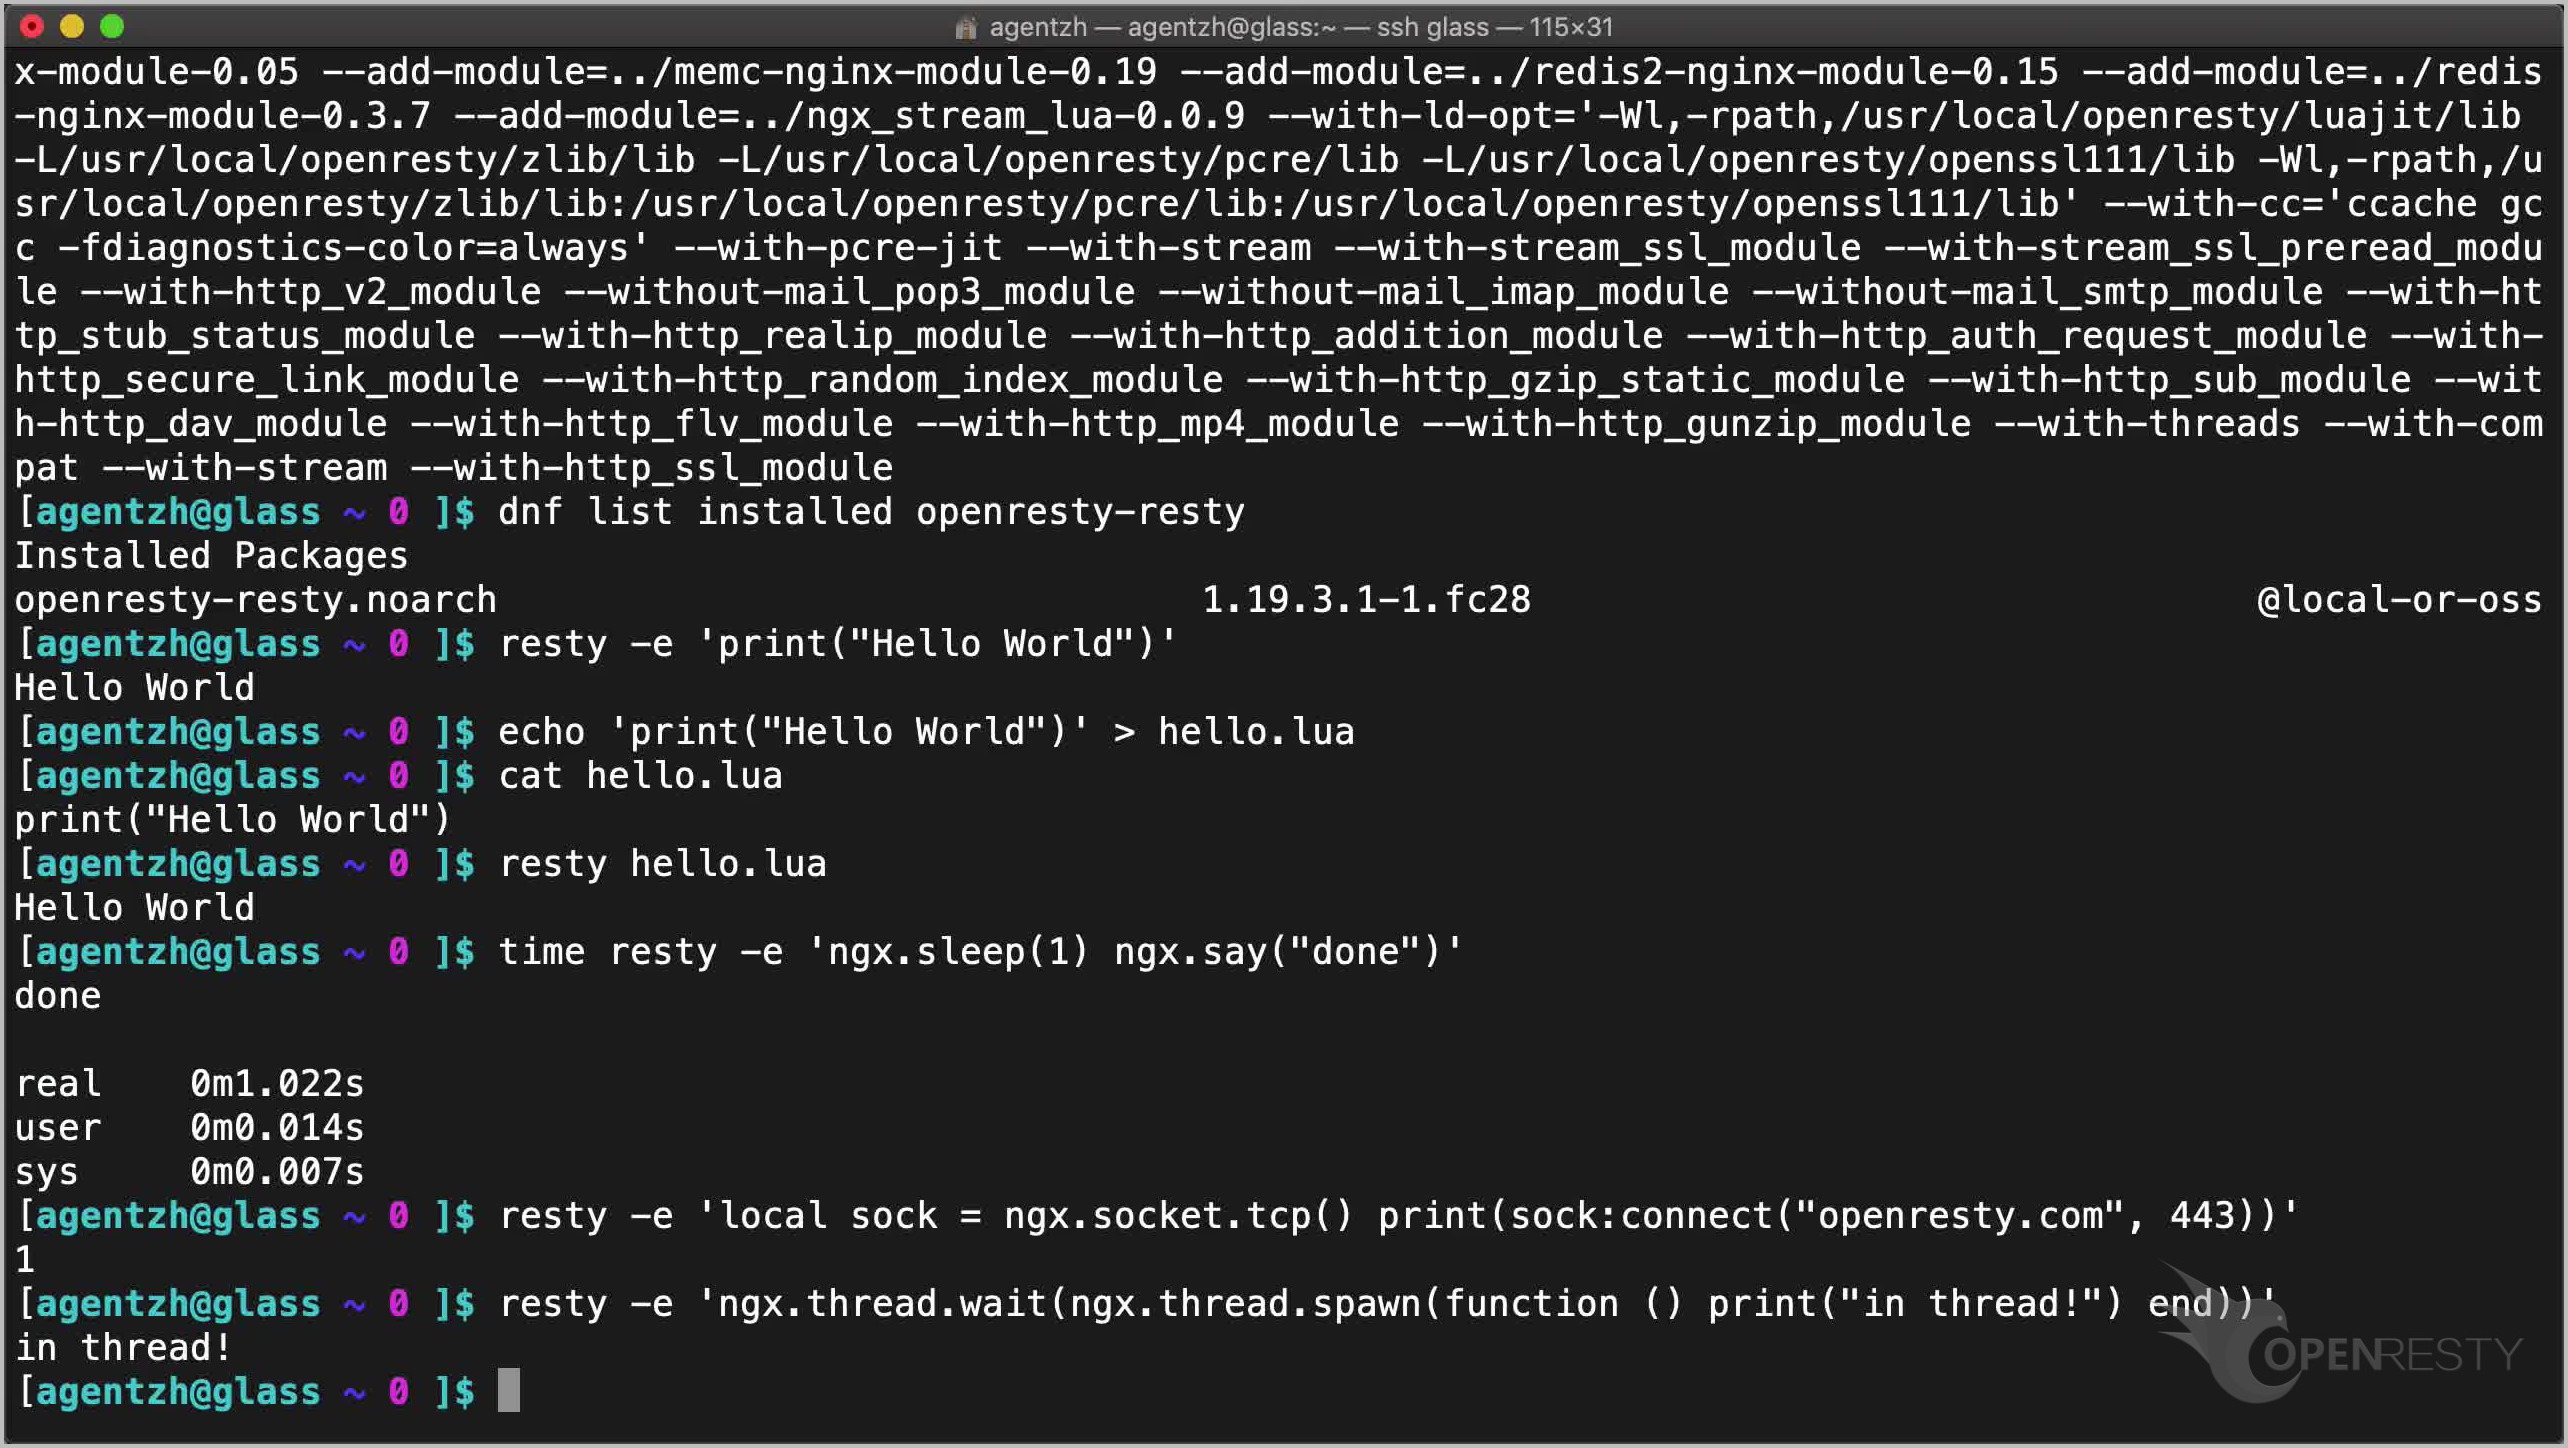
Or using light threads:
resty -e 'ngx.thread.wait(ngx.thread.spawn(function () print("in thread!") end))'
Loading Lua Modules with -I
You can also use Lua modules with resty. Let’s create a test module:
mkdir lua/
vim lua/test.lua
The lua/test.lua file looks like this:
local _M = {}

function _M.hello() print("Hello") end

return _M
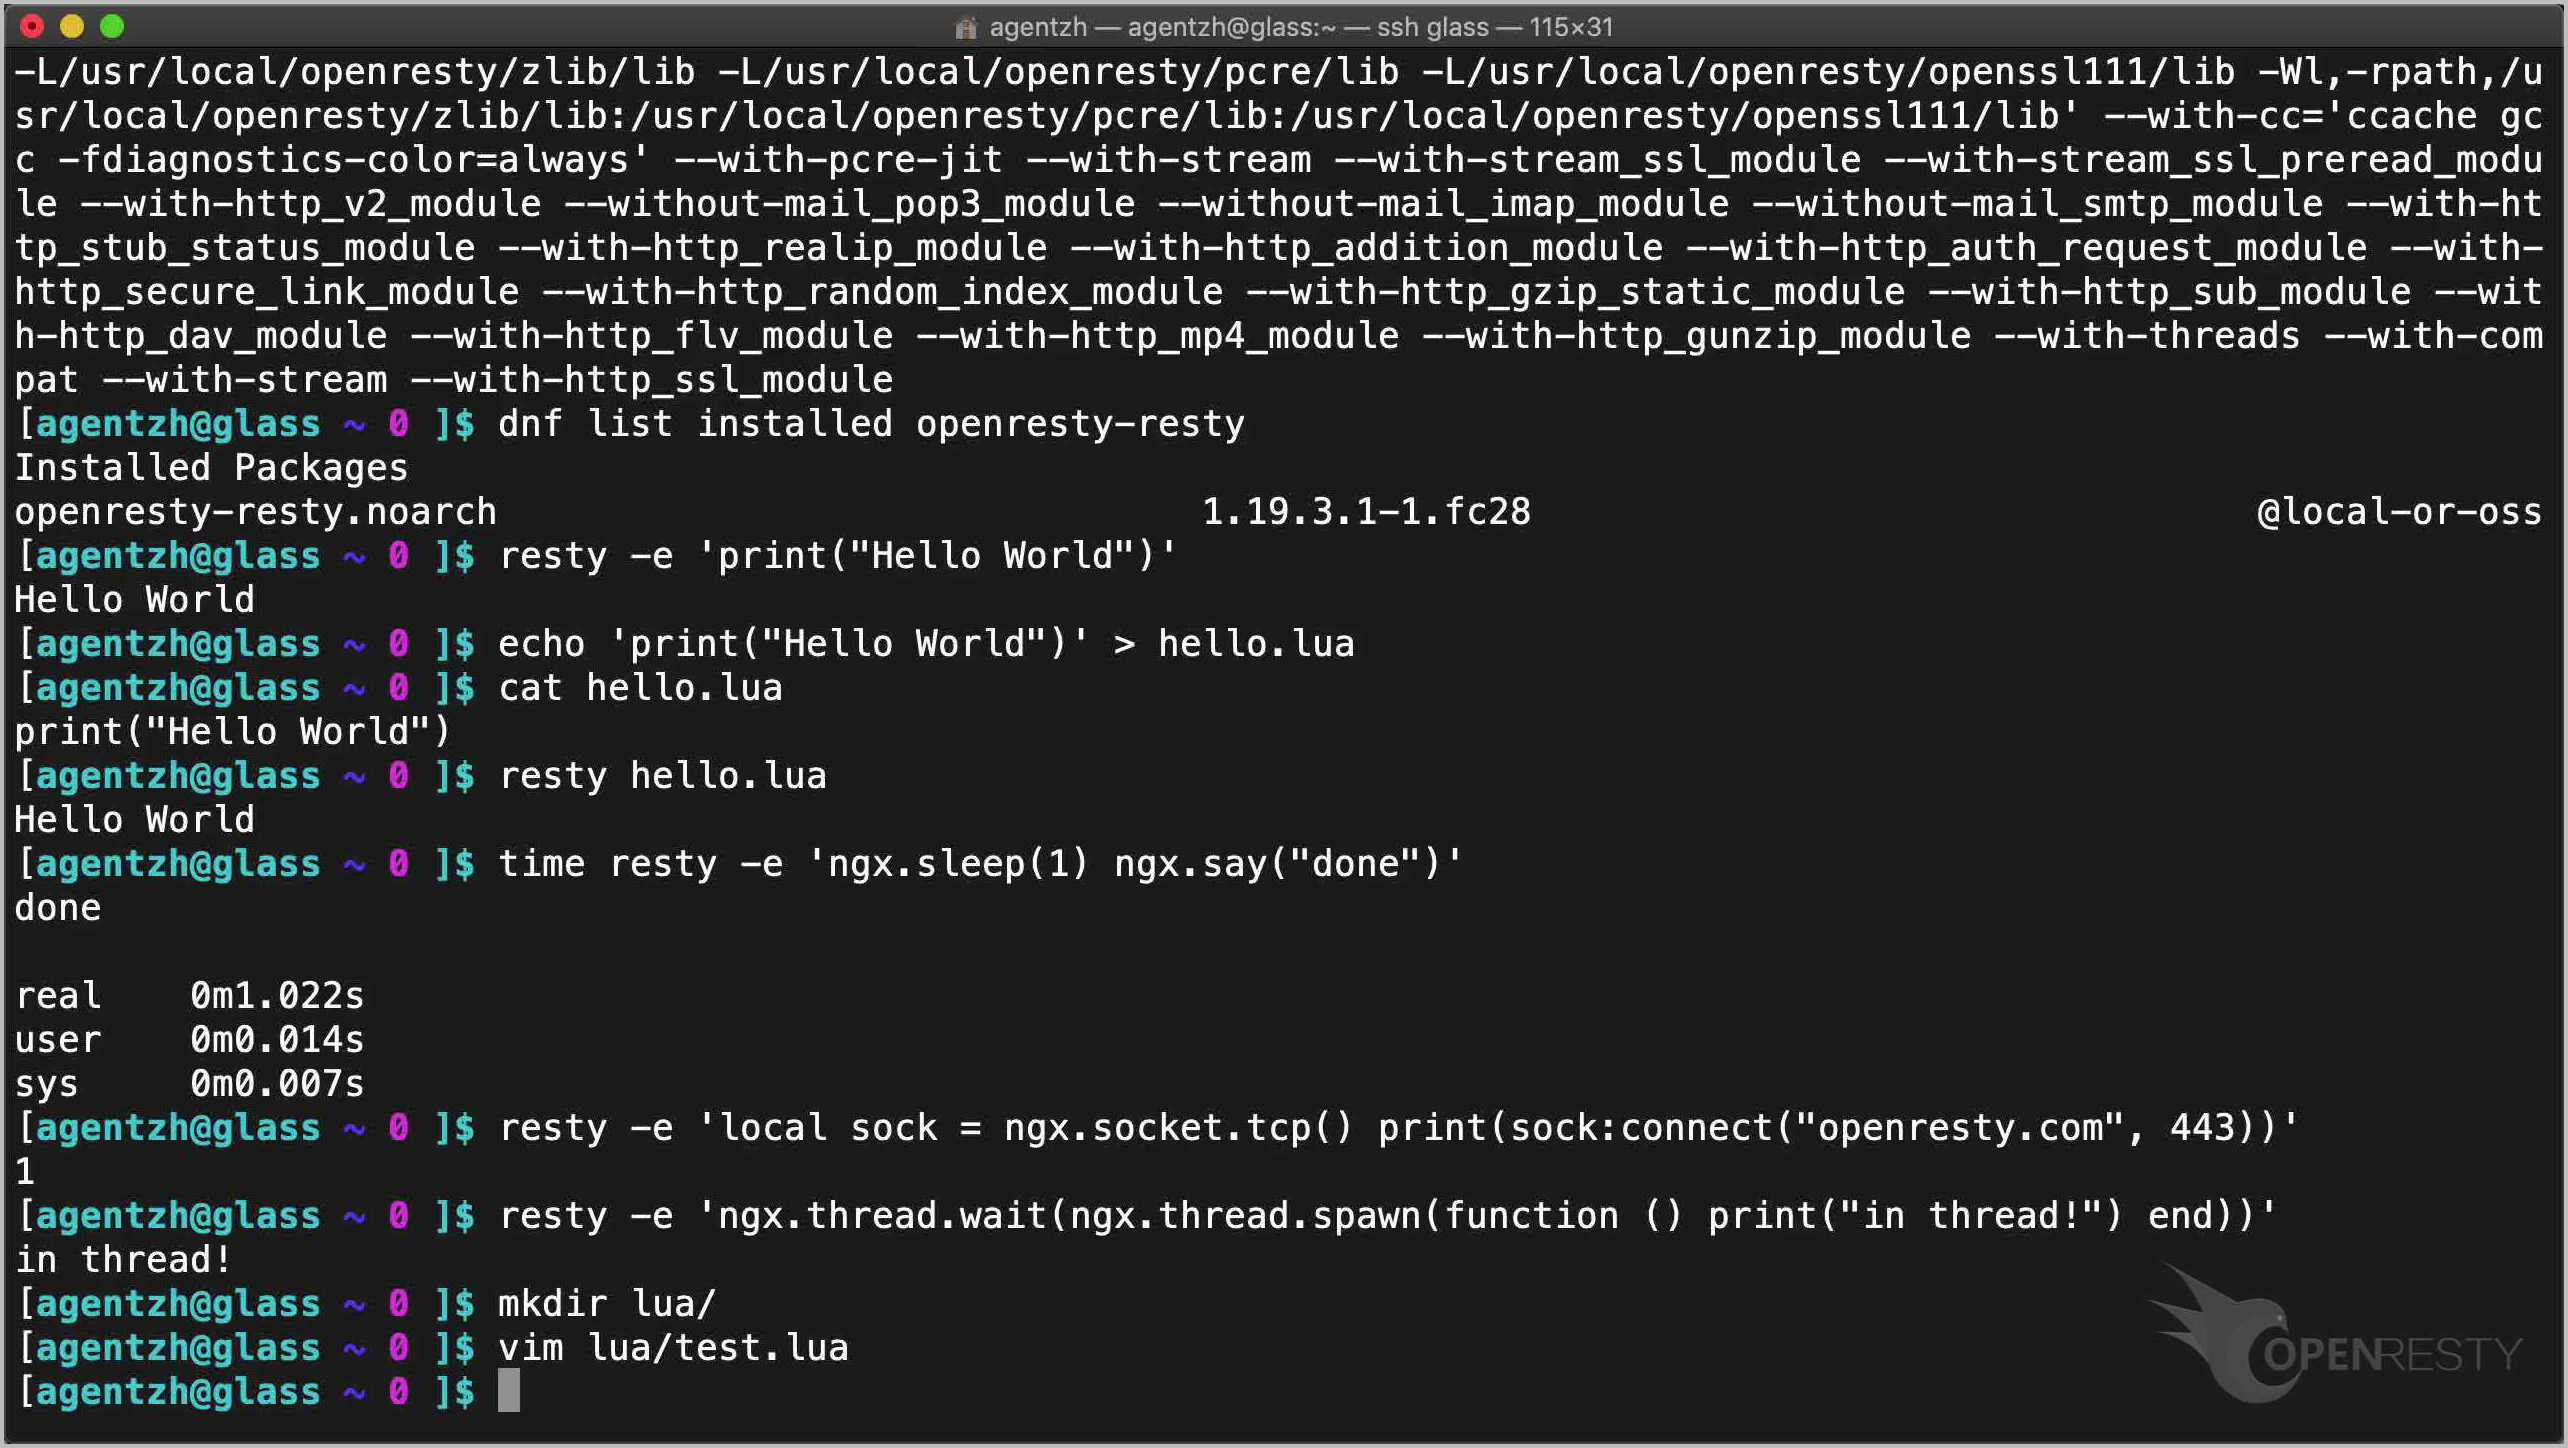
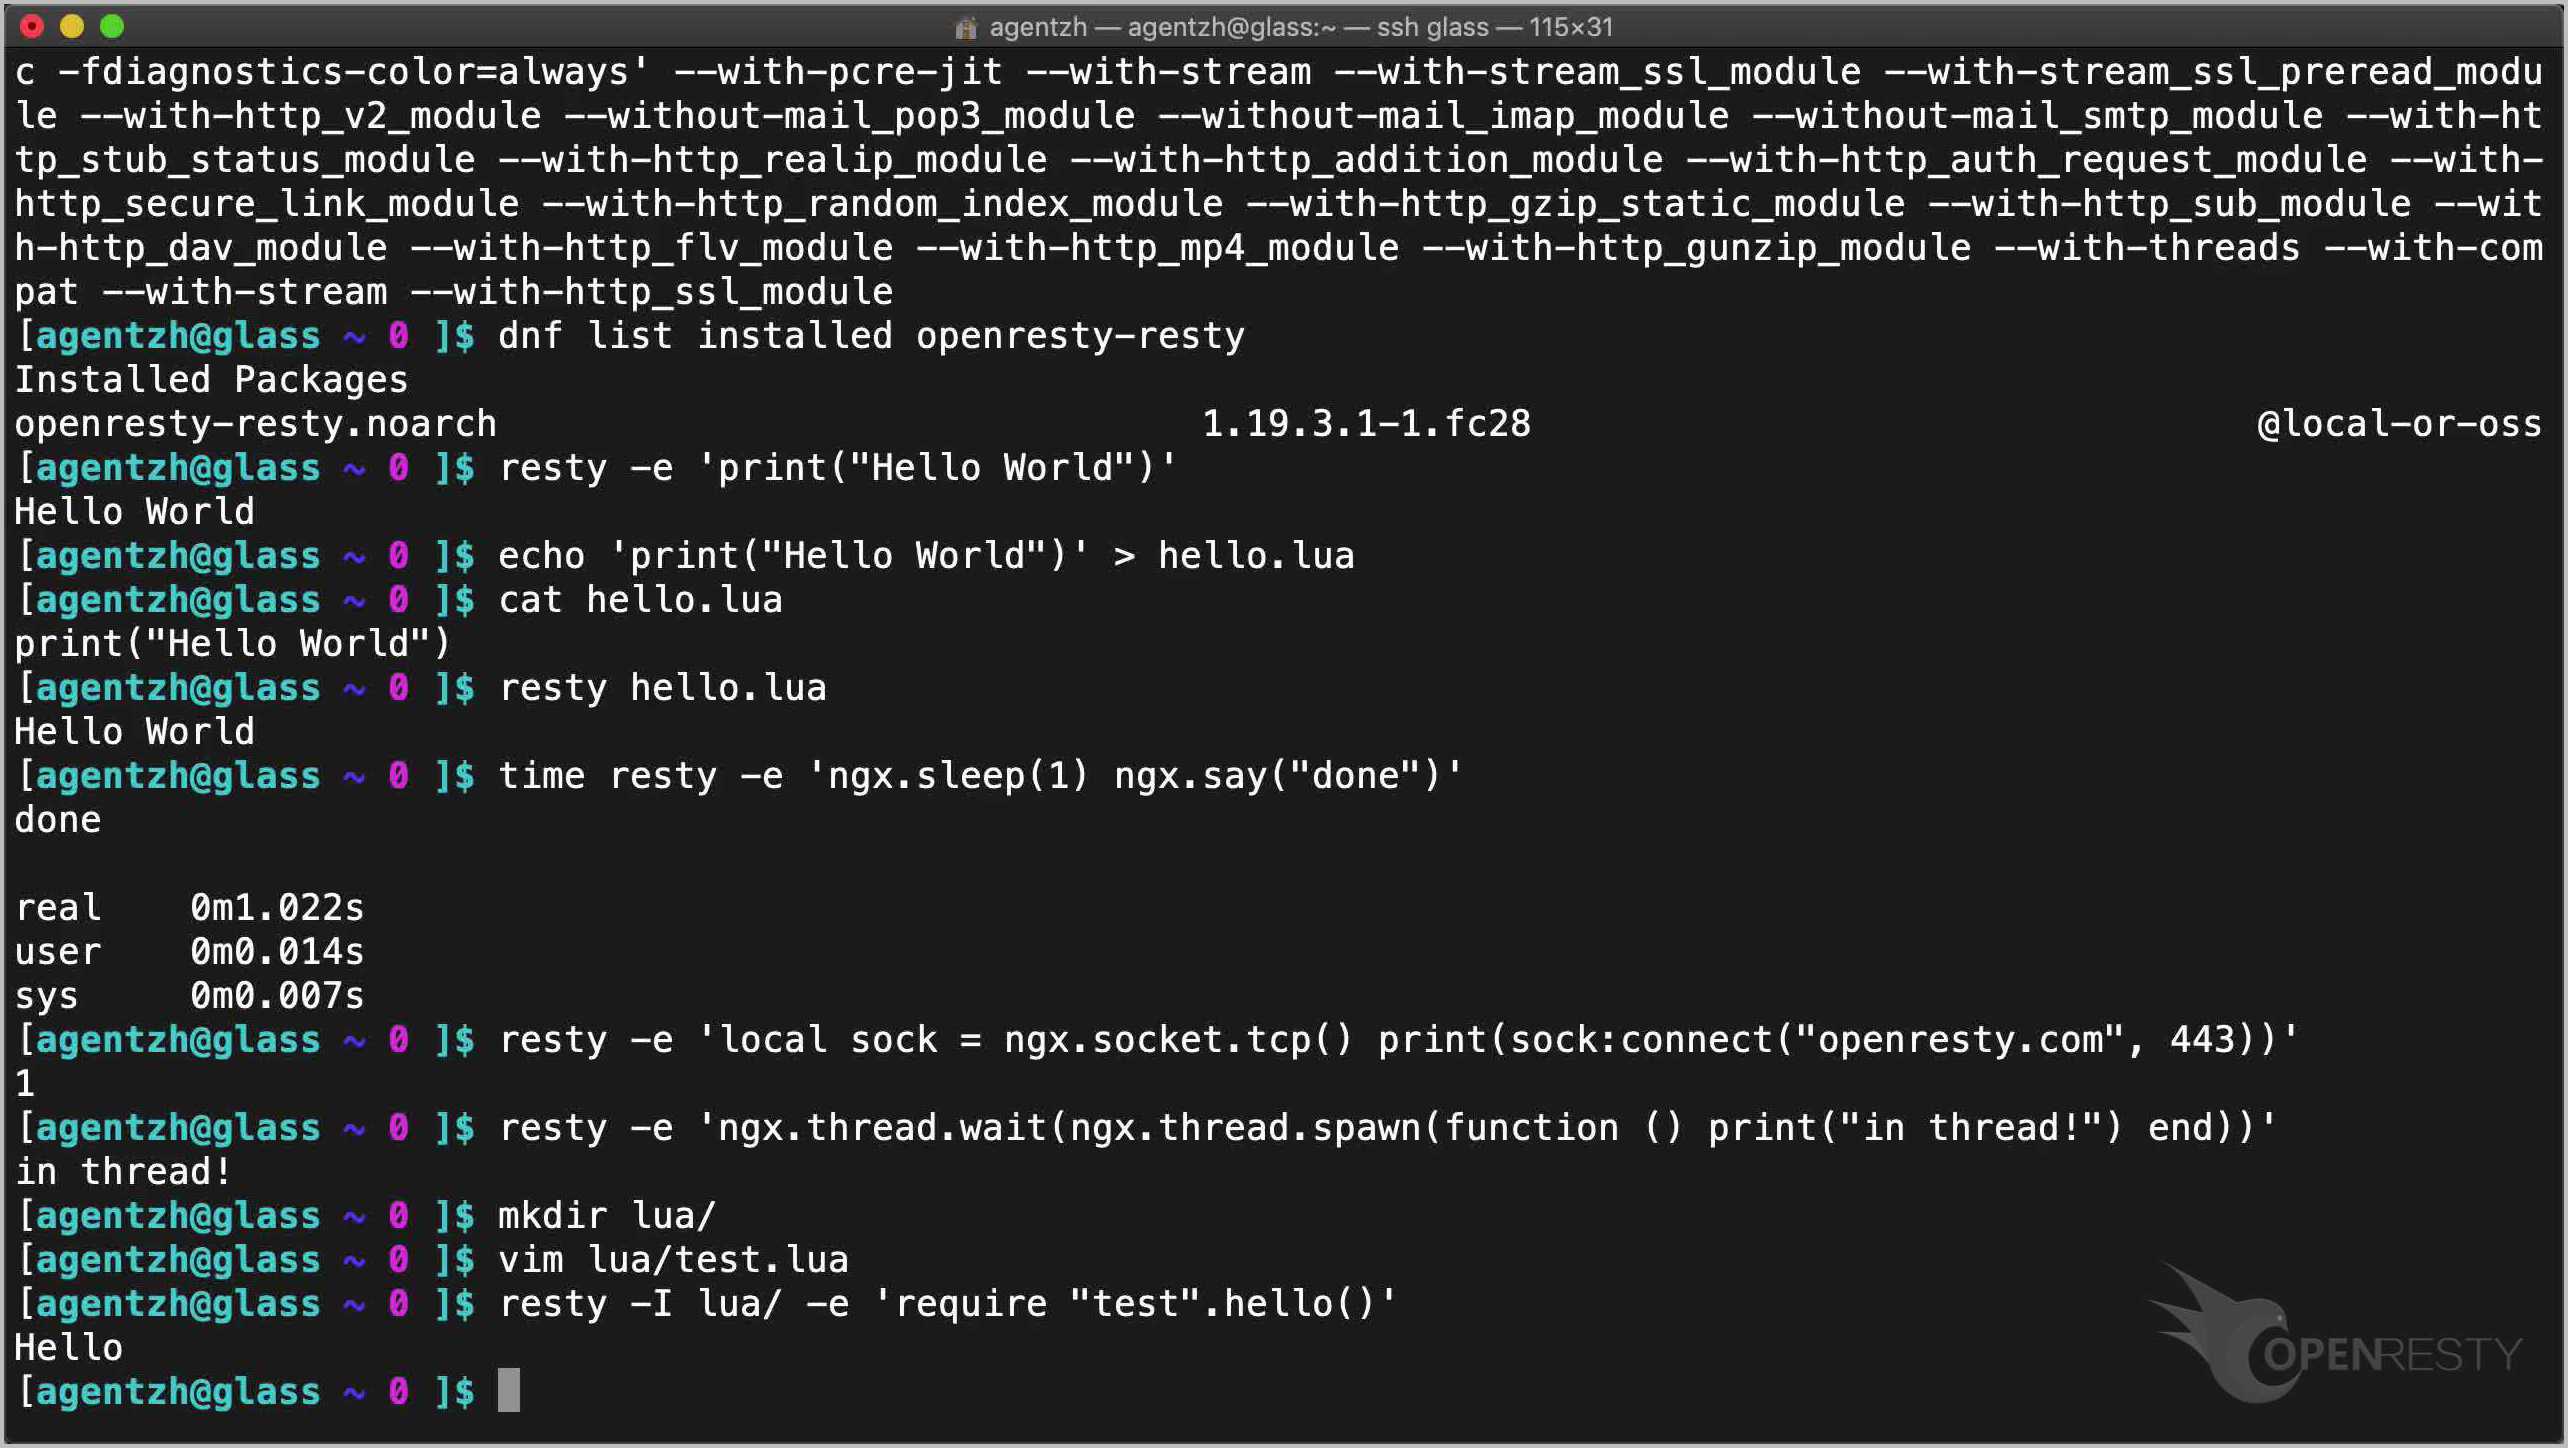
Use the -I option to add a directory to the Lua module search path:
resty -I lua/ -e 'require "test".hello()'
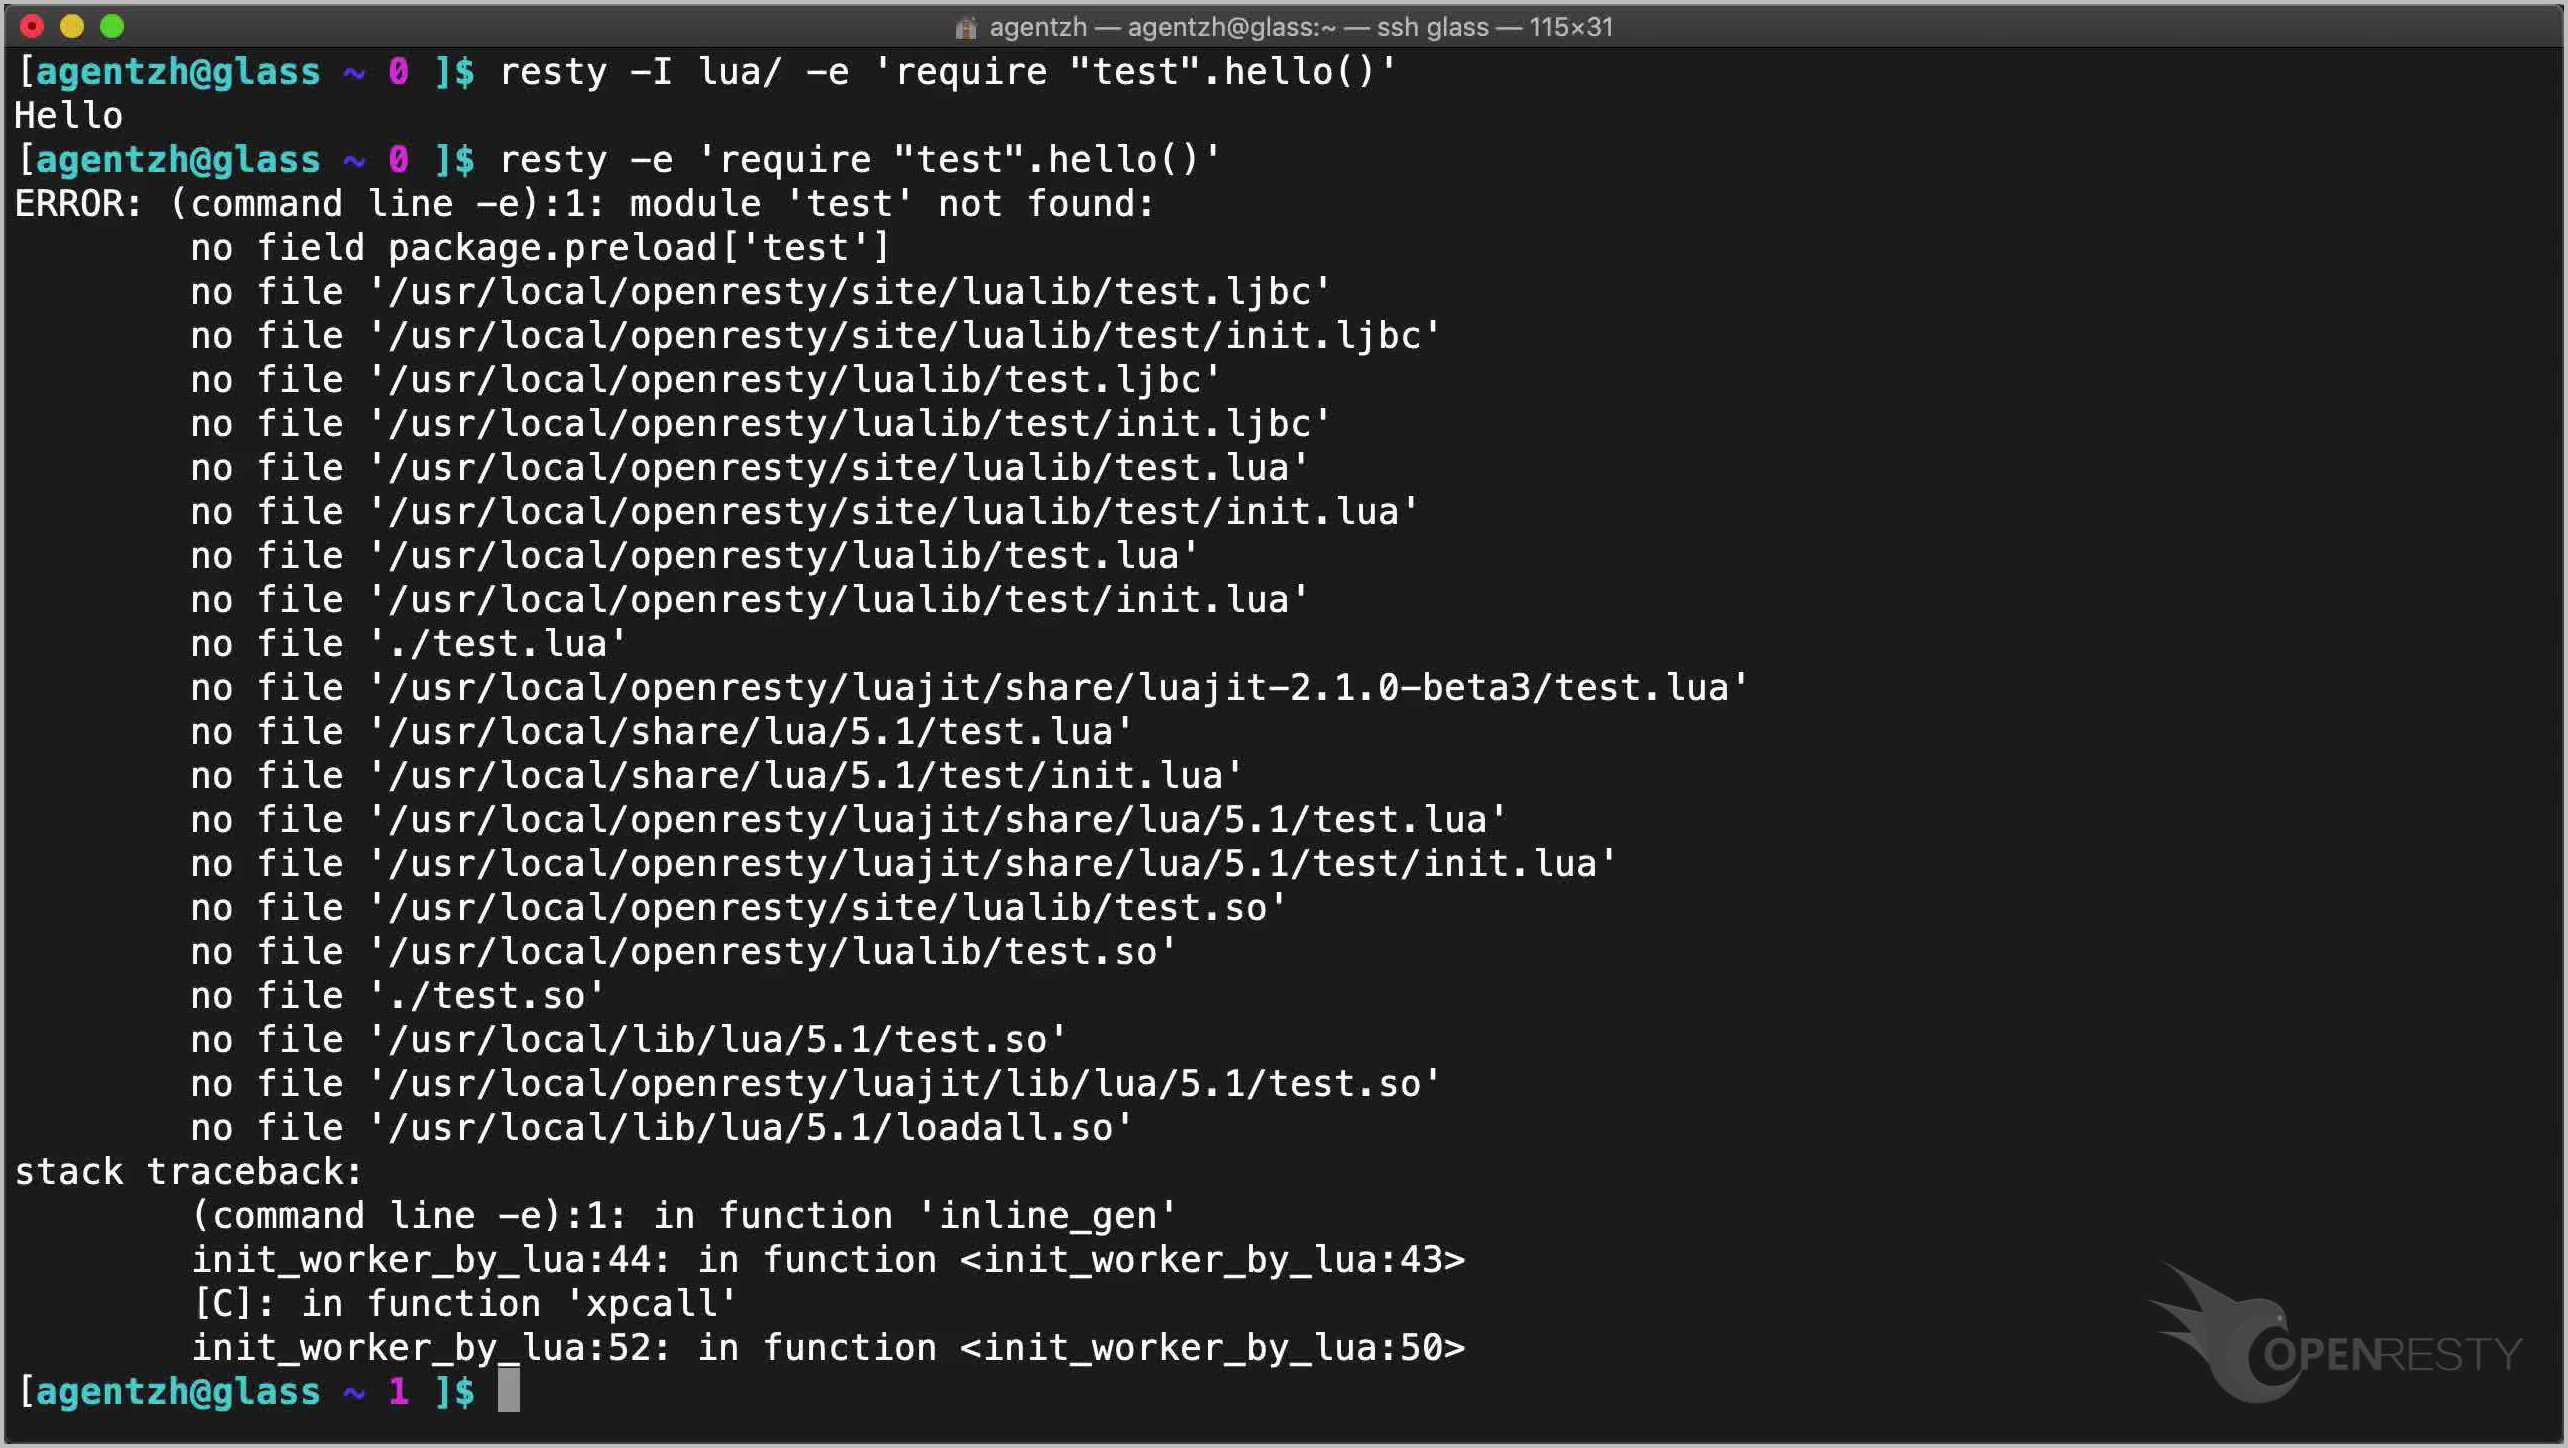
Without the -I option, resty cannot find the module because lua/ is not on the default search path:
resty -e 'require "test".hello()'
For a deeper look at organizing Lua modules in an OpenResty application, see our Lua modules tutorial.
Built-In OpenResty Modules
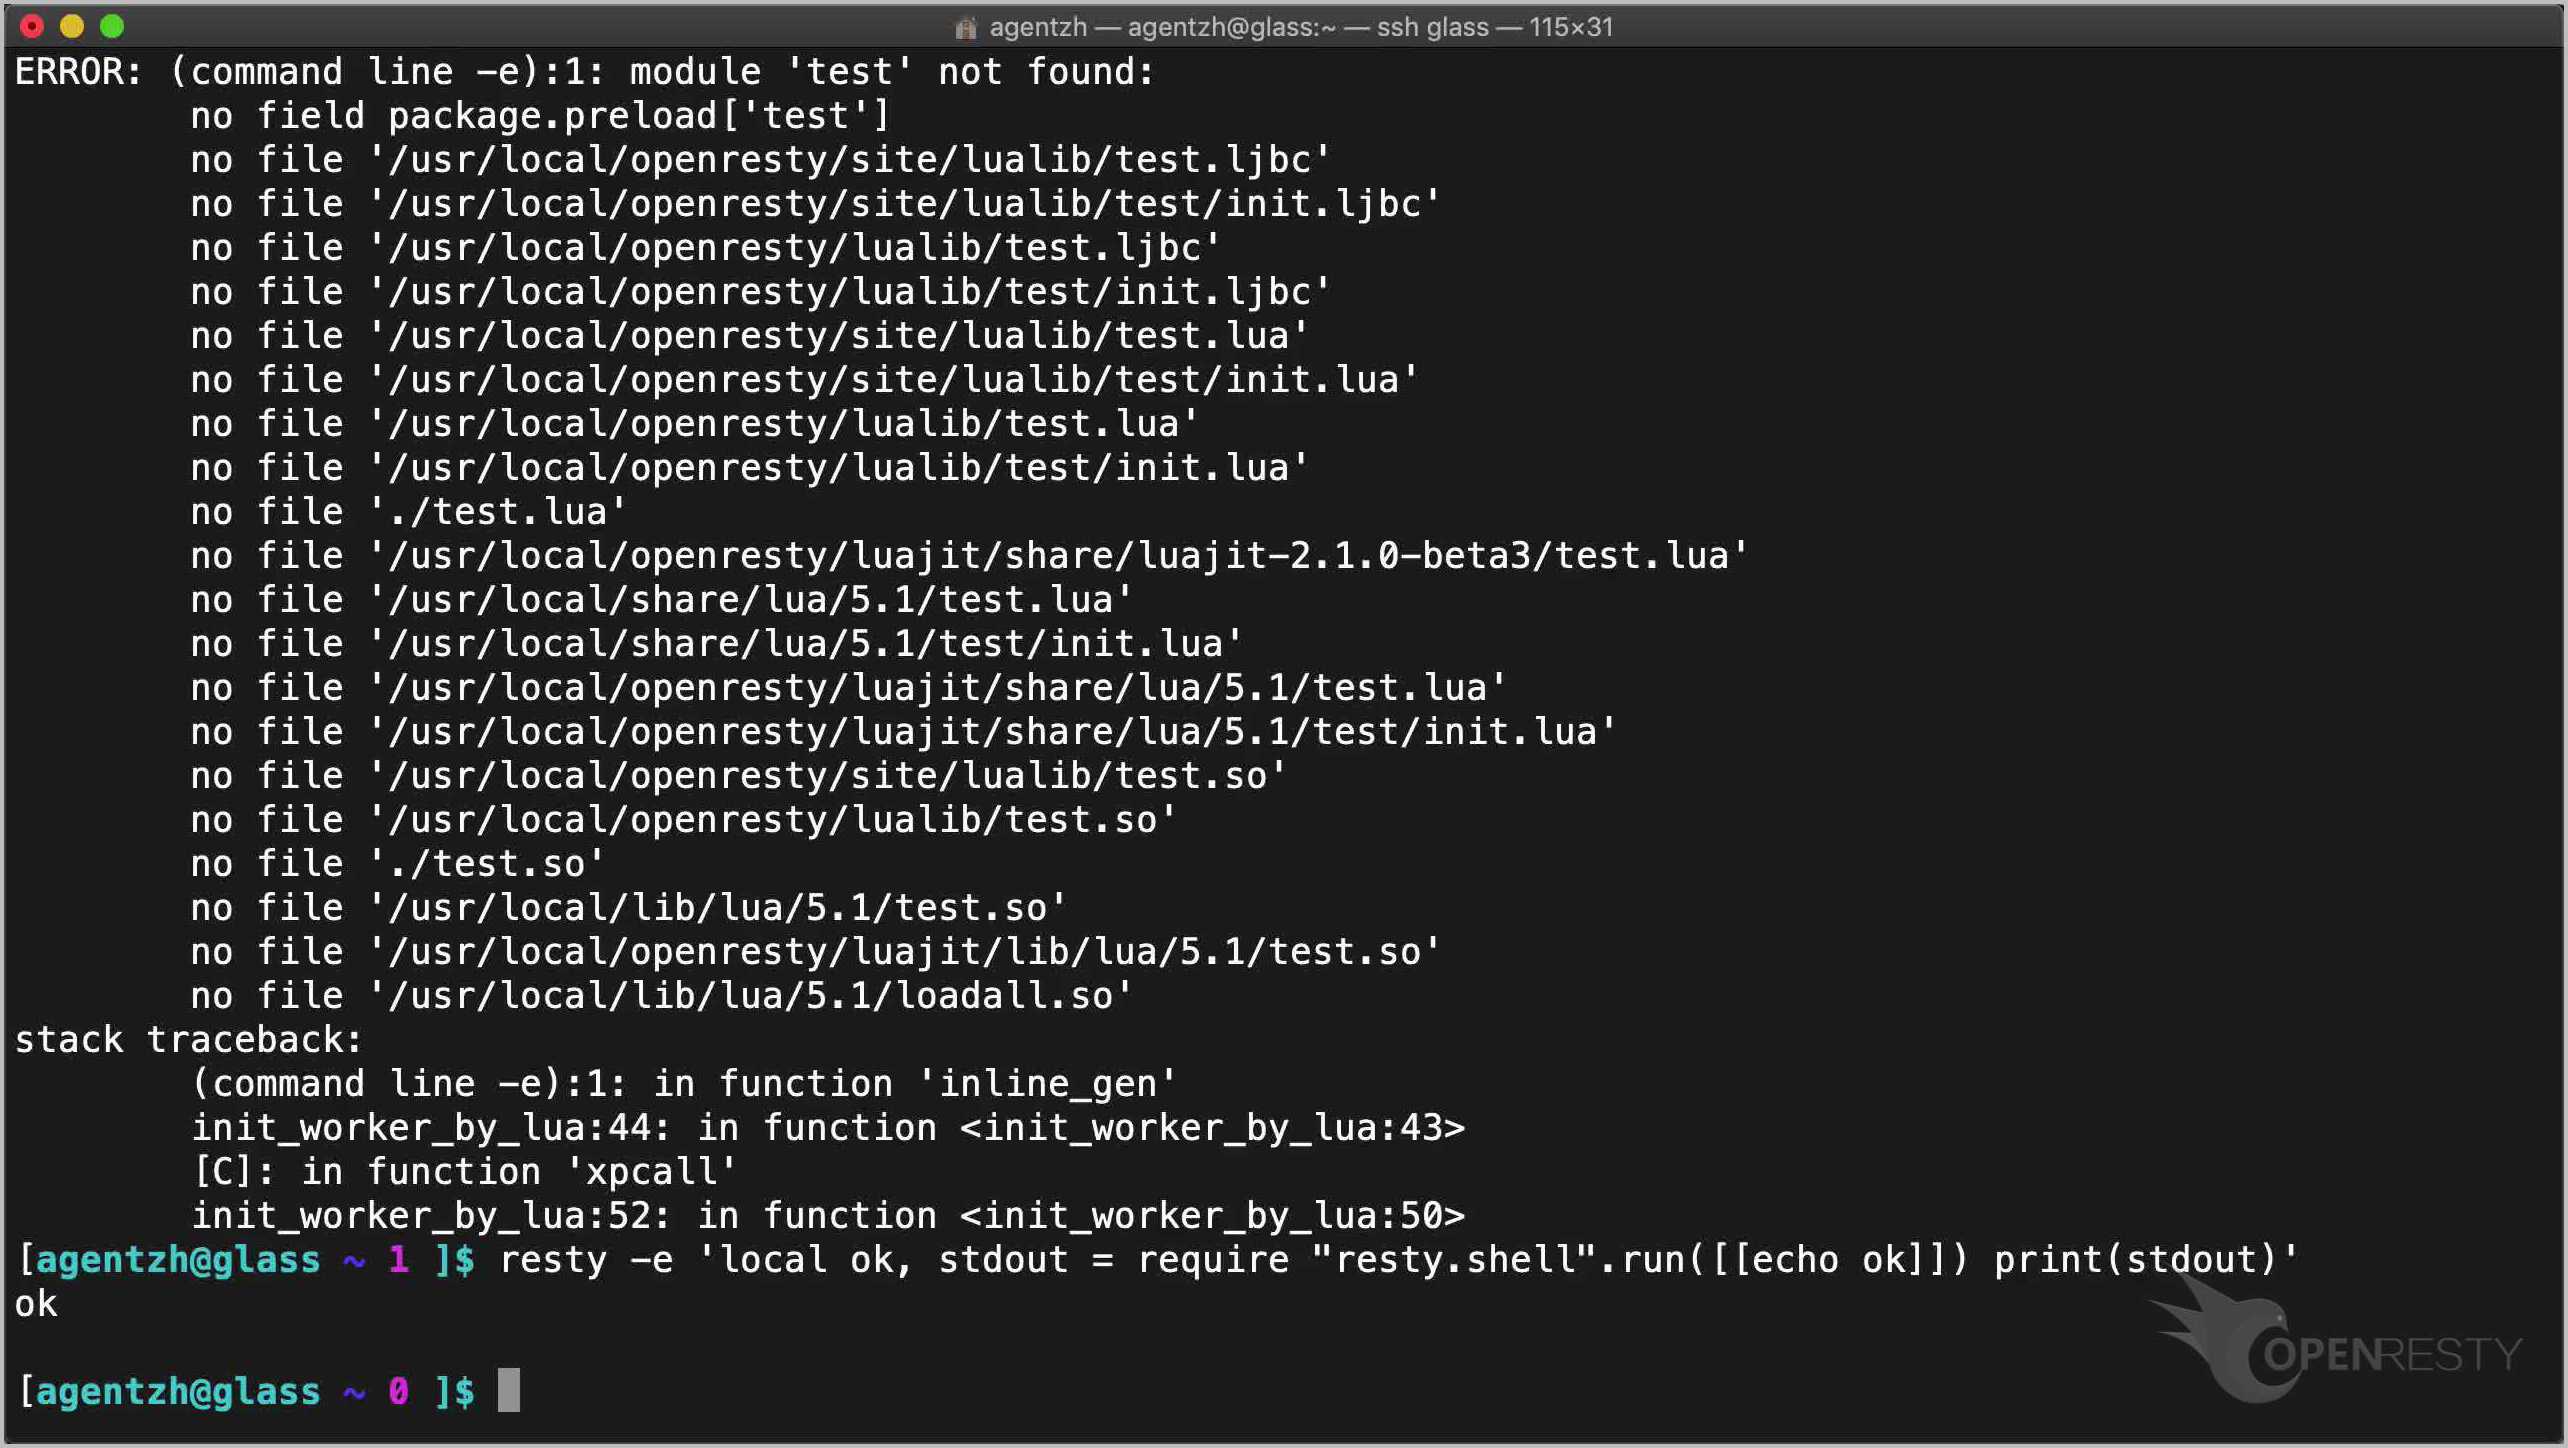
Standard OpenResty Lua libraries can be loaded without any -I flag. For example, resty.shell runs arbitrary shell commands nonblockingly:
resty -e 'local ok, stdout = require "resty.shell".run([[echo ok]]) print(stdout)'
Shared Memory Dictionaries with –shdict
The --shdict option defines a named shared memory dictionary — the same ngx.shared dictionaries used in full OpenResty deployments — so you can test them without a config file:
resty --shdict 'dogs 10m' -e 'print(ngx.shared.dogs:set("age", 11))'
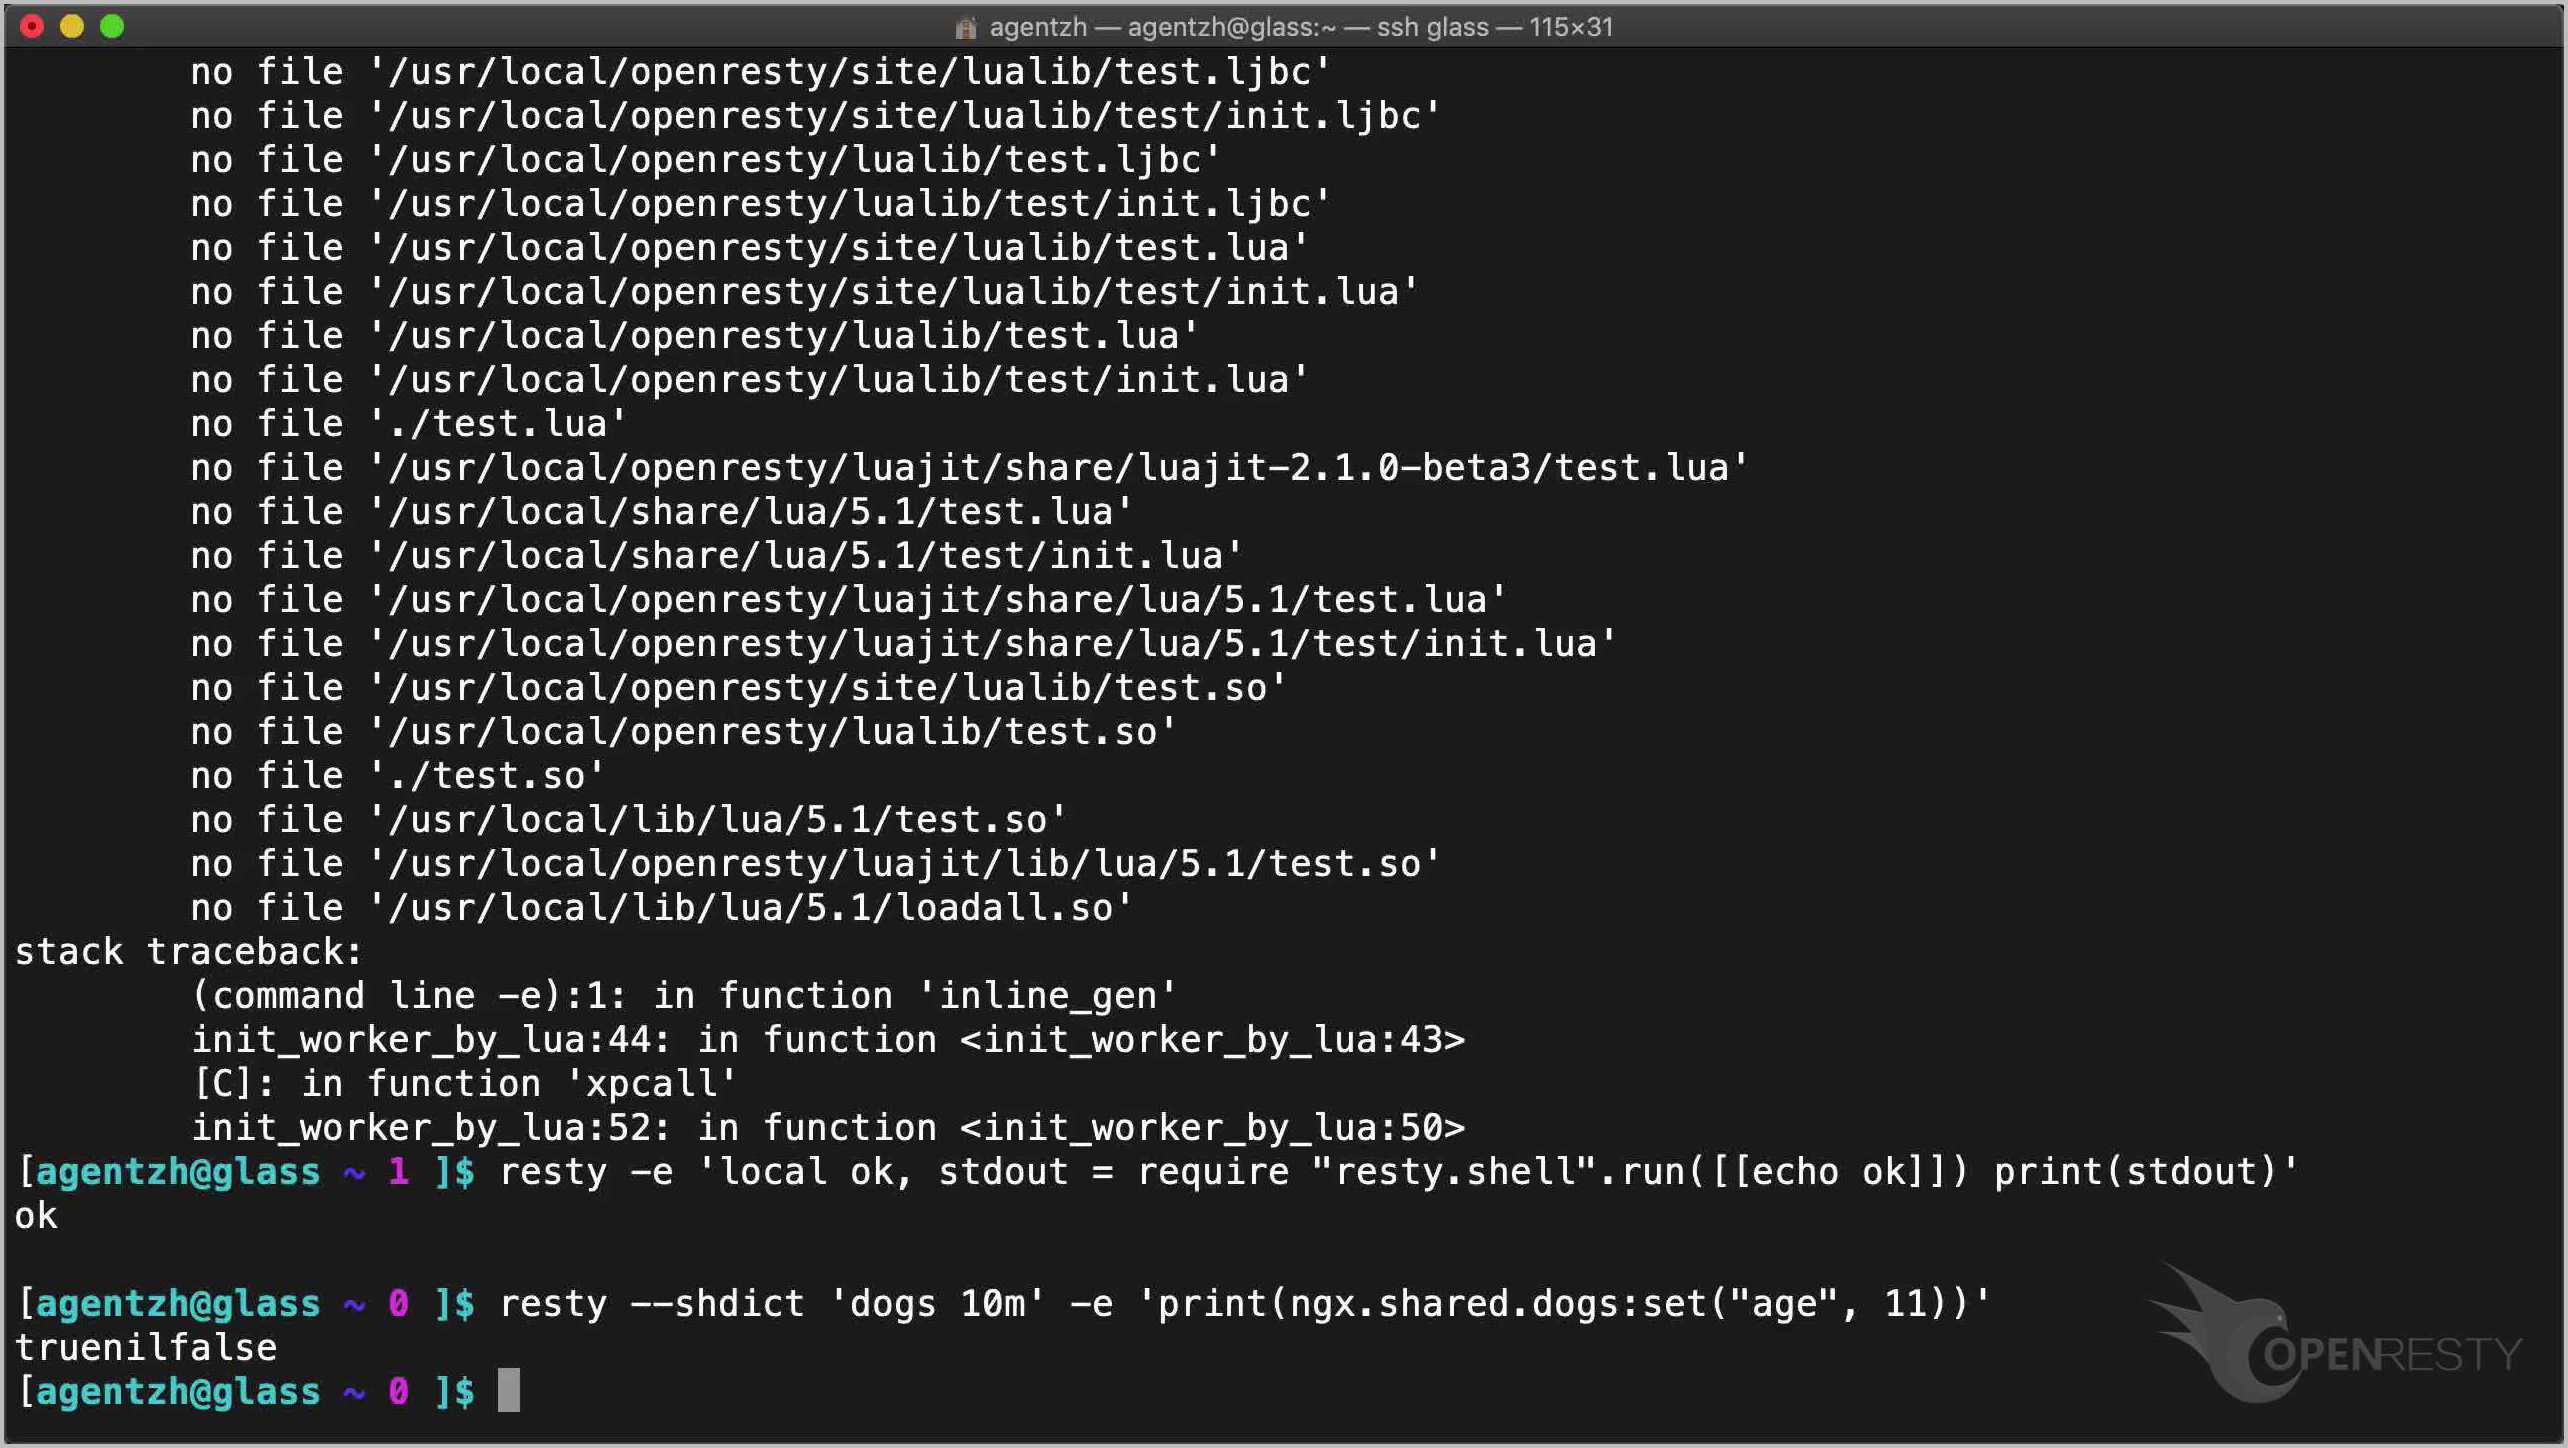
Multiple shared dictionaries can be defined in one command:
resty --shdict 'dogs 7m' --shdict 'cats 5m' -e 'print(ngx.shared.dogs, " ", ngx.shared.cats)'
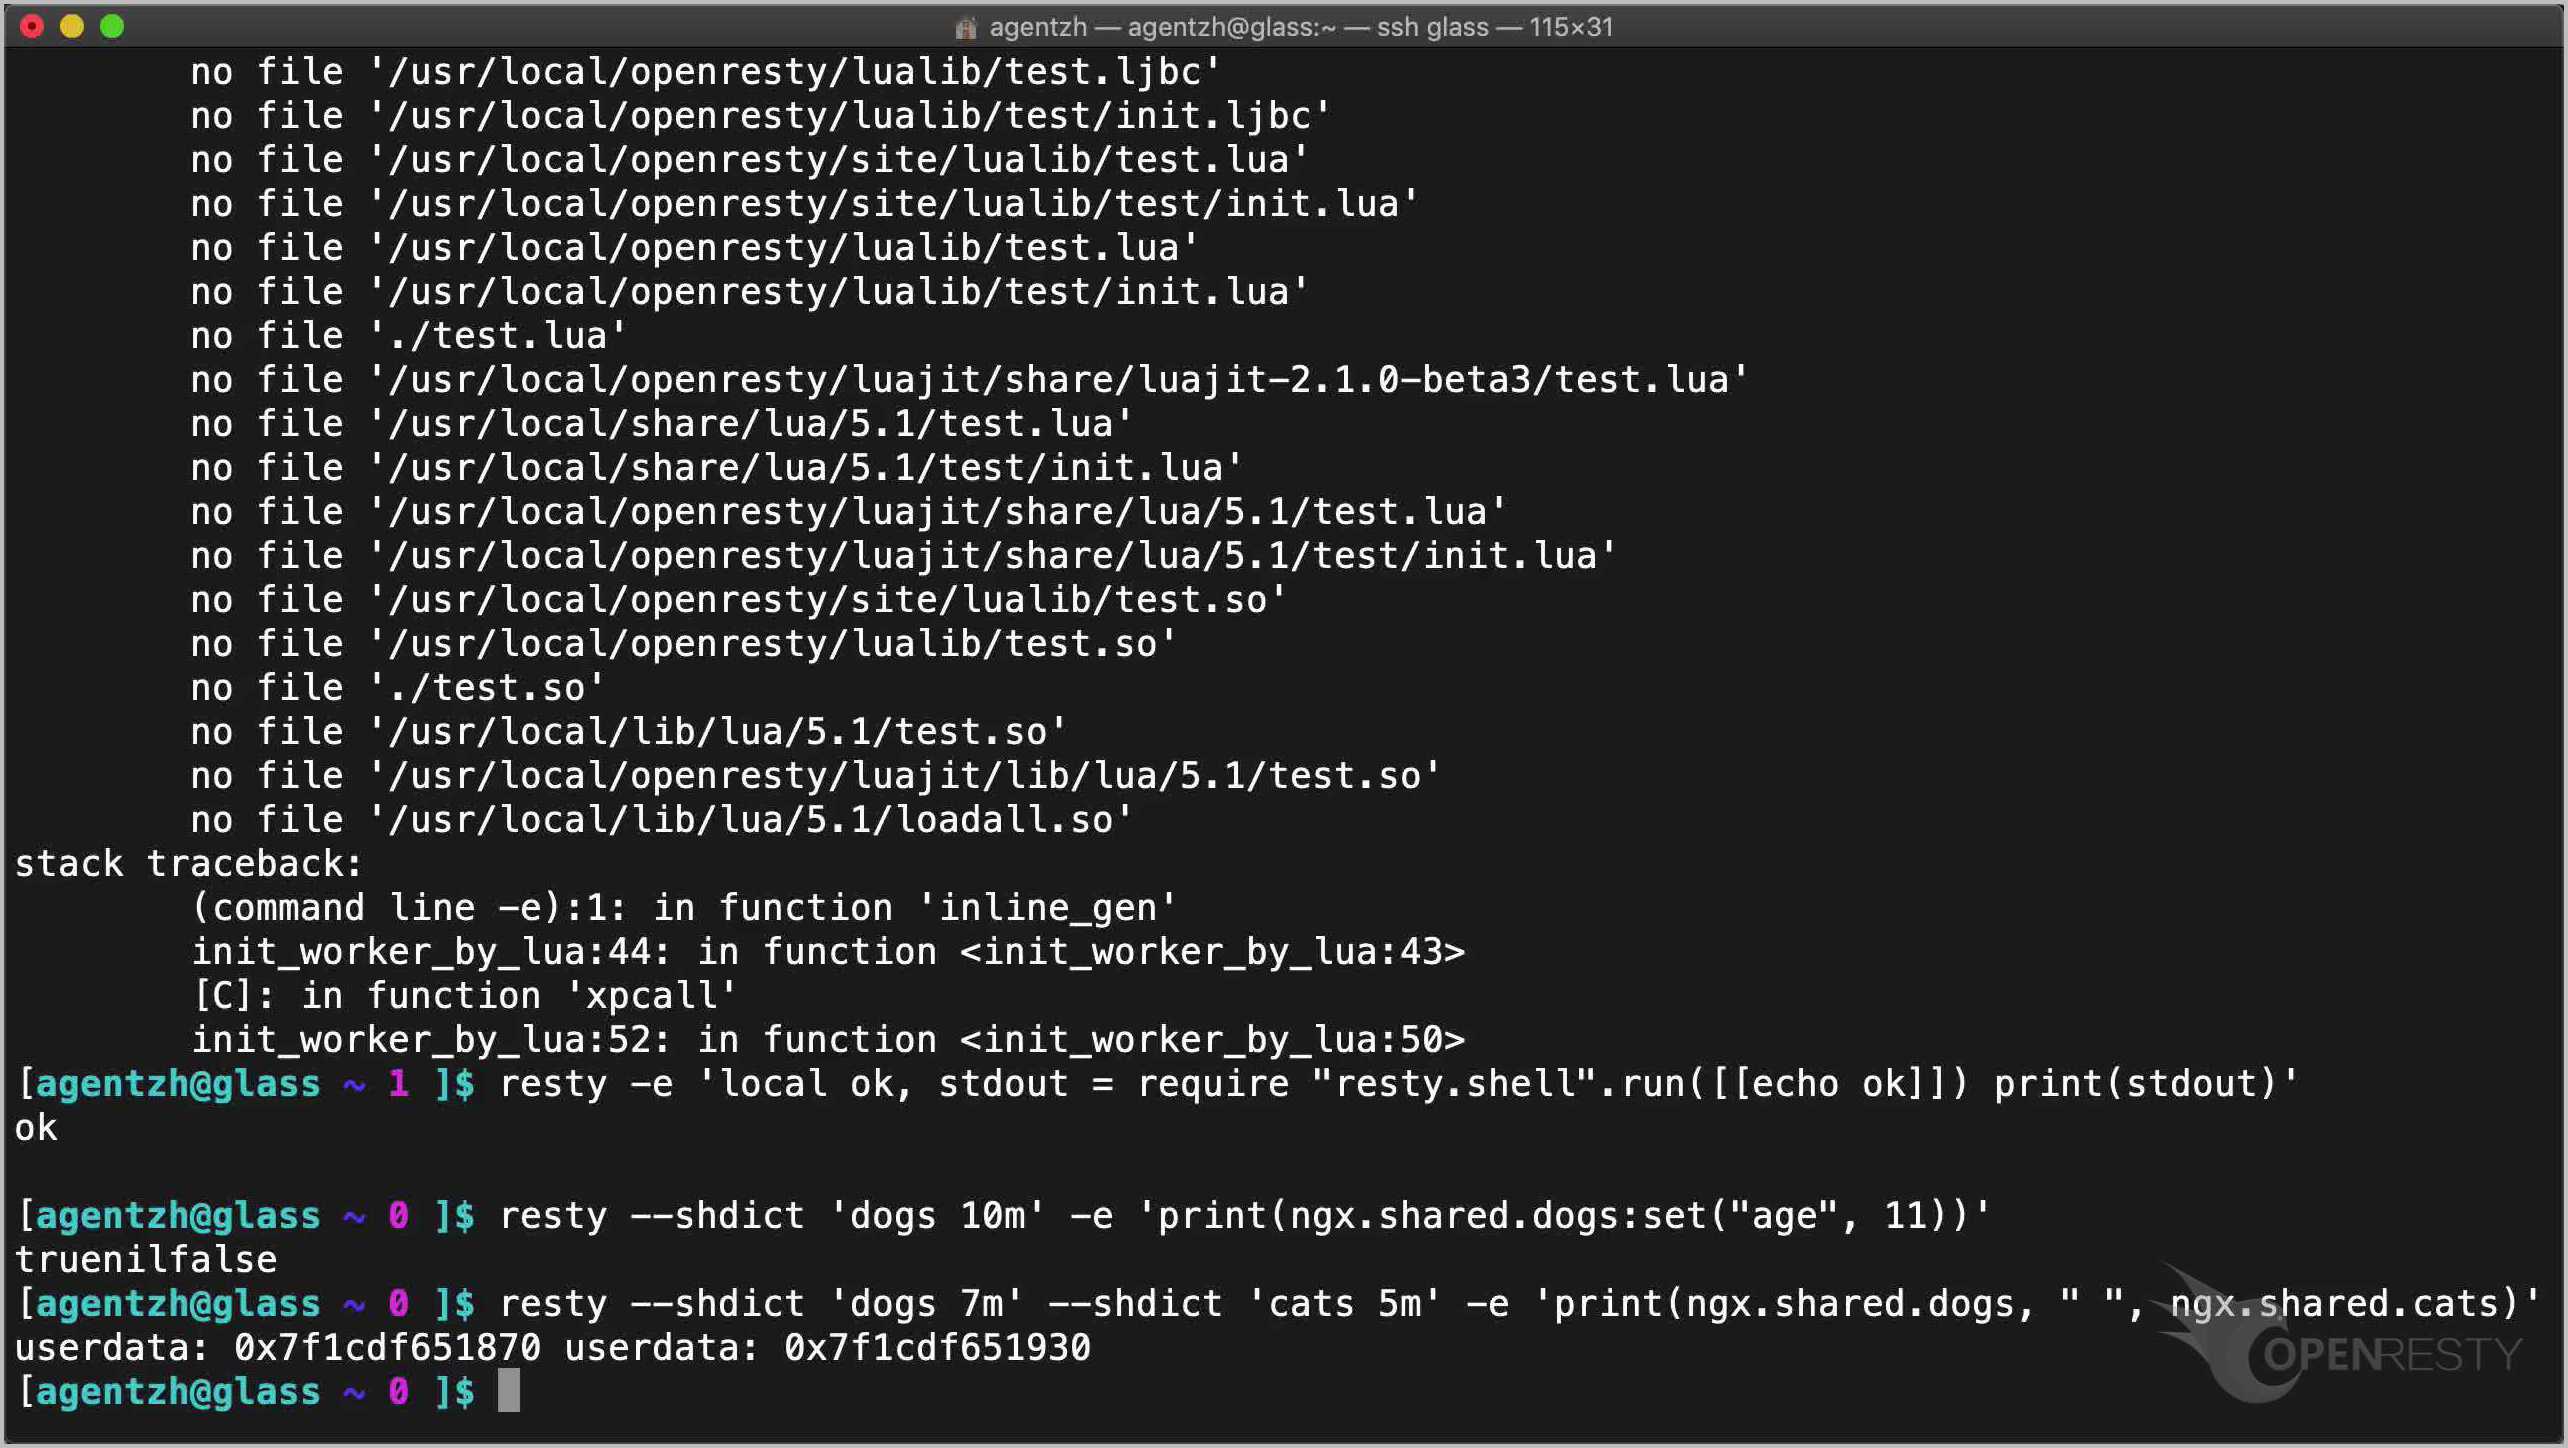
To learn how shared dictionaries are used for inter-worker data sharing in a running OpenResty server, see Sharing Data Between Nginx Workers.
Injecting Nginx Configuration with –http-conf
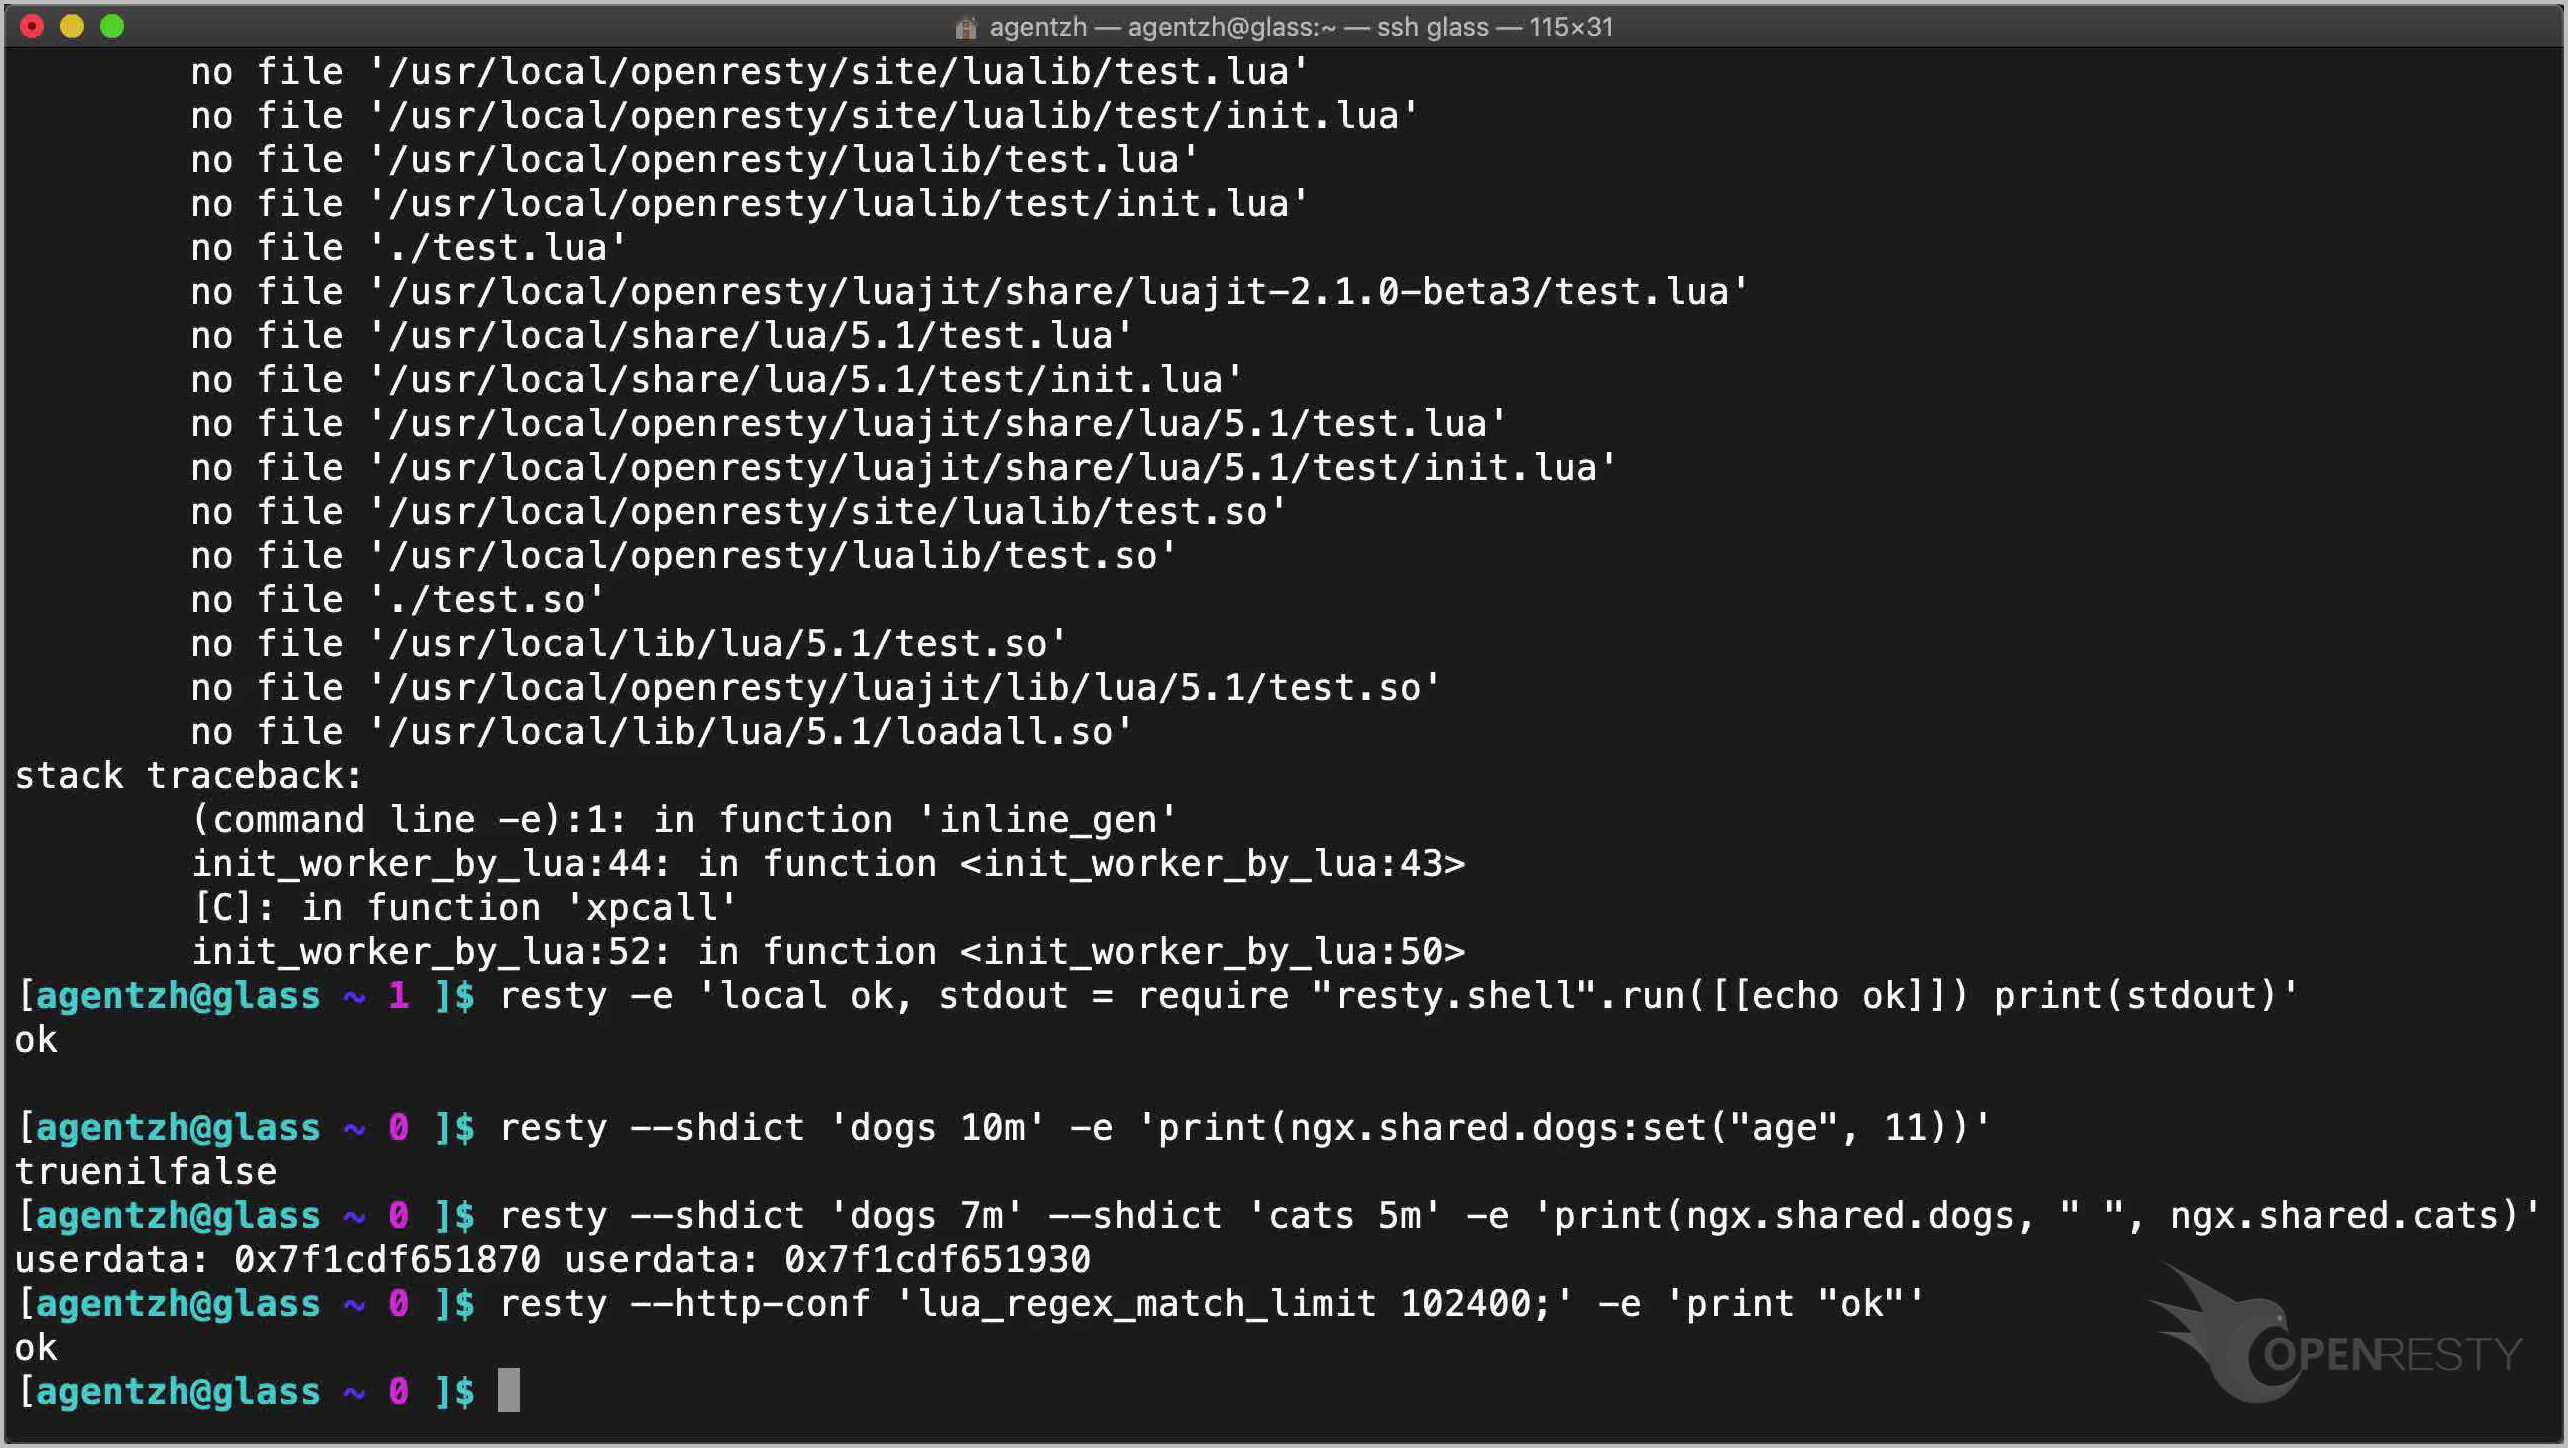
The --http-conf option inserts a configuration snippet into the generated Nginx http block, letting you tune Nginx directives without a config file:
resty --http-conf 'lua_regex_match_limit 102400;' -e 'print "ok"'
LuaJIT JIT Compiler Control
resty exposes LuaJIT’s JIT compiler flags directly, making it a convenient tool for benchmarking and debugging hot code paths.
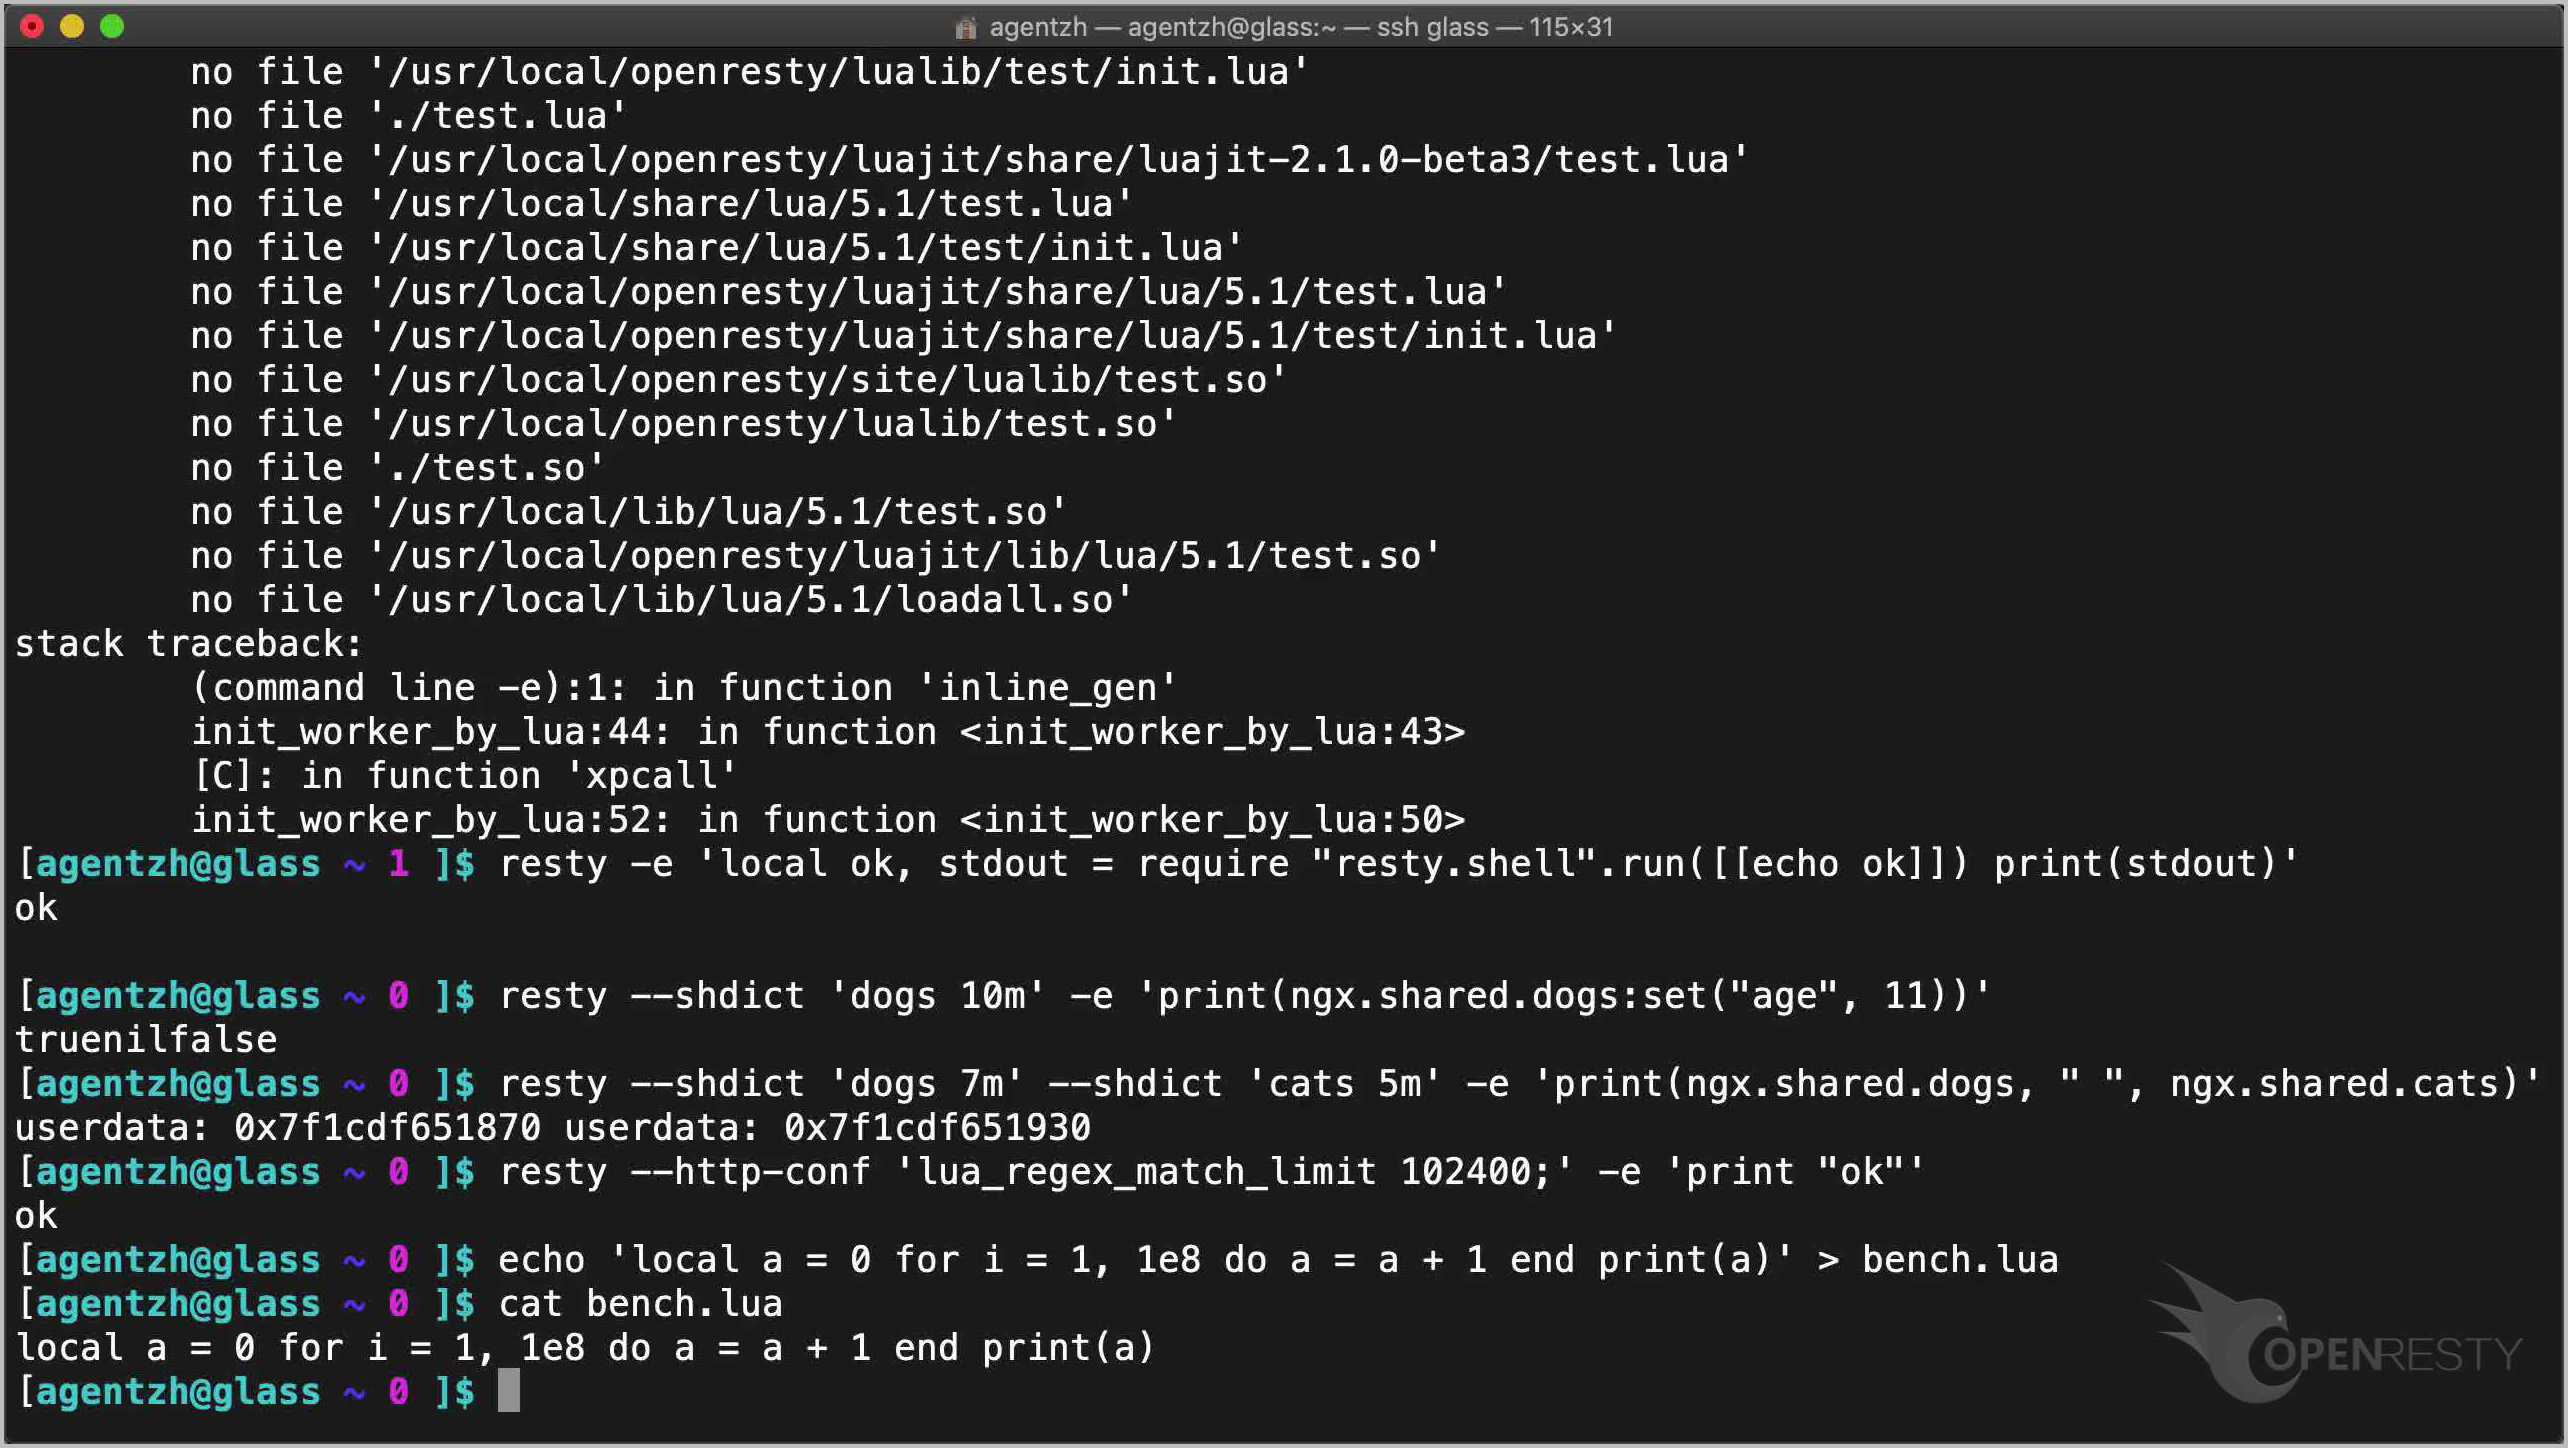
Let’s create a hot Lua script:
echo 'local a = 0 for i = 1, 1e8 do a = a + 1 end print(a)' > bench.lua
cat bench.lua
Disable the JIT compiler to get an interpreted baseline:
time resty -joff bench.lua
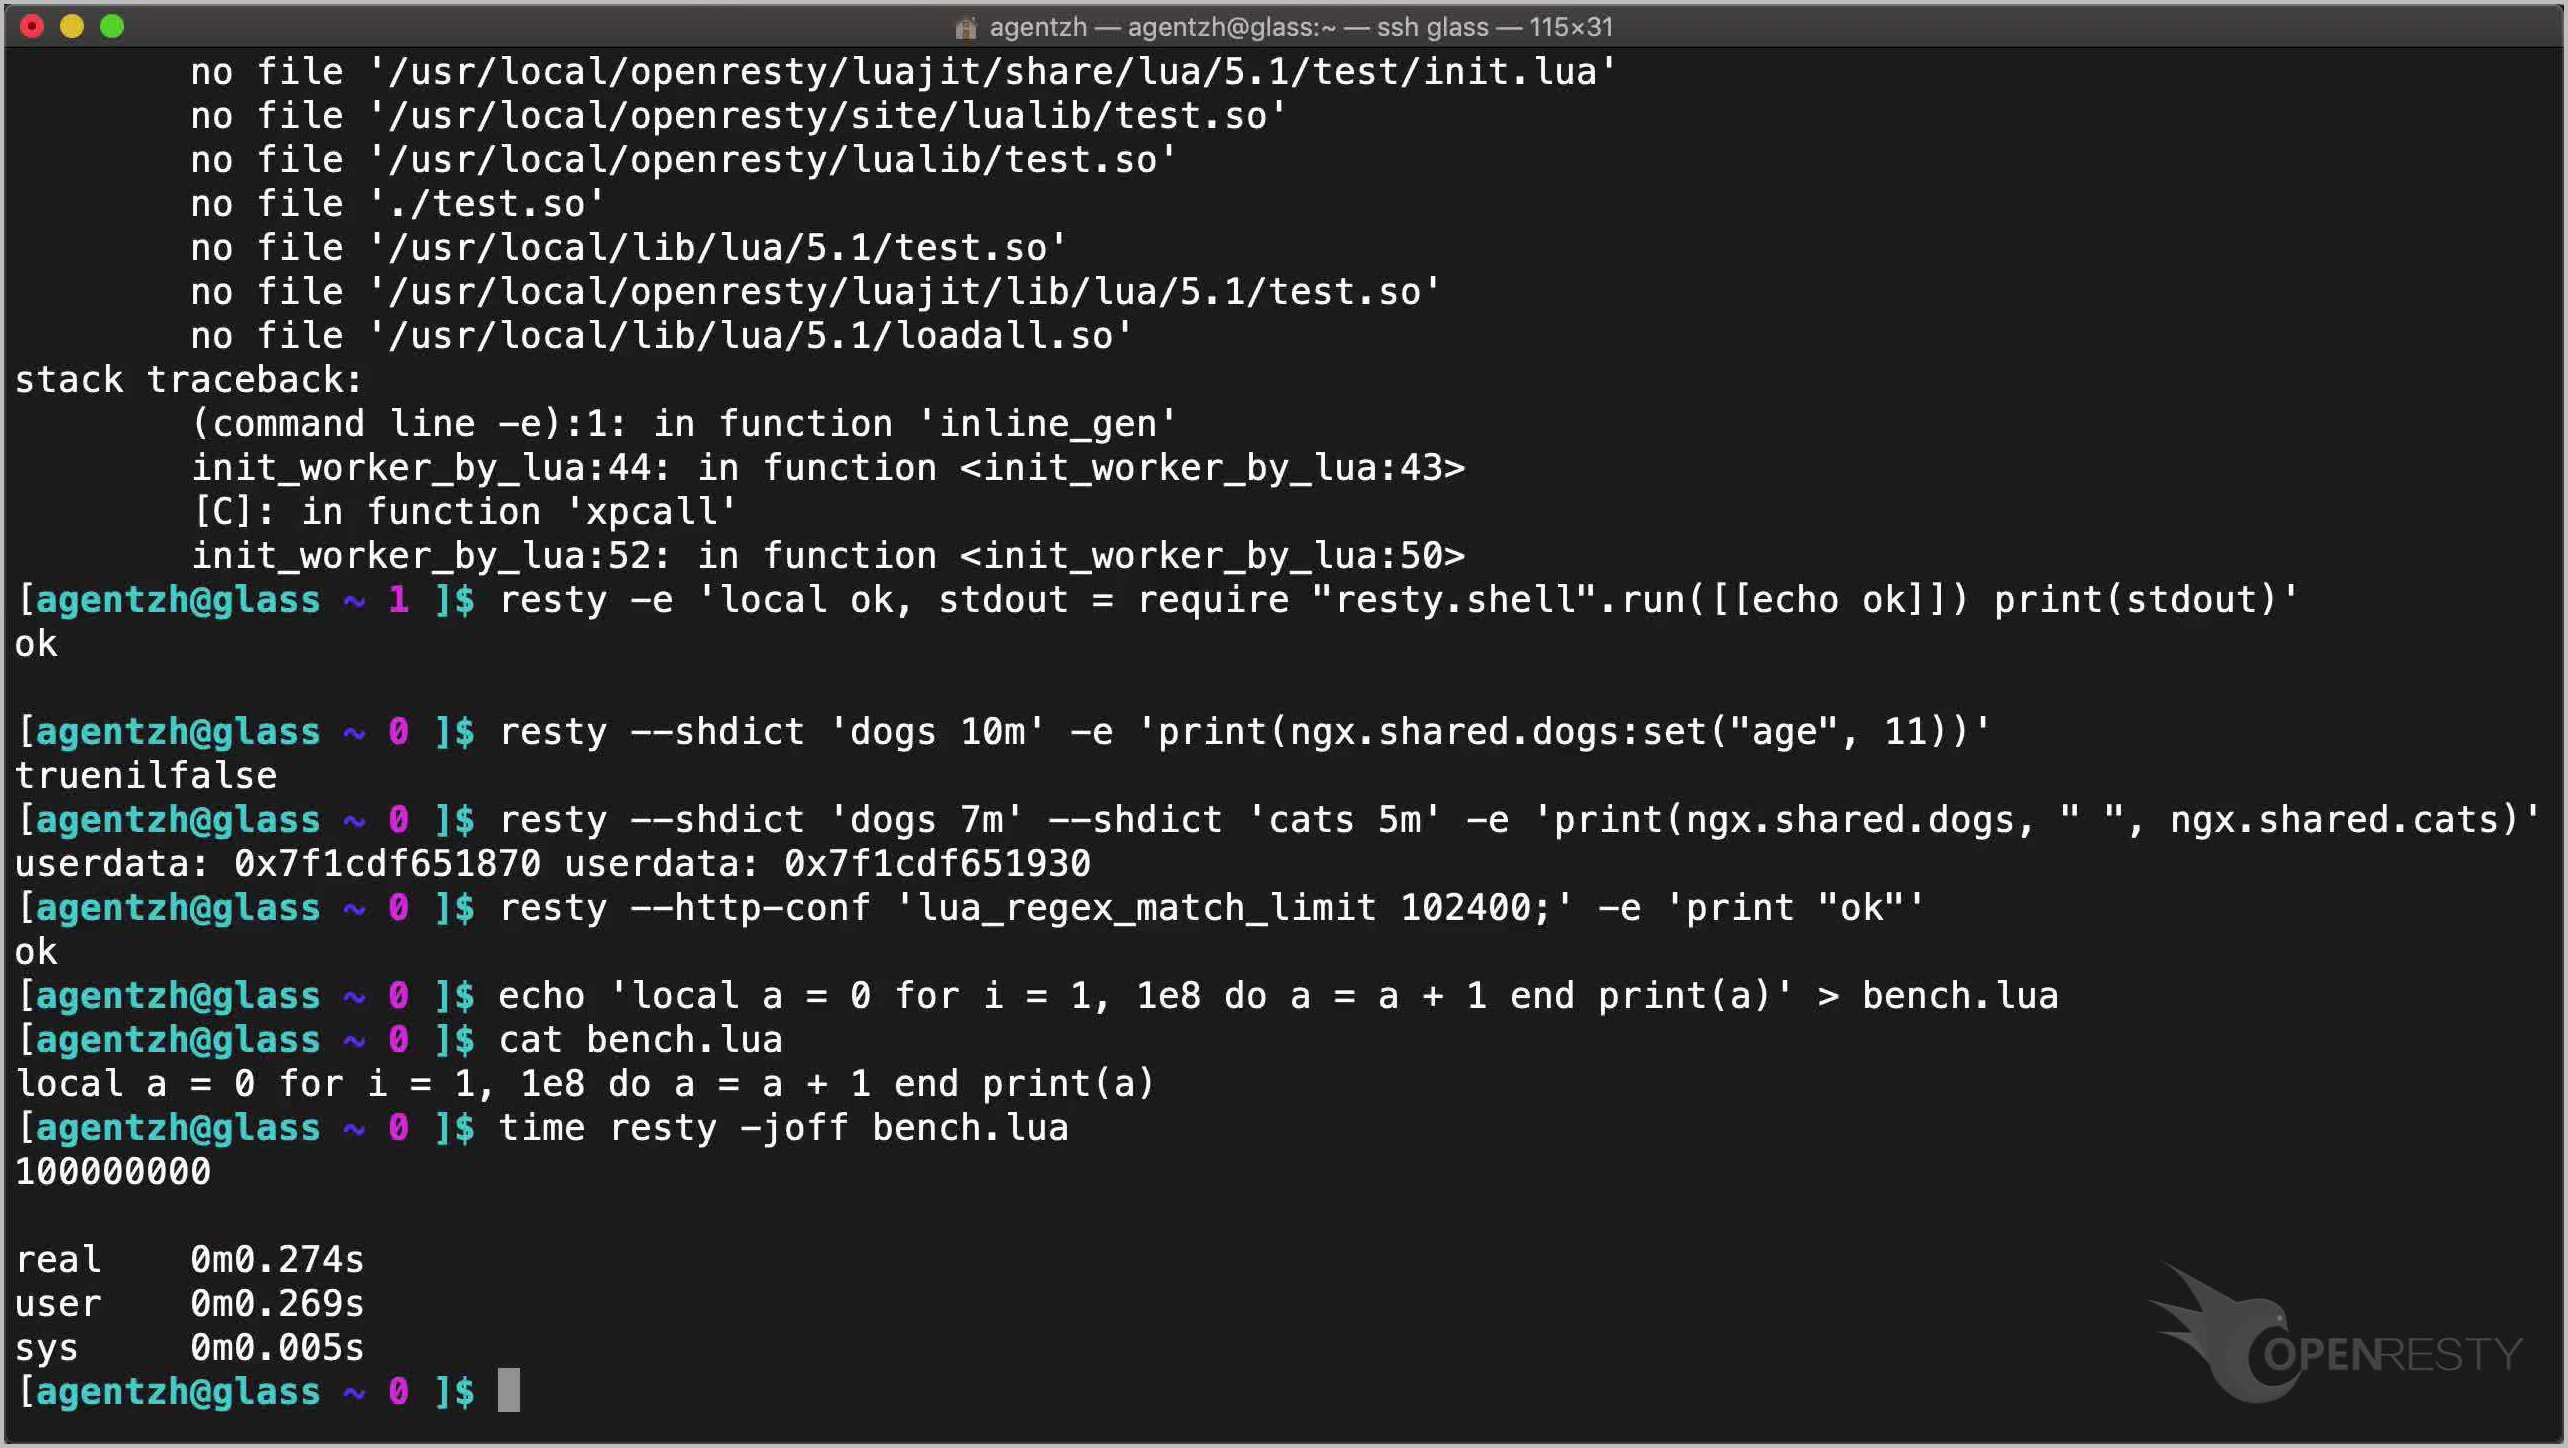
Enable JIT (the default) to see how much faster compiled code runs:
time resty bench.lua
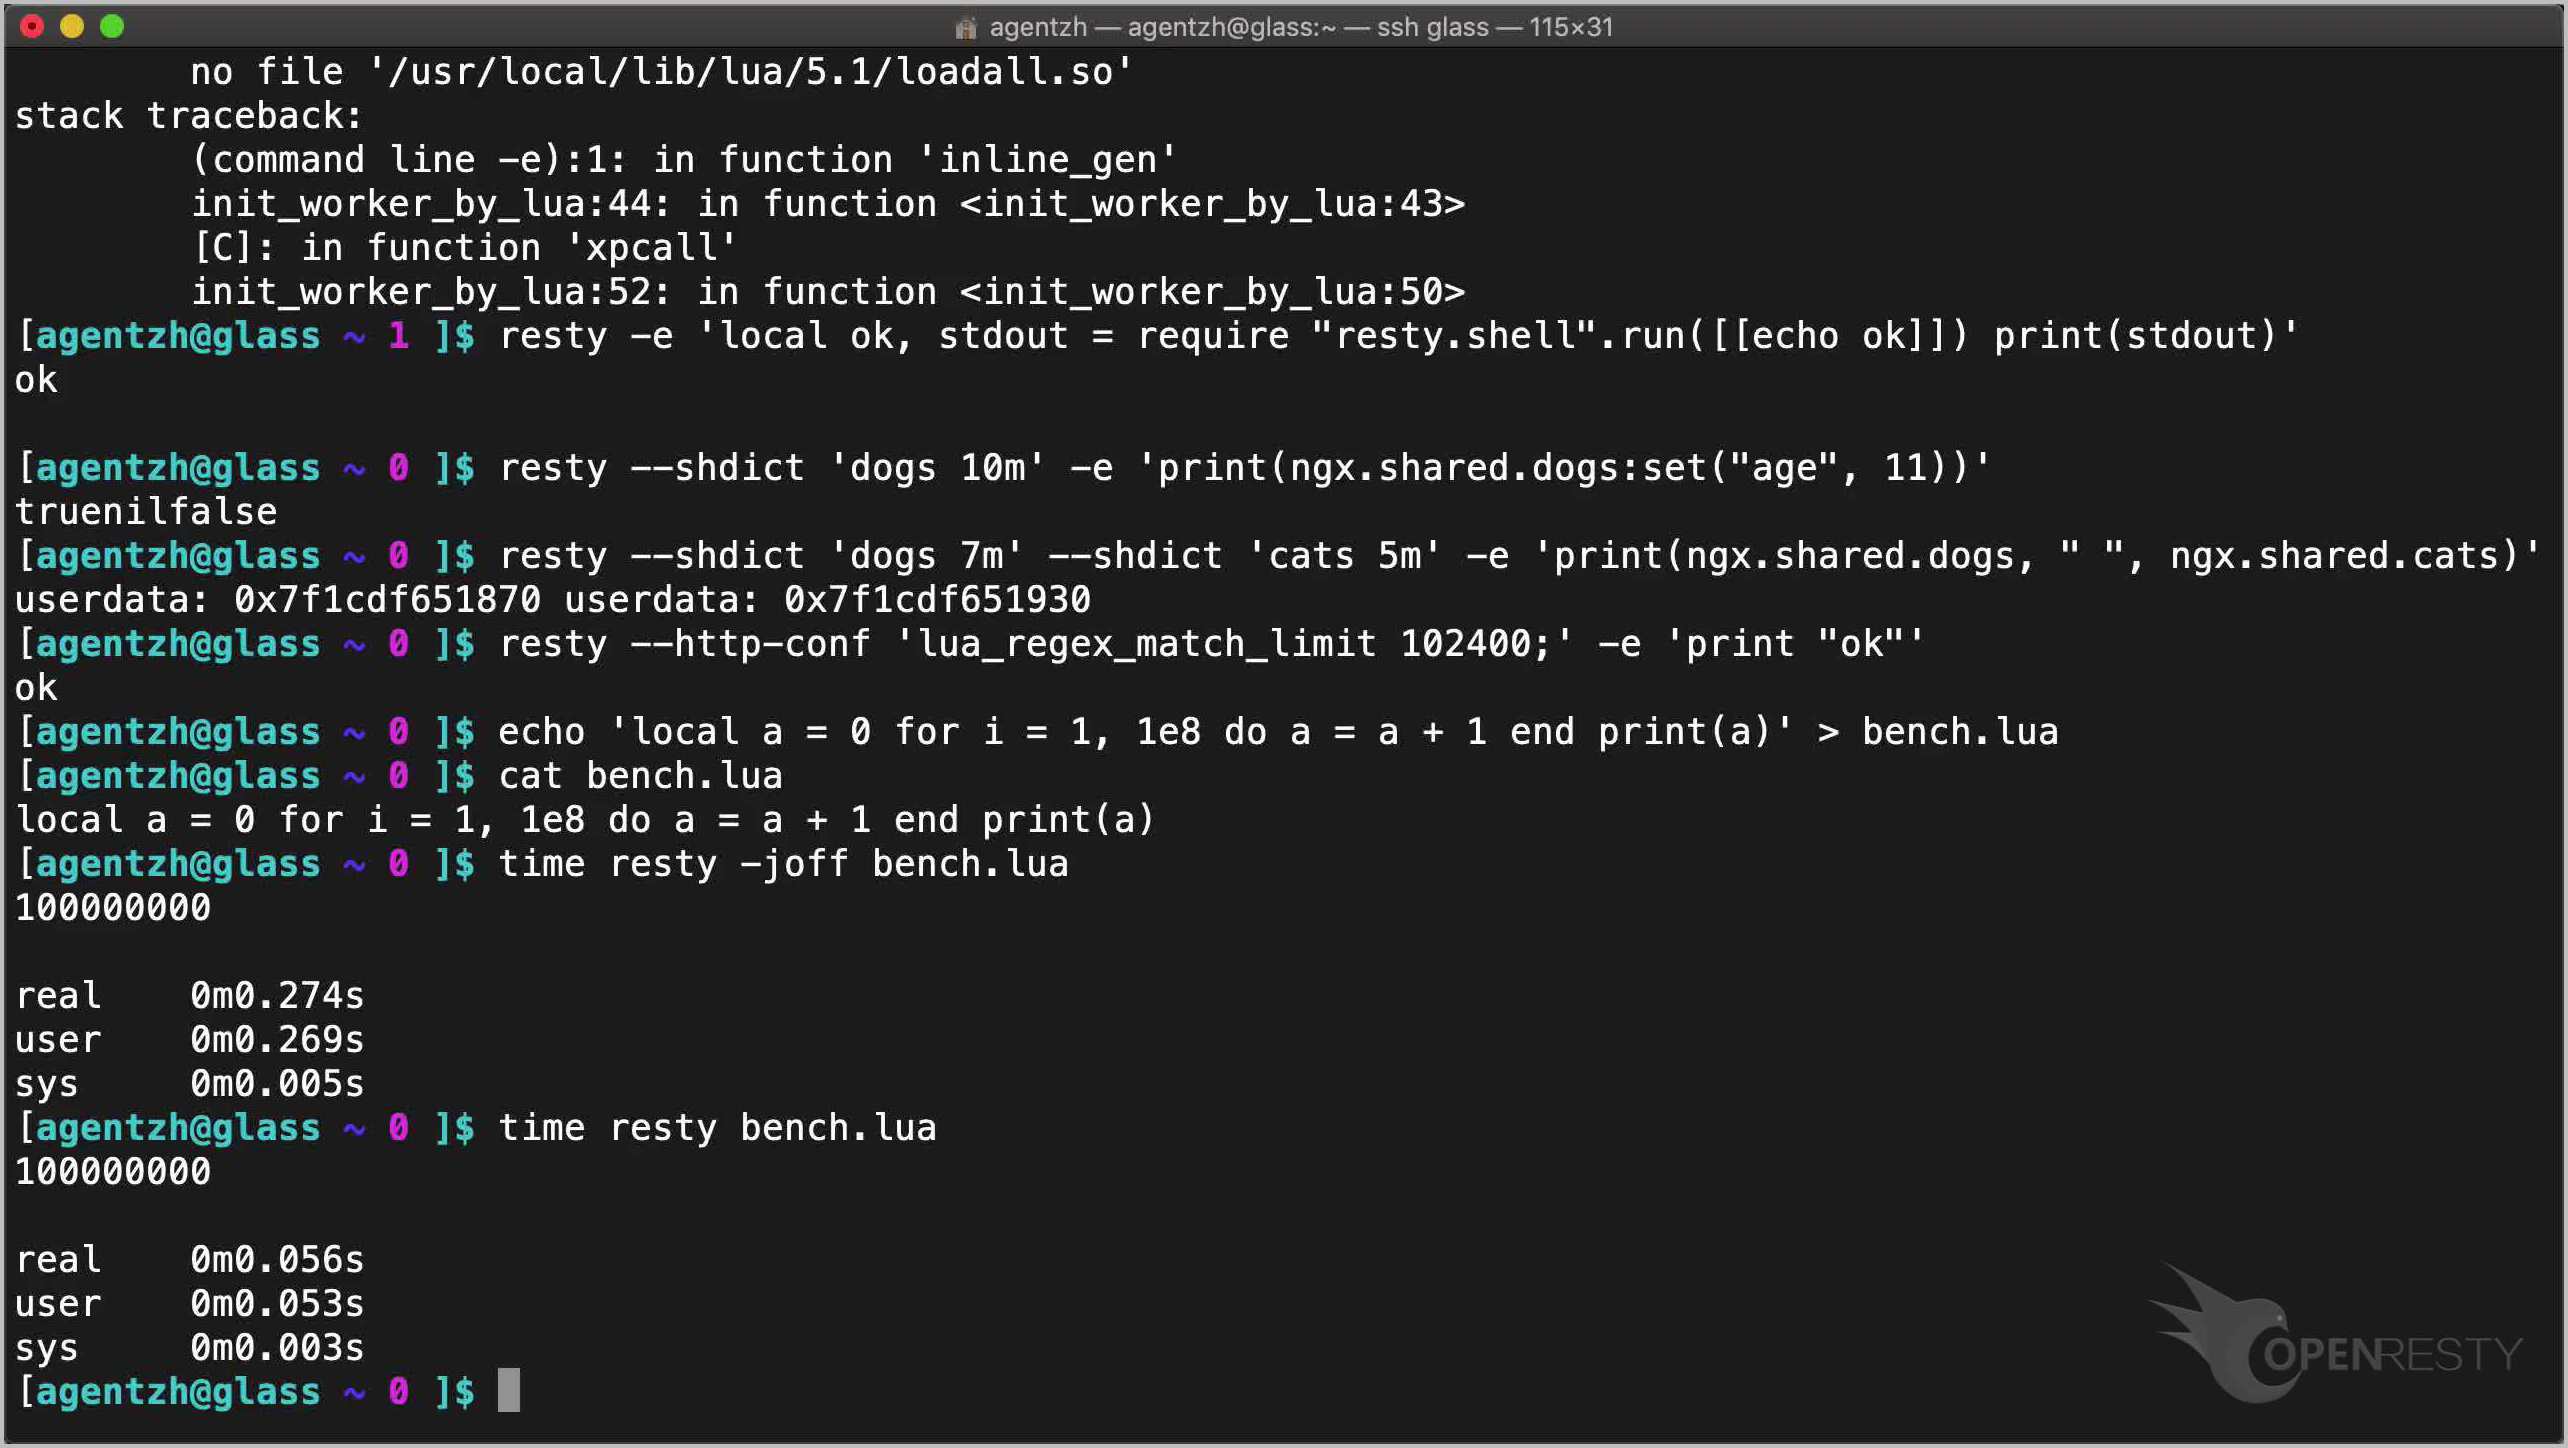
Inspect which Lua code paths were compiled into native traces with -jv:
resty -jv bench.lua
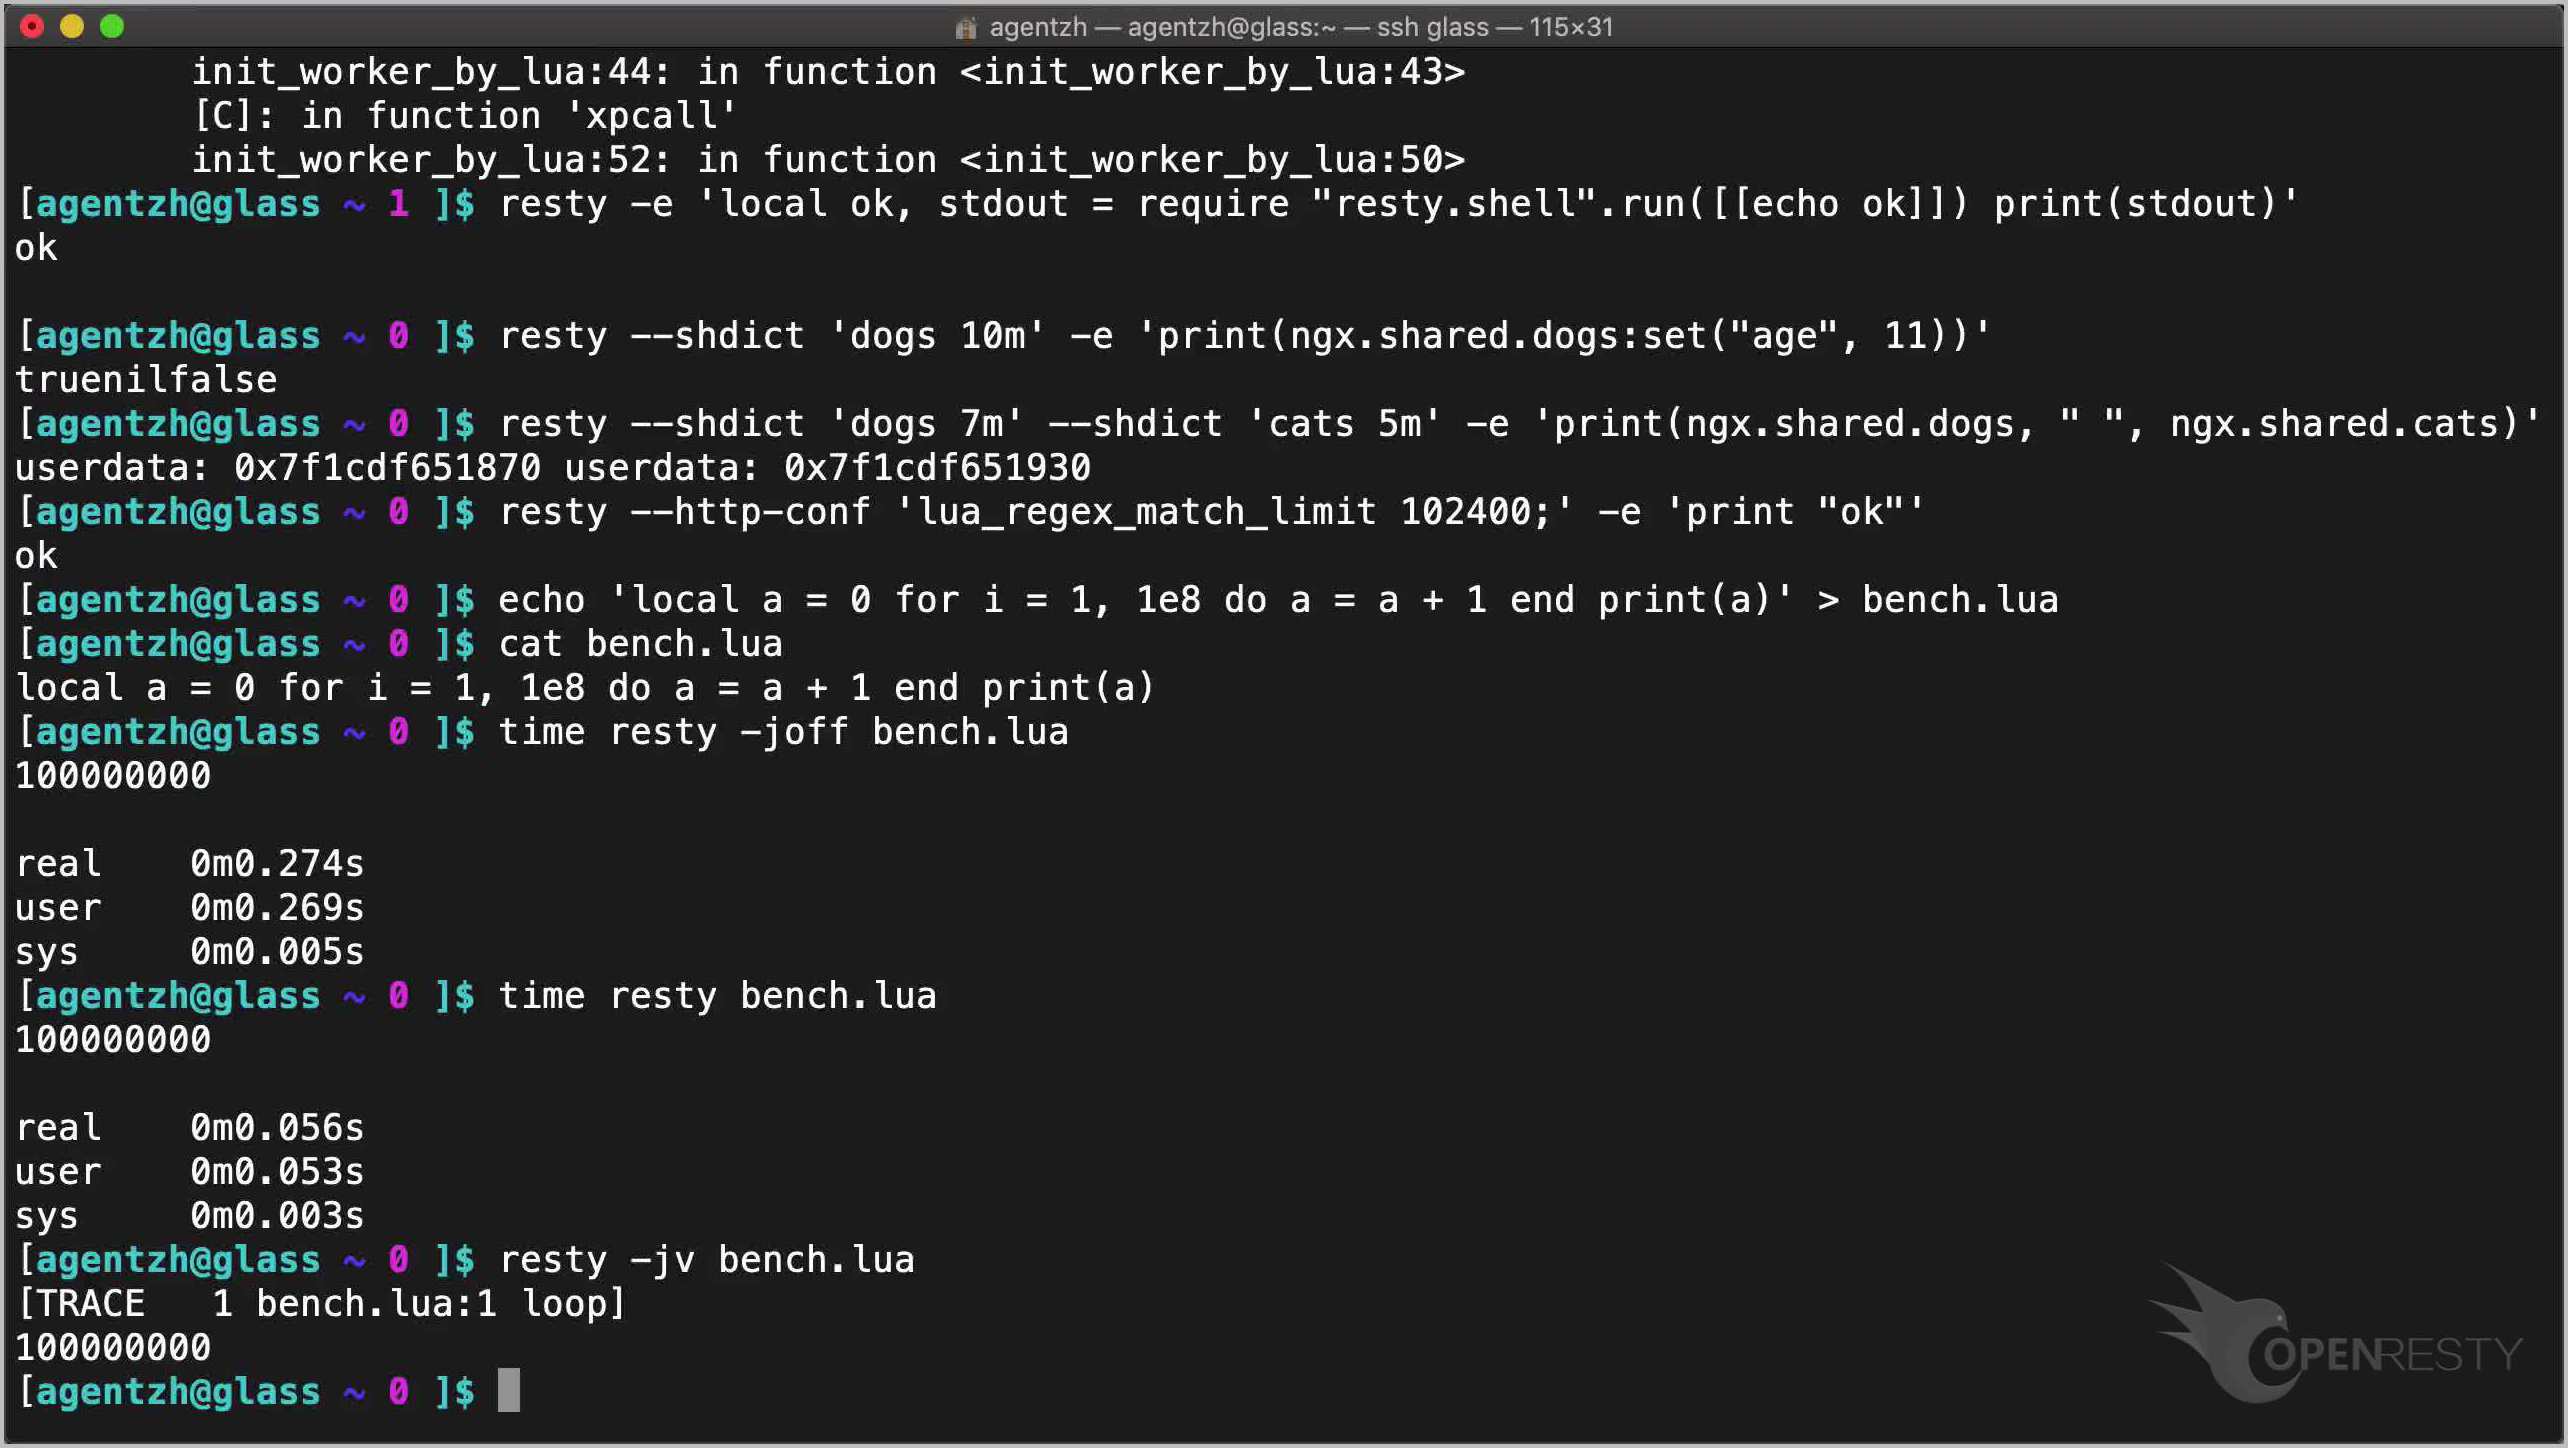
Or dump the full bytecode, IR, and machine code output with -jdump:
resty -jdump bench.lua
For a thorough explanation of LuaJIT bytecode and how to read these dumps, see our LuaJIT bytecode tutorial.
Quick Reference
| Option | Purpose |
|---|---|
-e 'code' | Execute inline Lua code |
FILE | Run a .lua script file |
-I DIR | Add directory to Lua module search path |
-l LIB | Load a Lua library (like lua -l) |
--shdict 'name size' | Define a shared memory dictionary |
--http-conf '...' | Inject snippet into the Nginx http block |
--main-conf '...' | Inject snippet into the Nginx main block |
-joff | Disable LuaJIT JIT compiler |
-jv | Show JIT compilation traces |
-jdump | Dump bytecode, IR, and machine code |
-V | Show OpenResty/Nginx version |
-h | Show all available options |
Getting Help
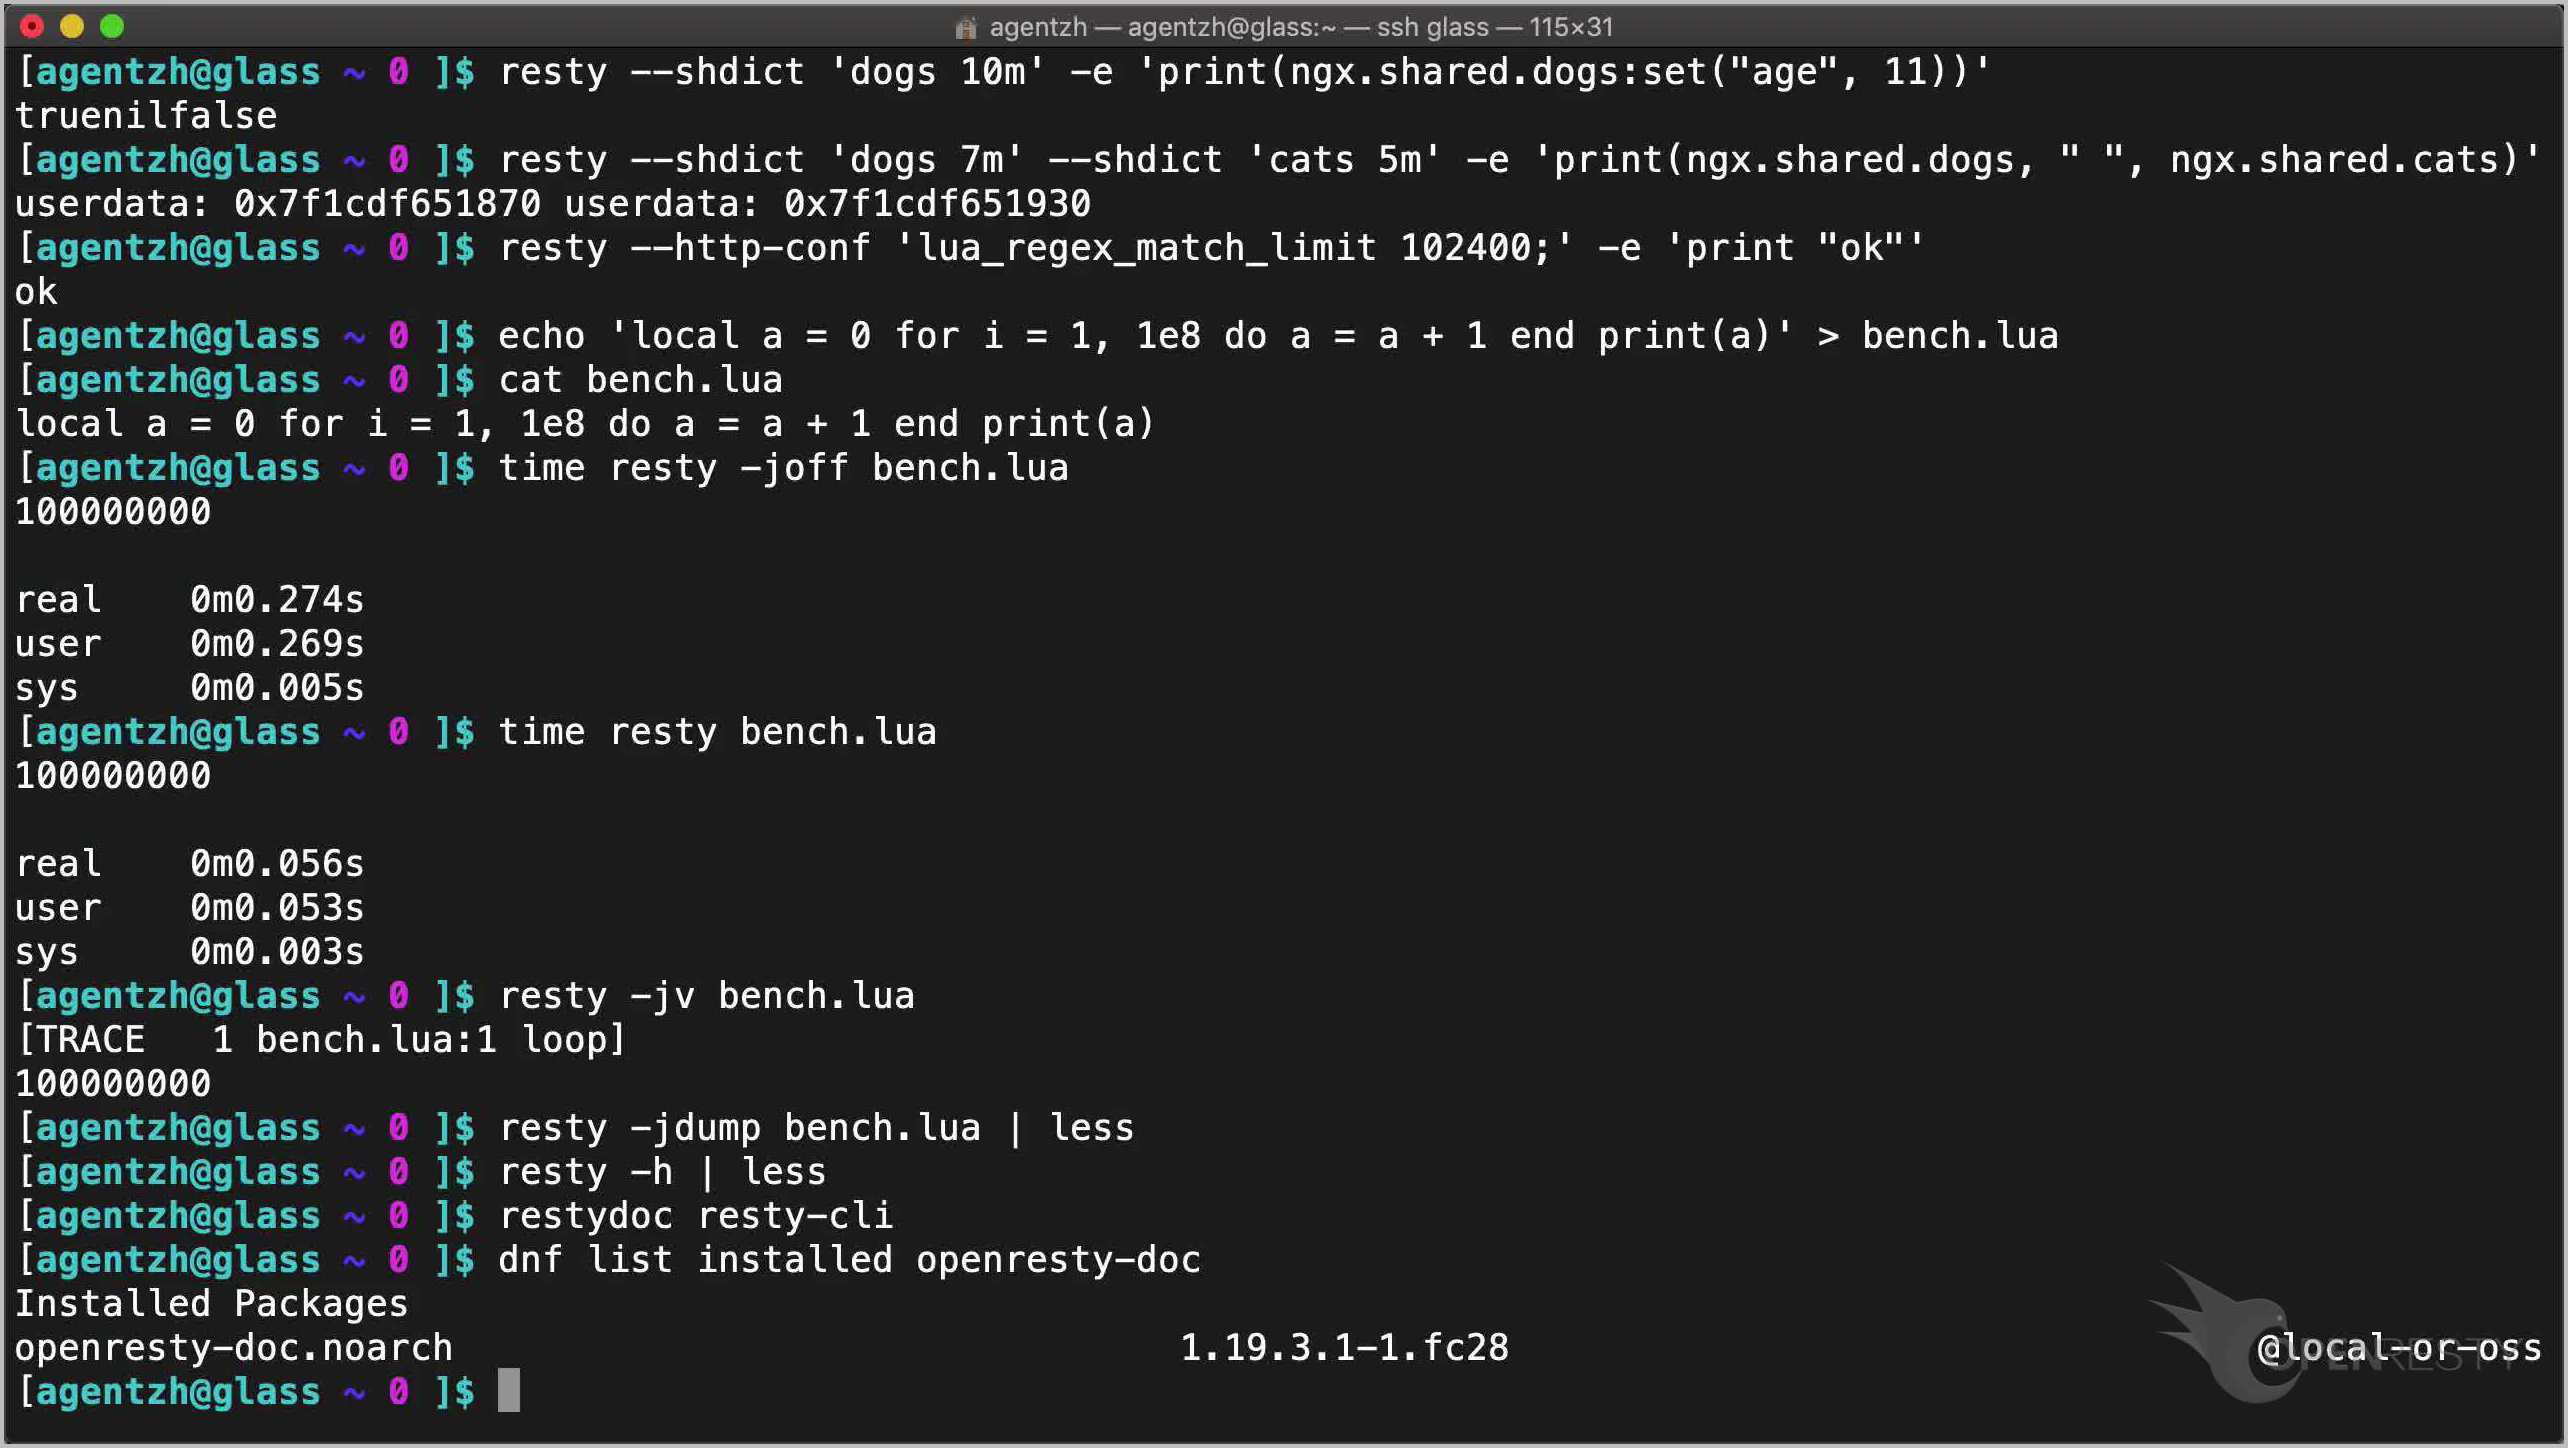
You can always find all supported options via the -h flag:
resty -h
Or browse the full documentation via the restydoc utility — covered in depth in our restydoc tutorial:
restydoc resty-cli
If you install OpenResty through our pre-built binary packages, install the openresty-doc or openresty-restydoc package first:
dnf list installed openresty-doc
The resty command-line utility is just one piece of the OpenResty toolchain. The OpenResty Tutorial Series walks you through the full learning path — from installation and Hello World through Lua modules, data sharing, streaming responses, and performance profiling with LuaJIT. Visit the series index to continue your journey.
About The Author
Yichun Zhang (Github handle: agentzh), is the original creator of the OpenResty® open-source project and the CEO of OpenResty Inc..
Yichun is one of the earliest advocates and leaders of “open-source technology”. He worked at many internationally renowned tech companies, such as Cloudflare, Yahoo!. He is a pioneer of “edge computing”, “dynamic tracing” and “machine coding”, with over 22 years of programming and 16 years of open source experience. Yichun is well-known in the open-source space as the project leader of OpenResty®, adopted by more than 40 million global website domains.
OpenResty Inc., the enterprise software start-up founded by Yichun in 2017, has customers from some of the biggest companies in the world. Its flagship product, OpenResty XRay, is a non-invasive profiling and troubleshooting tool that significantly enhances and utilizes dynamic tracing technology. And its OpenResty Edge product is a powerful distributed traffic management and private CDN software product.
As an avid open-source contributor, Yichun has contributed more than a million lines of code to numerous open-source projects, including Linux kernel, Nginx, LuaJIT, GDB, SystemTap, LLVM, Perl, etc. He has also authored more than 60 open-source software libraries.
Related Articles
OpenResty XRay Dec 9, 2020

OpenResty XRay Dec 7, 2020

OpenResty XRay Dec 1, 2020

OpenResty XRay Nov 15, 2020

OpenResty XRay Nov 14, 2020