
How to Configure an SNI Proxy in OpenResty Edge: Route TLS by SNI Hostname Without Decryption
To configure an SNI proxy in OpenResty Edge, create a stream application of type SNI Proxy, add an upstream for each backend, and write page rules that match the SNI Server Name variable to route every TLS connection to the right backend—without decrypting it. Then add an SNI Proxy port to the gateway partition and publish the release. This tutorial listens on port 4003 and routes www.google.com and www.ebay.com to different upstreams, then verifies the result with curl and a browser.
The steps below walk through the whole setup in the Admin web console: creating the SNI Proxy application, defining upstreams and SNI Server Name page rules, opening port 4003, and testing the routing.
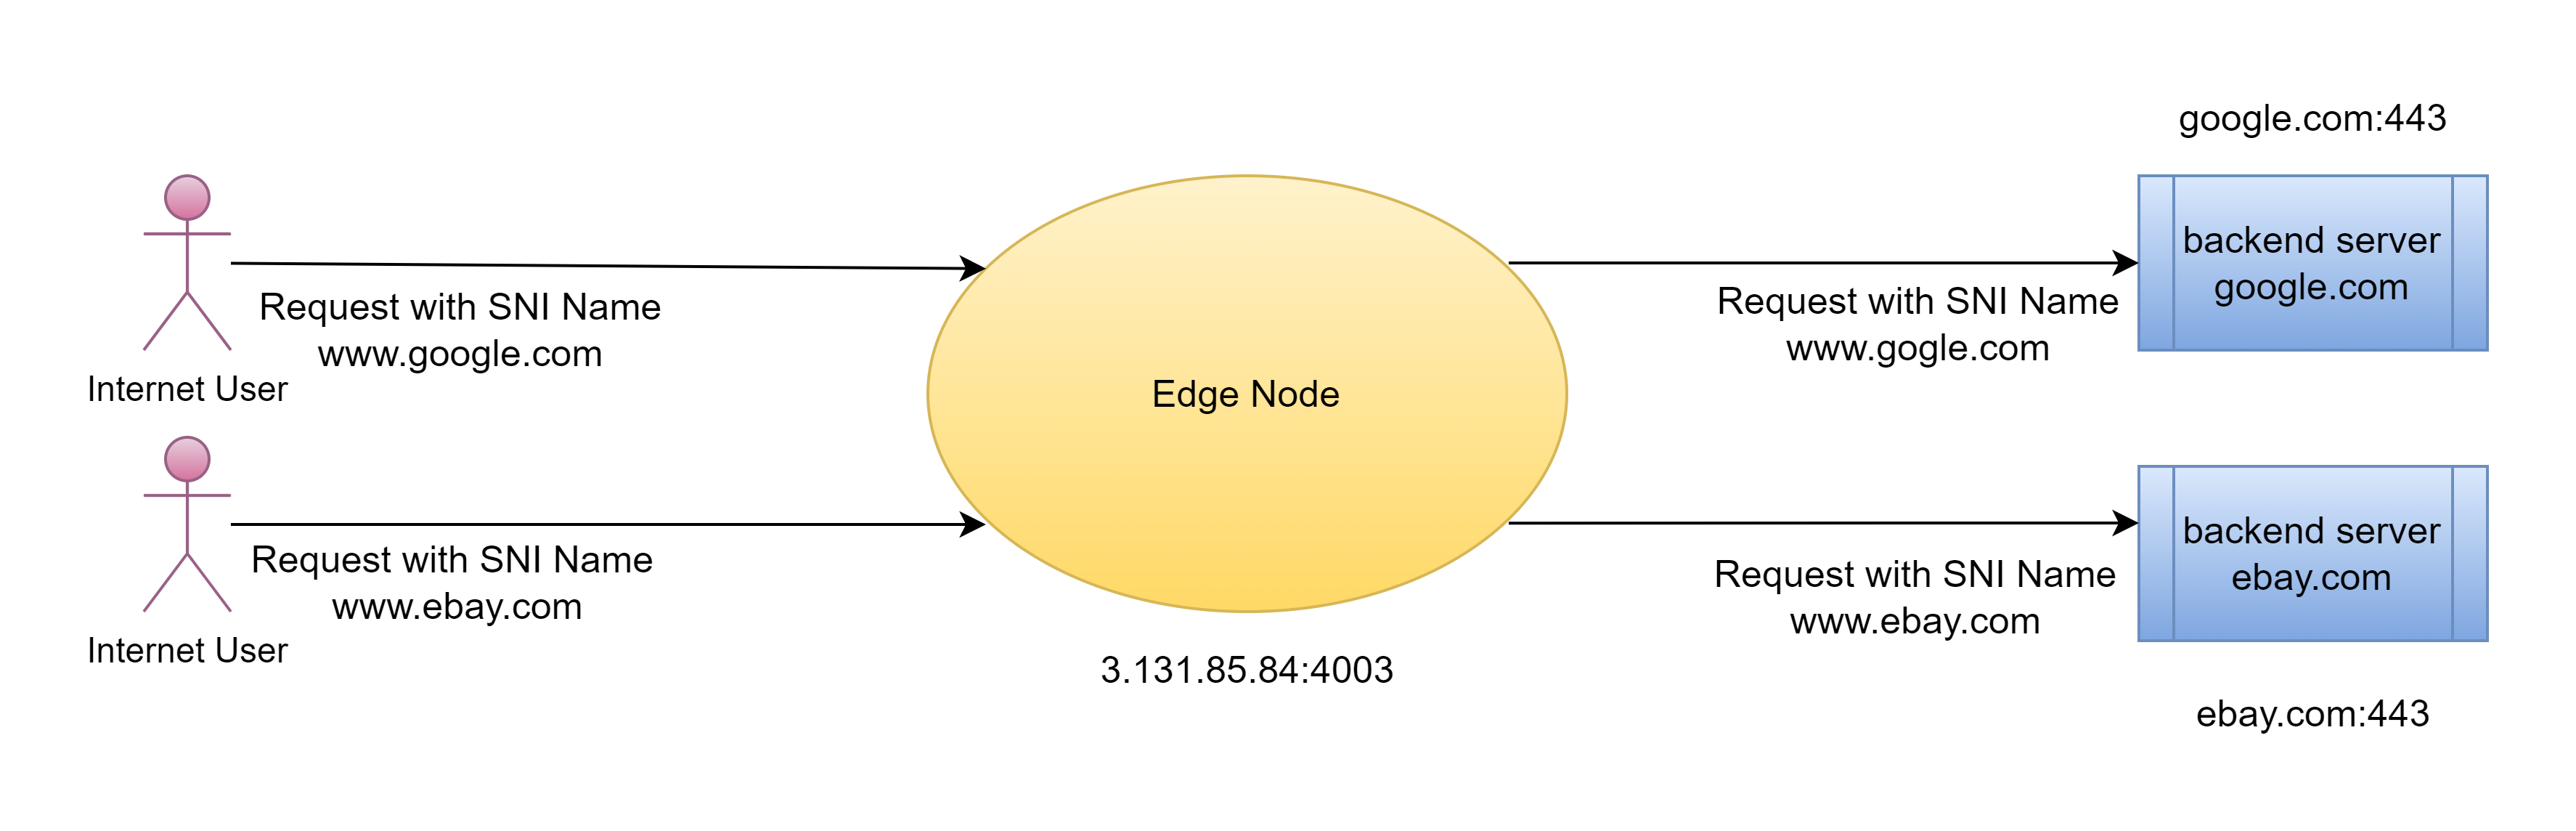
Create an SNI Proxy stream application
Let’s go to the OpenResty Edge’s Admin web console. It is our sample deployment of the console. Every user has her local deployment.
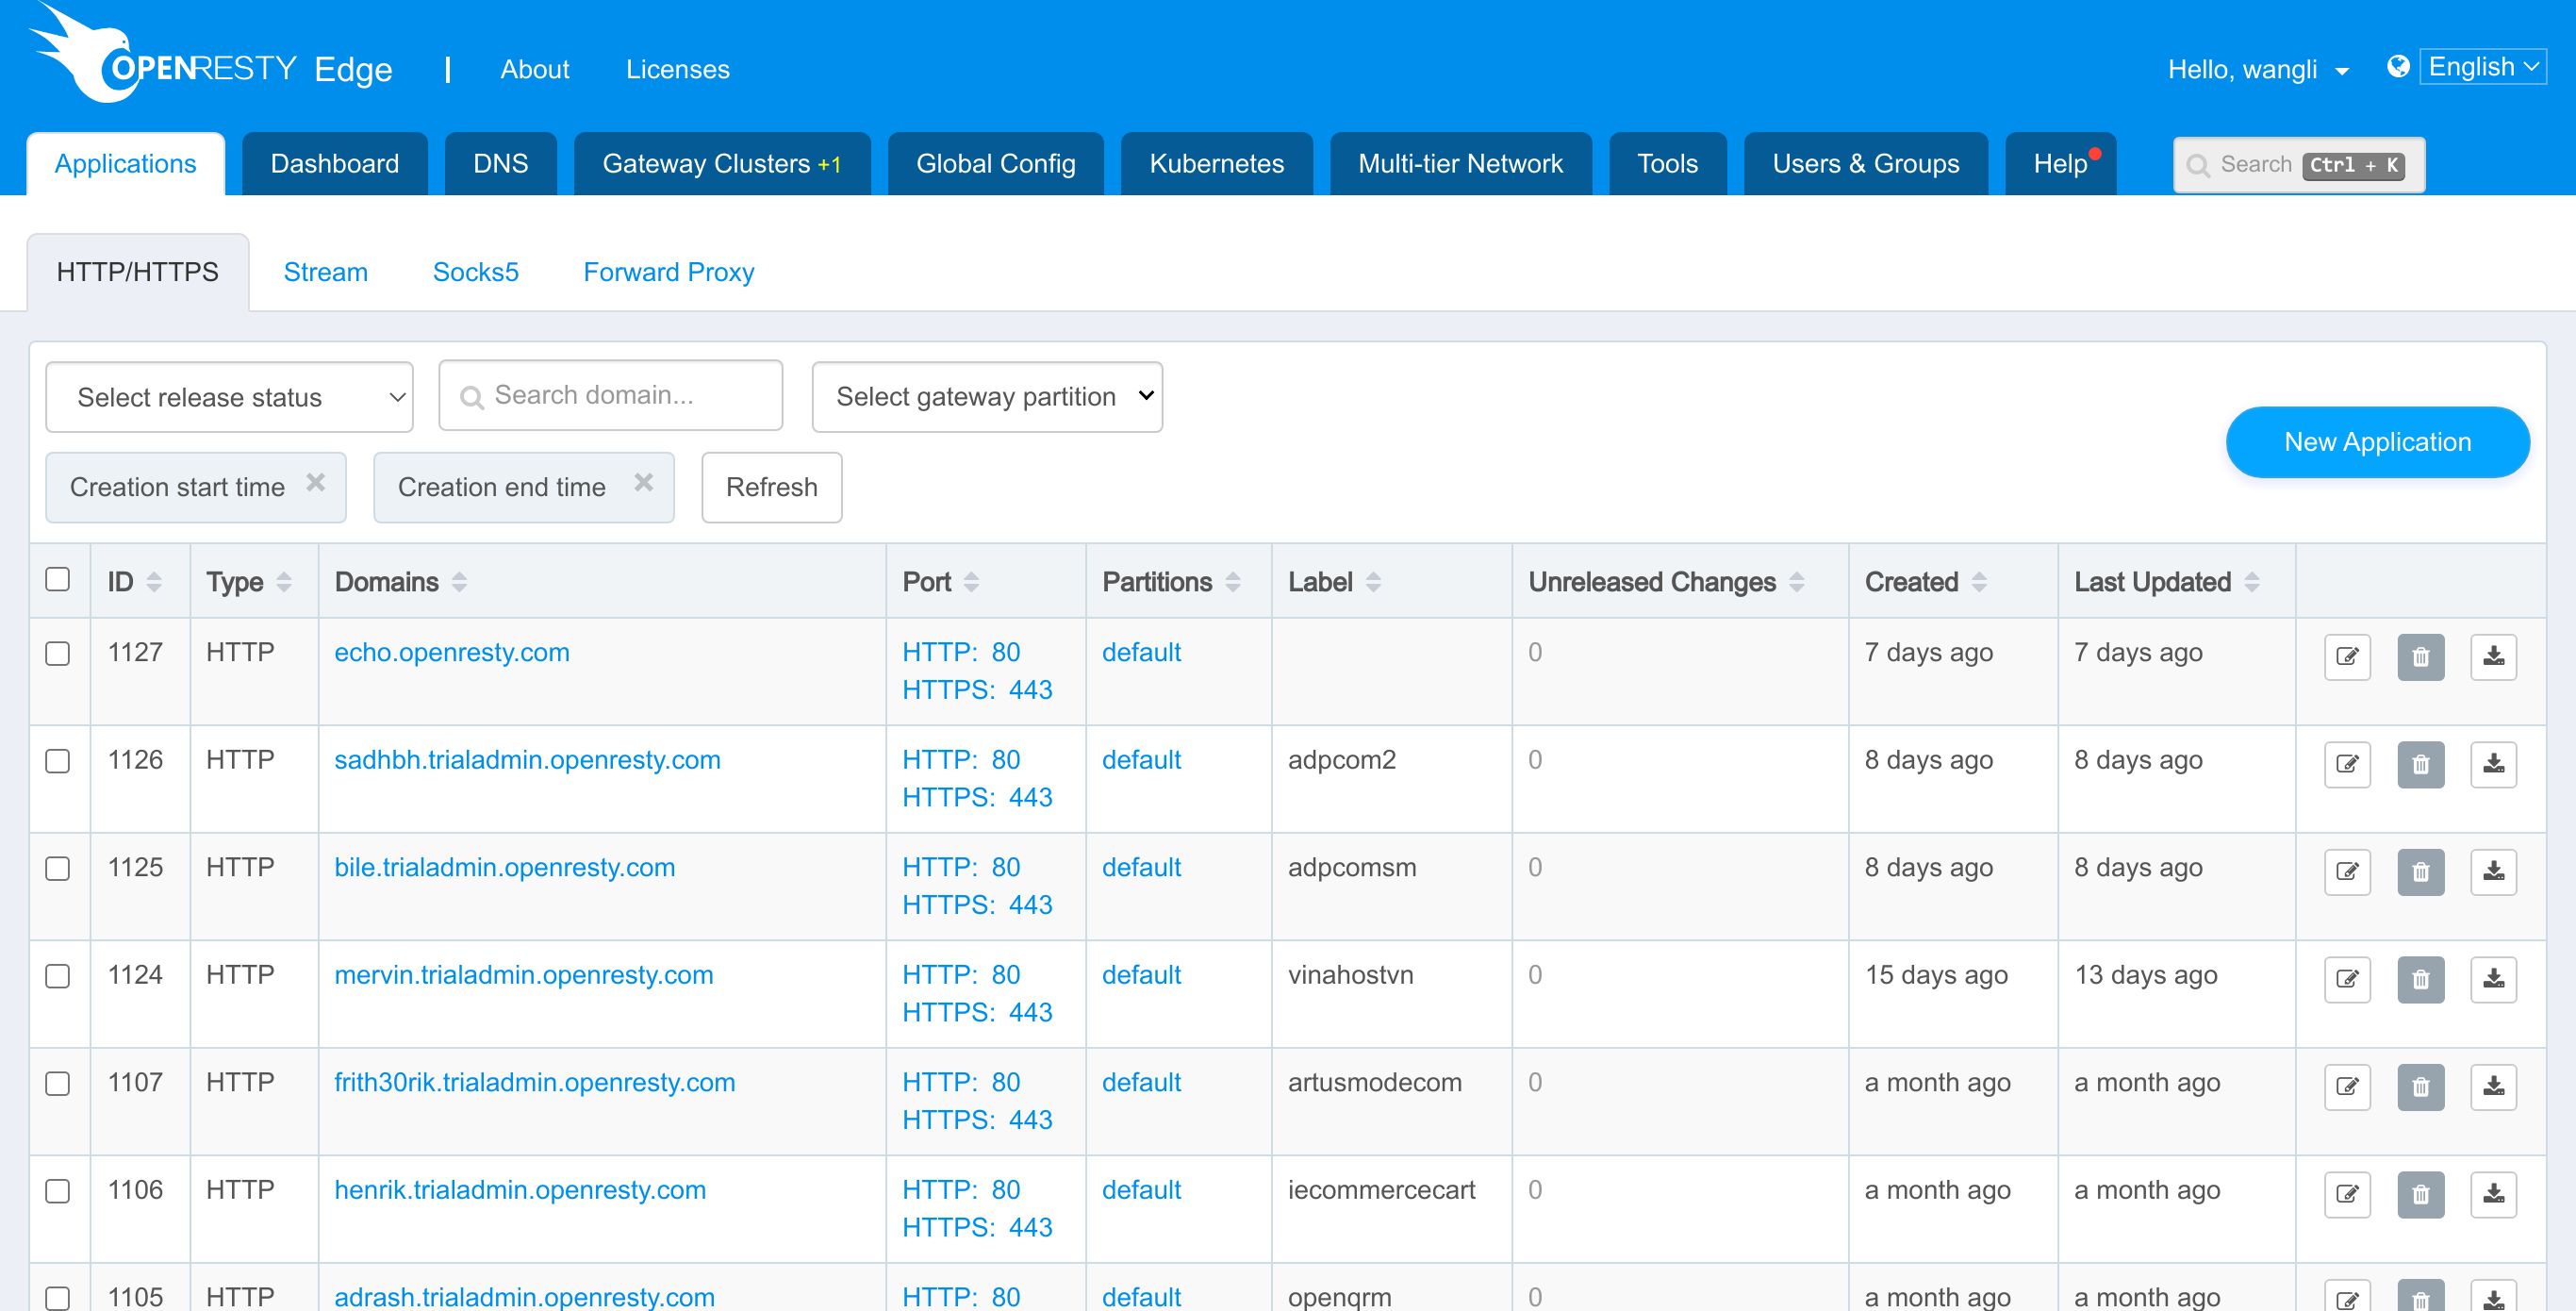
We are going to create an application of type stream.
Select the stream application list page.
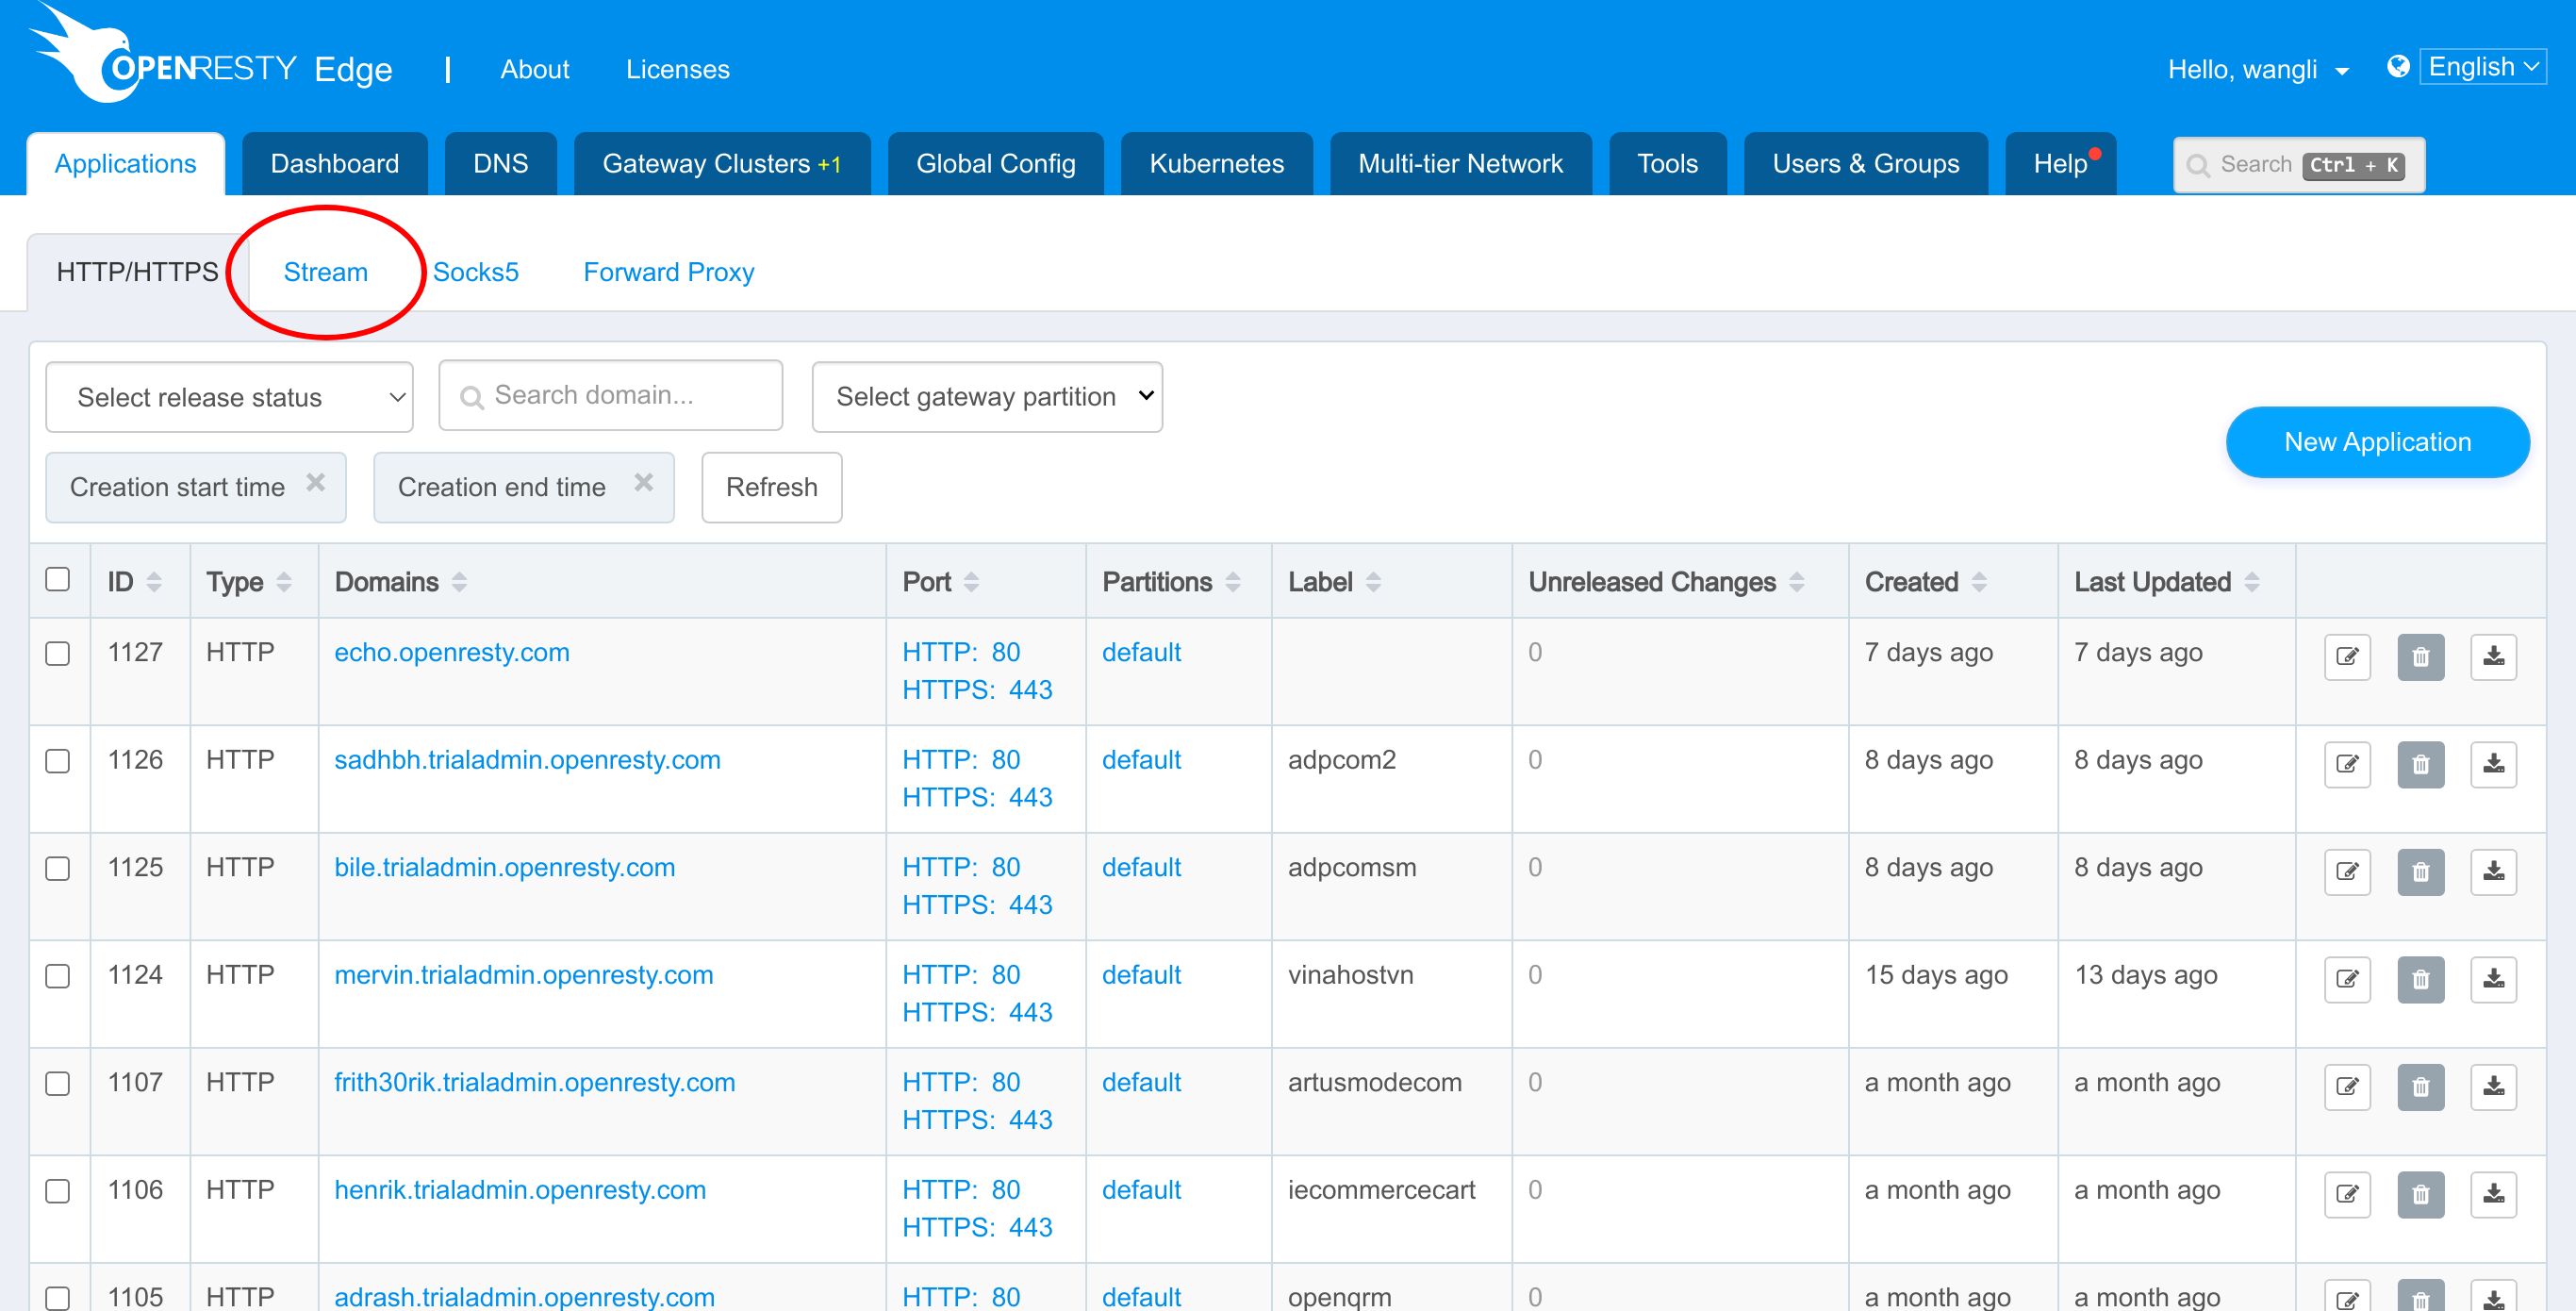
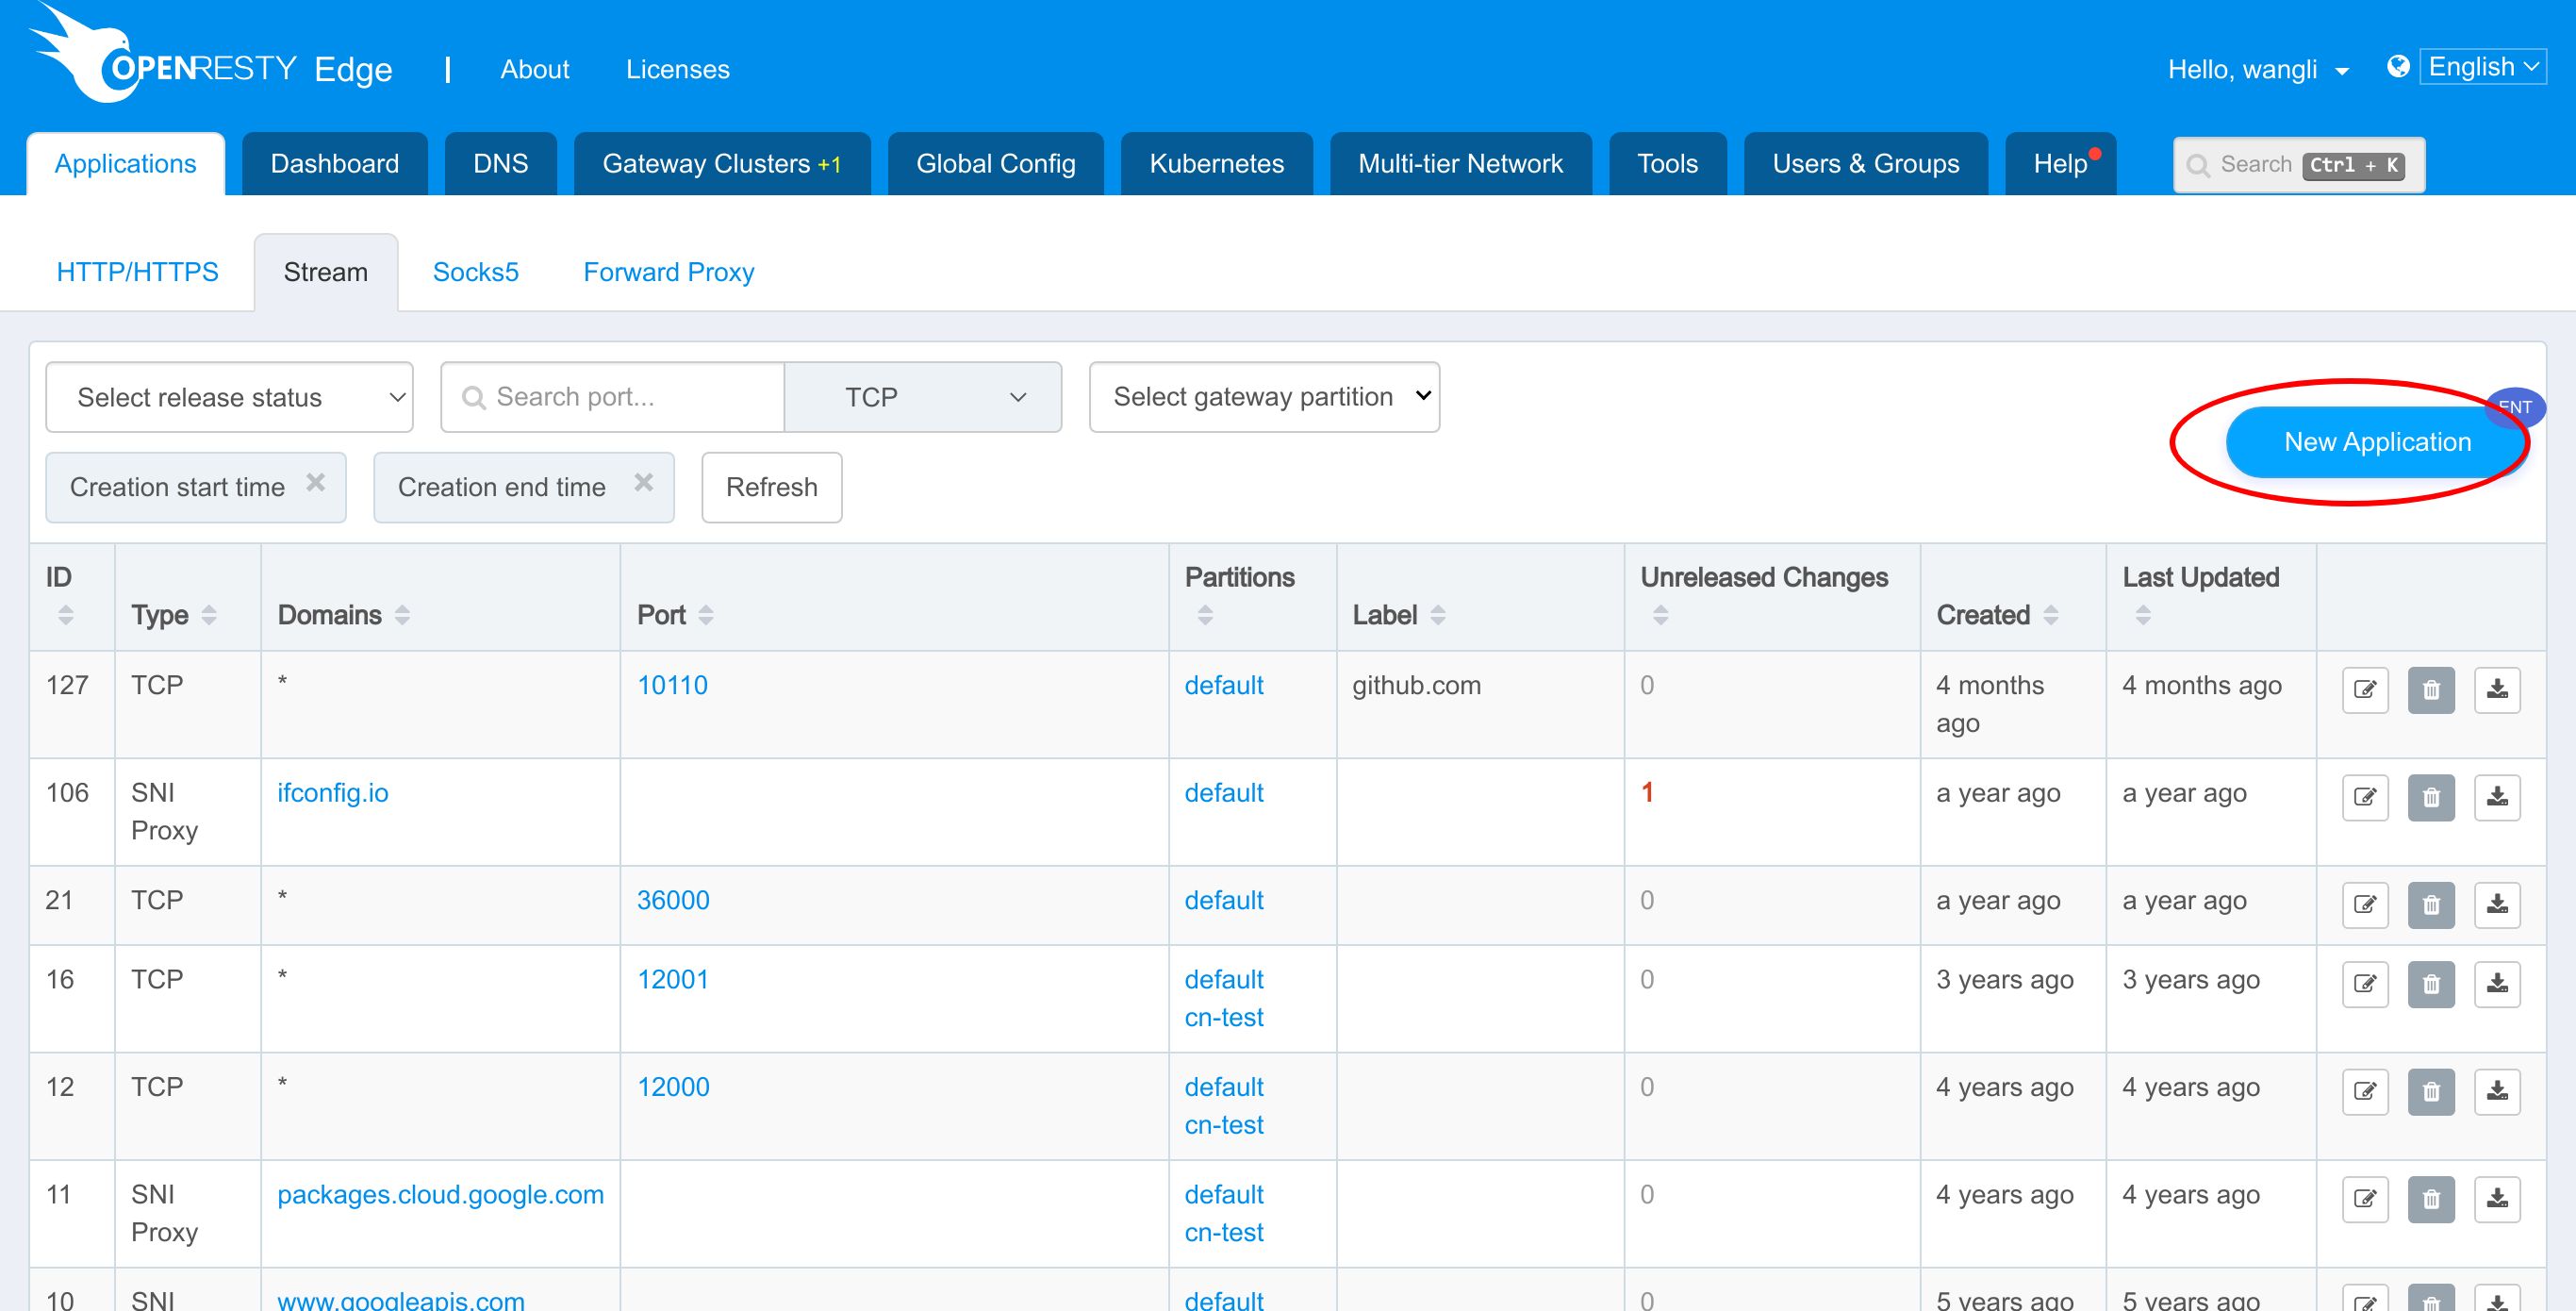
Create a new application.
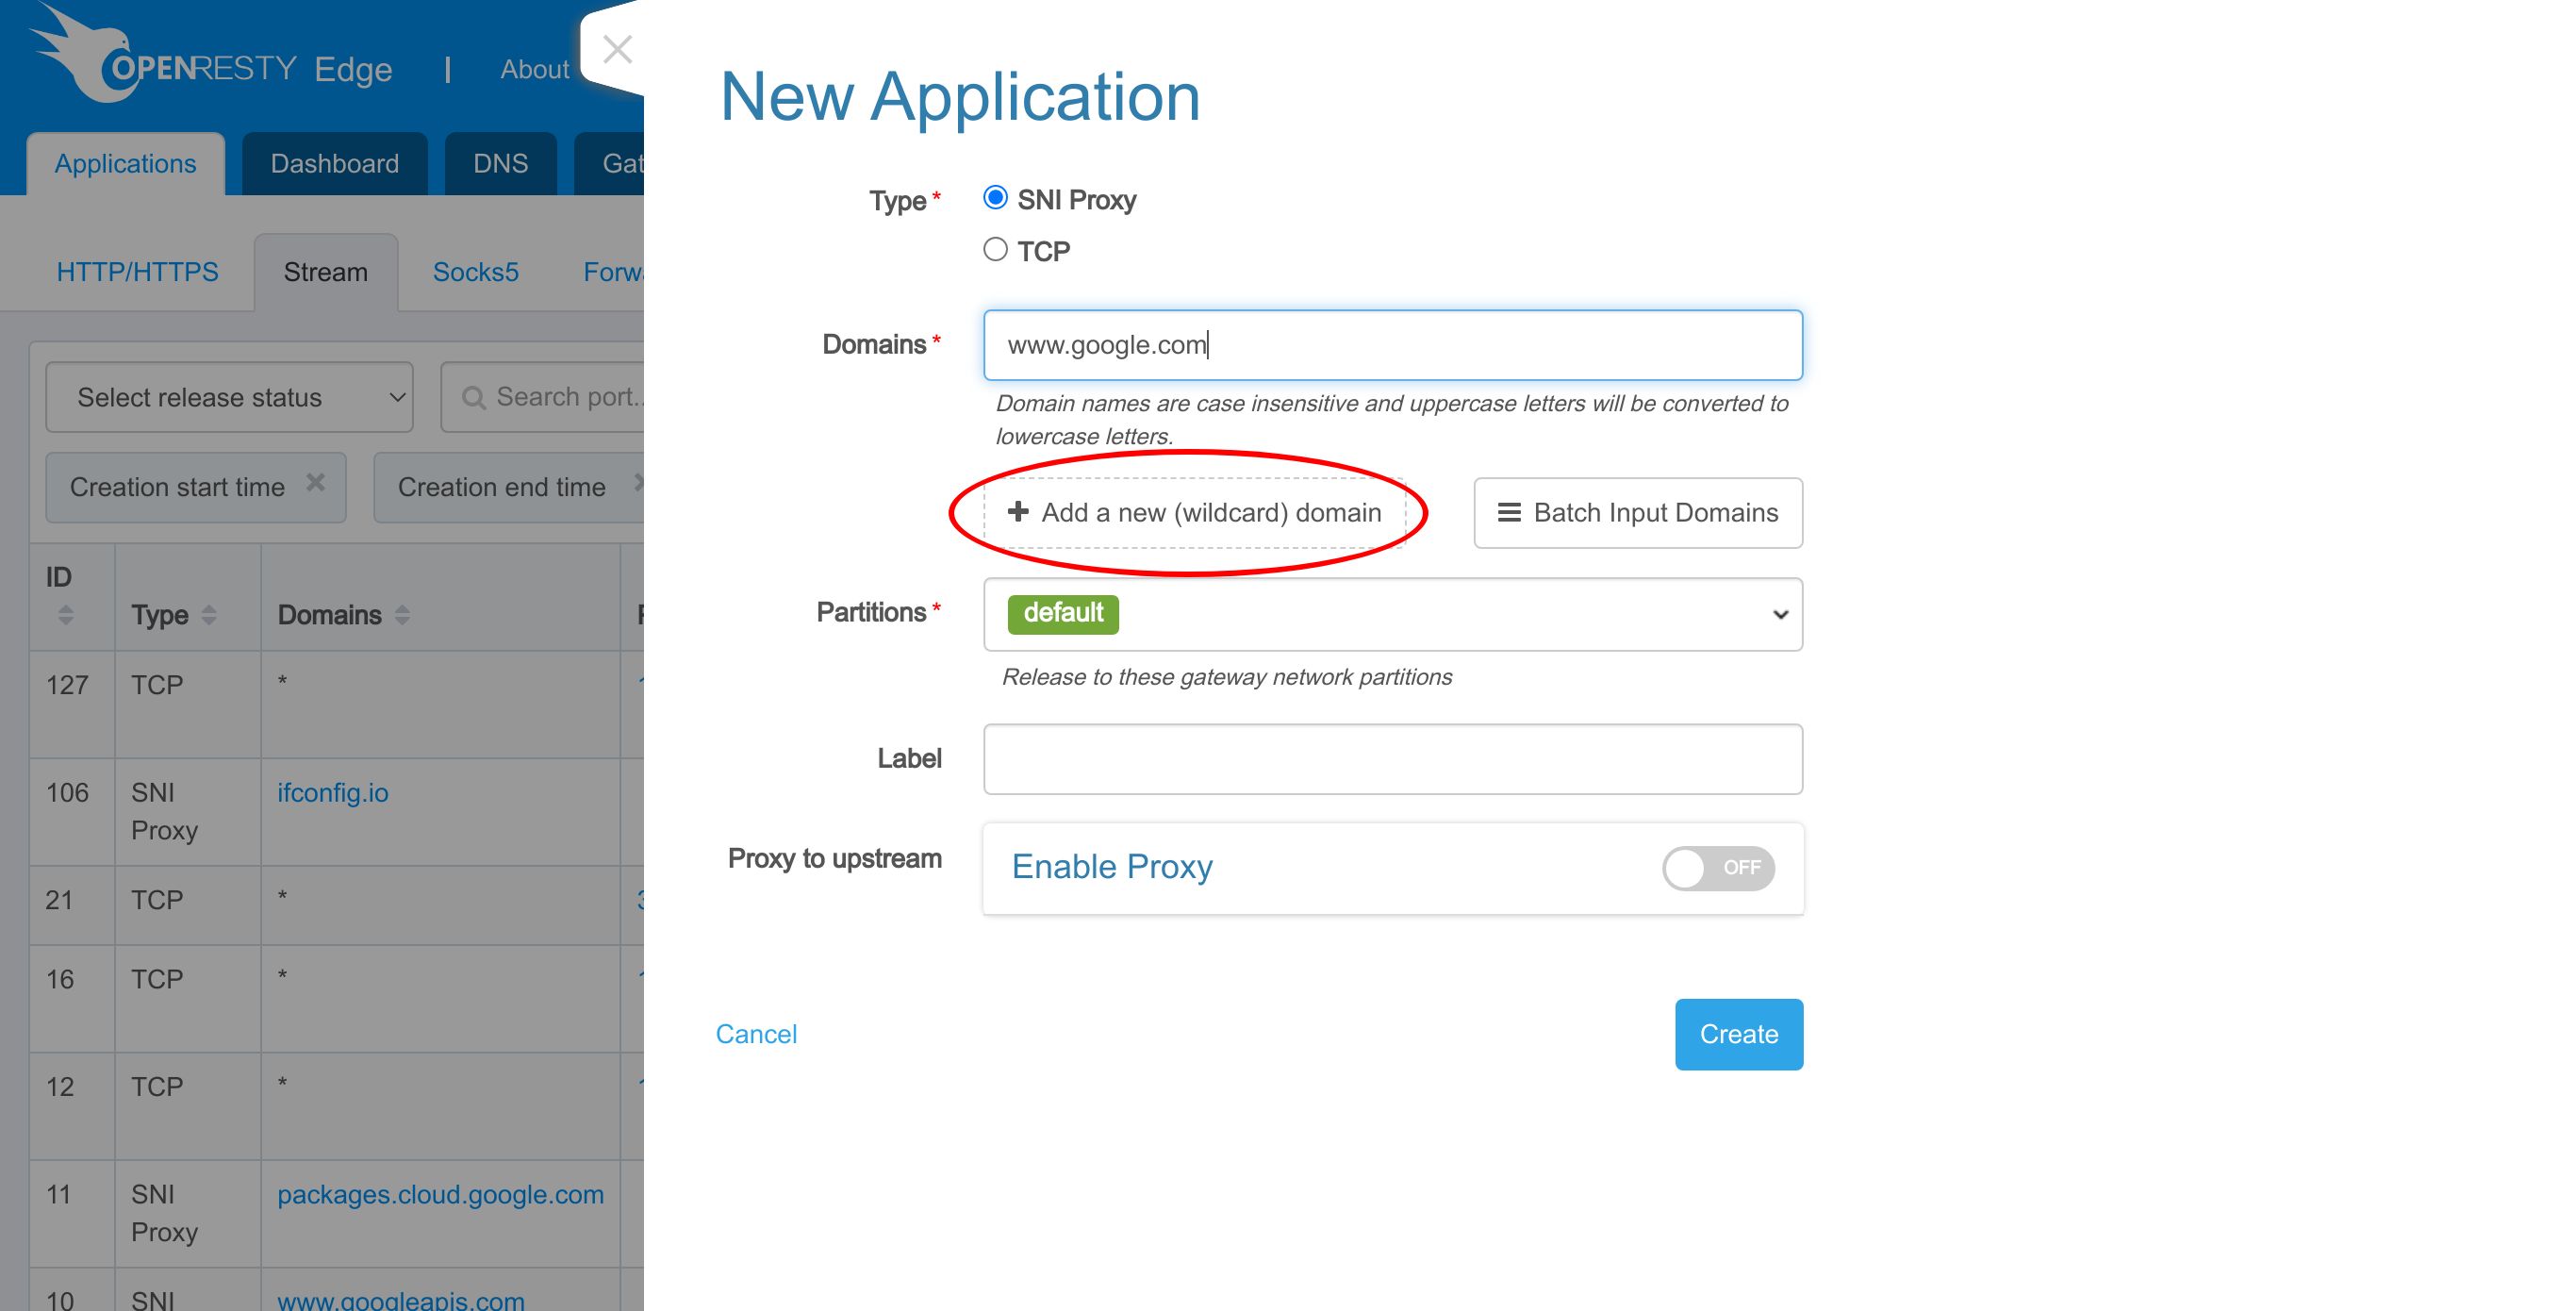
We see two types of stream applications: SNI Proxy and TCP.
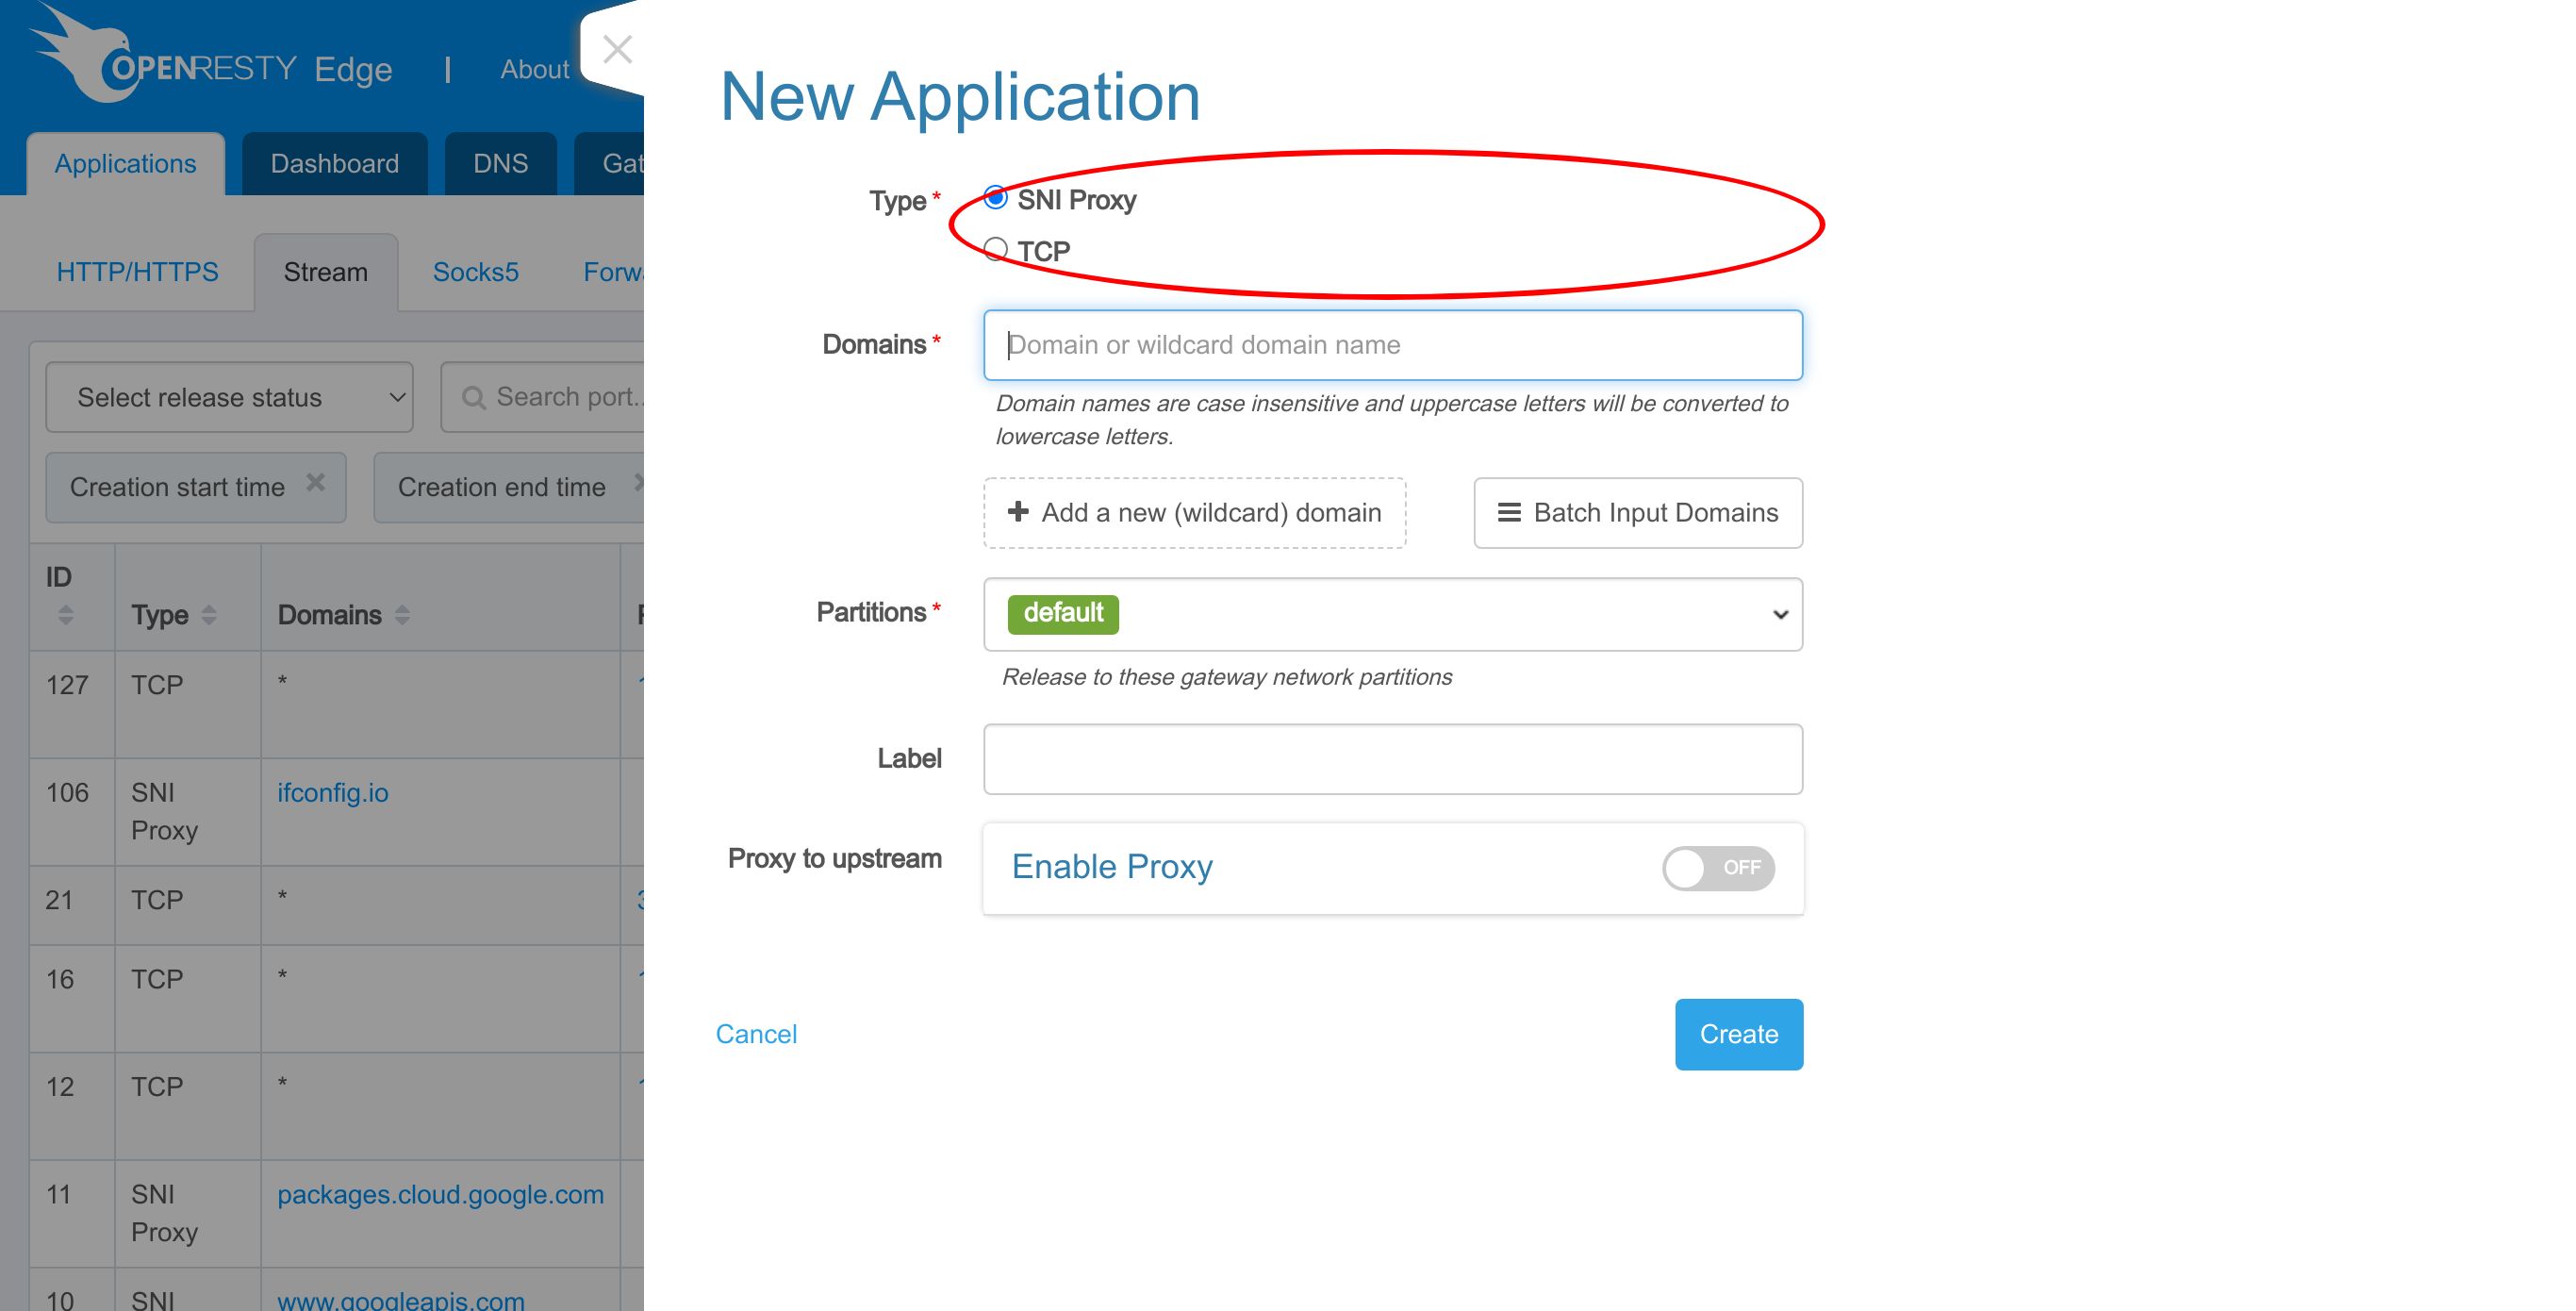
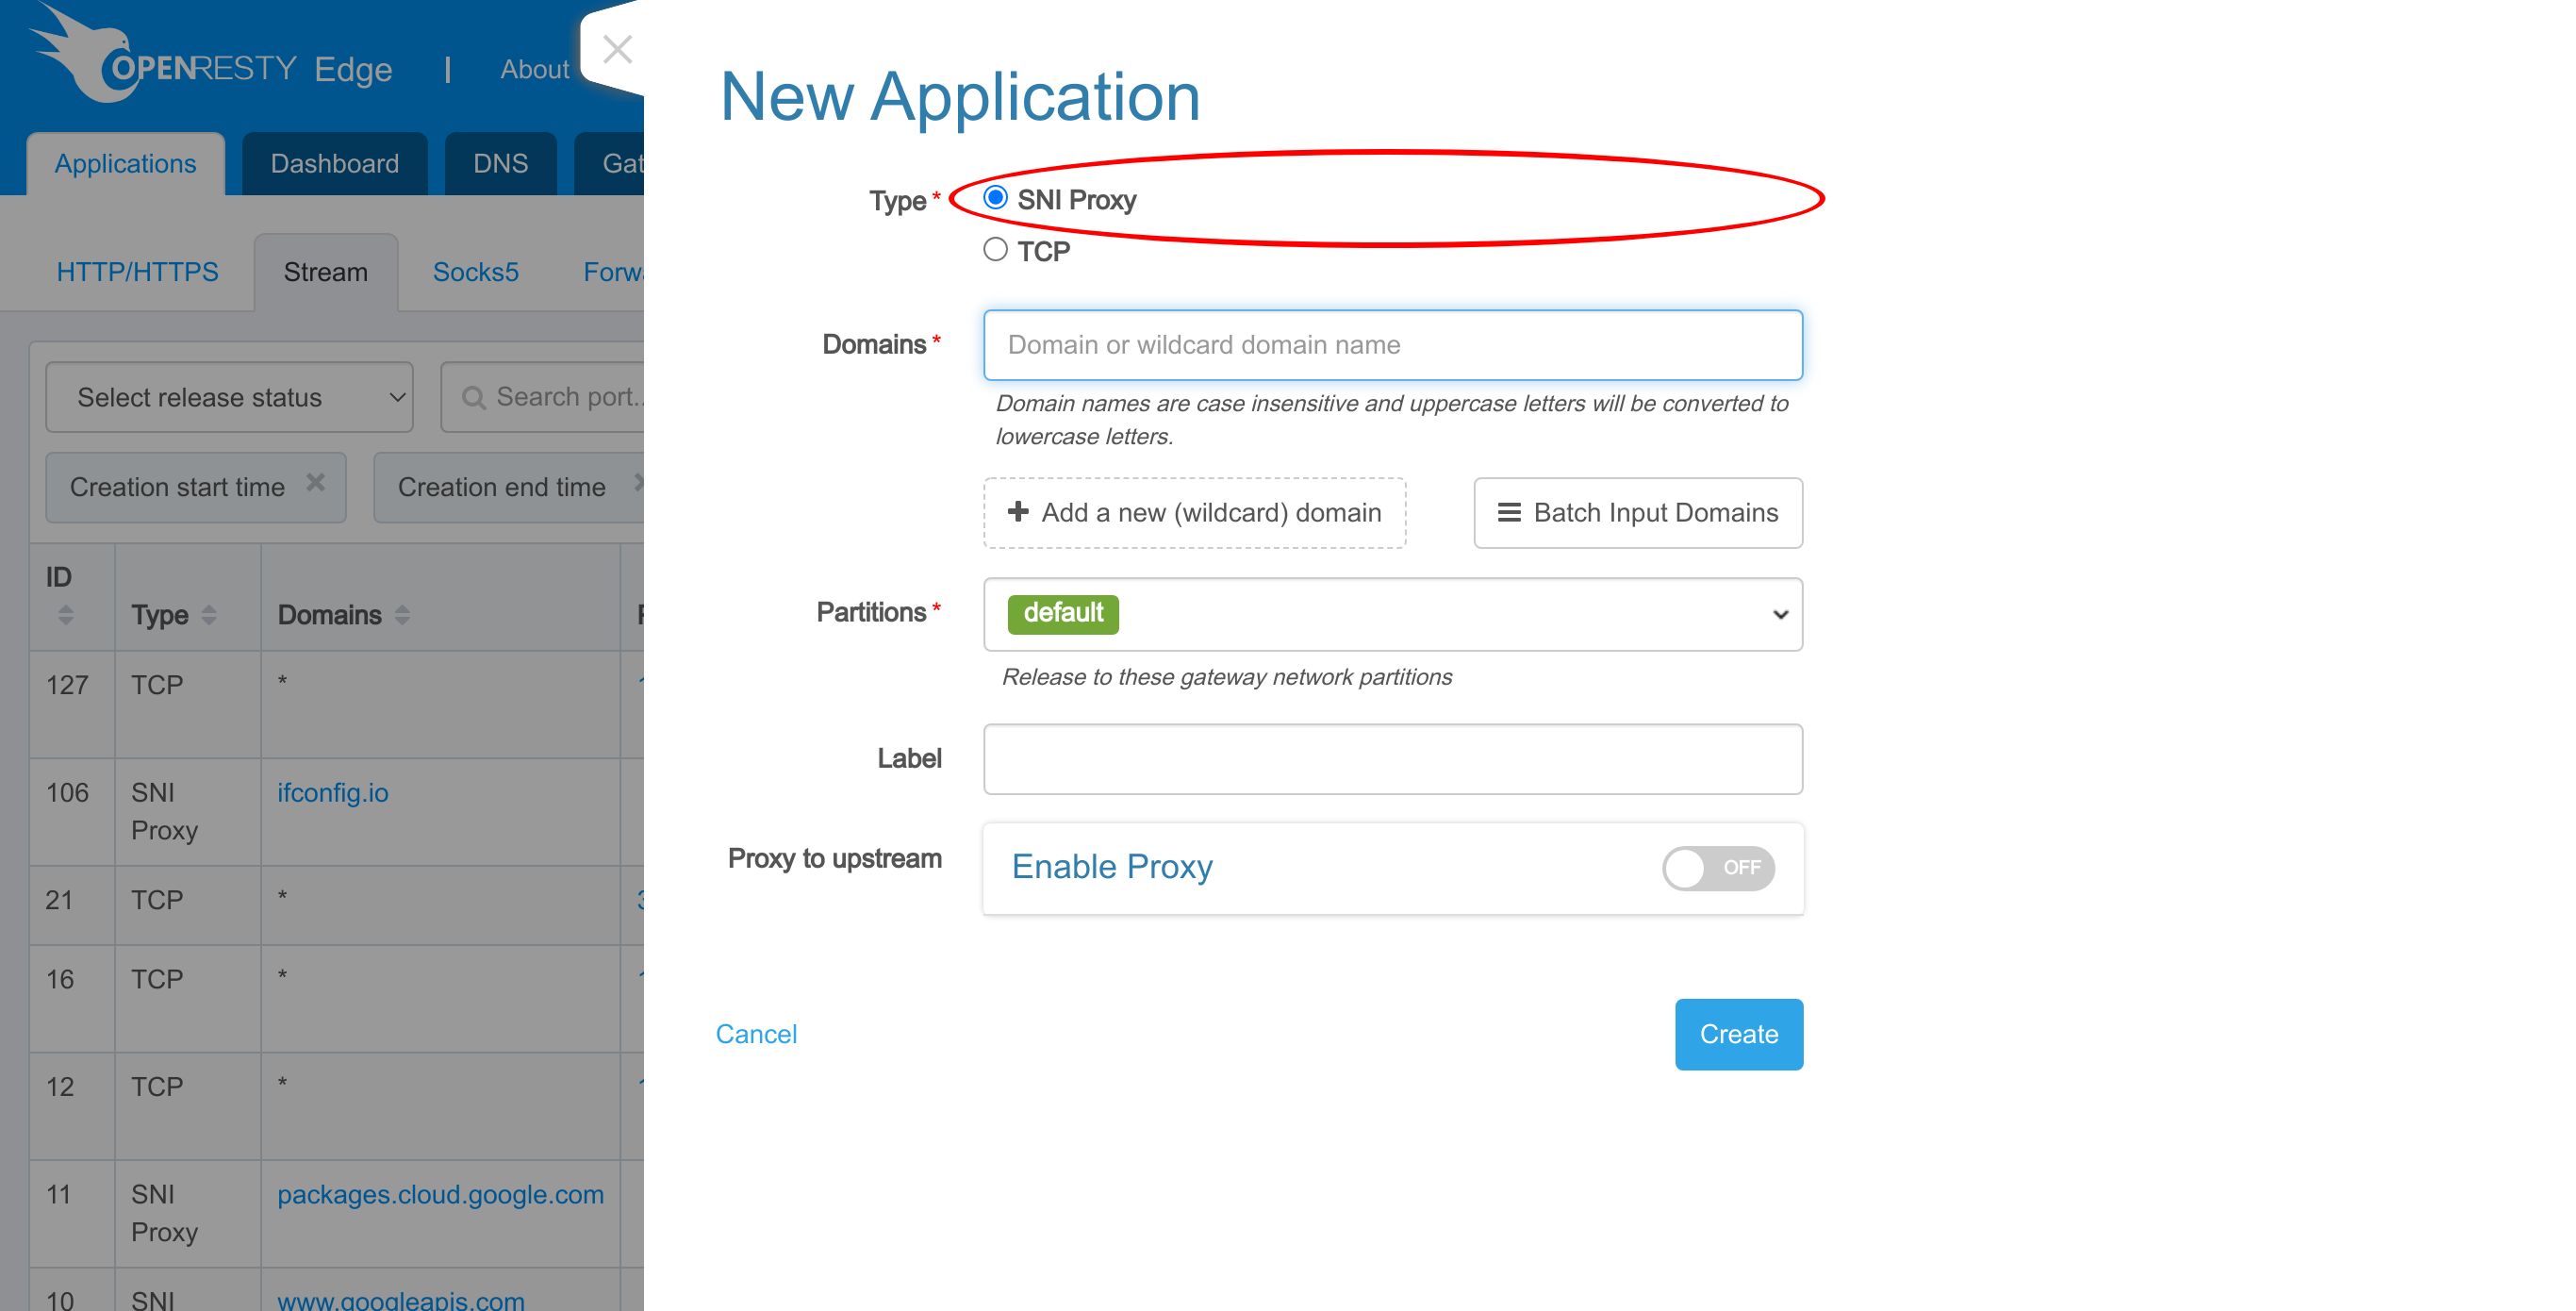
Our topic today is the type SNI Proxy selected by default.
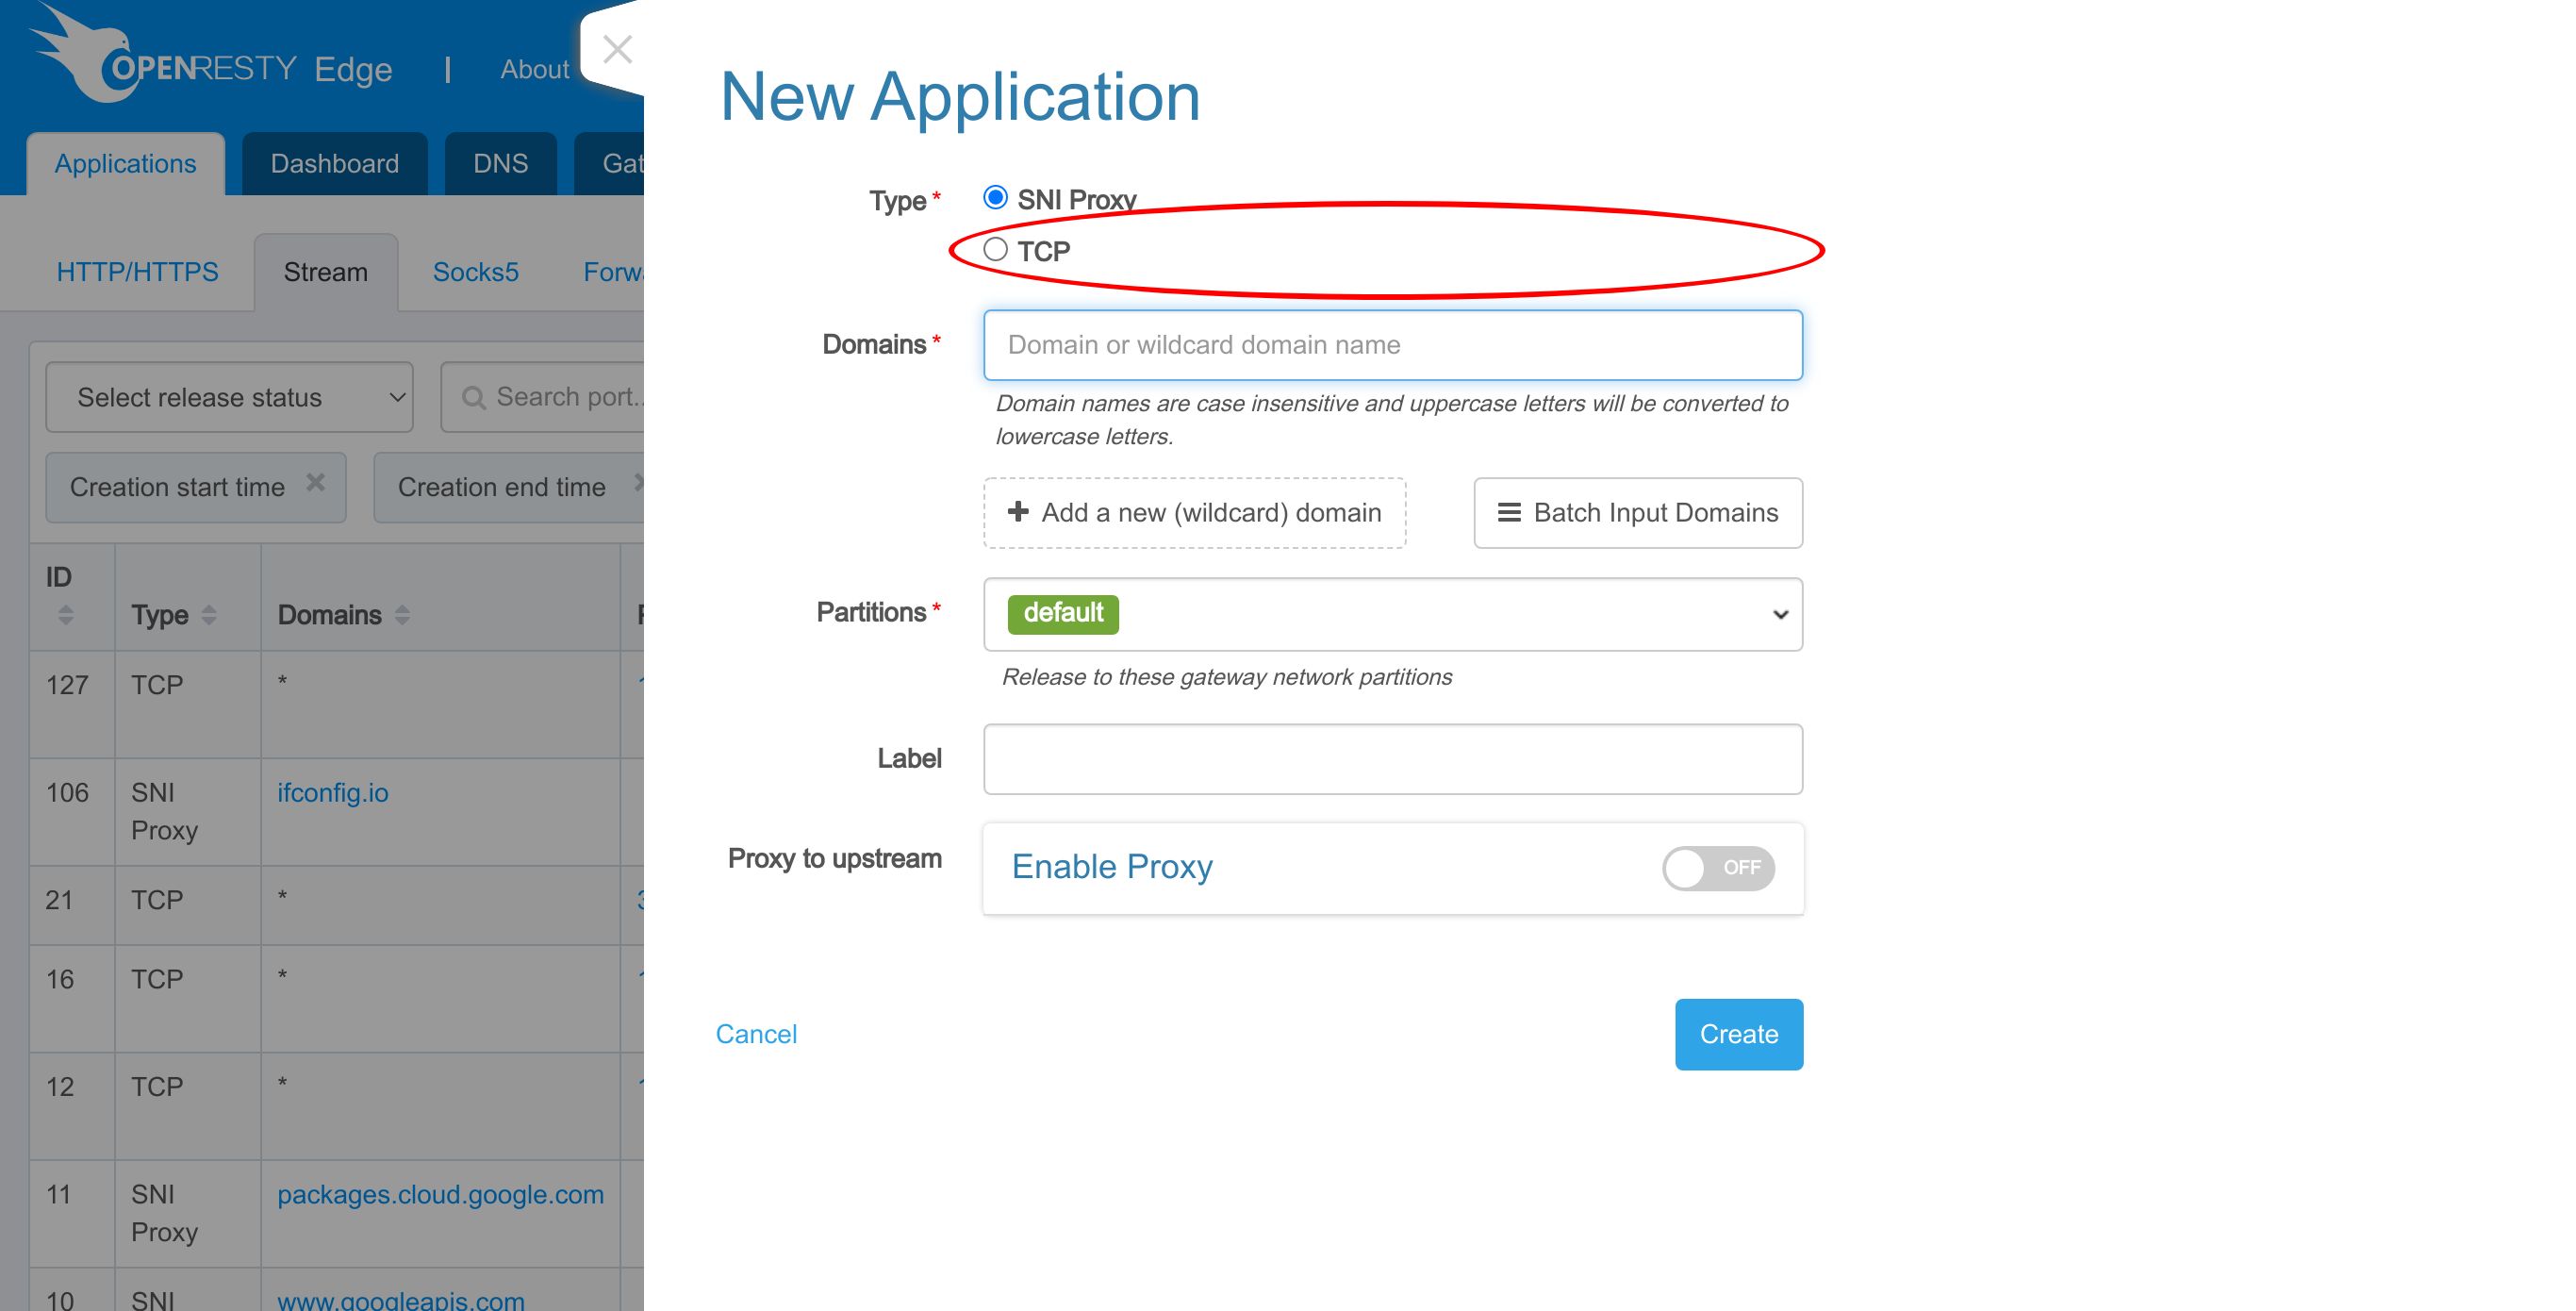
TCP applications will get covered in another tutorial.
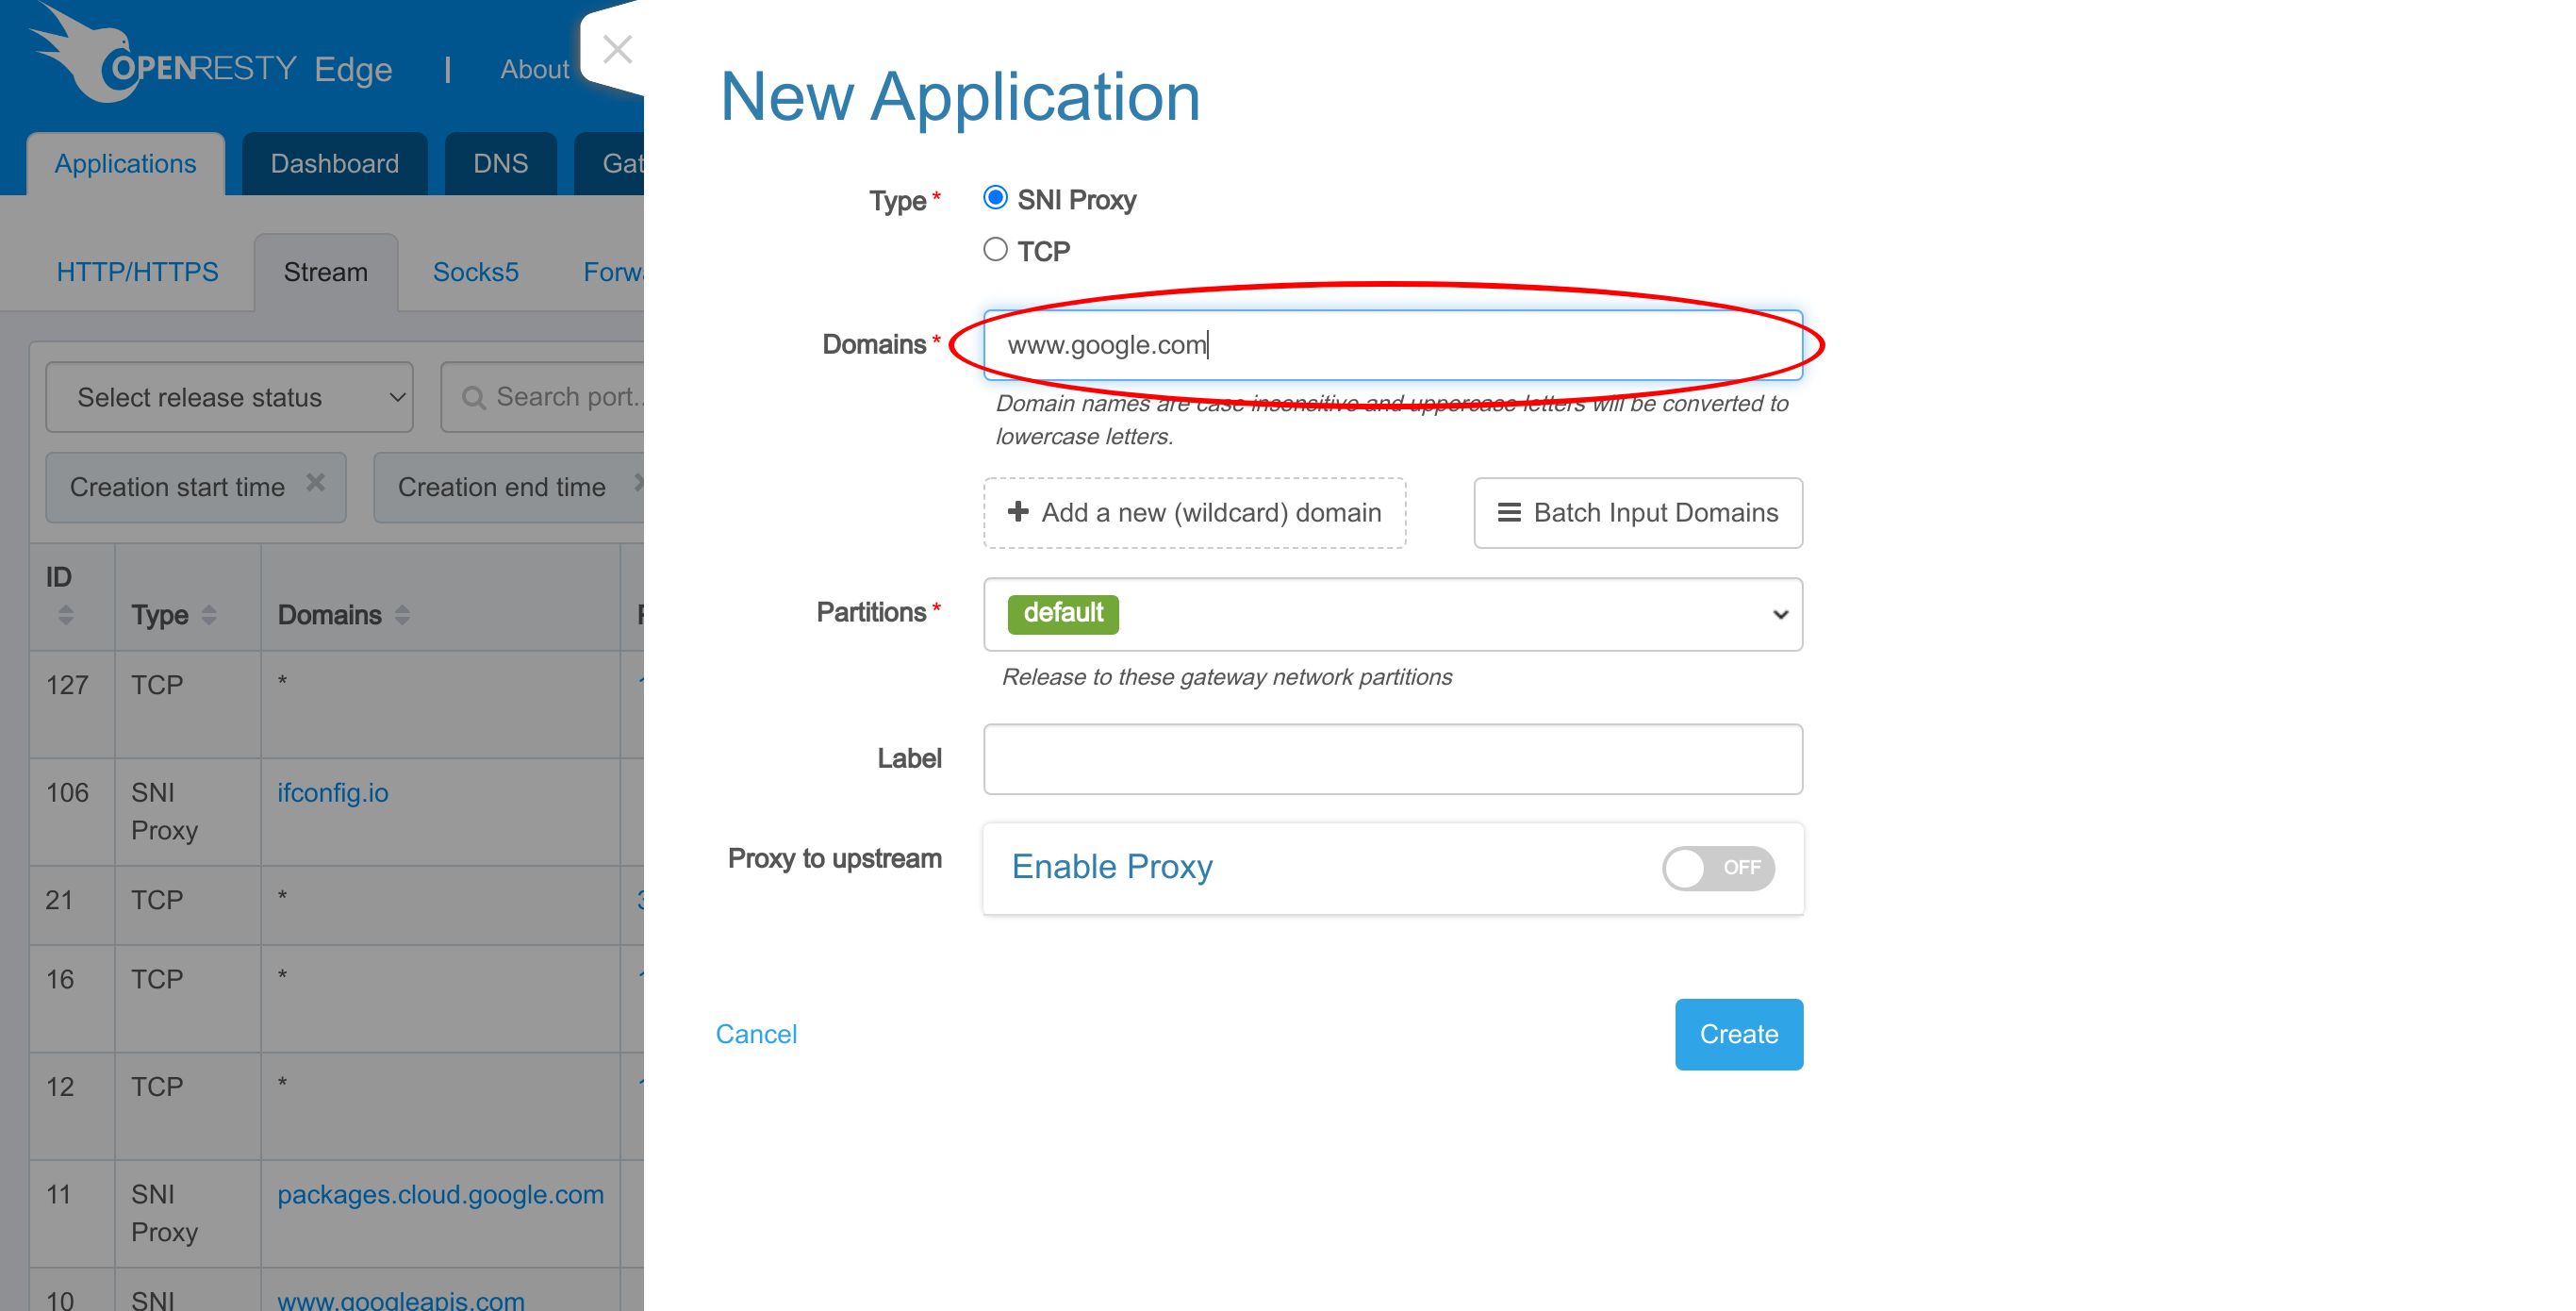
Enter “www.google.com” as Domain.
In this video, we want to handle requests with different SNI names. Therefore we need multiple domains.
Click this button to add a second domain name: www.ebay.com.
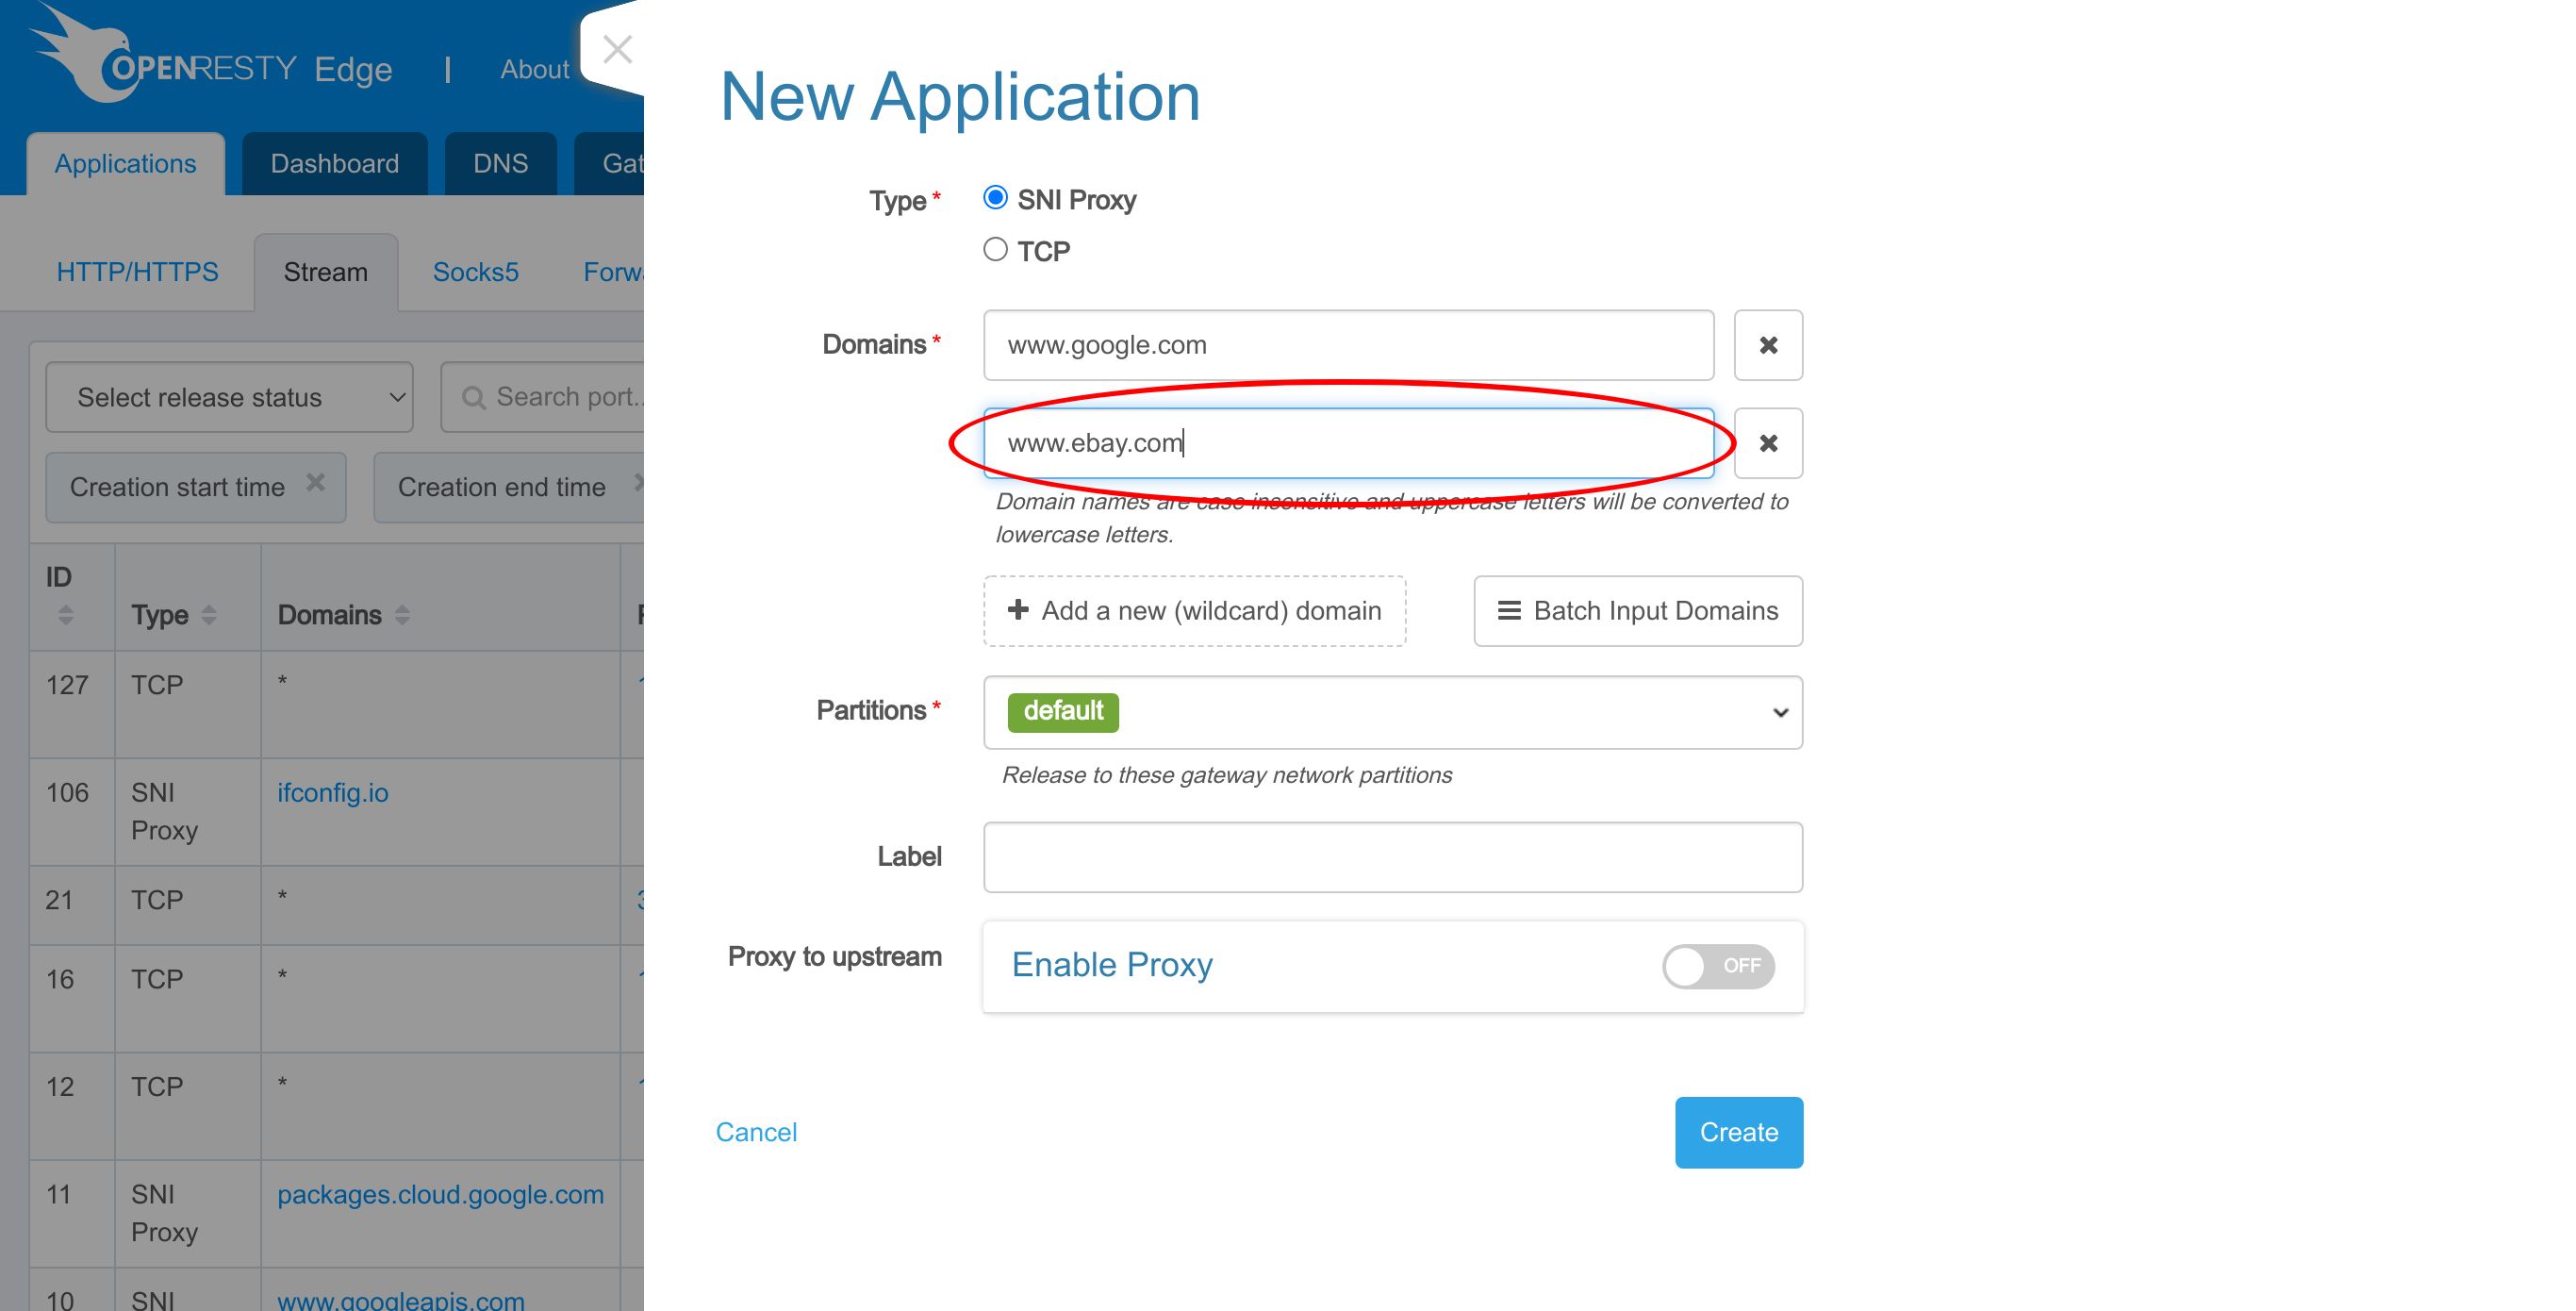
Create this application.
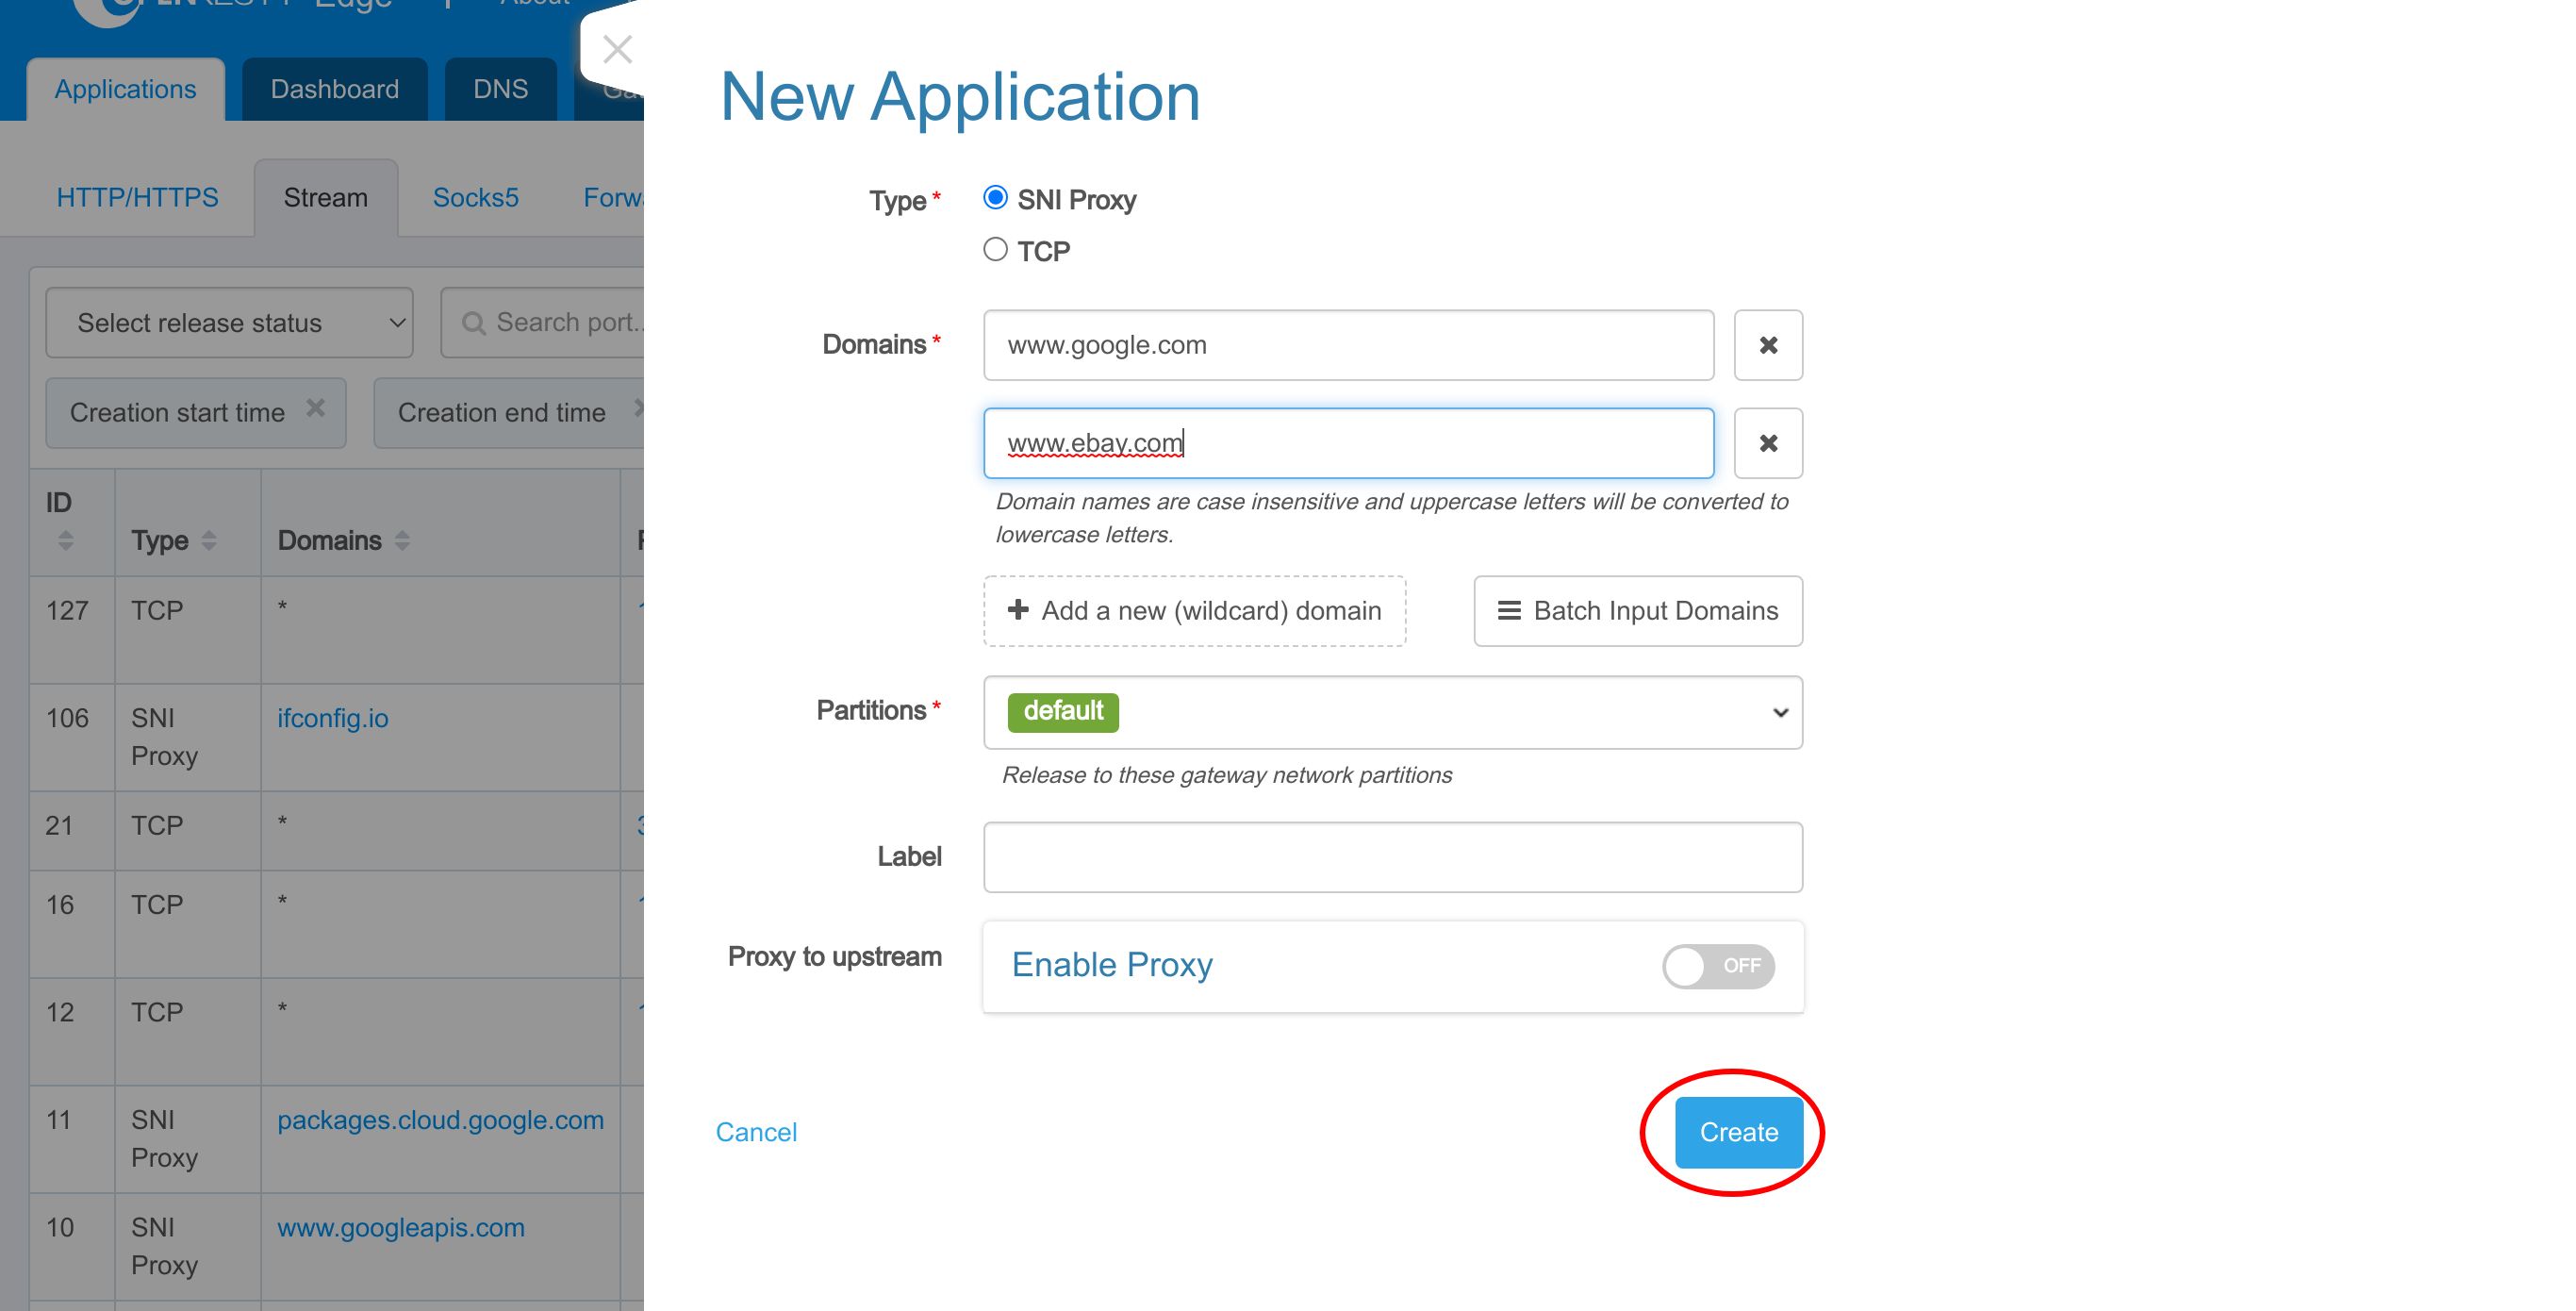
Create upstreams and SNI Server Name page rules
This is the same upstream and page-rule workflow used to set up a basic reverse proxy and load balancer in OpenResty Edge; here we key the routing decision on the SNI hostname.
Go to the upstream page.
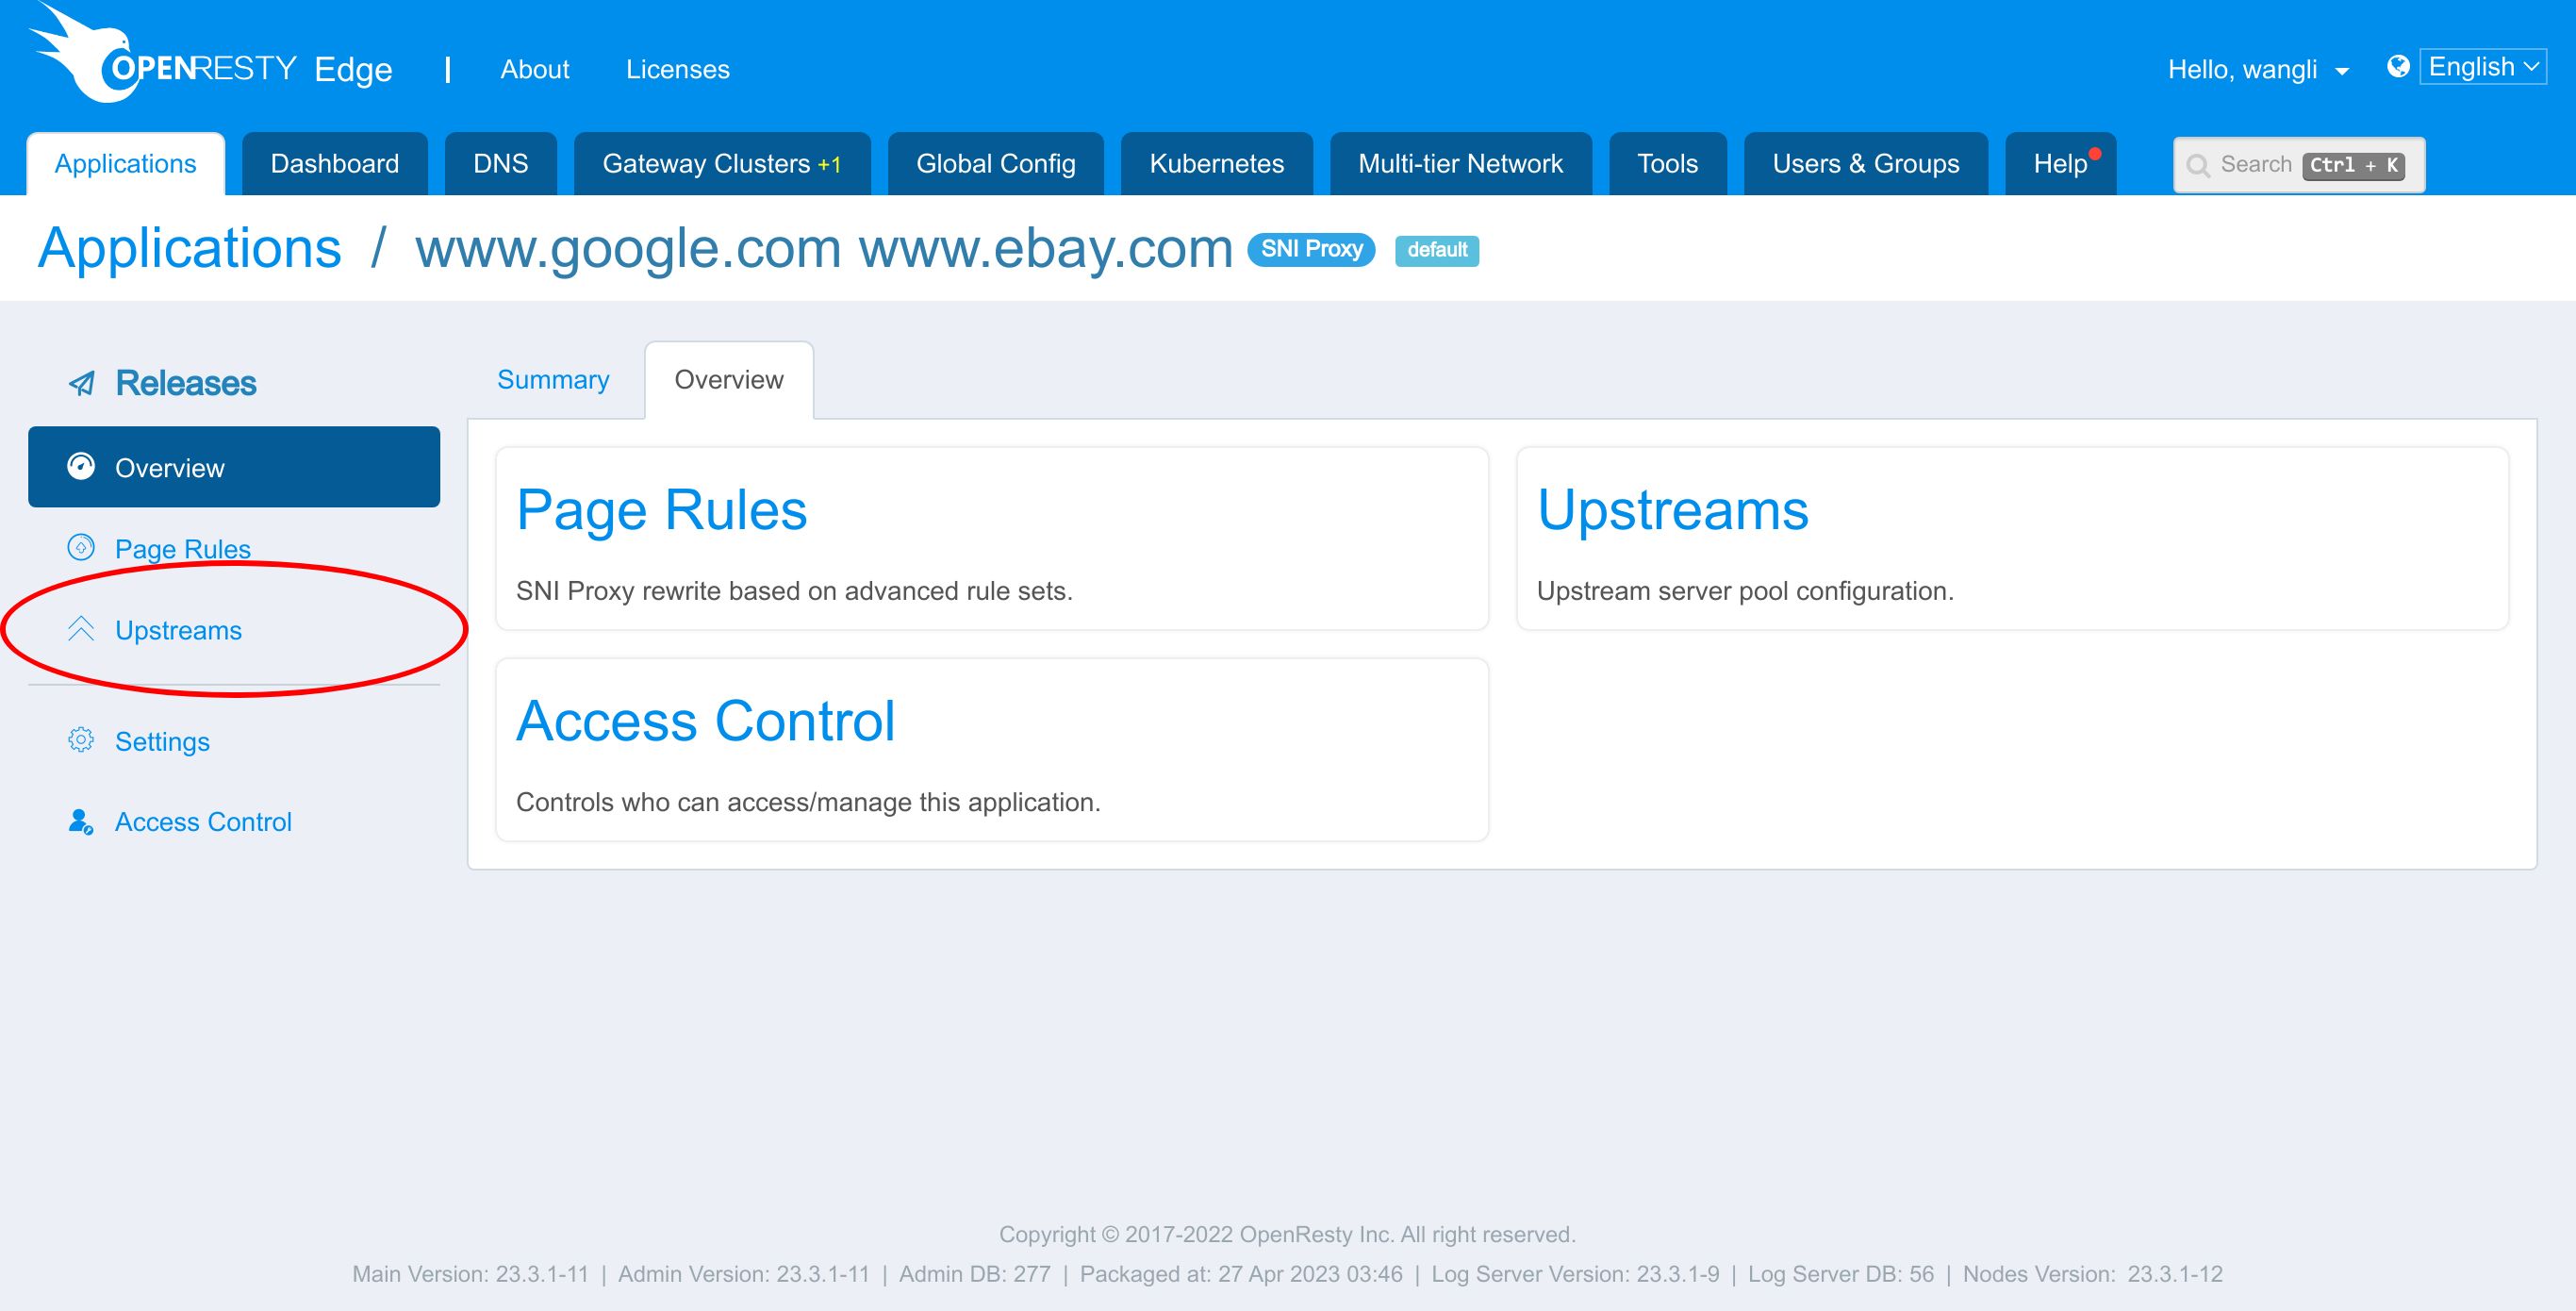
Create a new upstream.
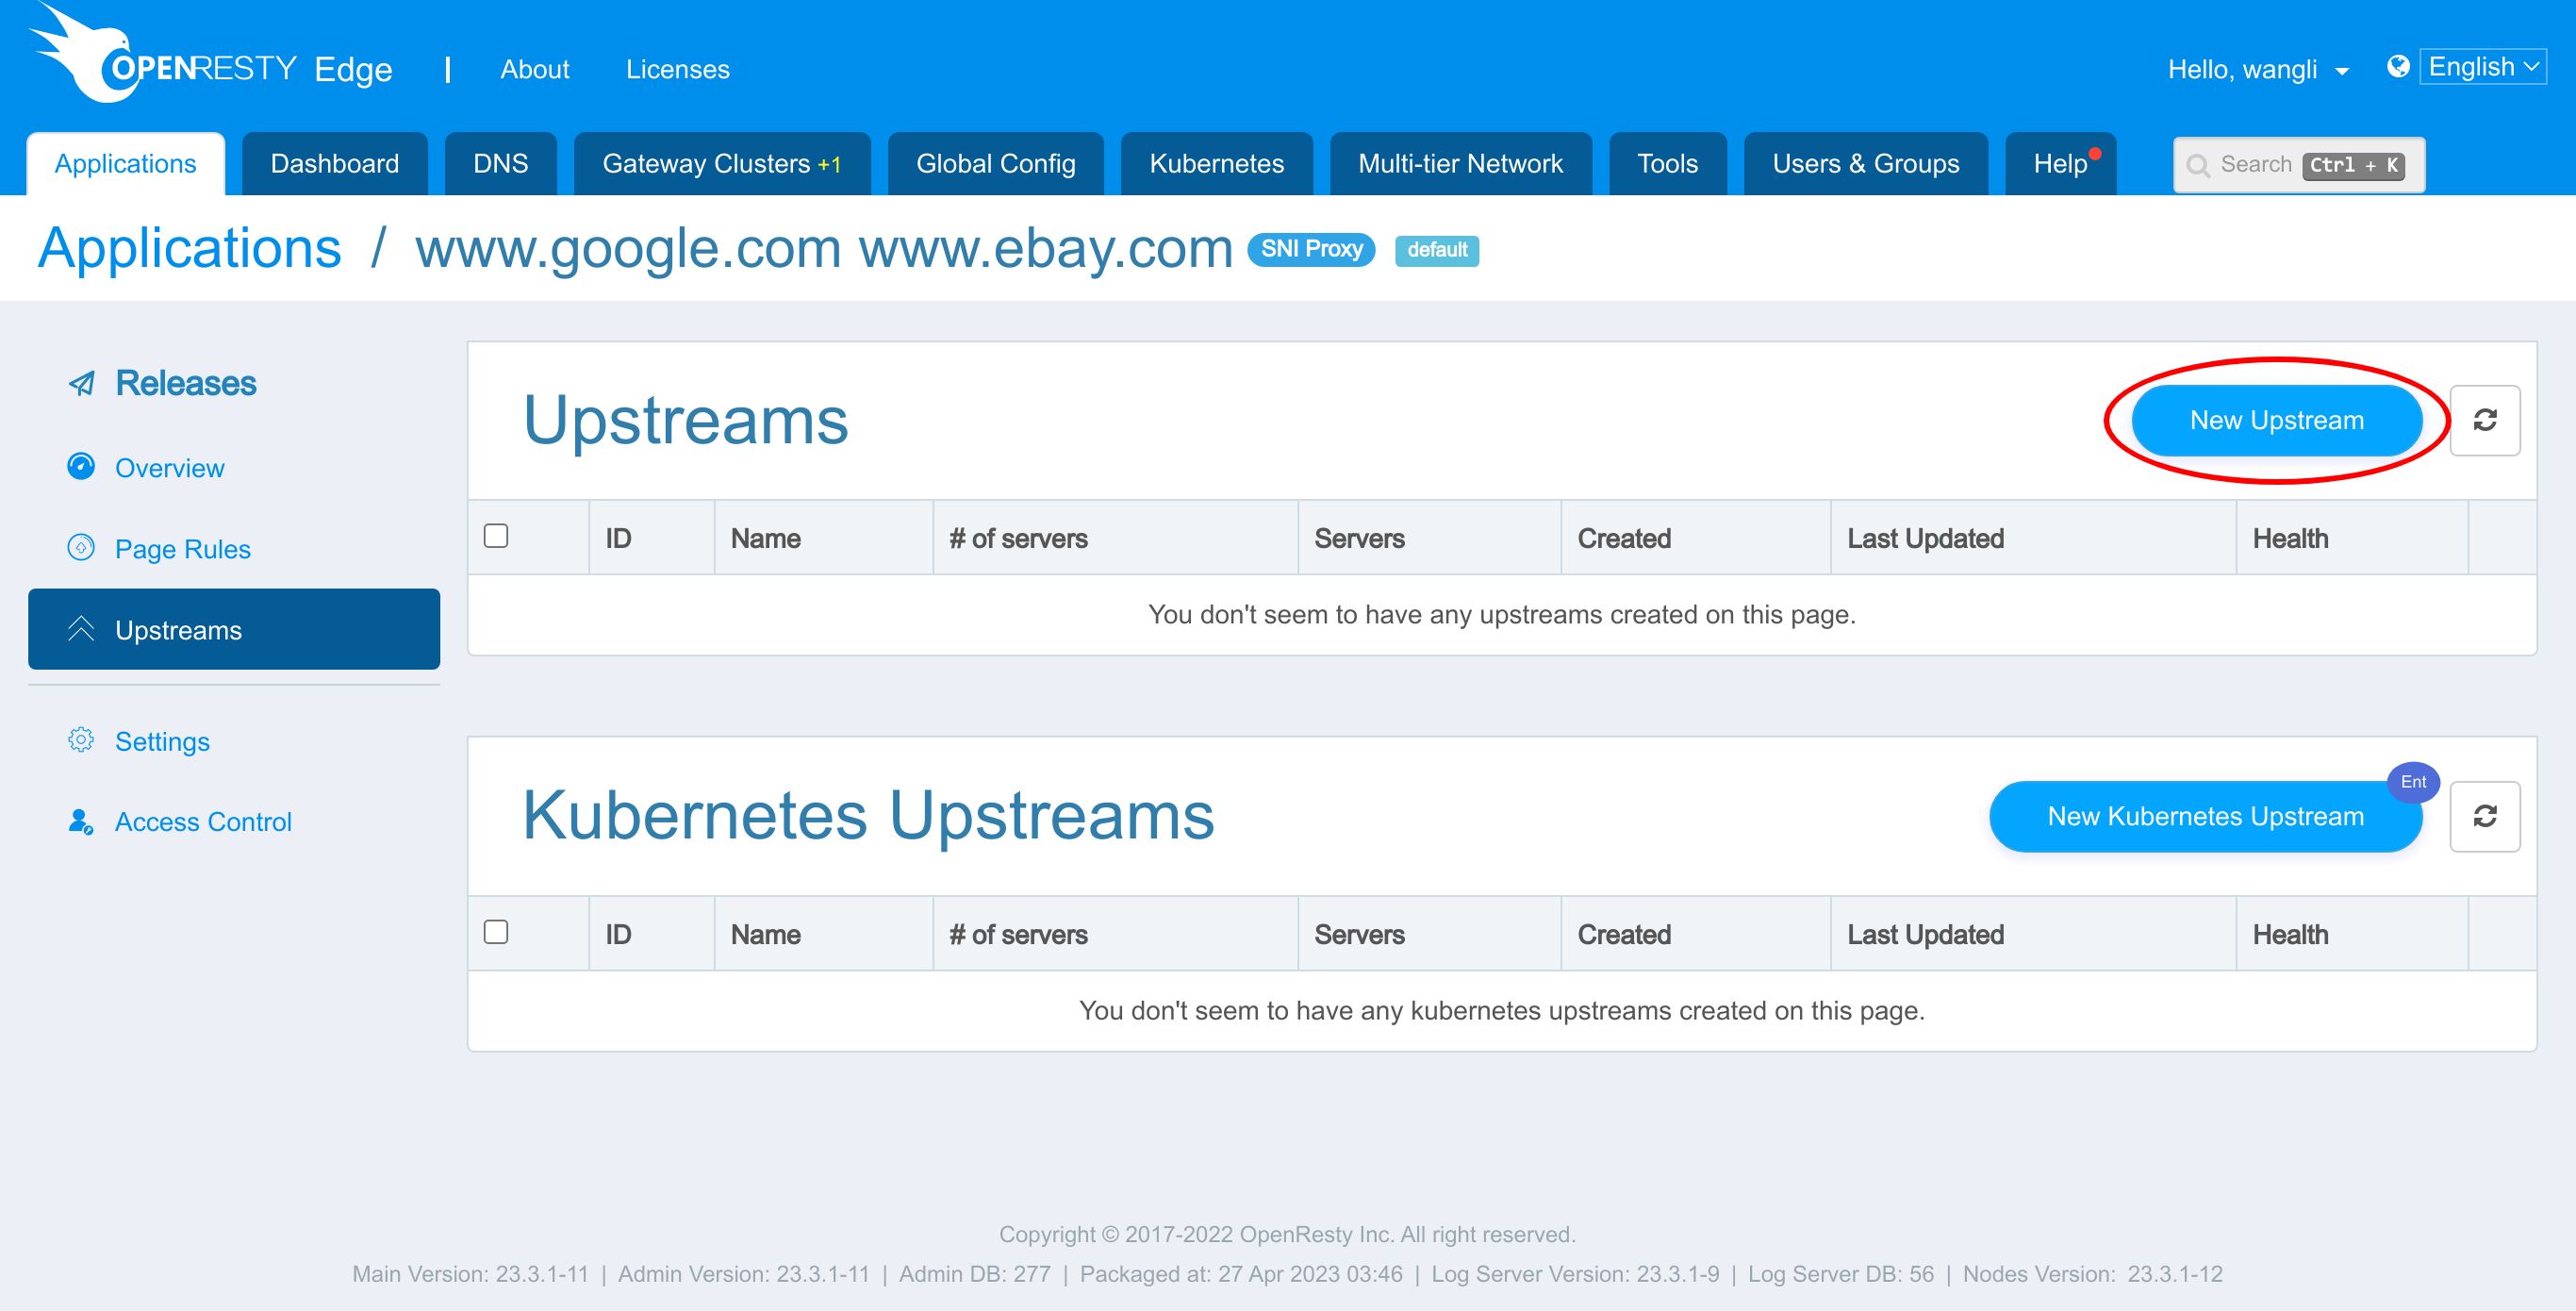
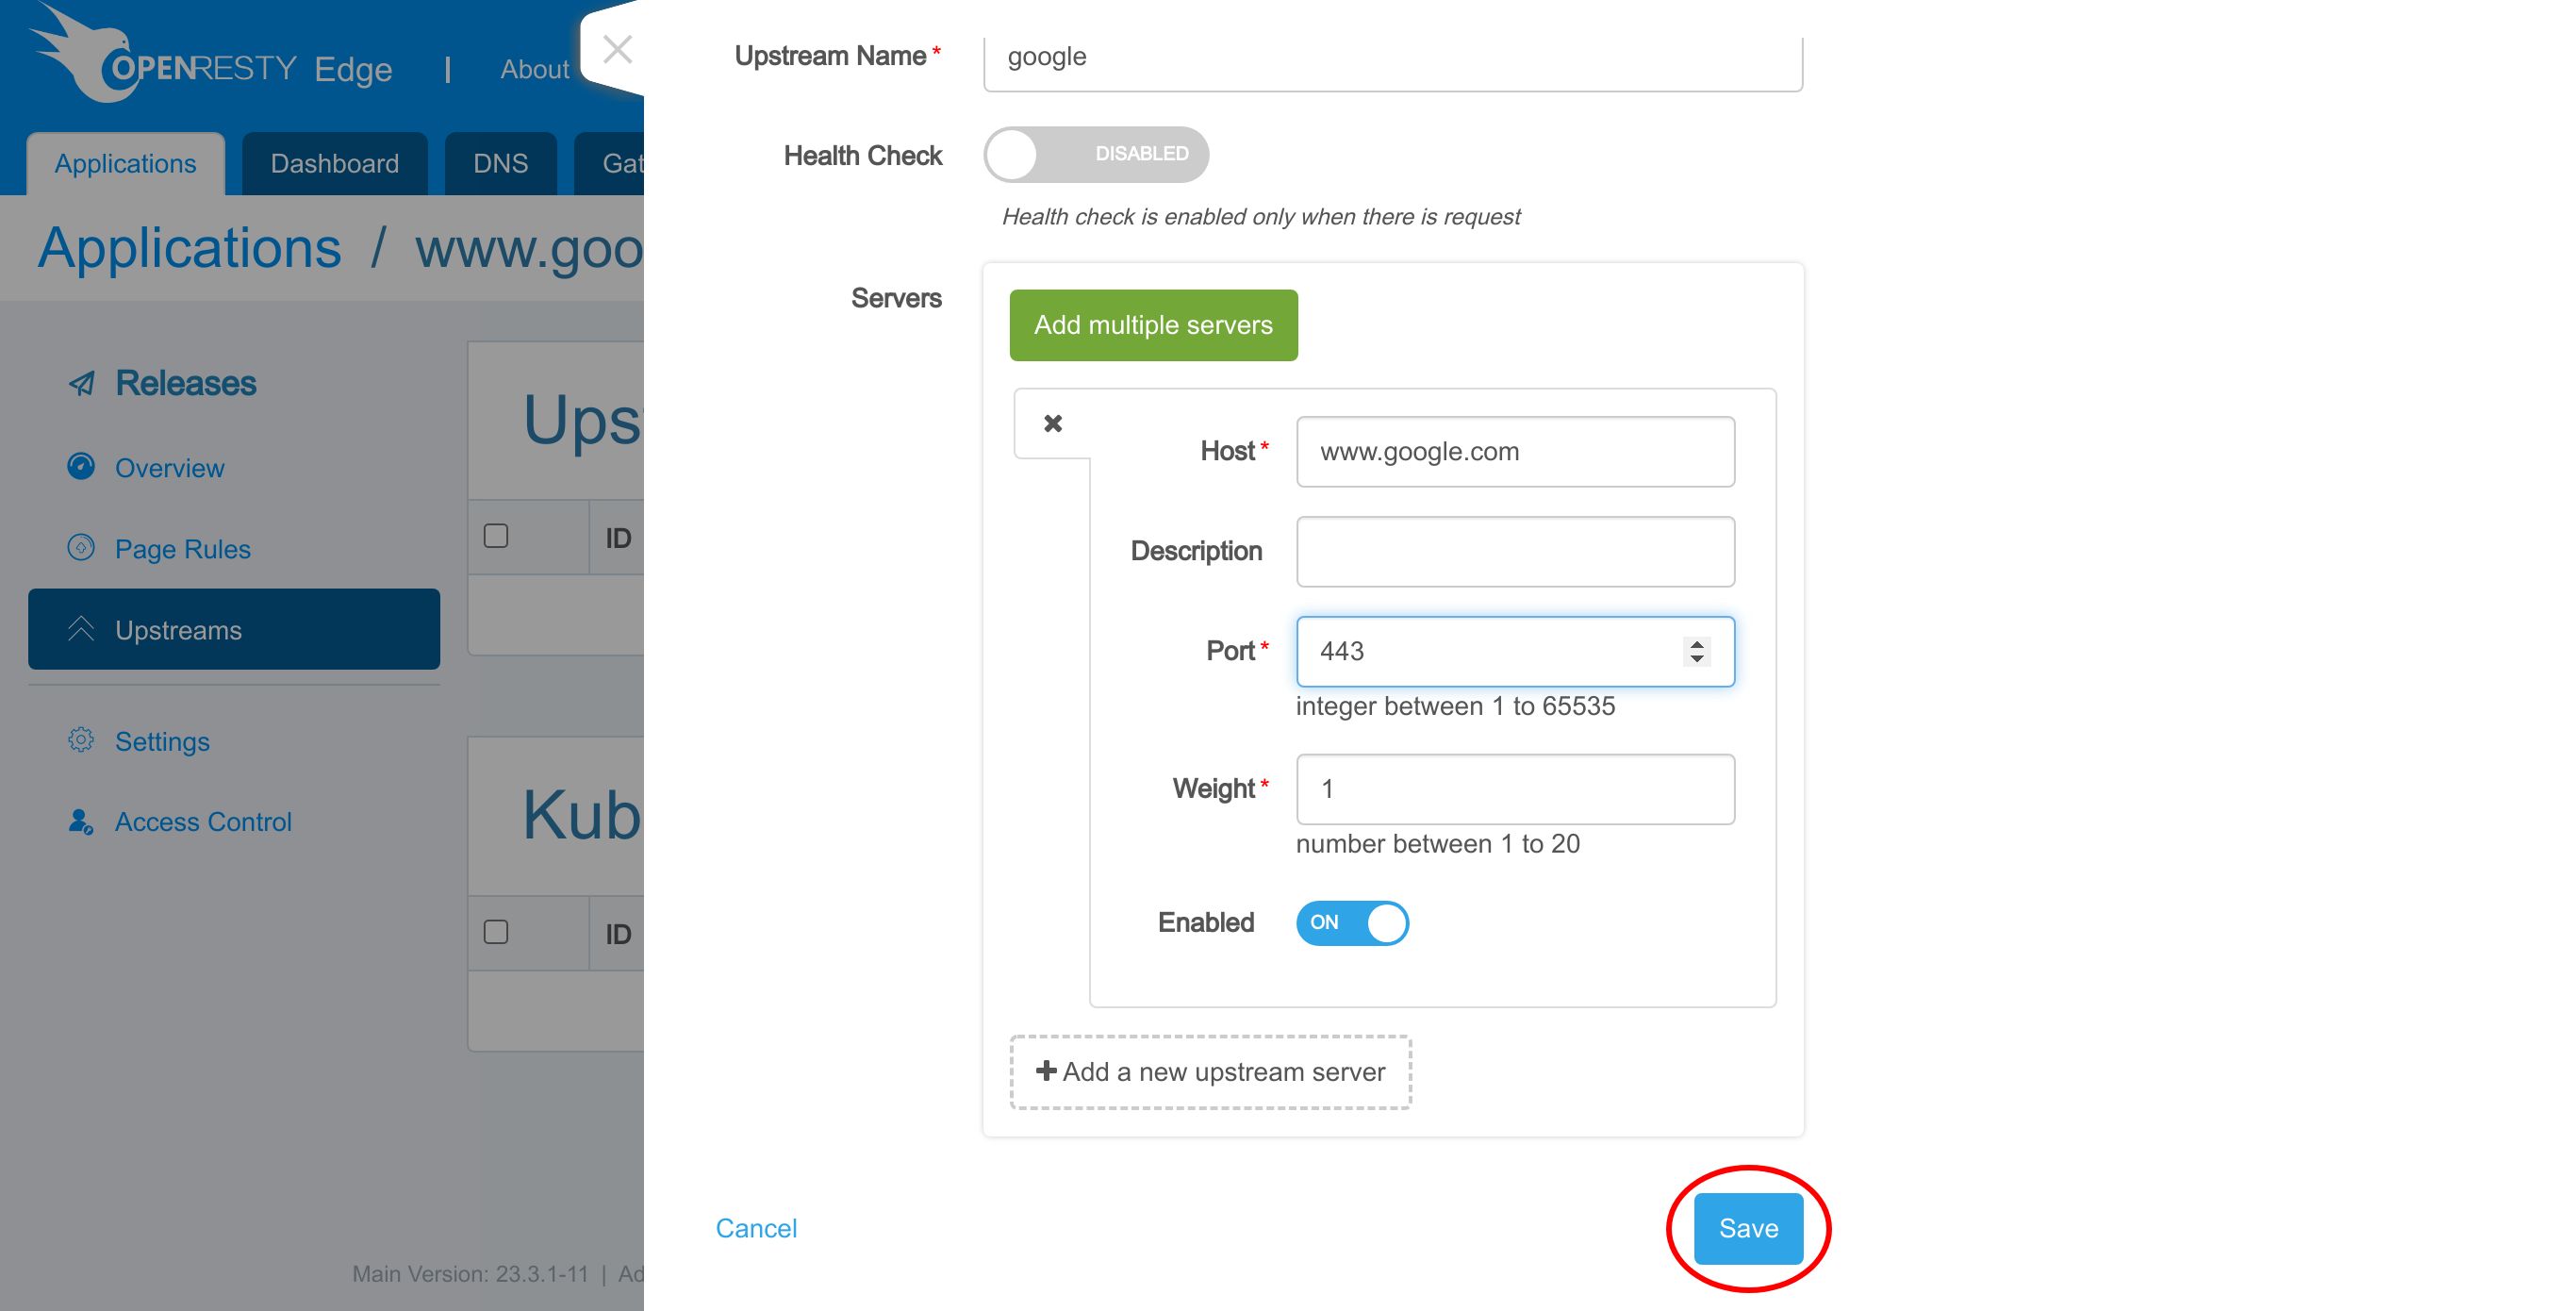
We give this upstream a name, say, “google”.
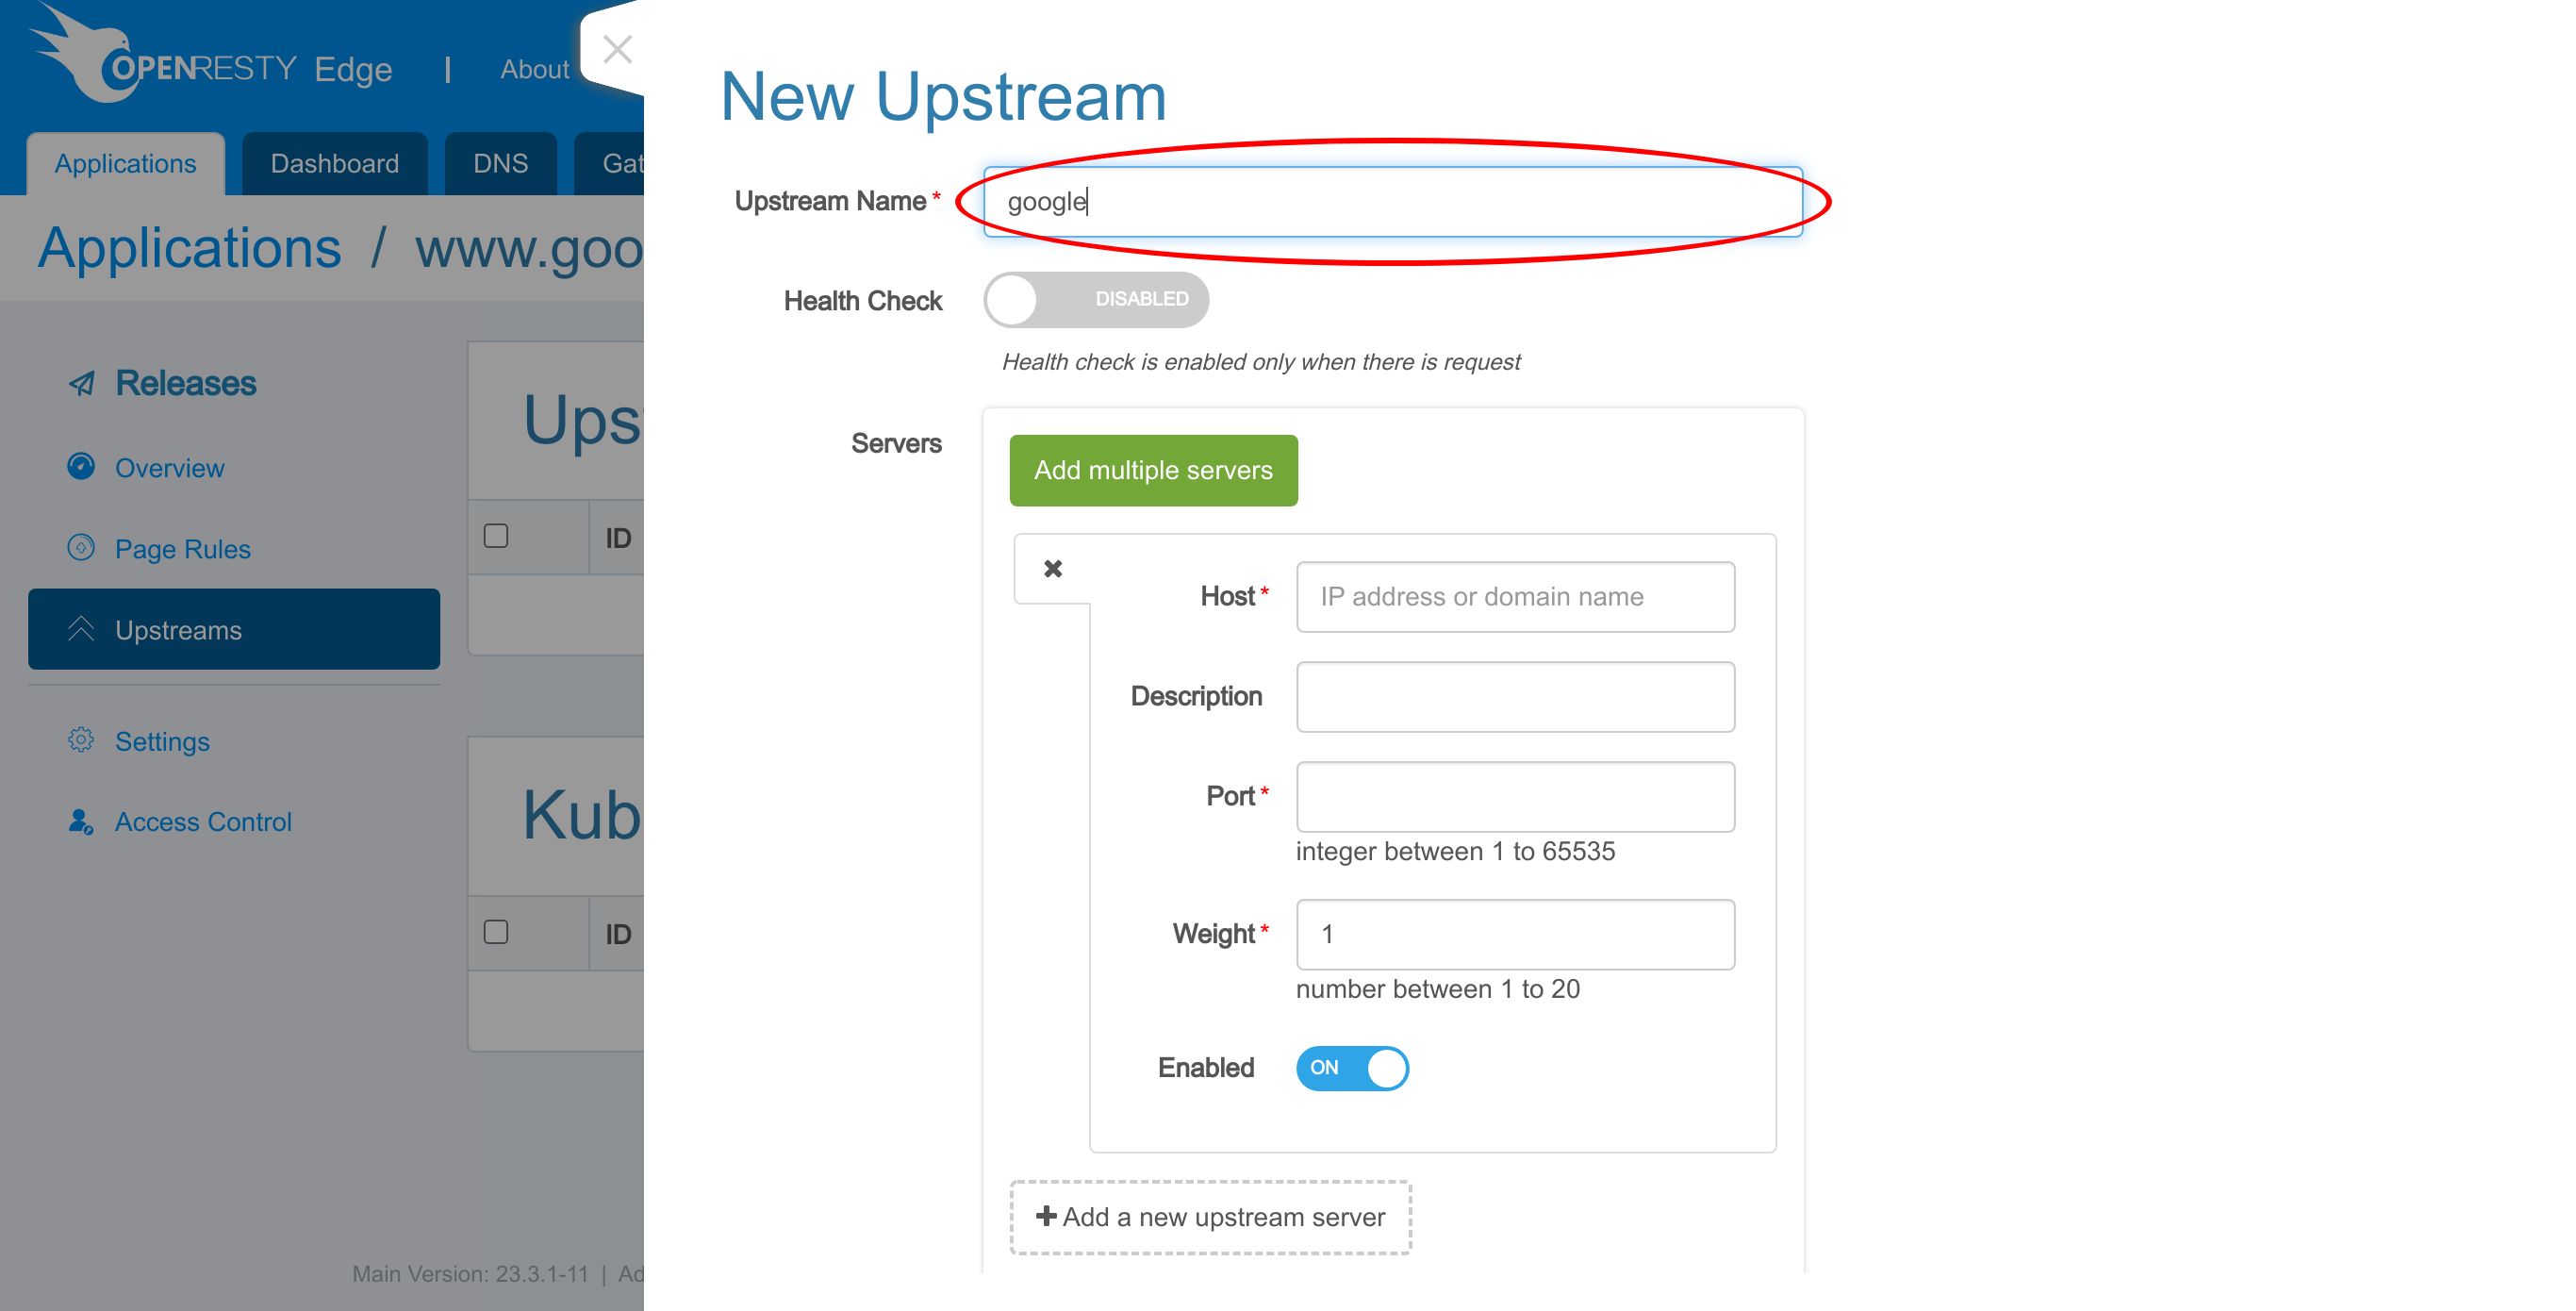
Here we enter the hostname of google.
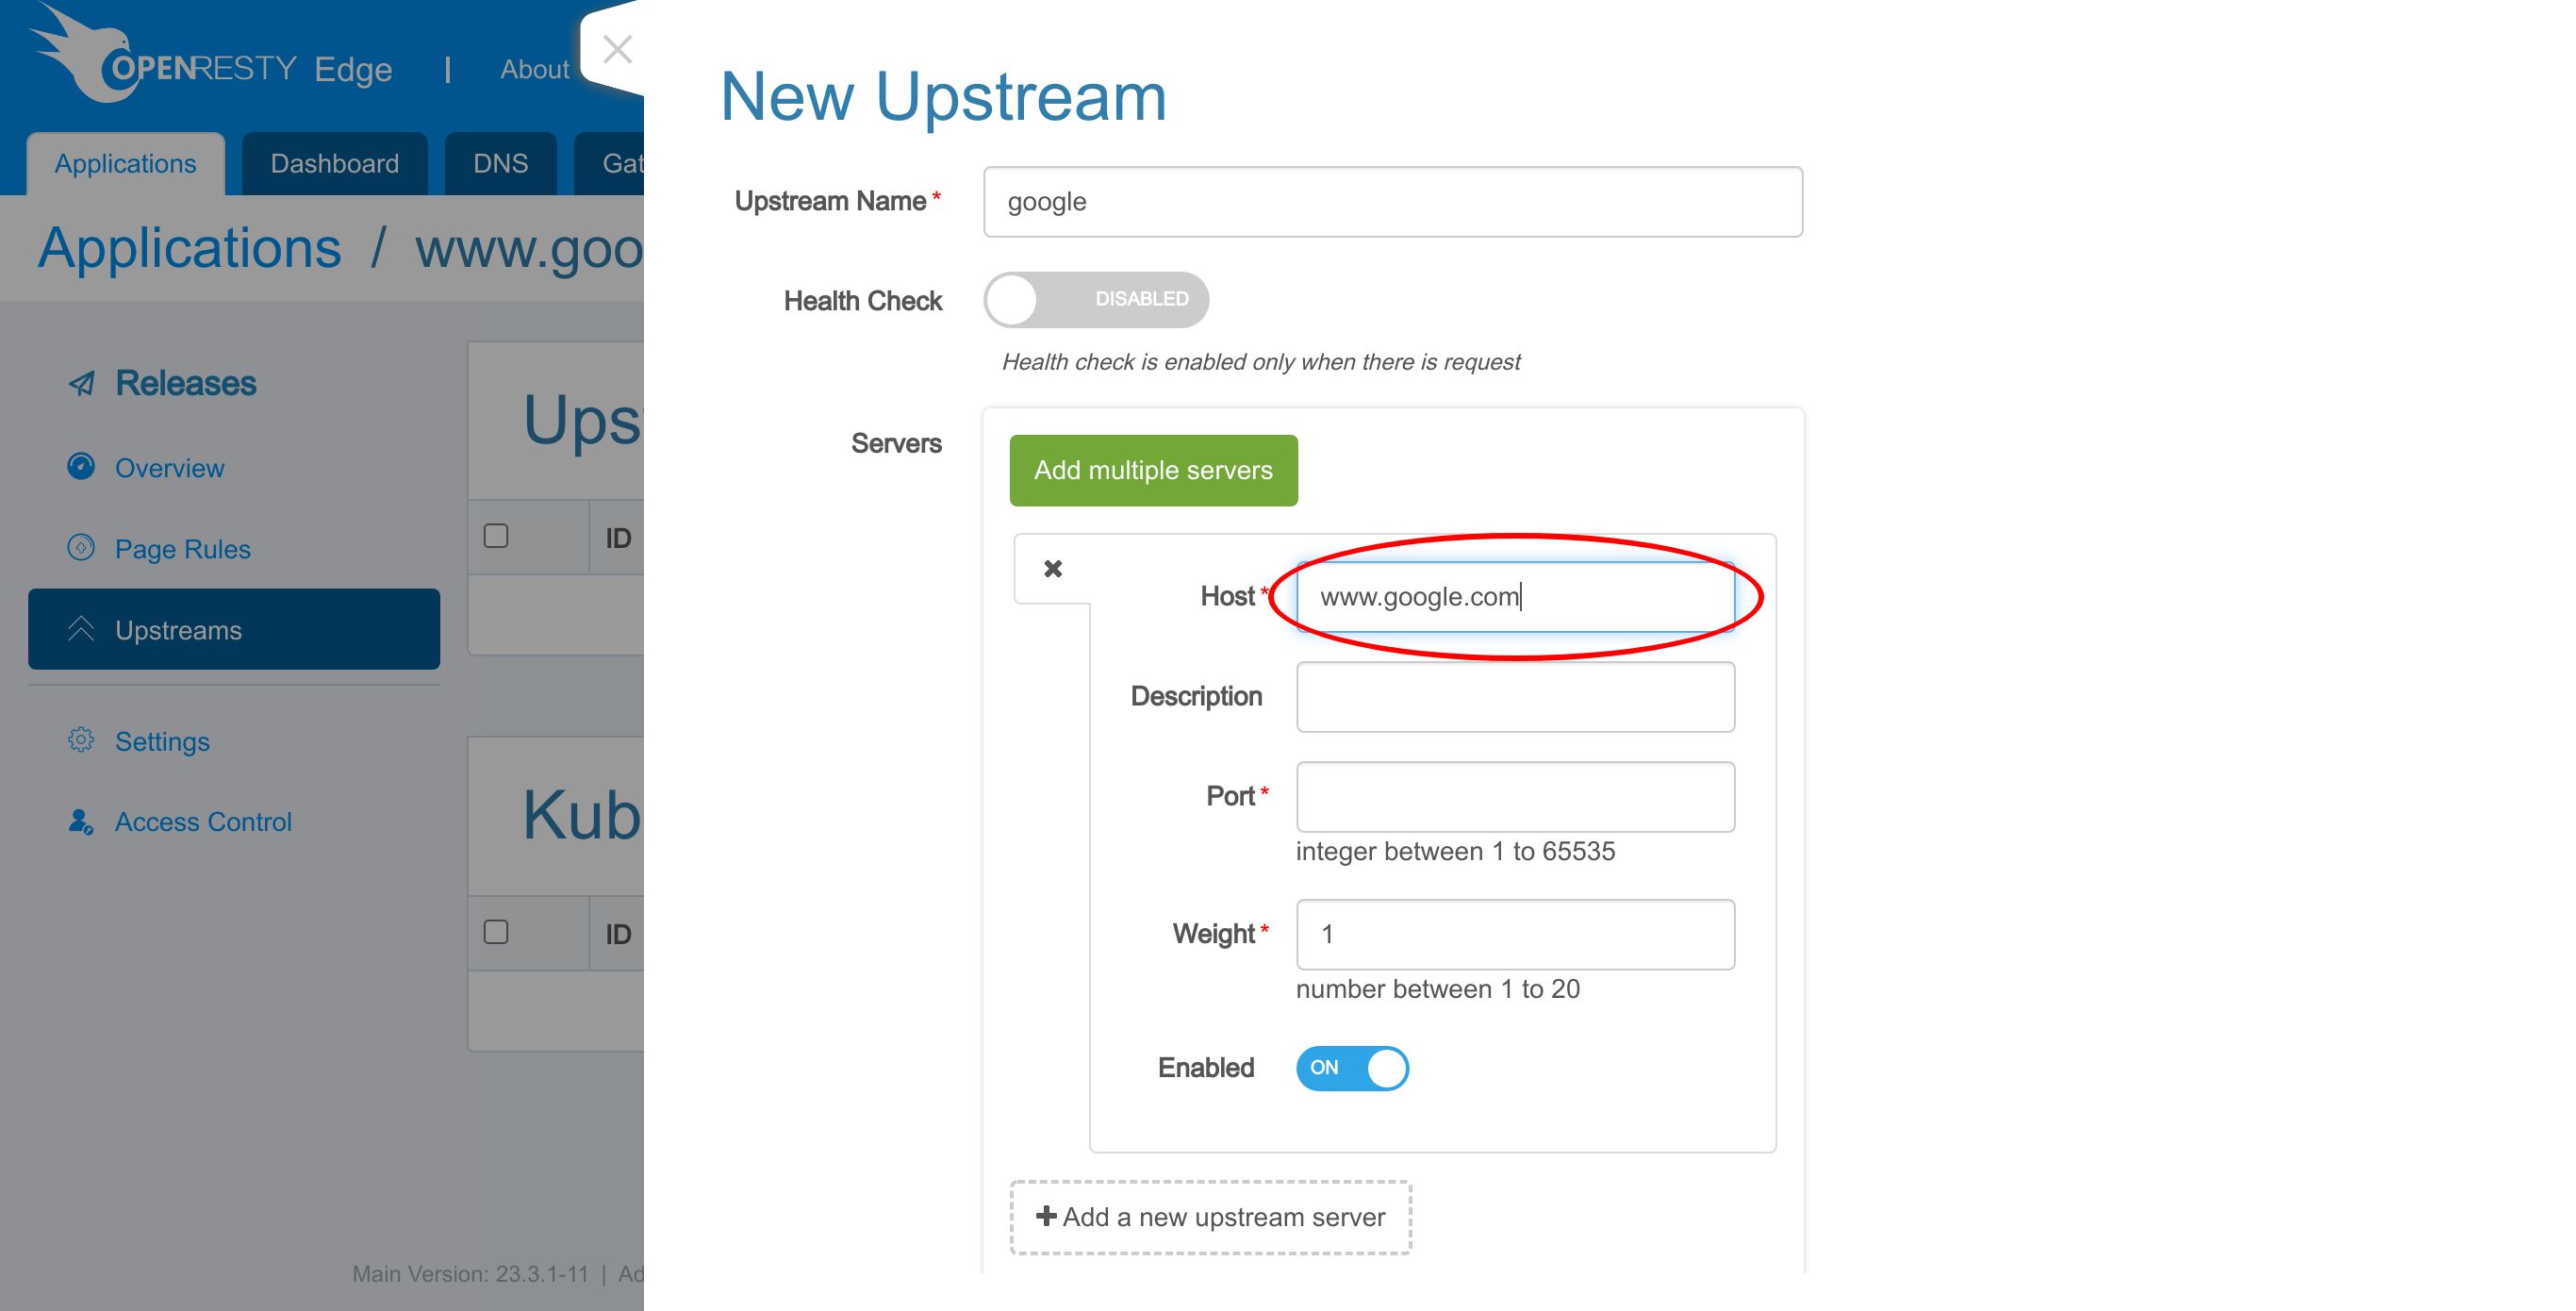
Enter port number 443.
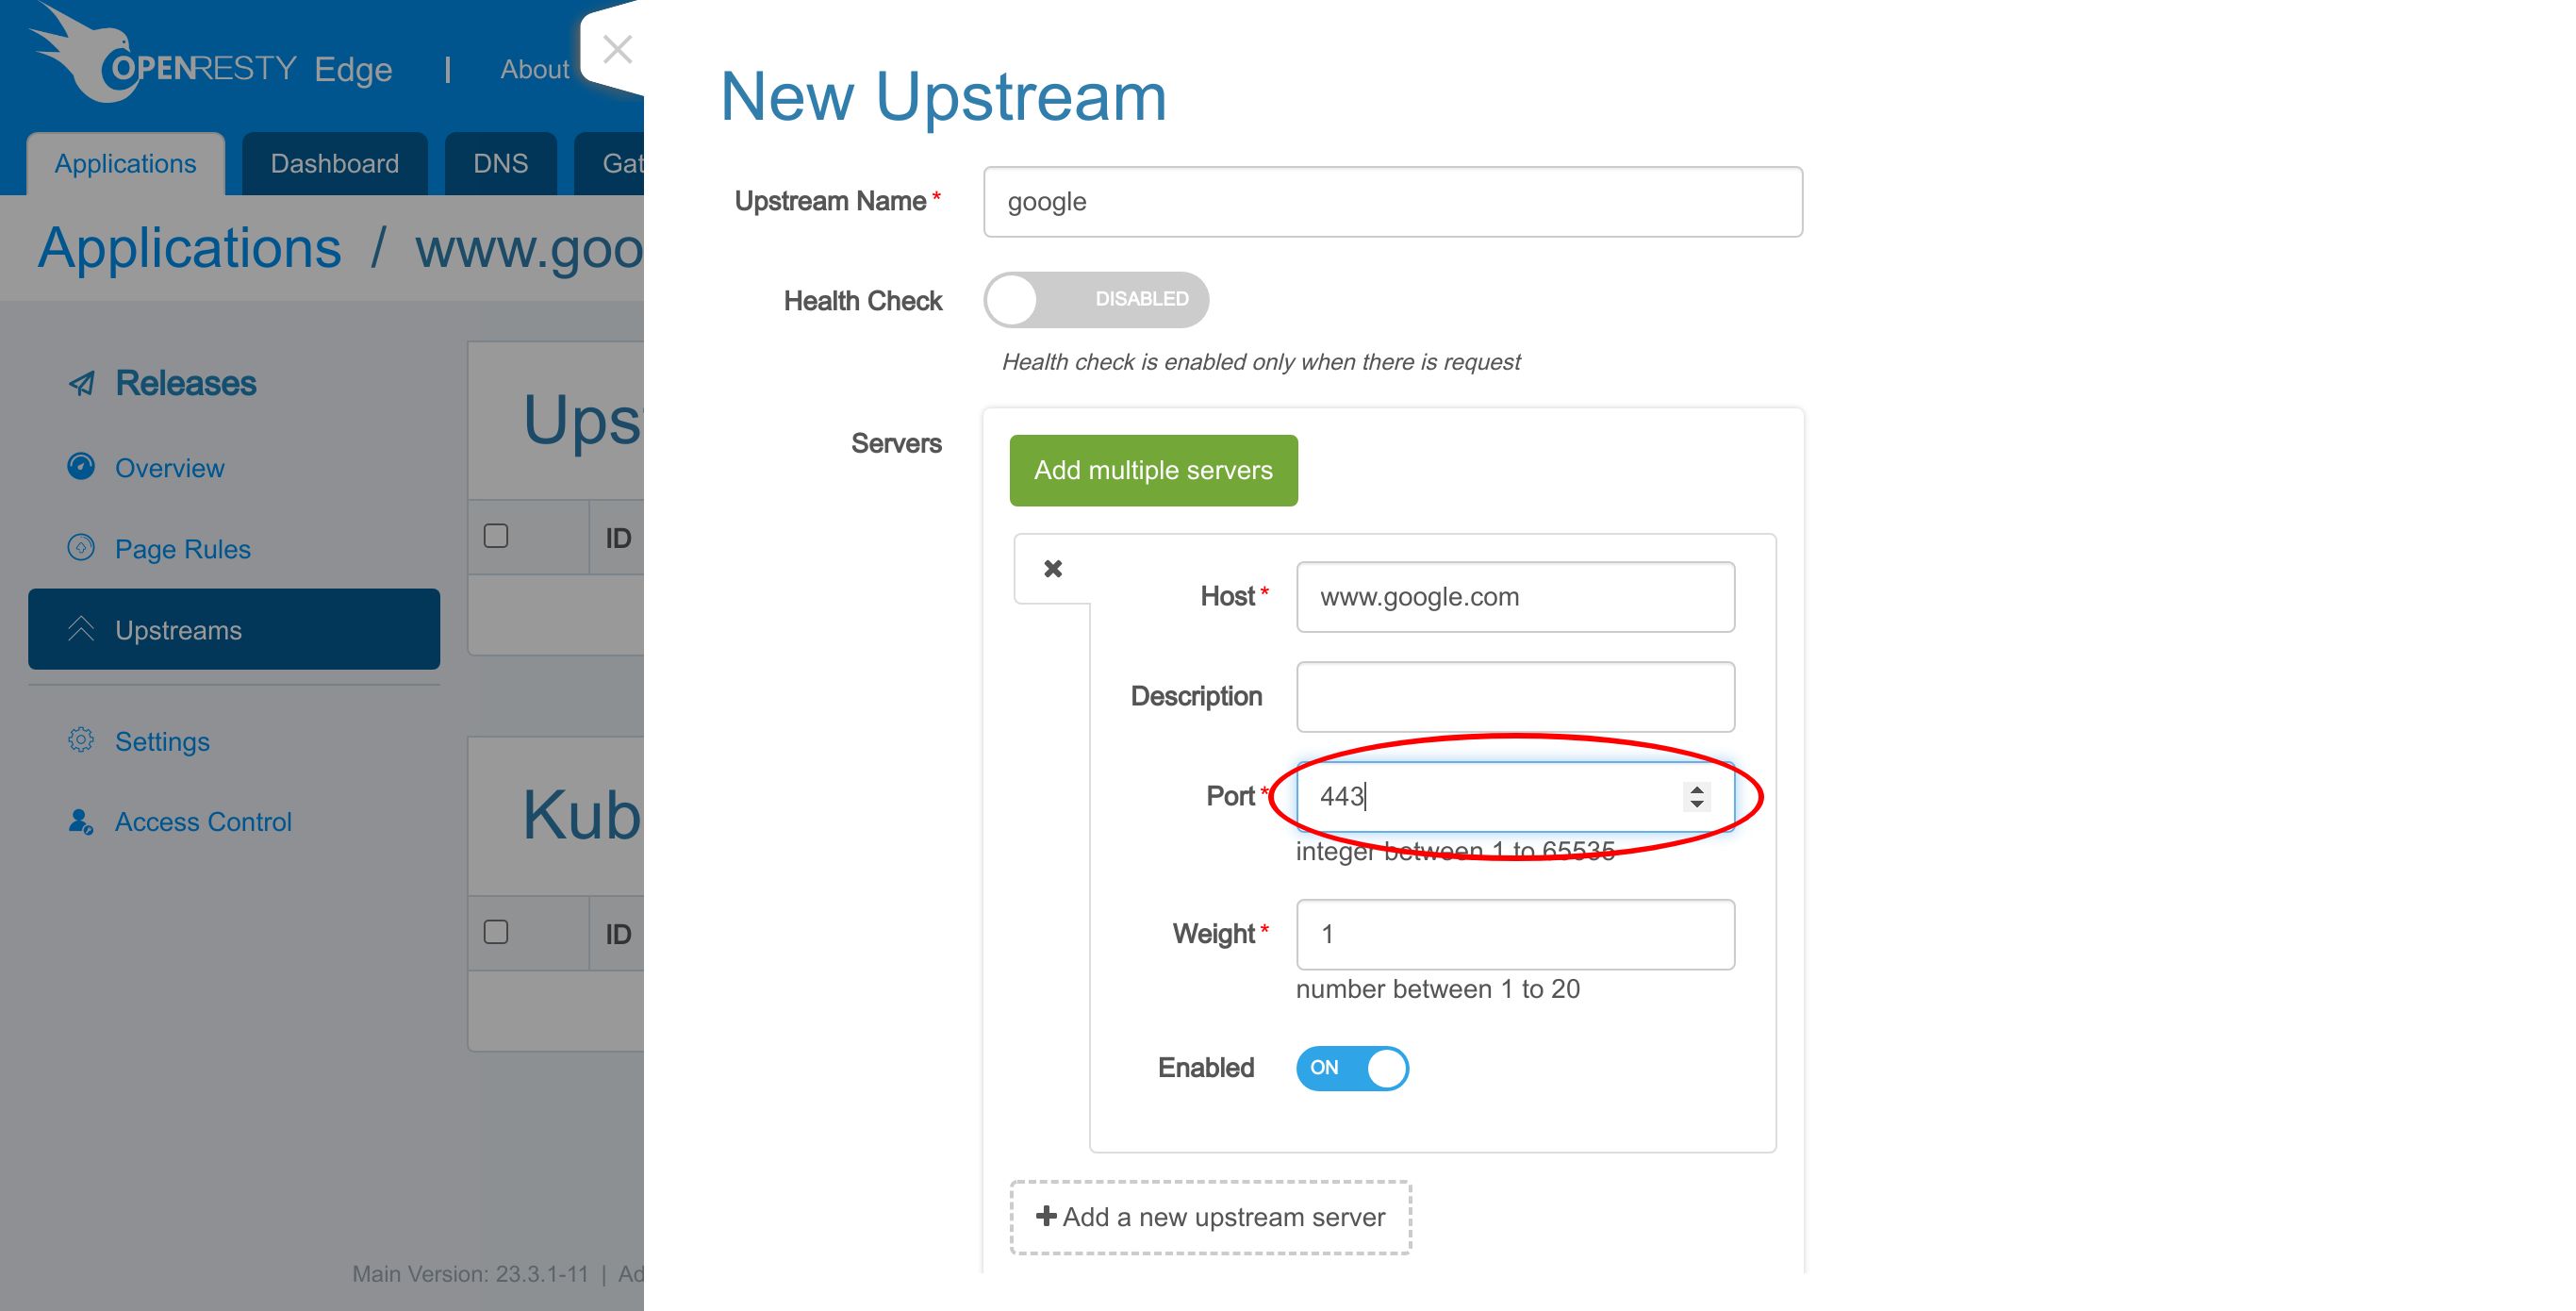
Click to save this upstream.
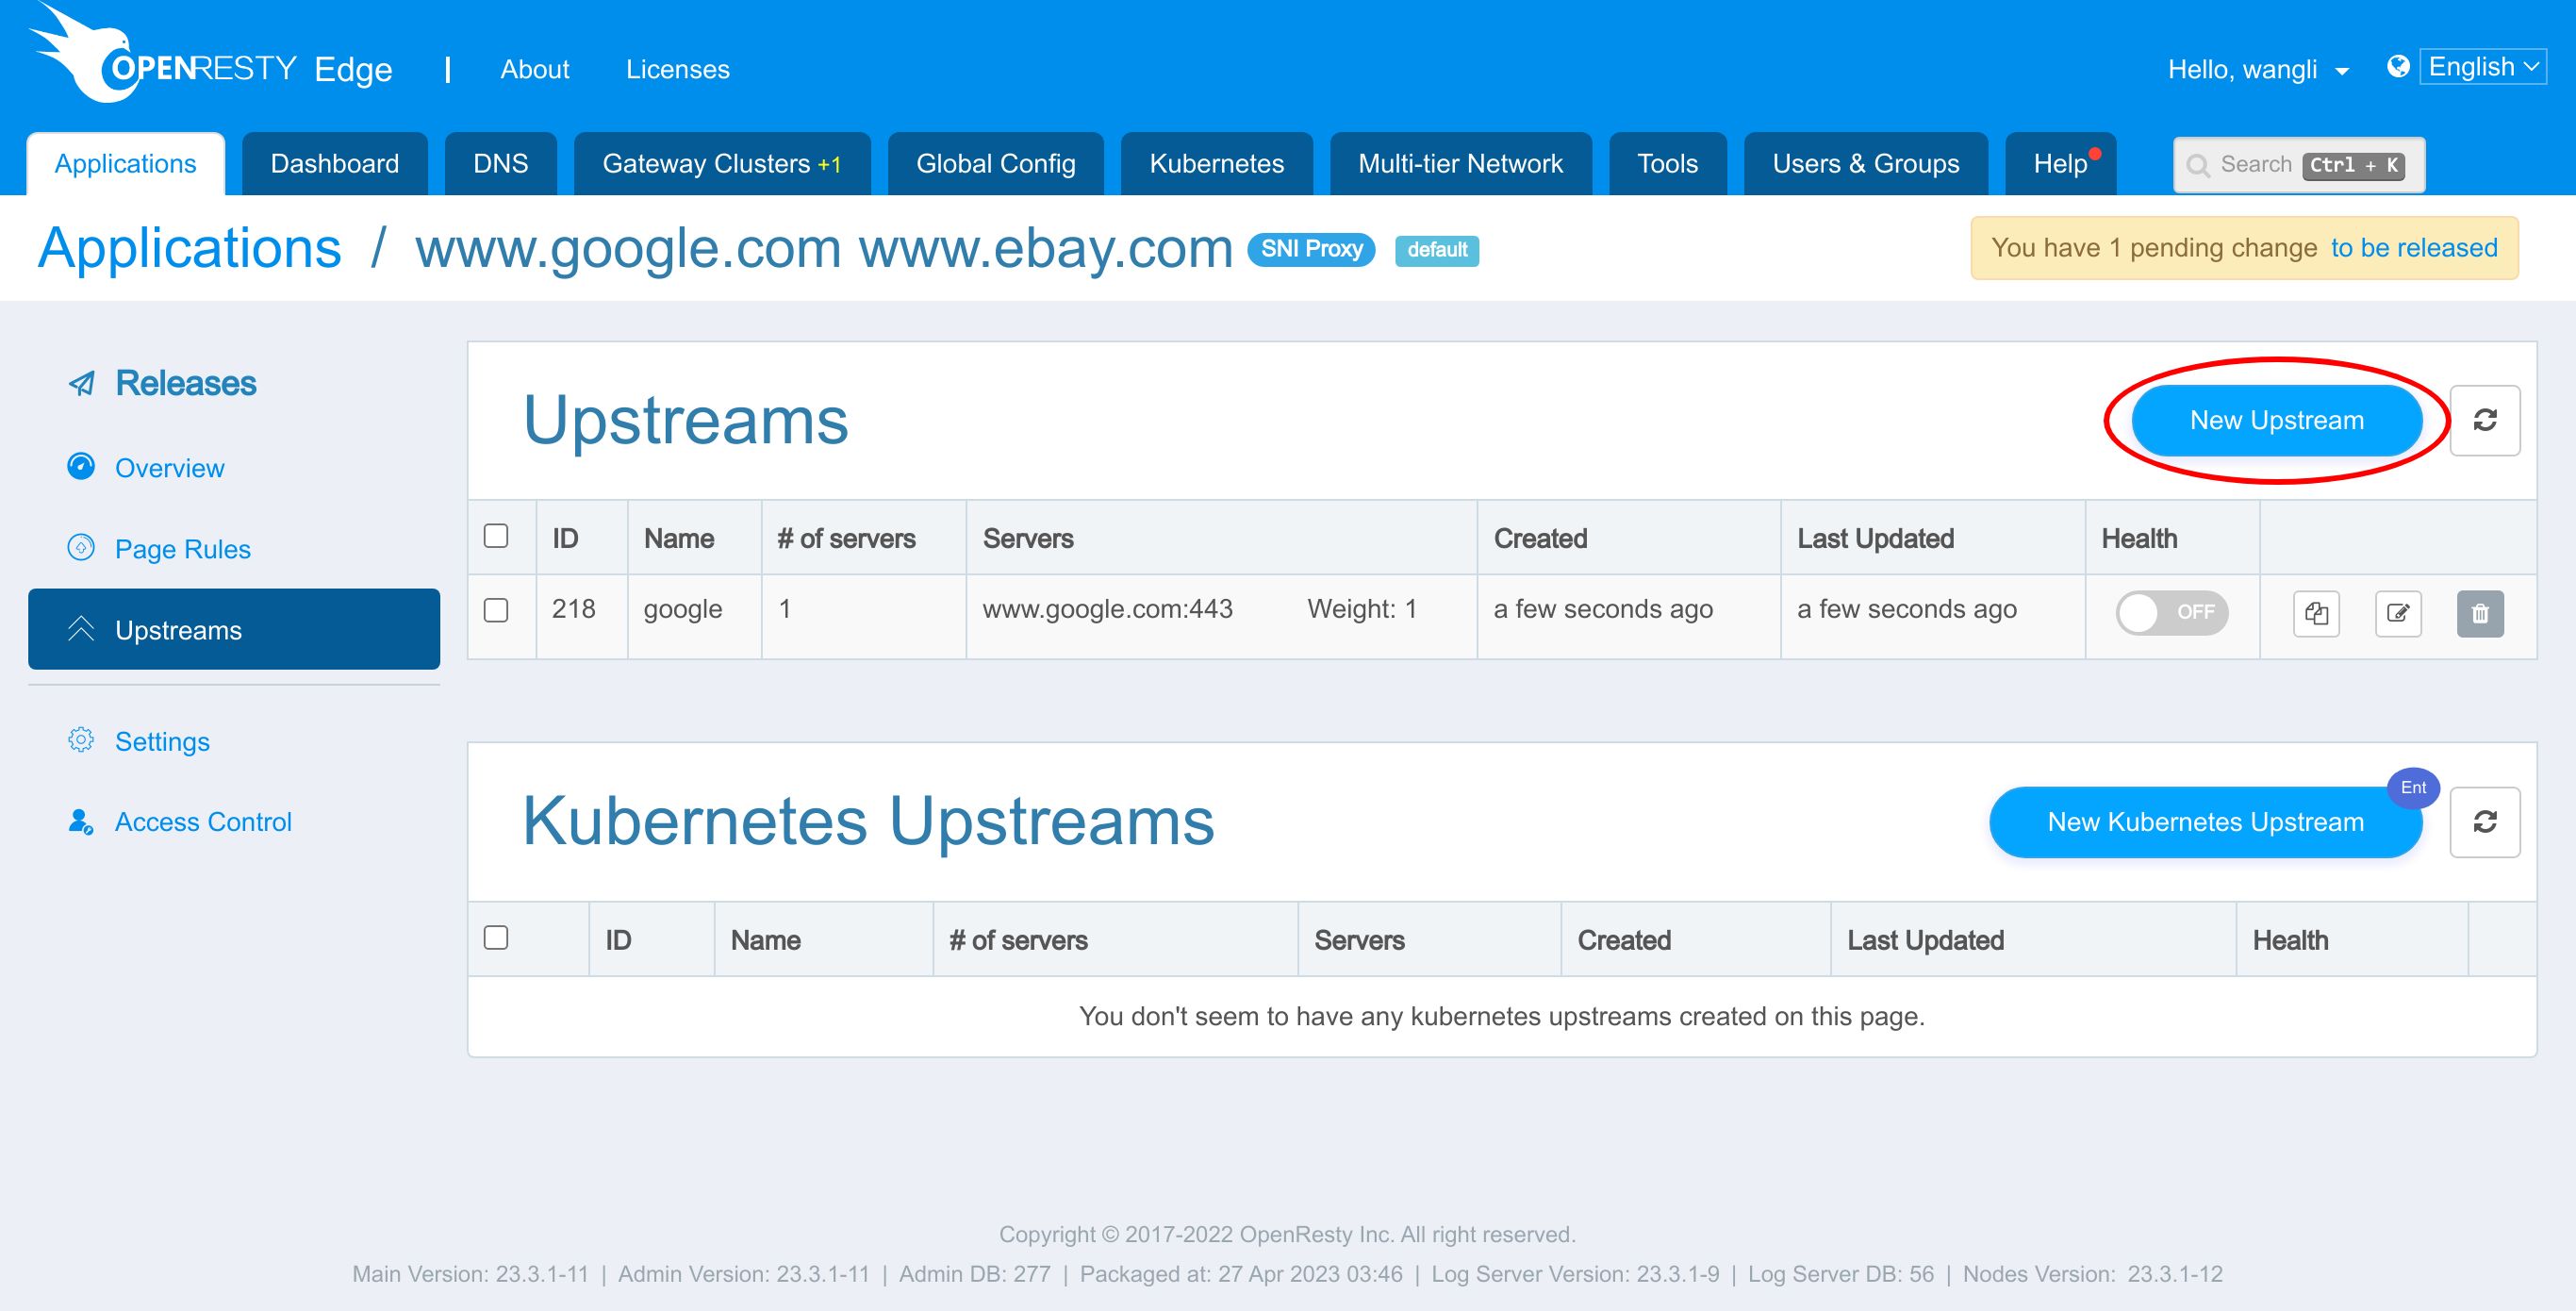
Now let’s create the second upstream.
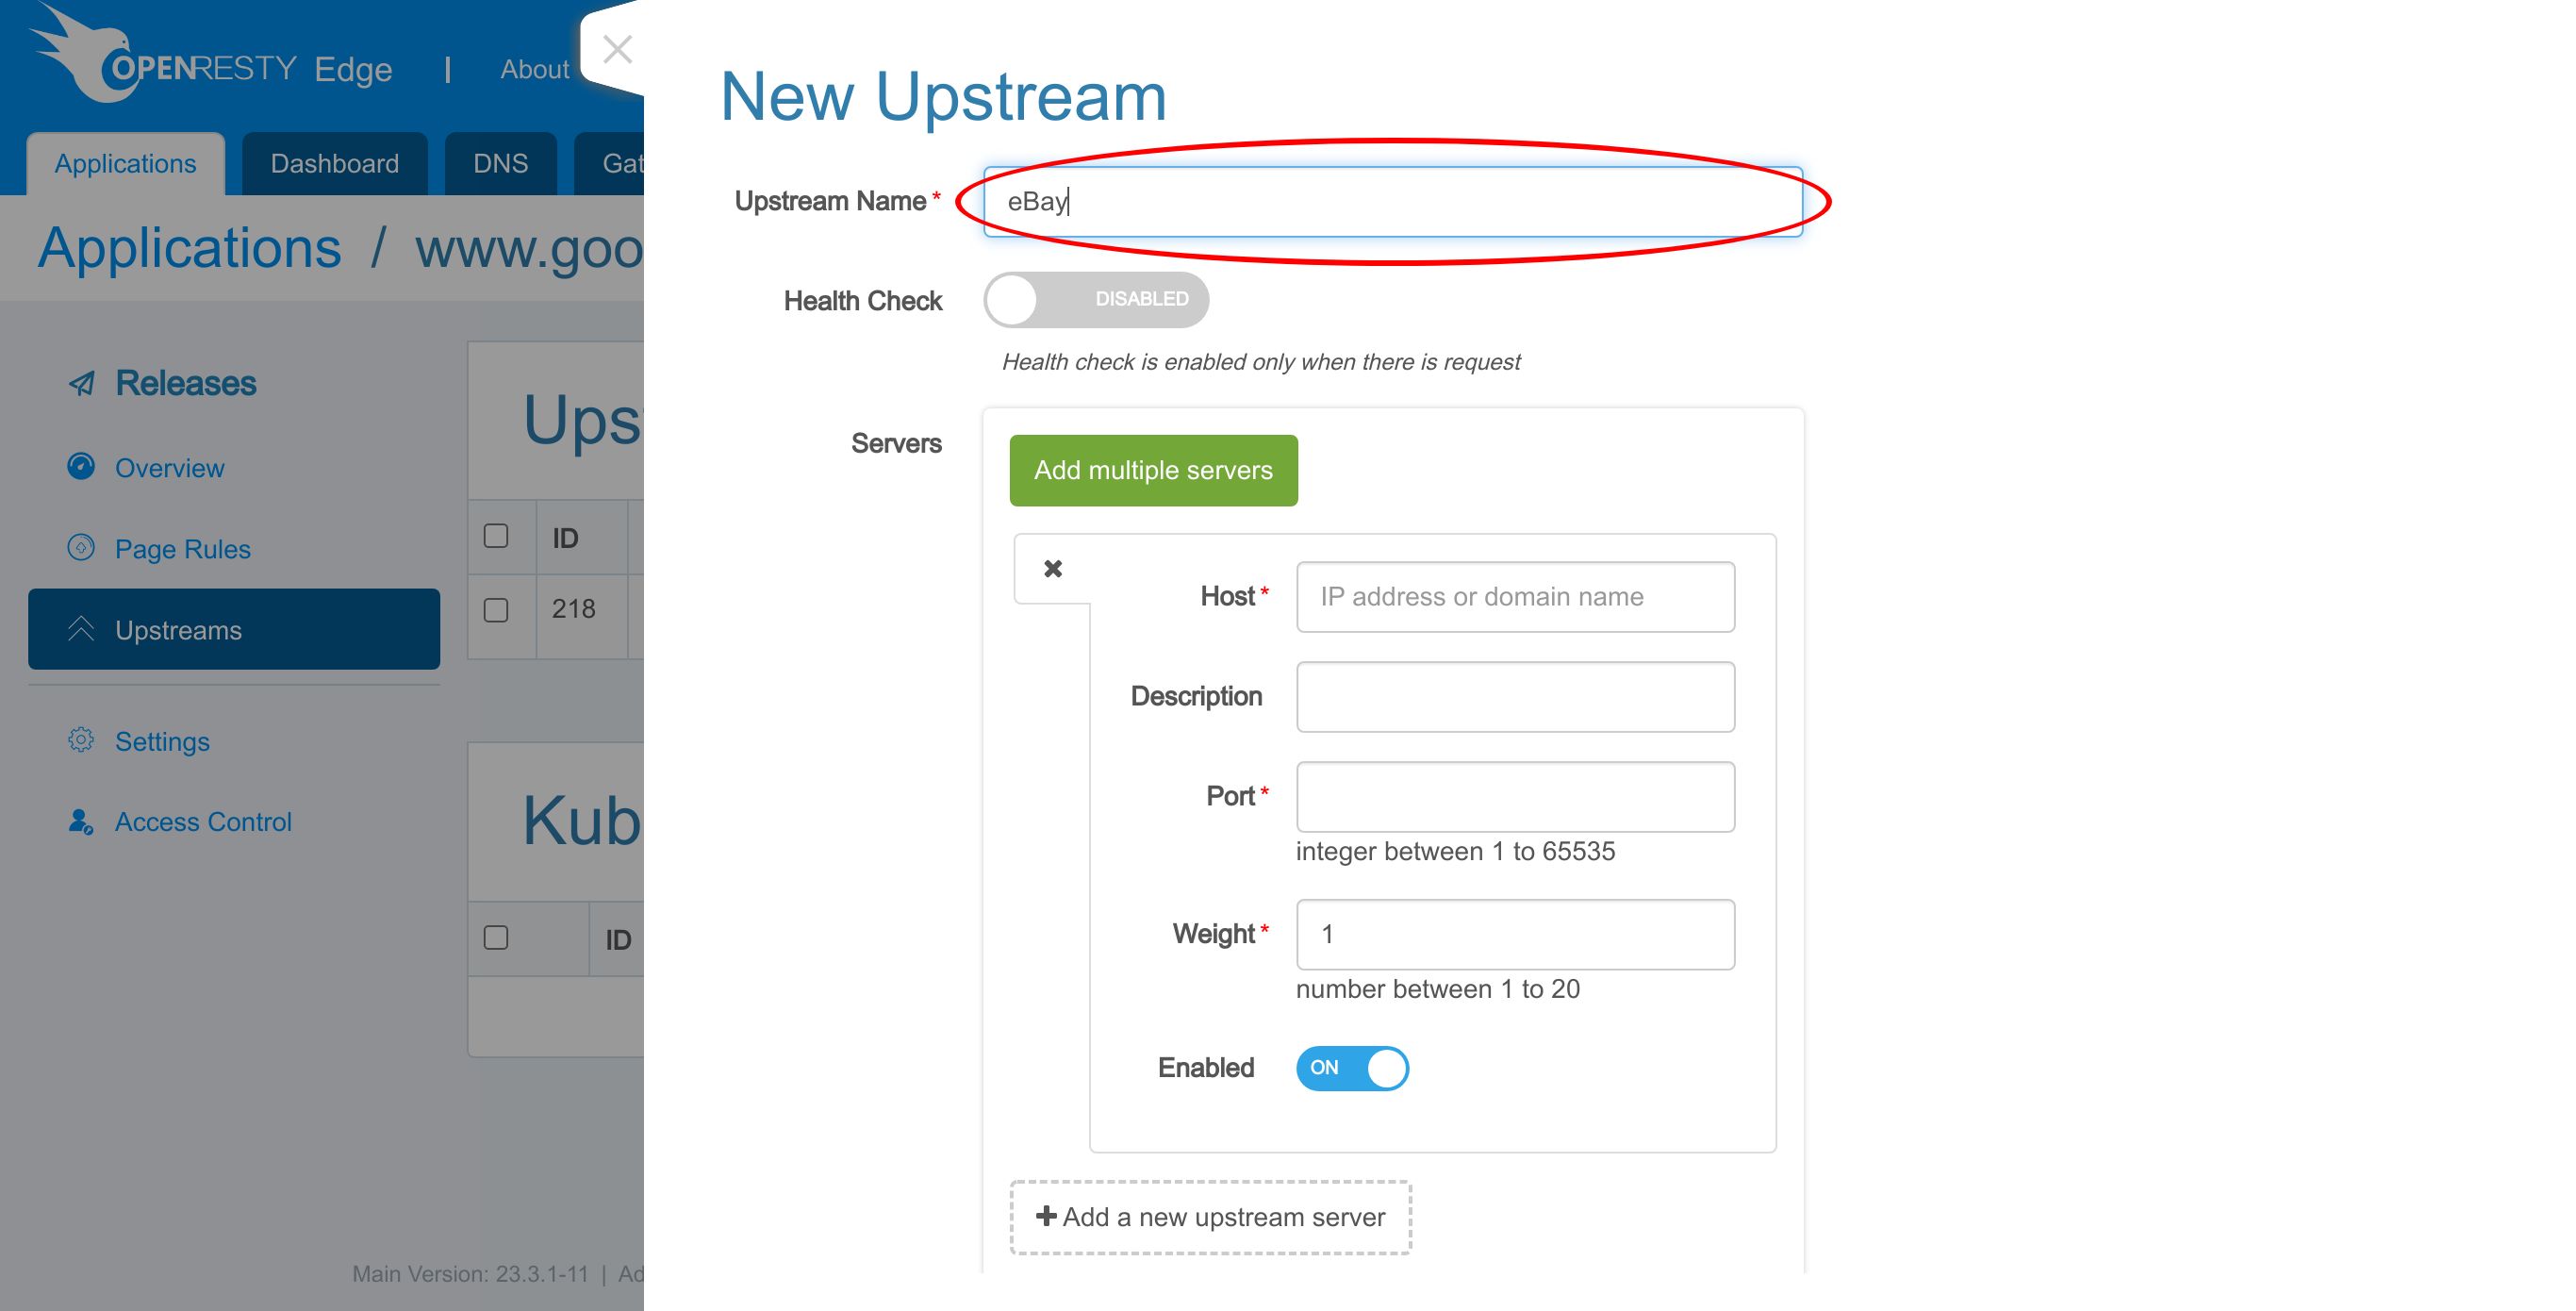
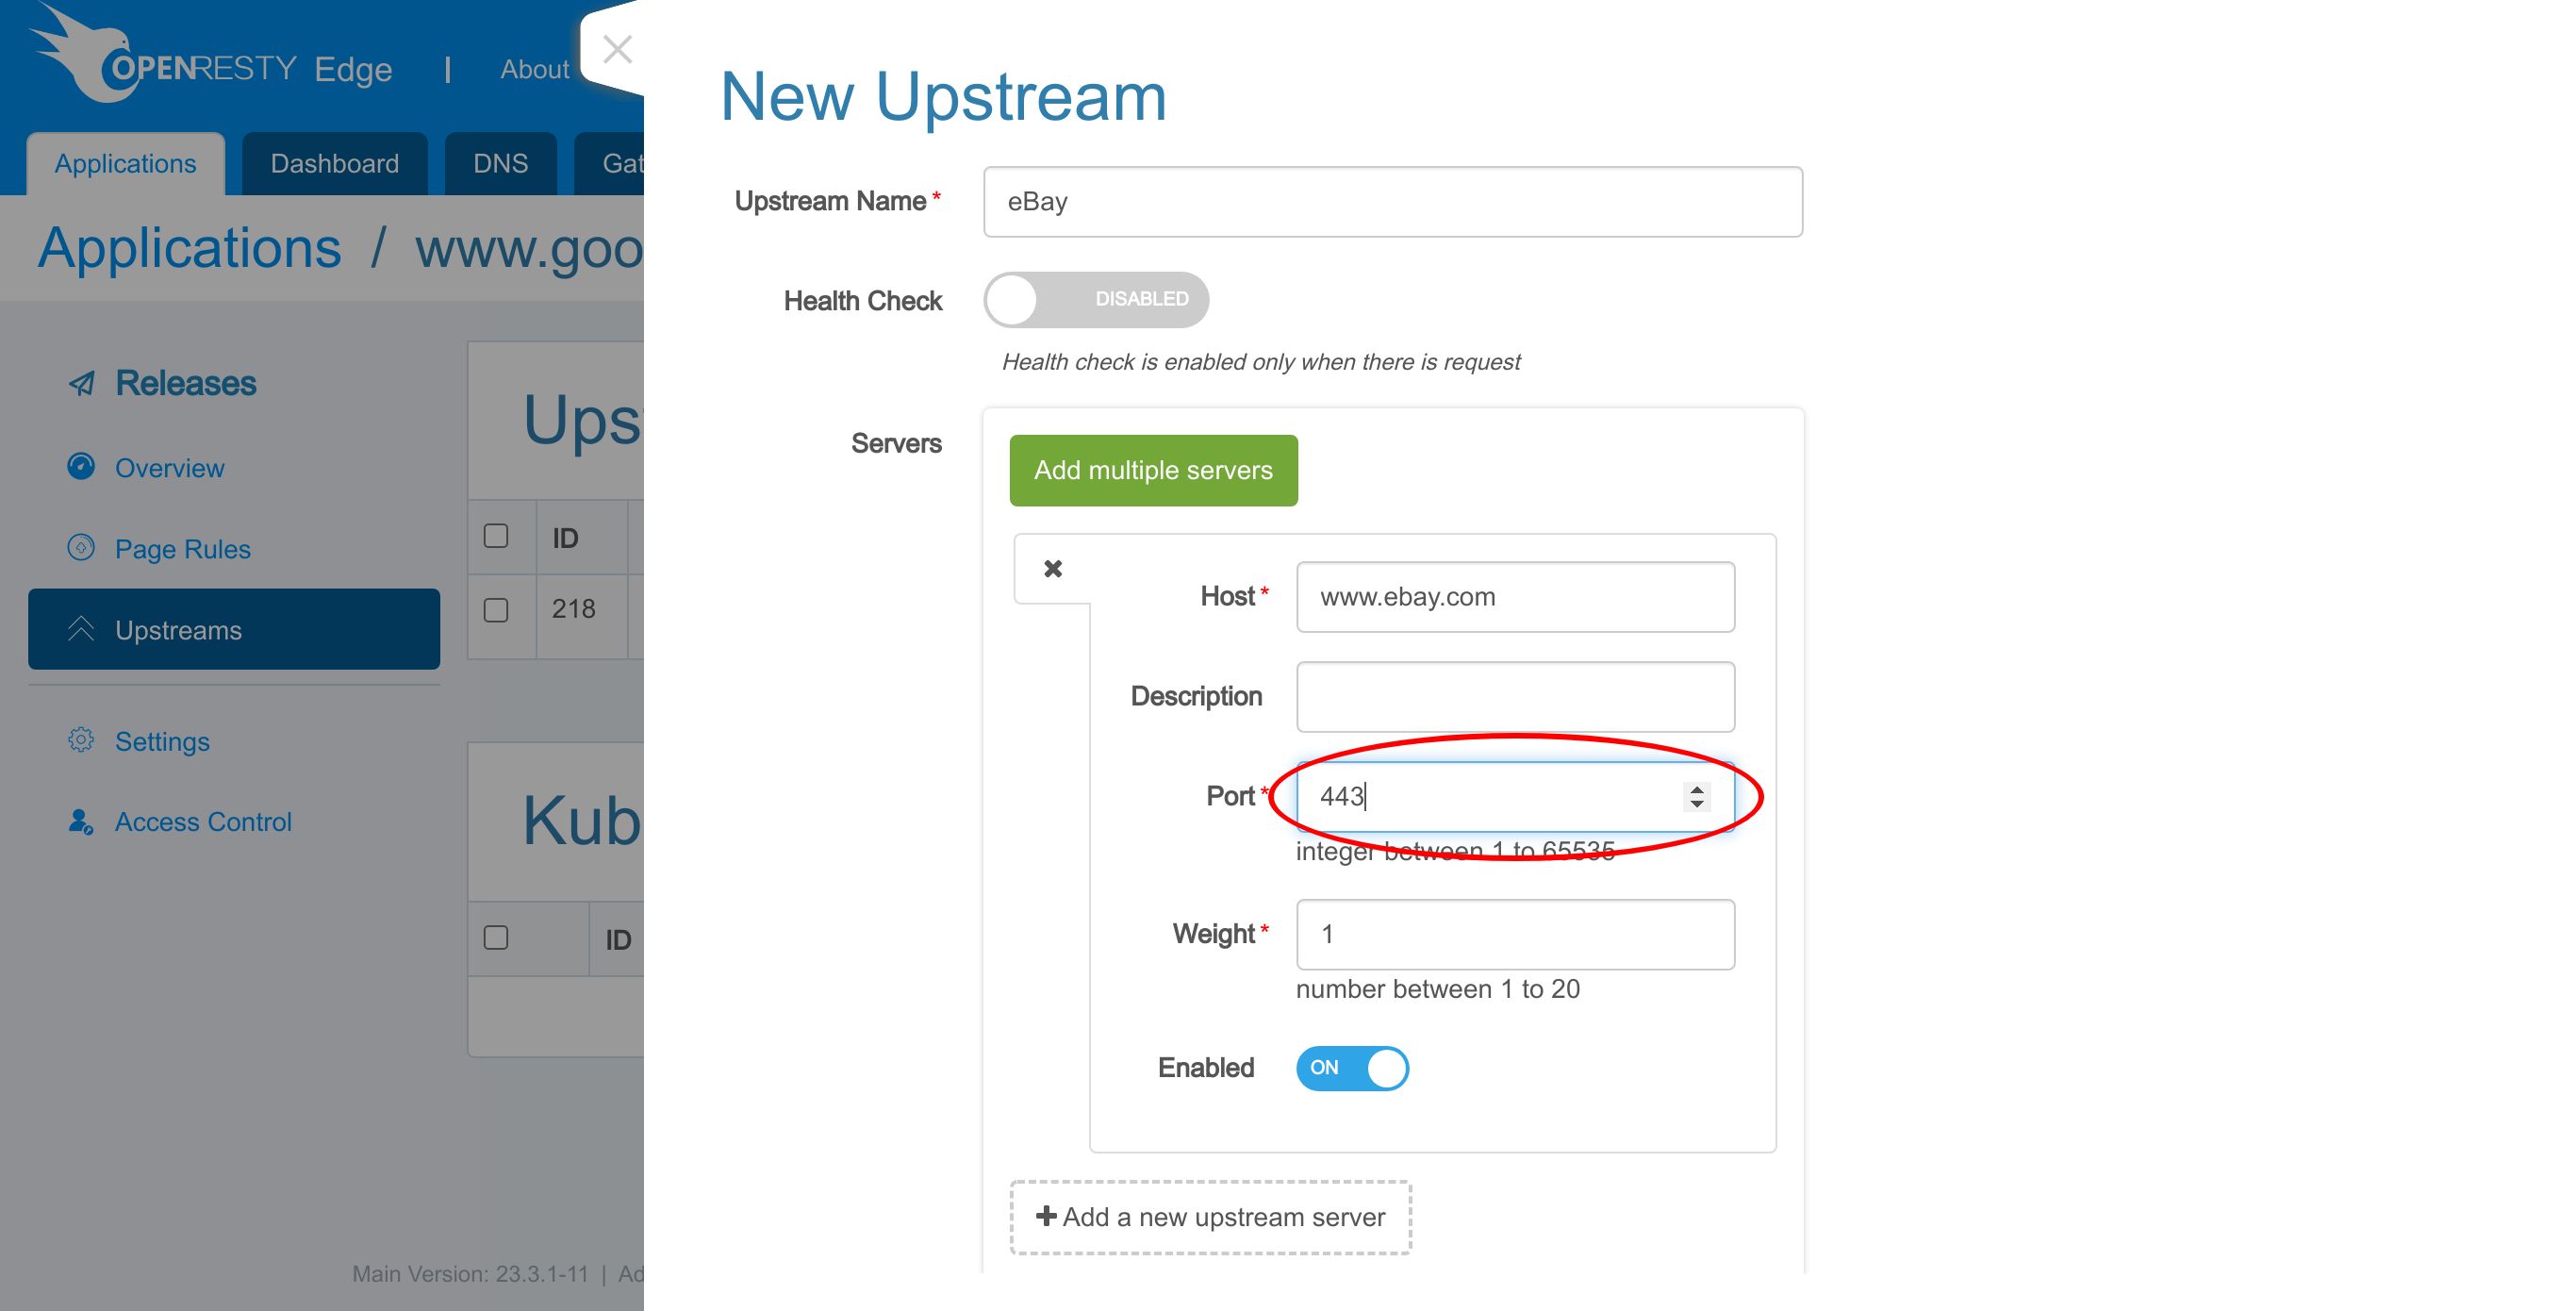
And name this upstream “eBay”.
Here we enter the hostname of eBay.
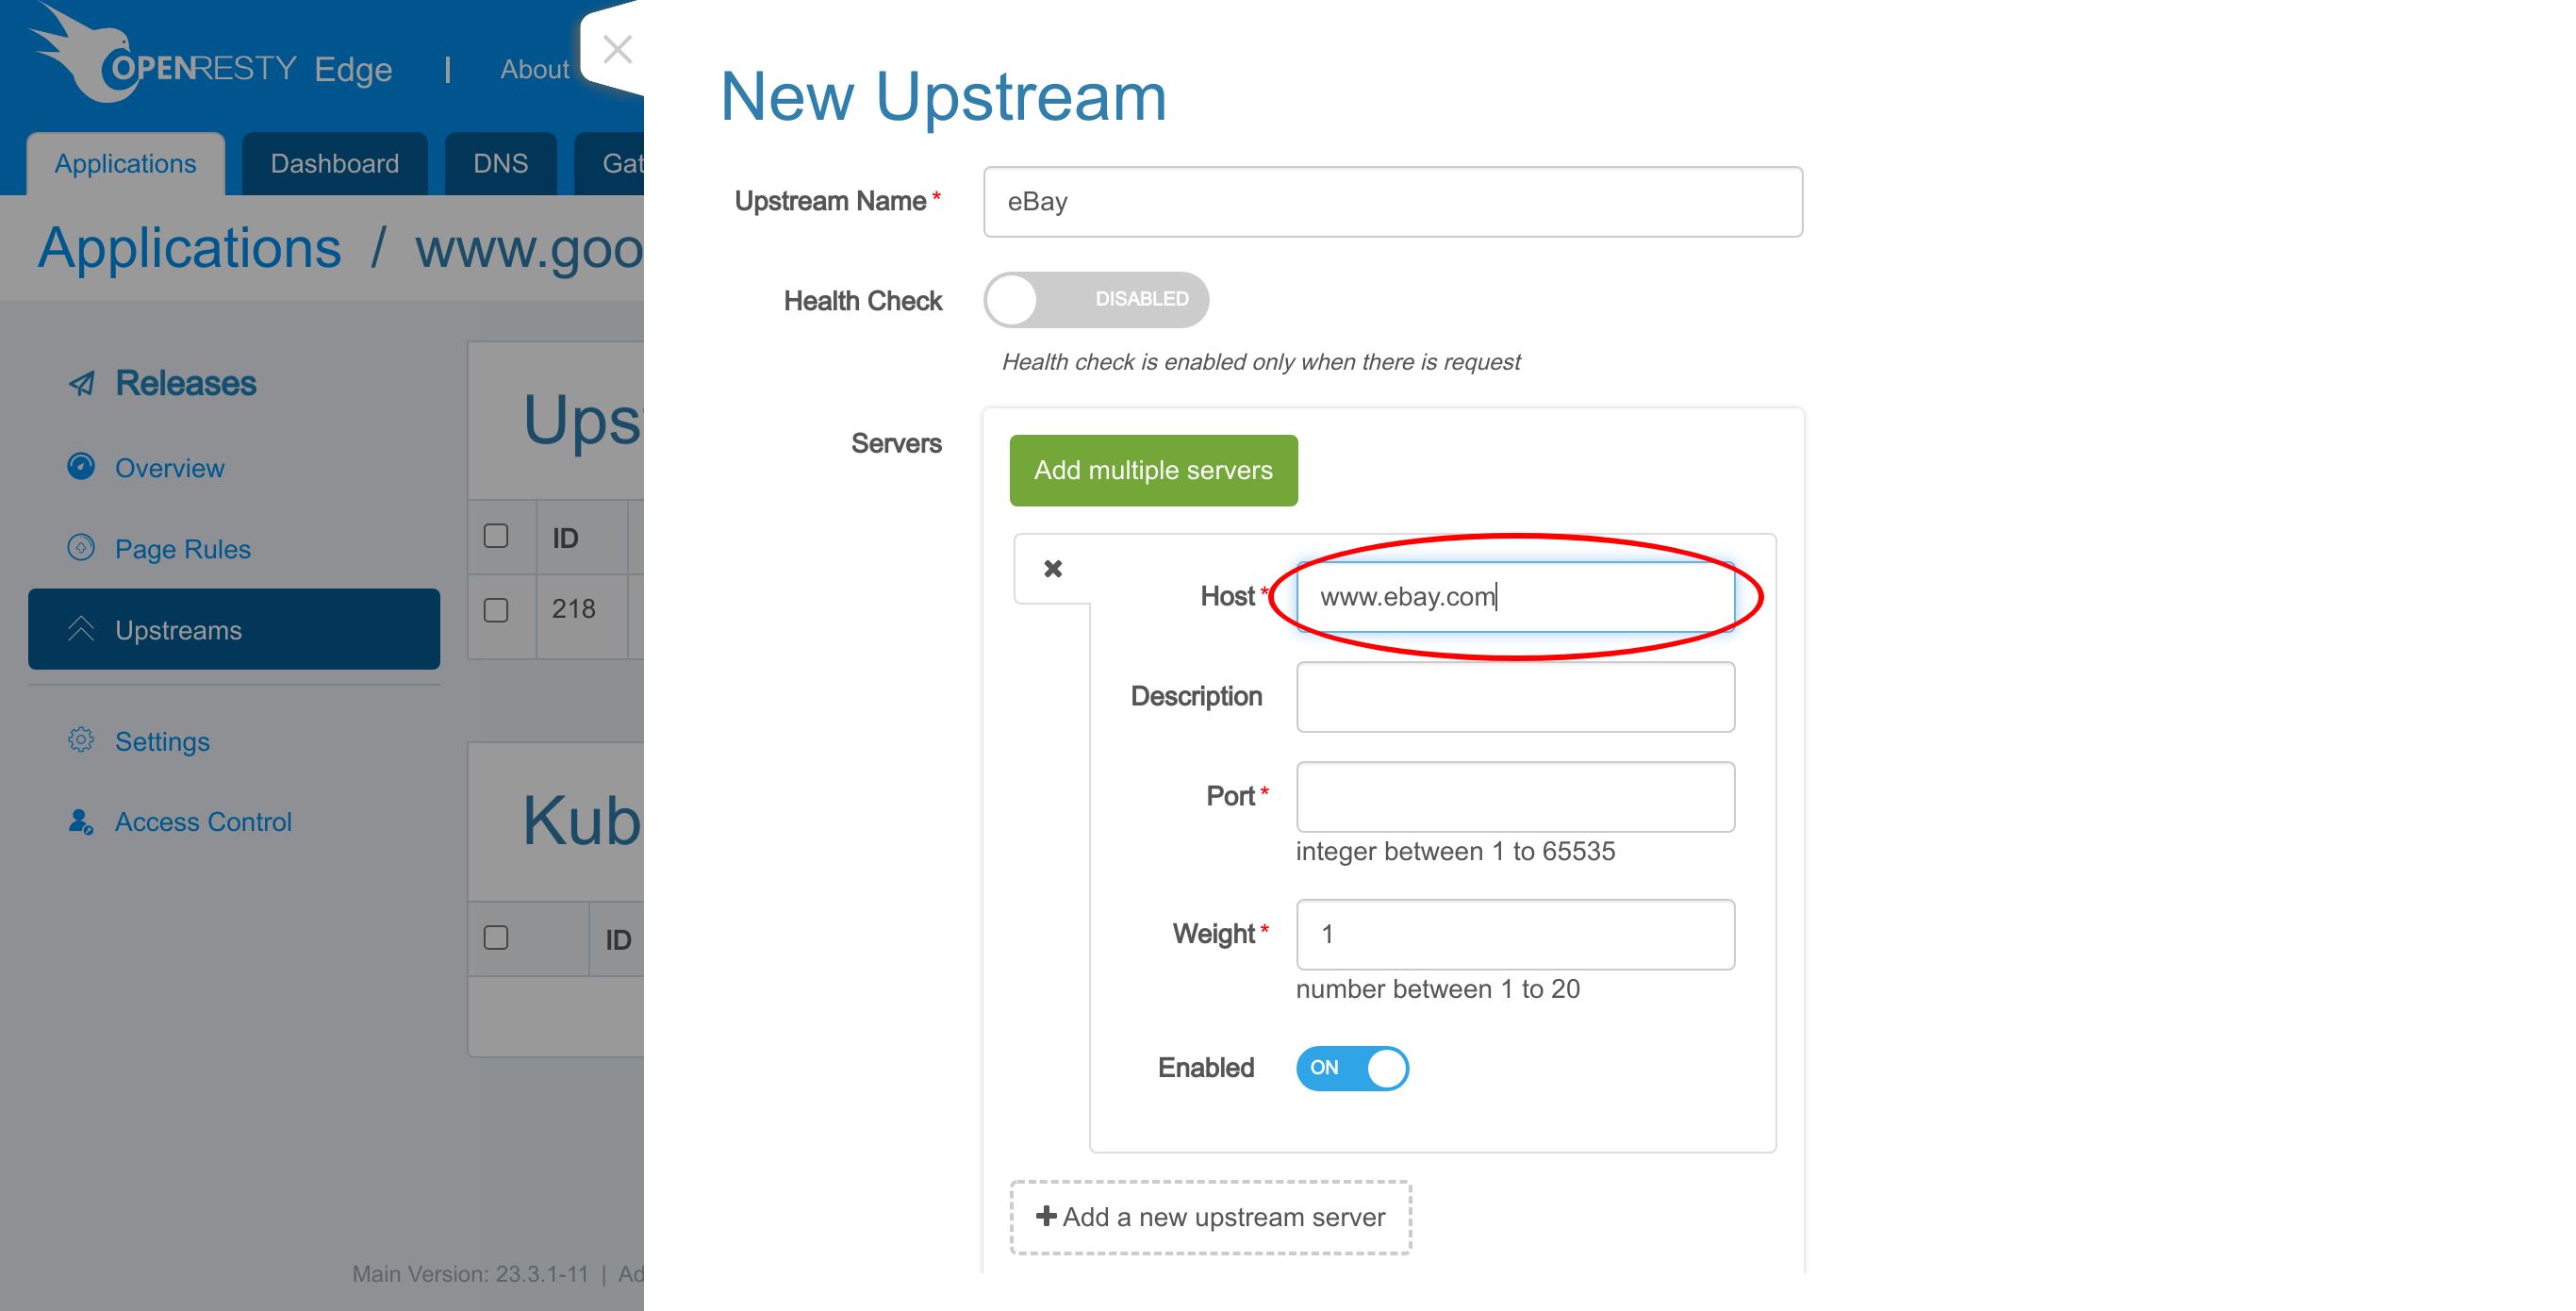
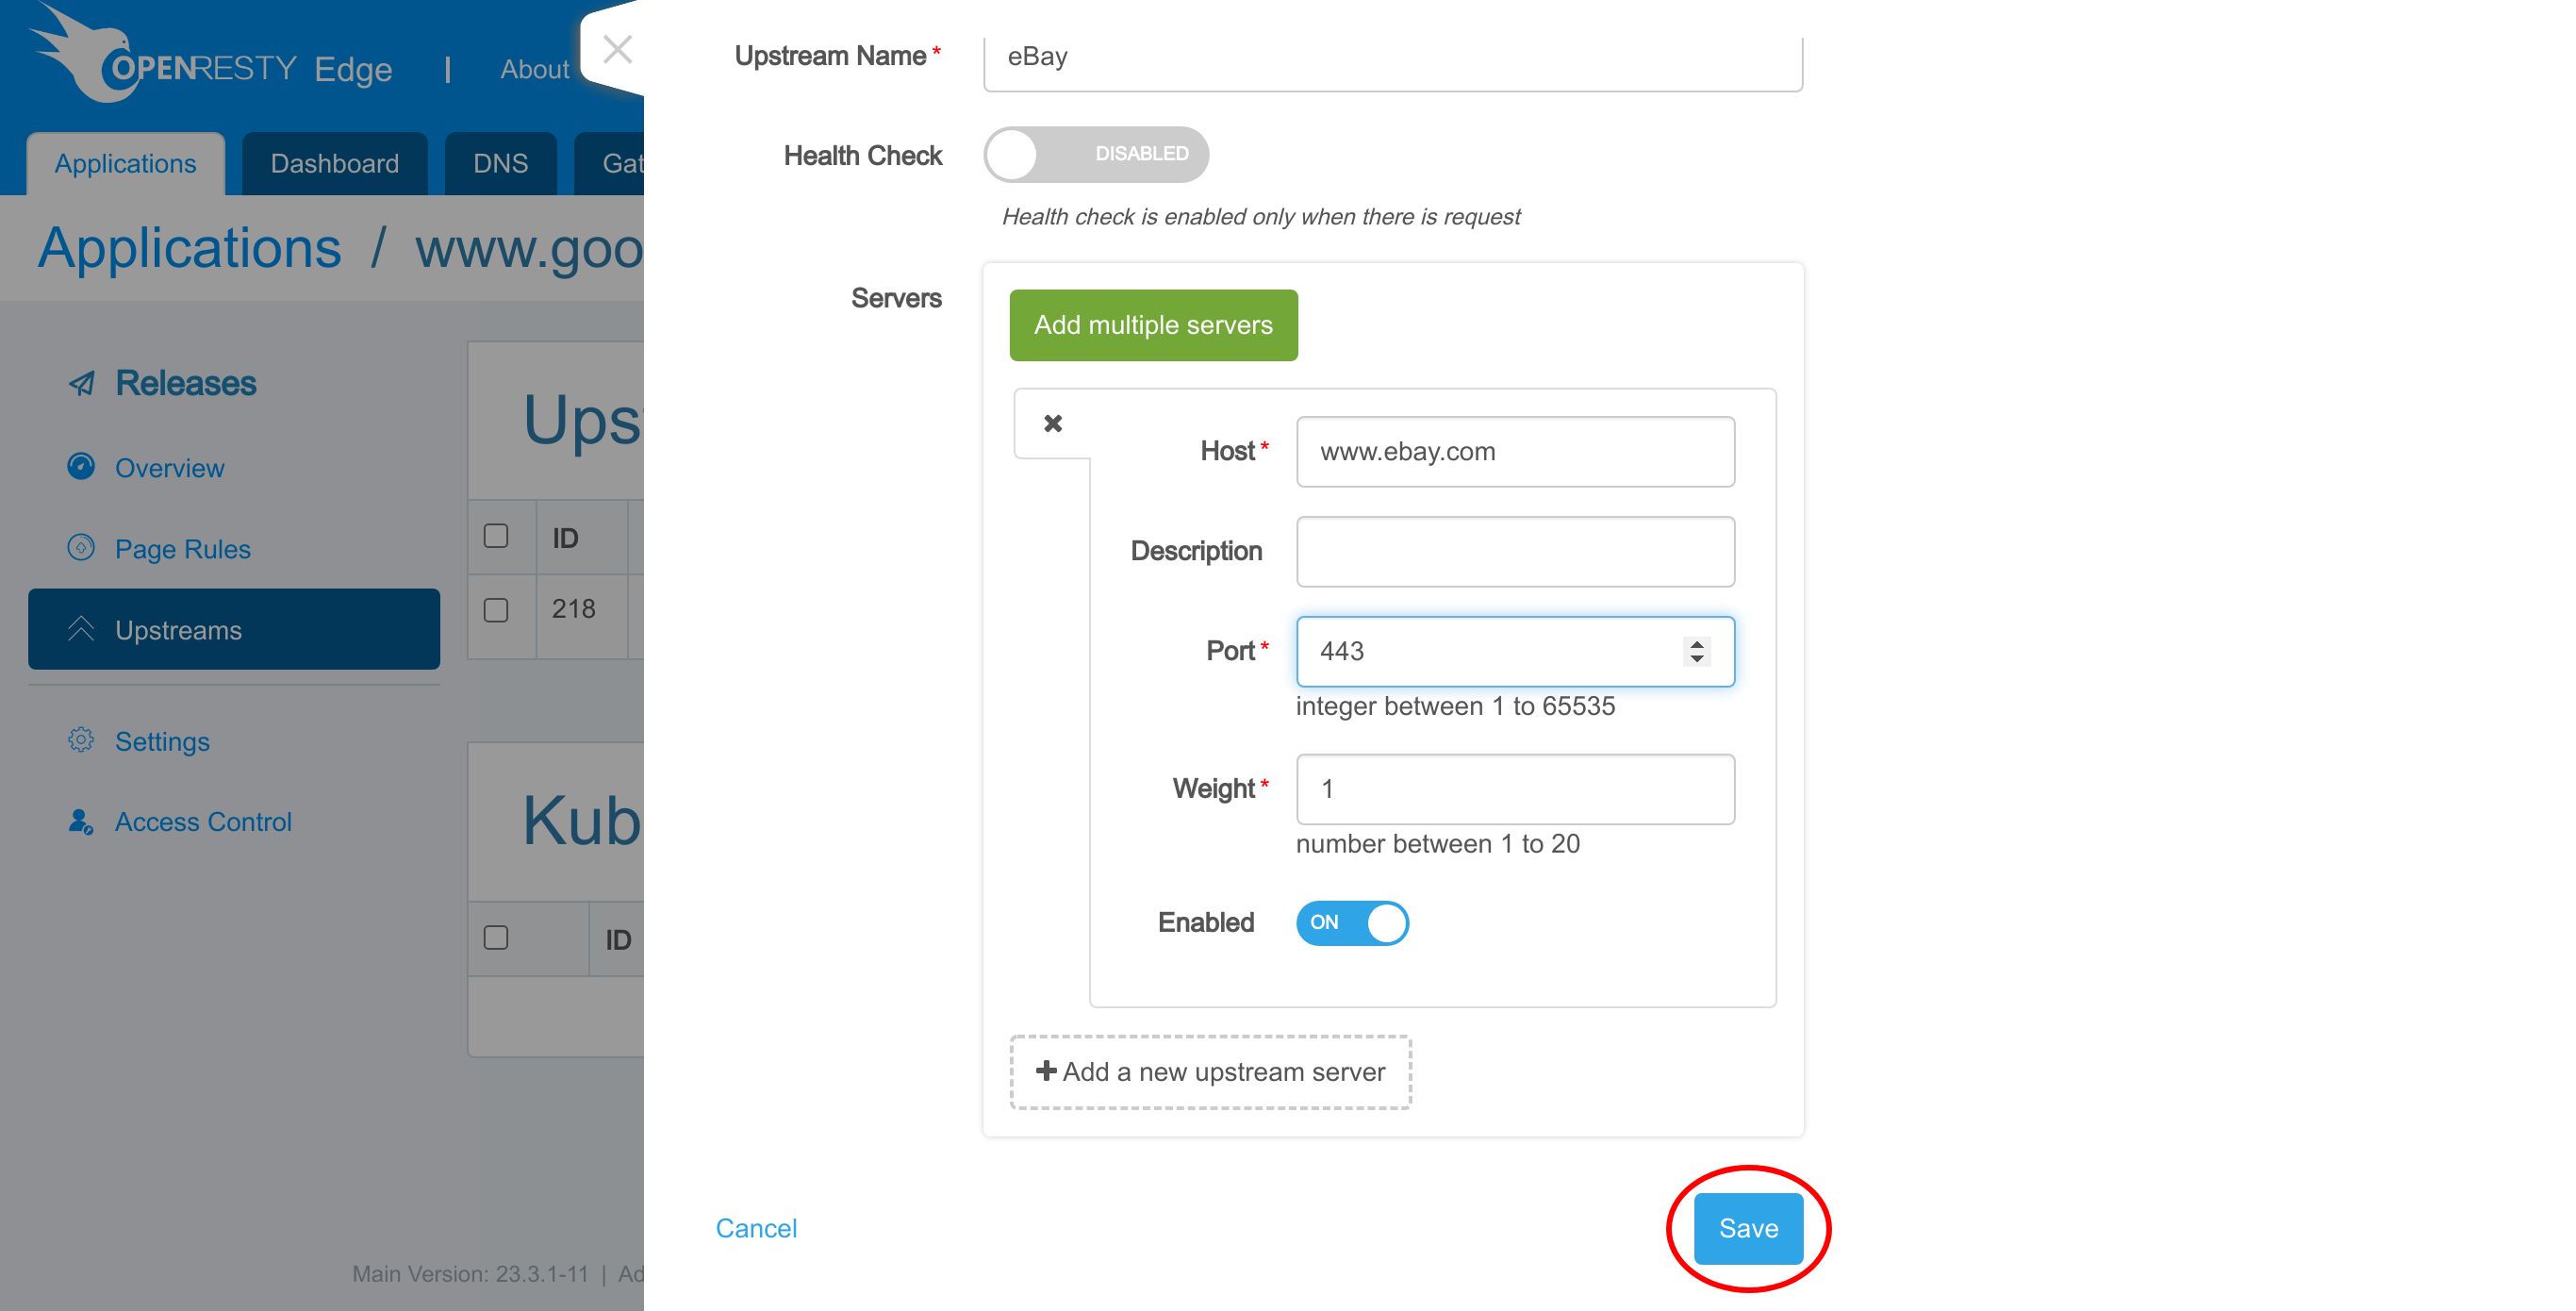
Enter port number 443.
Click to save this upstream.
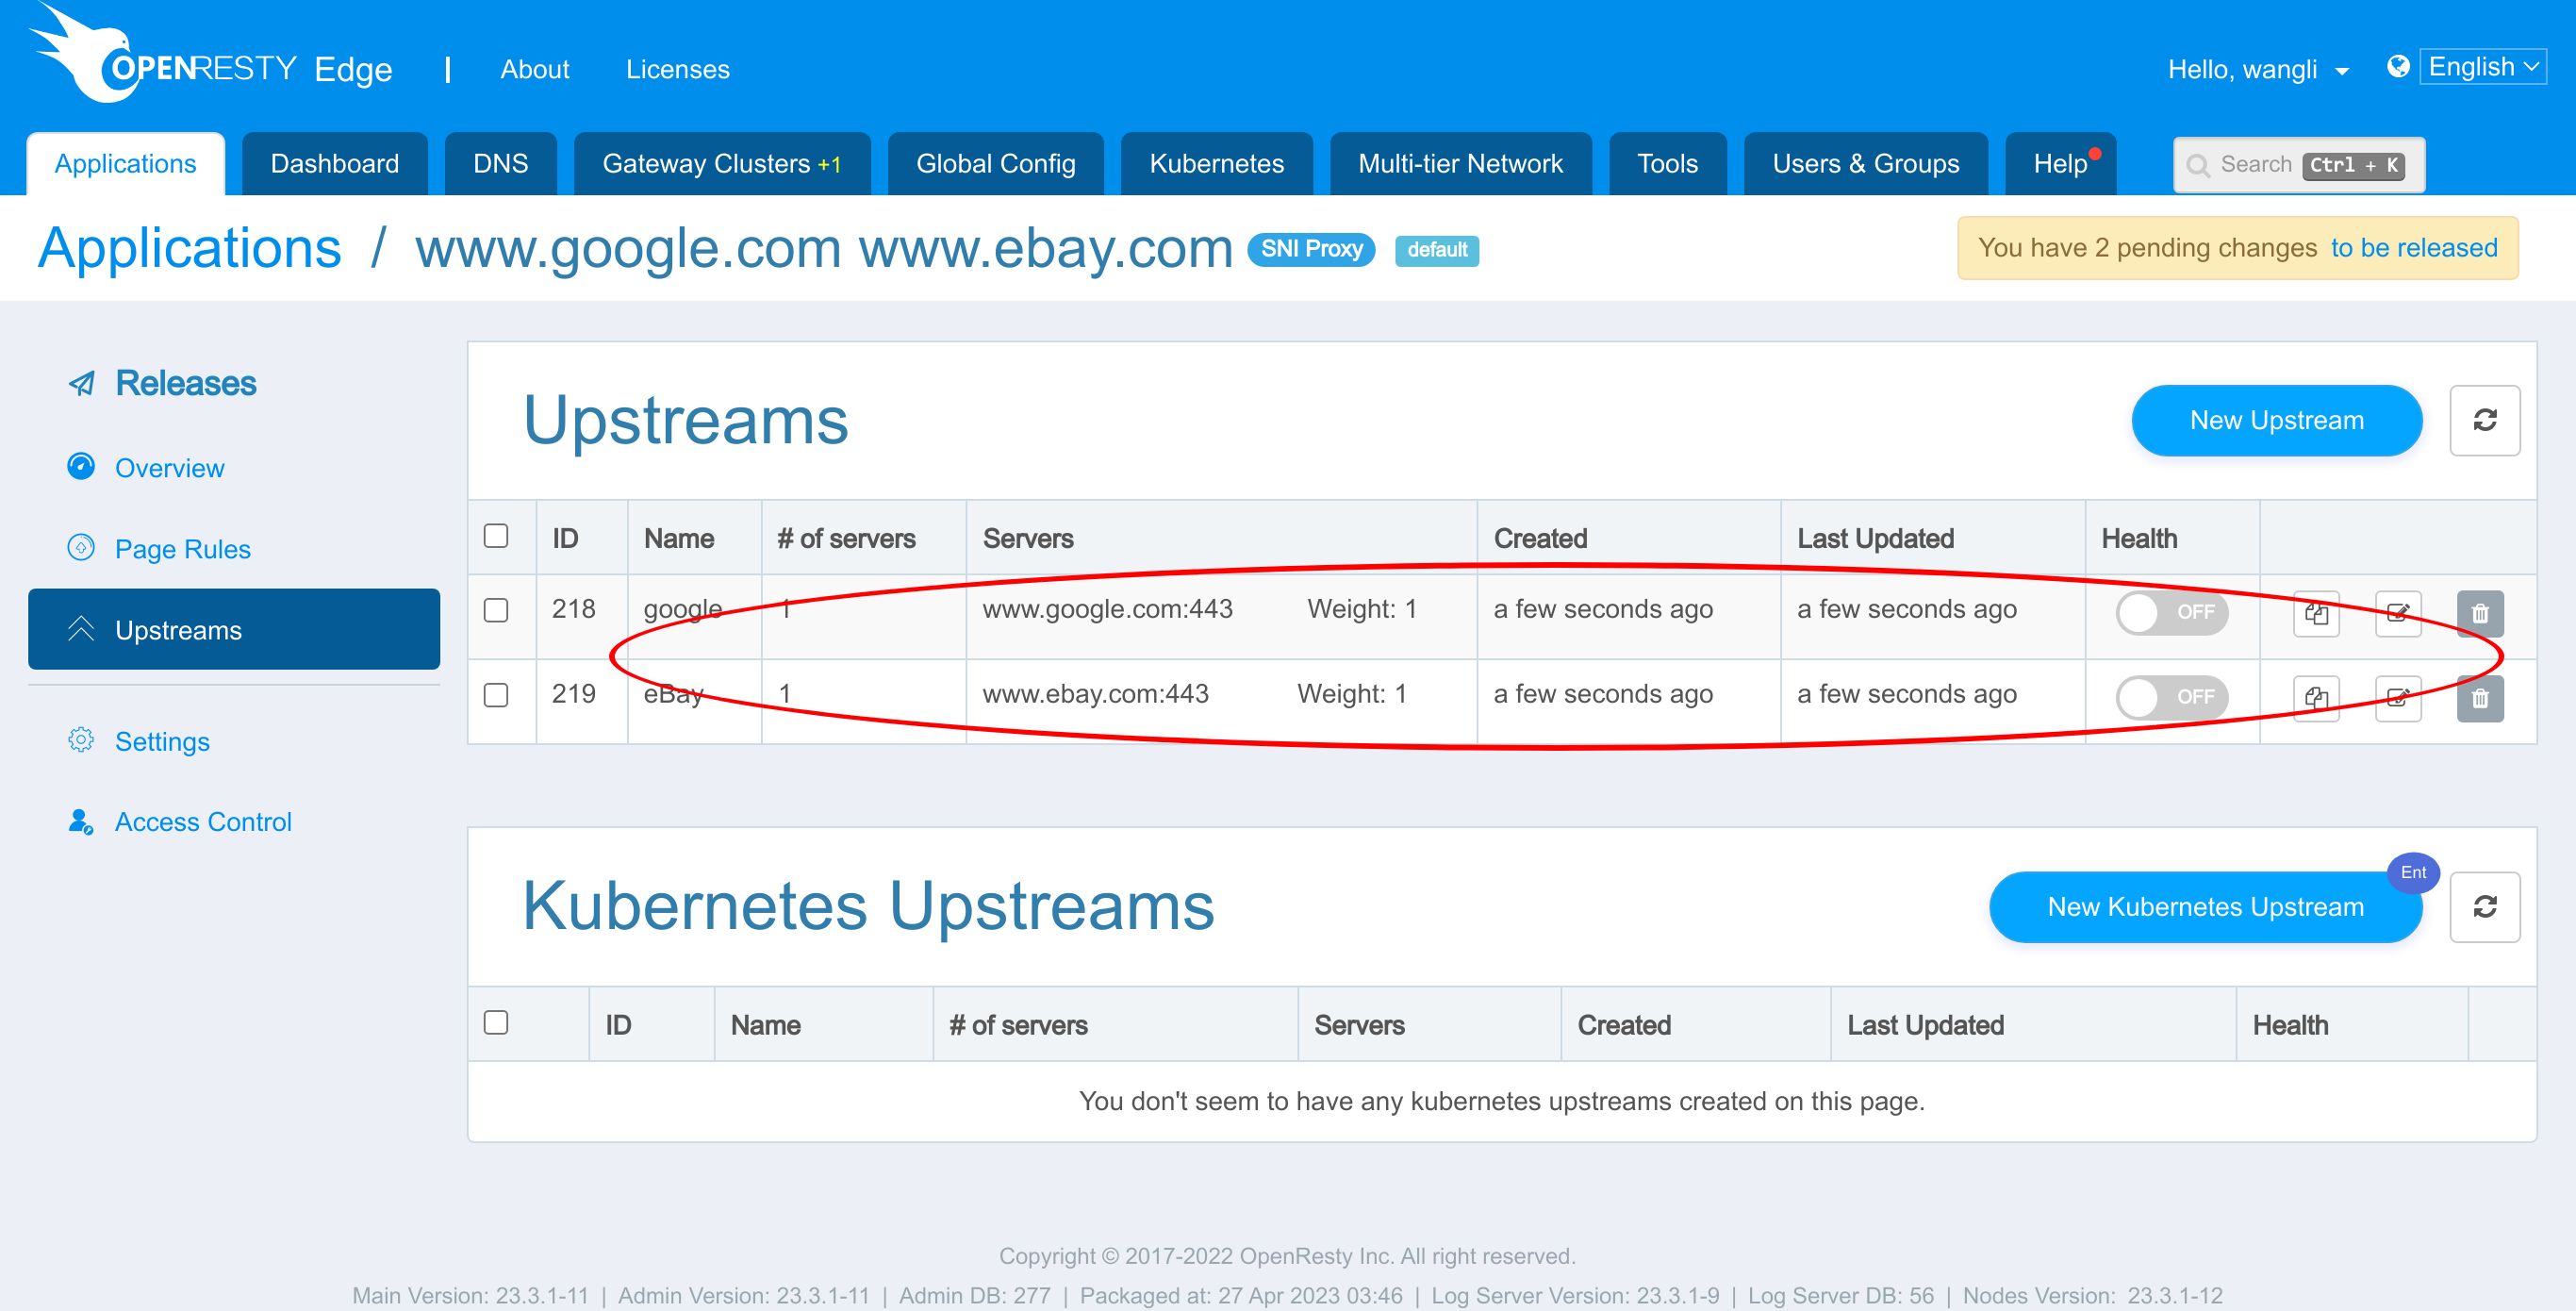
We can see these two upstreams, “google” and “eBay” are already there.
Now let’s create page rules to make use of these upstreams.
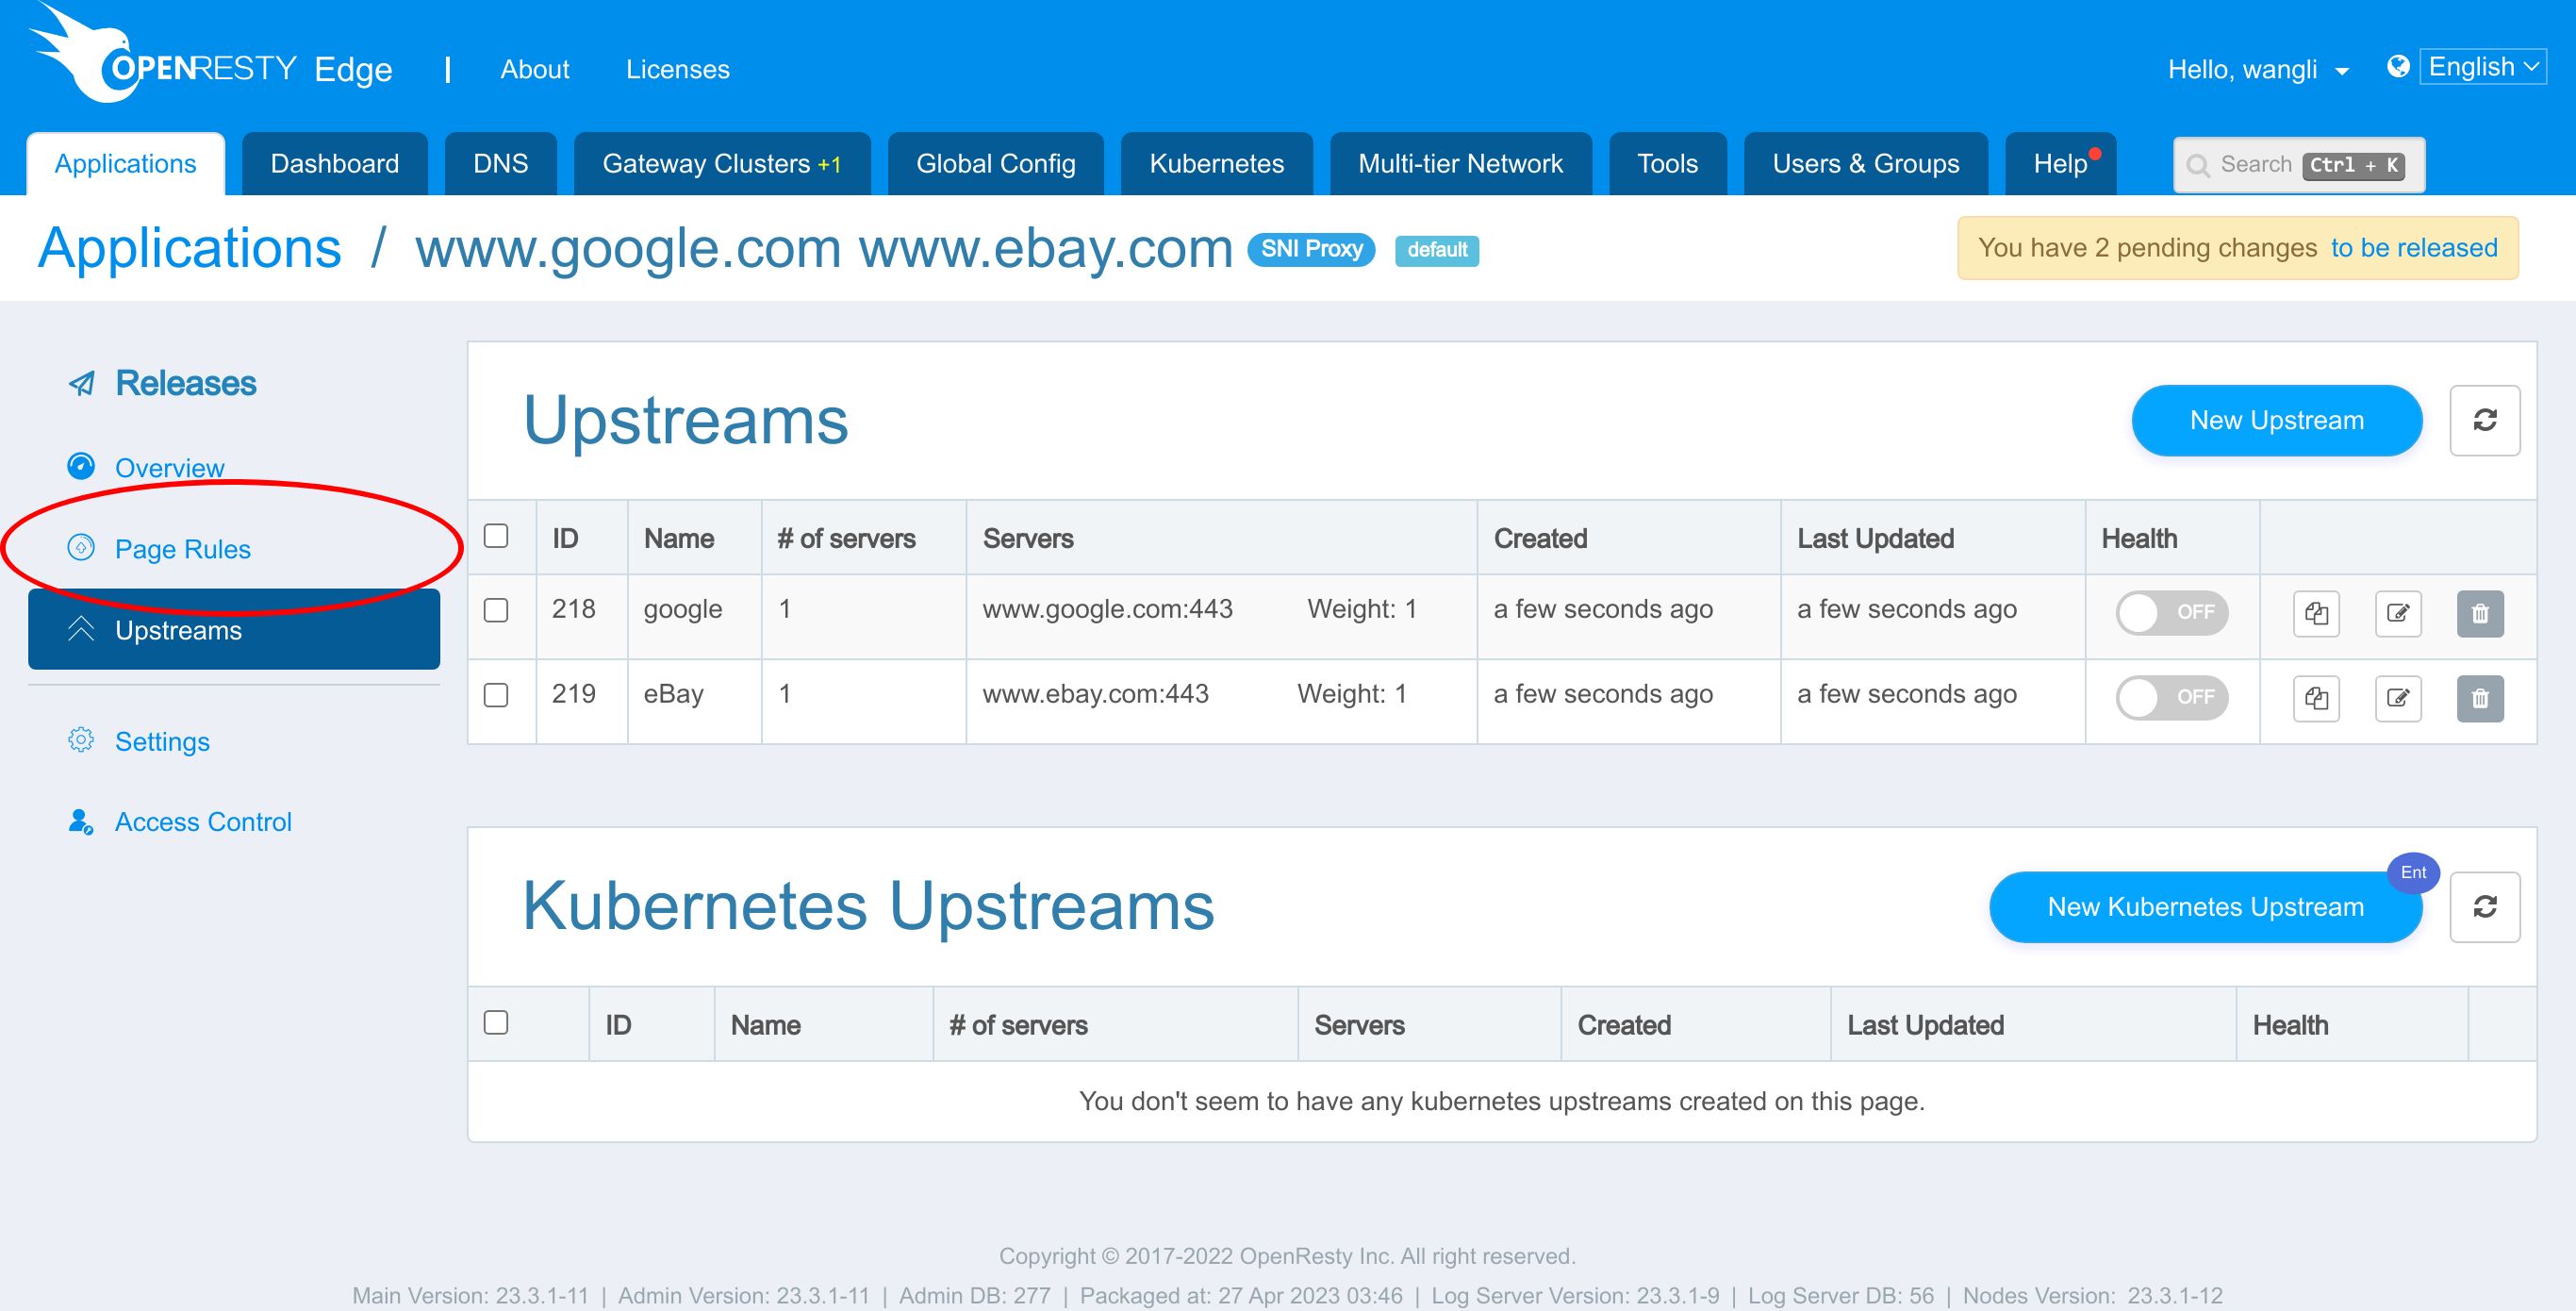
Create the first page rule.
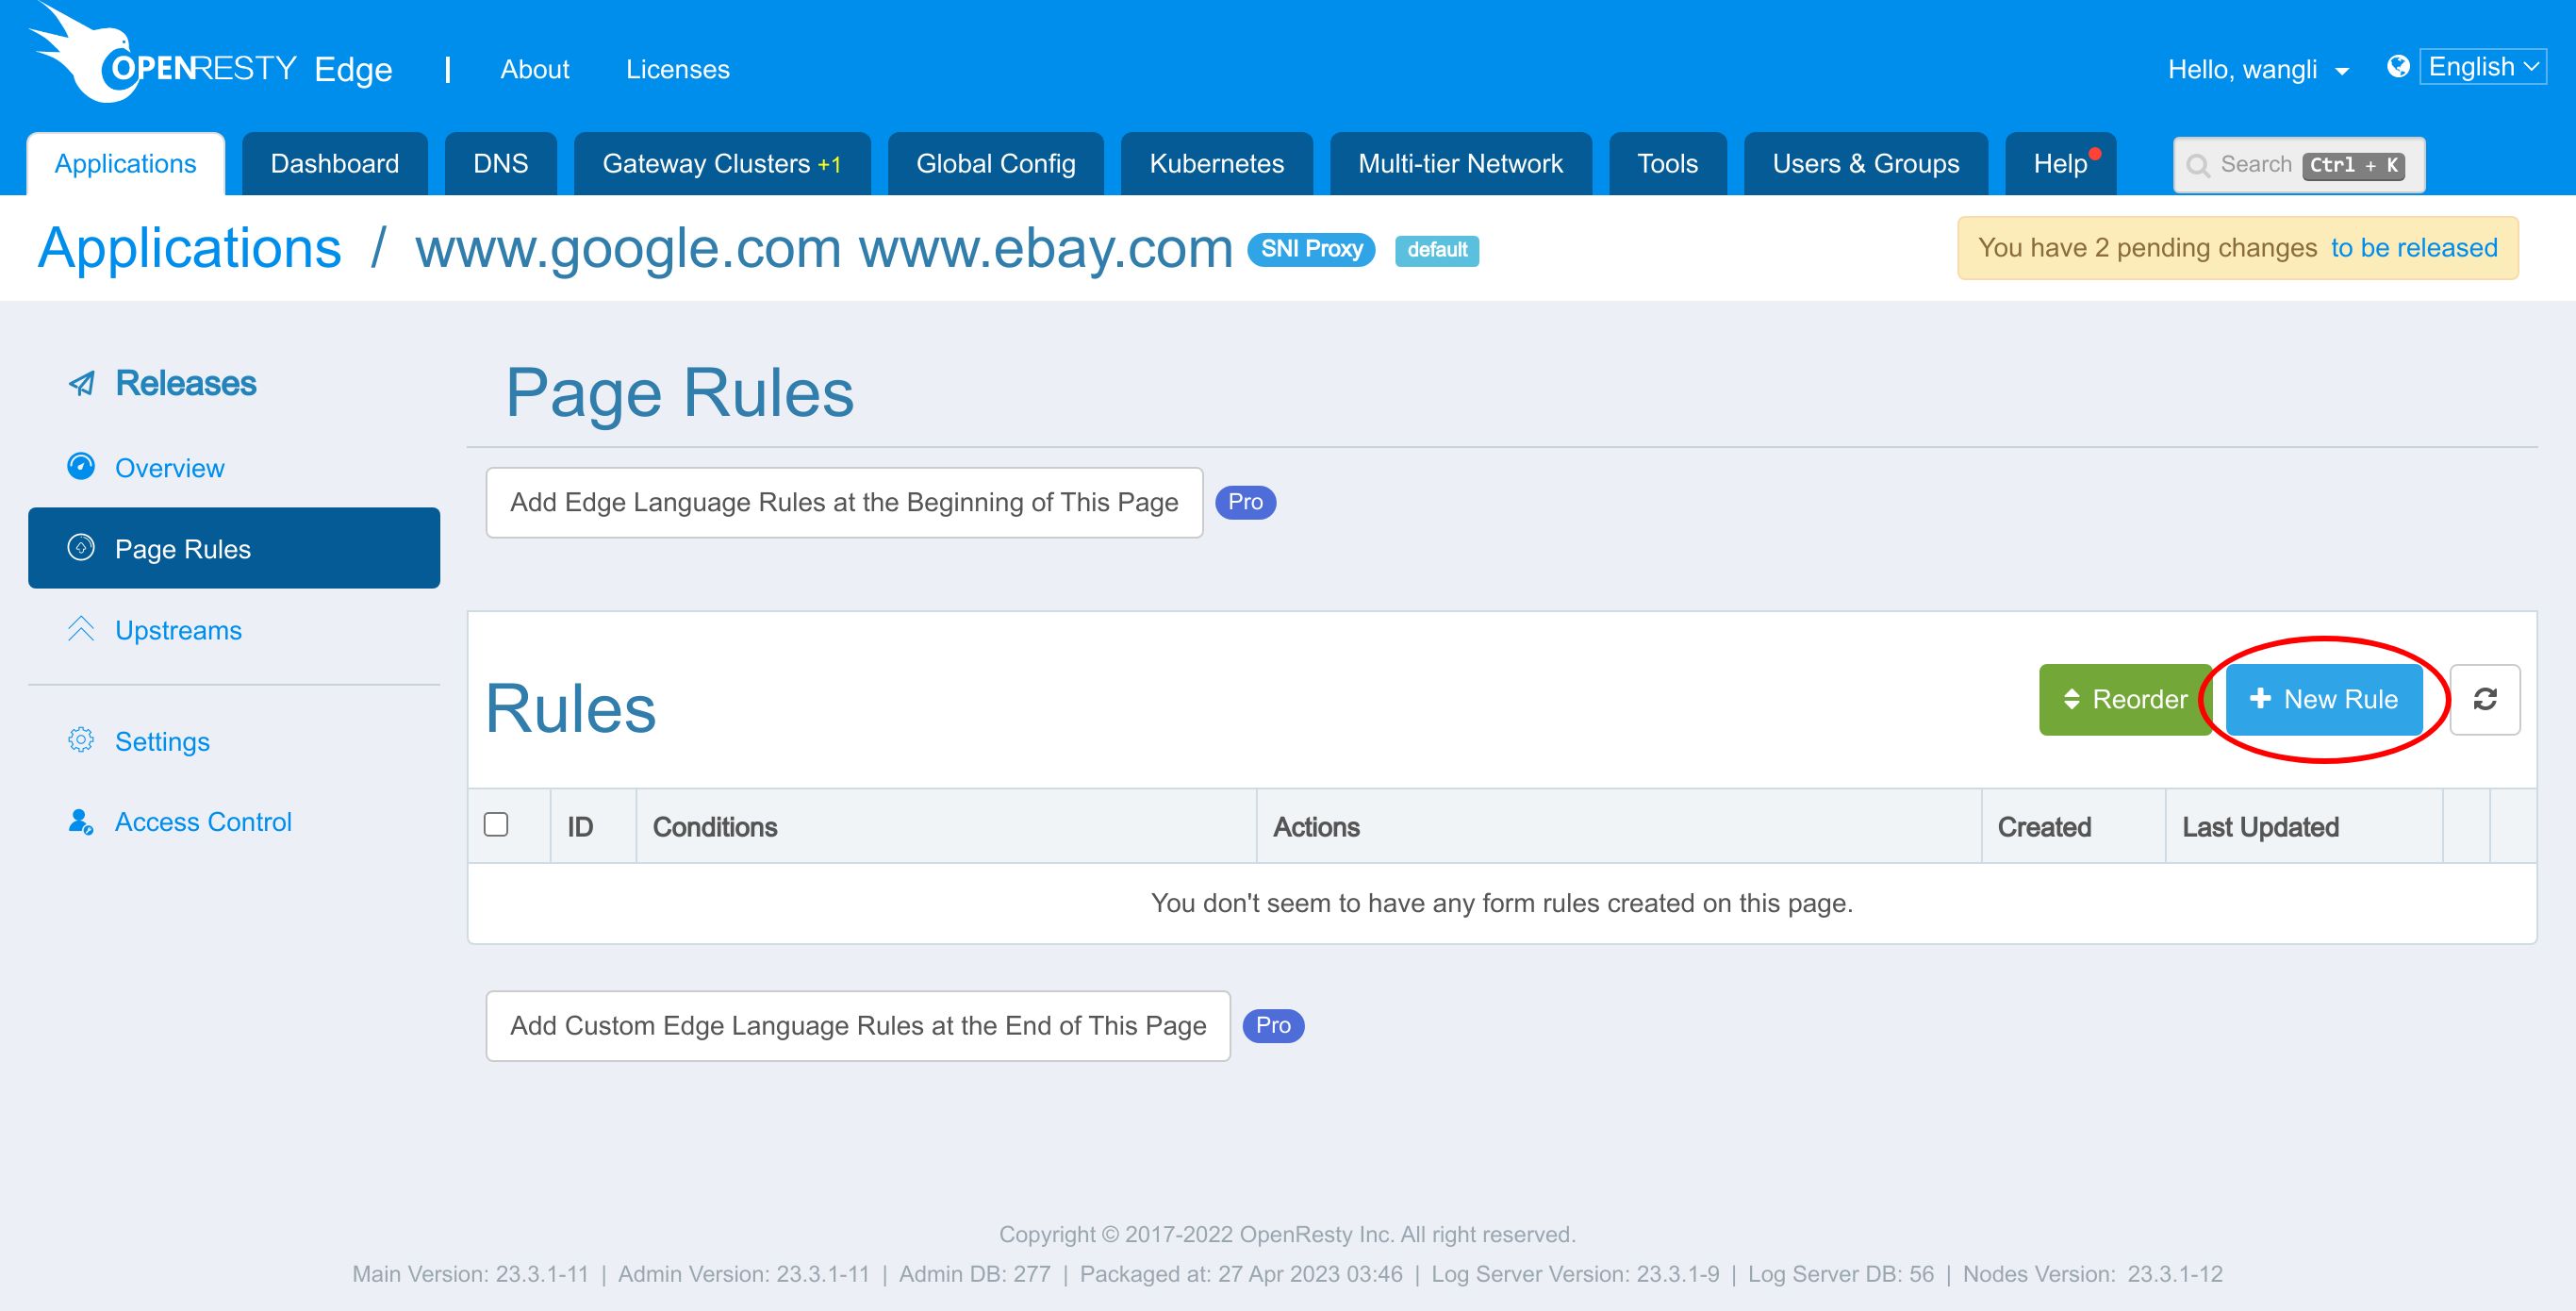
For this page rule, we need to specify a condition.
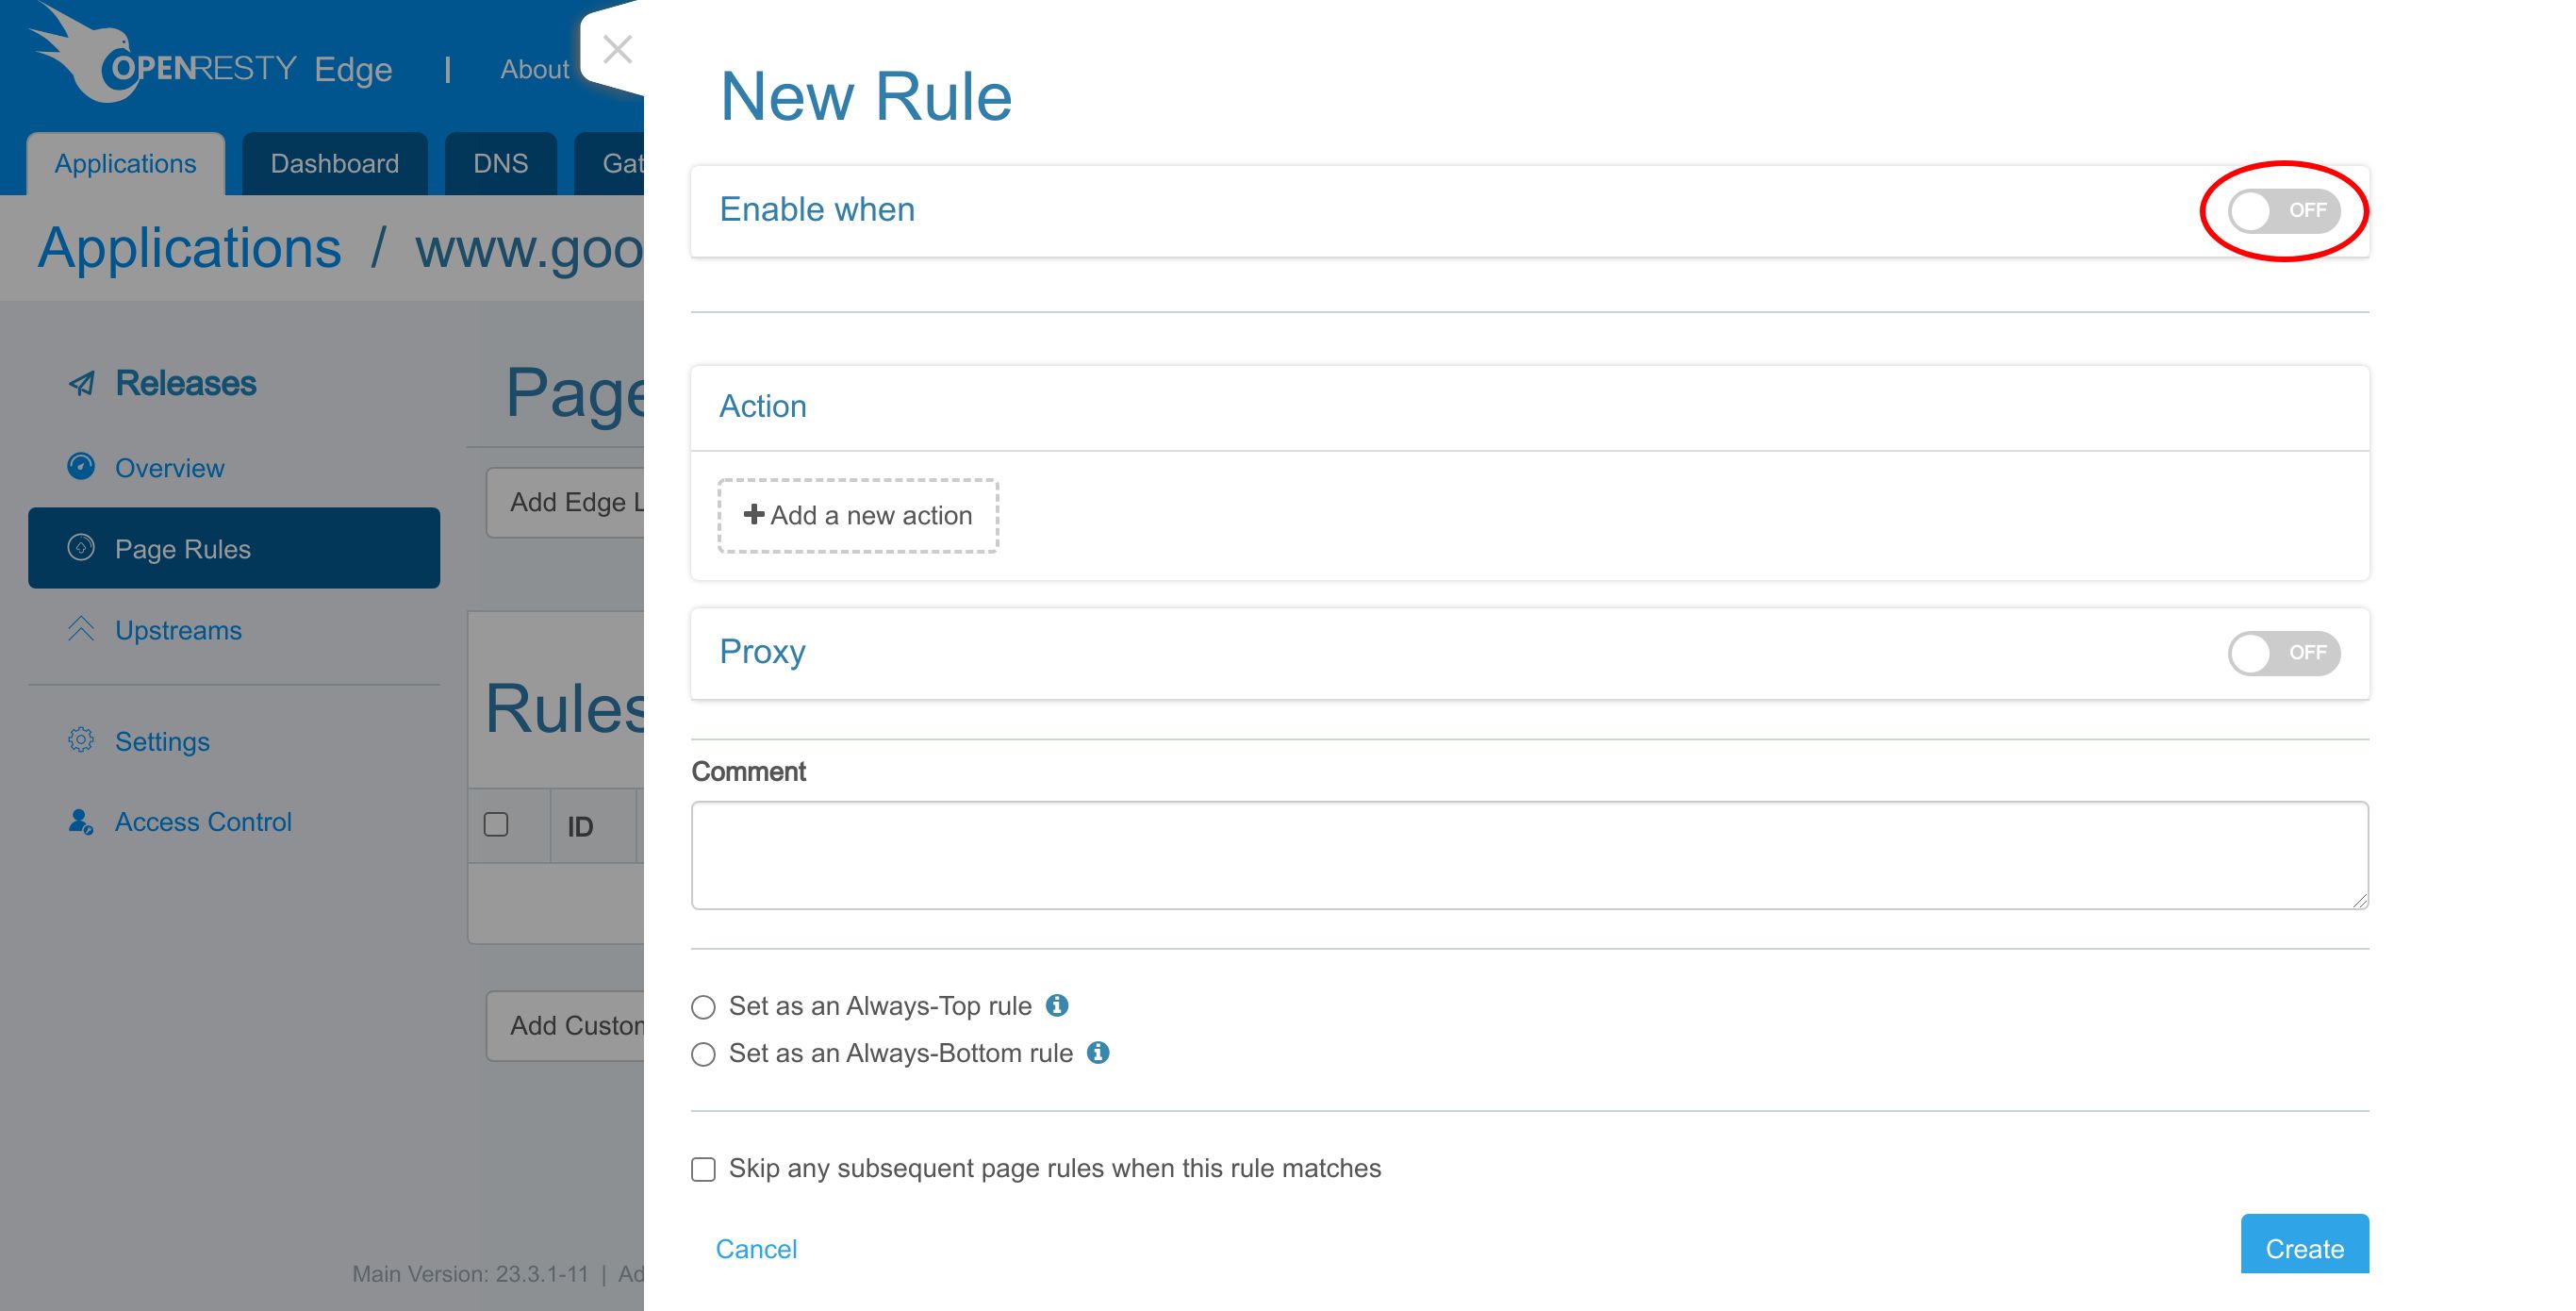
Here we can choose the variable name of the condition.
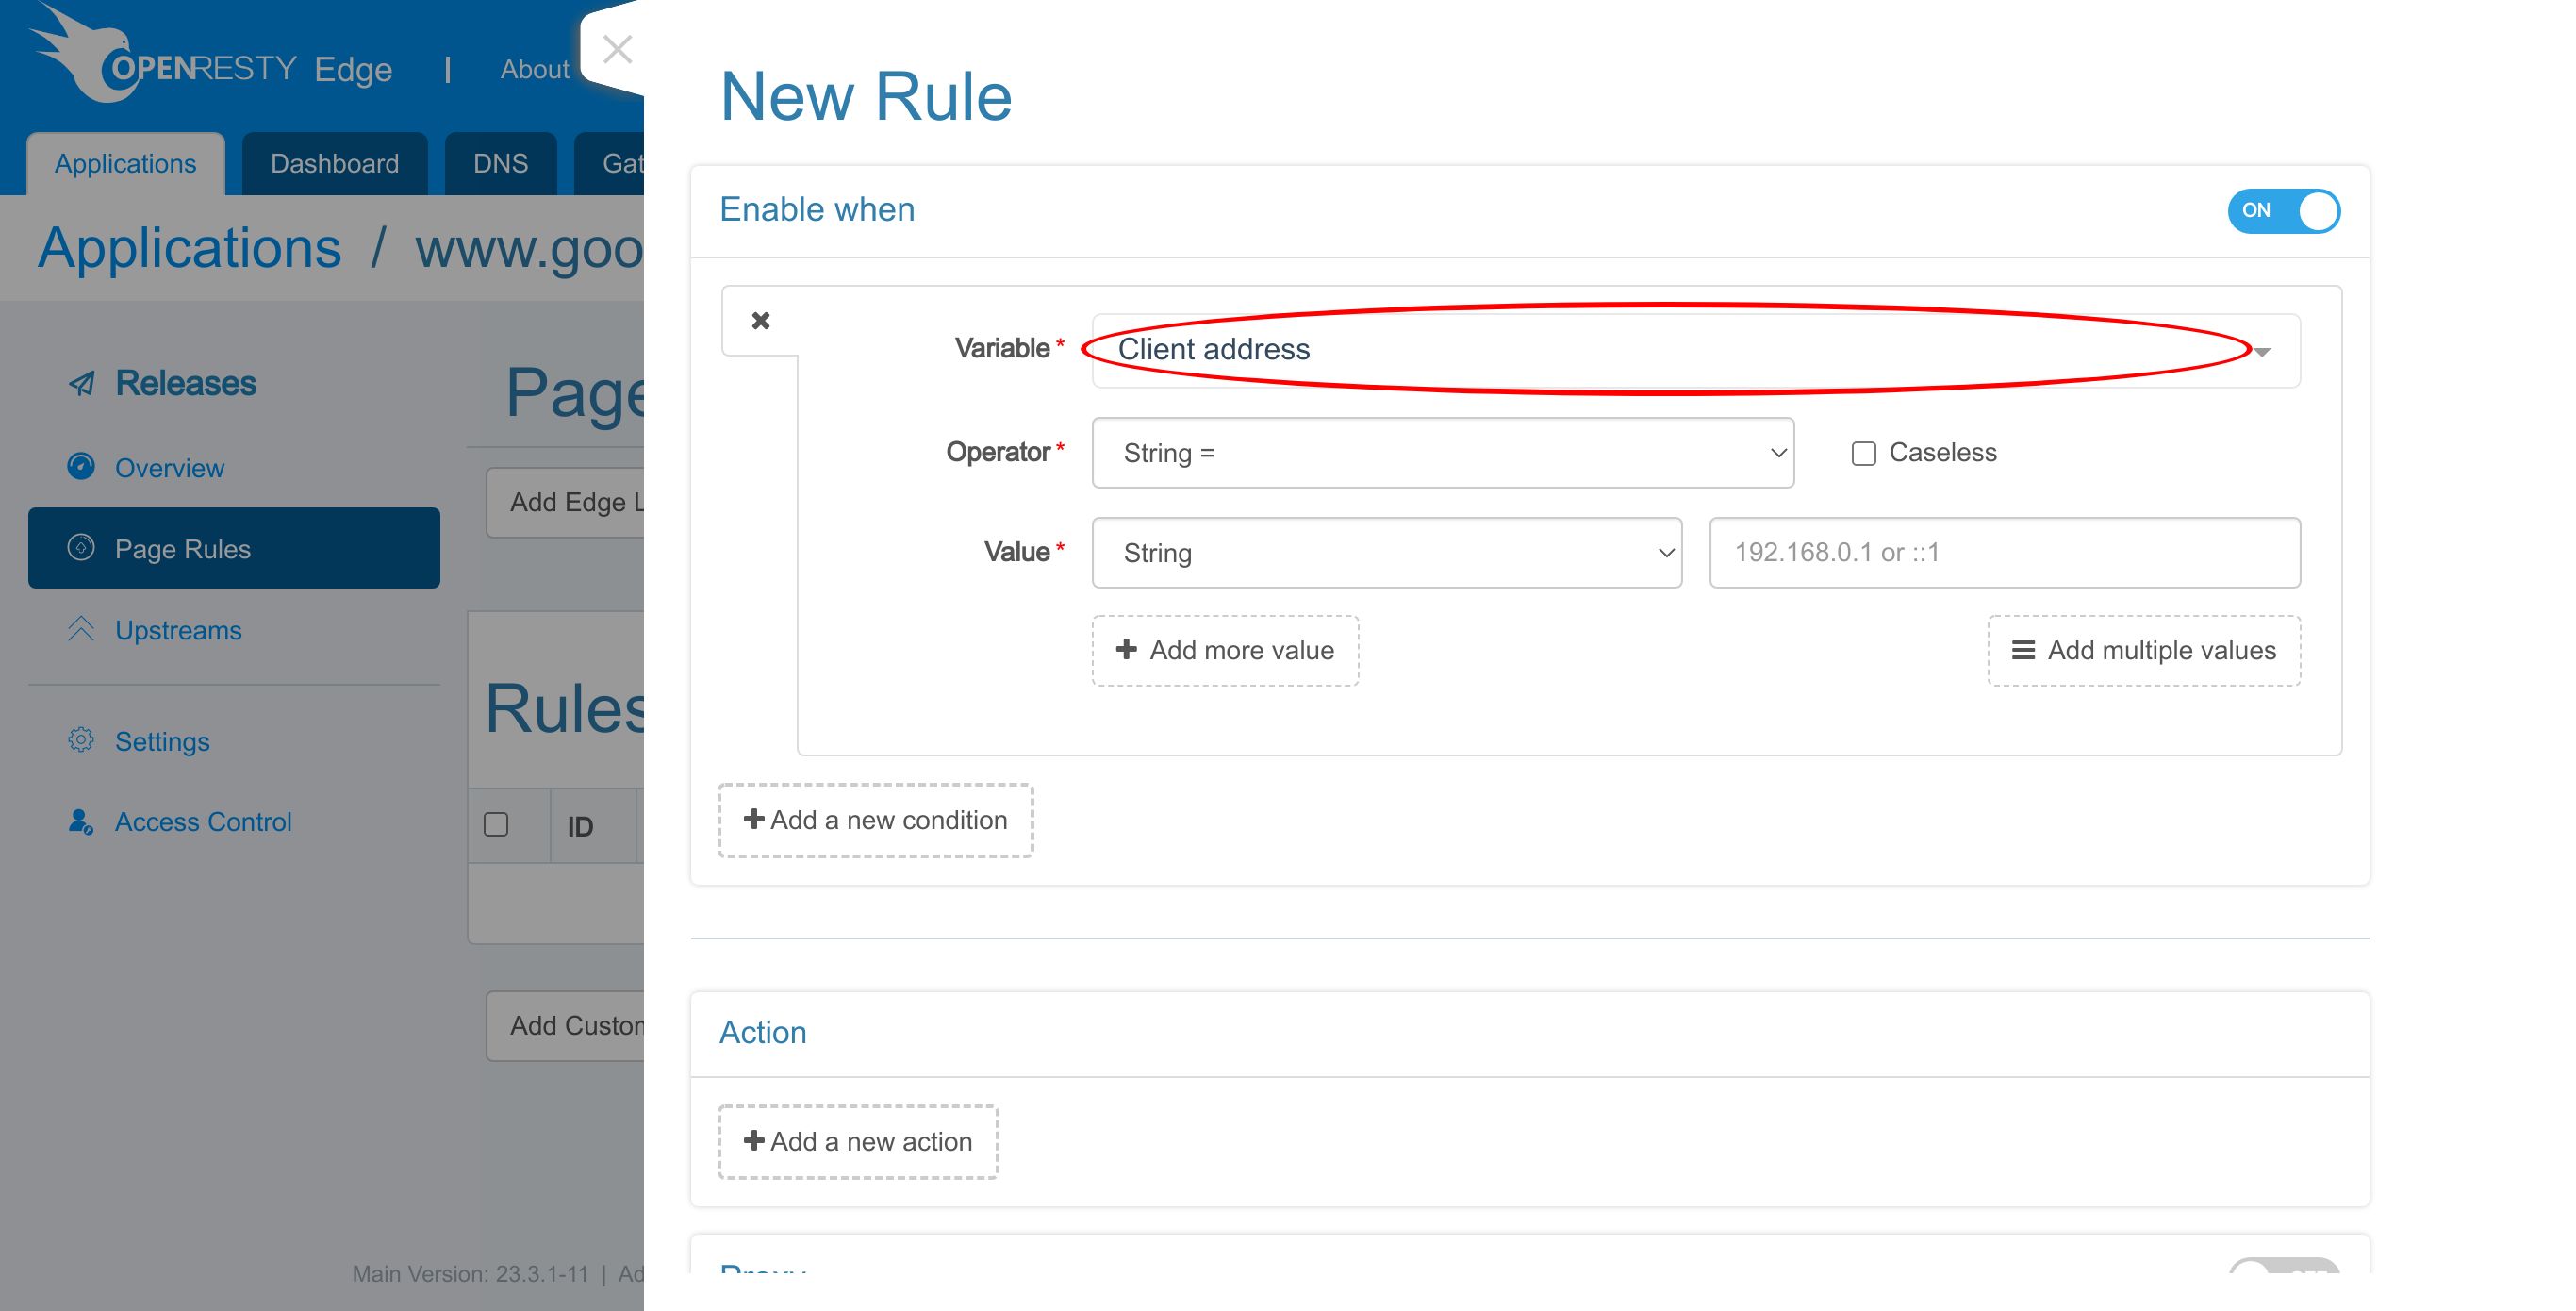
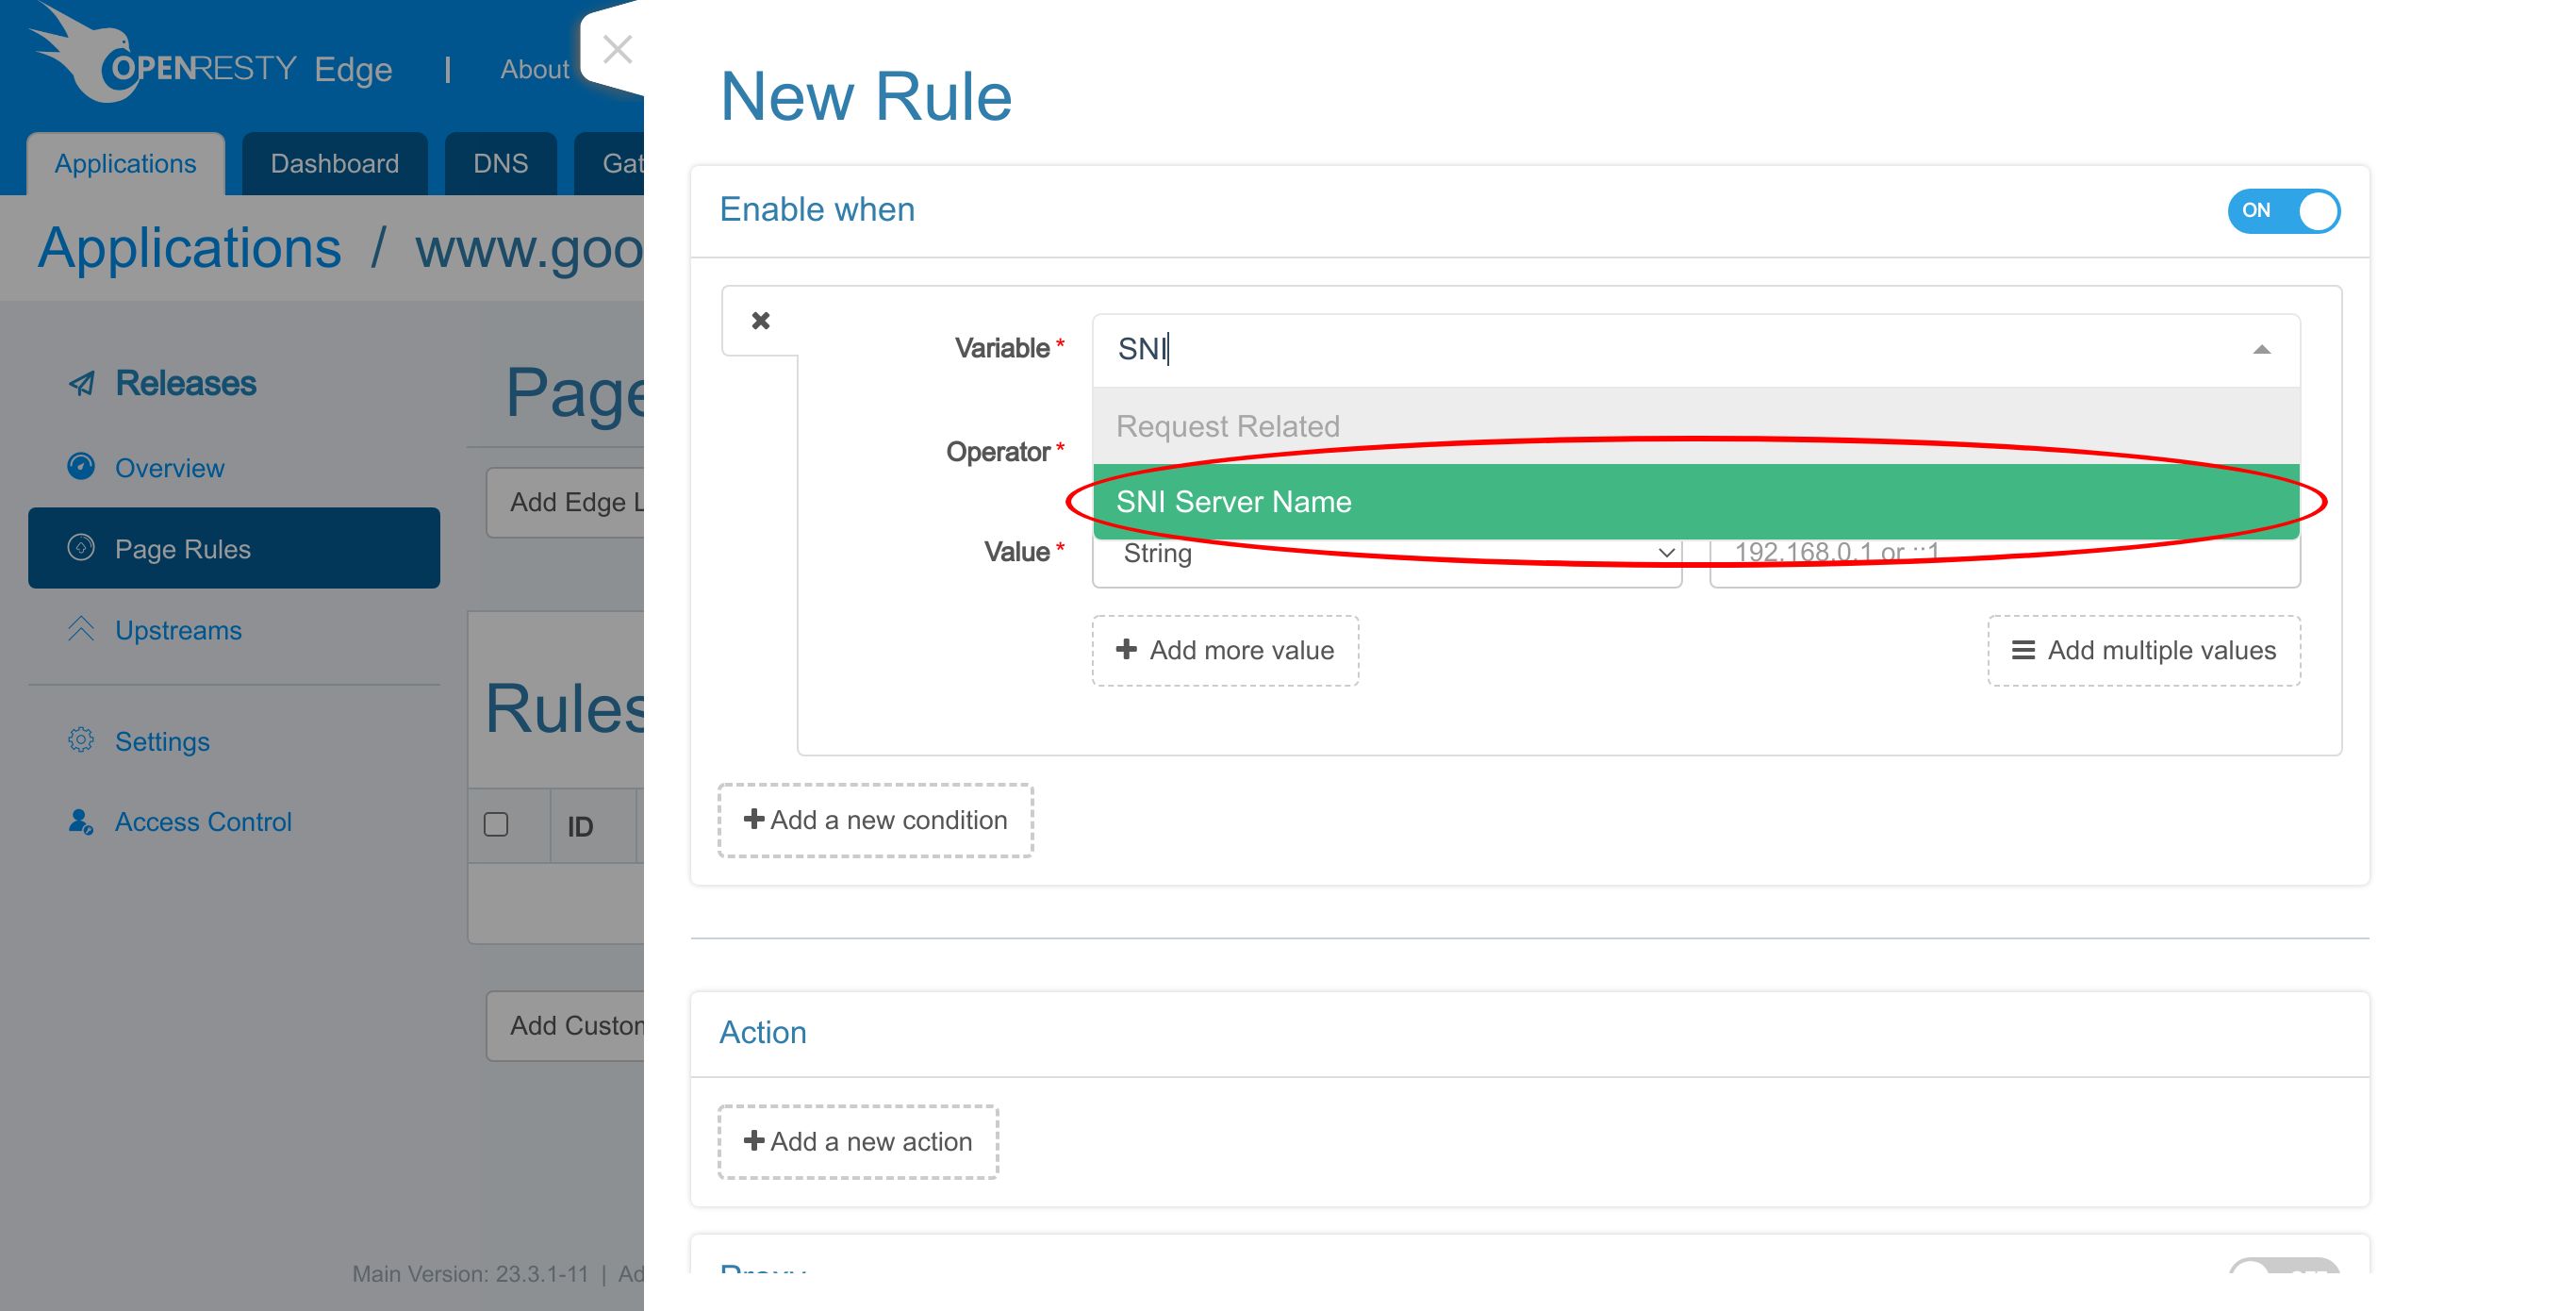
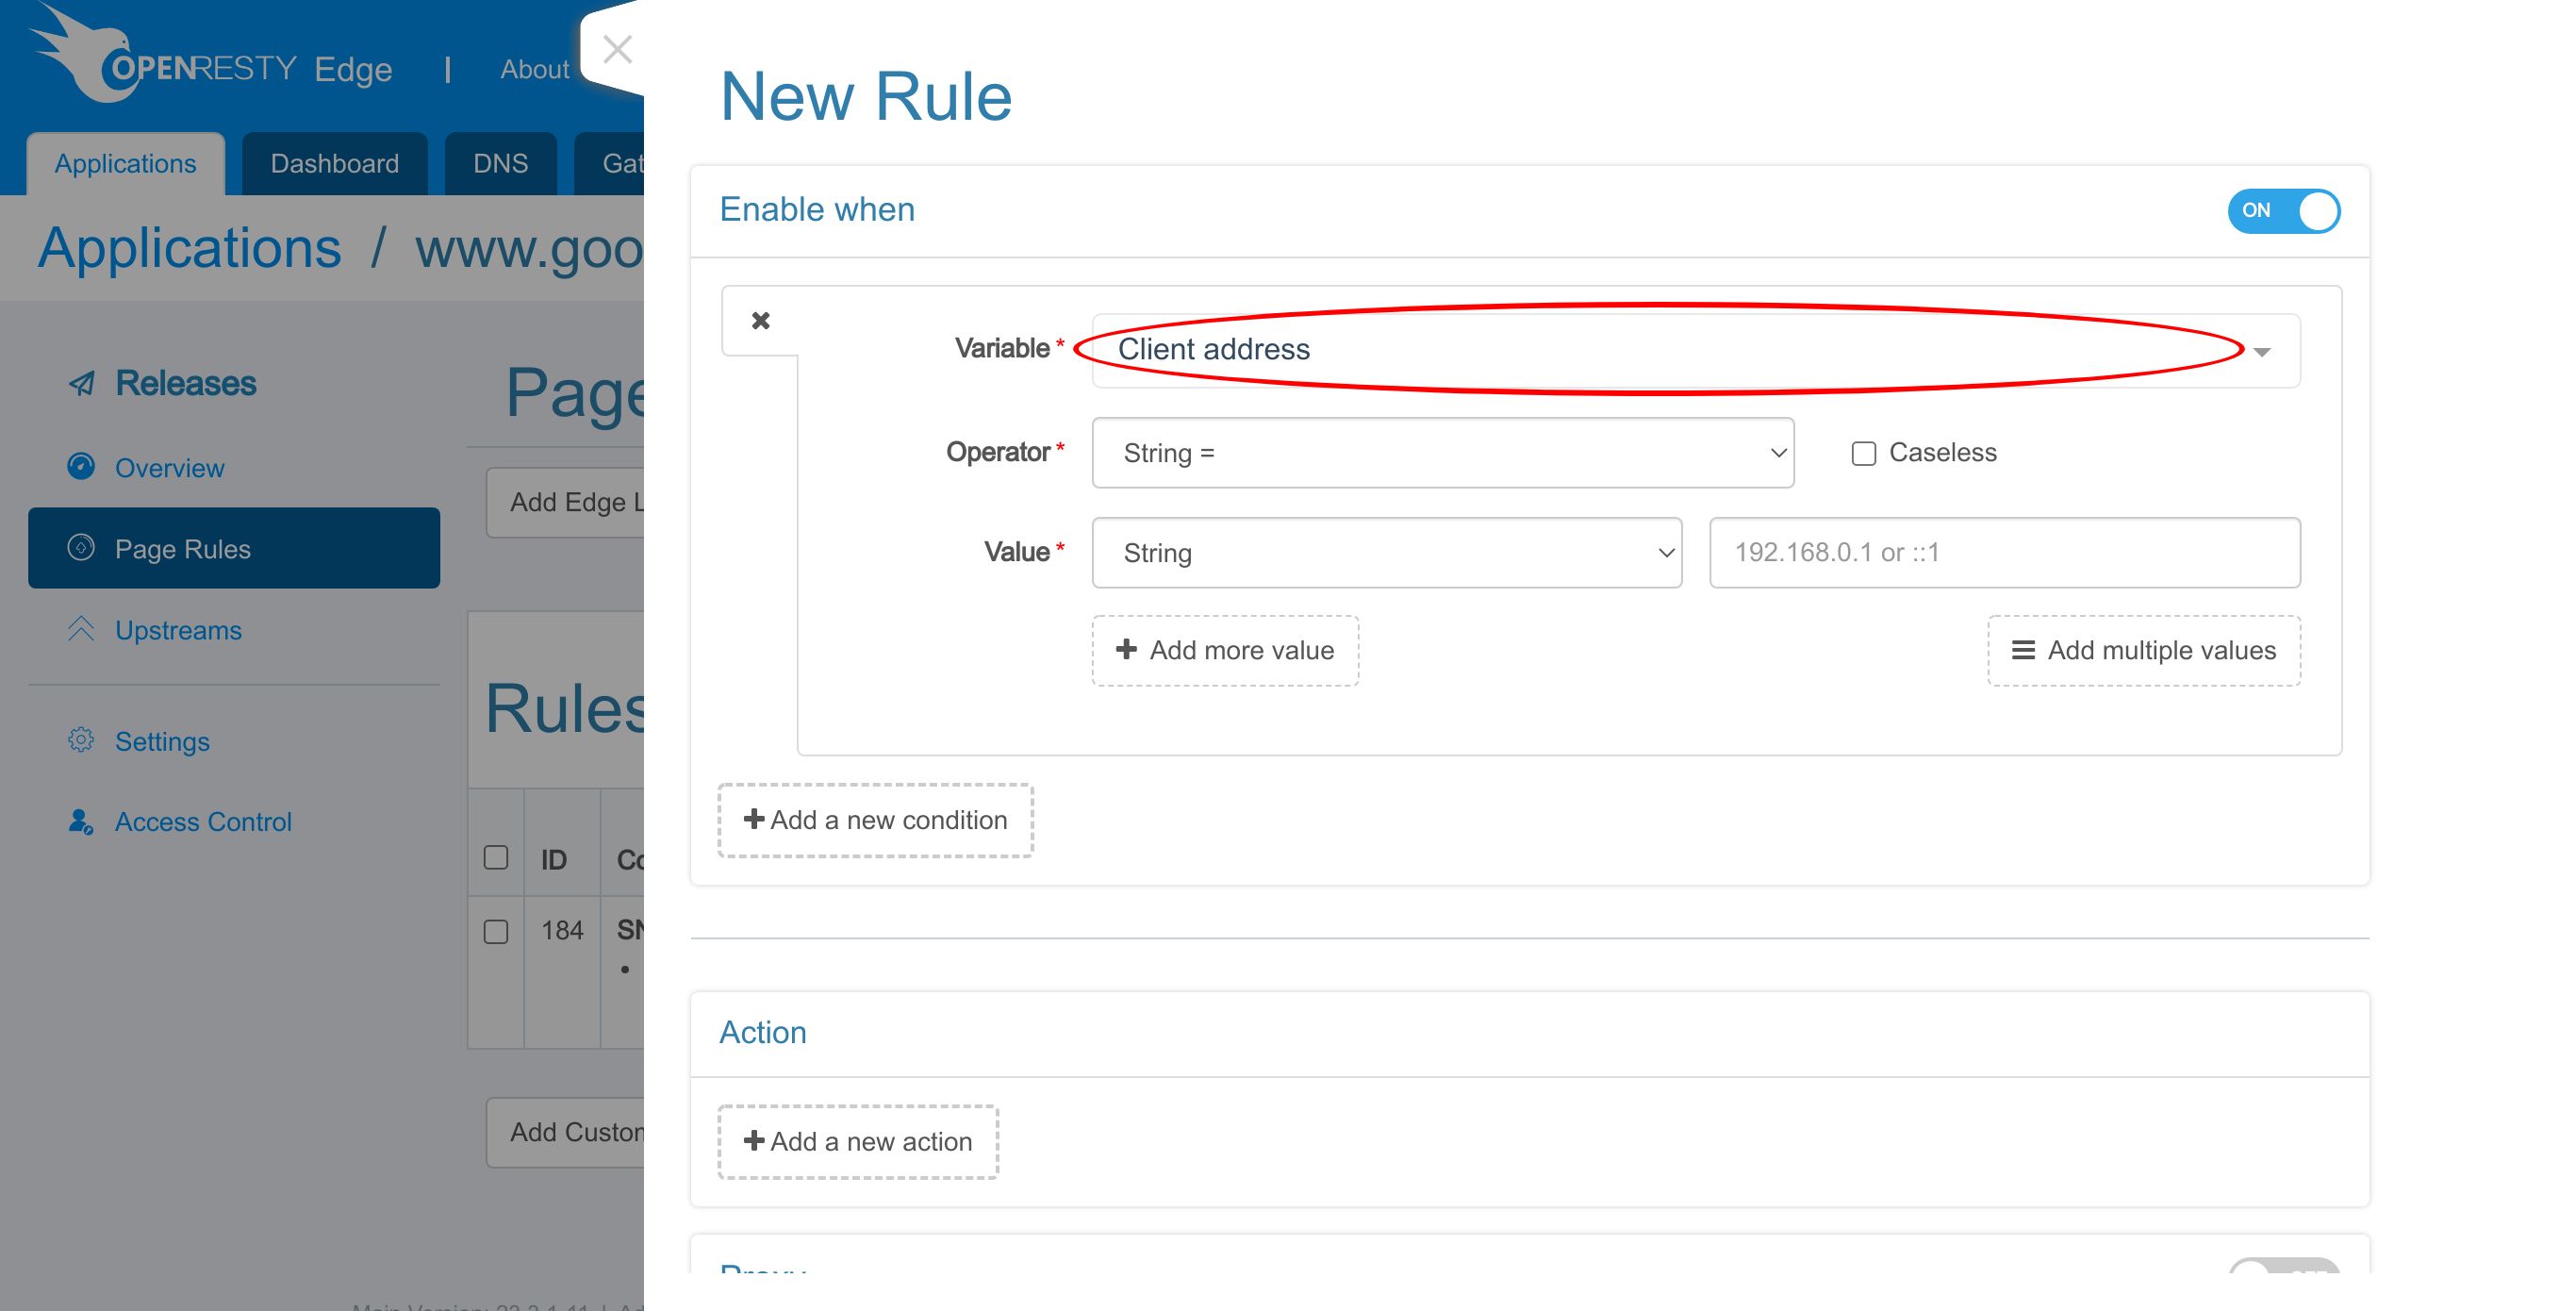
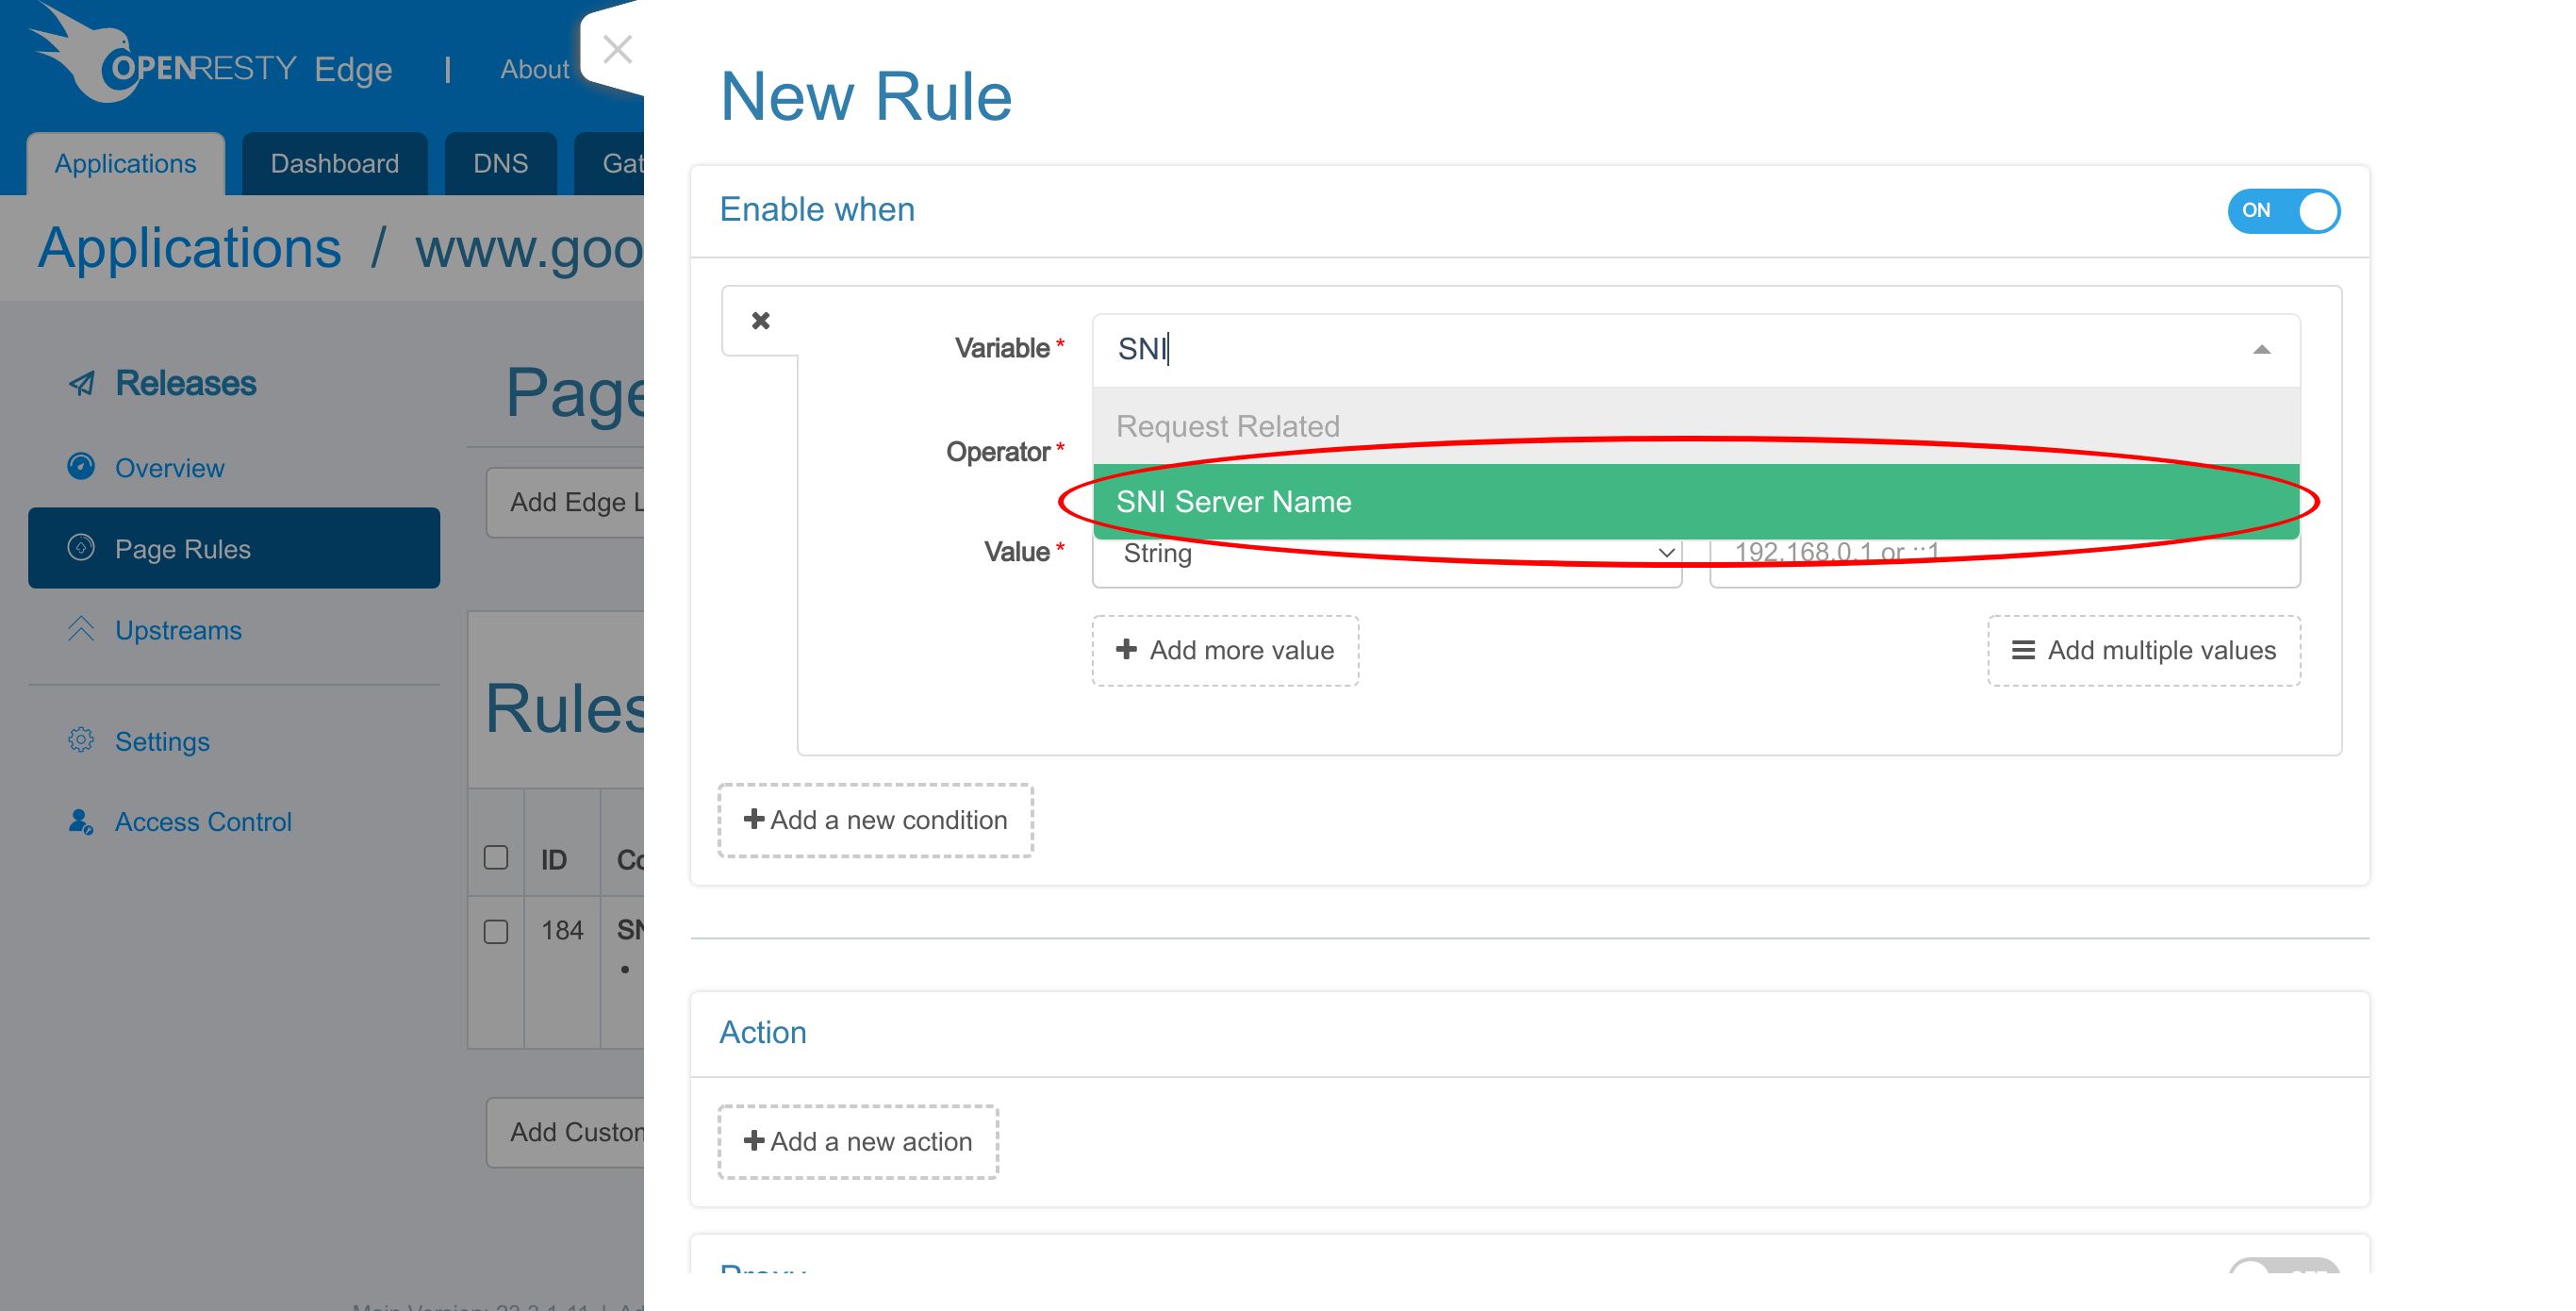
We will choose which upstream to proxy based on the SNI name of requests, so the variable name should be SNI Server Name.
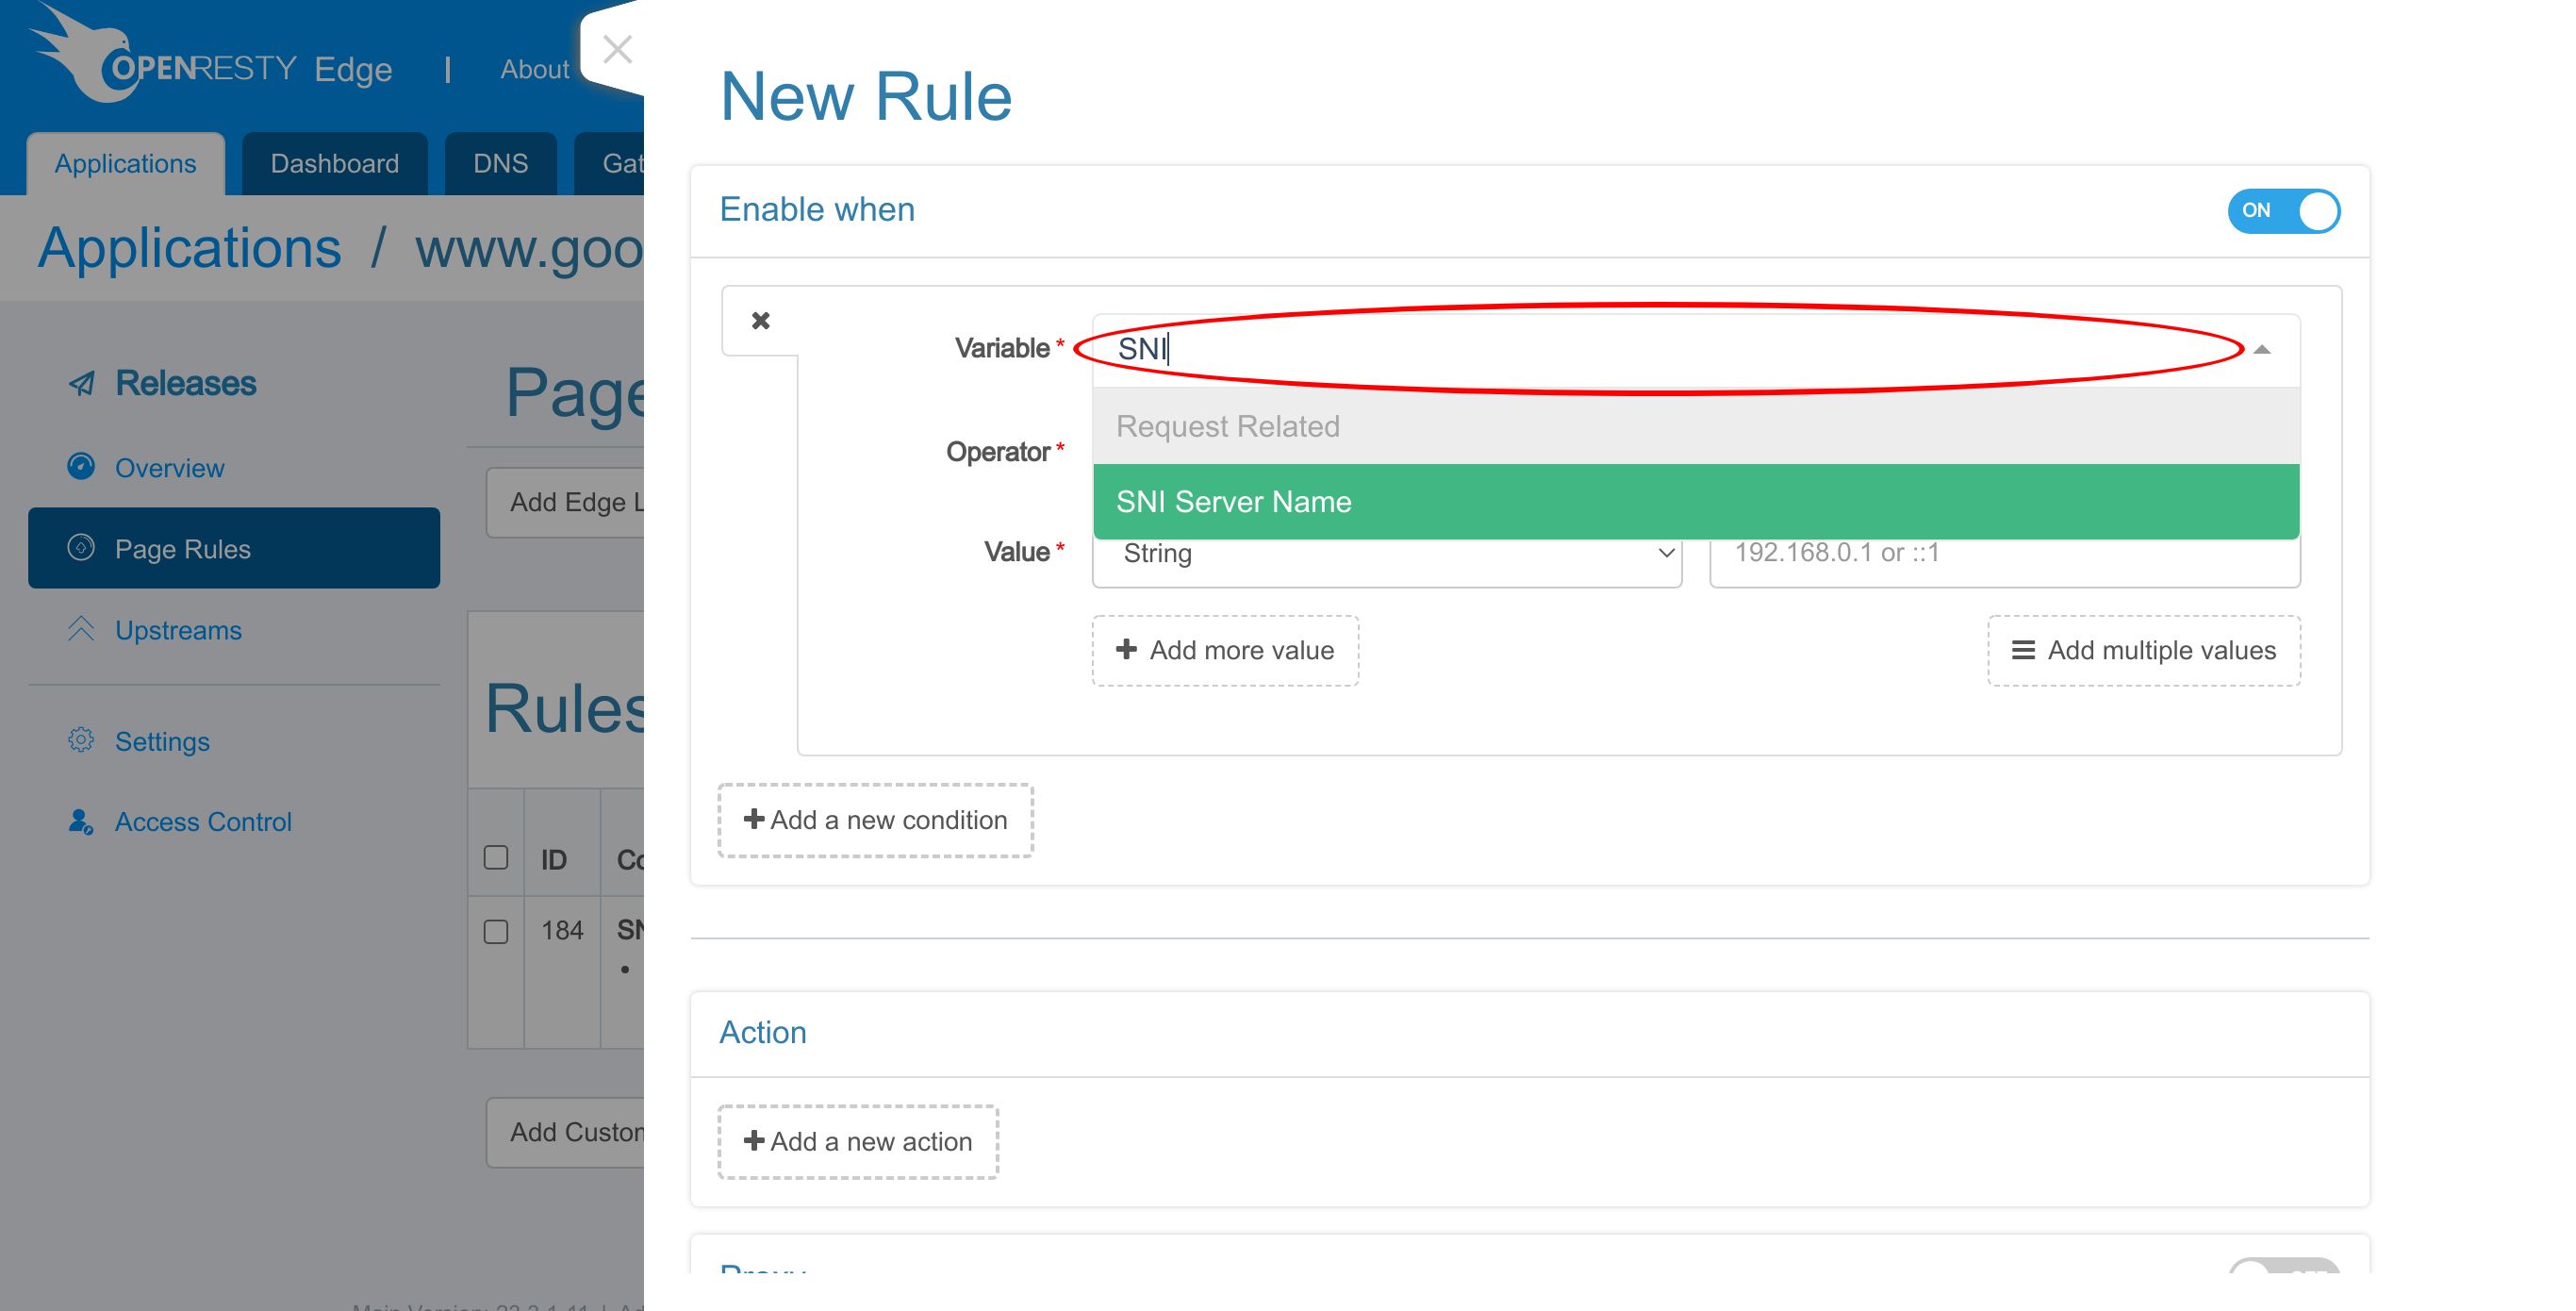
Search for SNI.
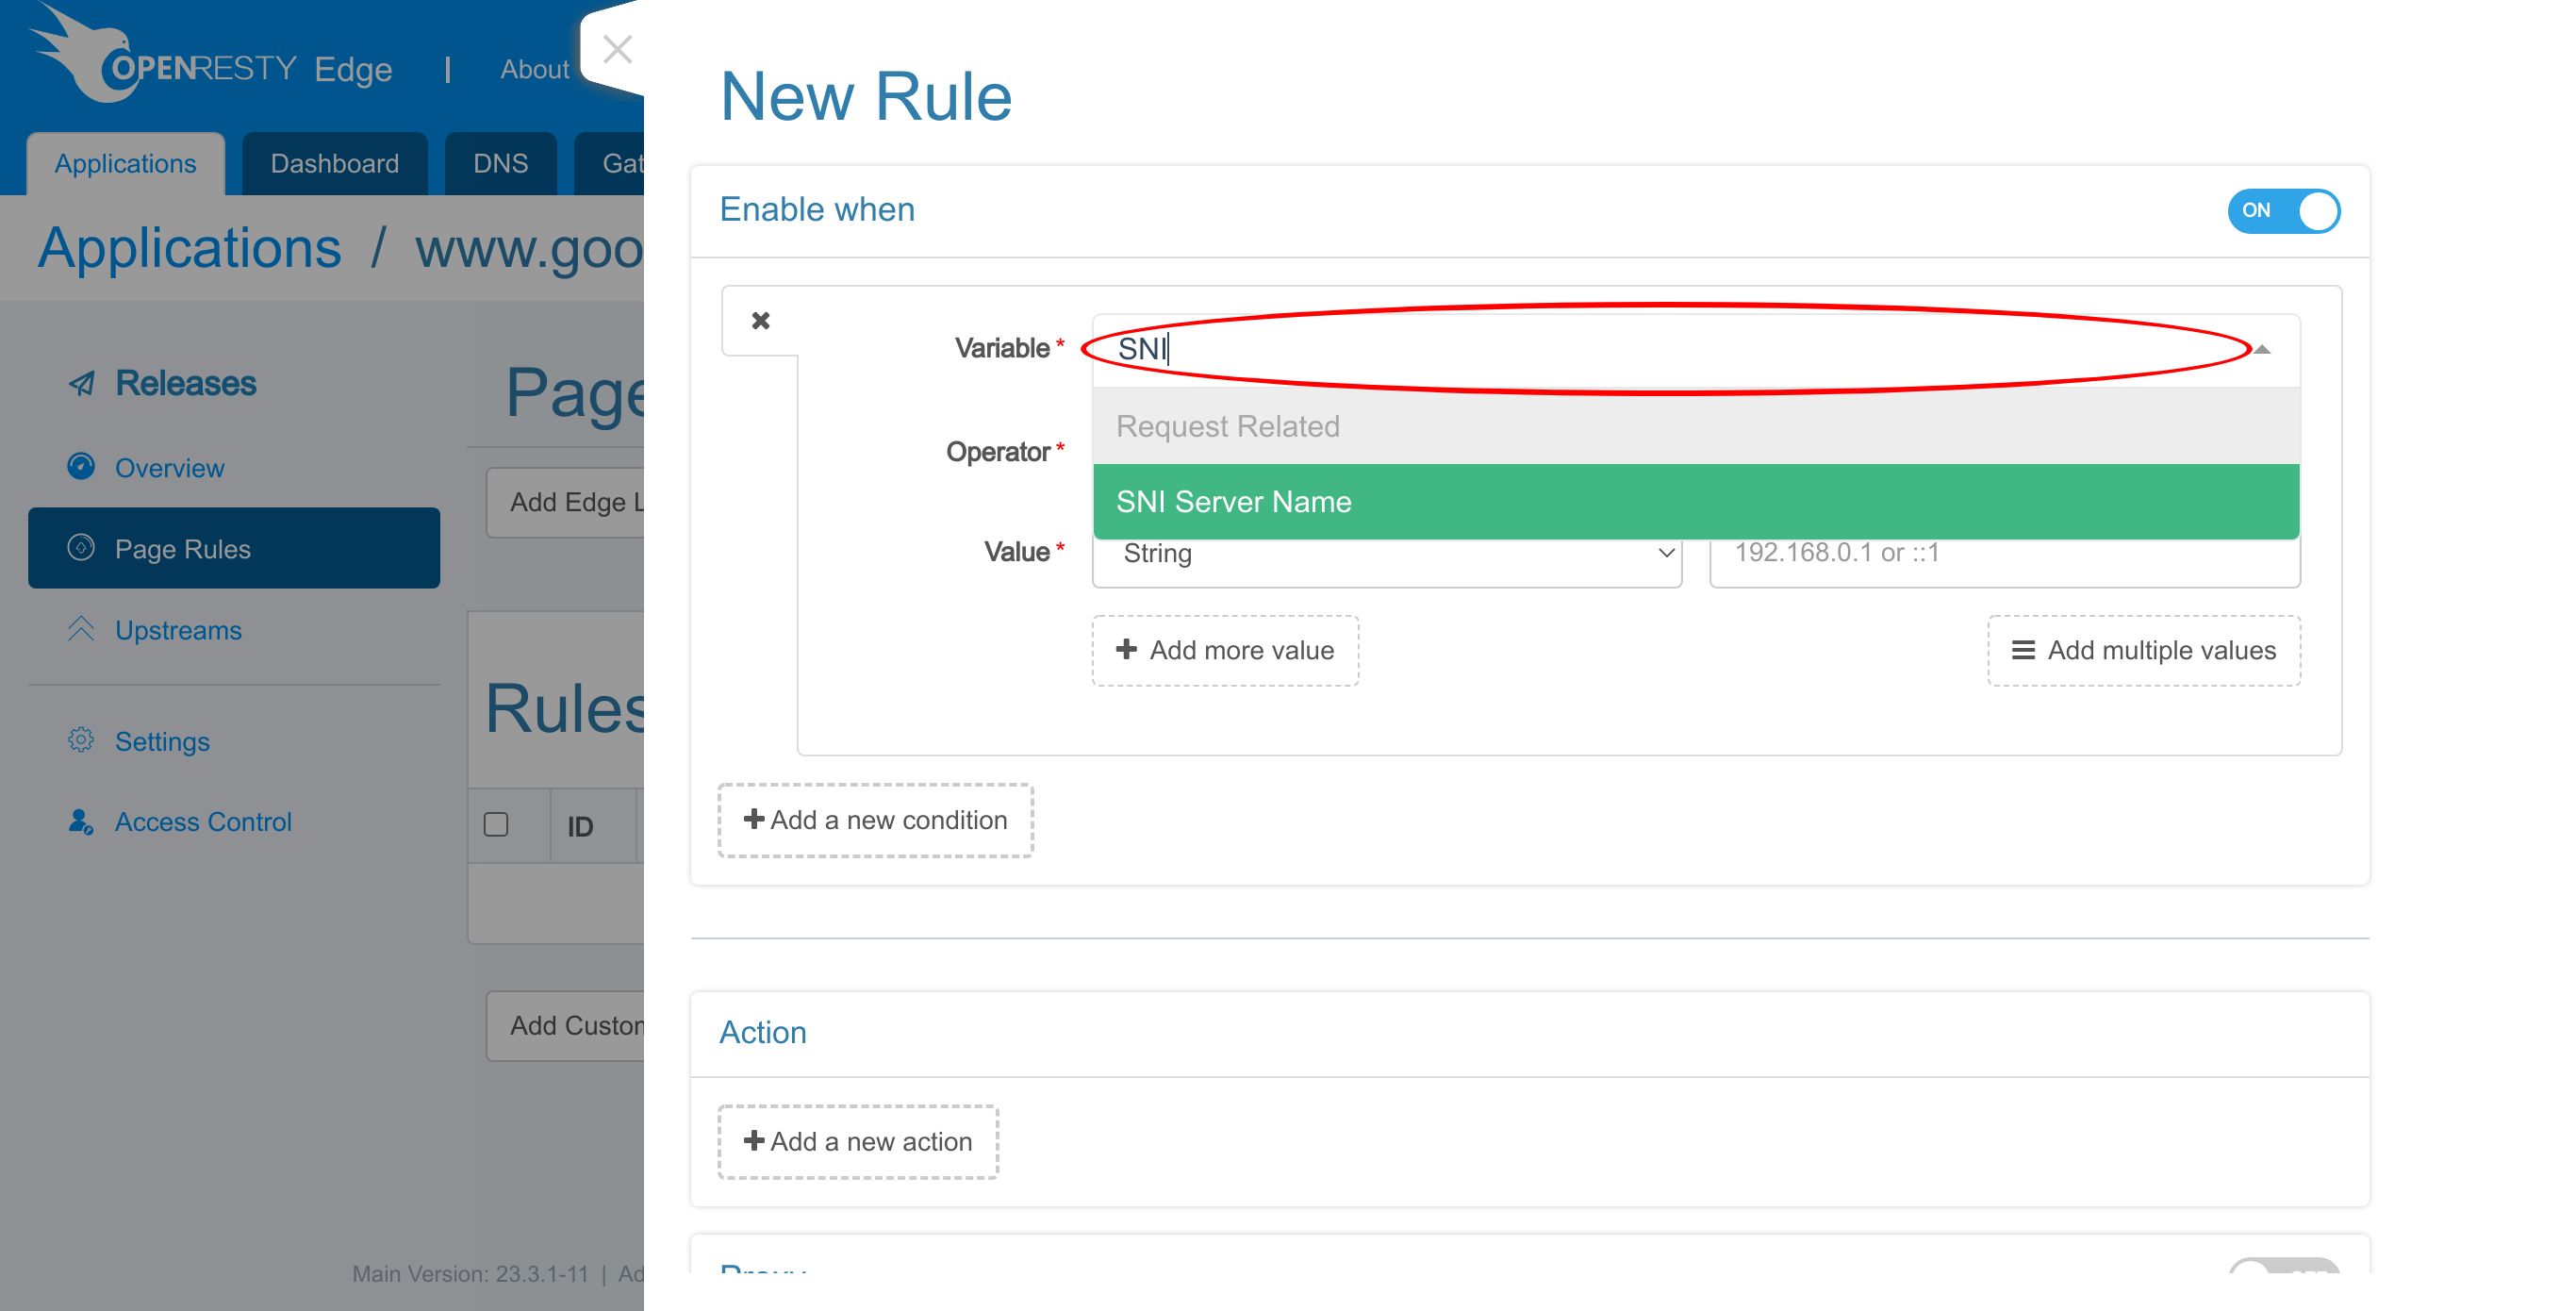
And select SNI Server Name.
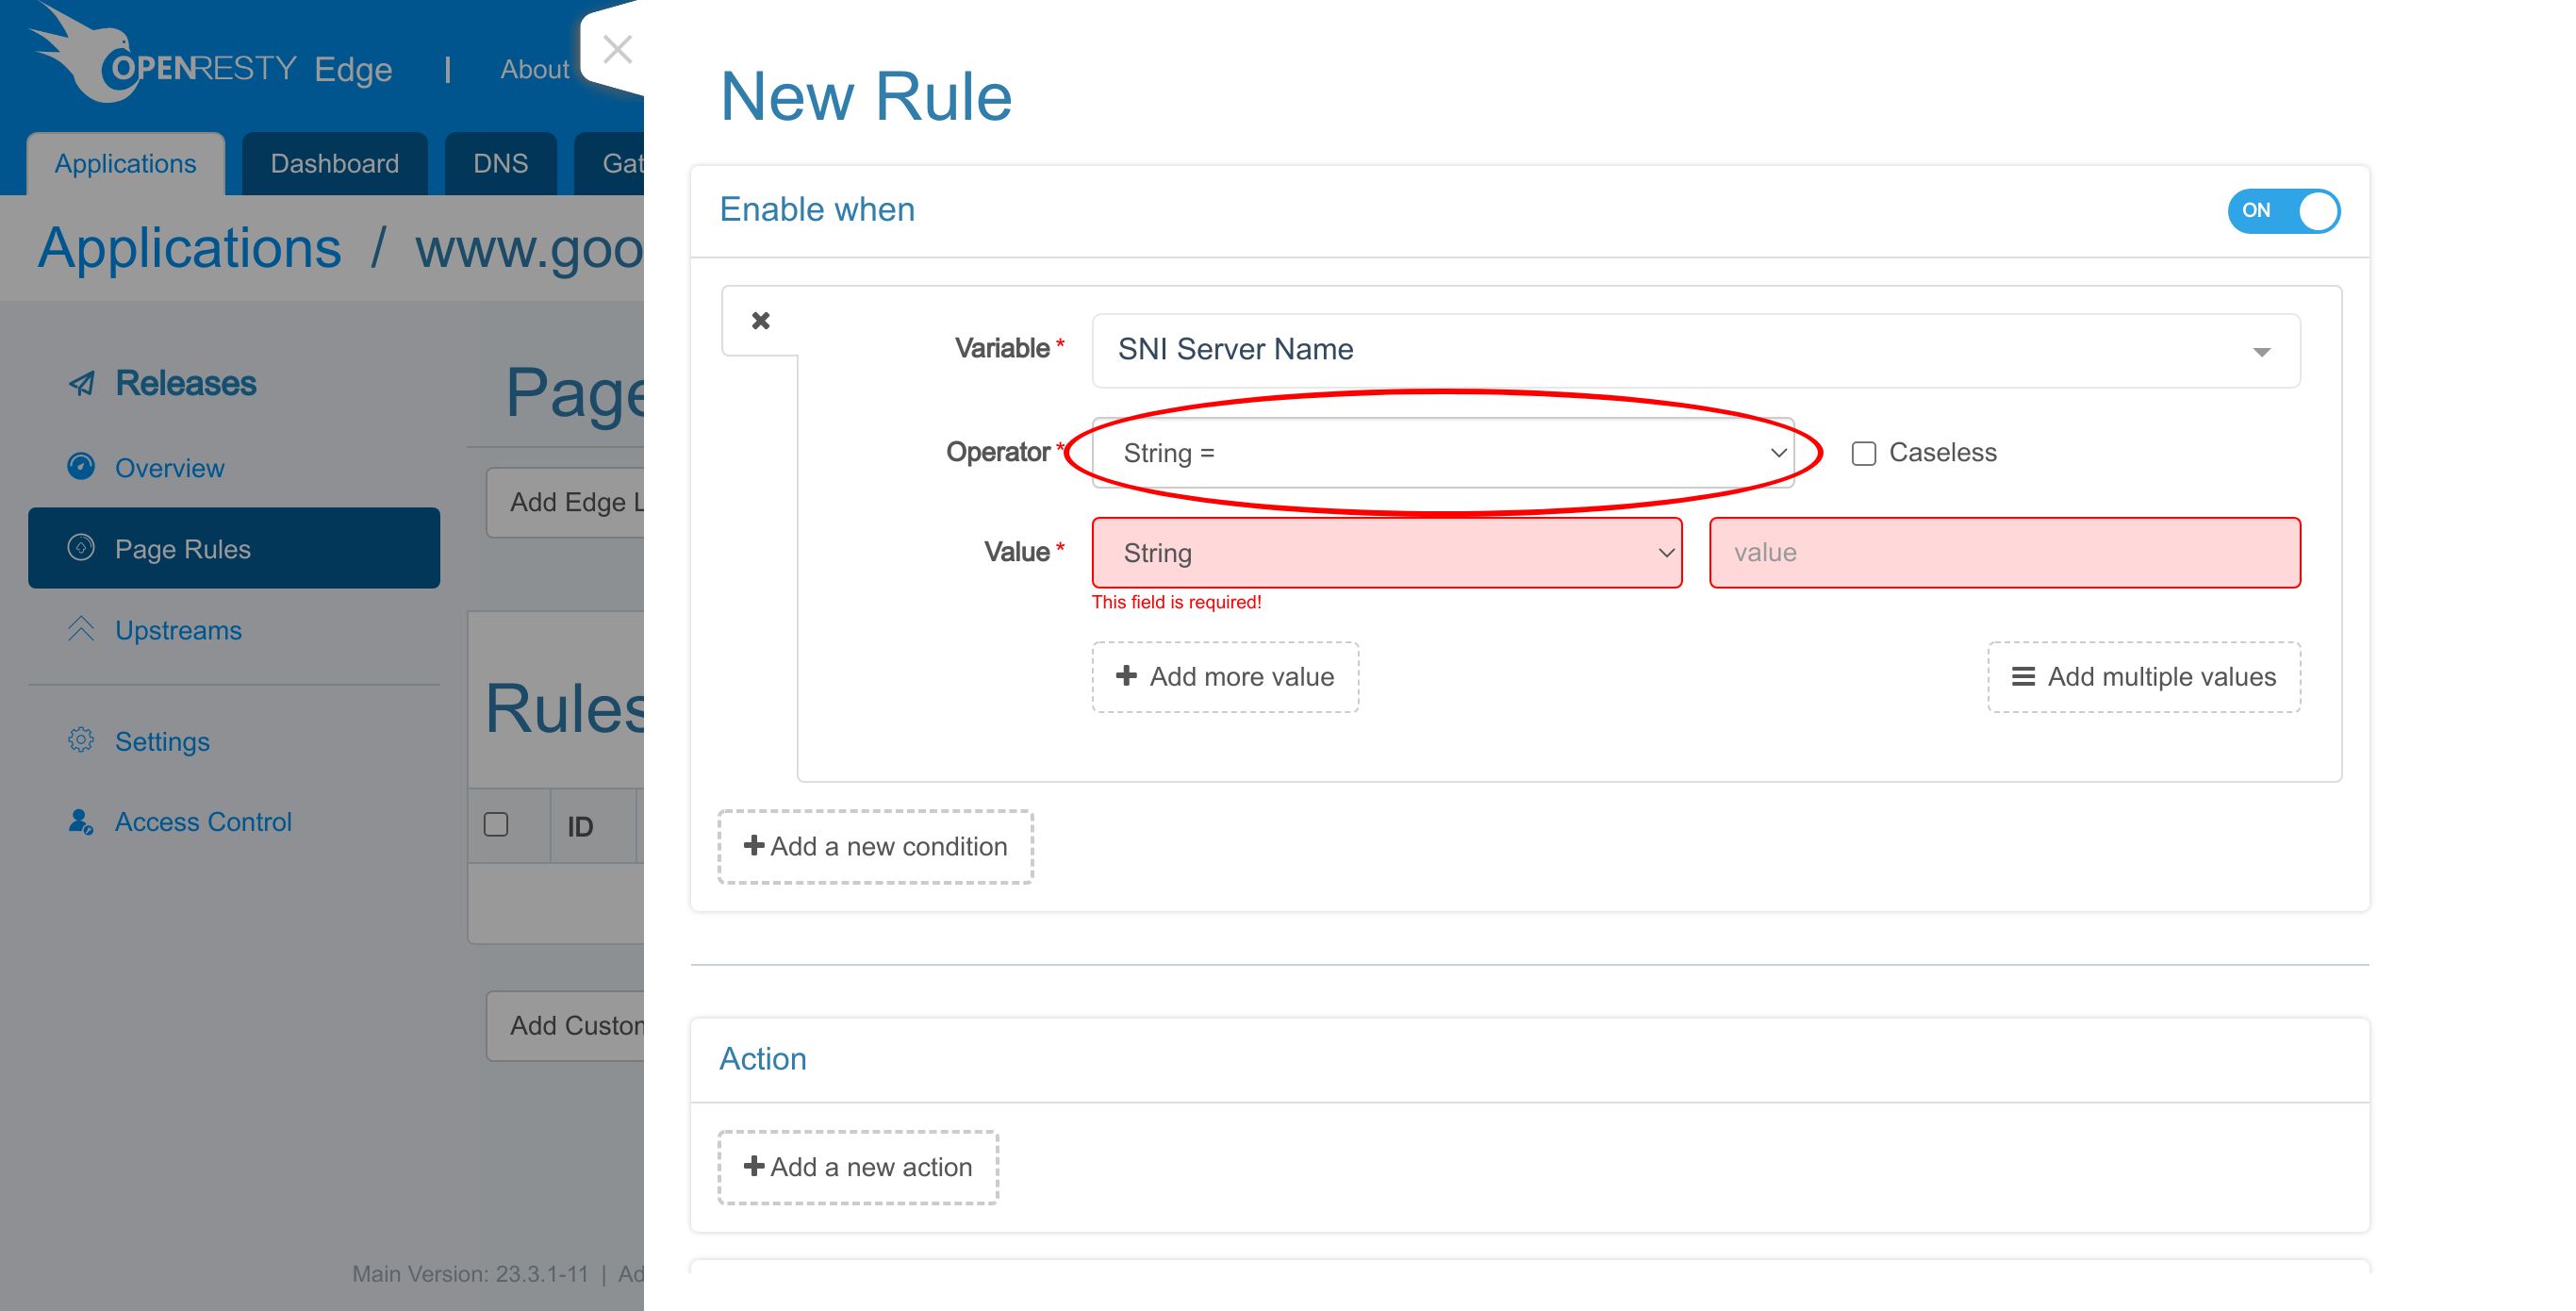
Keep the selection String= for operator unchanged.
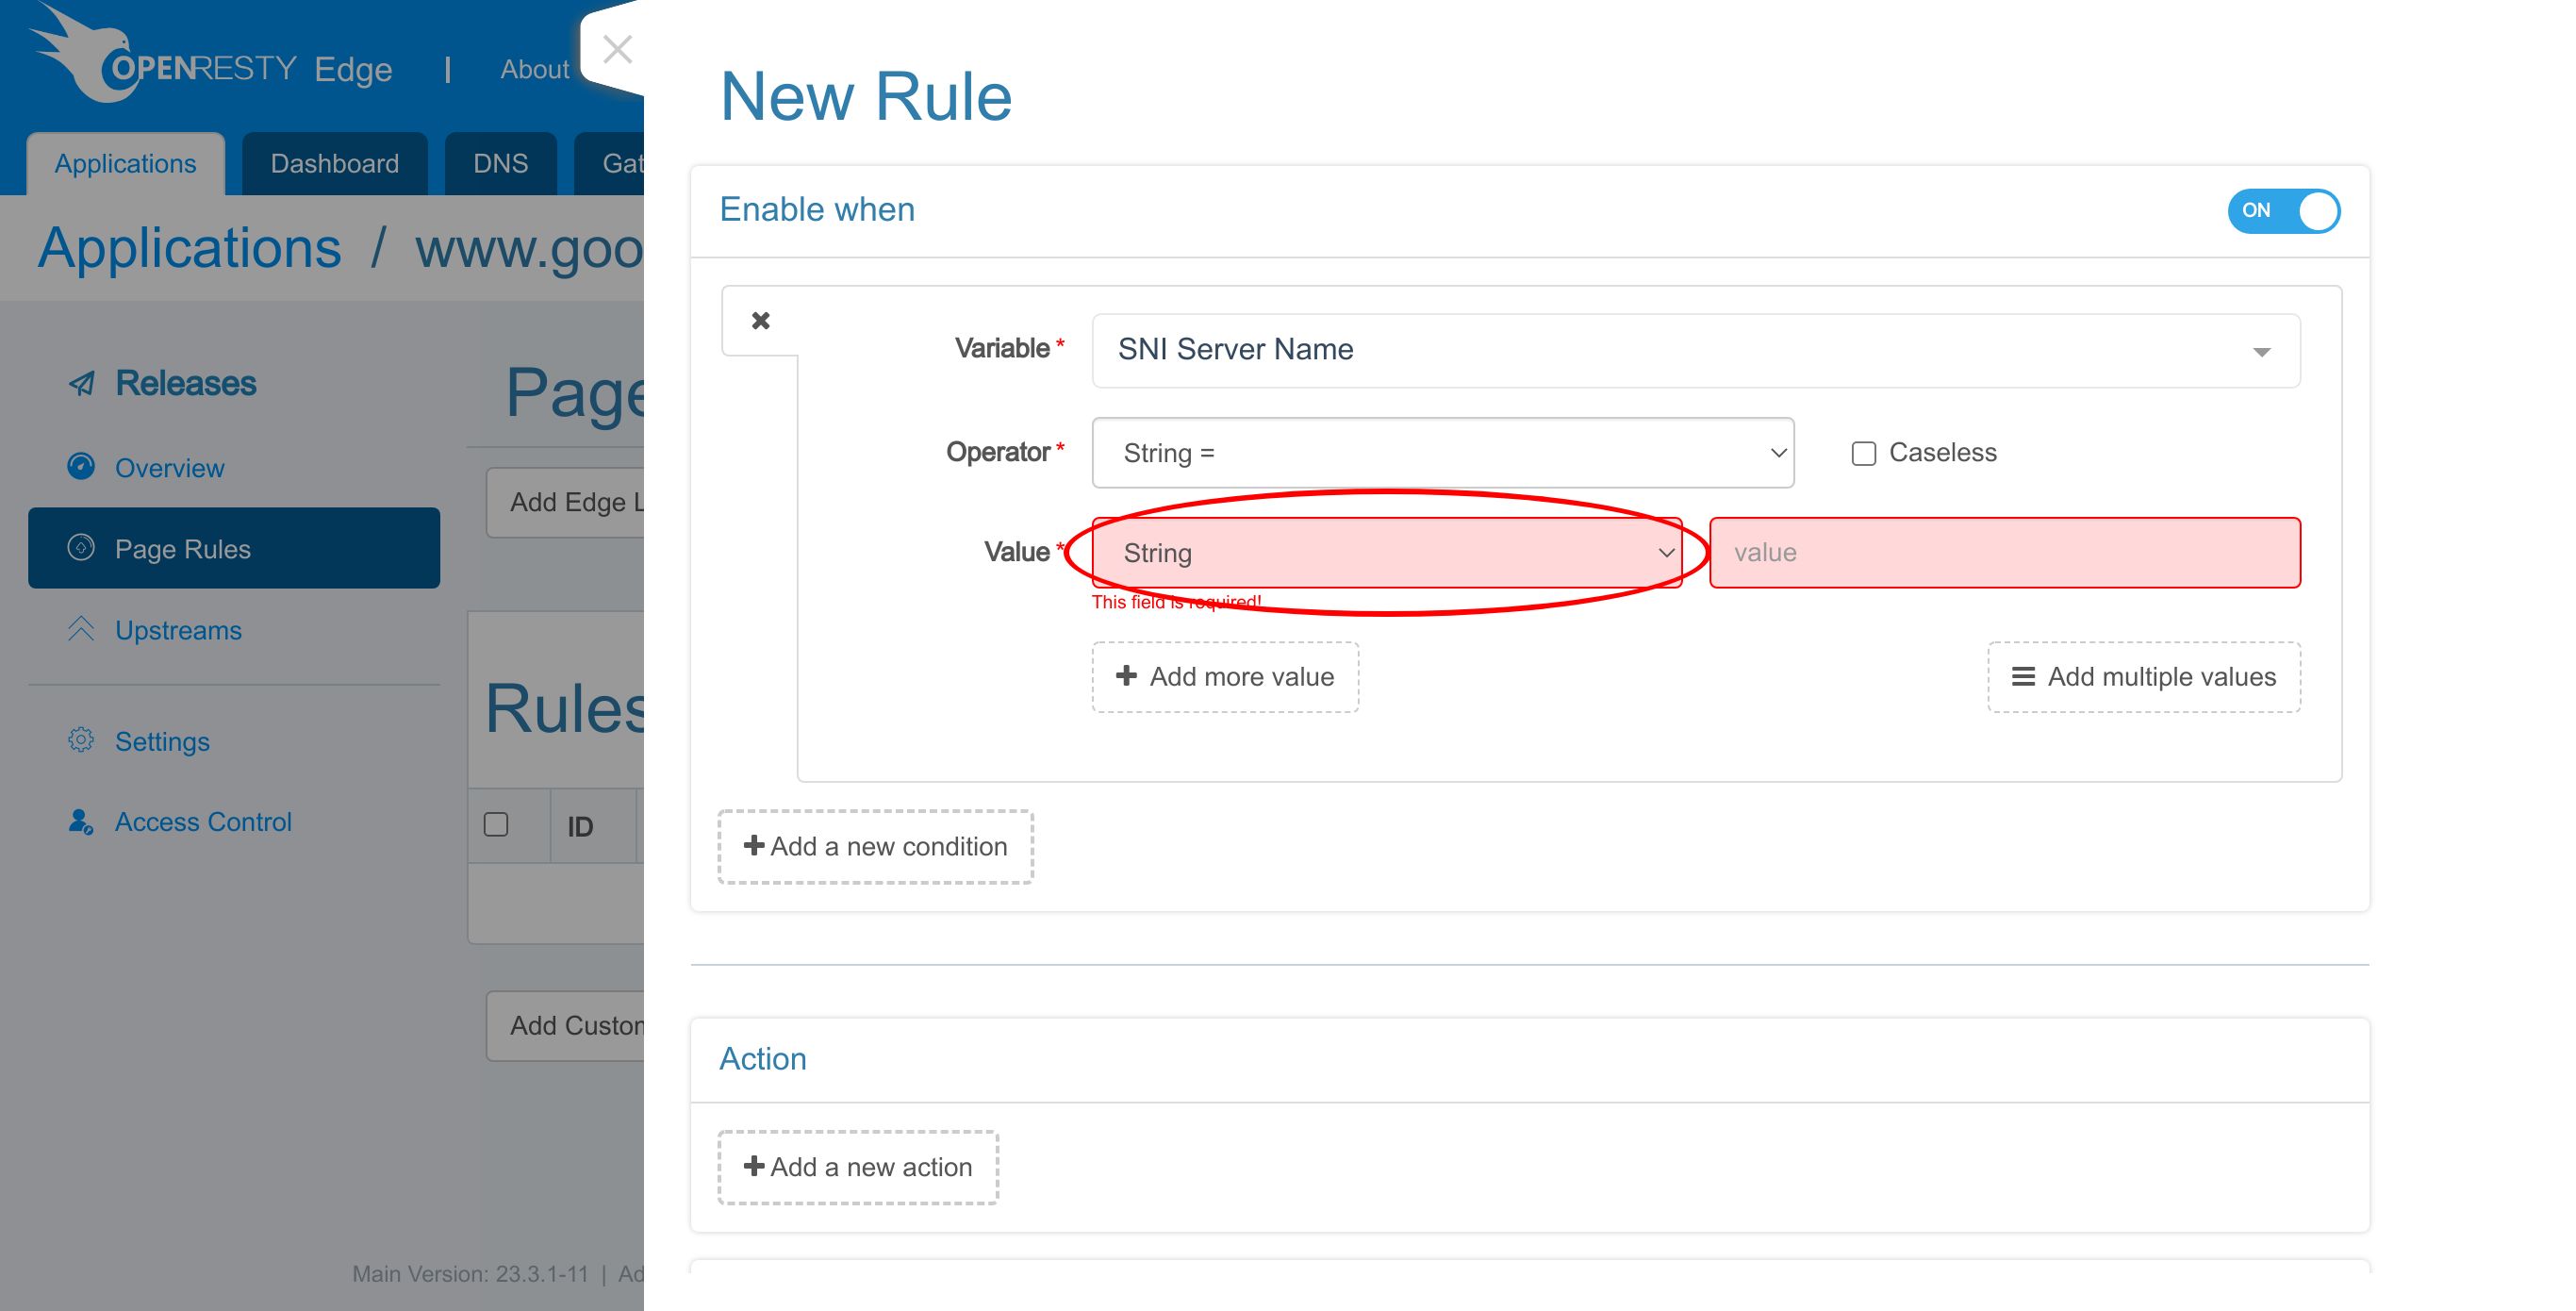
The type of the value should be String.
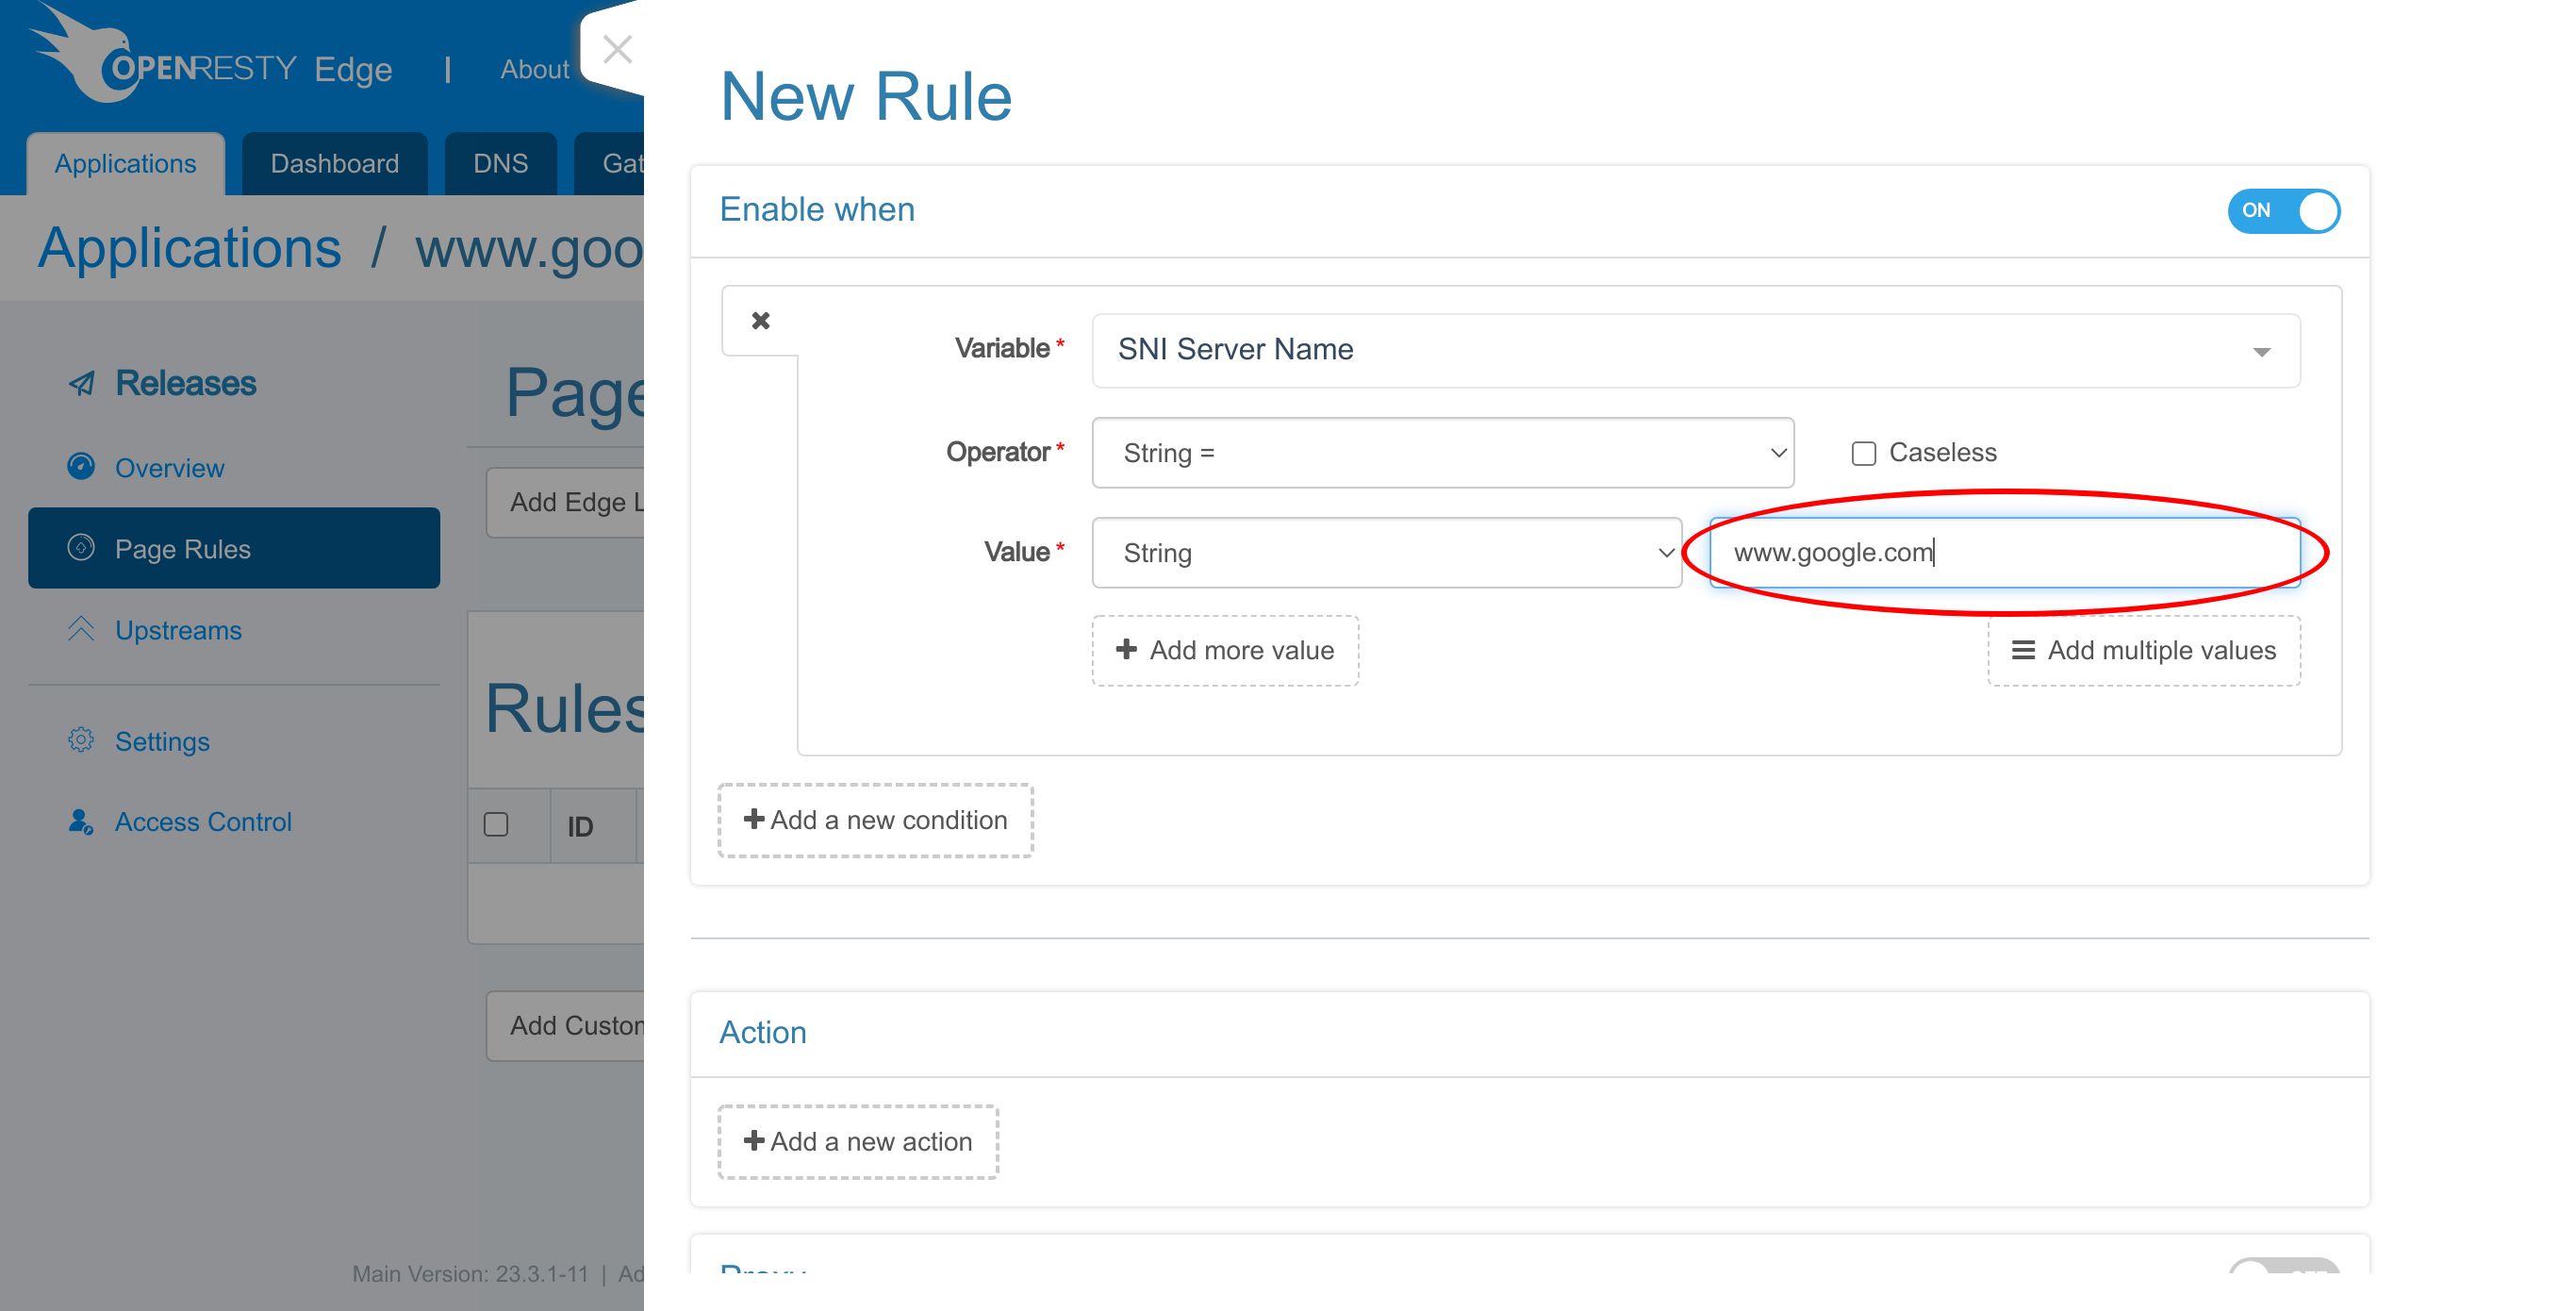
Enter “www.google.com” as the value.
Let’s add a proxy target here.
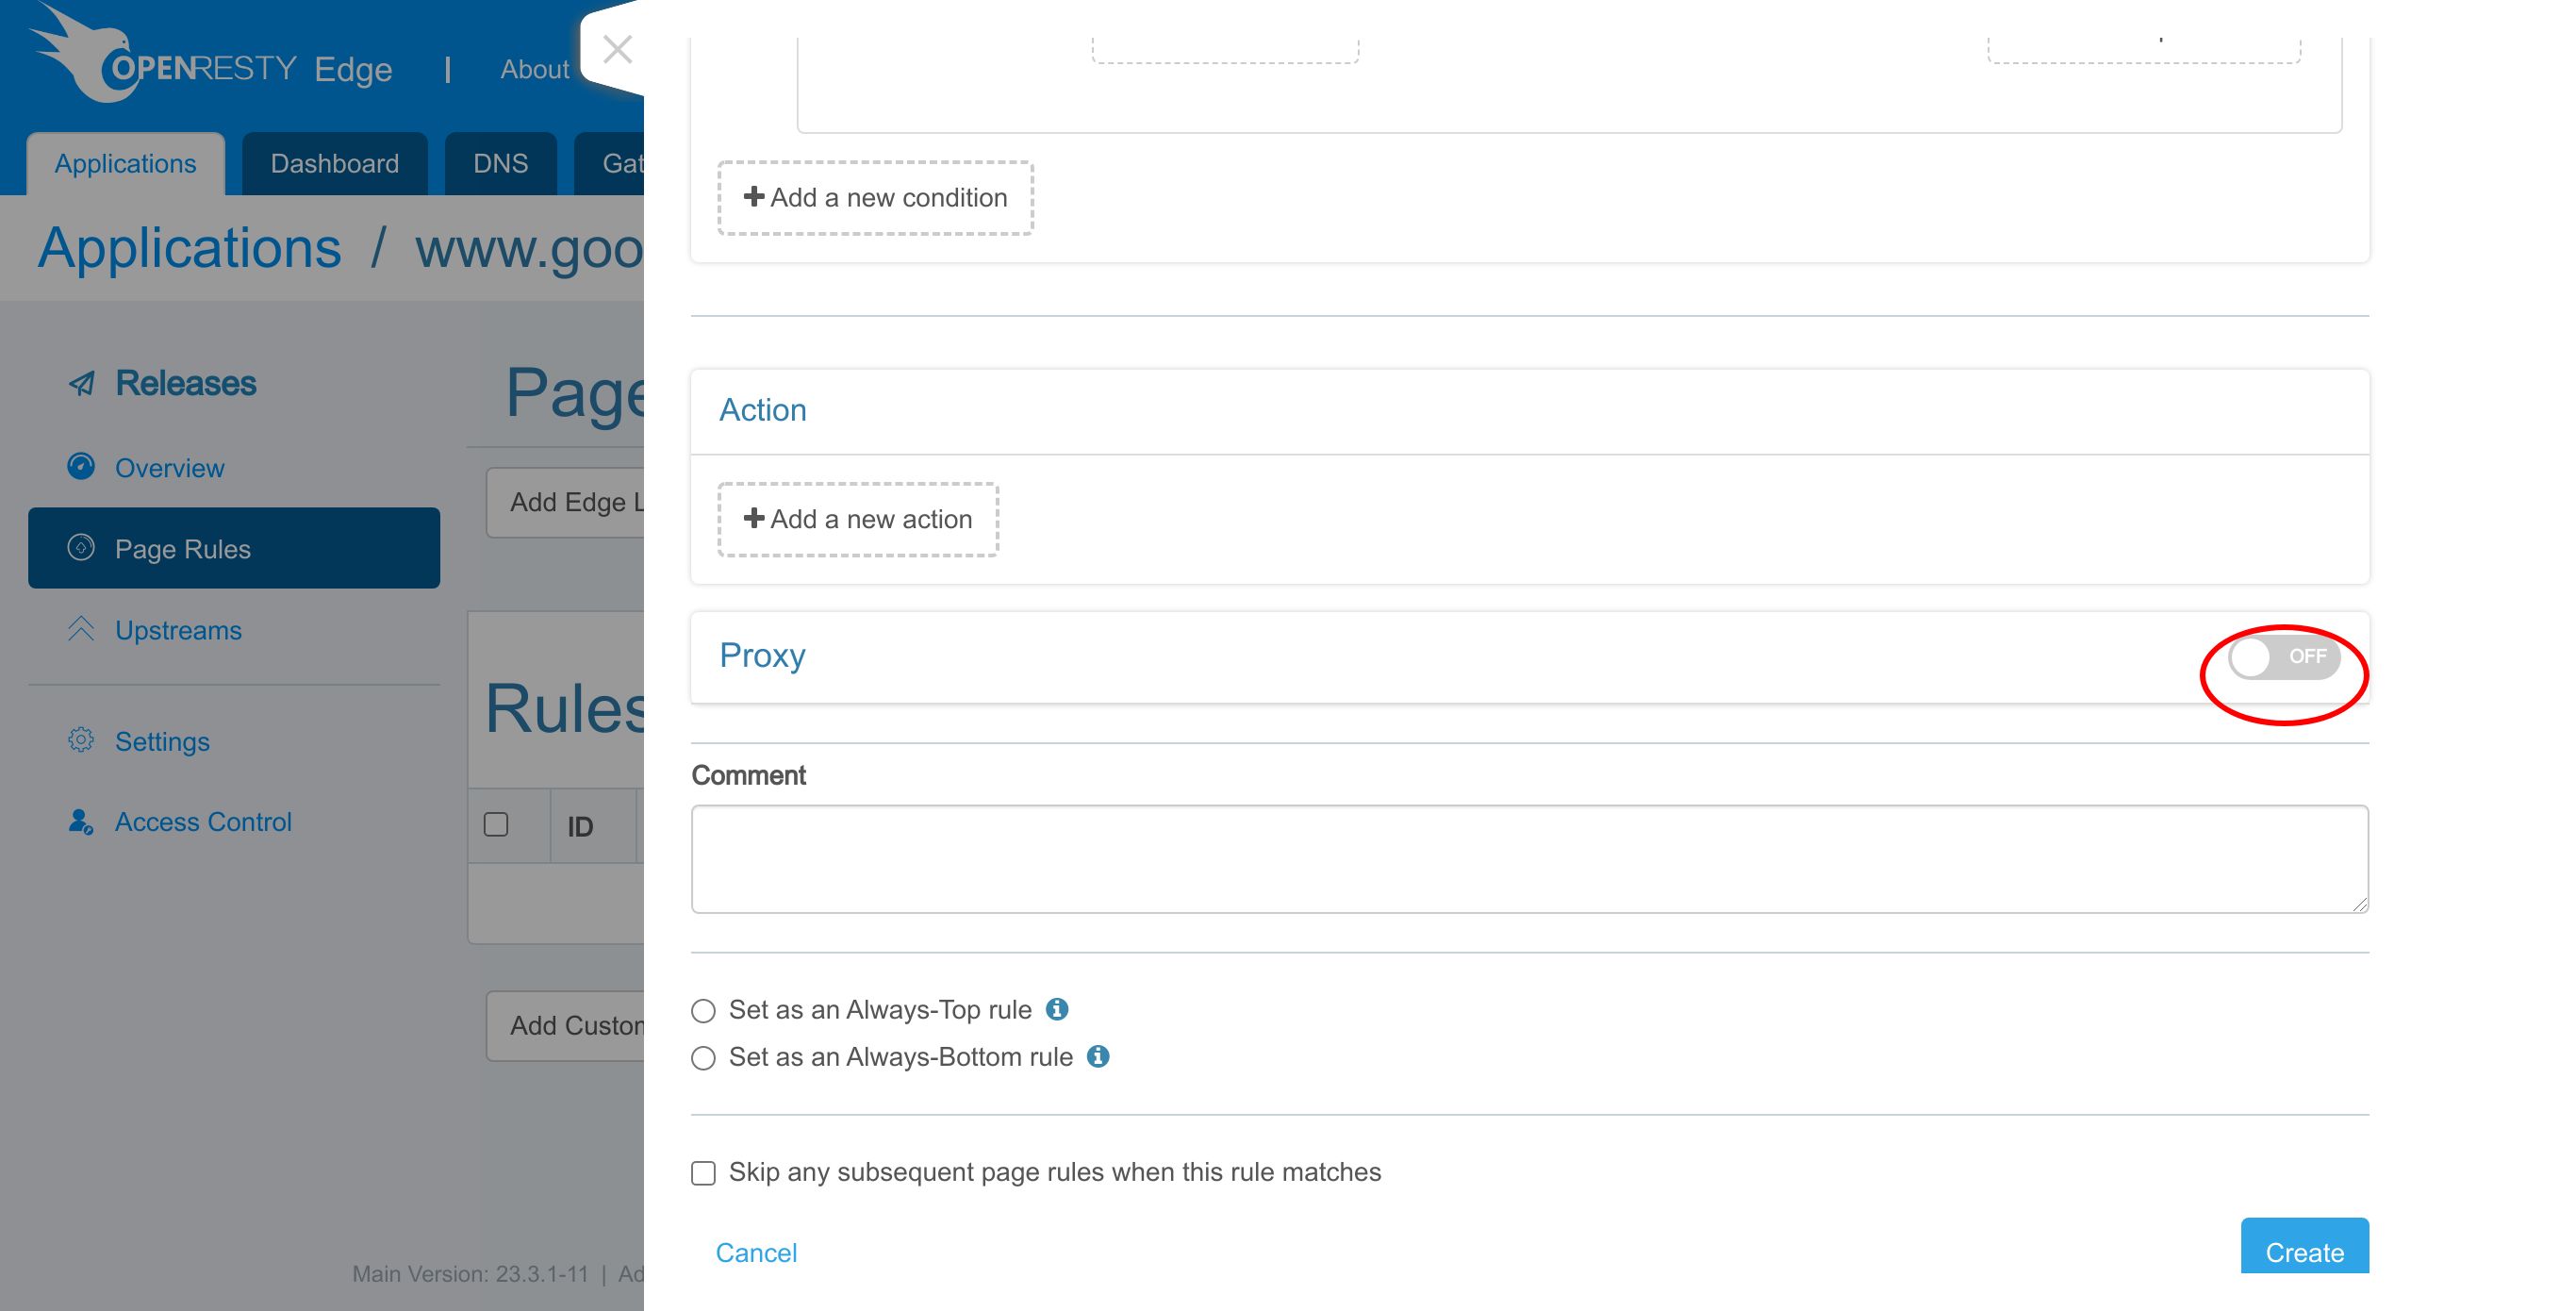
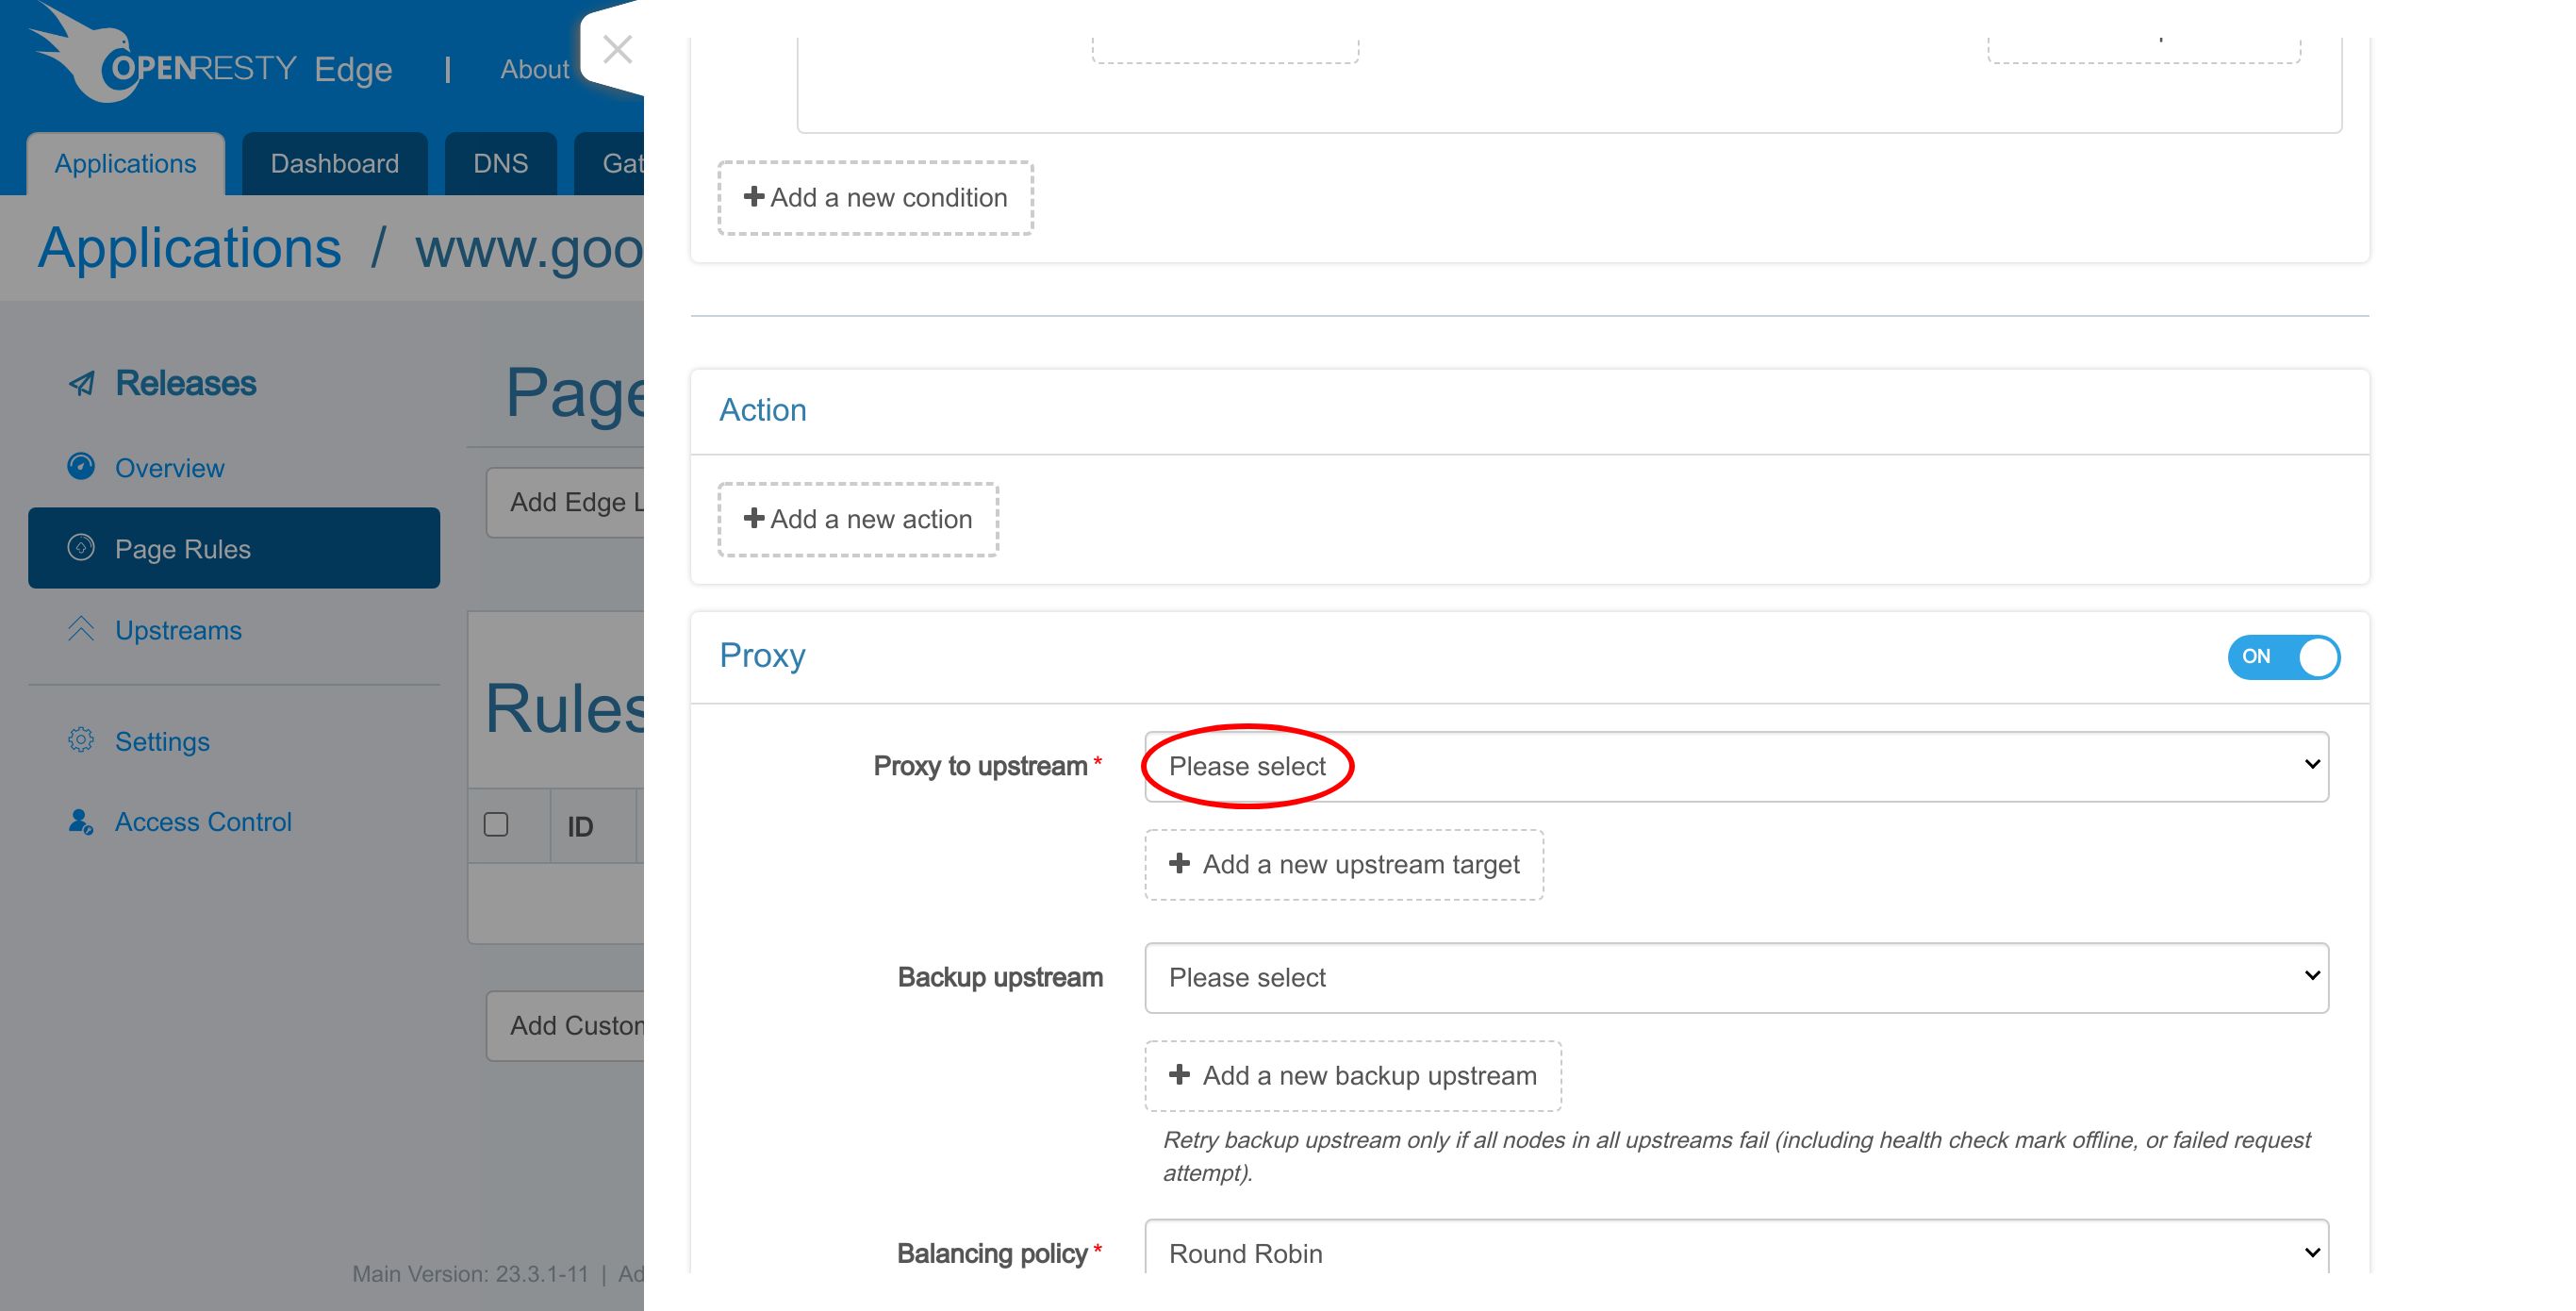
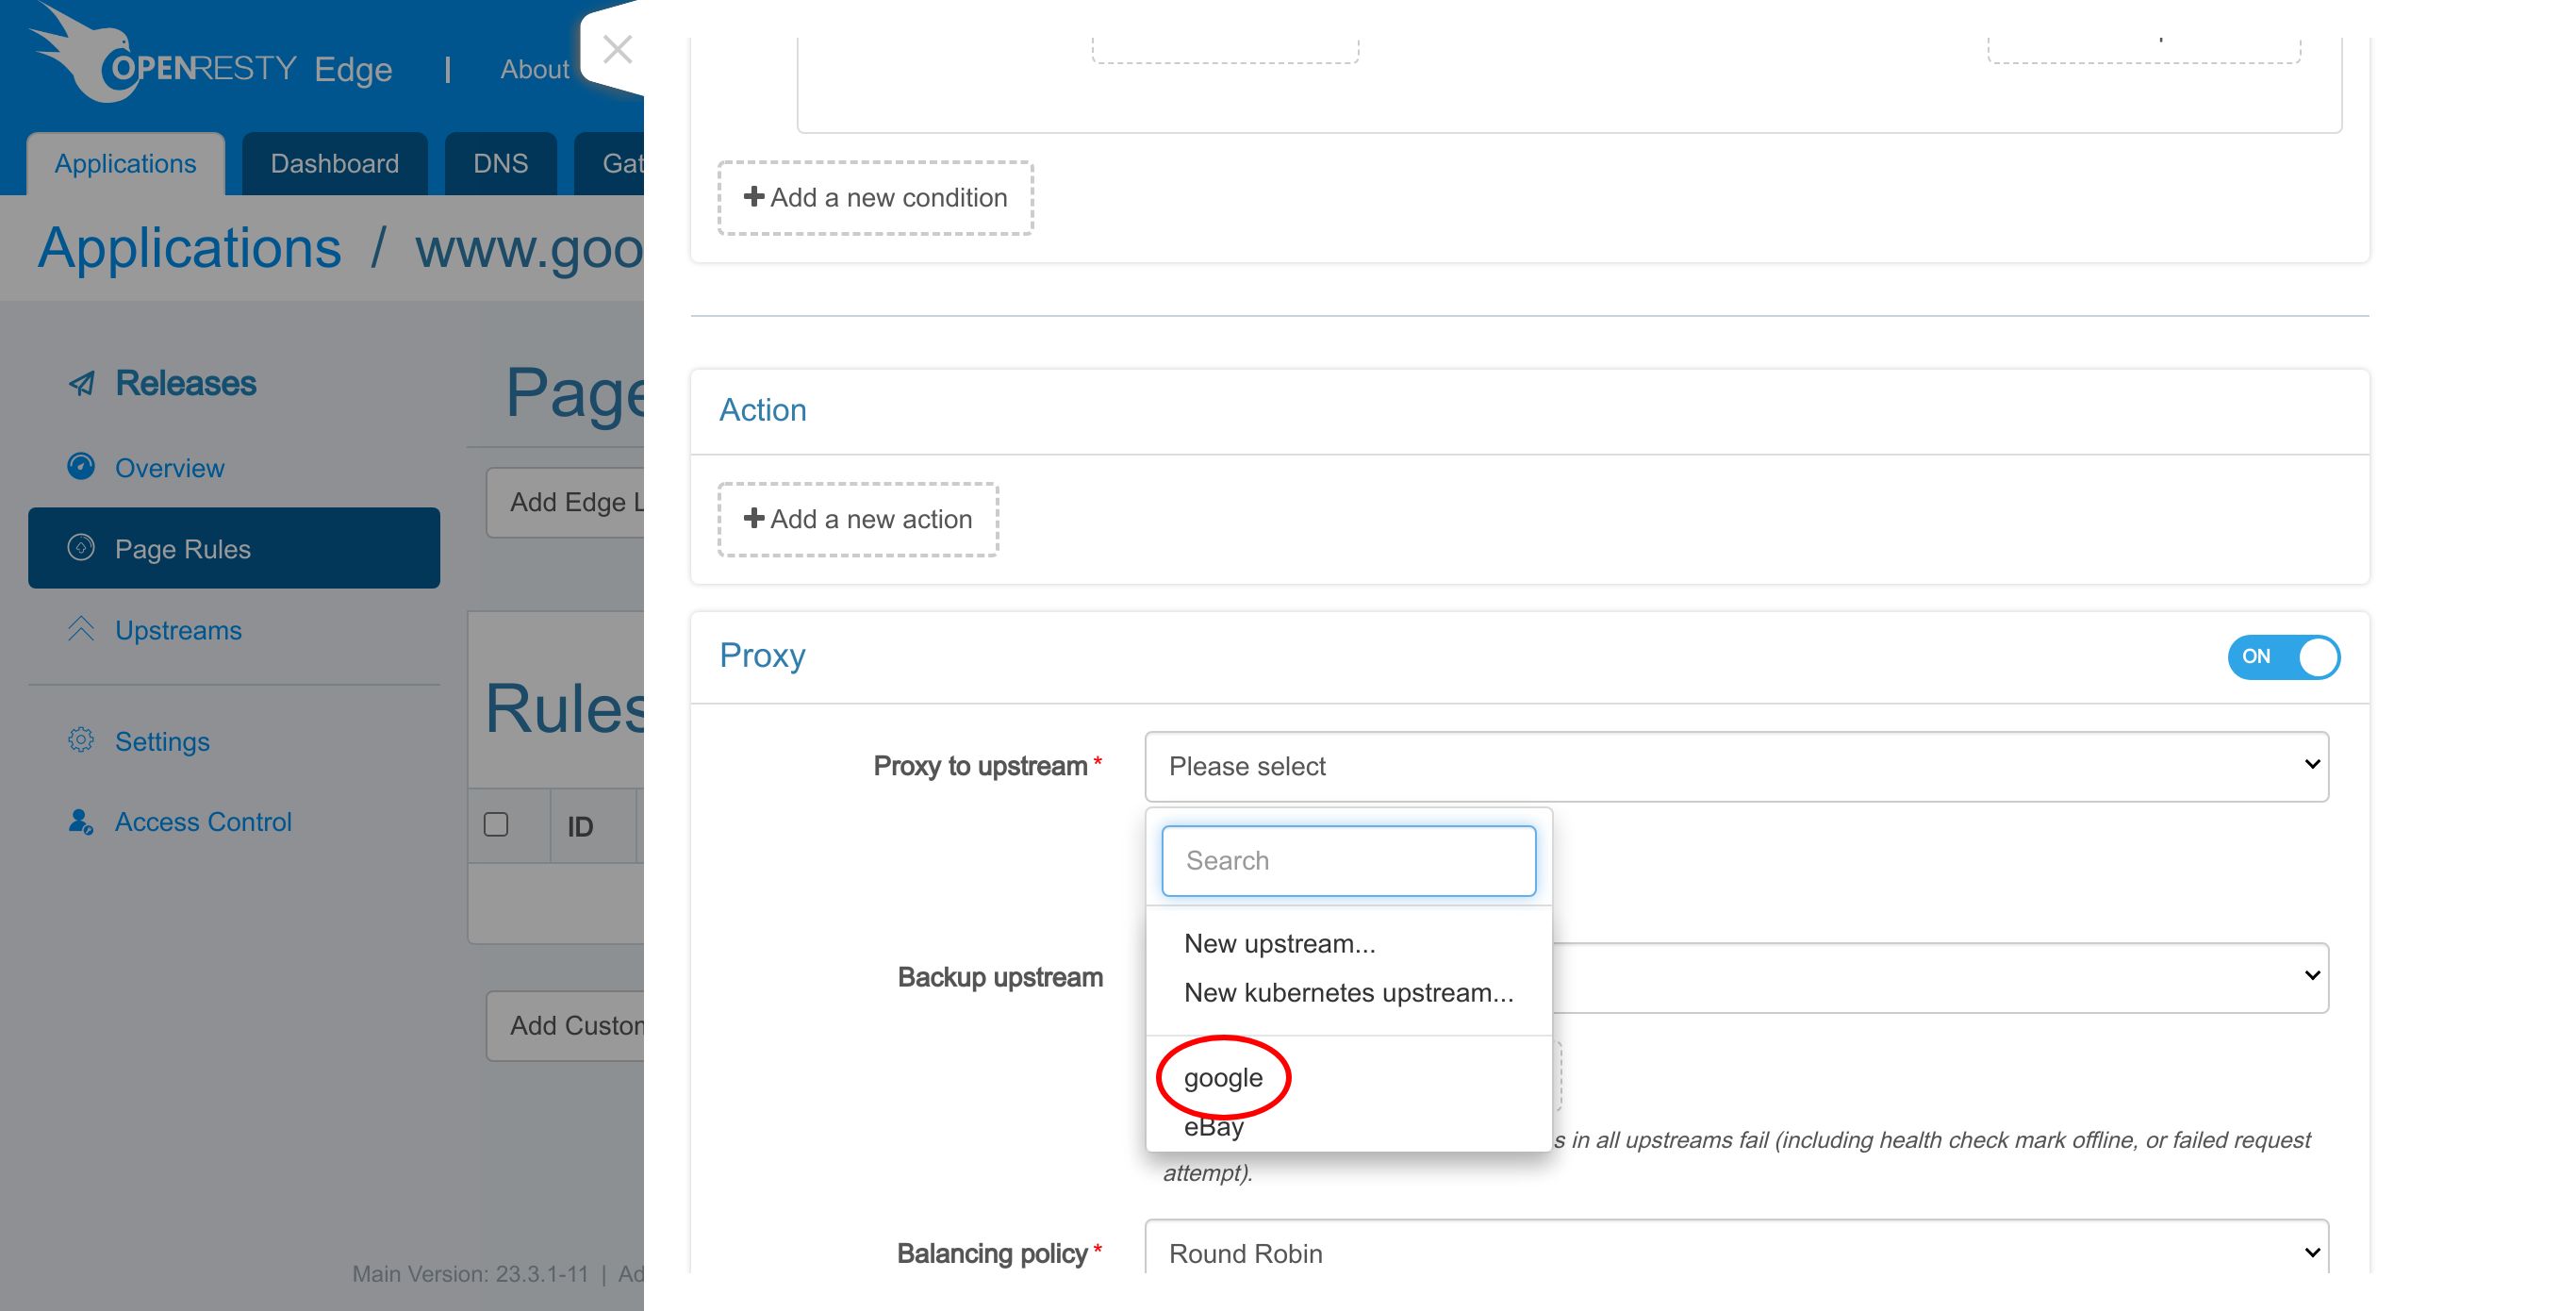
Select the first upstream that we just created.
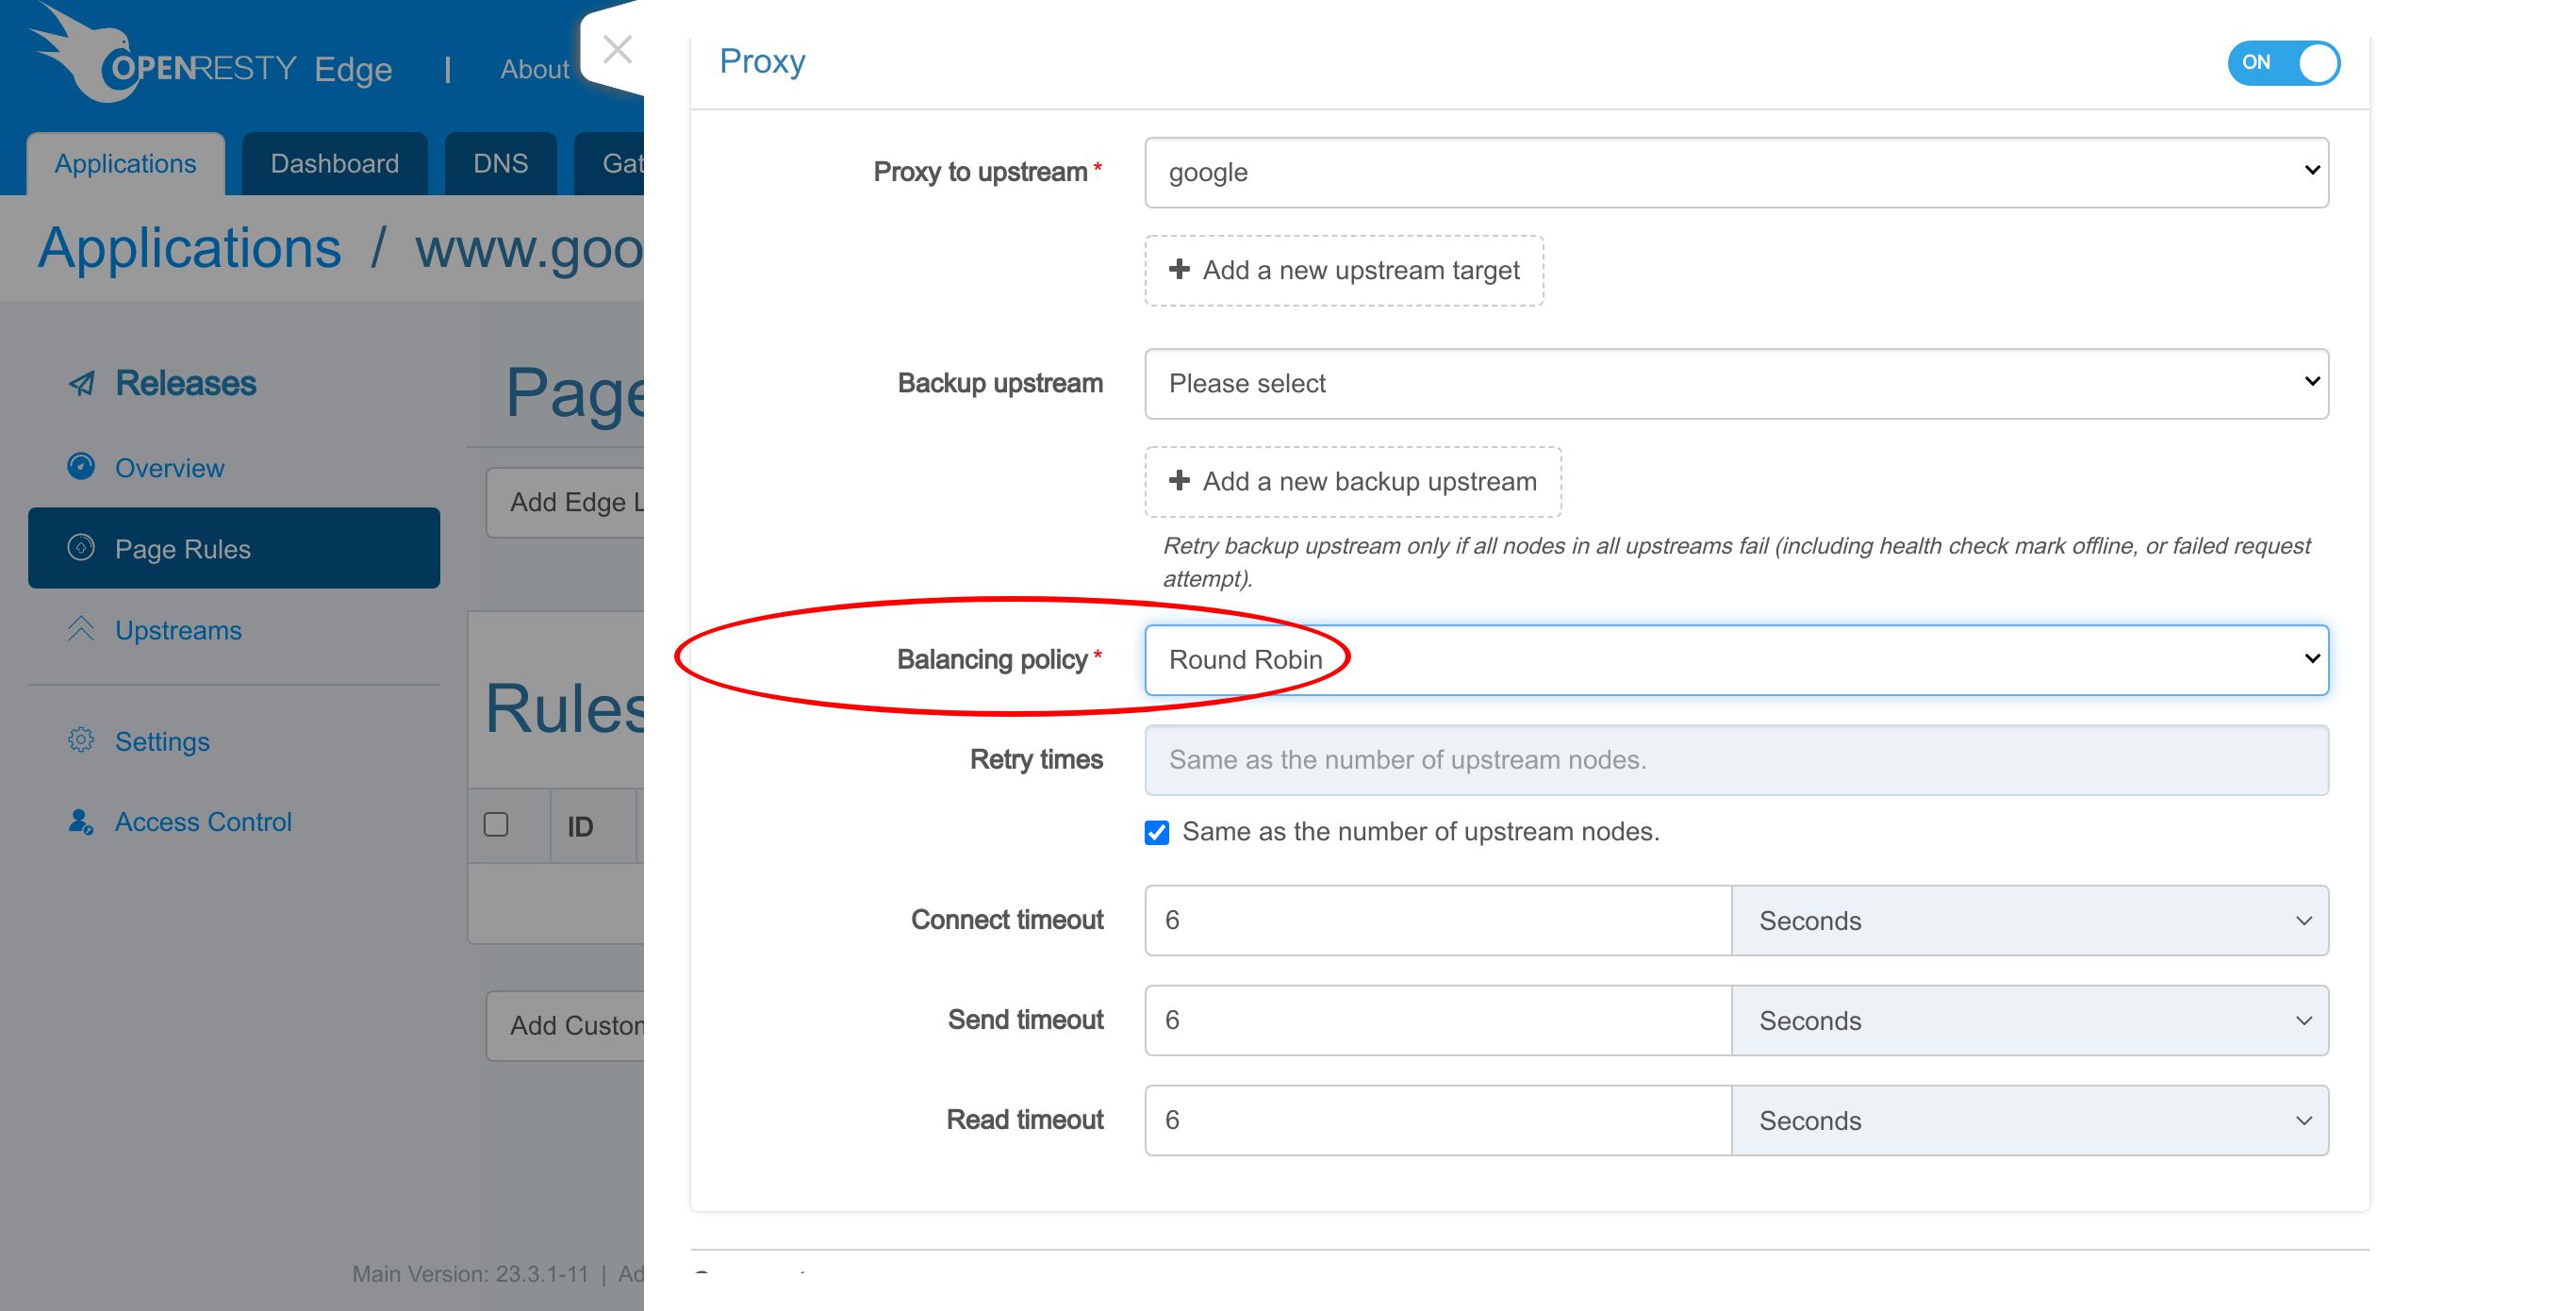
There are several Balancing policies to choose from.
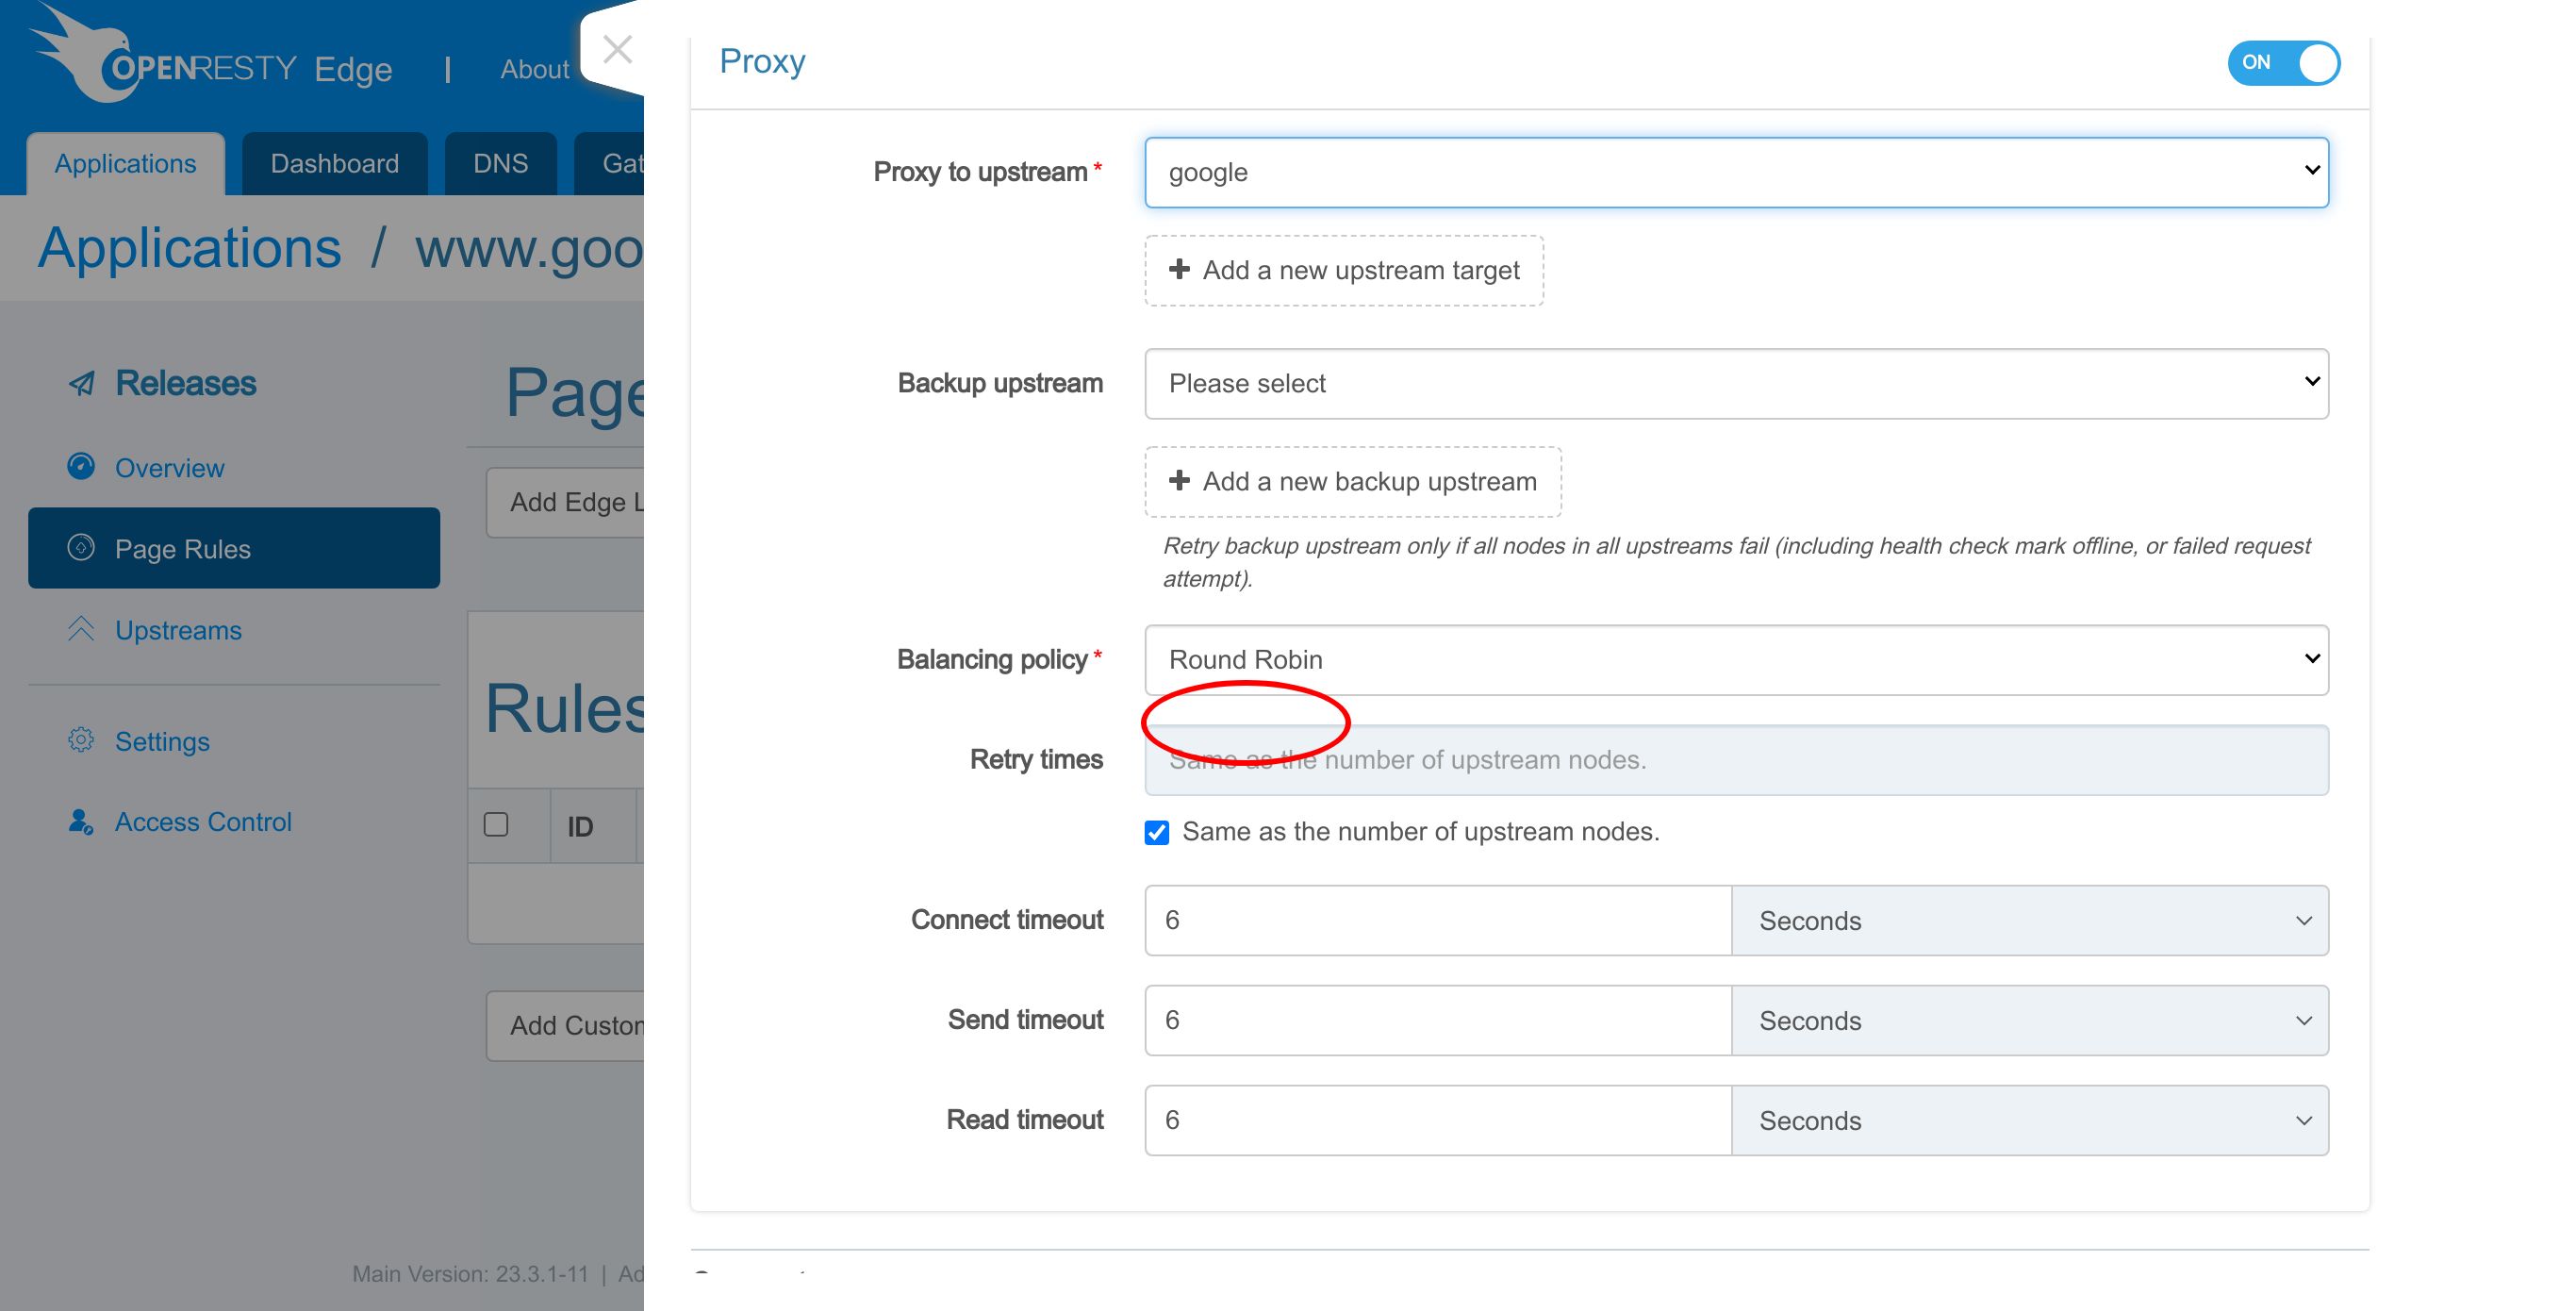
Our upstream has only one server. So the balancing policy does not matter here.
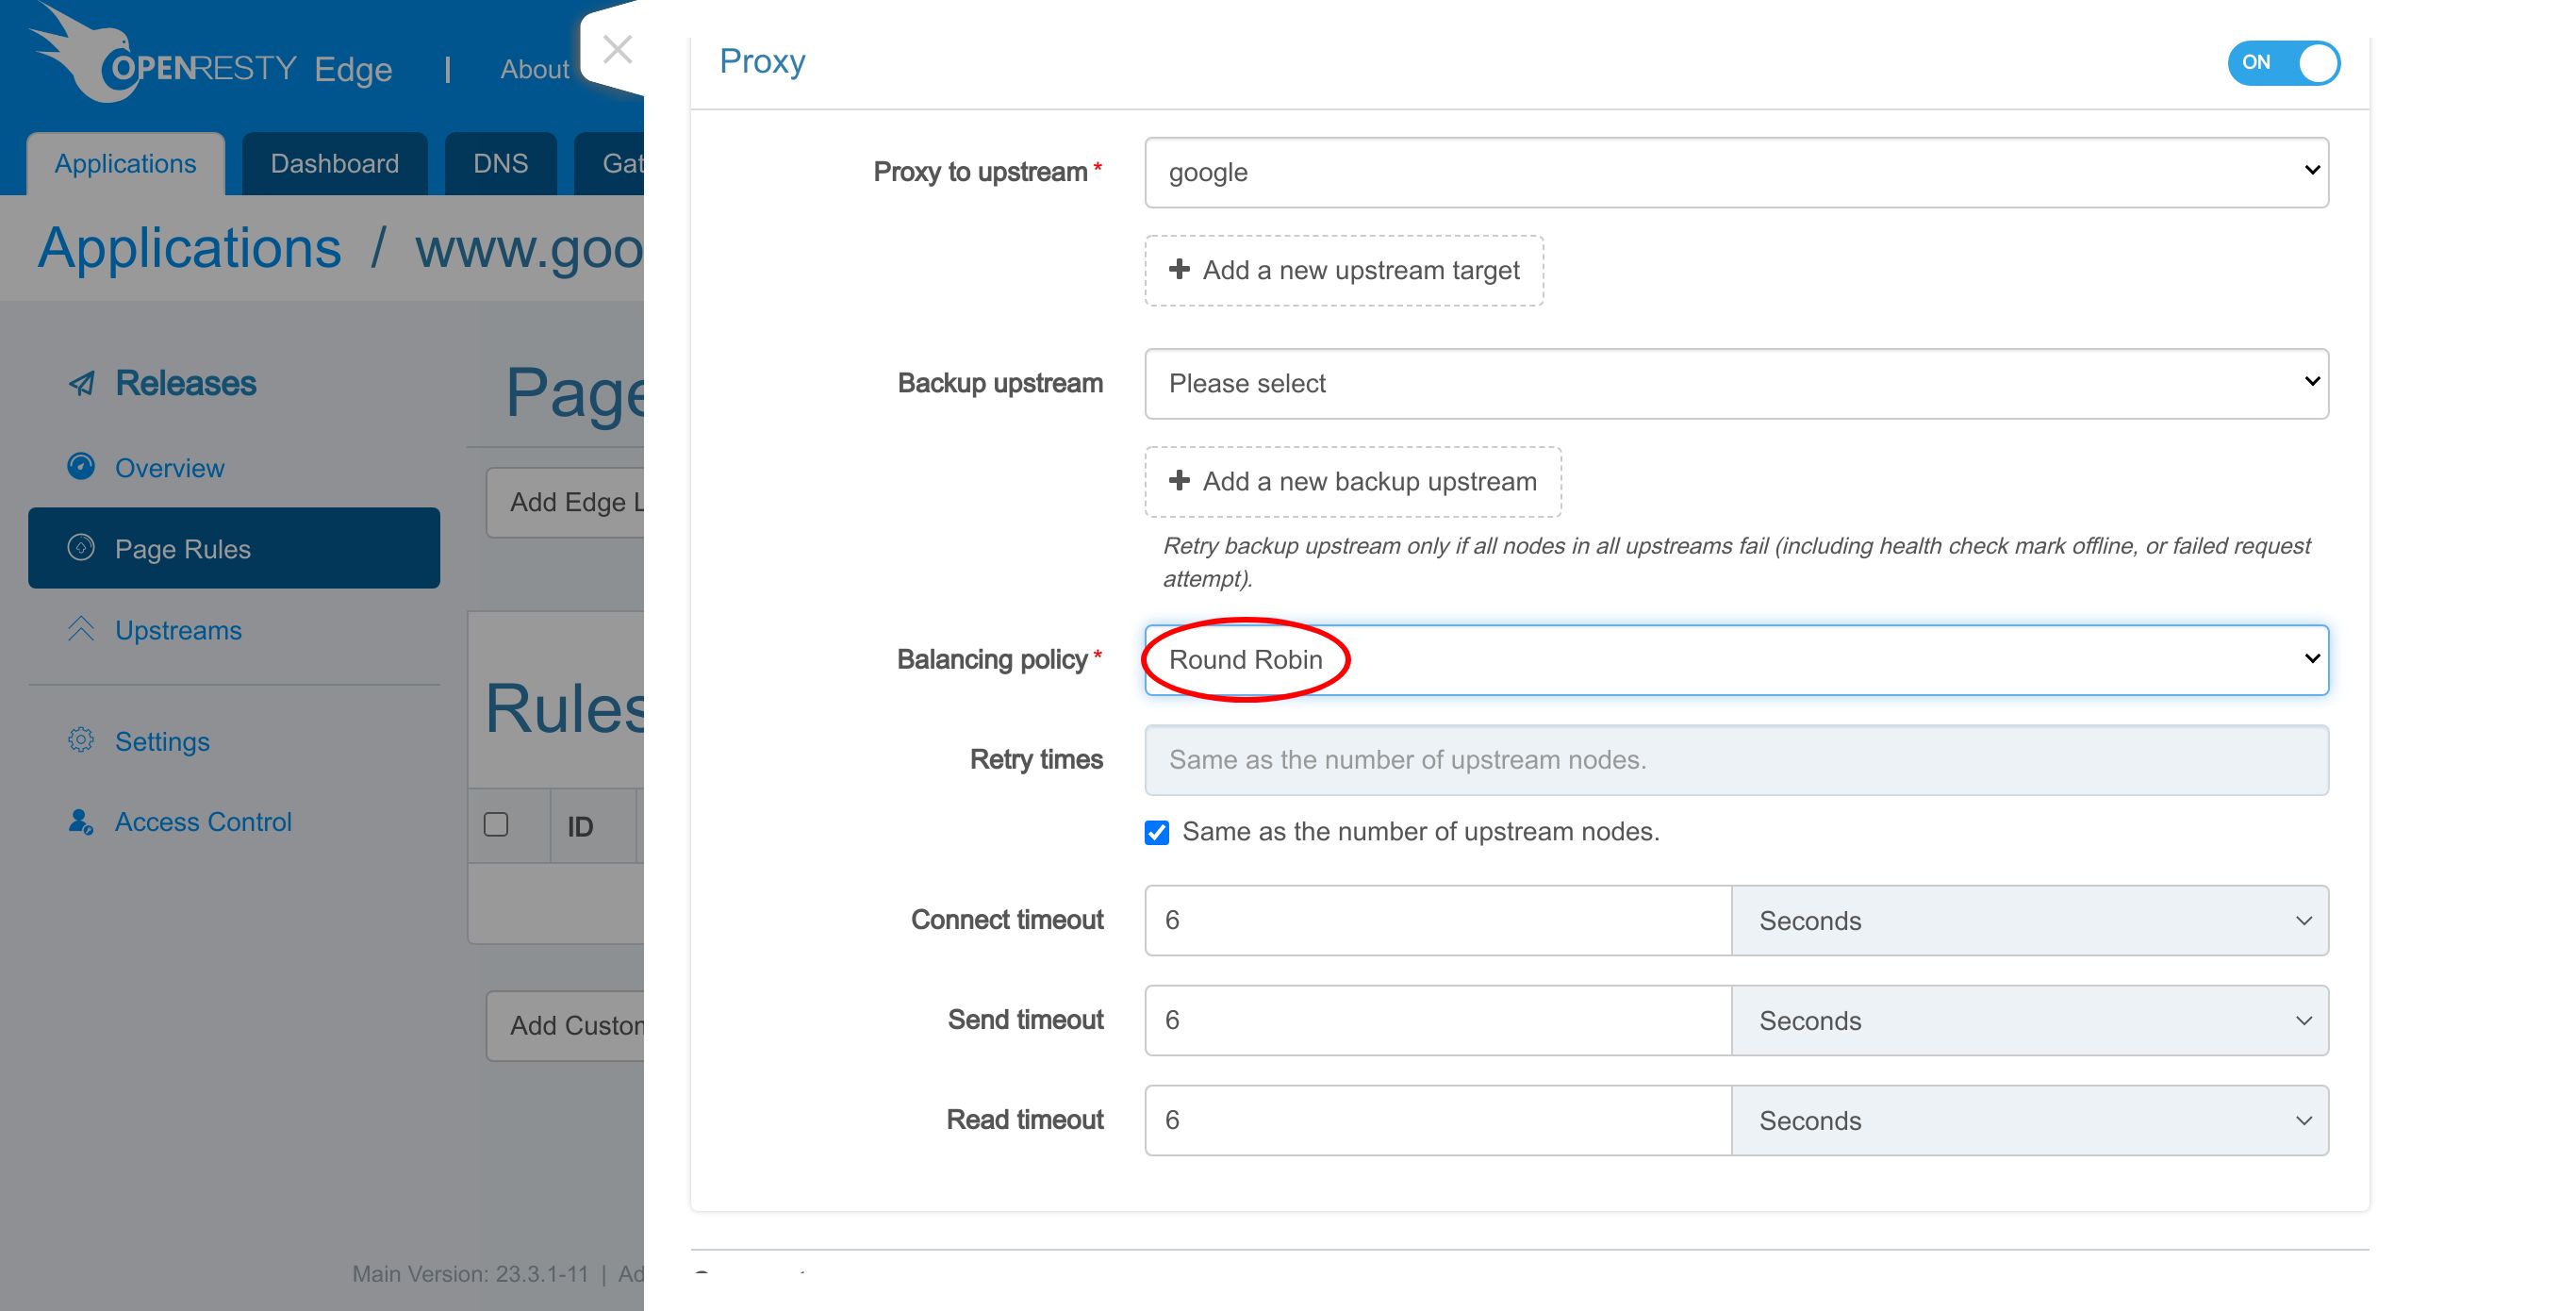
We’d just keep the default round-robin policy.
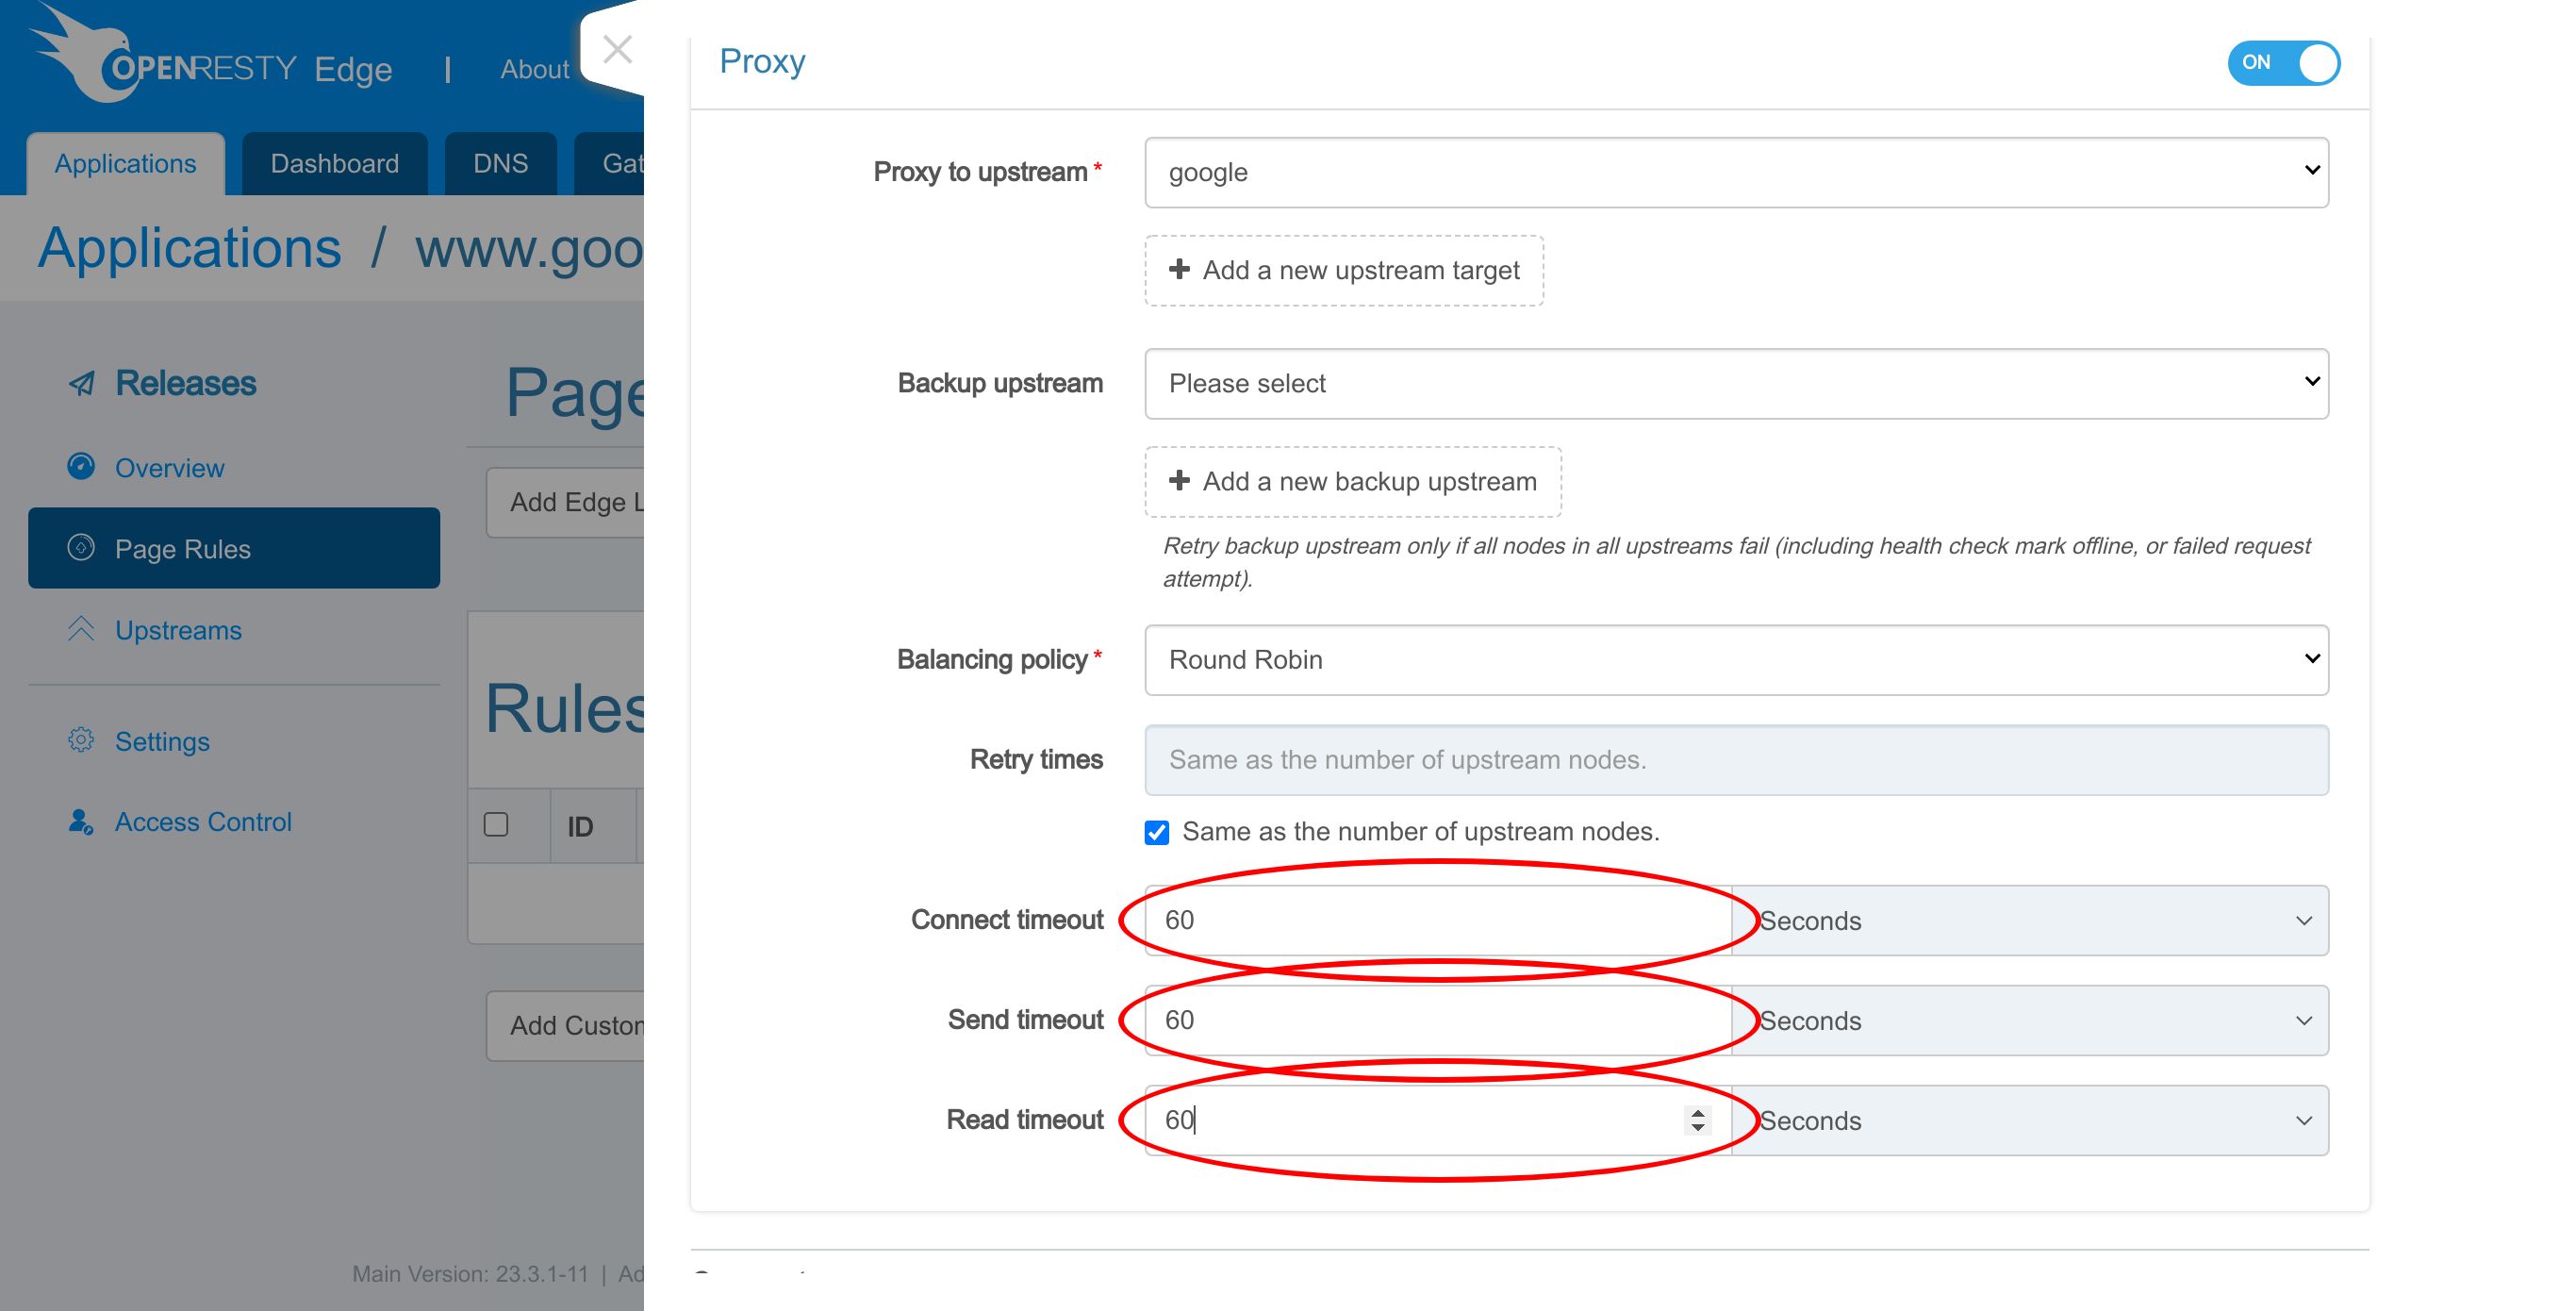
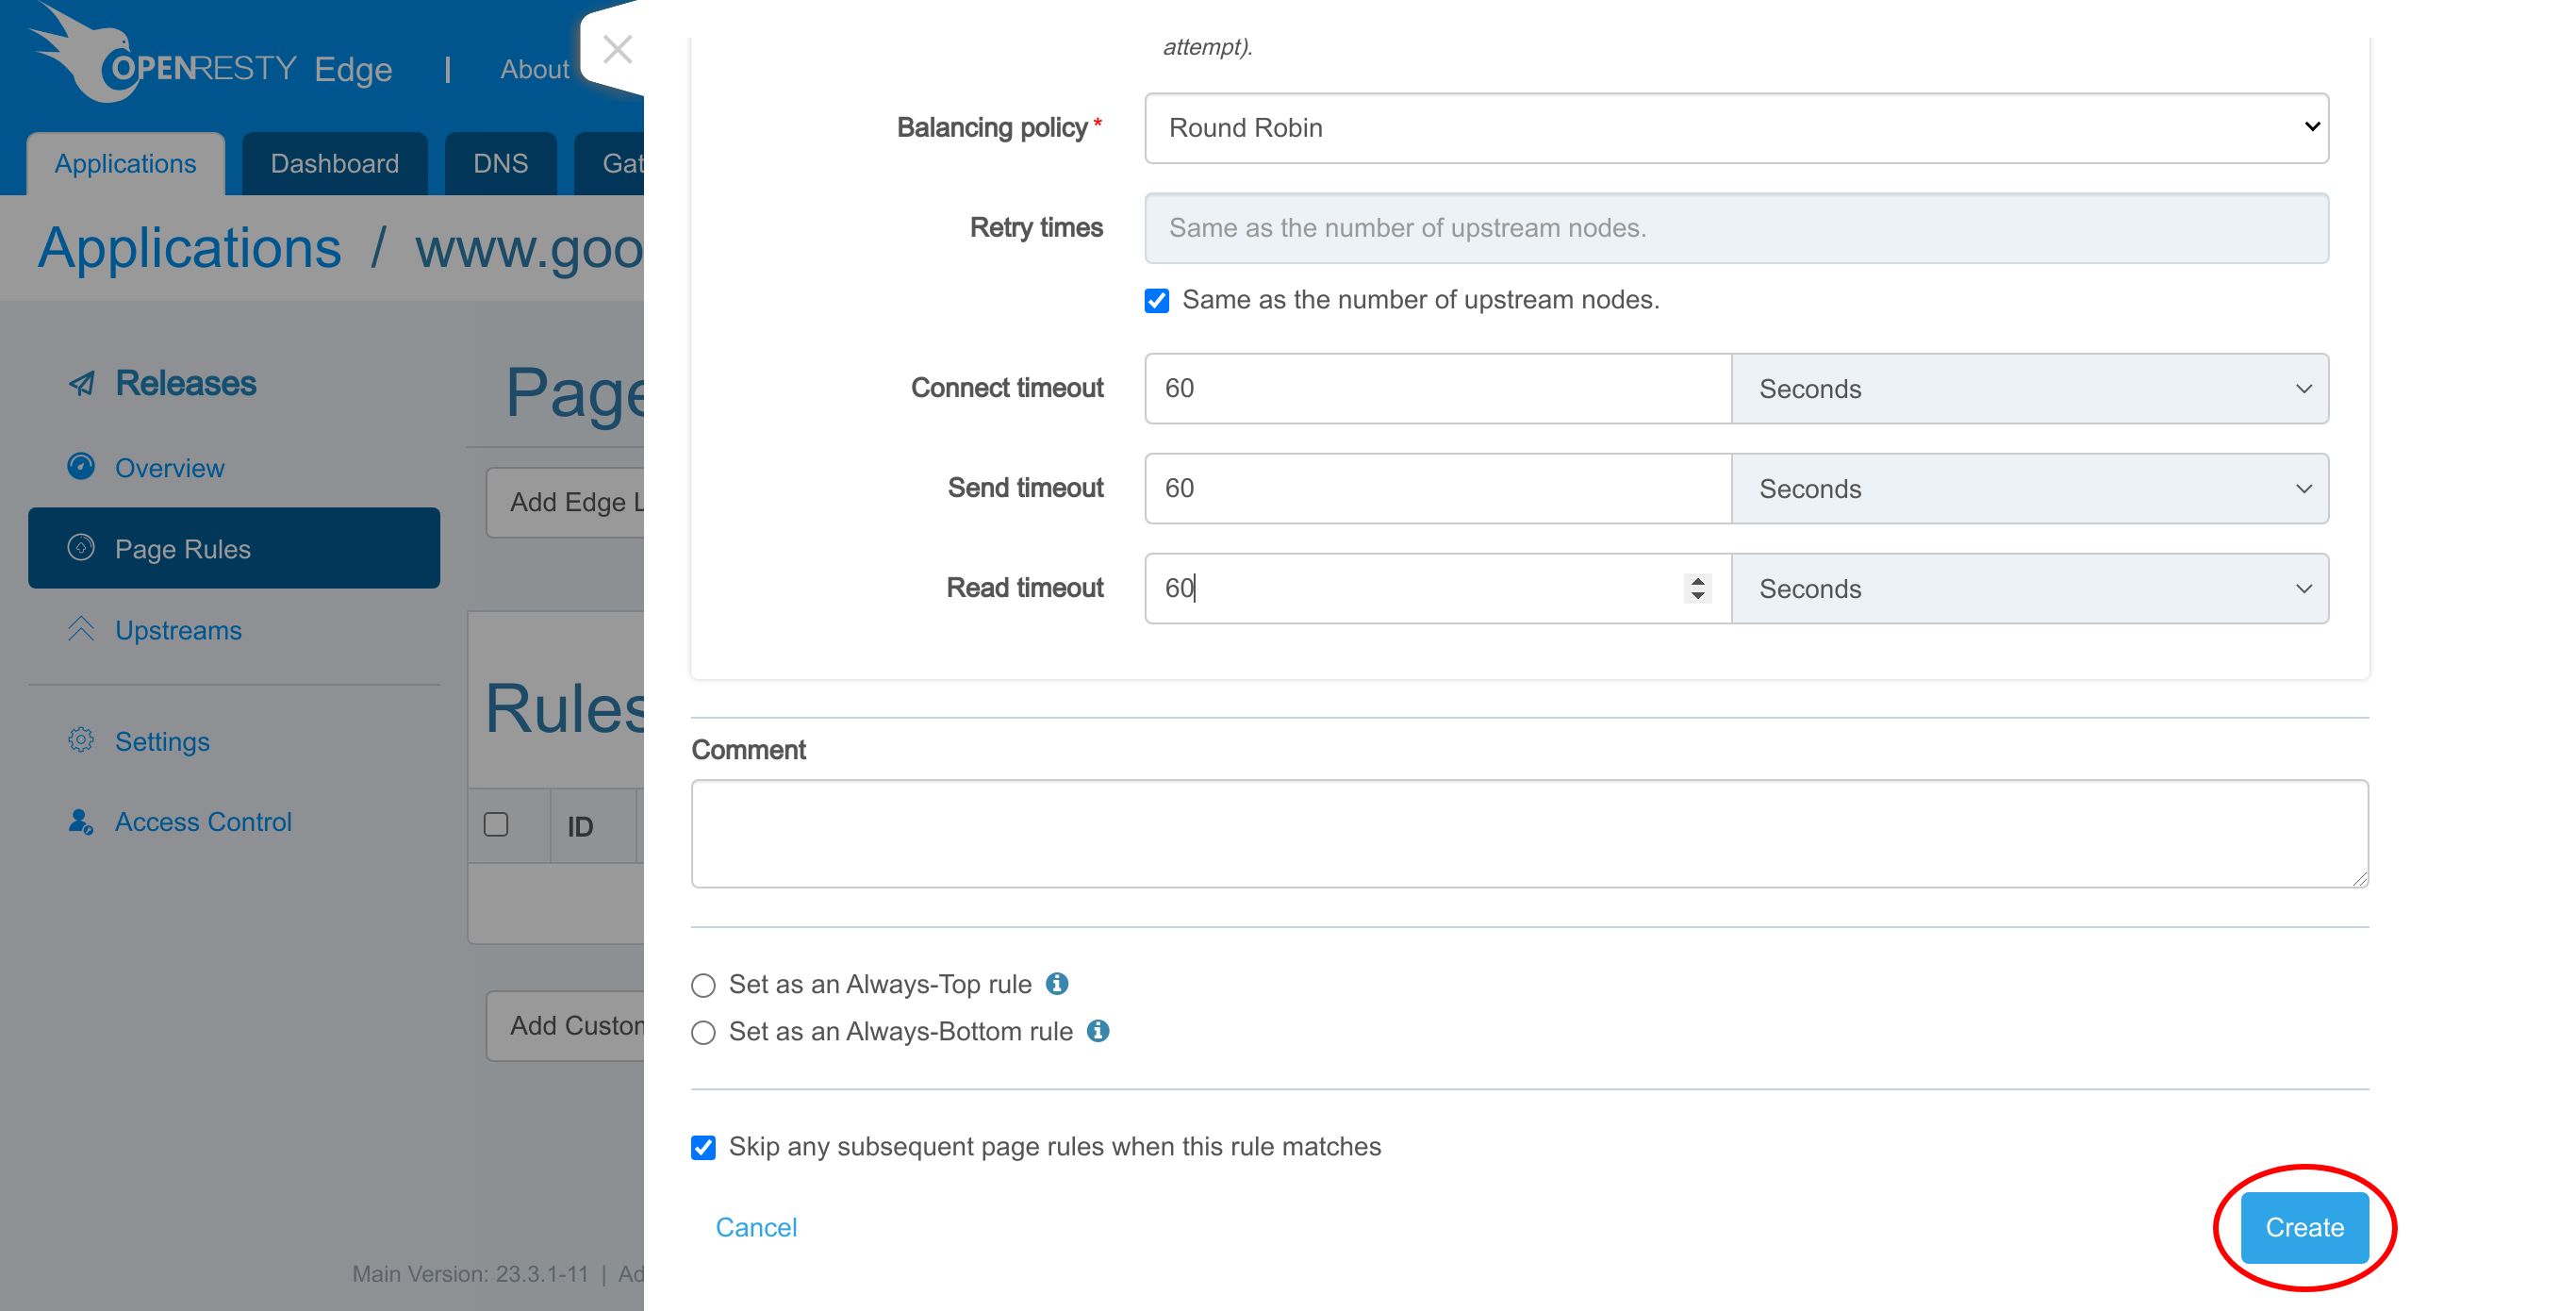
Access to this upstream is across the public network. Therefore we set all timeout values to 60 seconds.
Create this page rule.
Now let’s create another page rule.
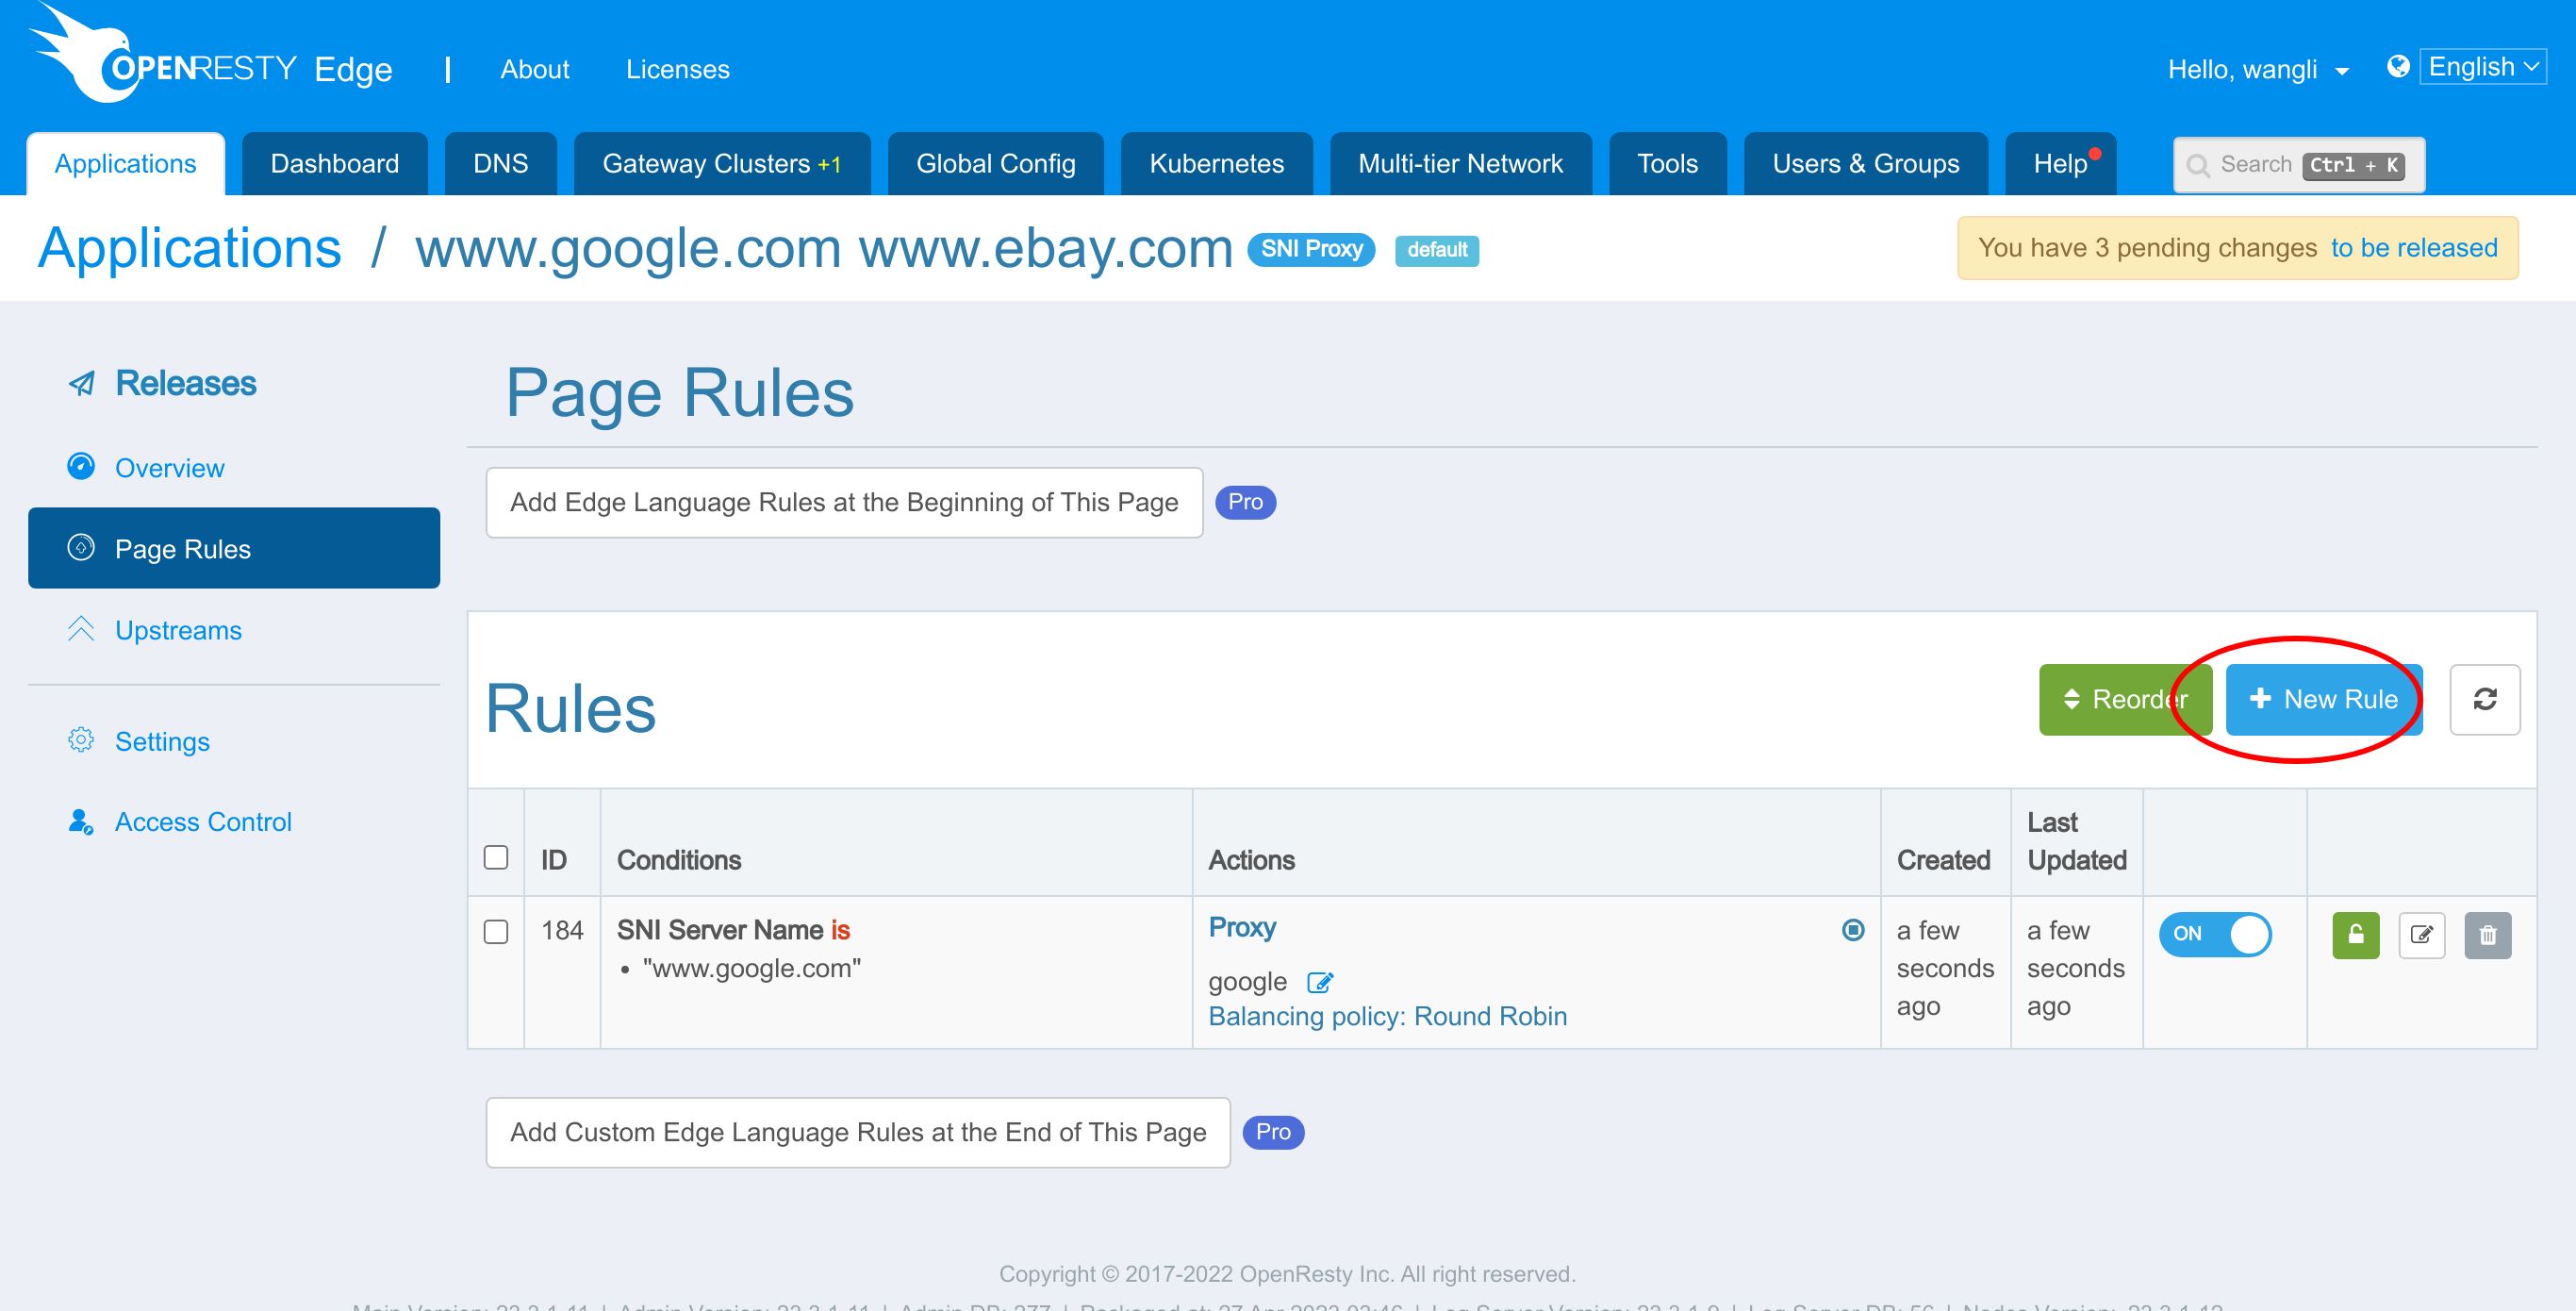
Specify a condition for this rule.
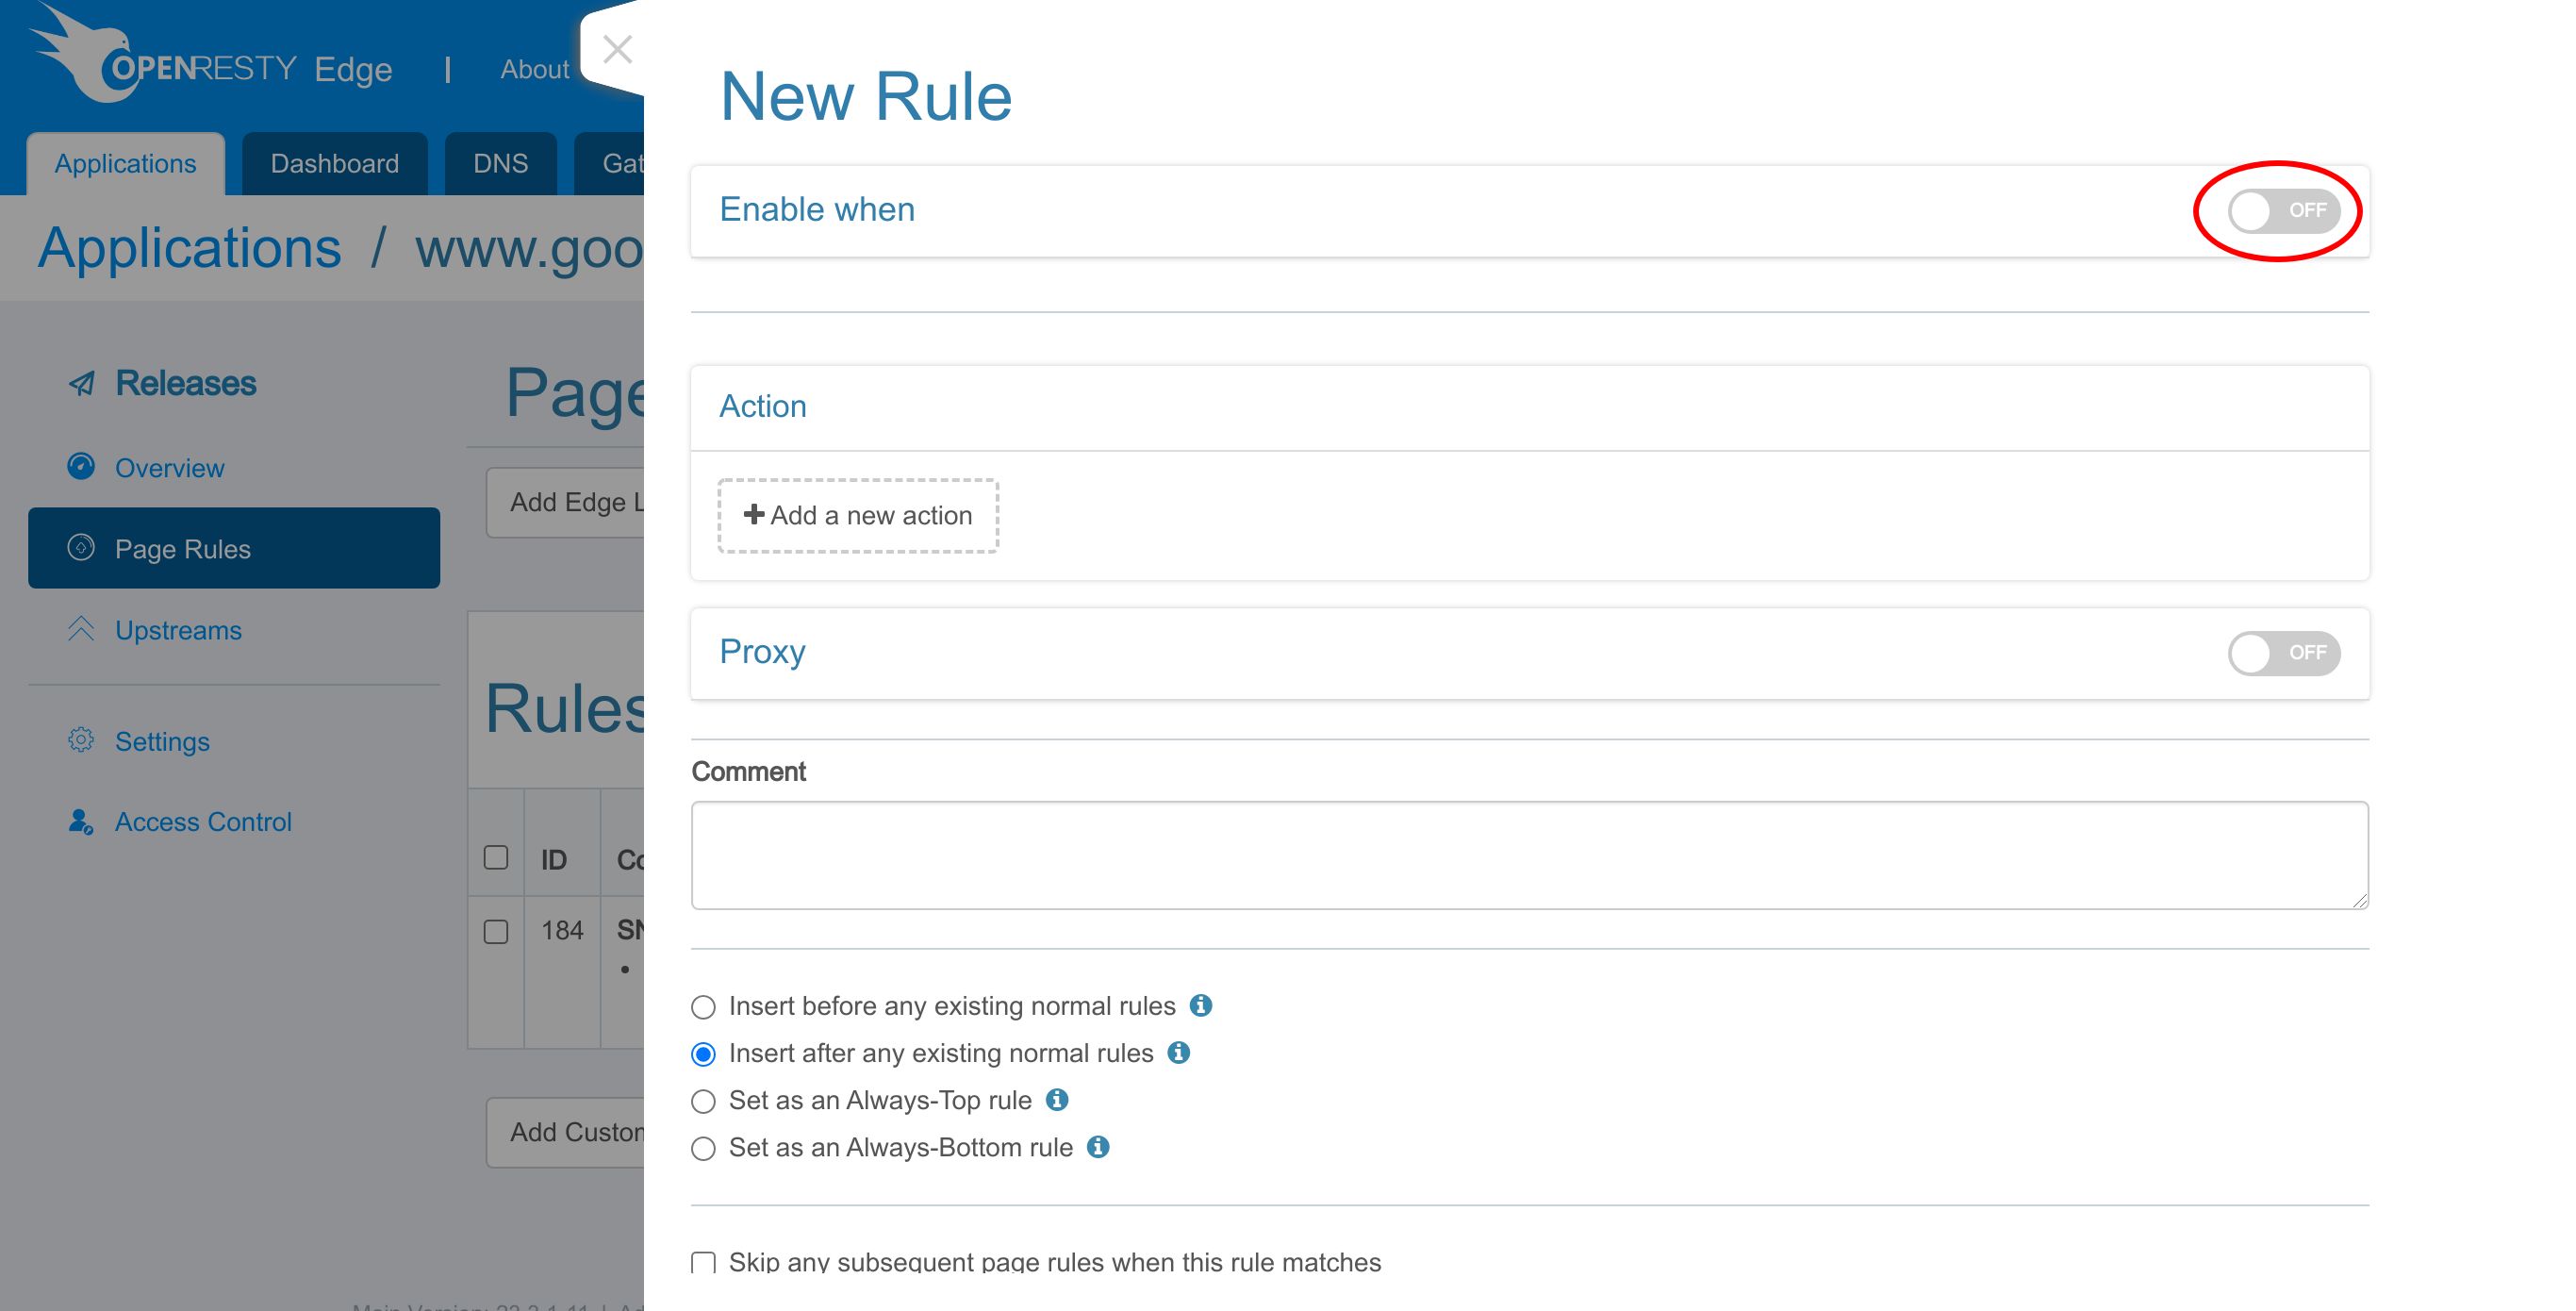
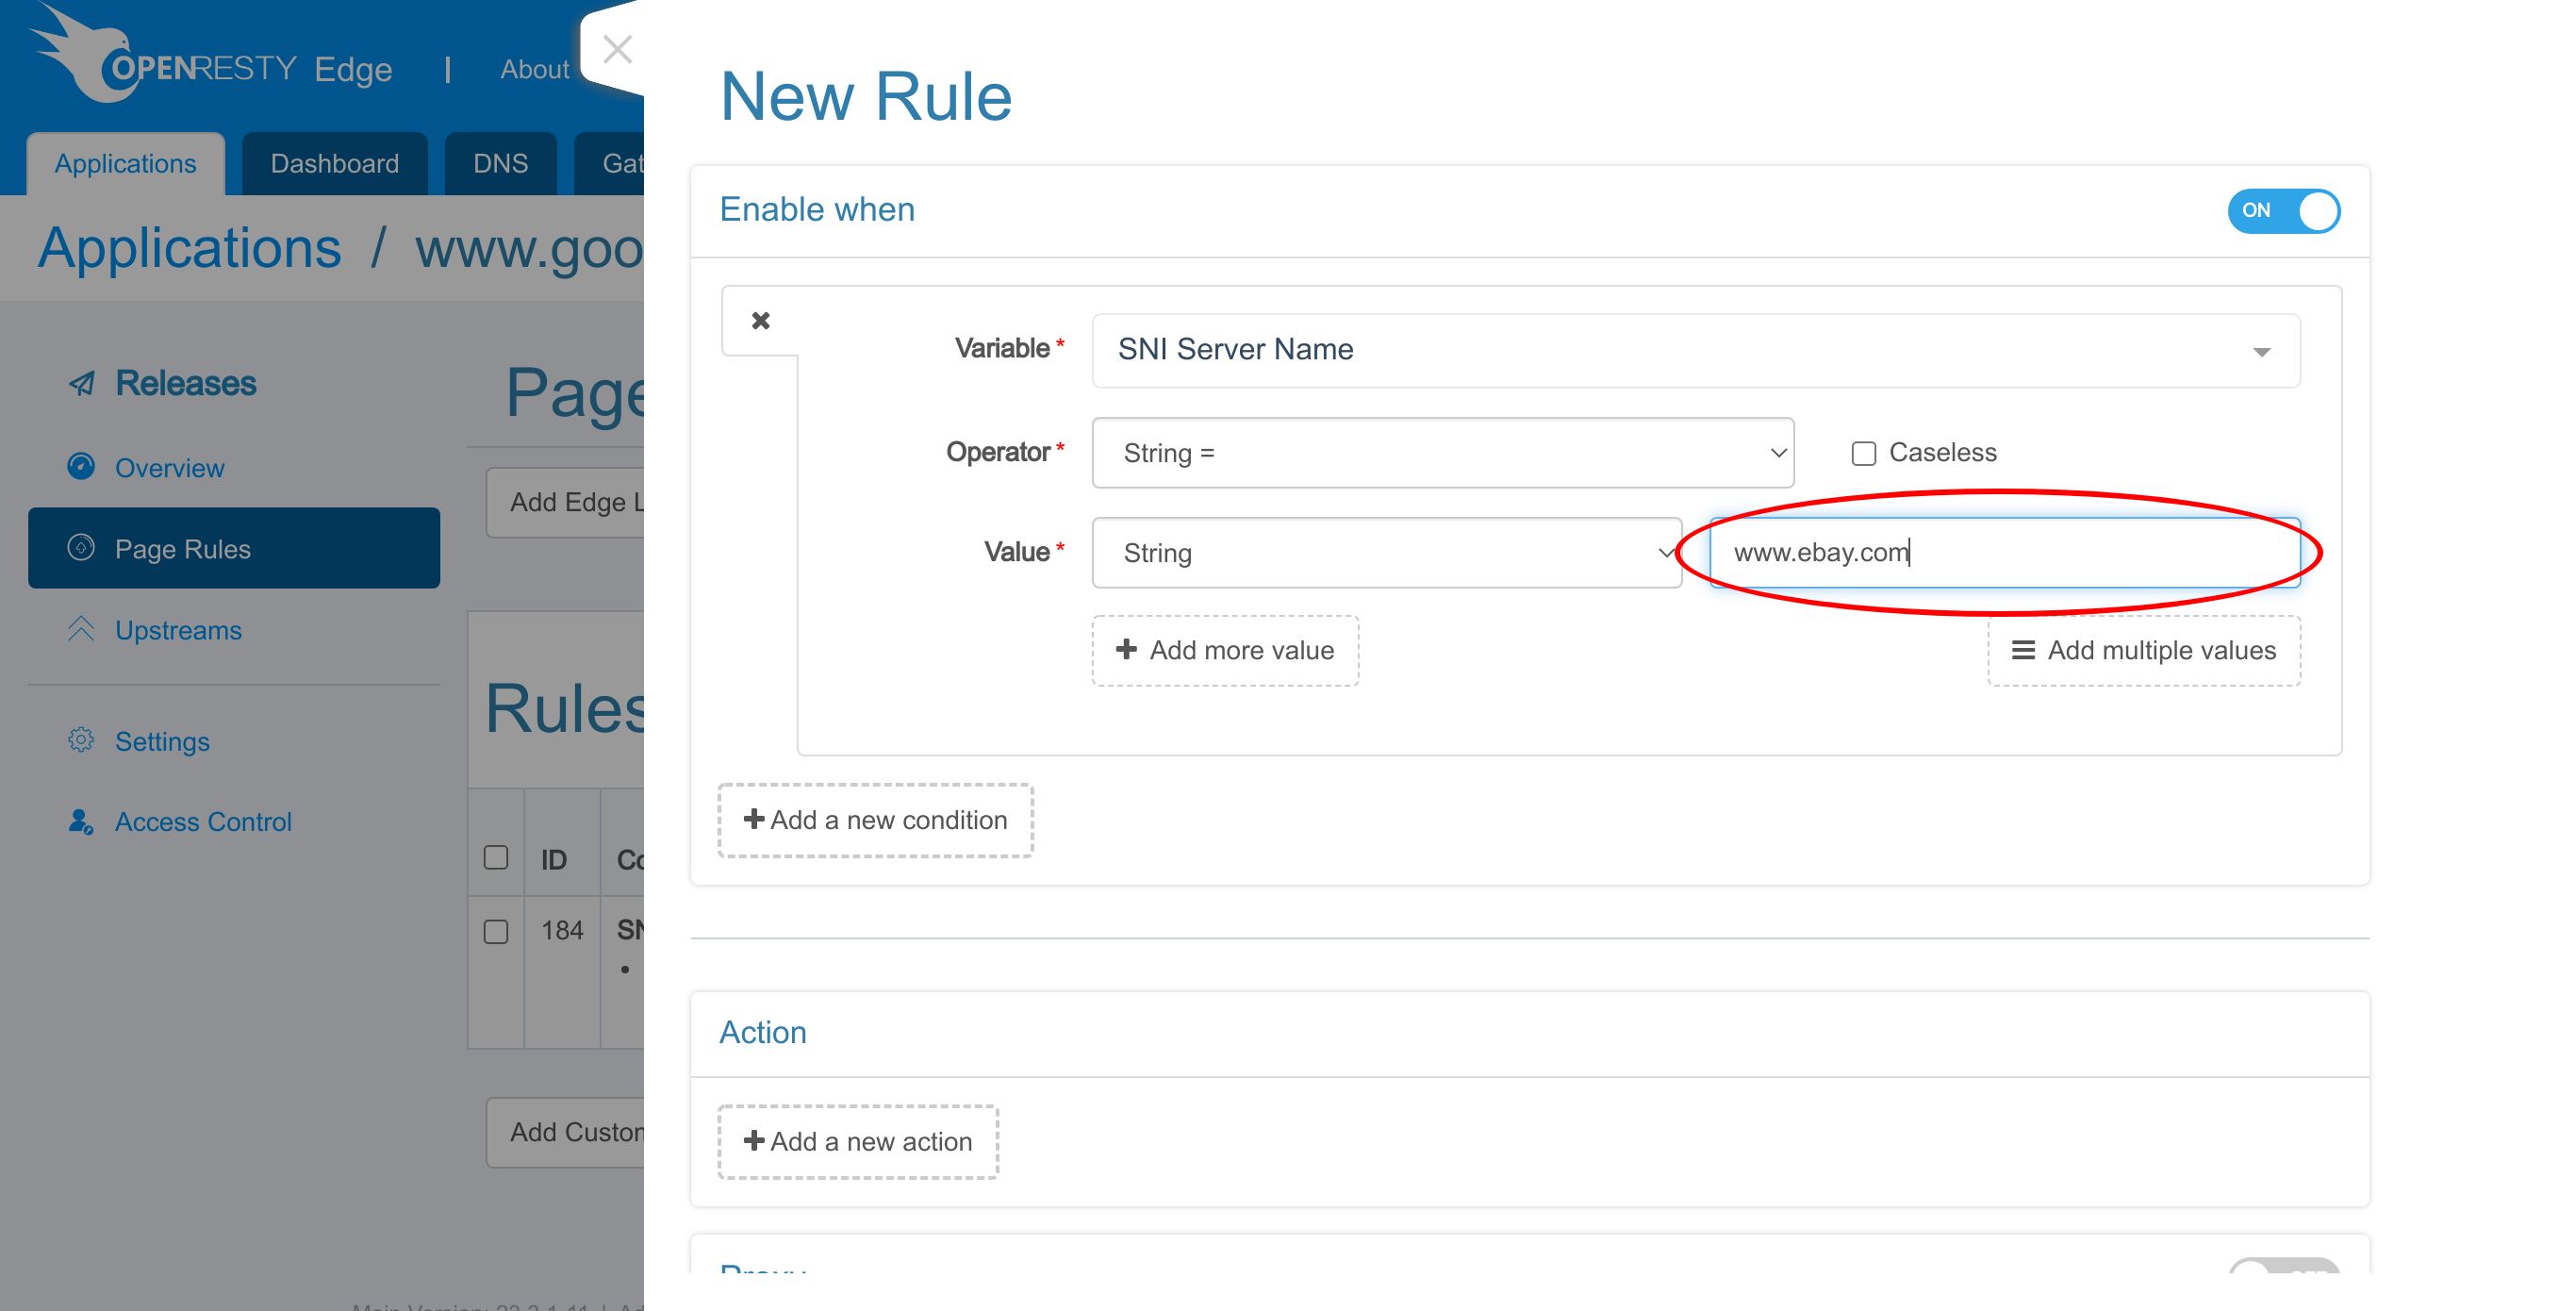
The variable name of the condition is still SNI Server Name.
Enter “www.ebay.com” as value.
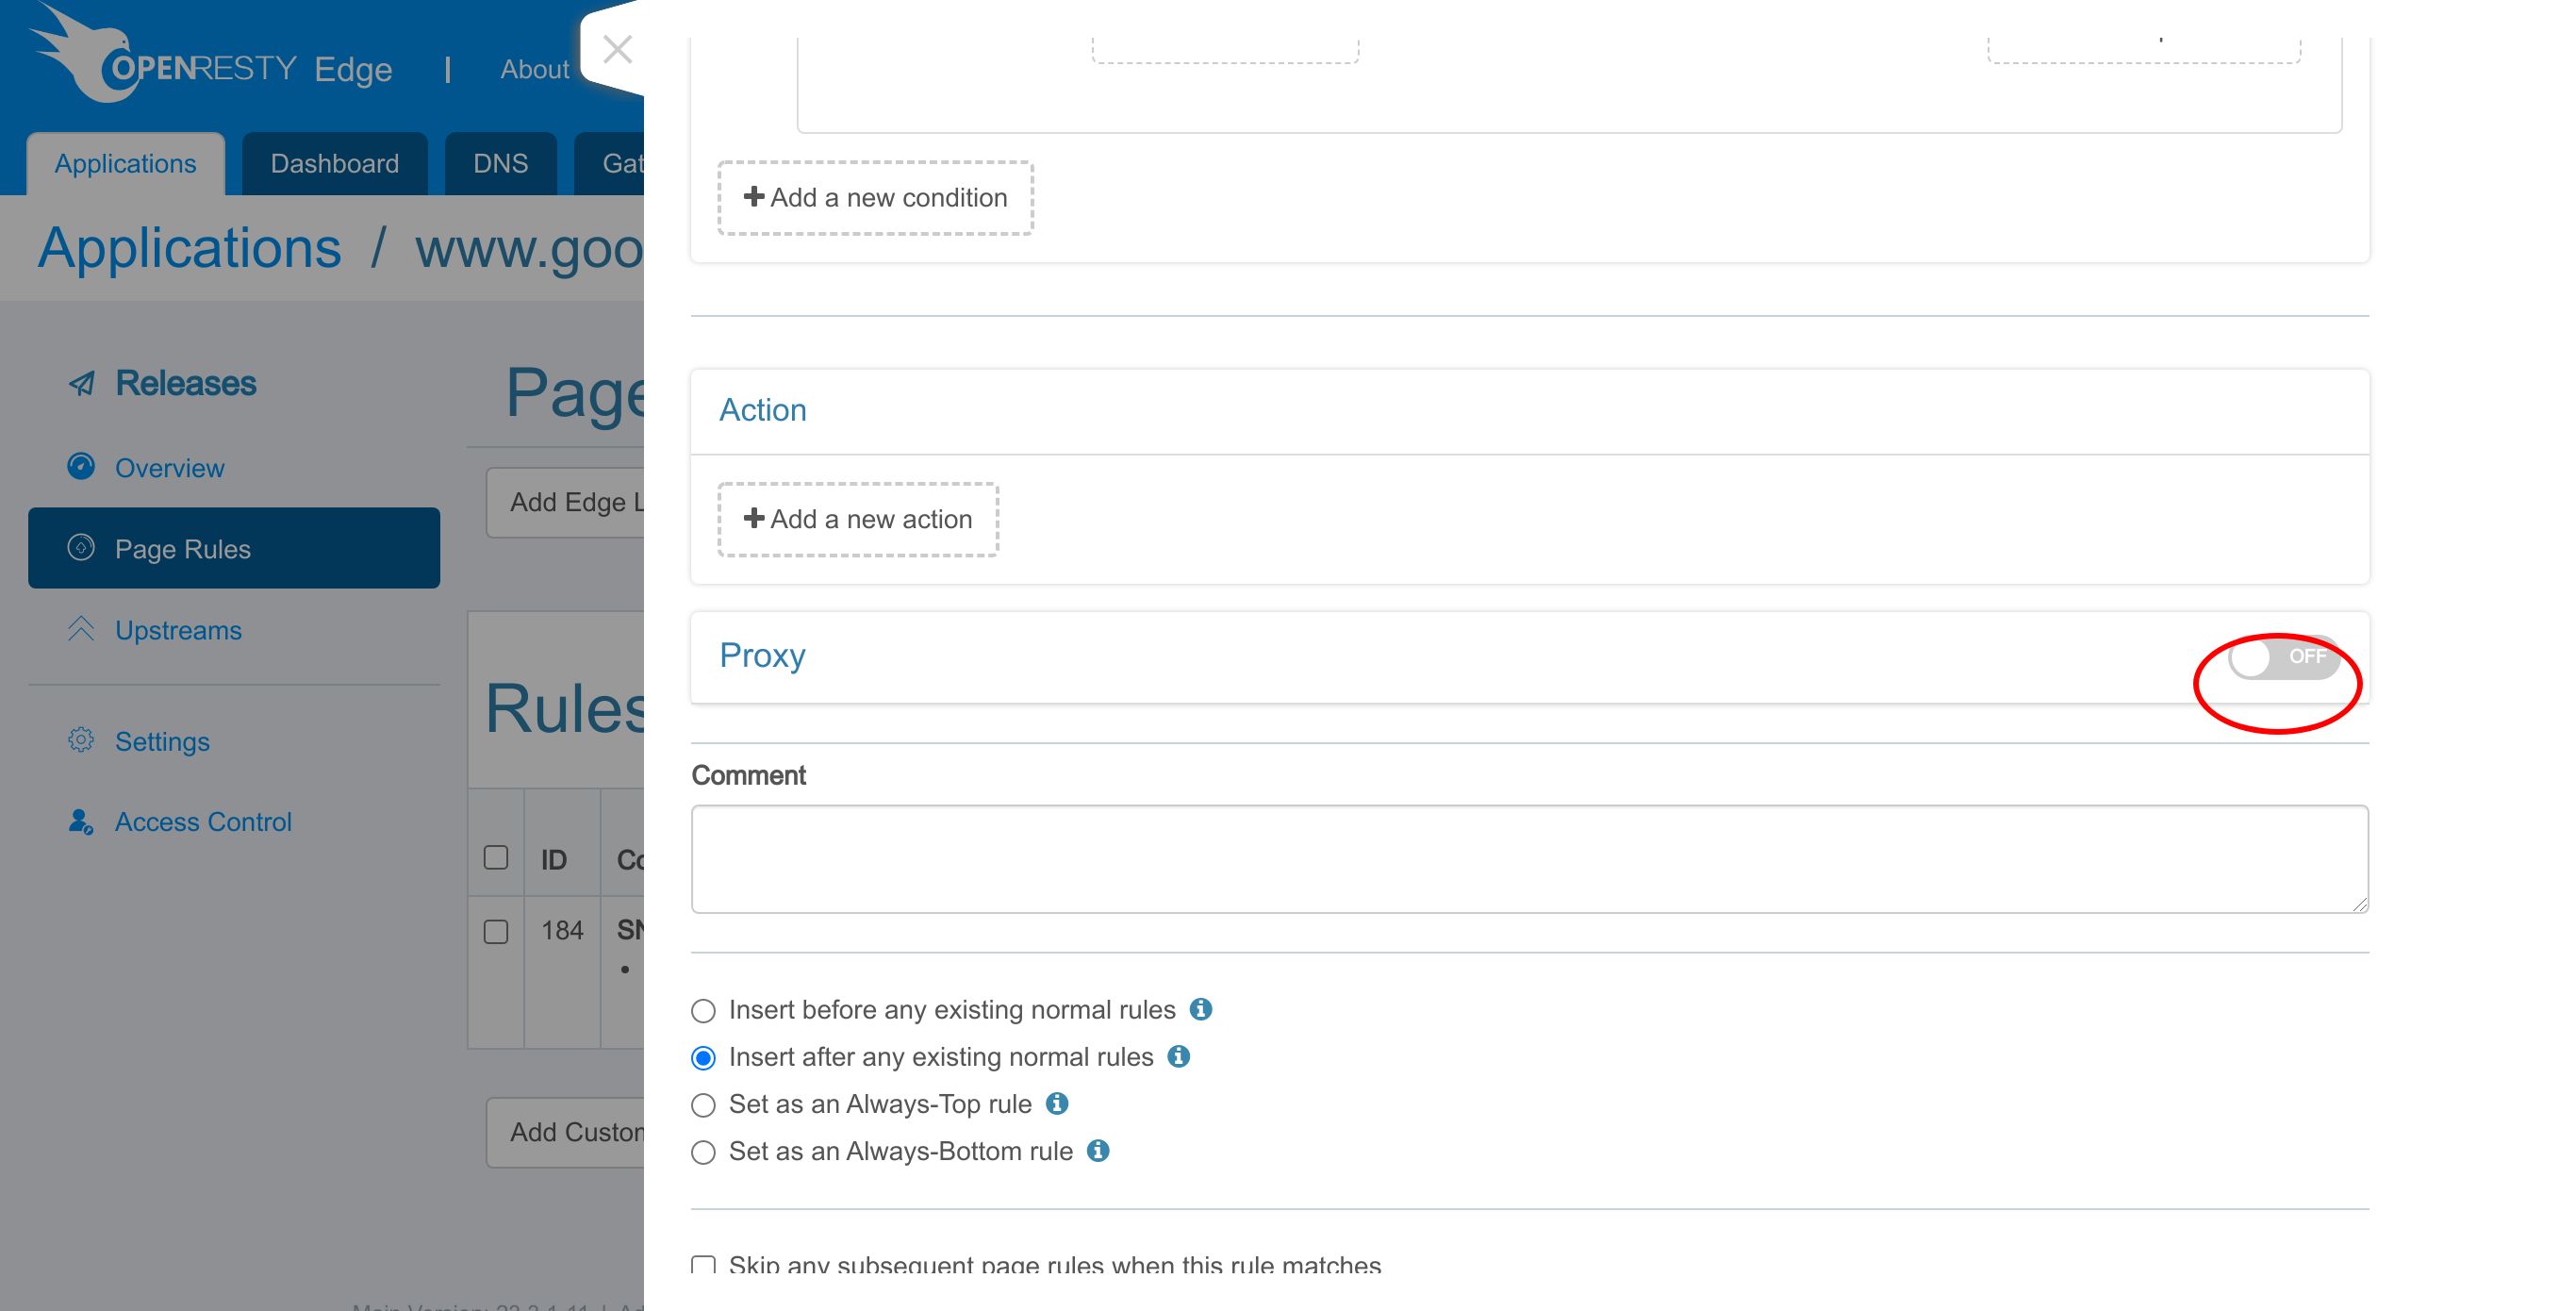
Add a proxy target here.
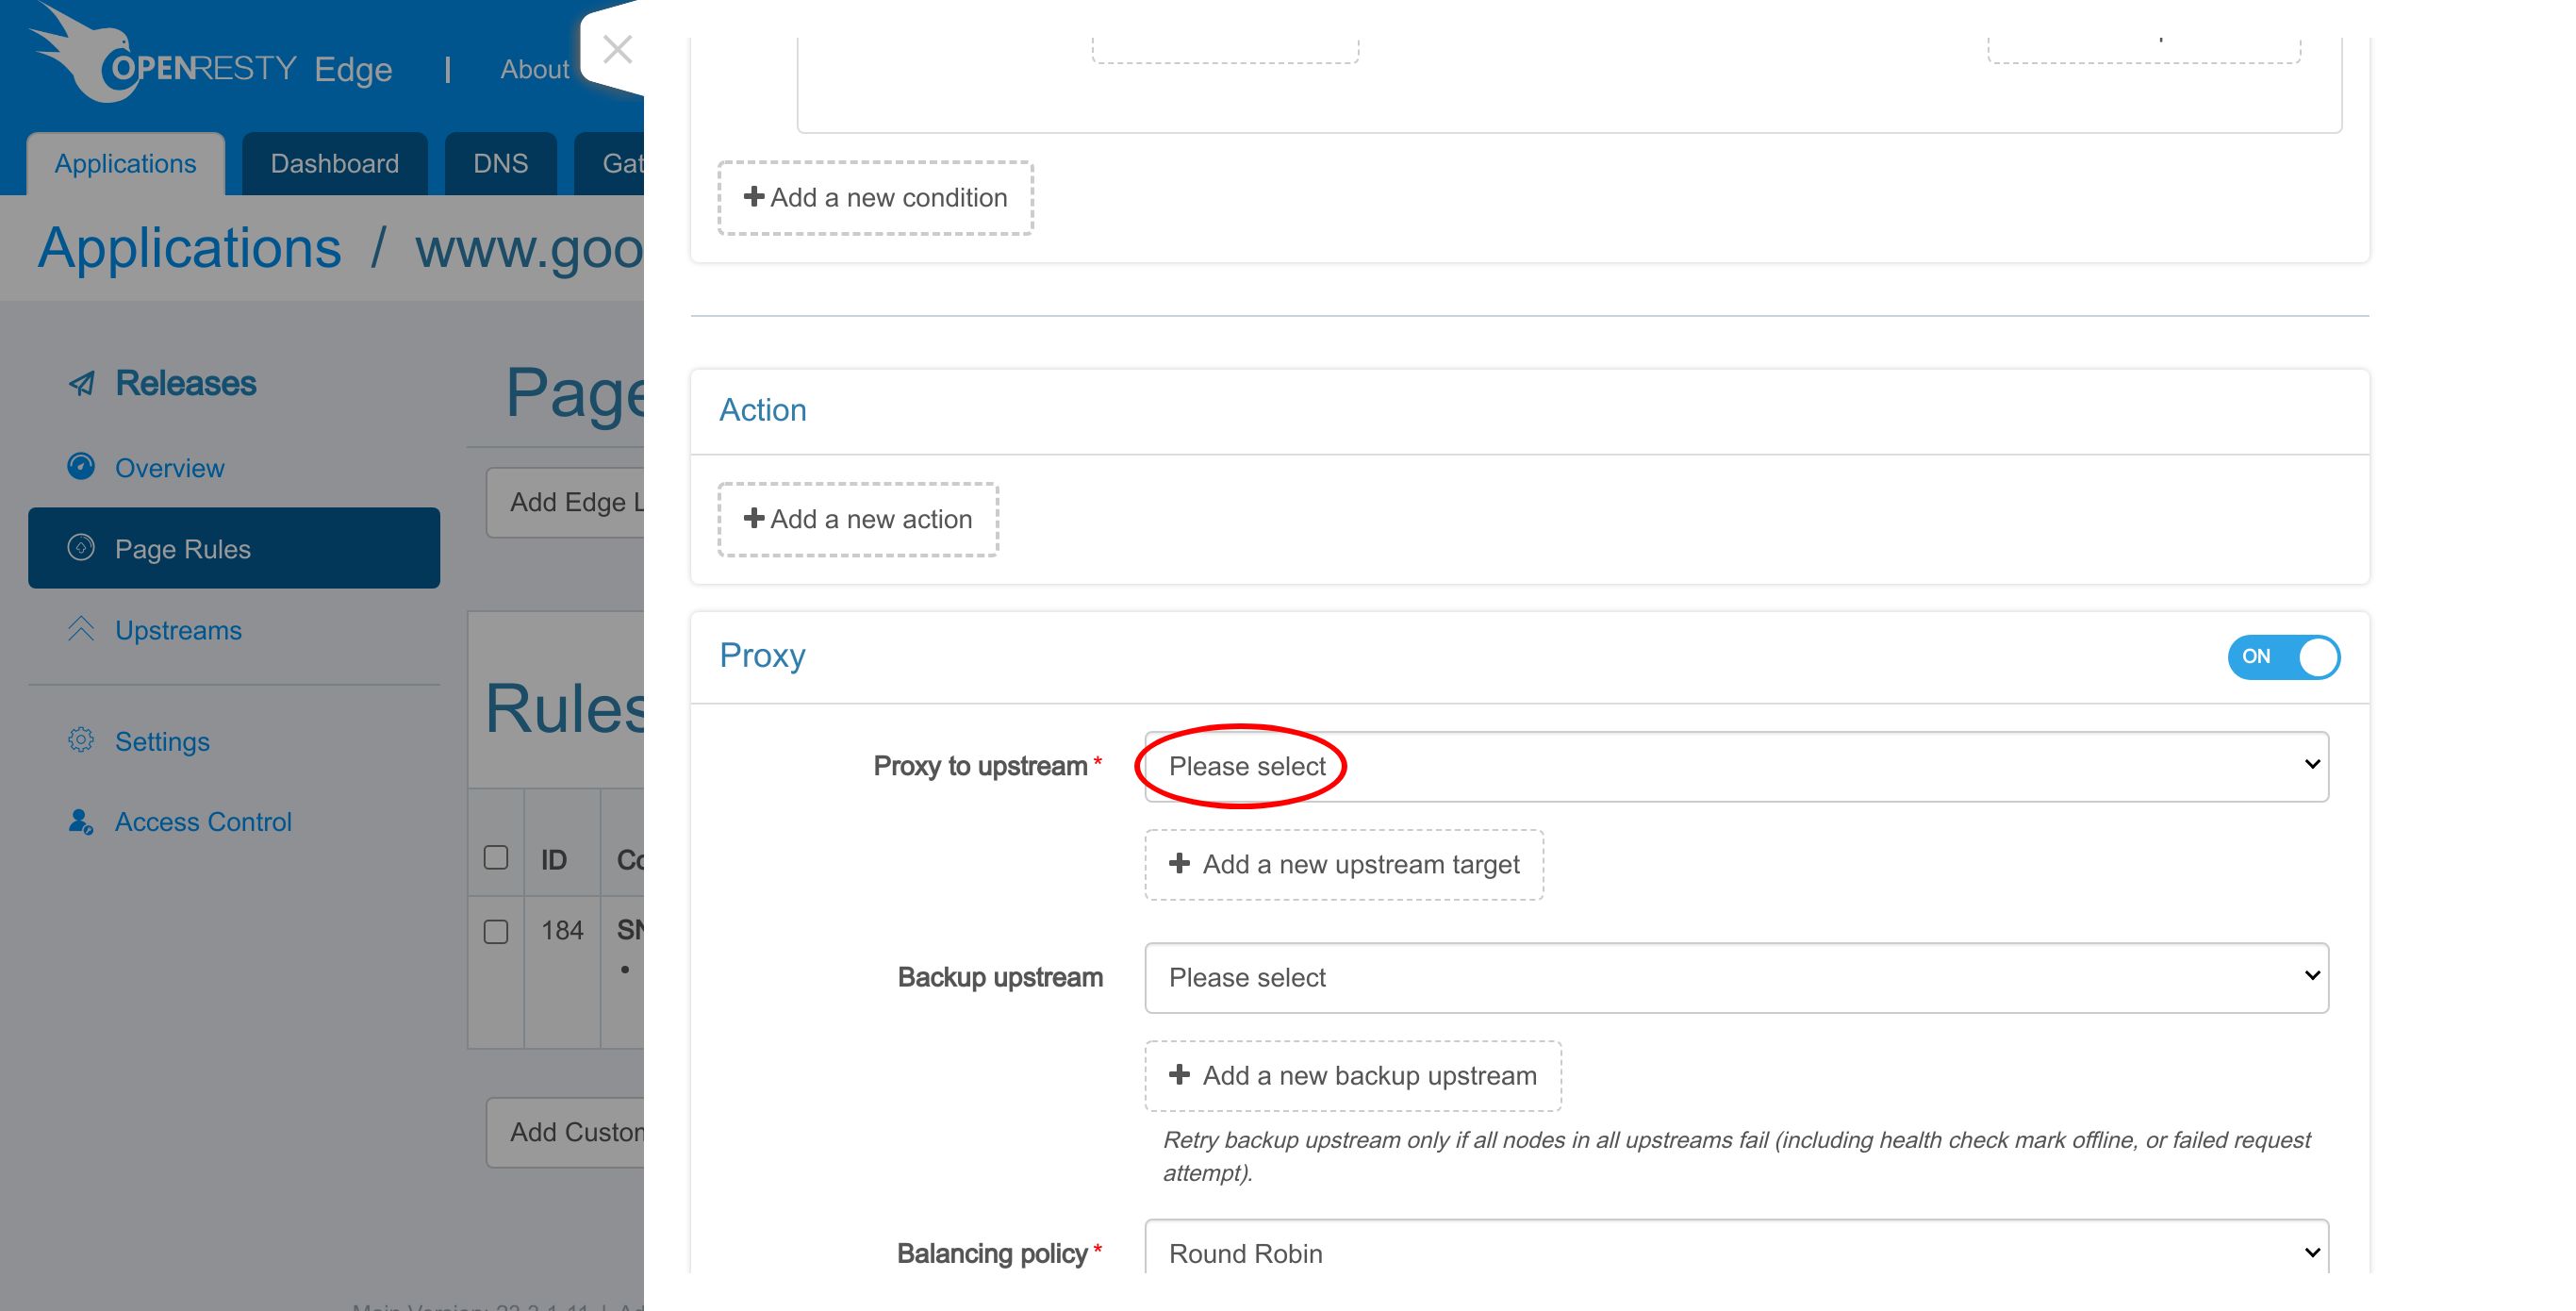
Select the second upstream that we just created.
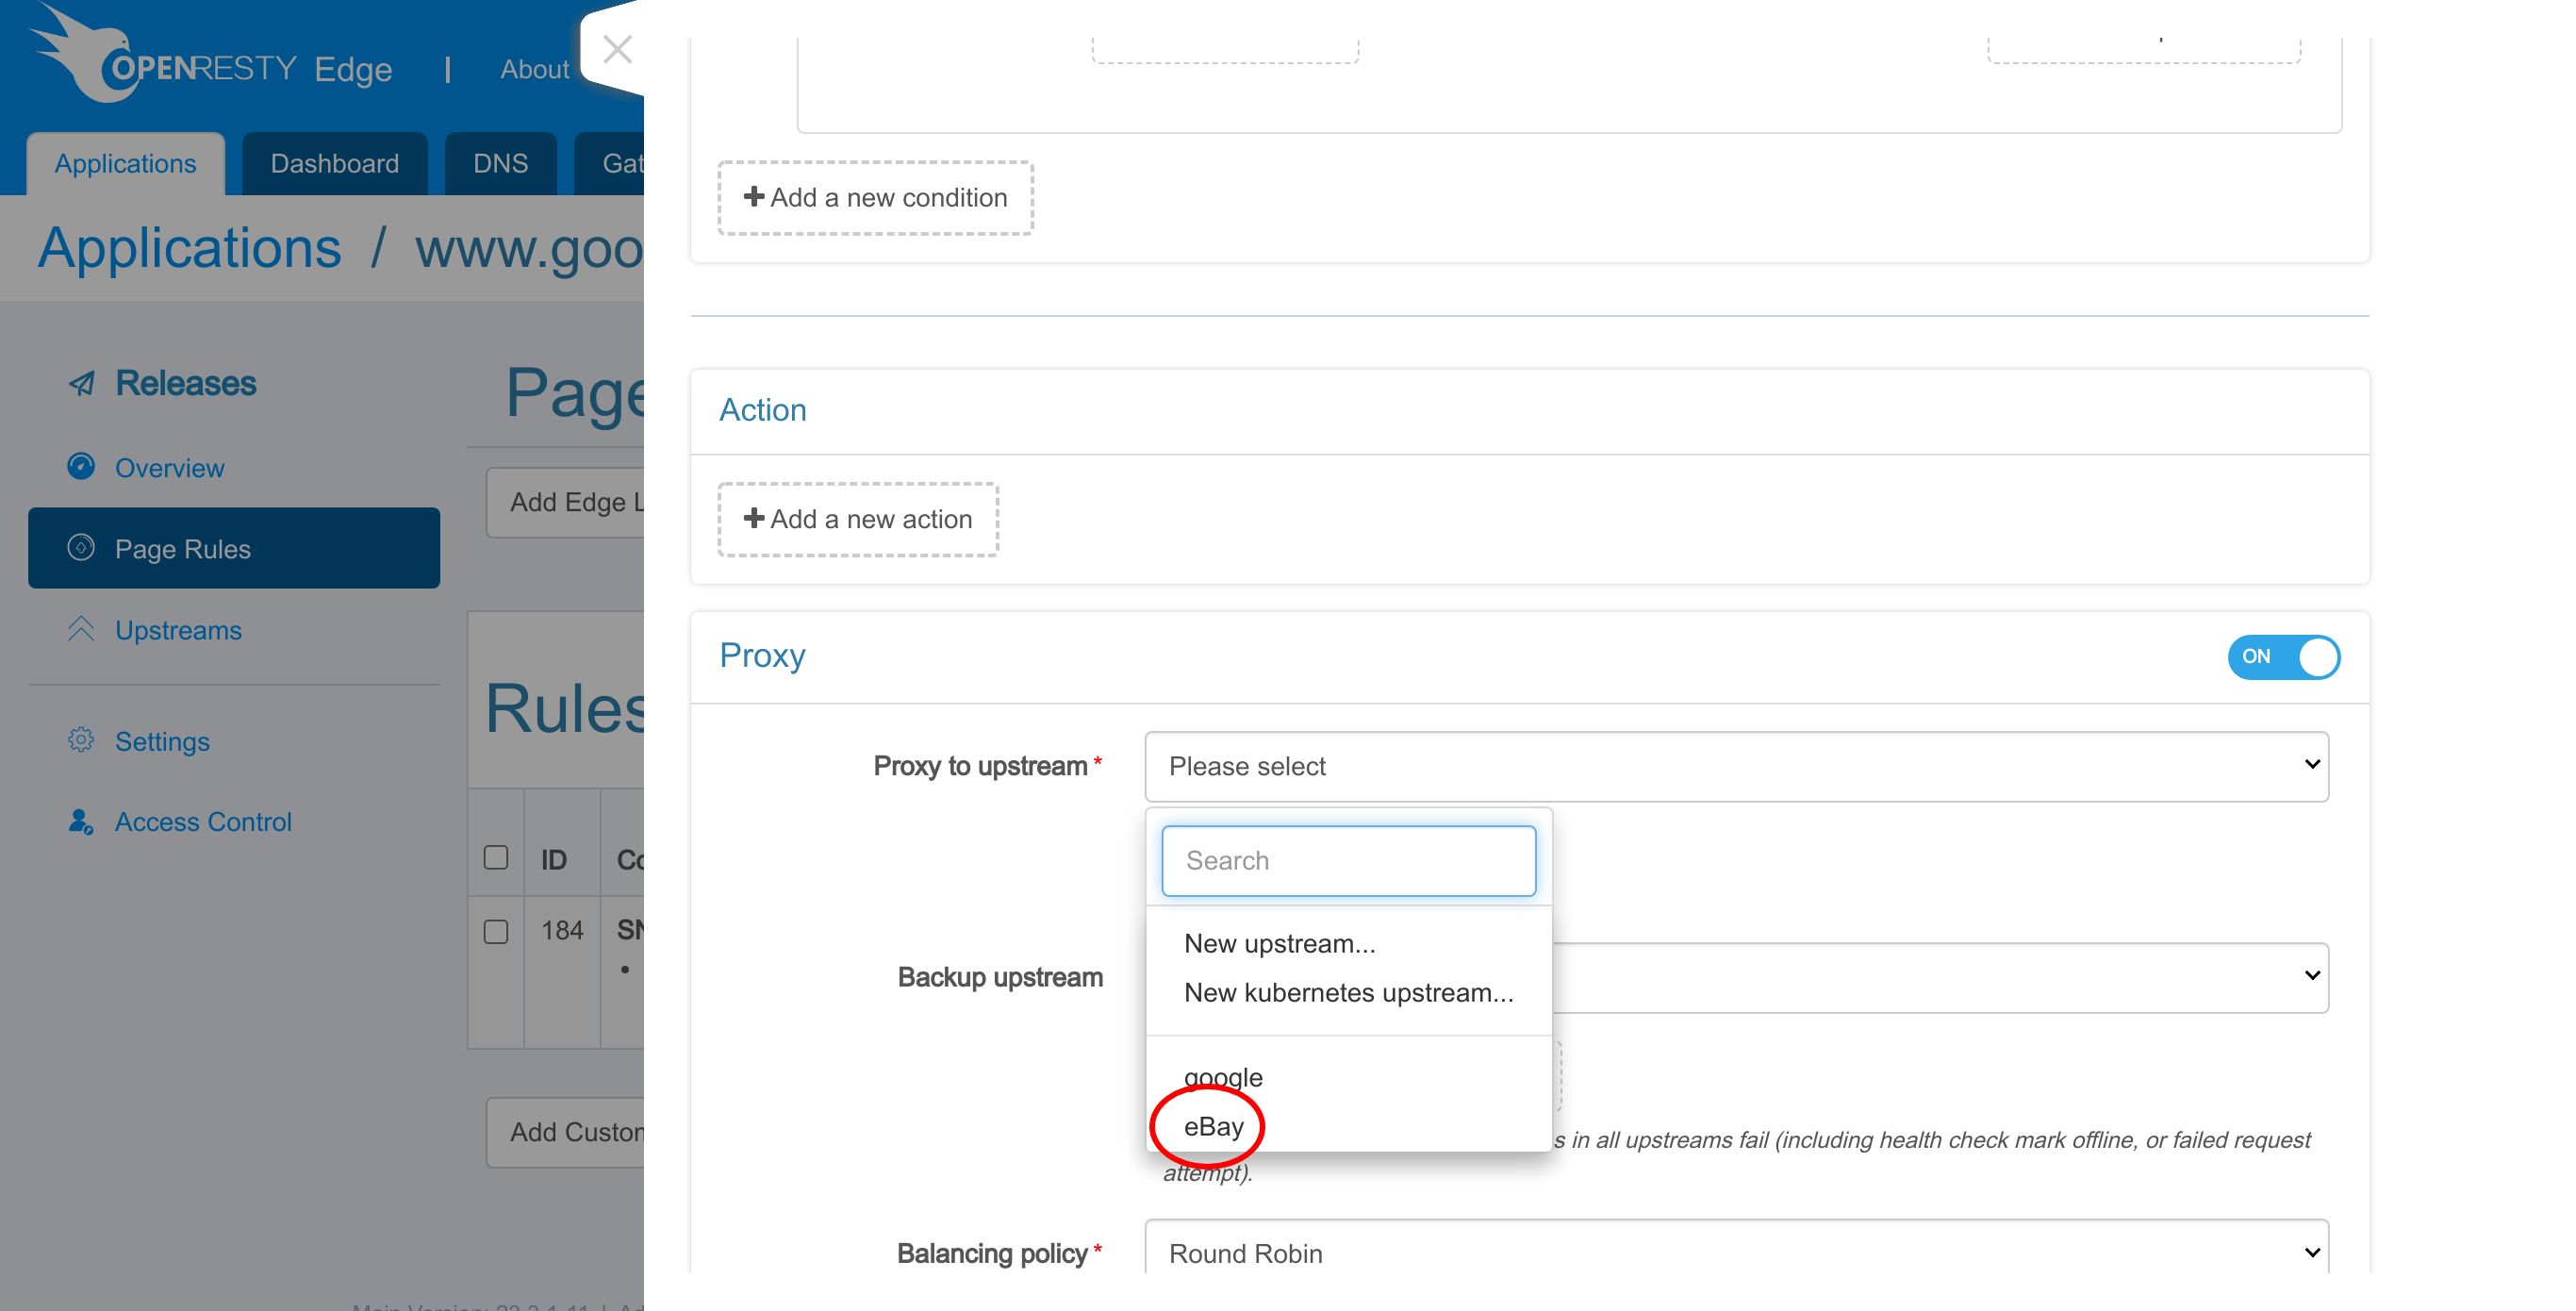
Changed all timeout values to 60 seconds.
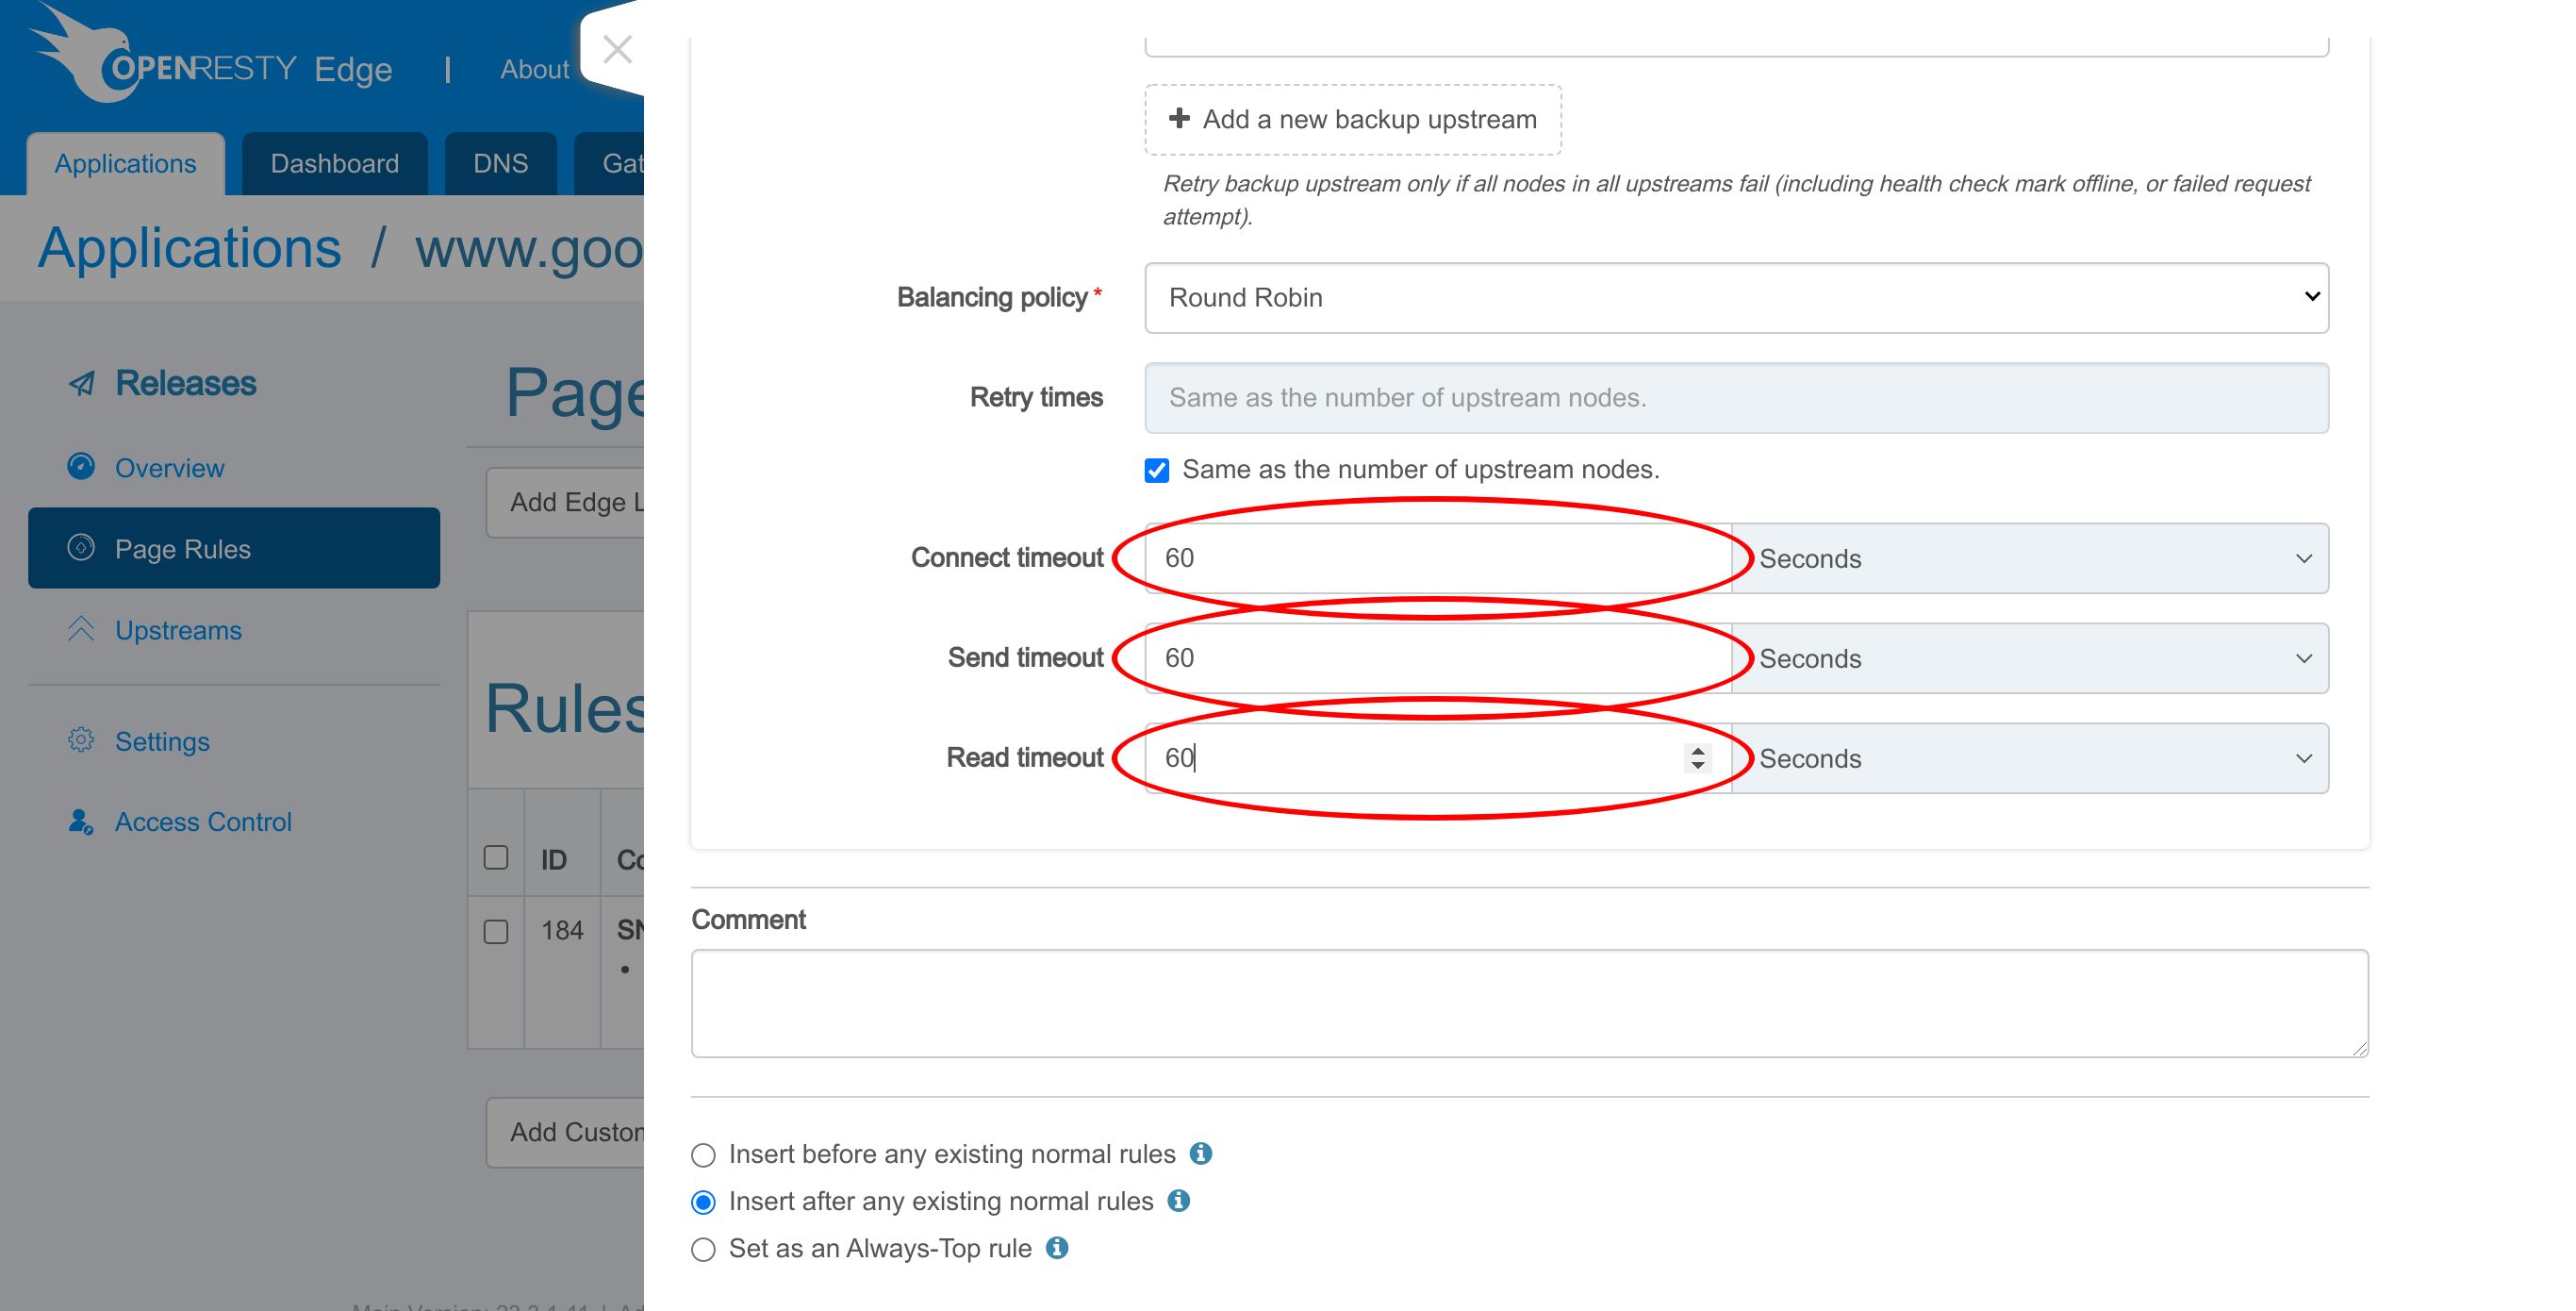
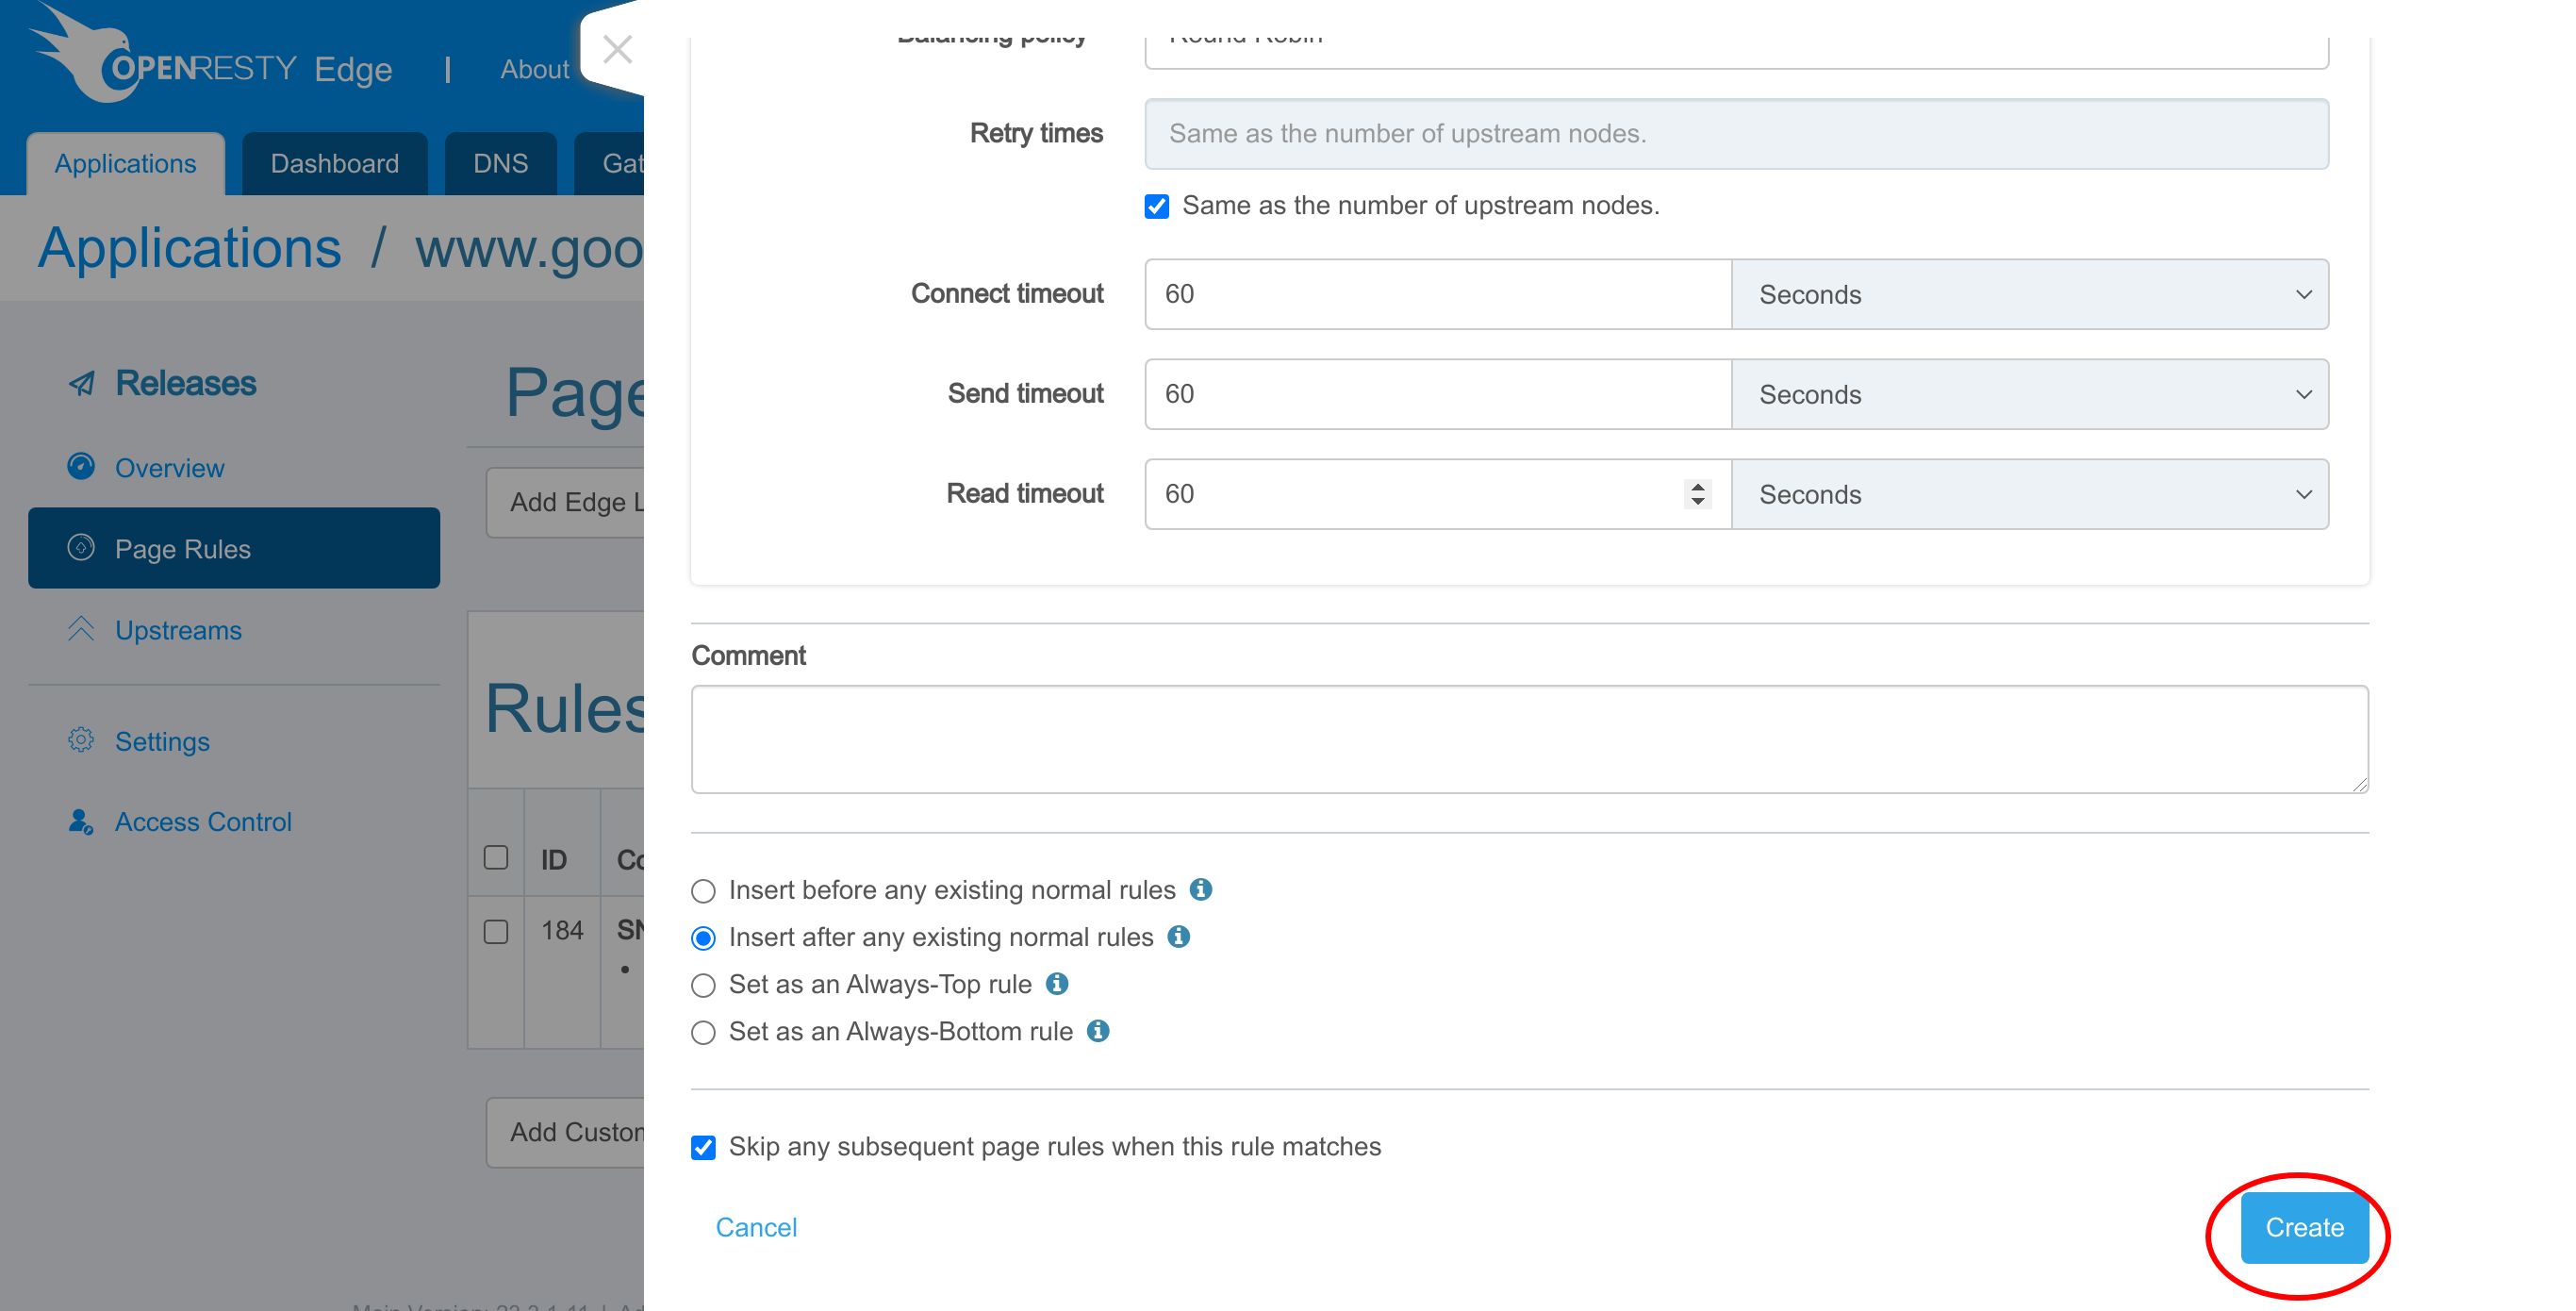
Create this page rule.
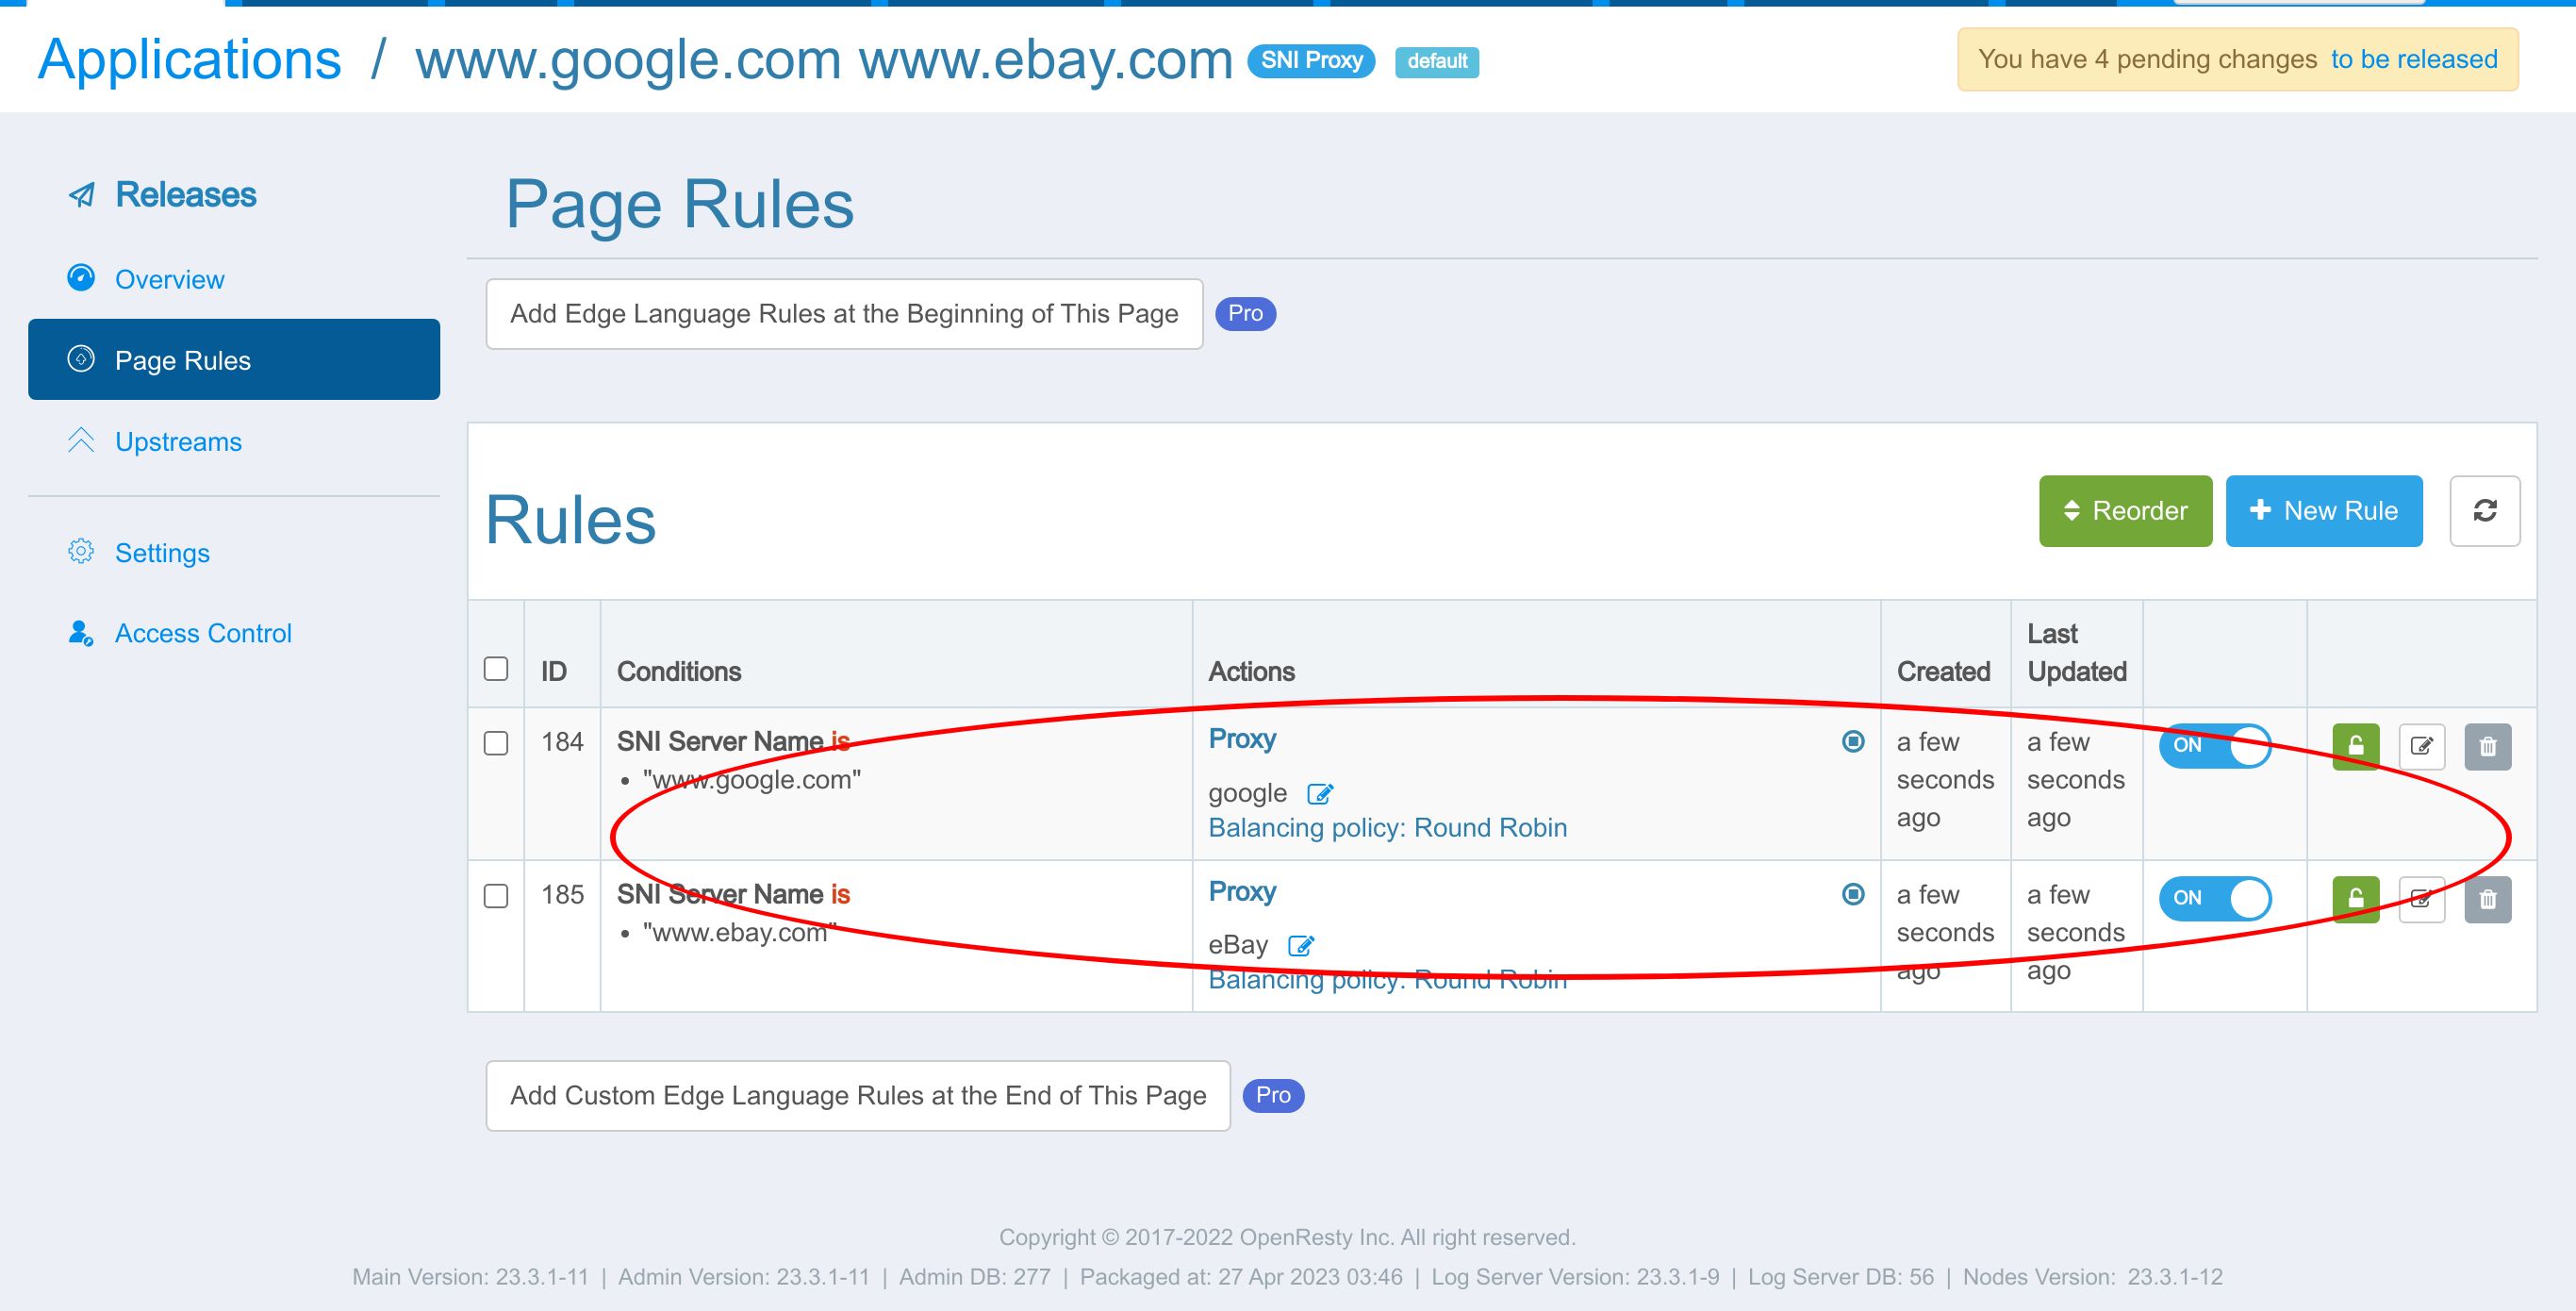
The proxy page rules exist already on the page rule list.
The last step is to make a new configuration release. It will push out our pending changes to all our gateway servers.
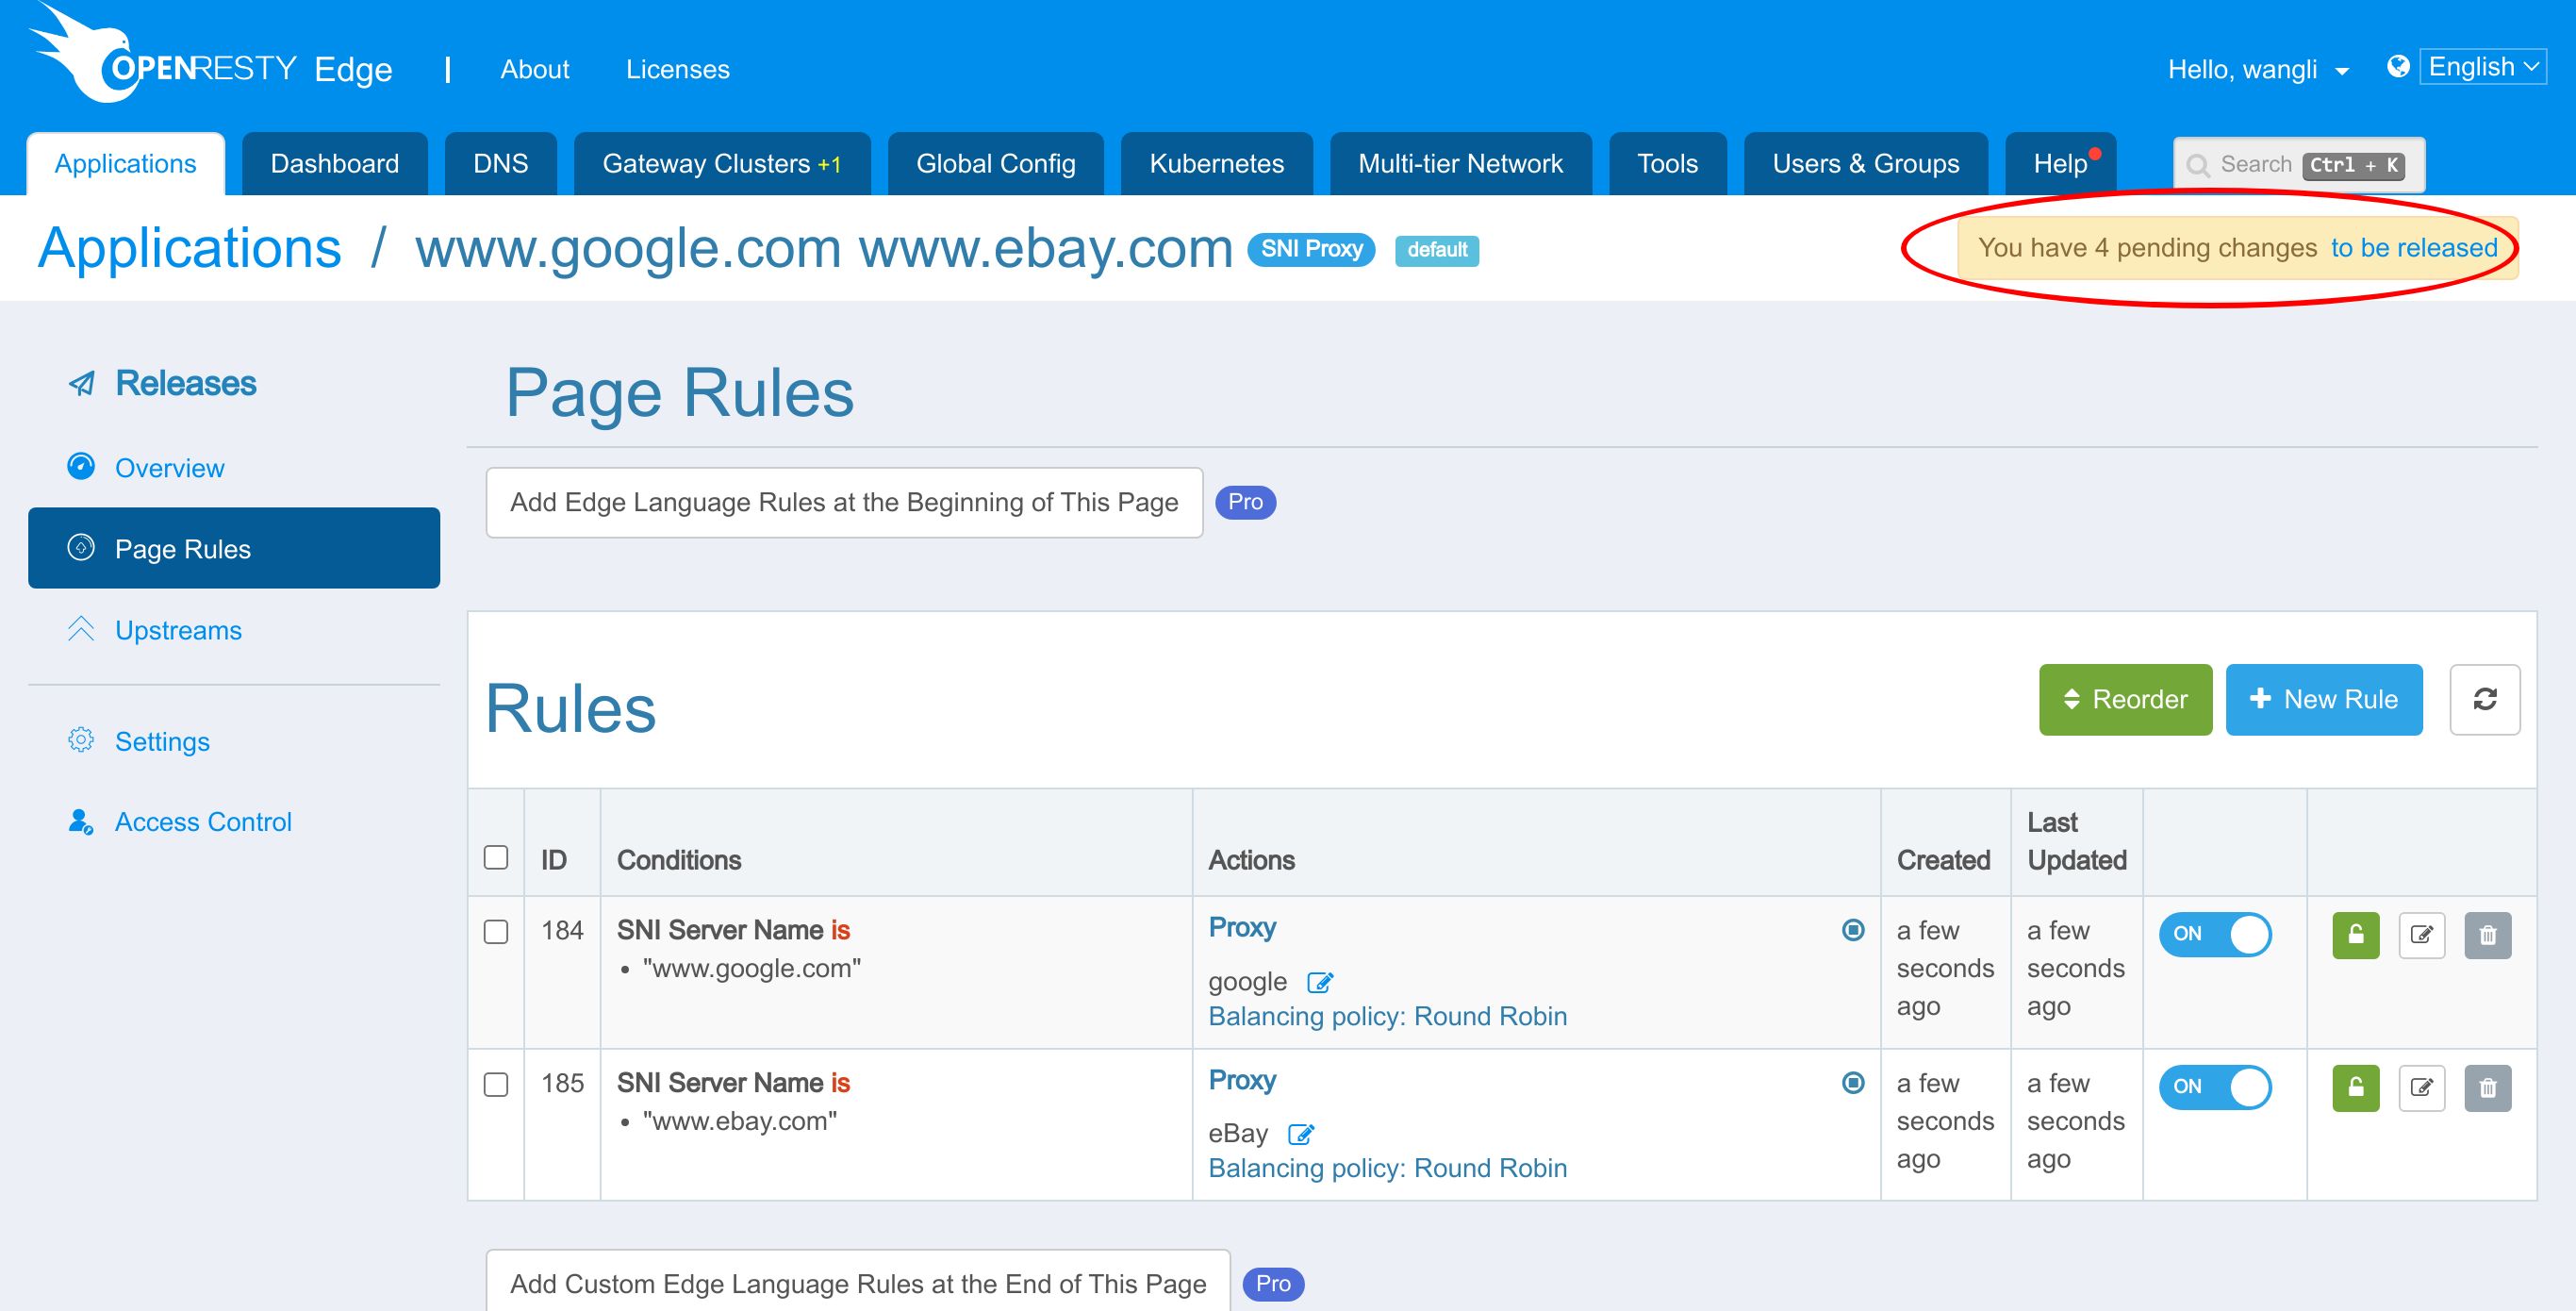
Let’s click on this button to make a new release.
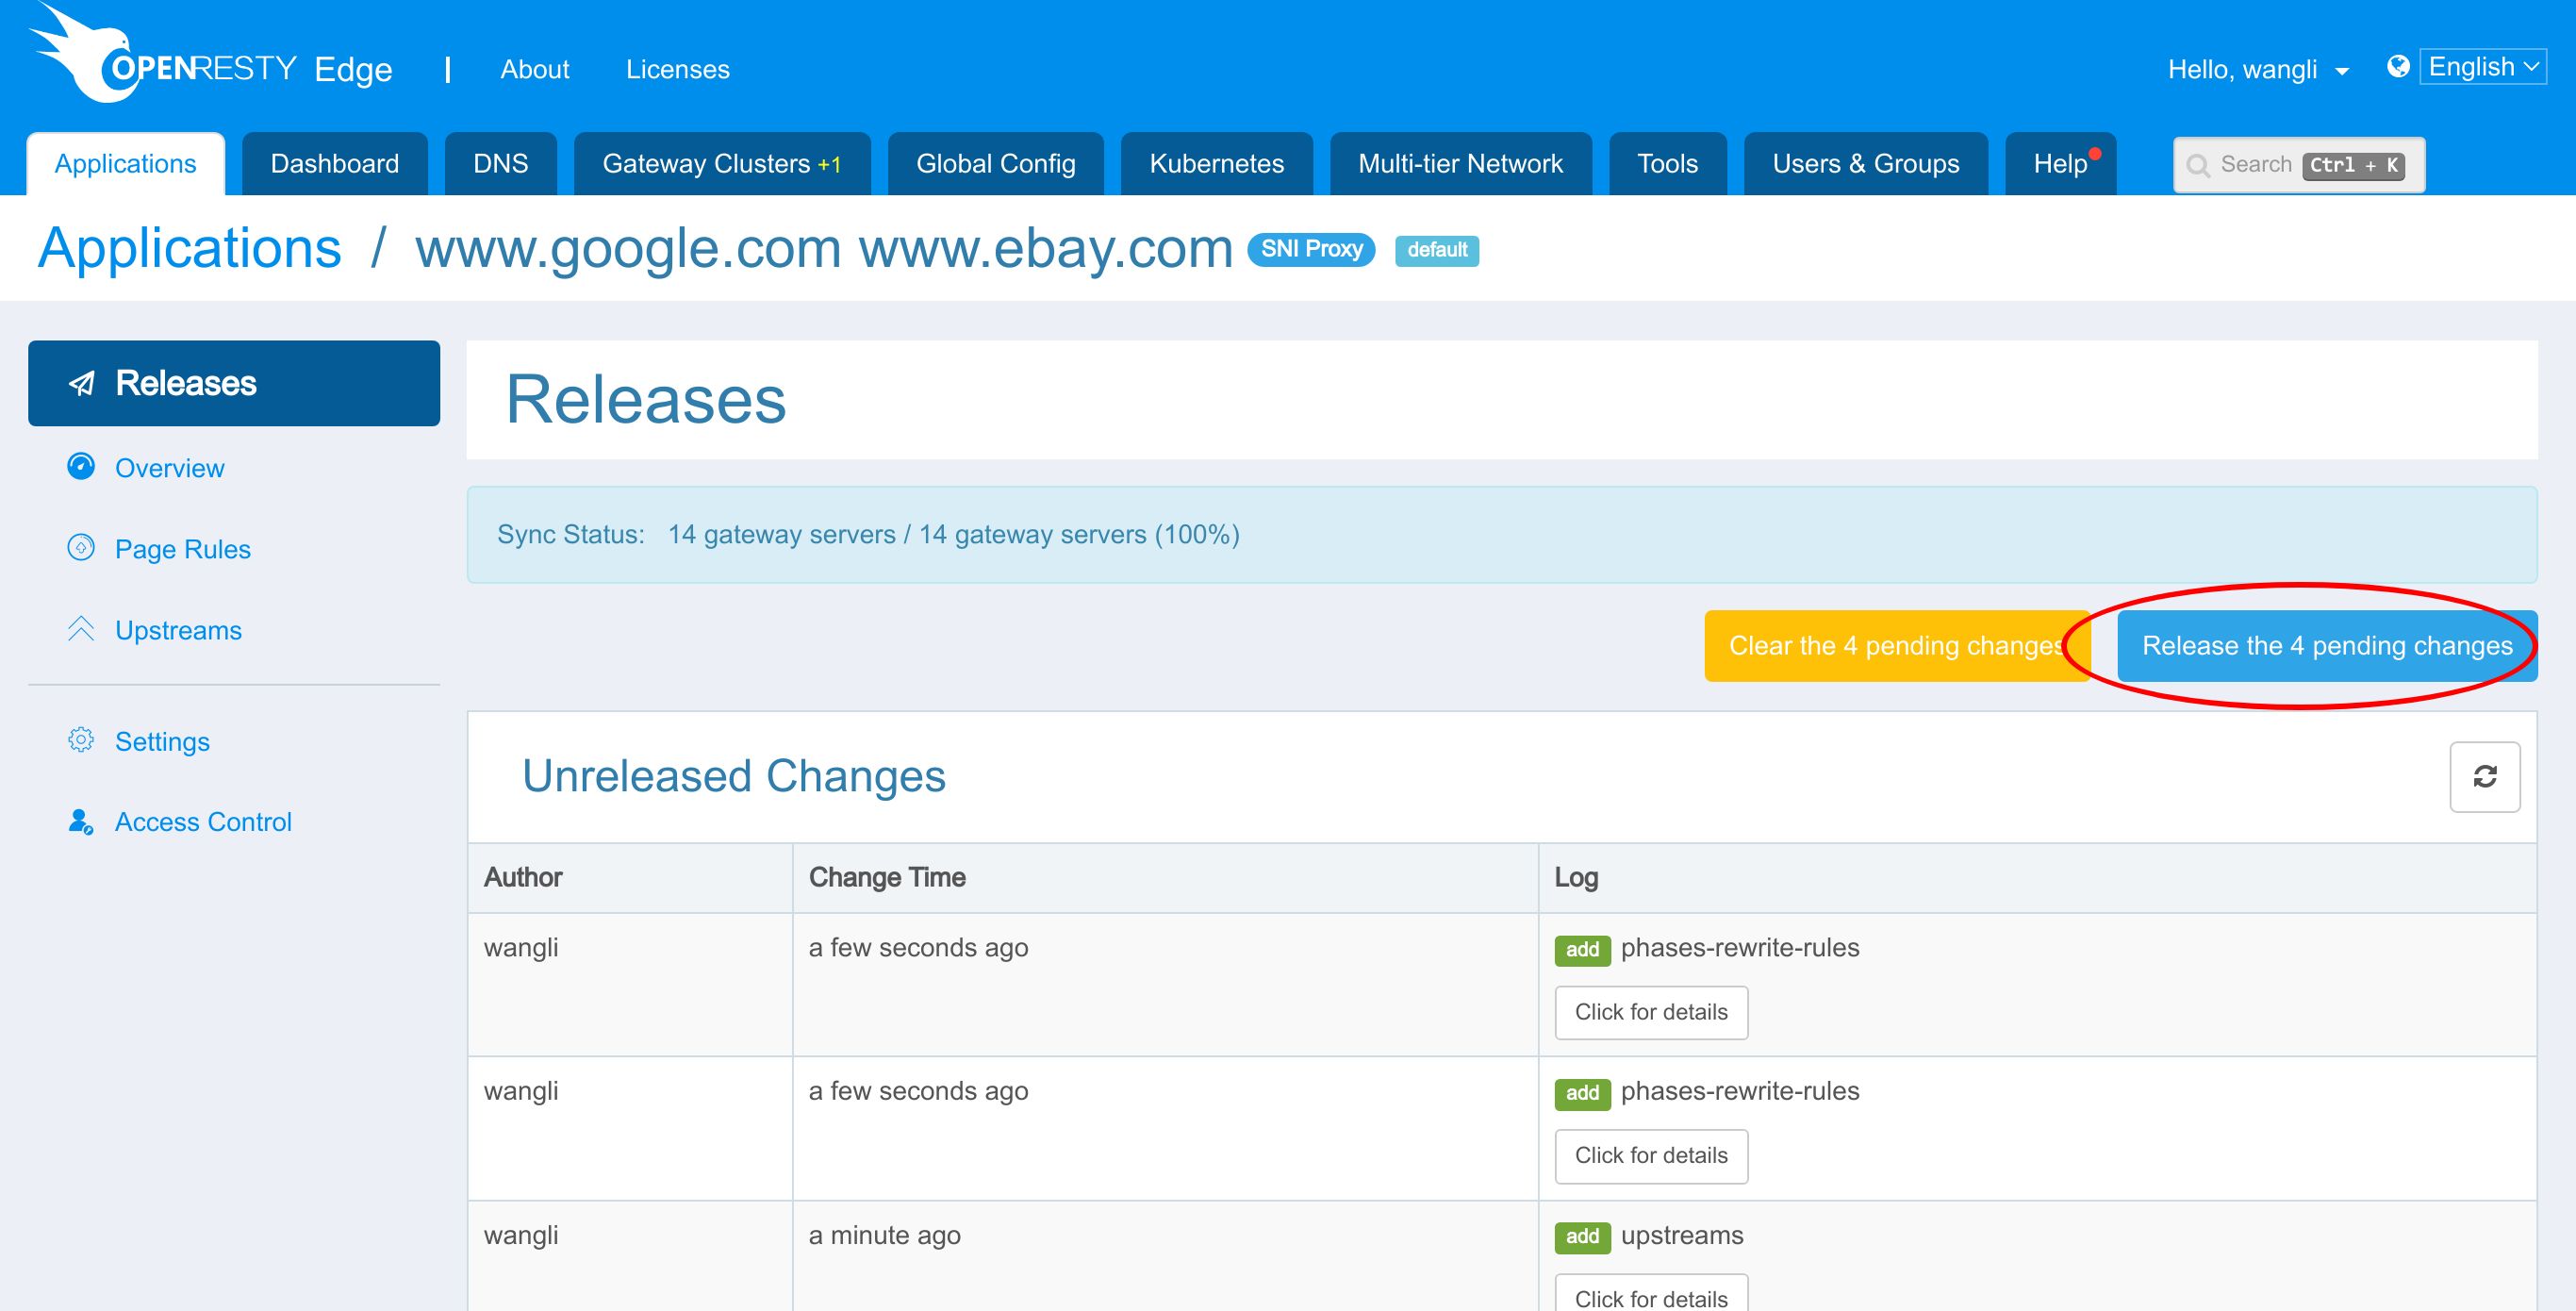
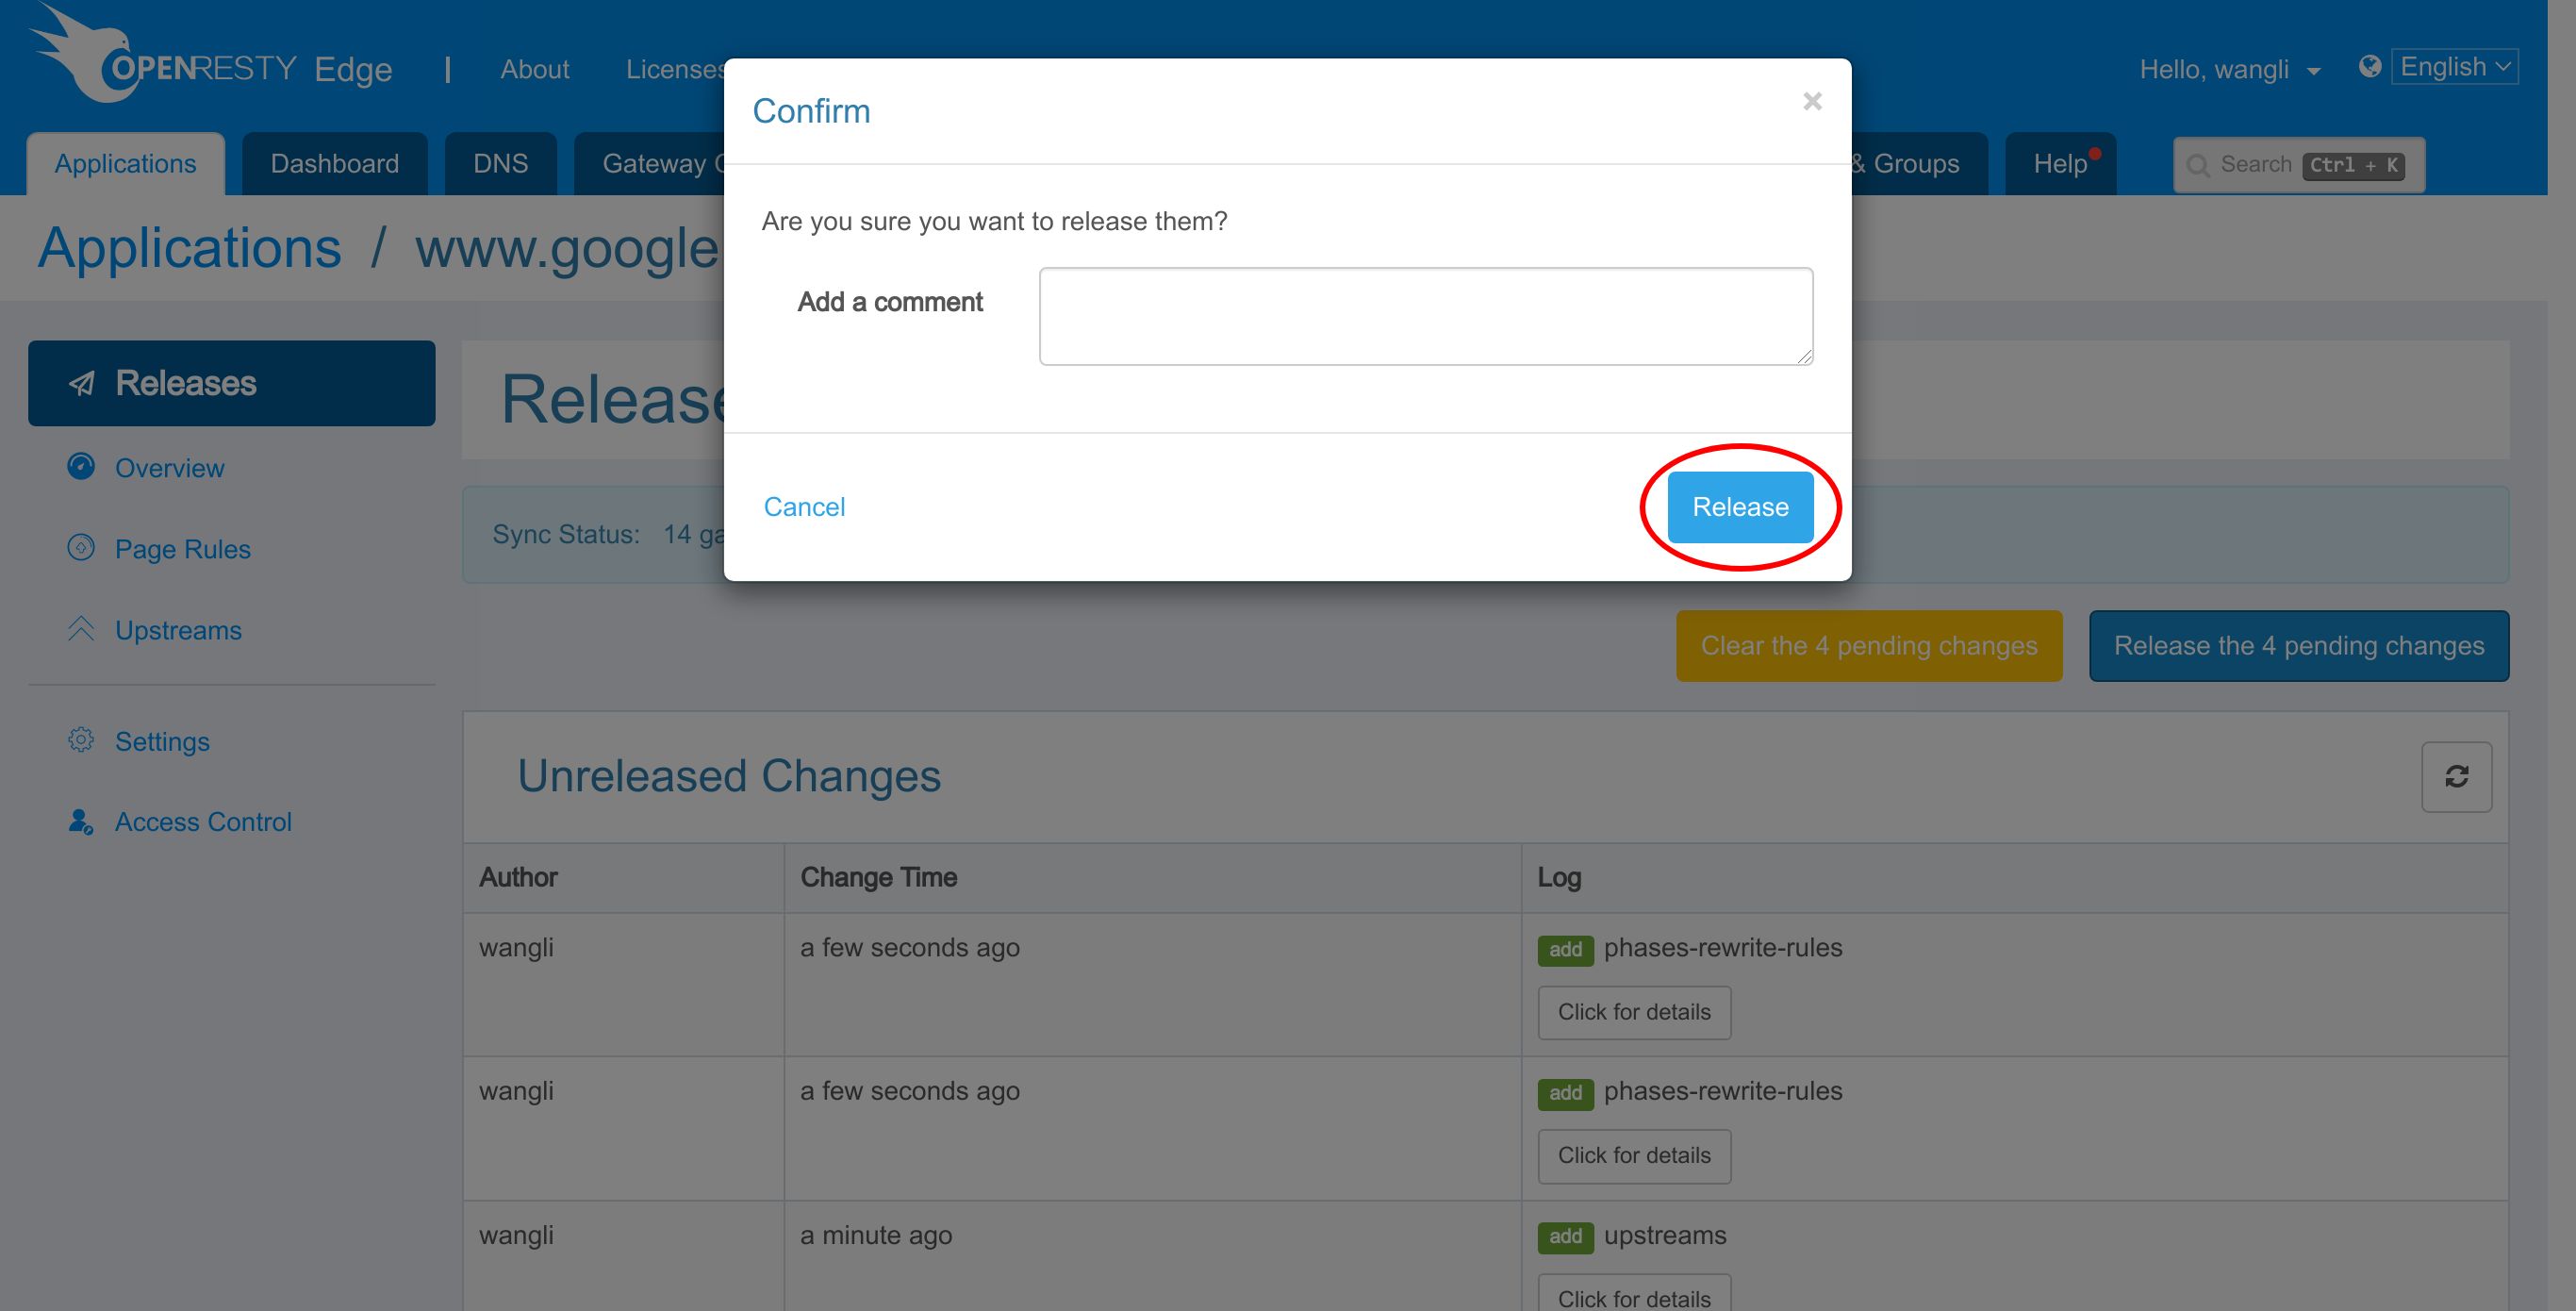
Ship it.
Now it is fully synchronized. As we can see, this sample deployment has 14 servers in the gateway network.
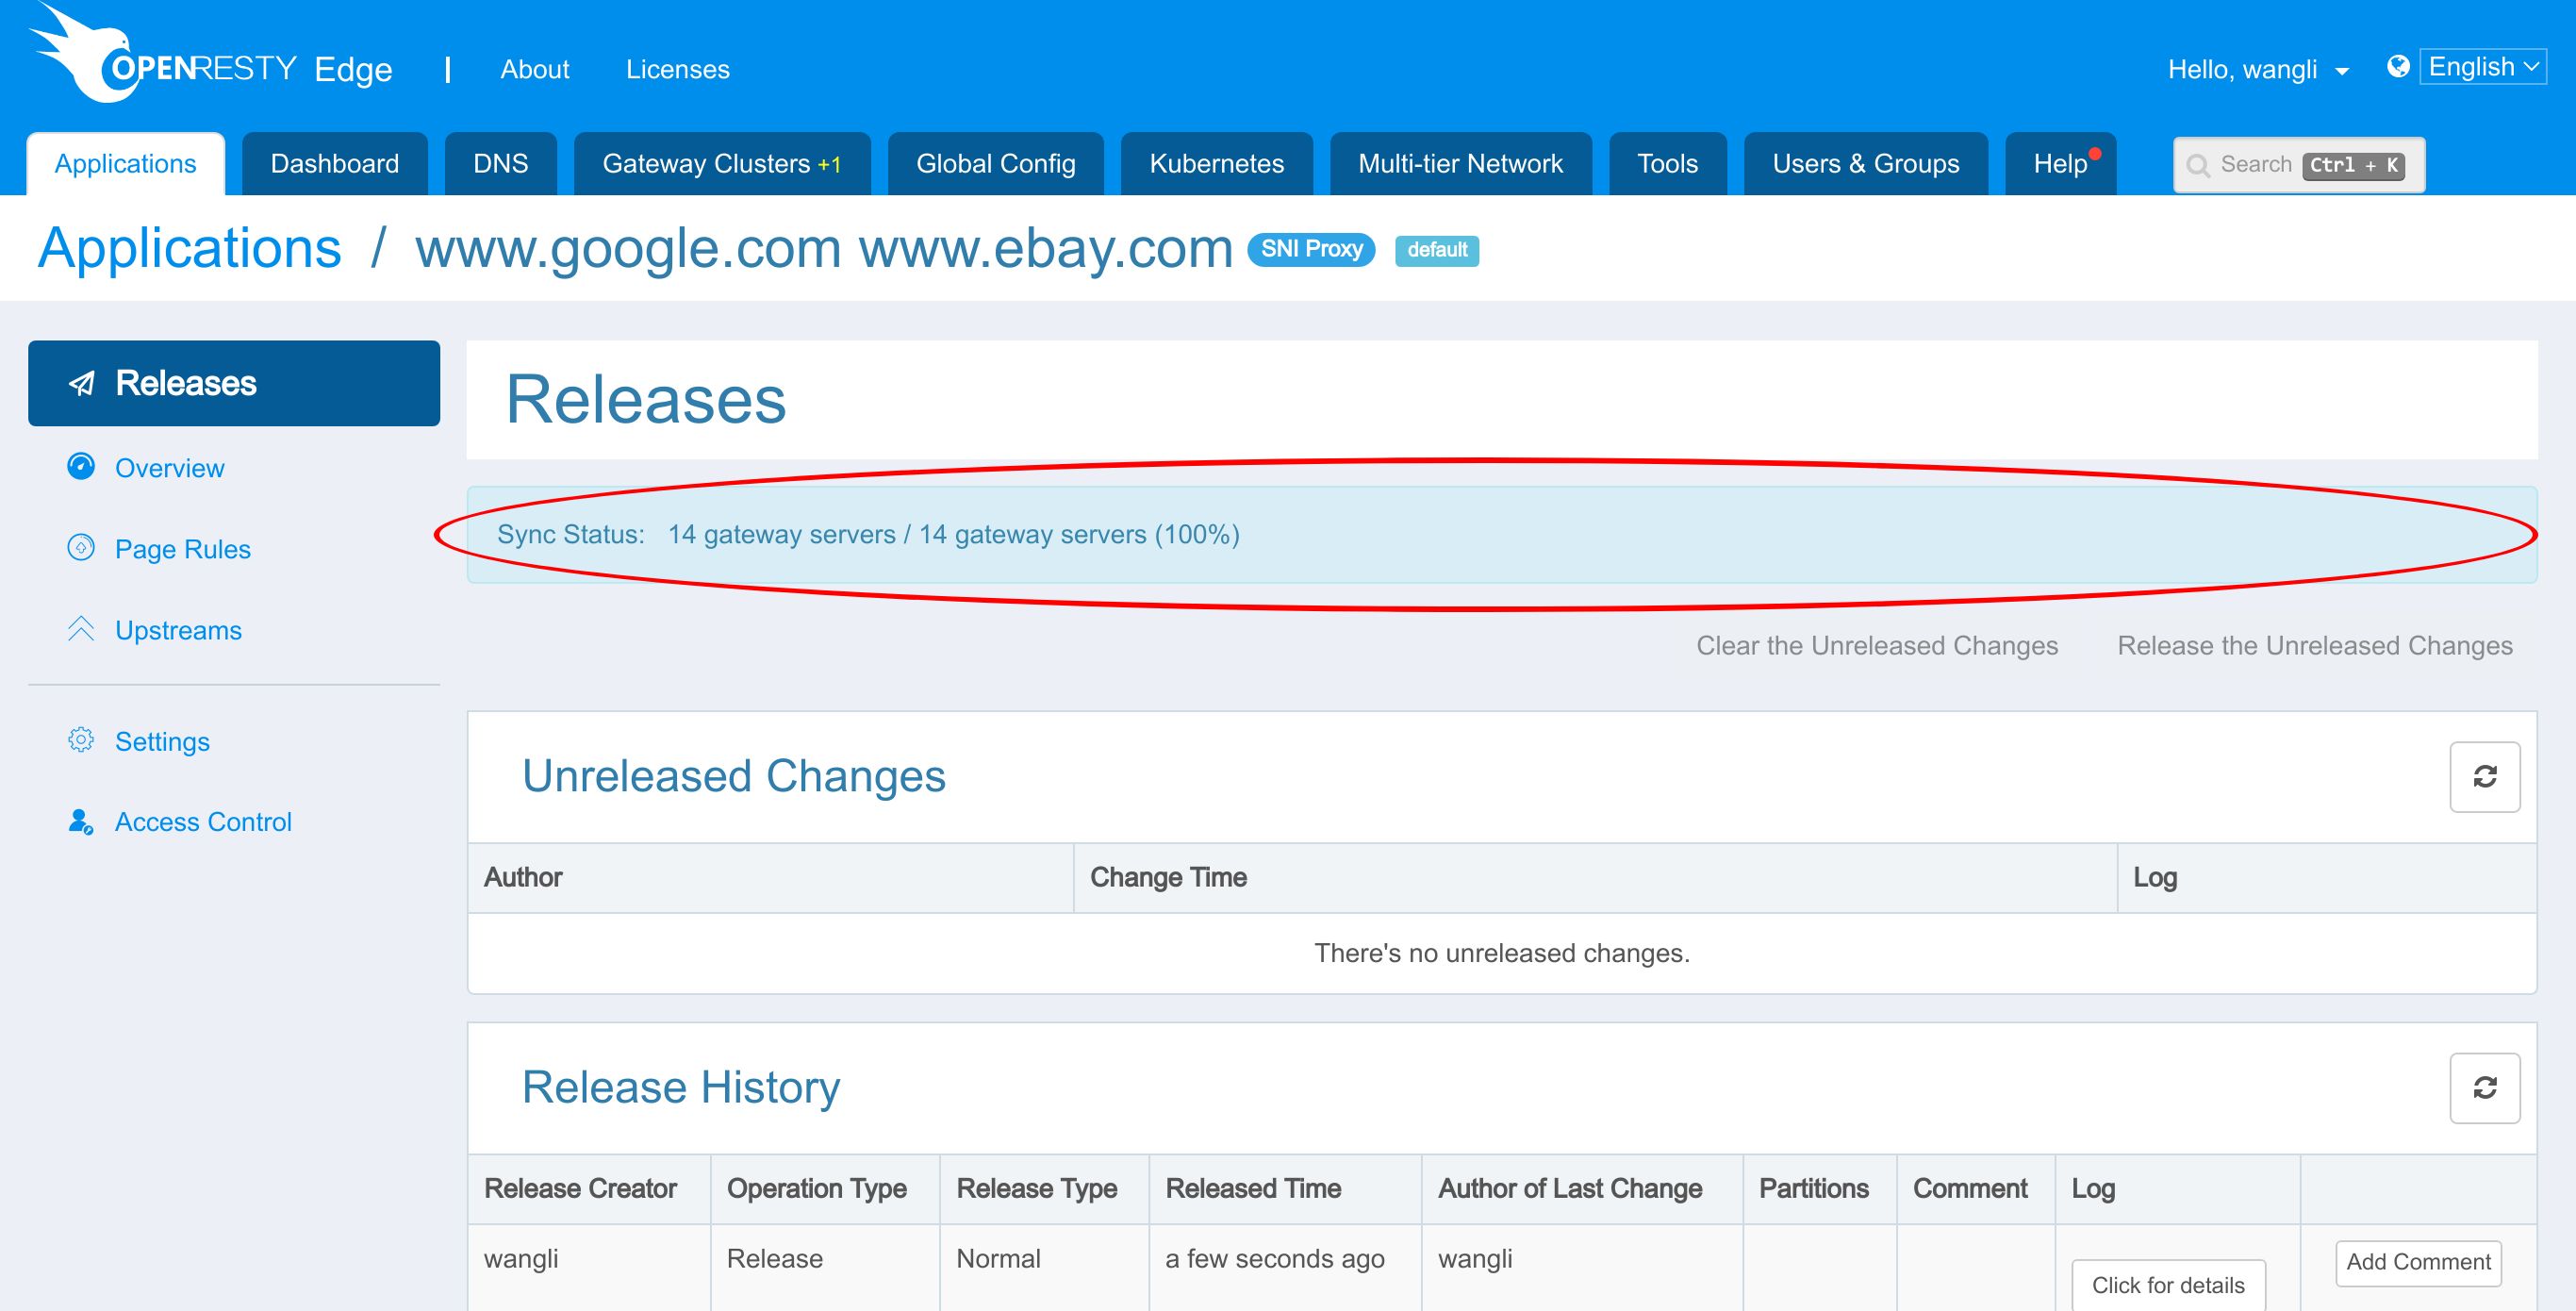
We do incremental config synchronization across the whole network.
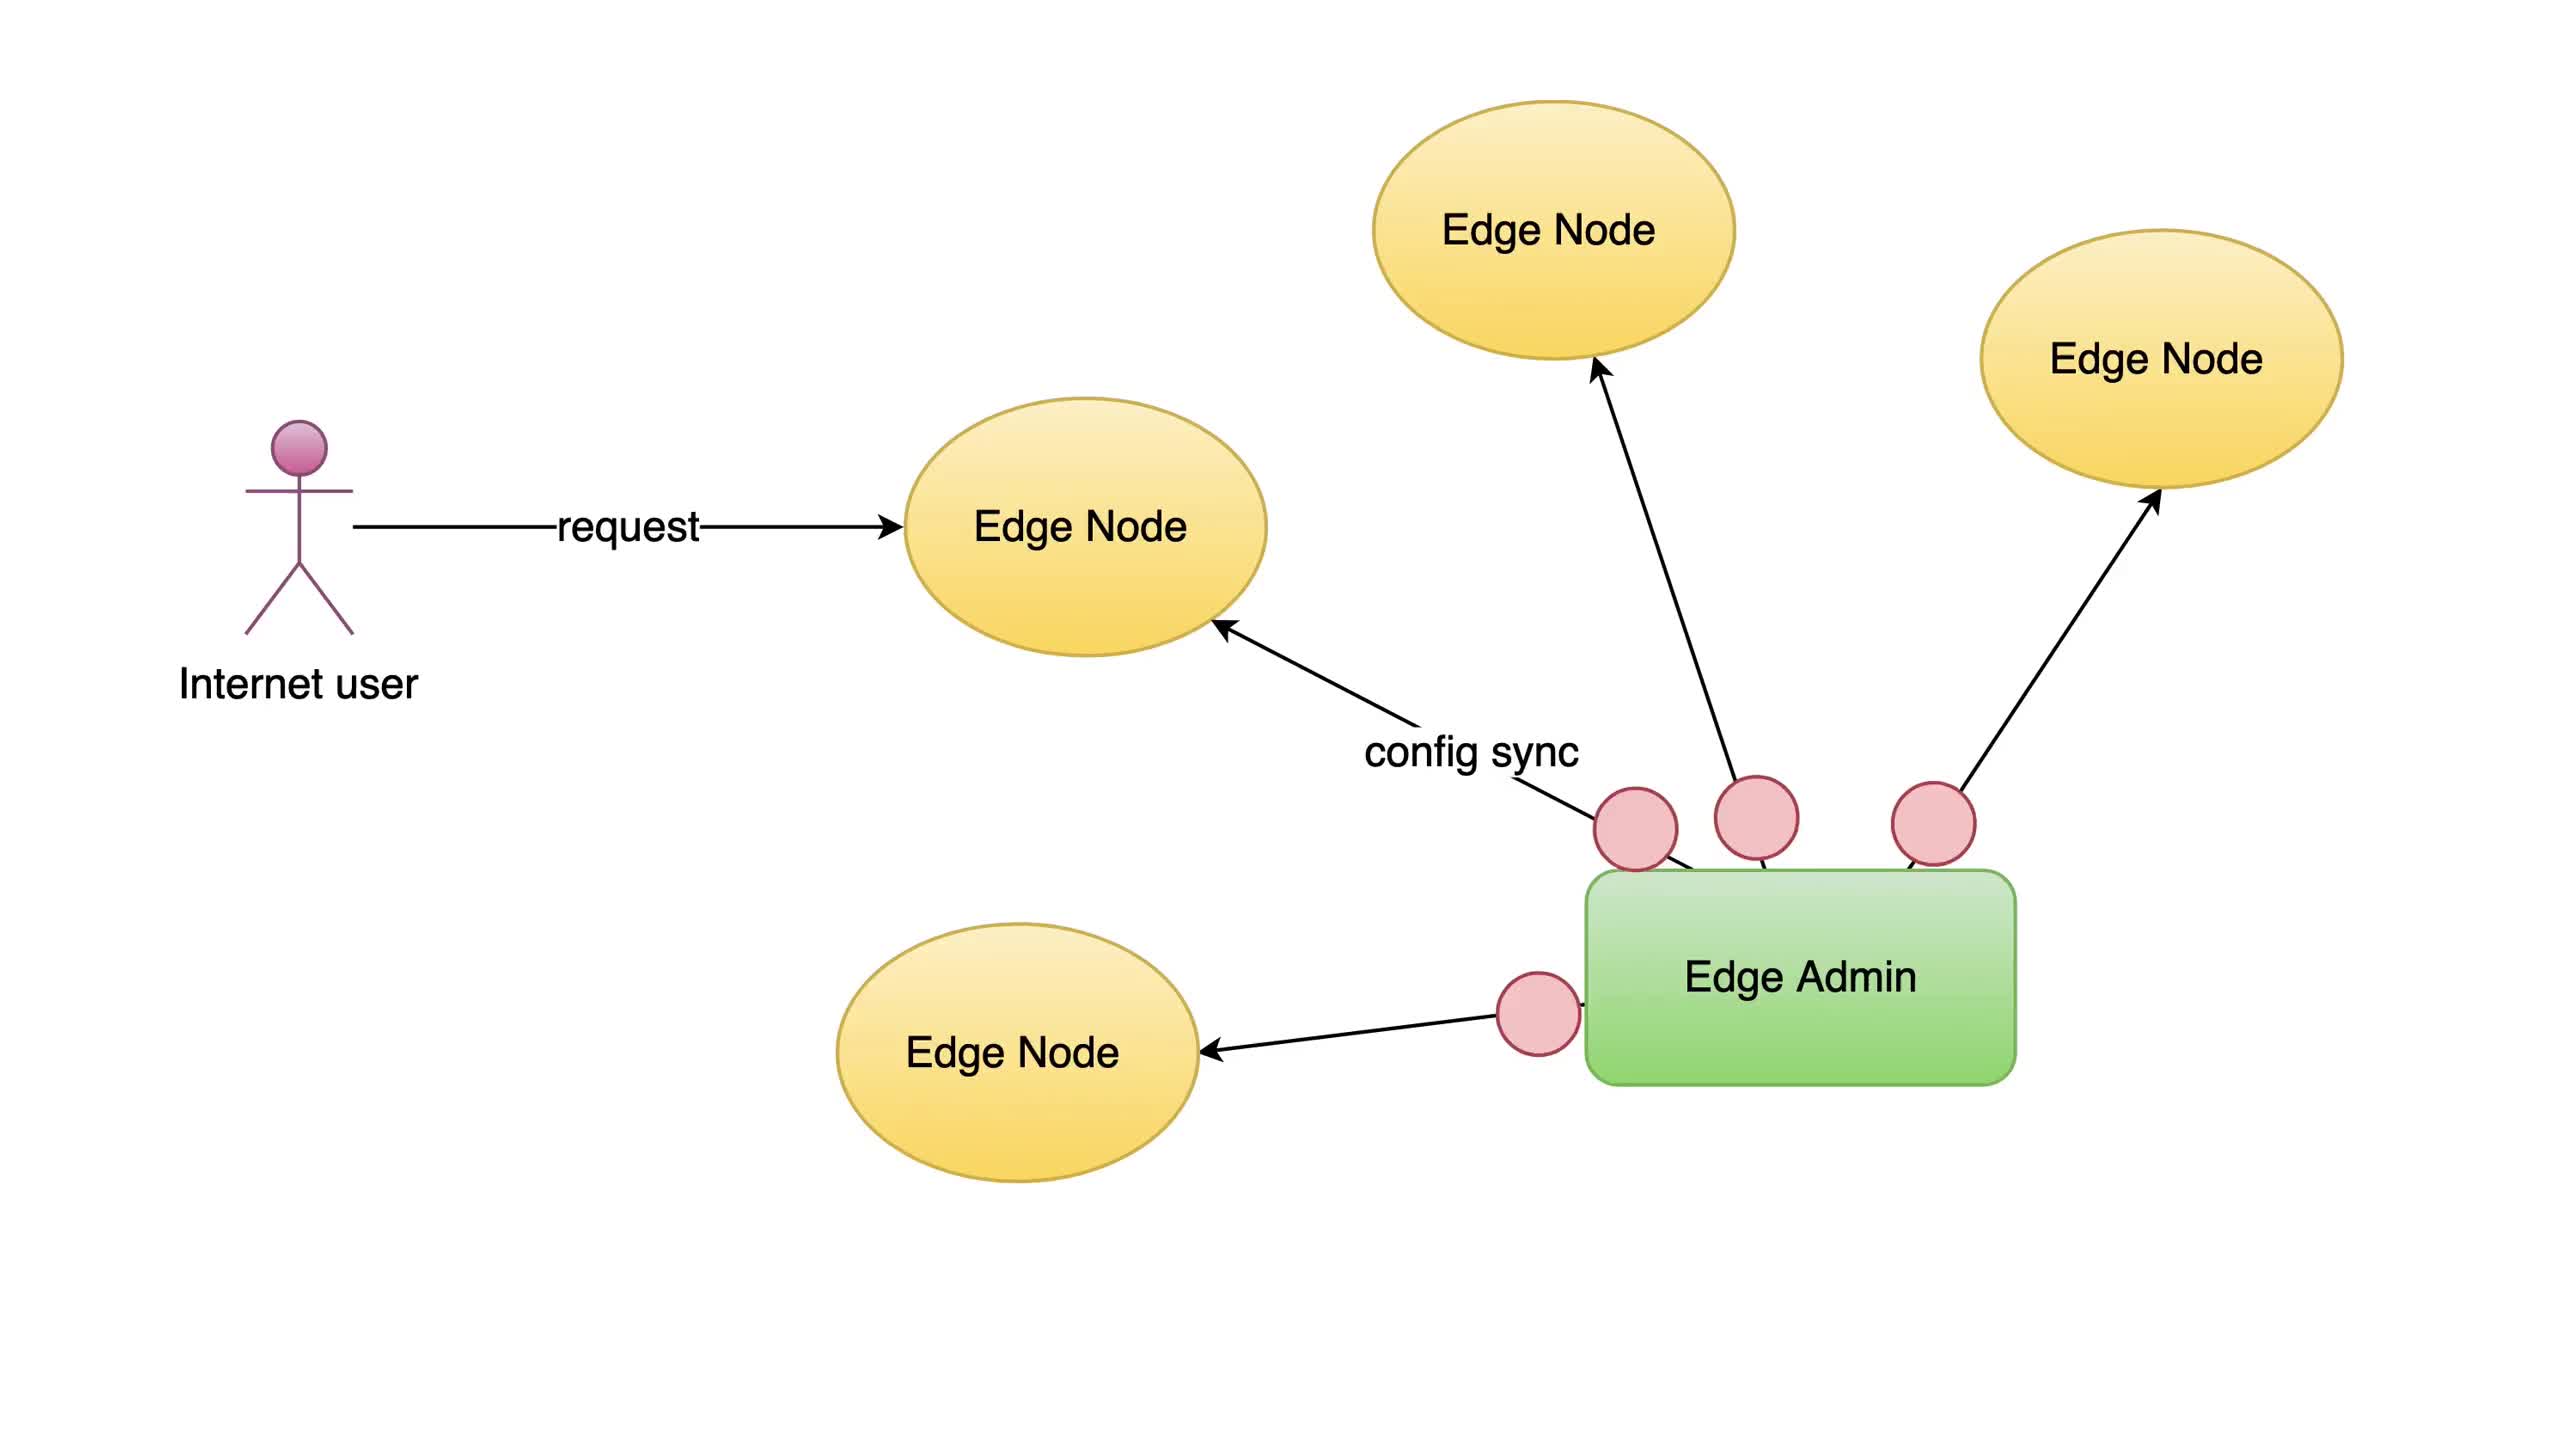
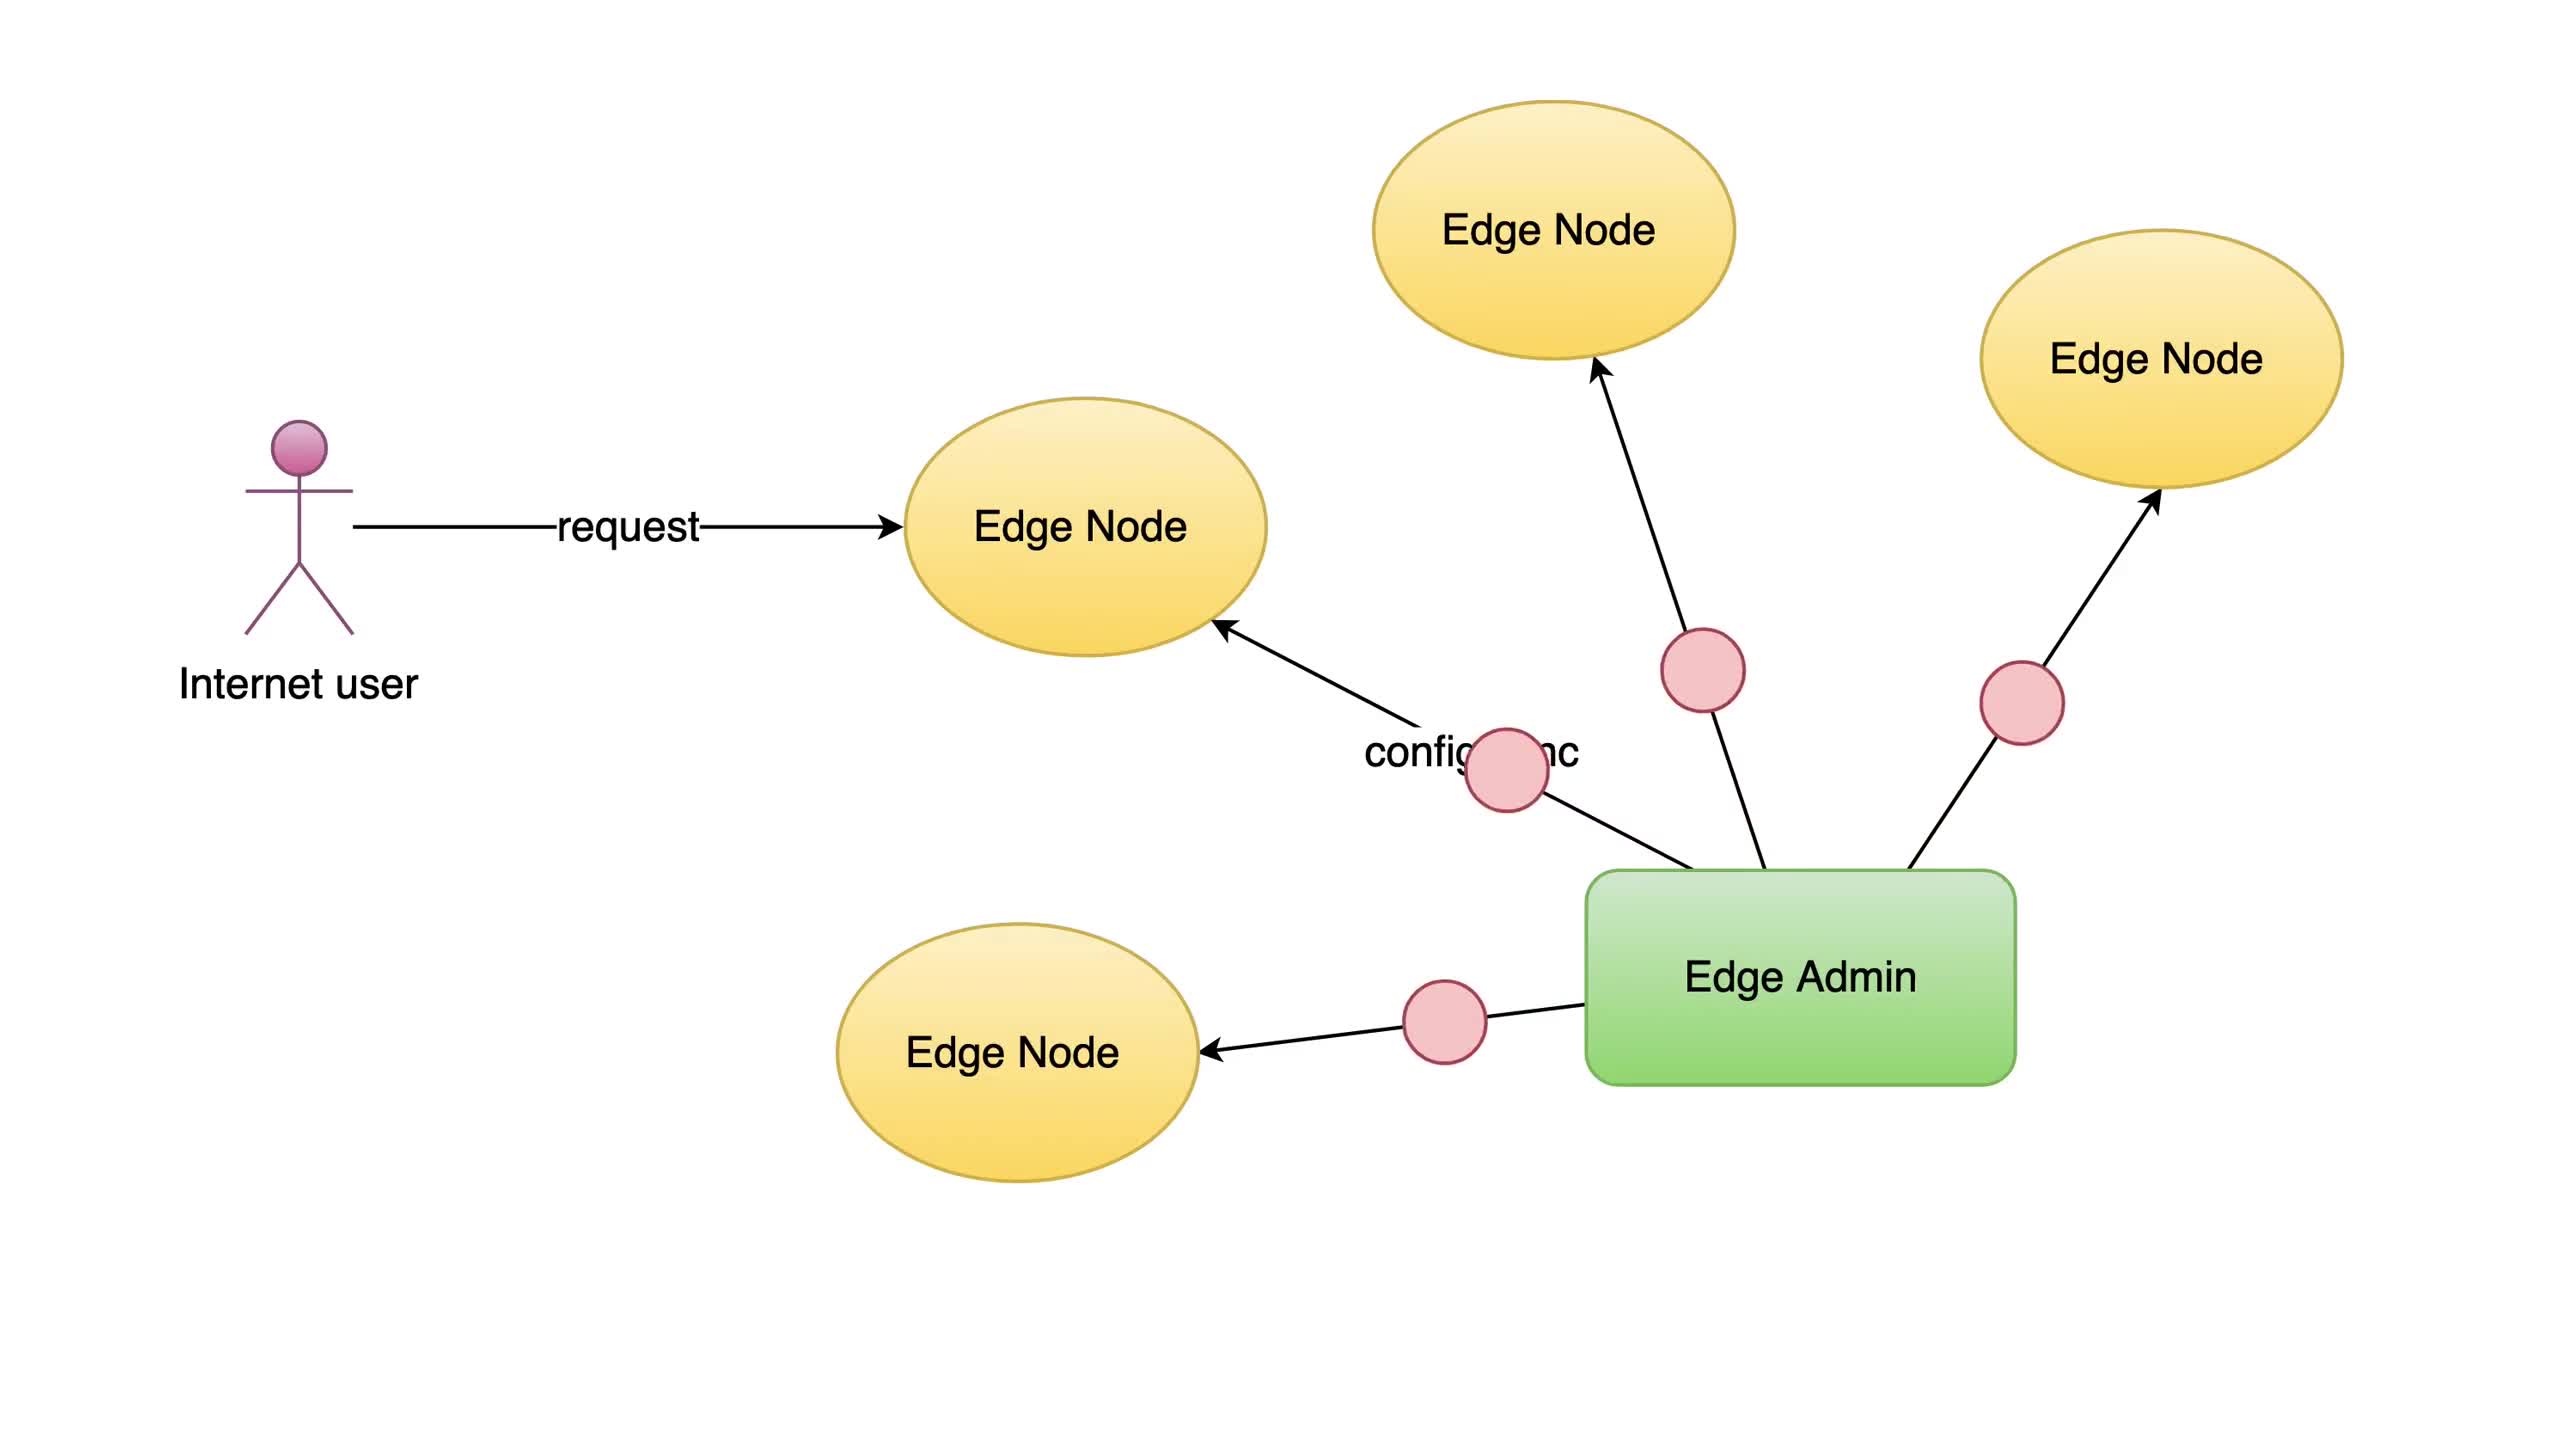
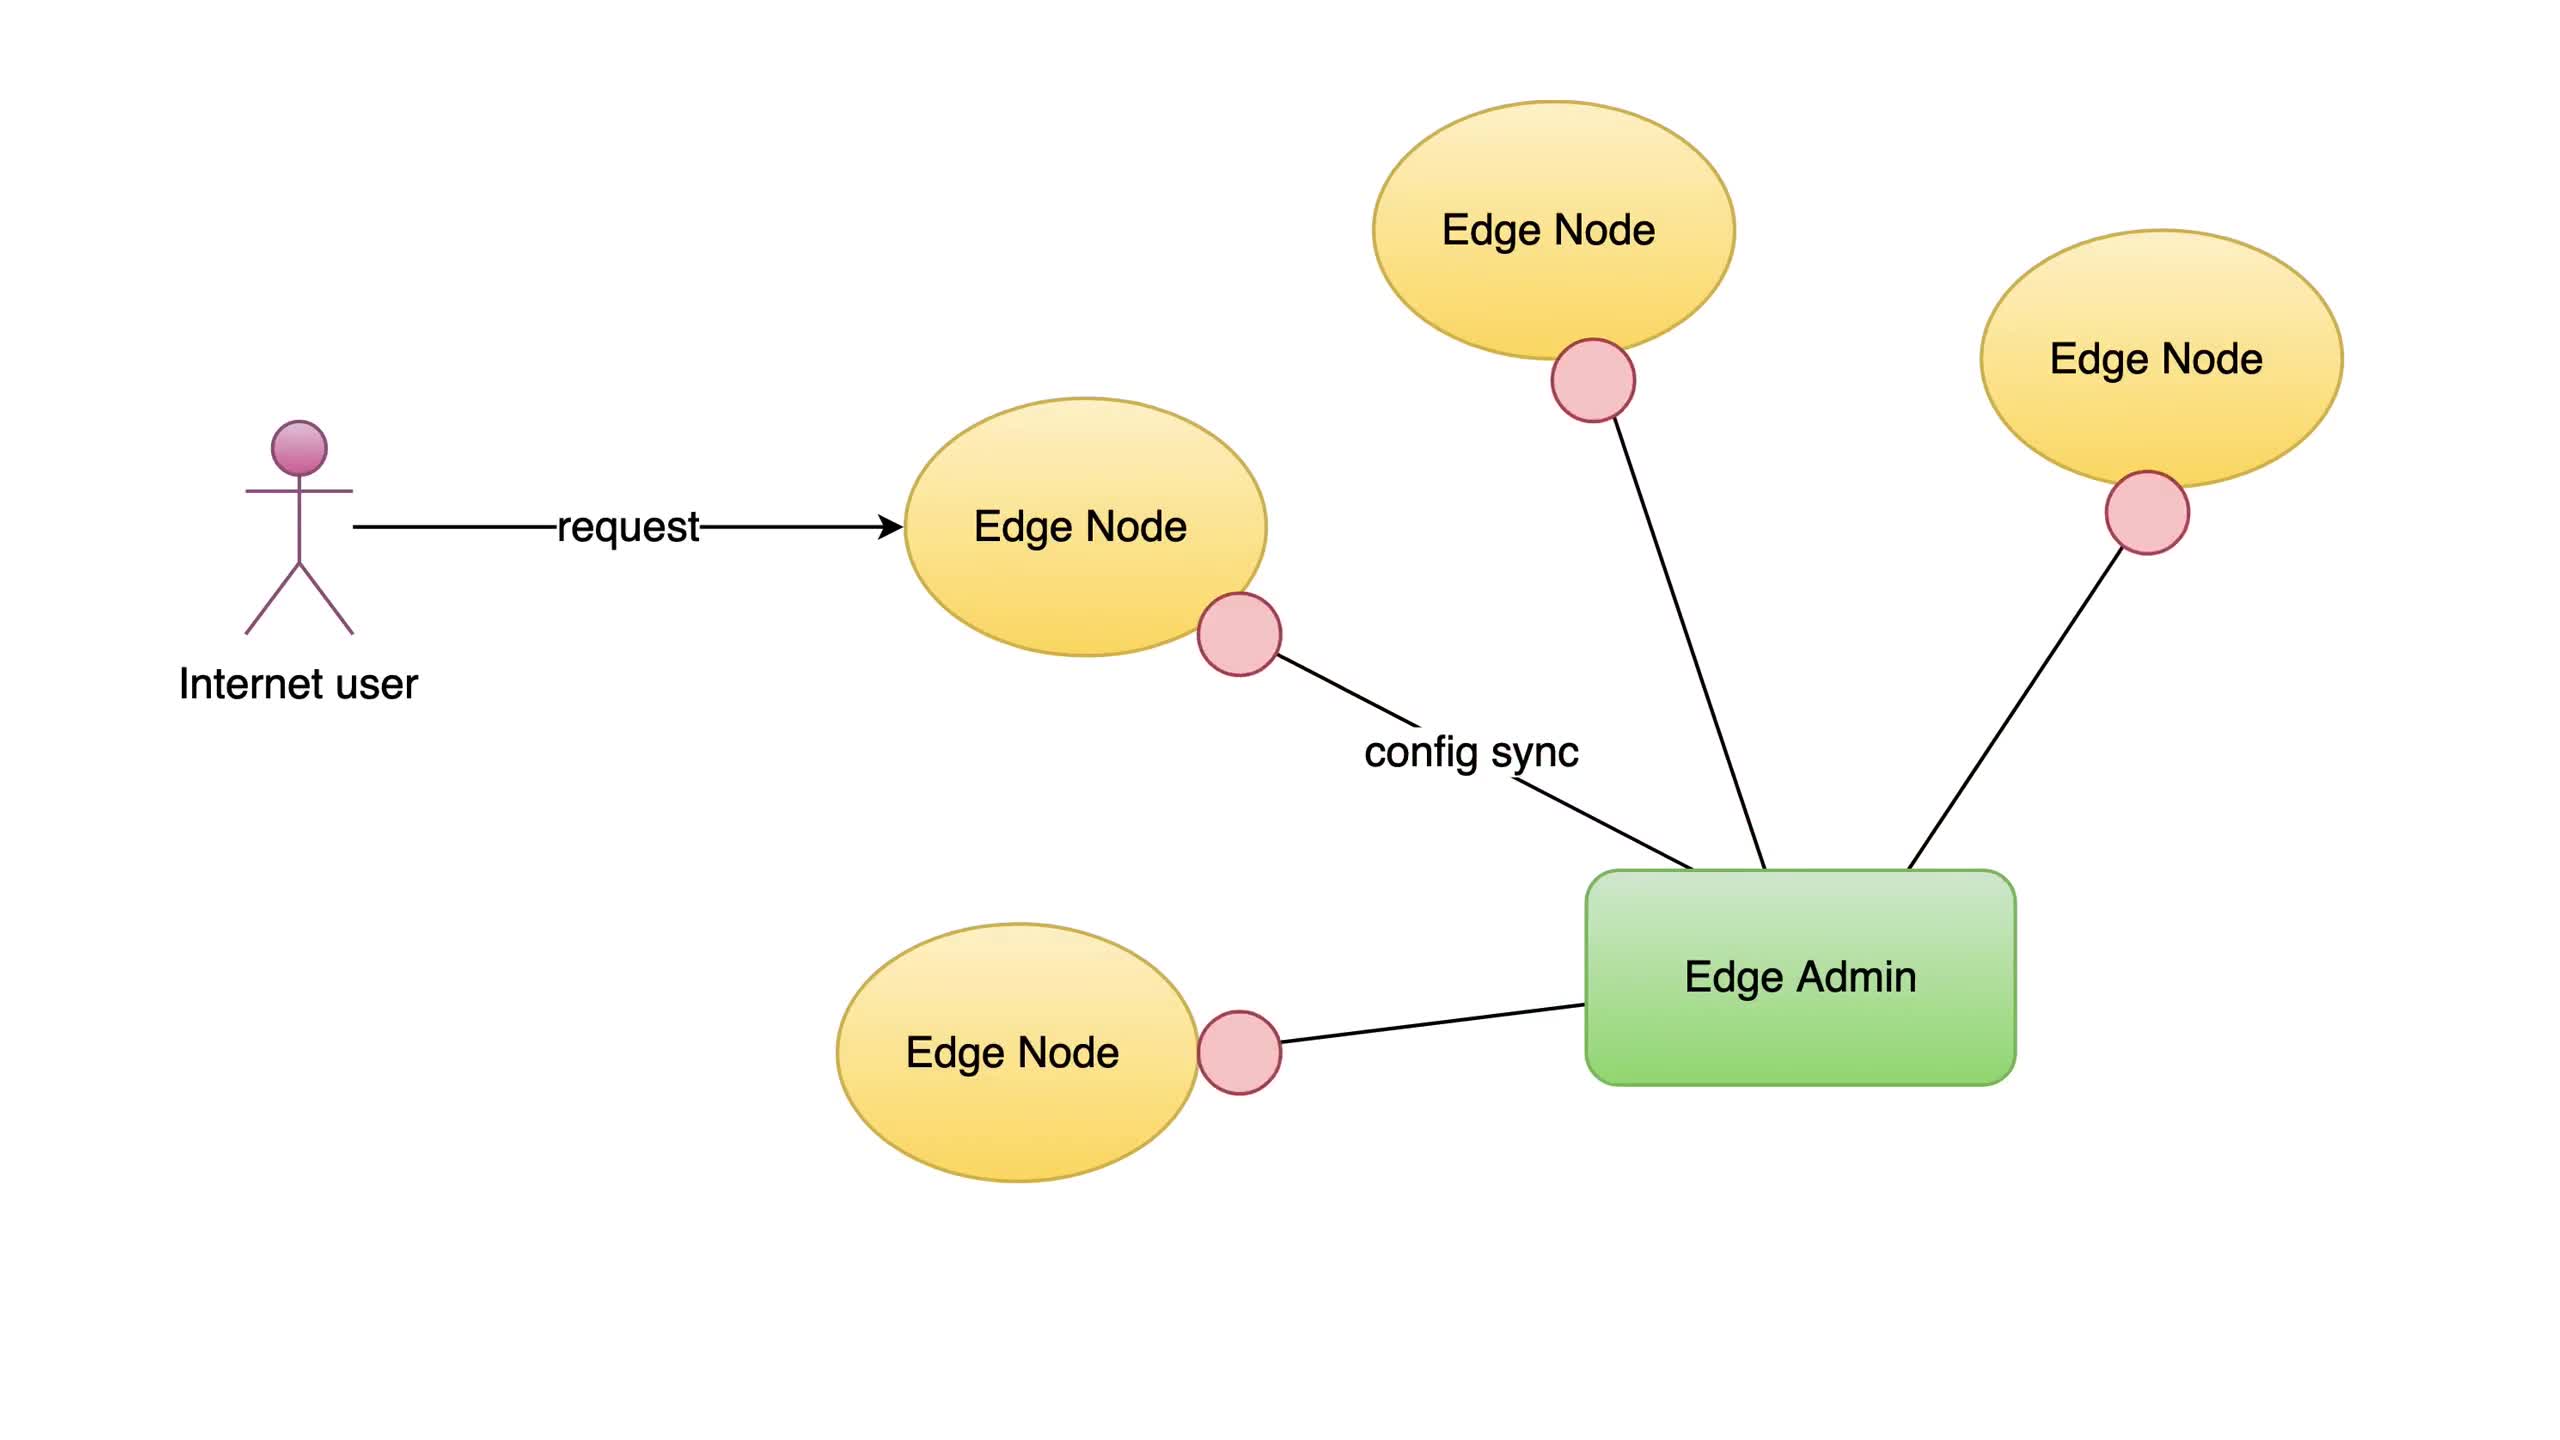
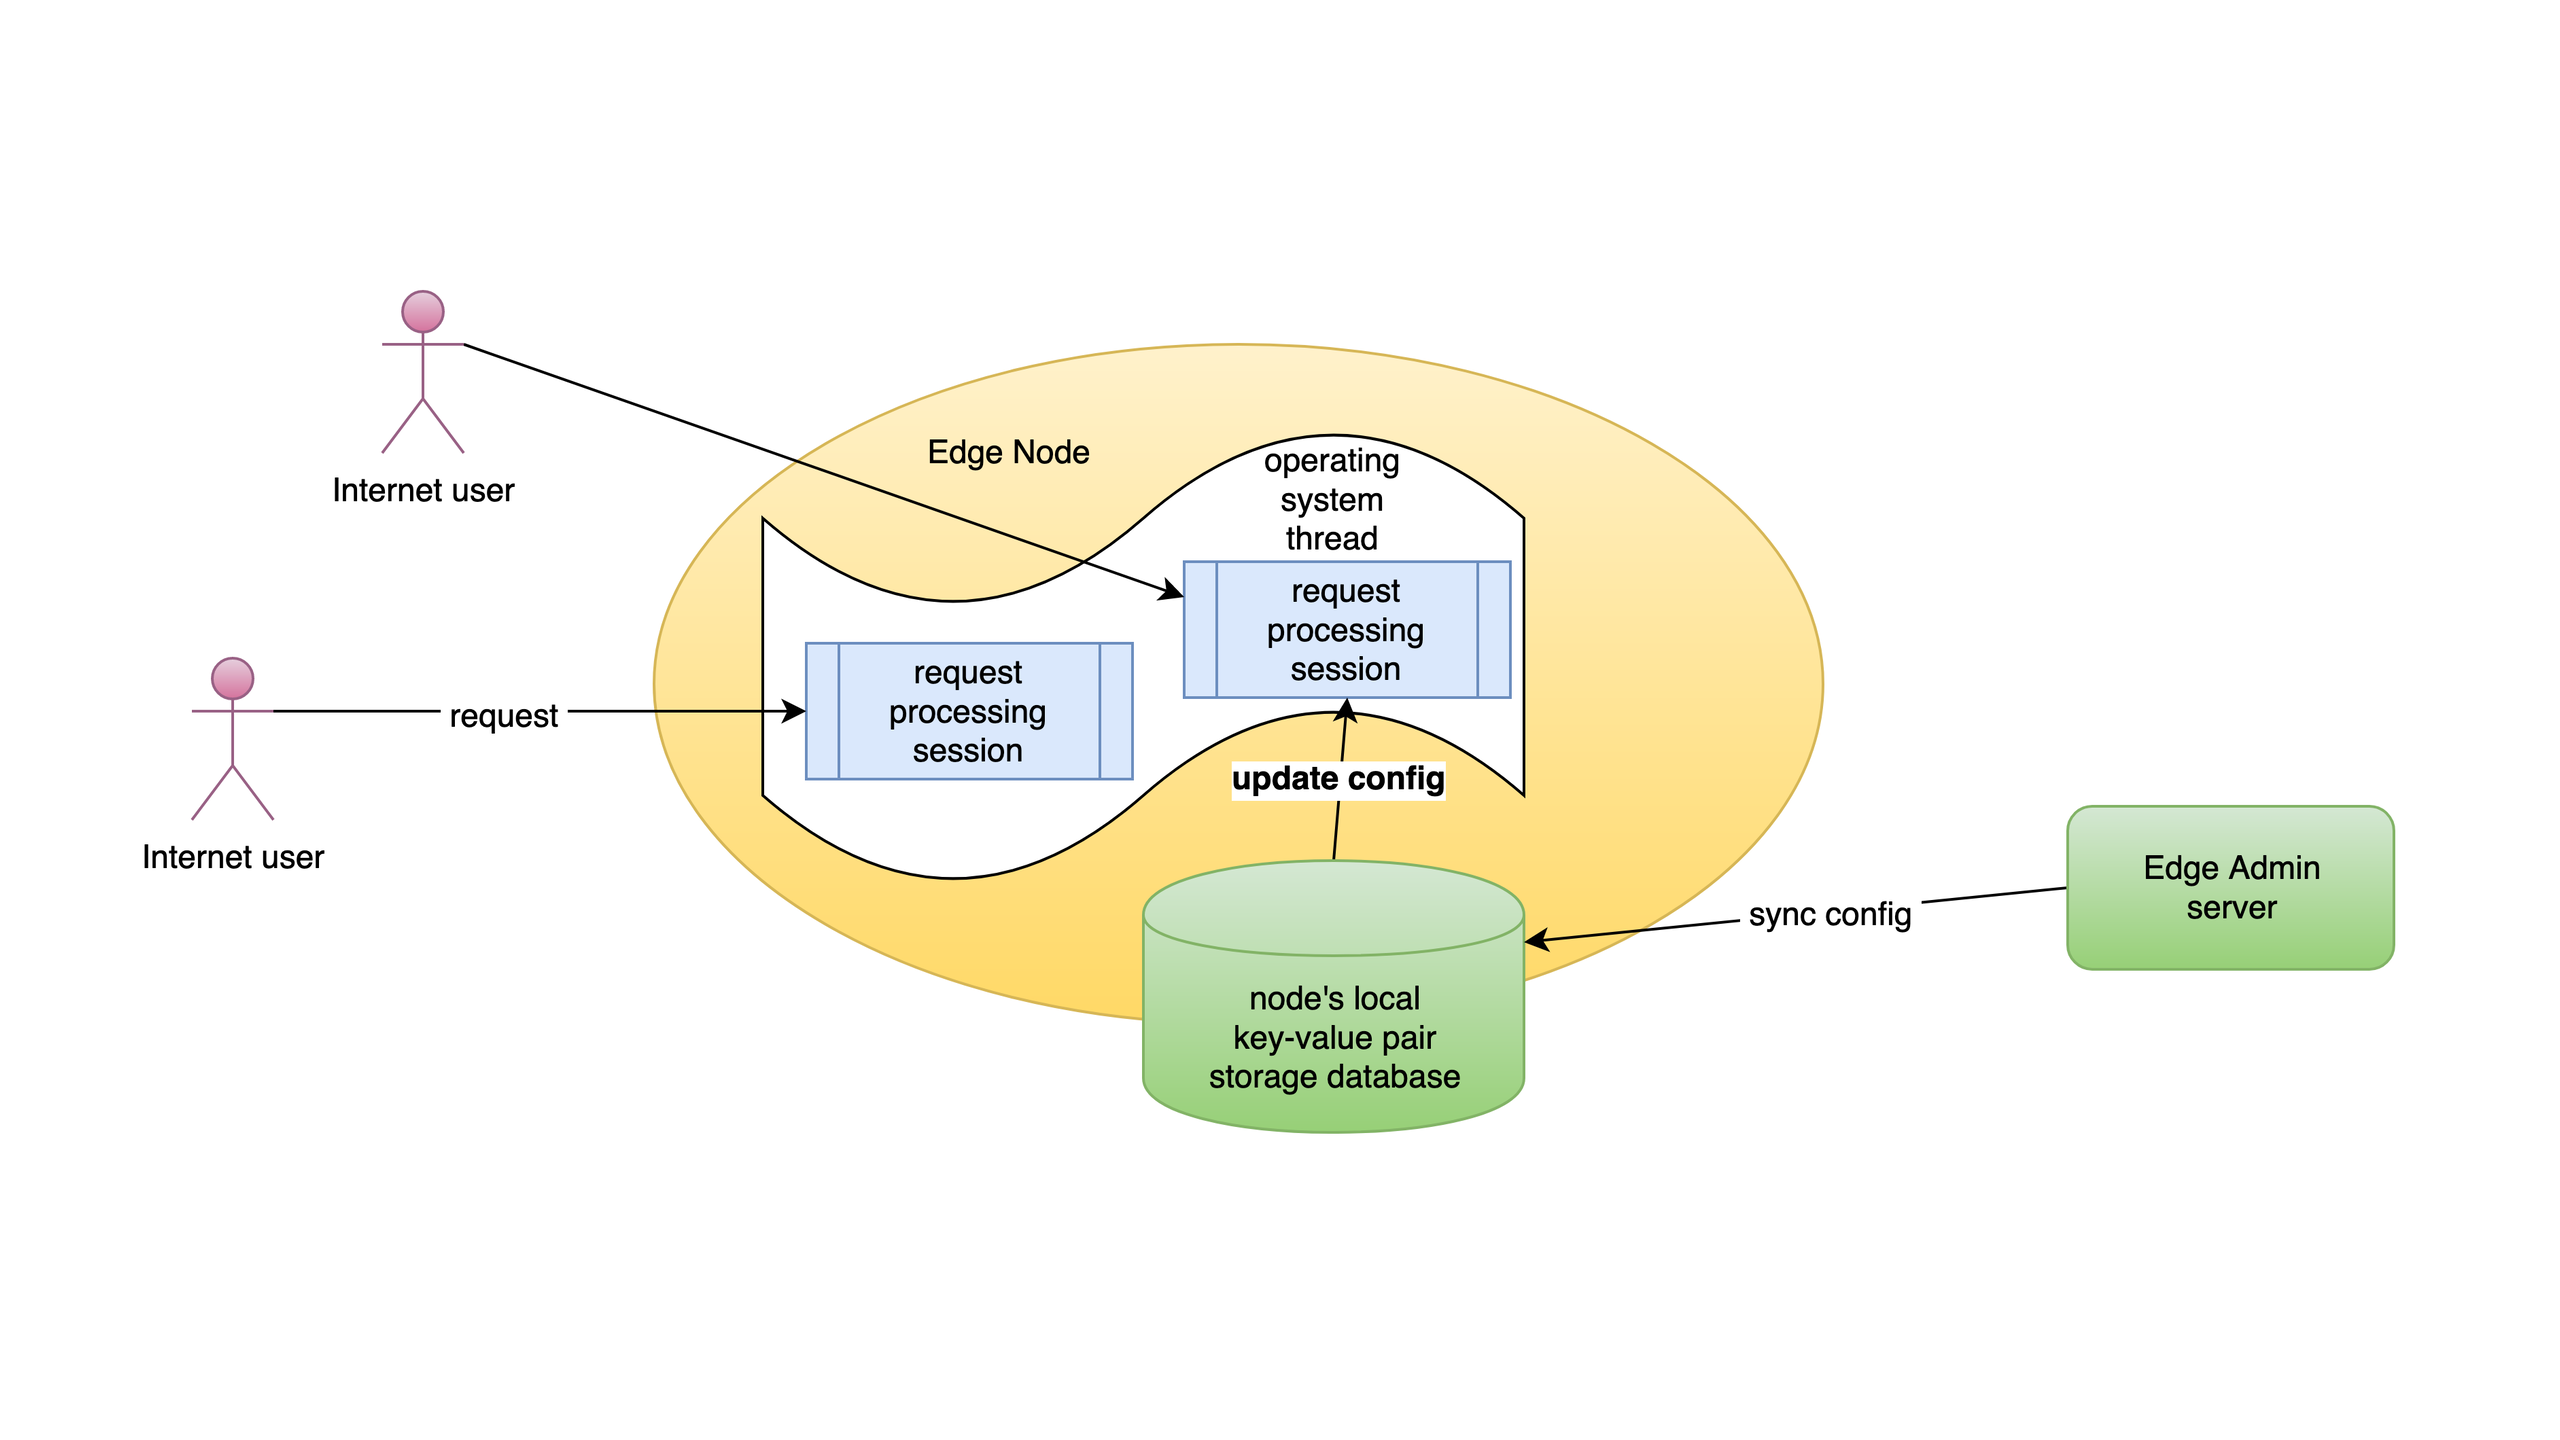
We live-update config on the request level. None of the application-level configuration changes require server reload, restart, or binary upgrade. So it is very scalable even when you have many different users making frequent releases.
Add an SNI Proxy port to the gateway partition
As shown in this picture, we use 4003 as a port. Let’s add this port to the partition of this application first.
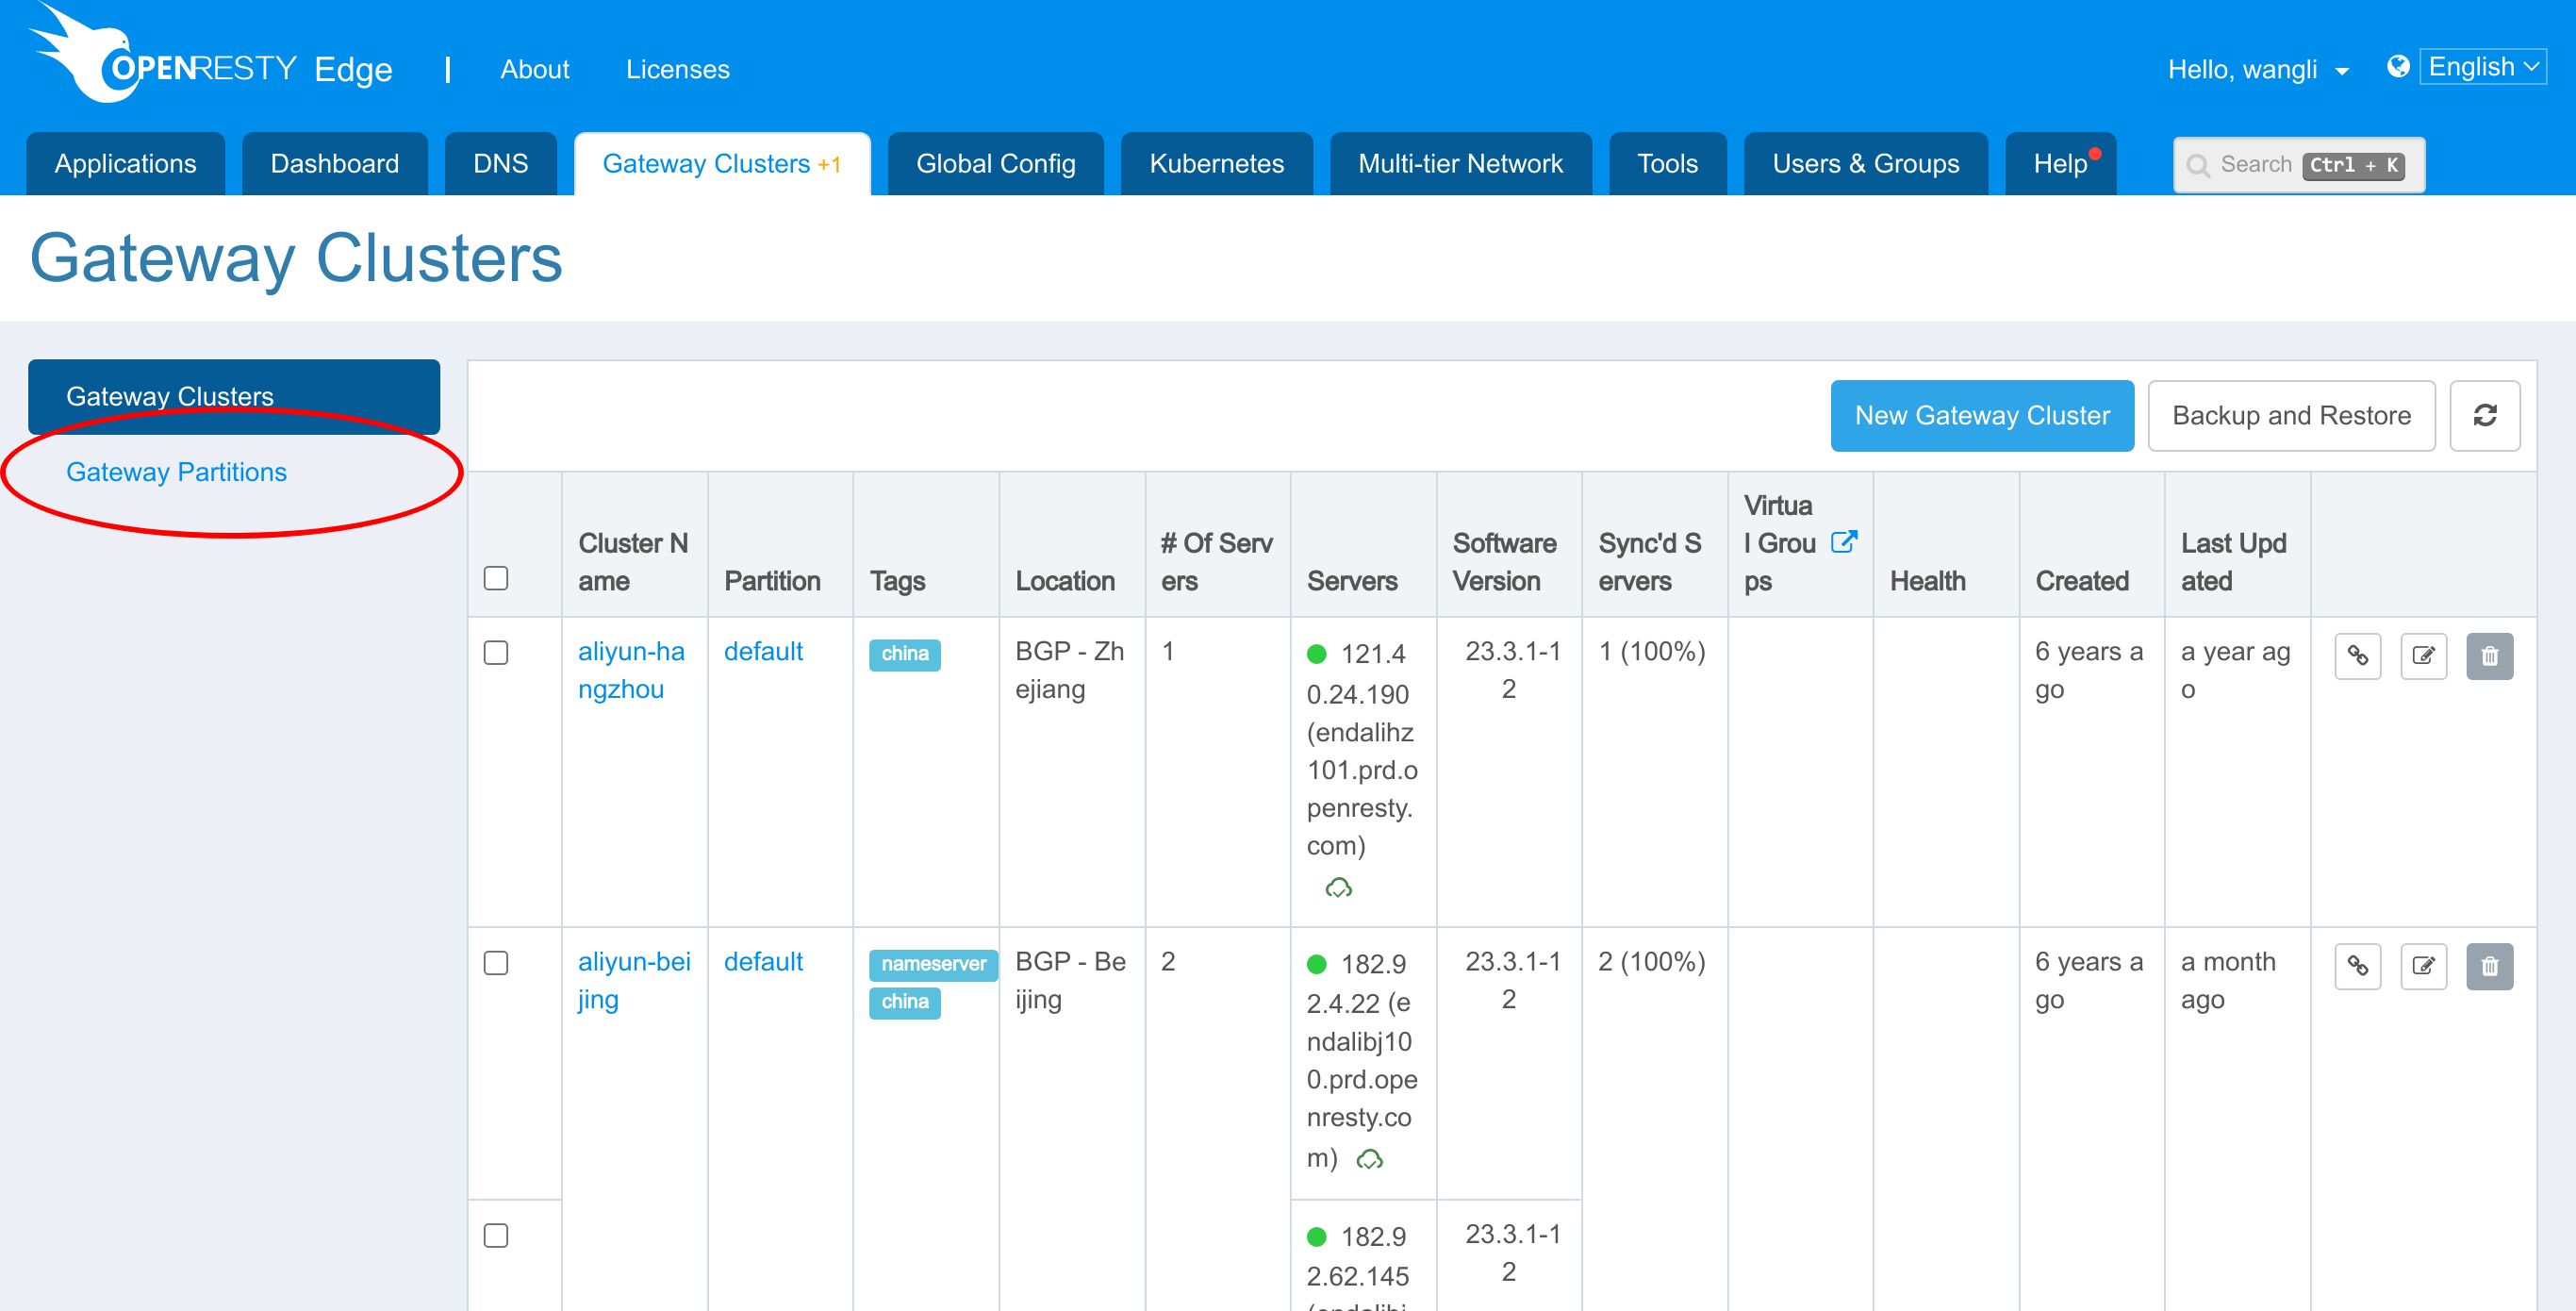
We need to go to the gateway partition page first.
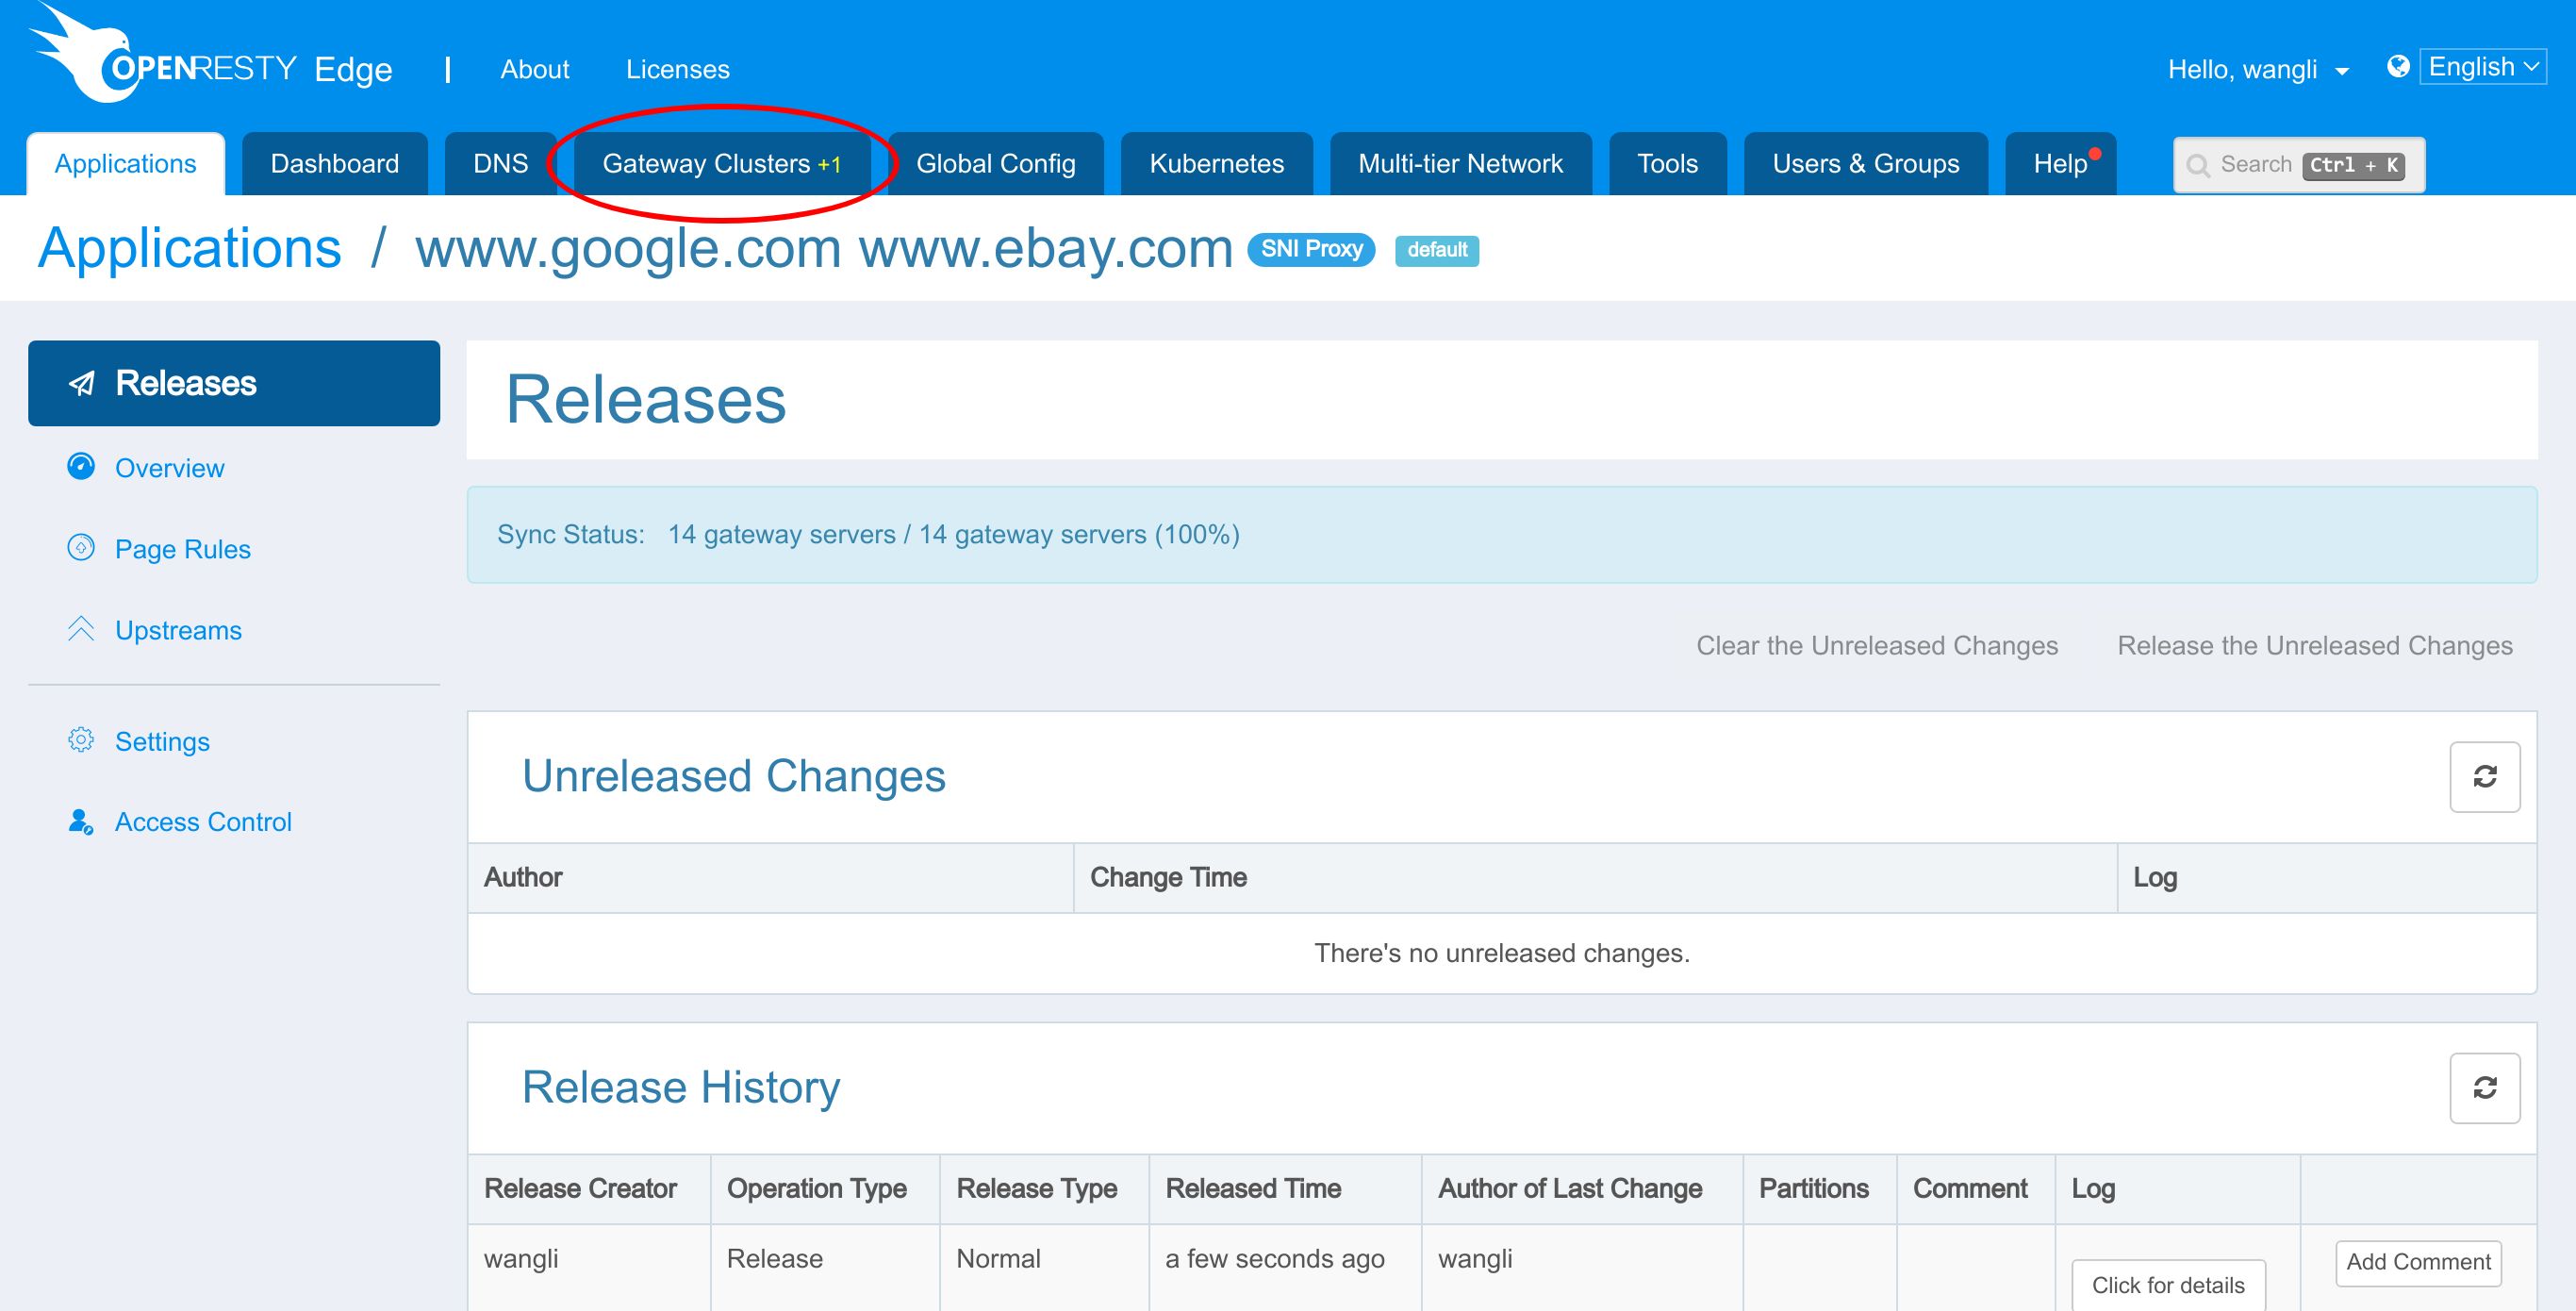
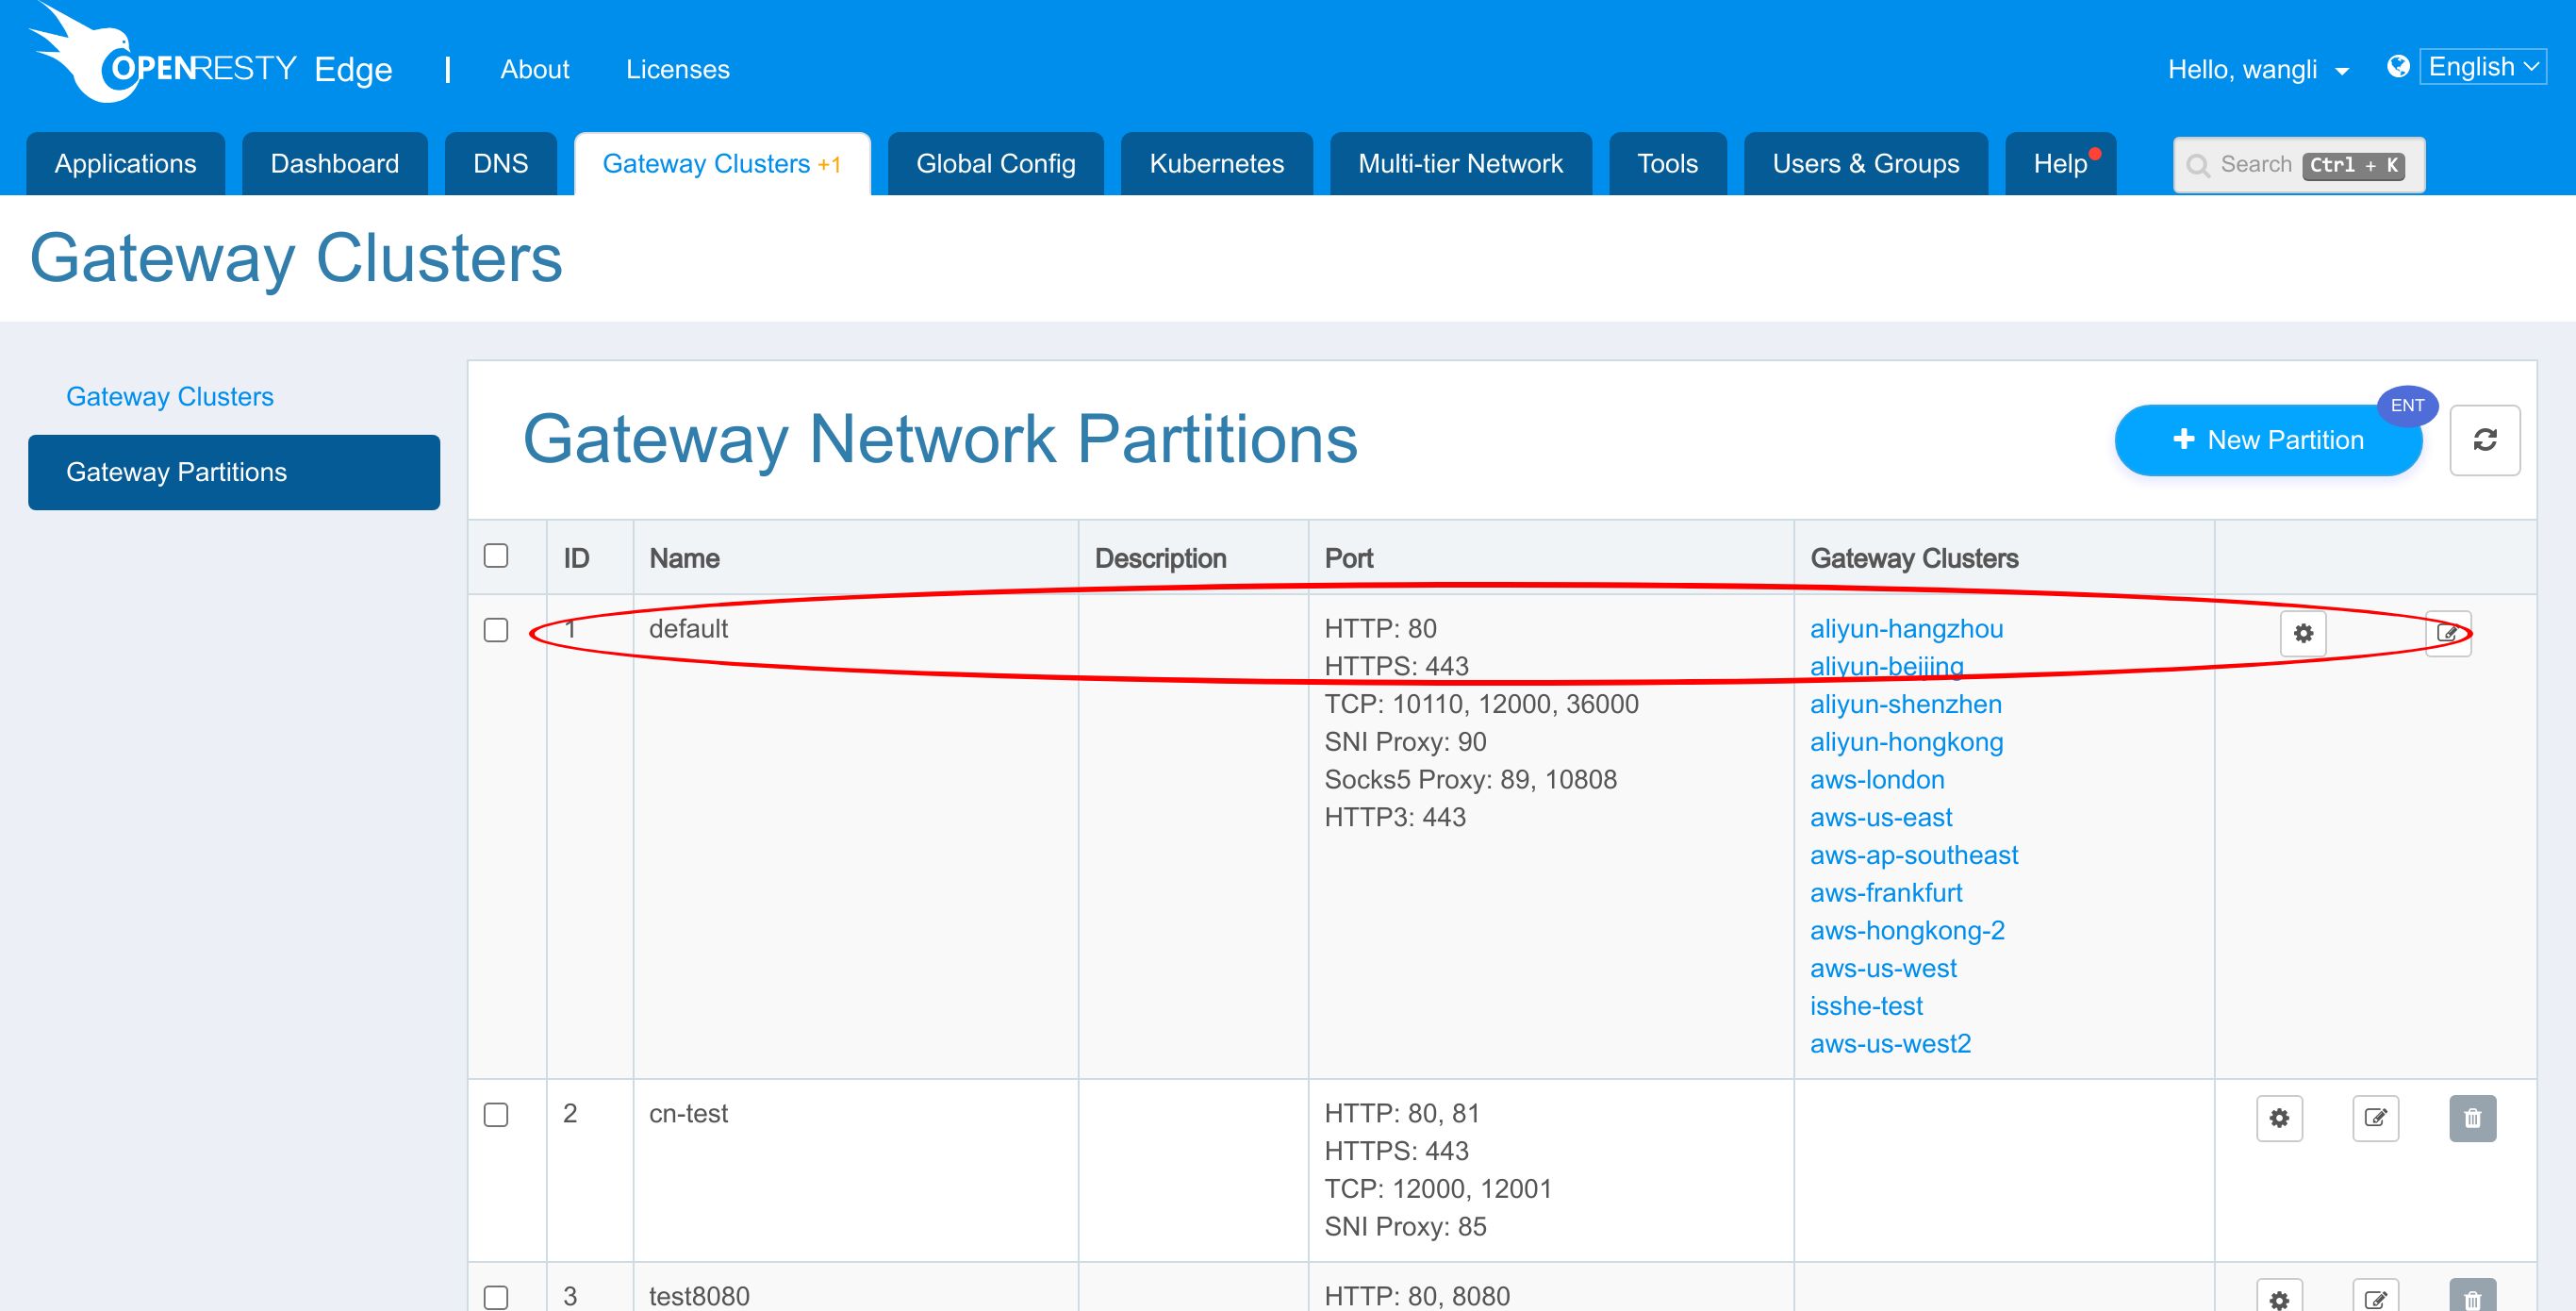
Open the Gateway Partitions page. We are now on the partitions list page. Many partitions are already there.
We will add a port of SNI Proxy type to the partition “default”.
Click this button.
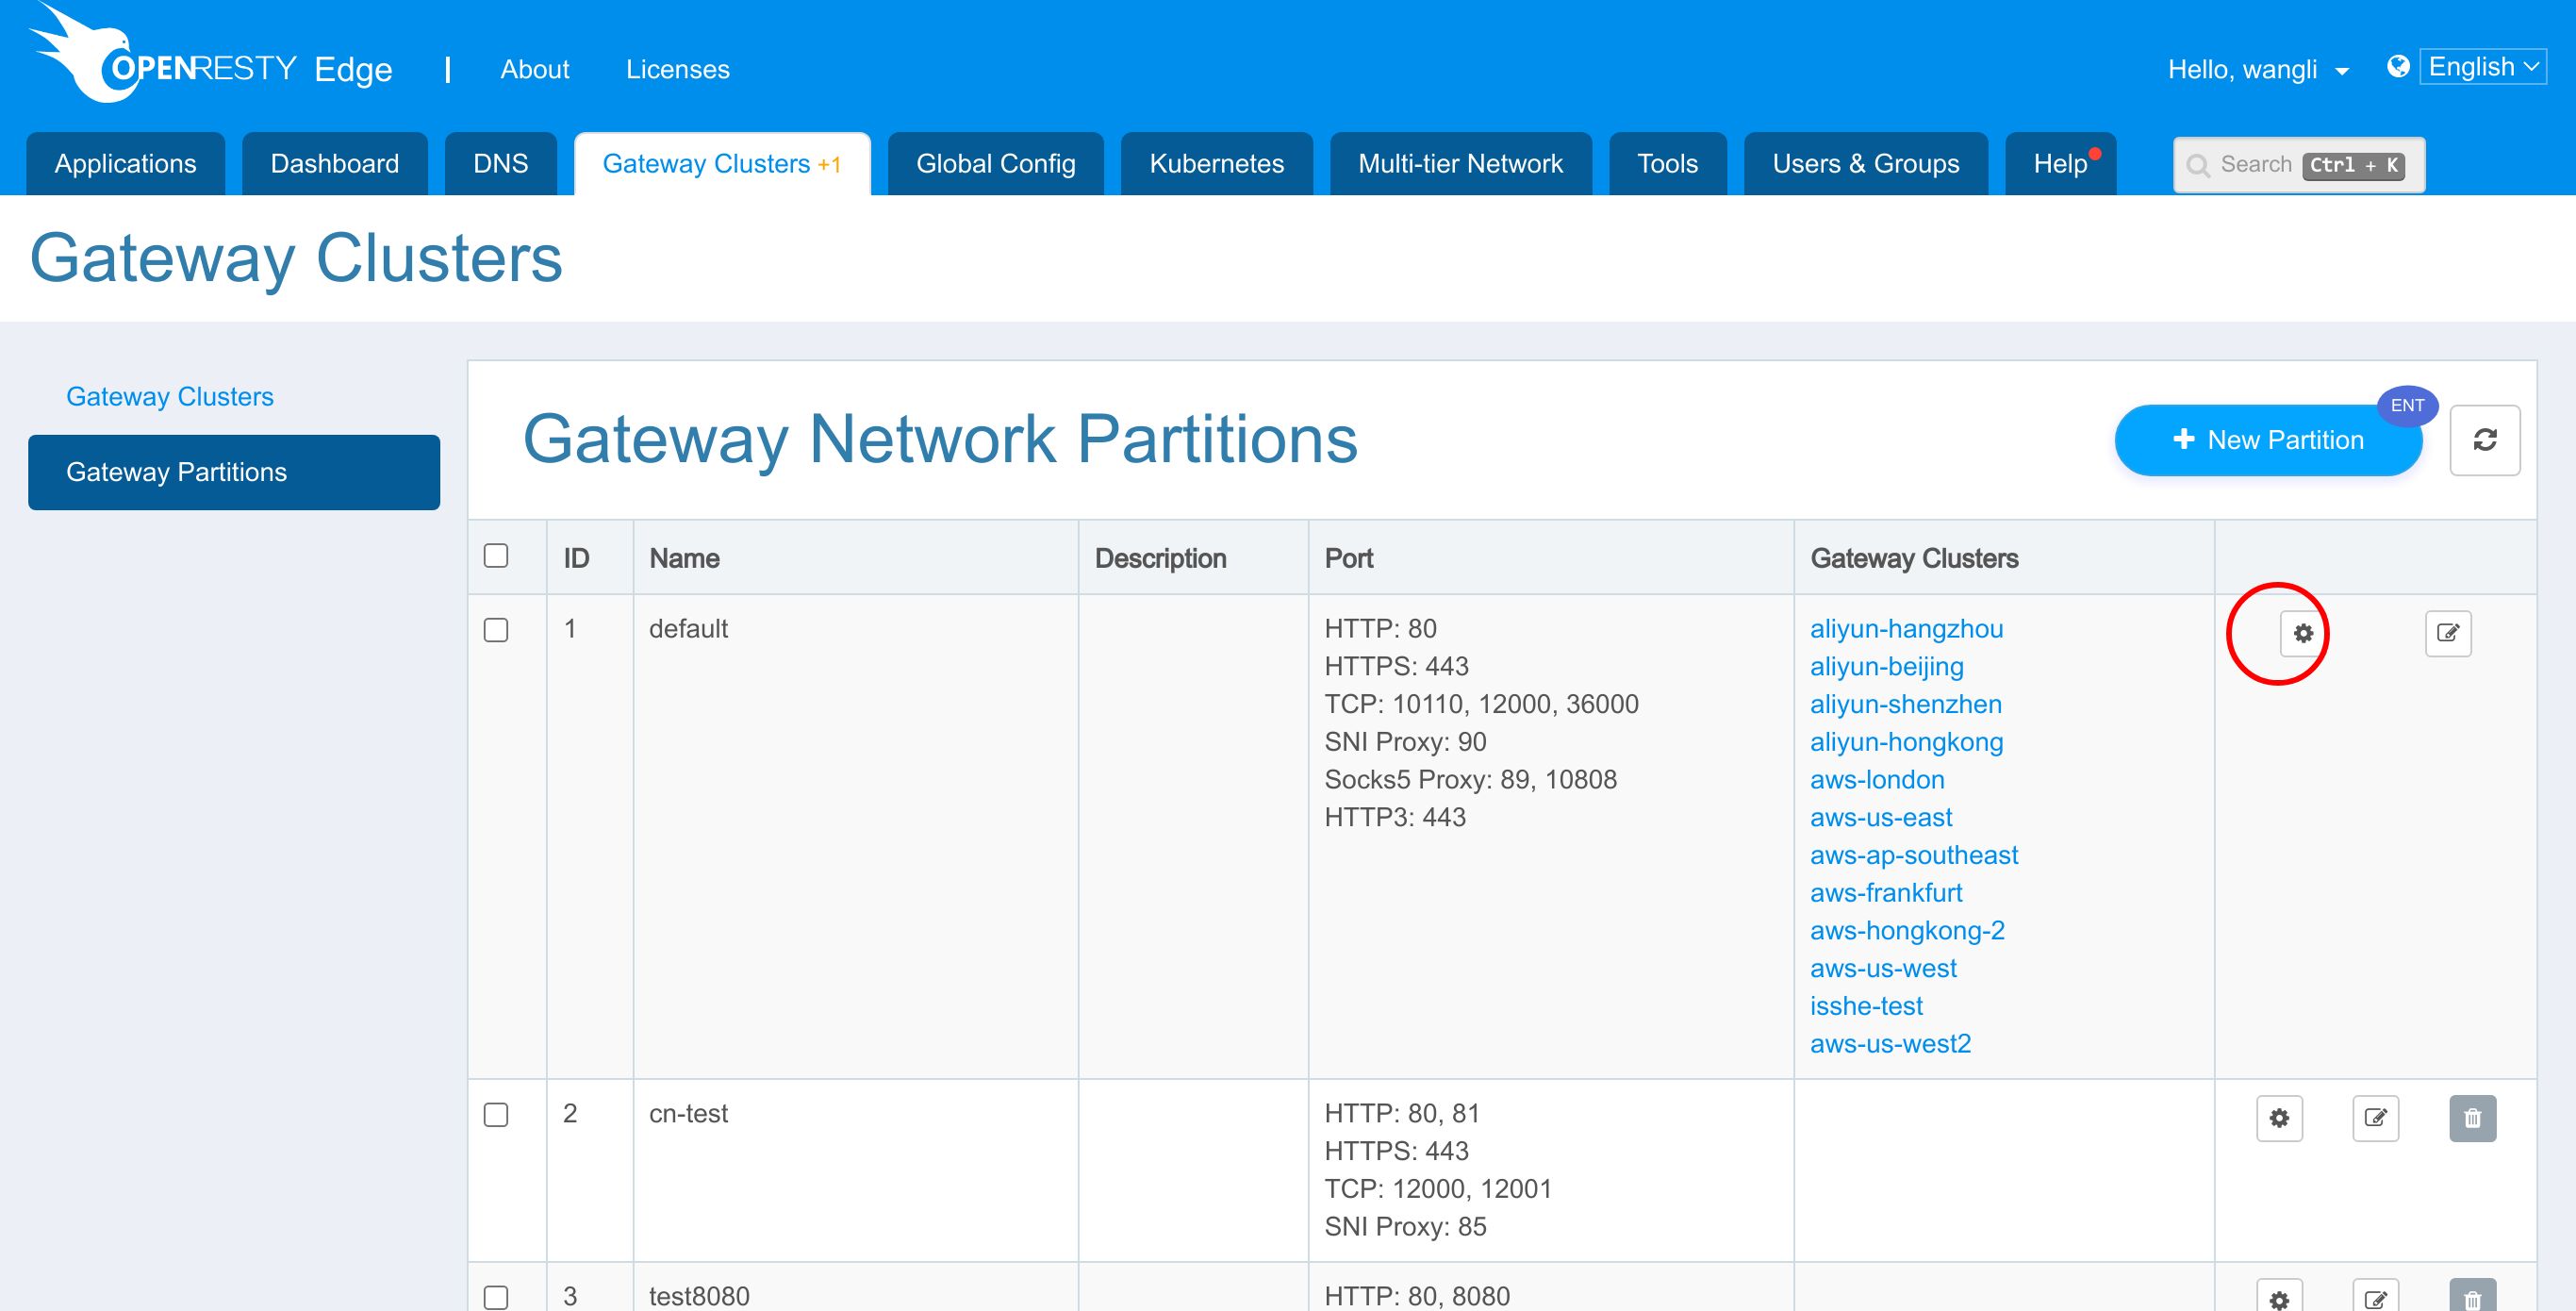
Click the button to add ports.
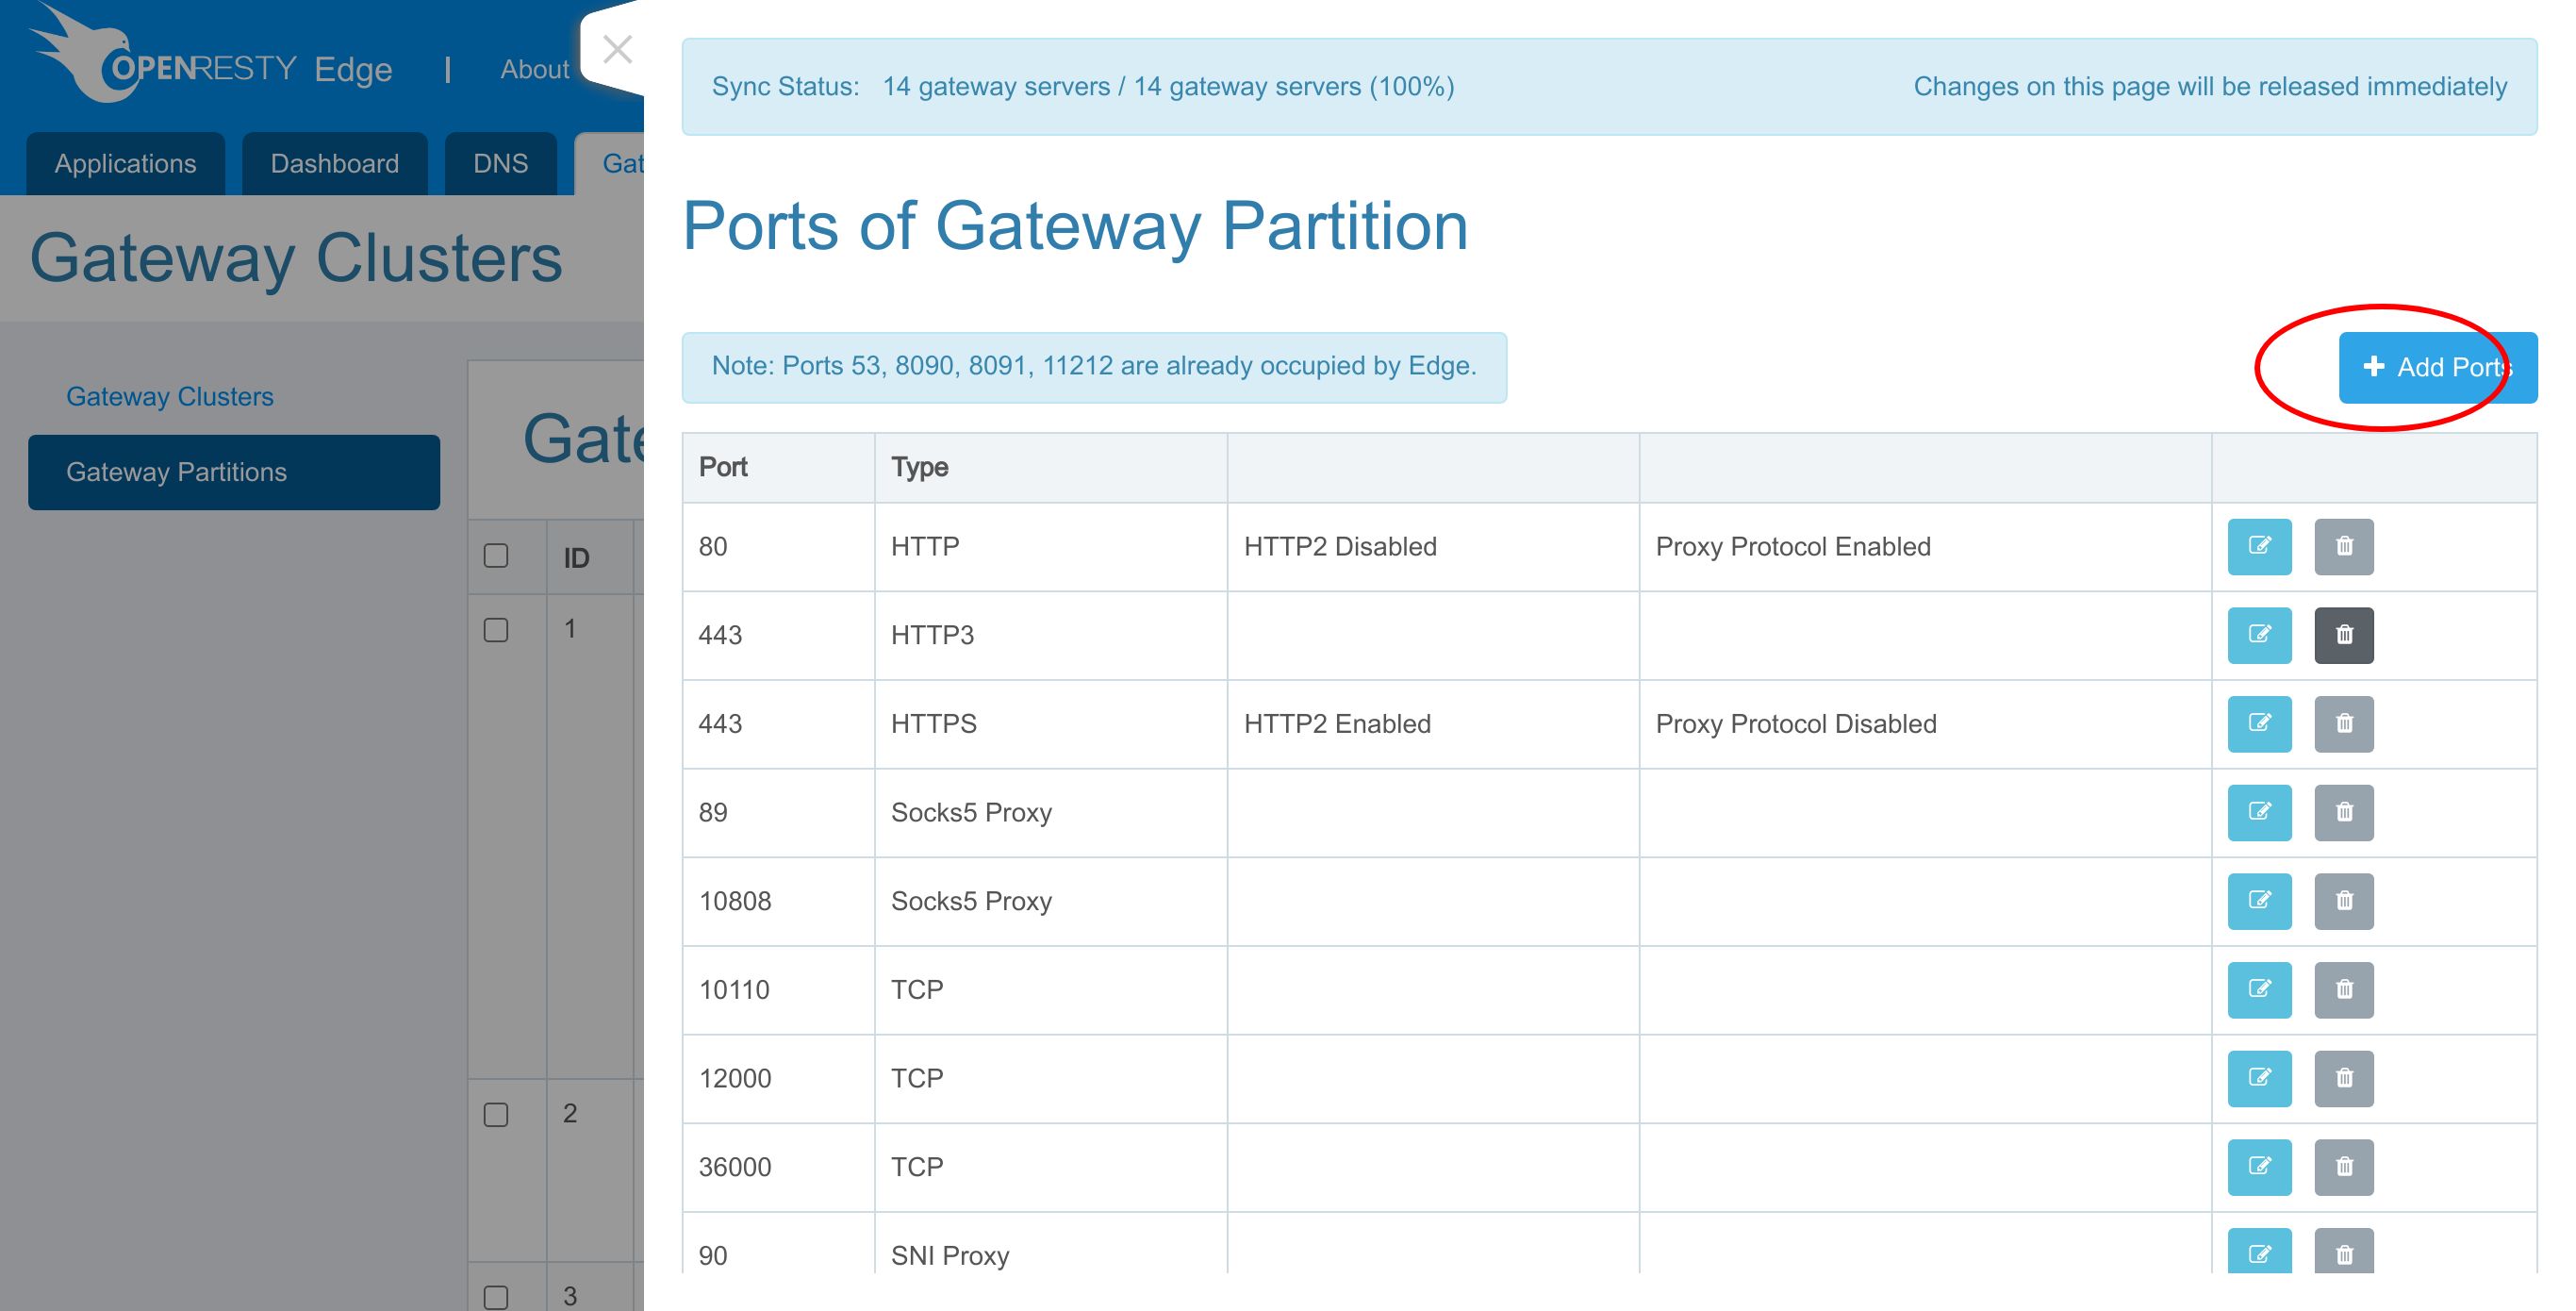
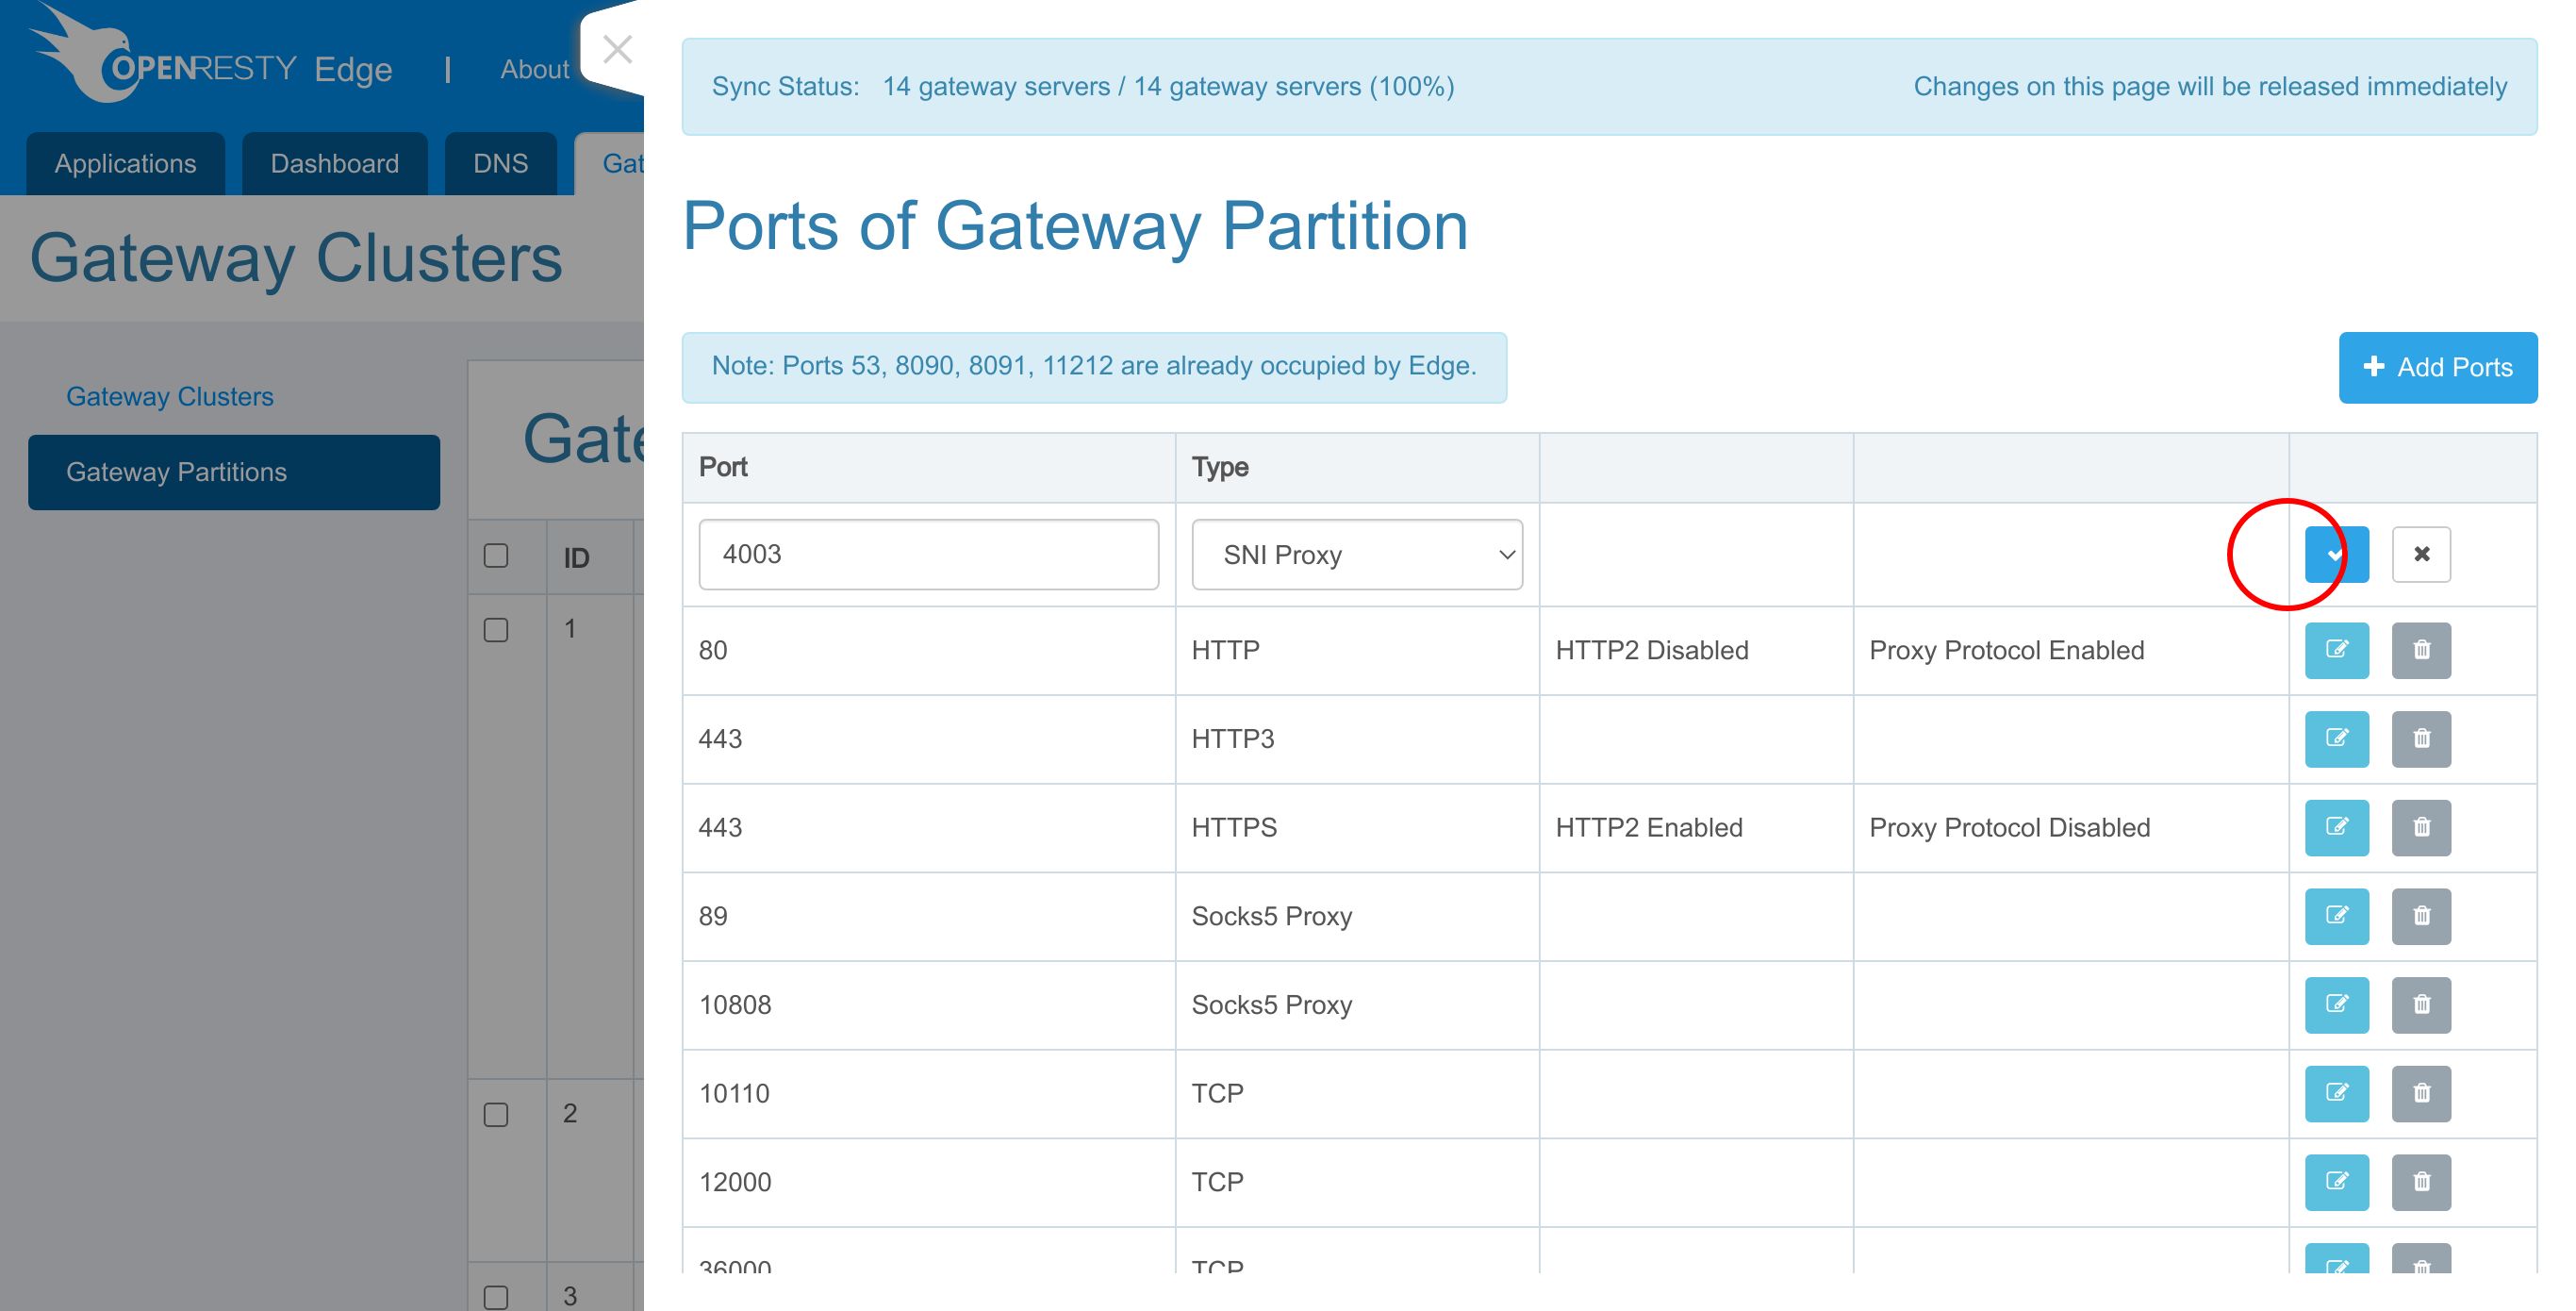
We see that a new line has been added to the list.
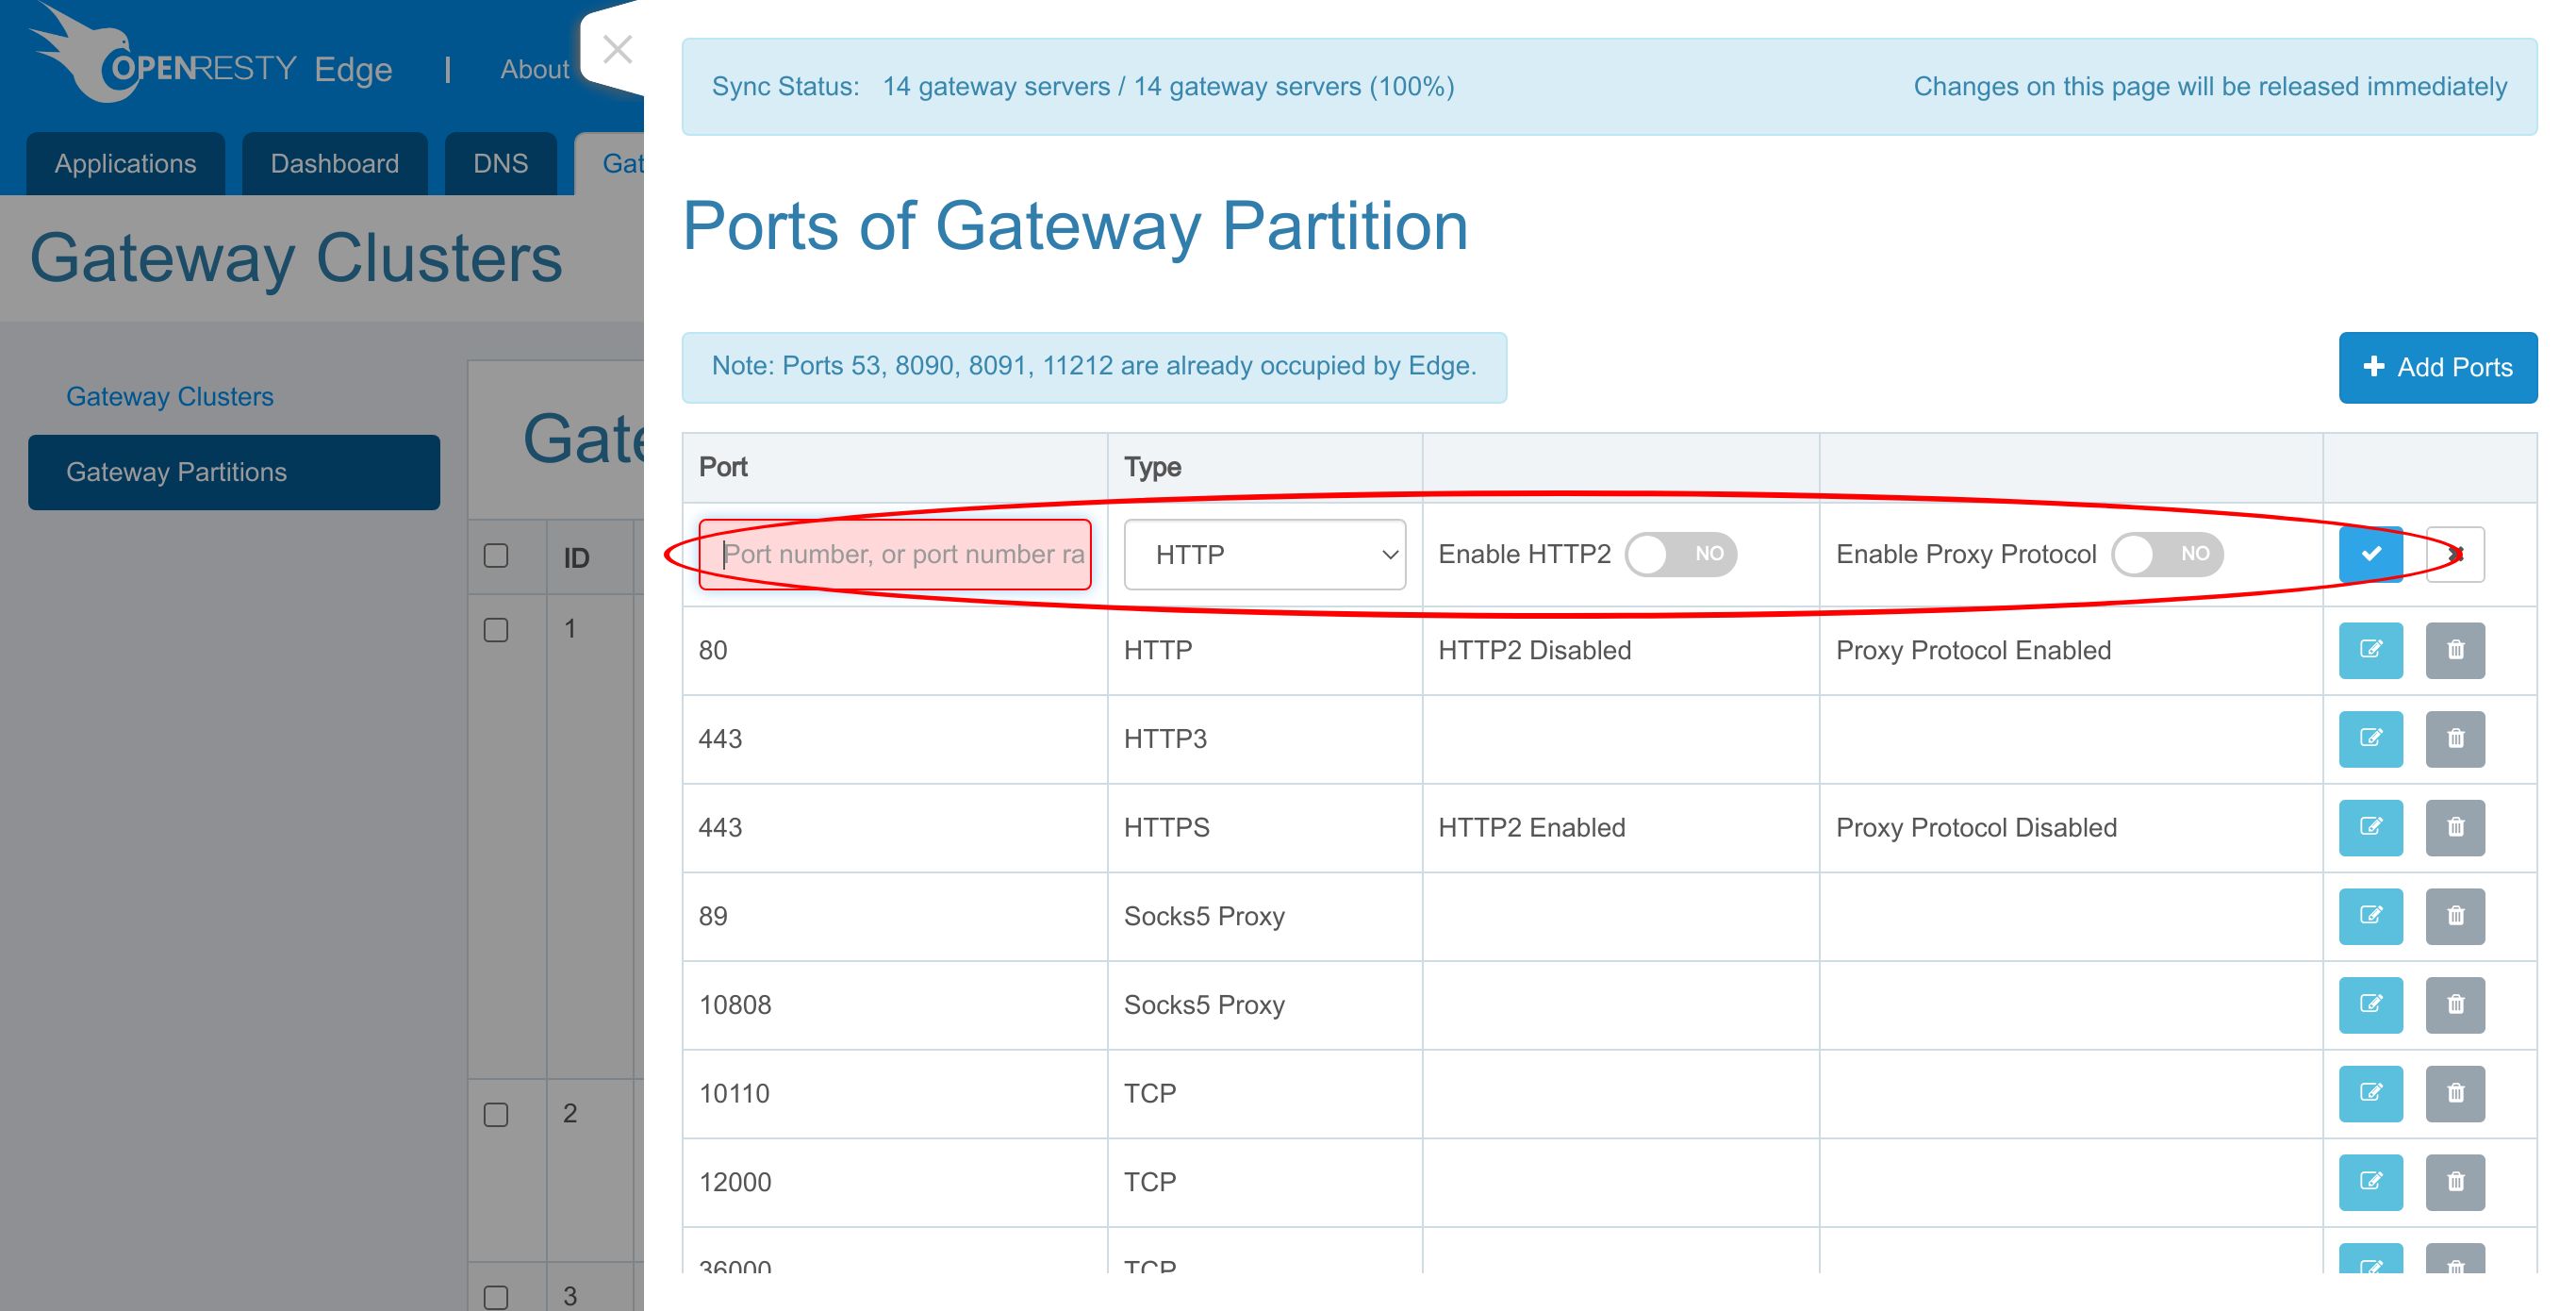
Enter 4003 as the port number.
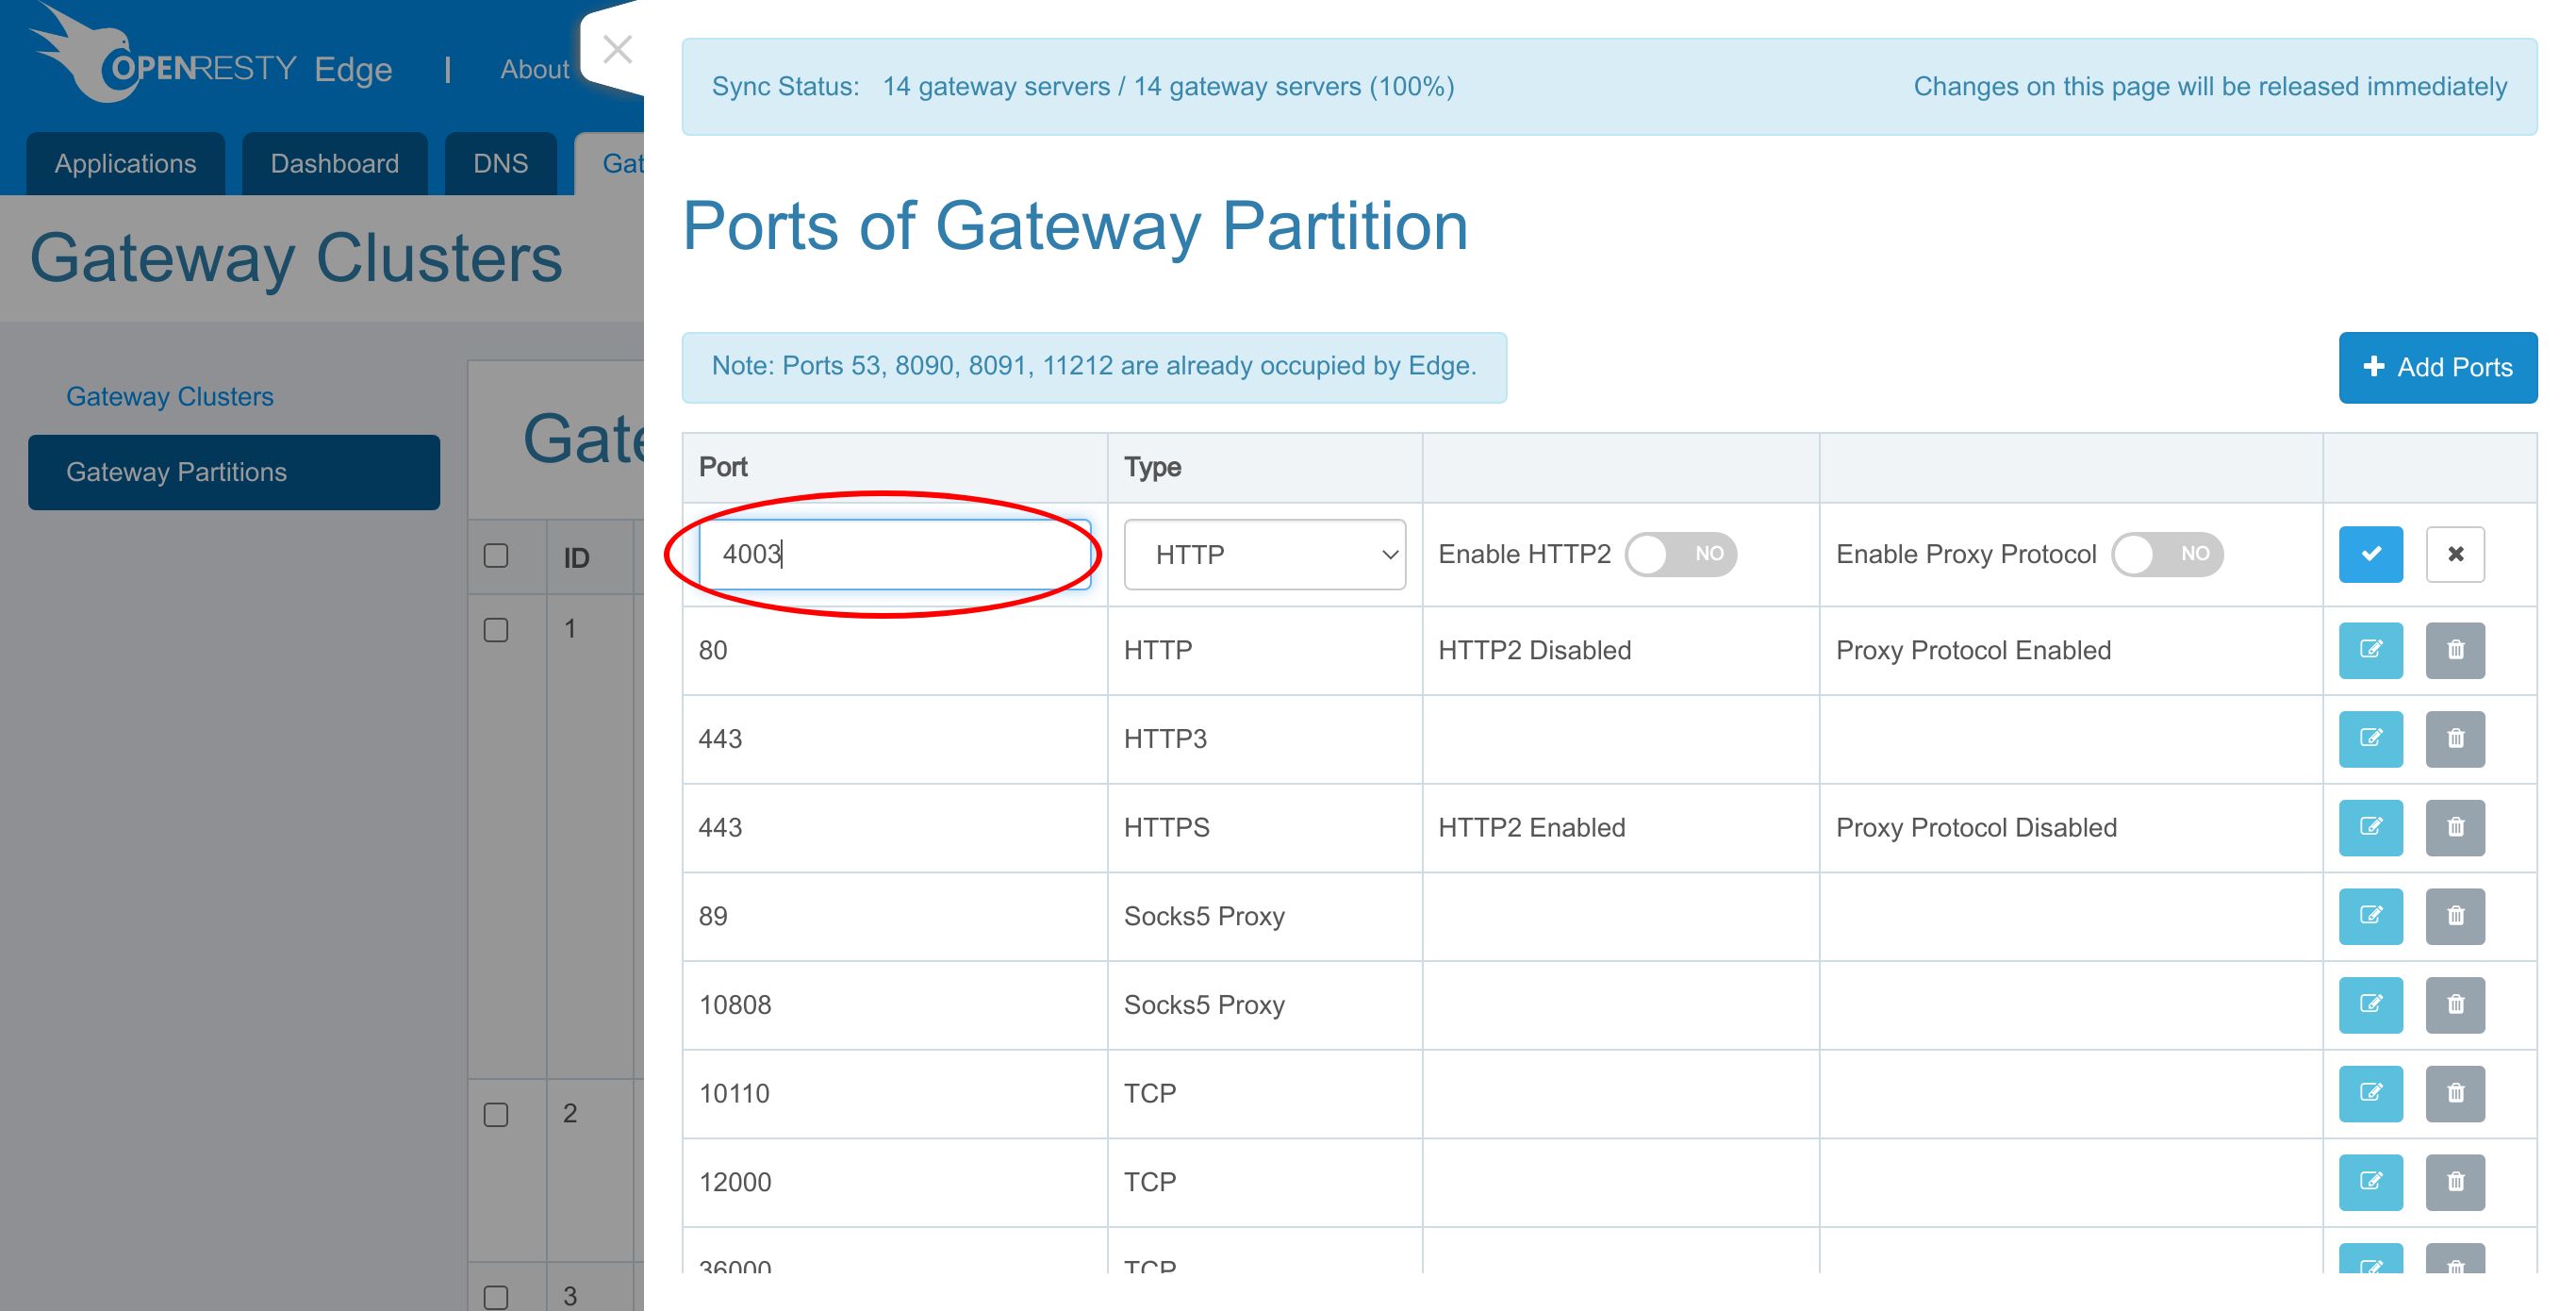
Click to select Type SNI Proxy.
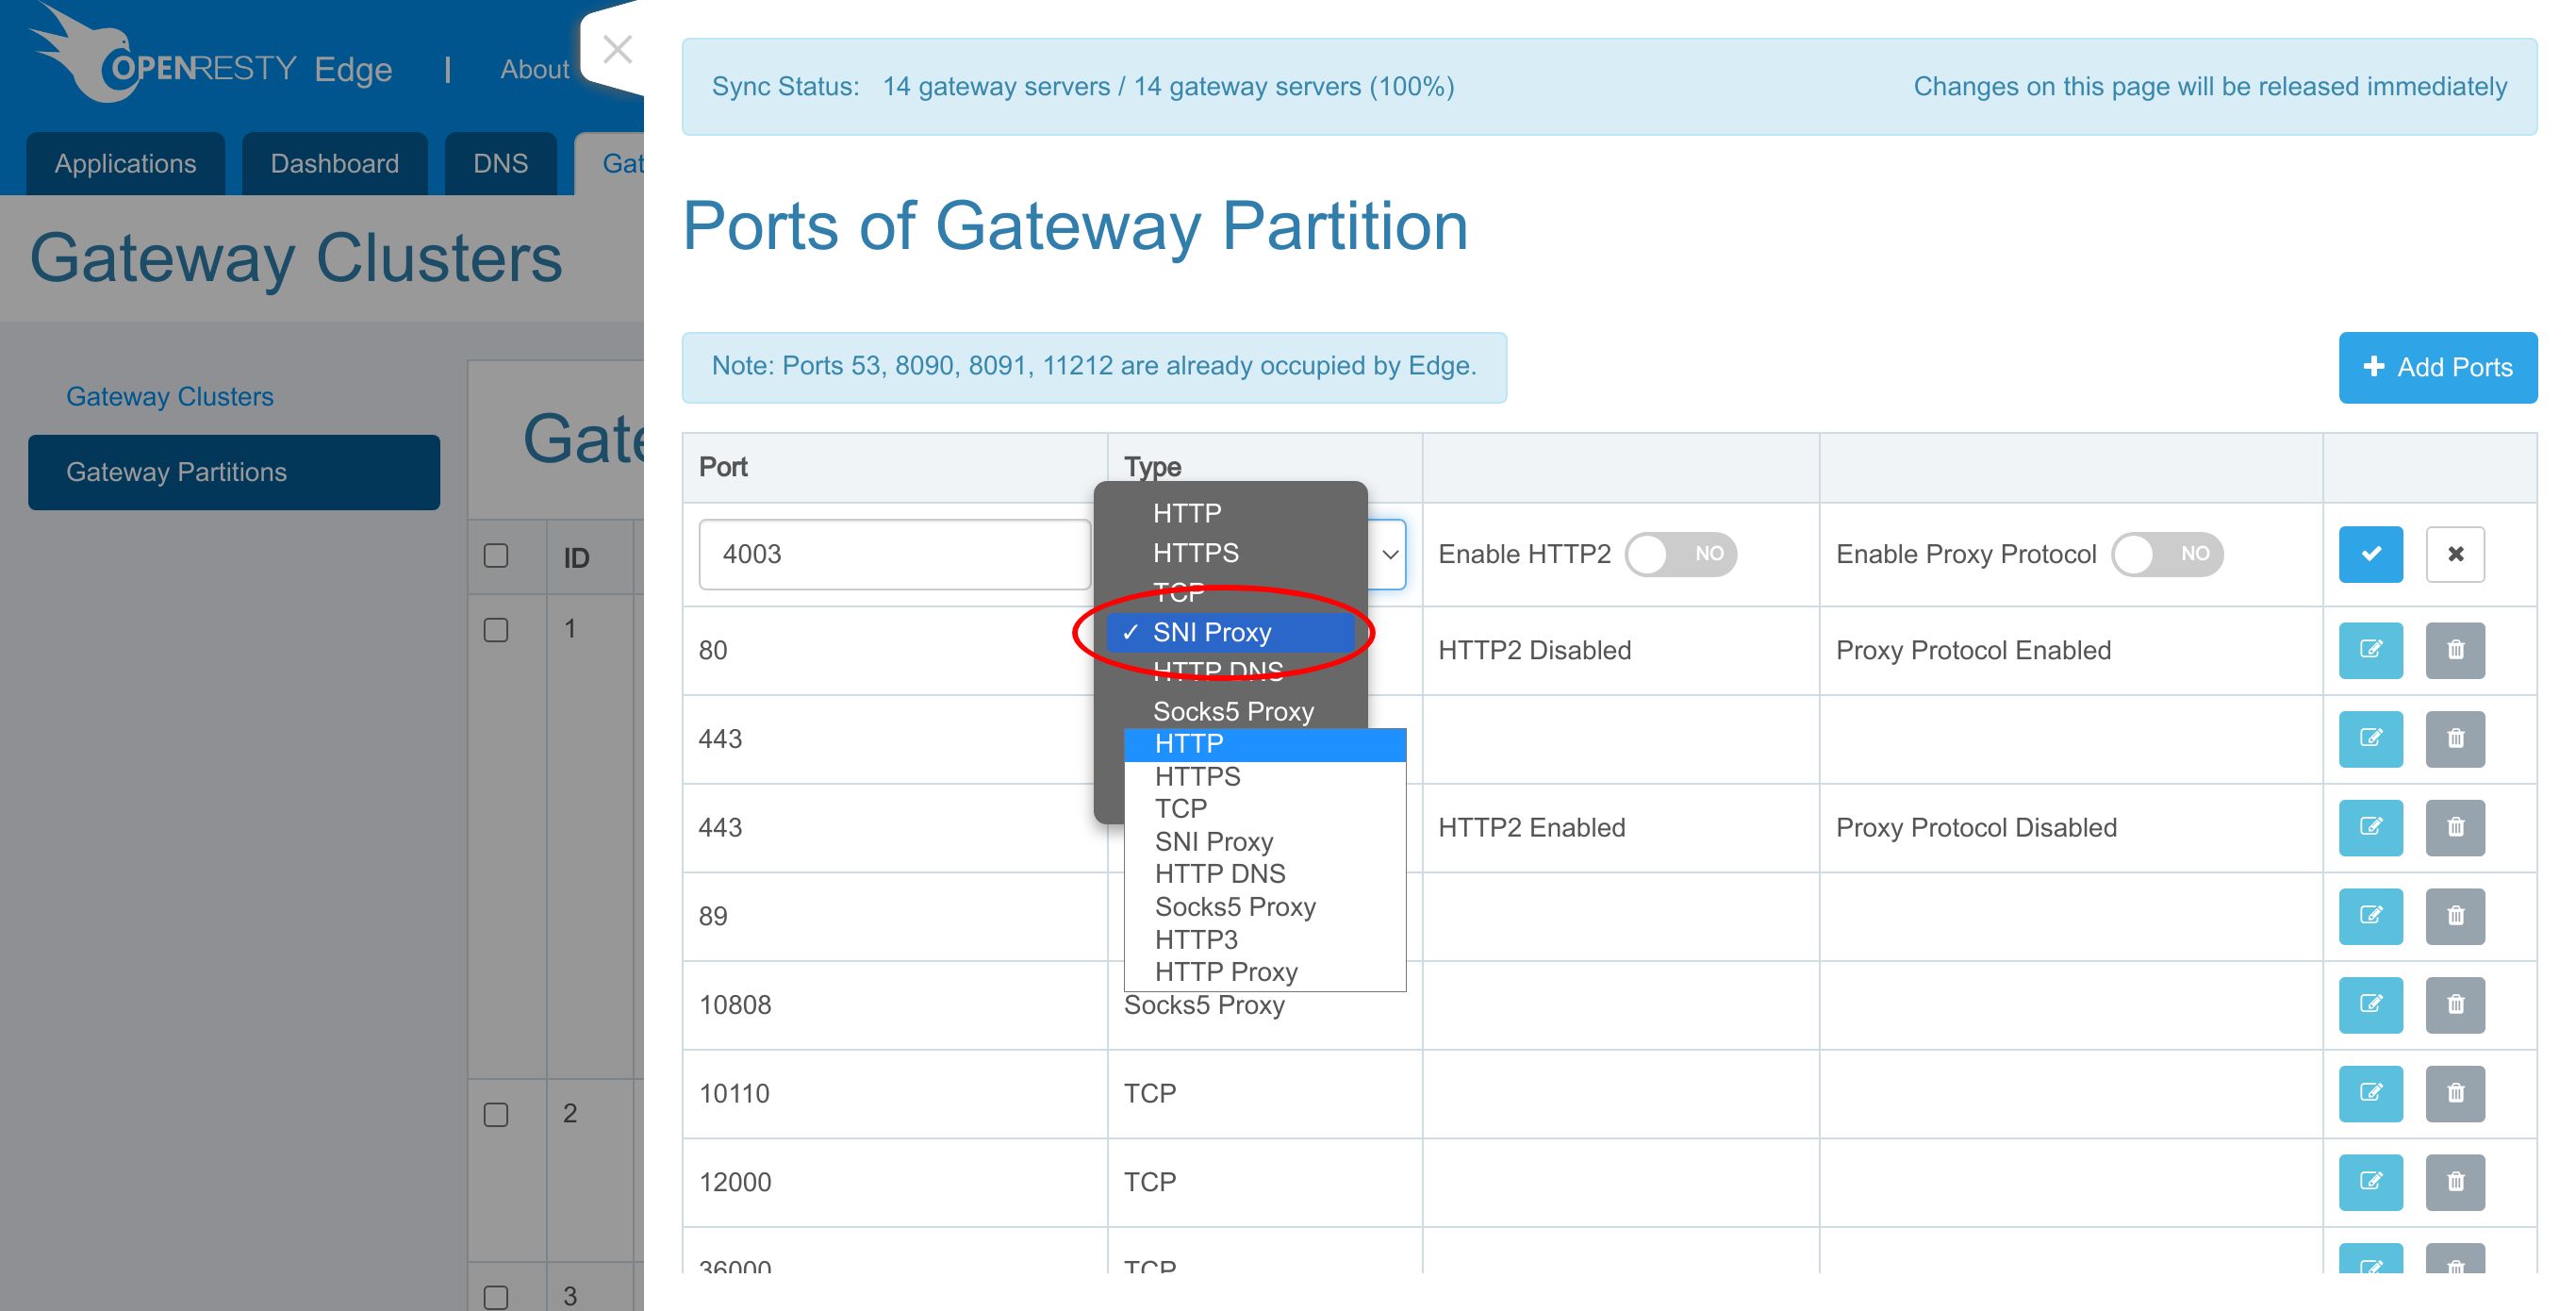
Save it.
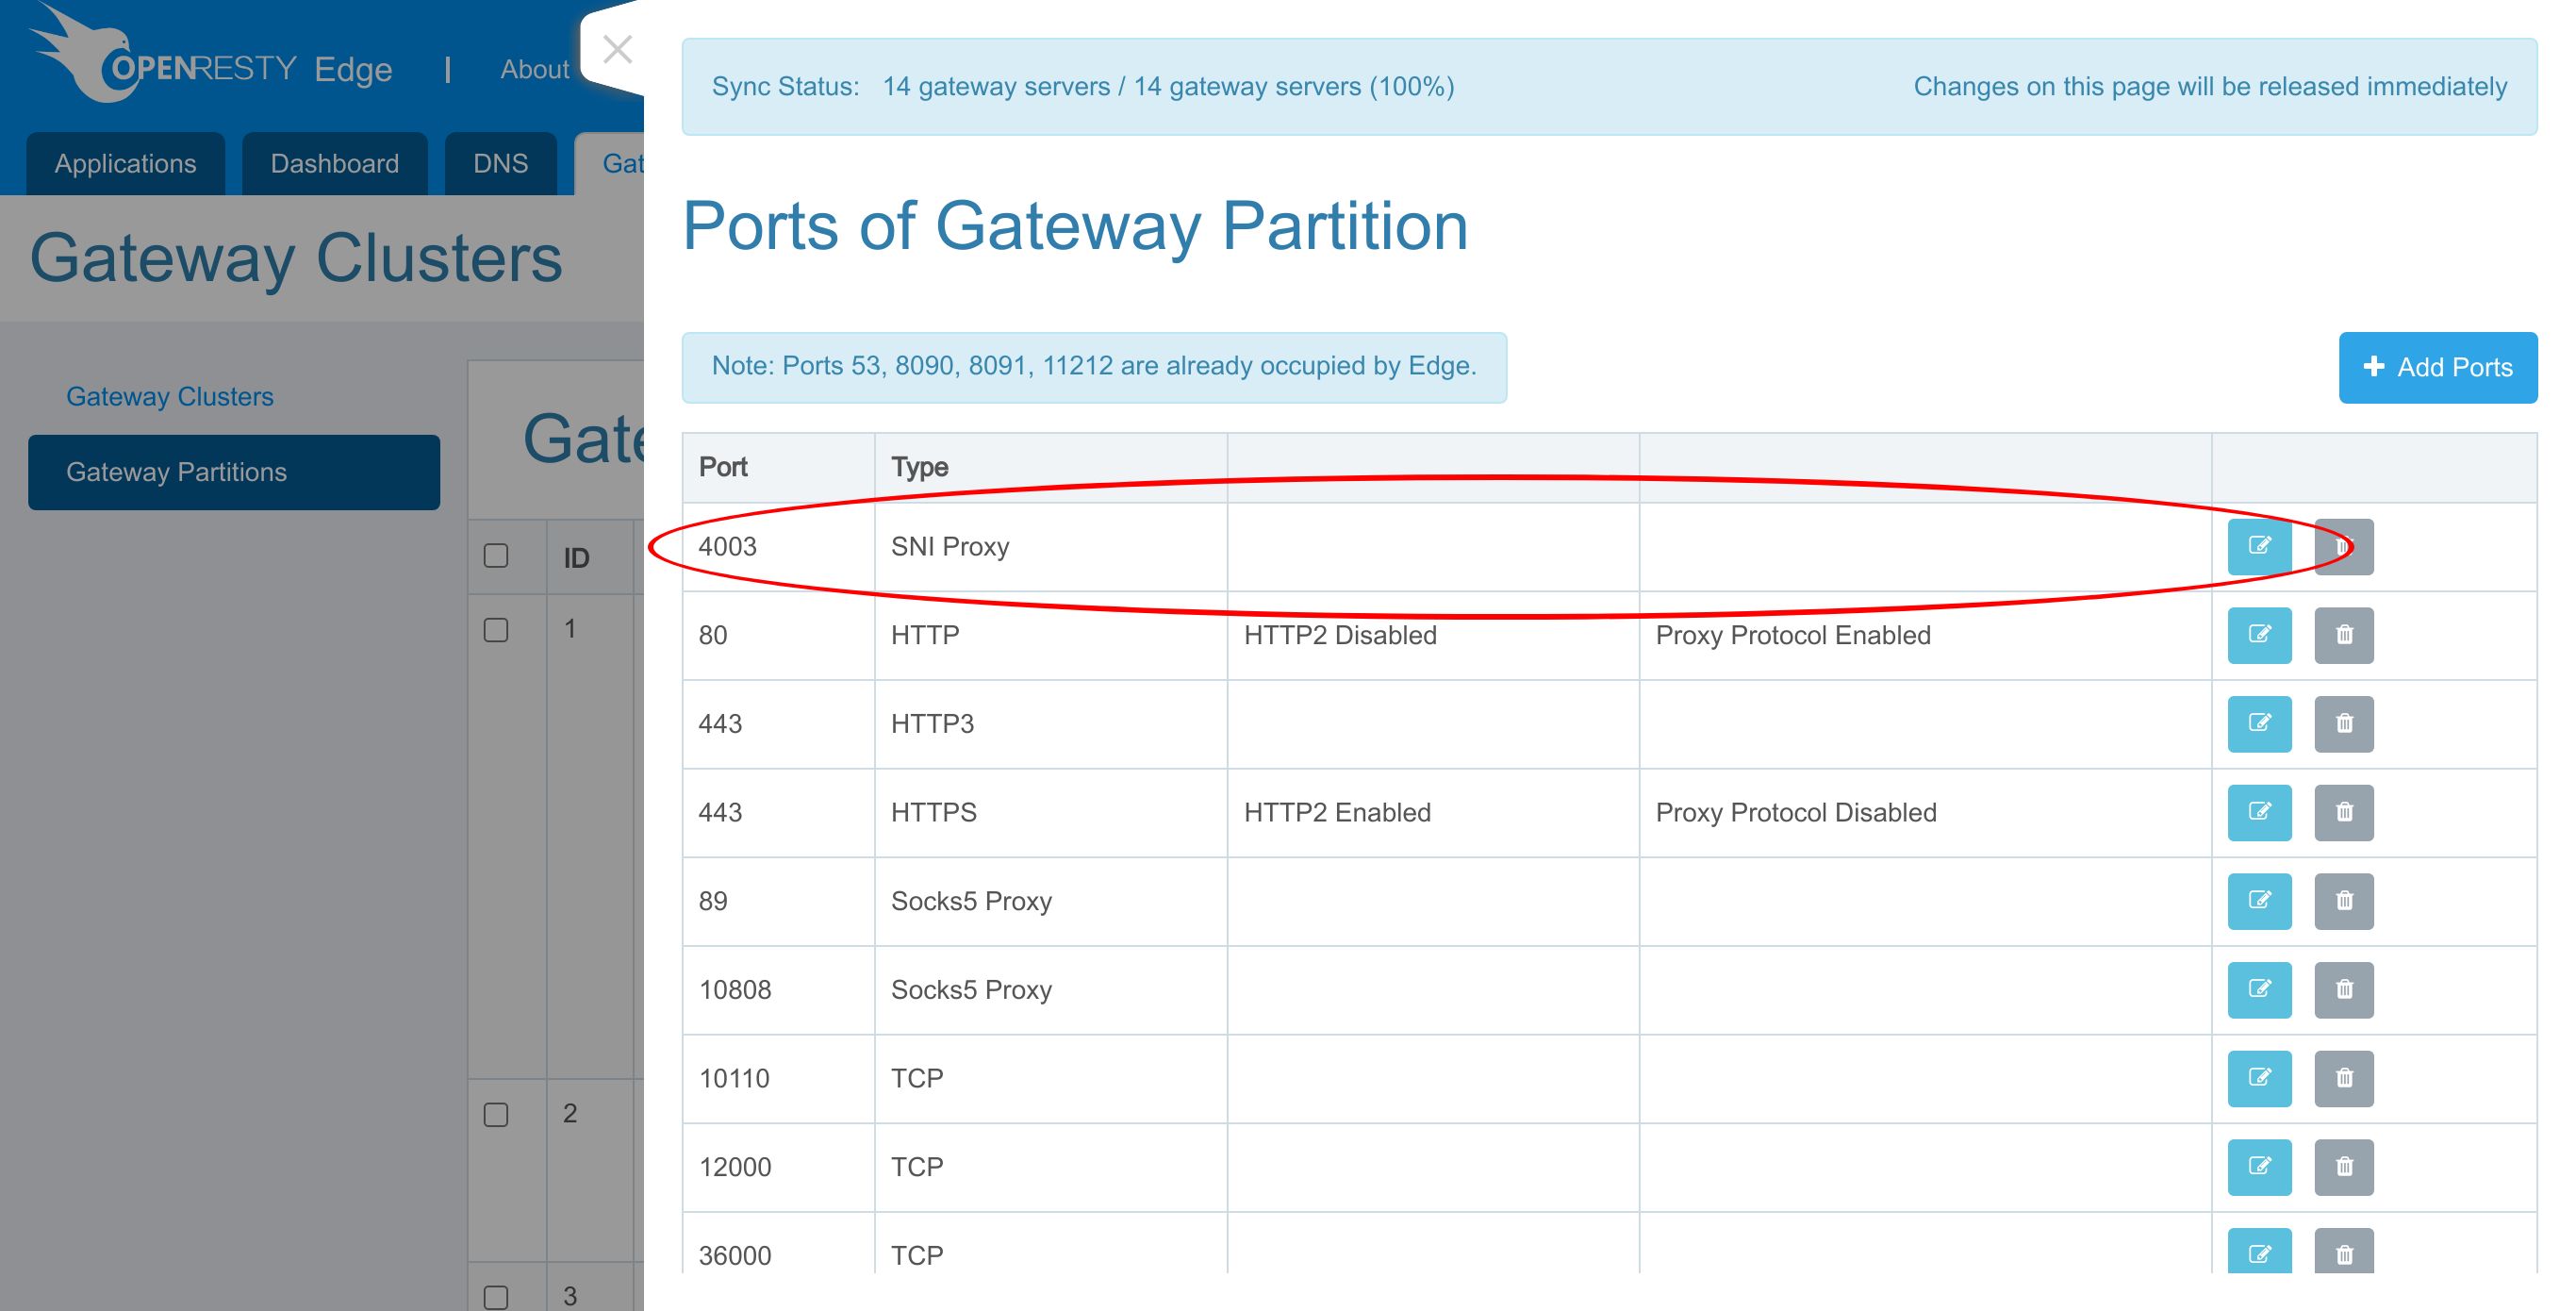
You can see that the new port has been successfully added to the default partition.
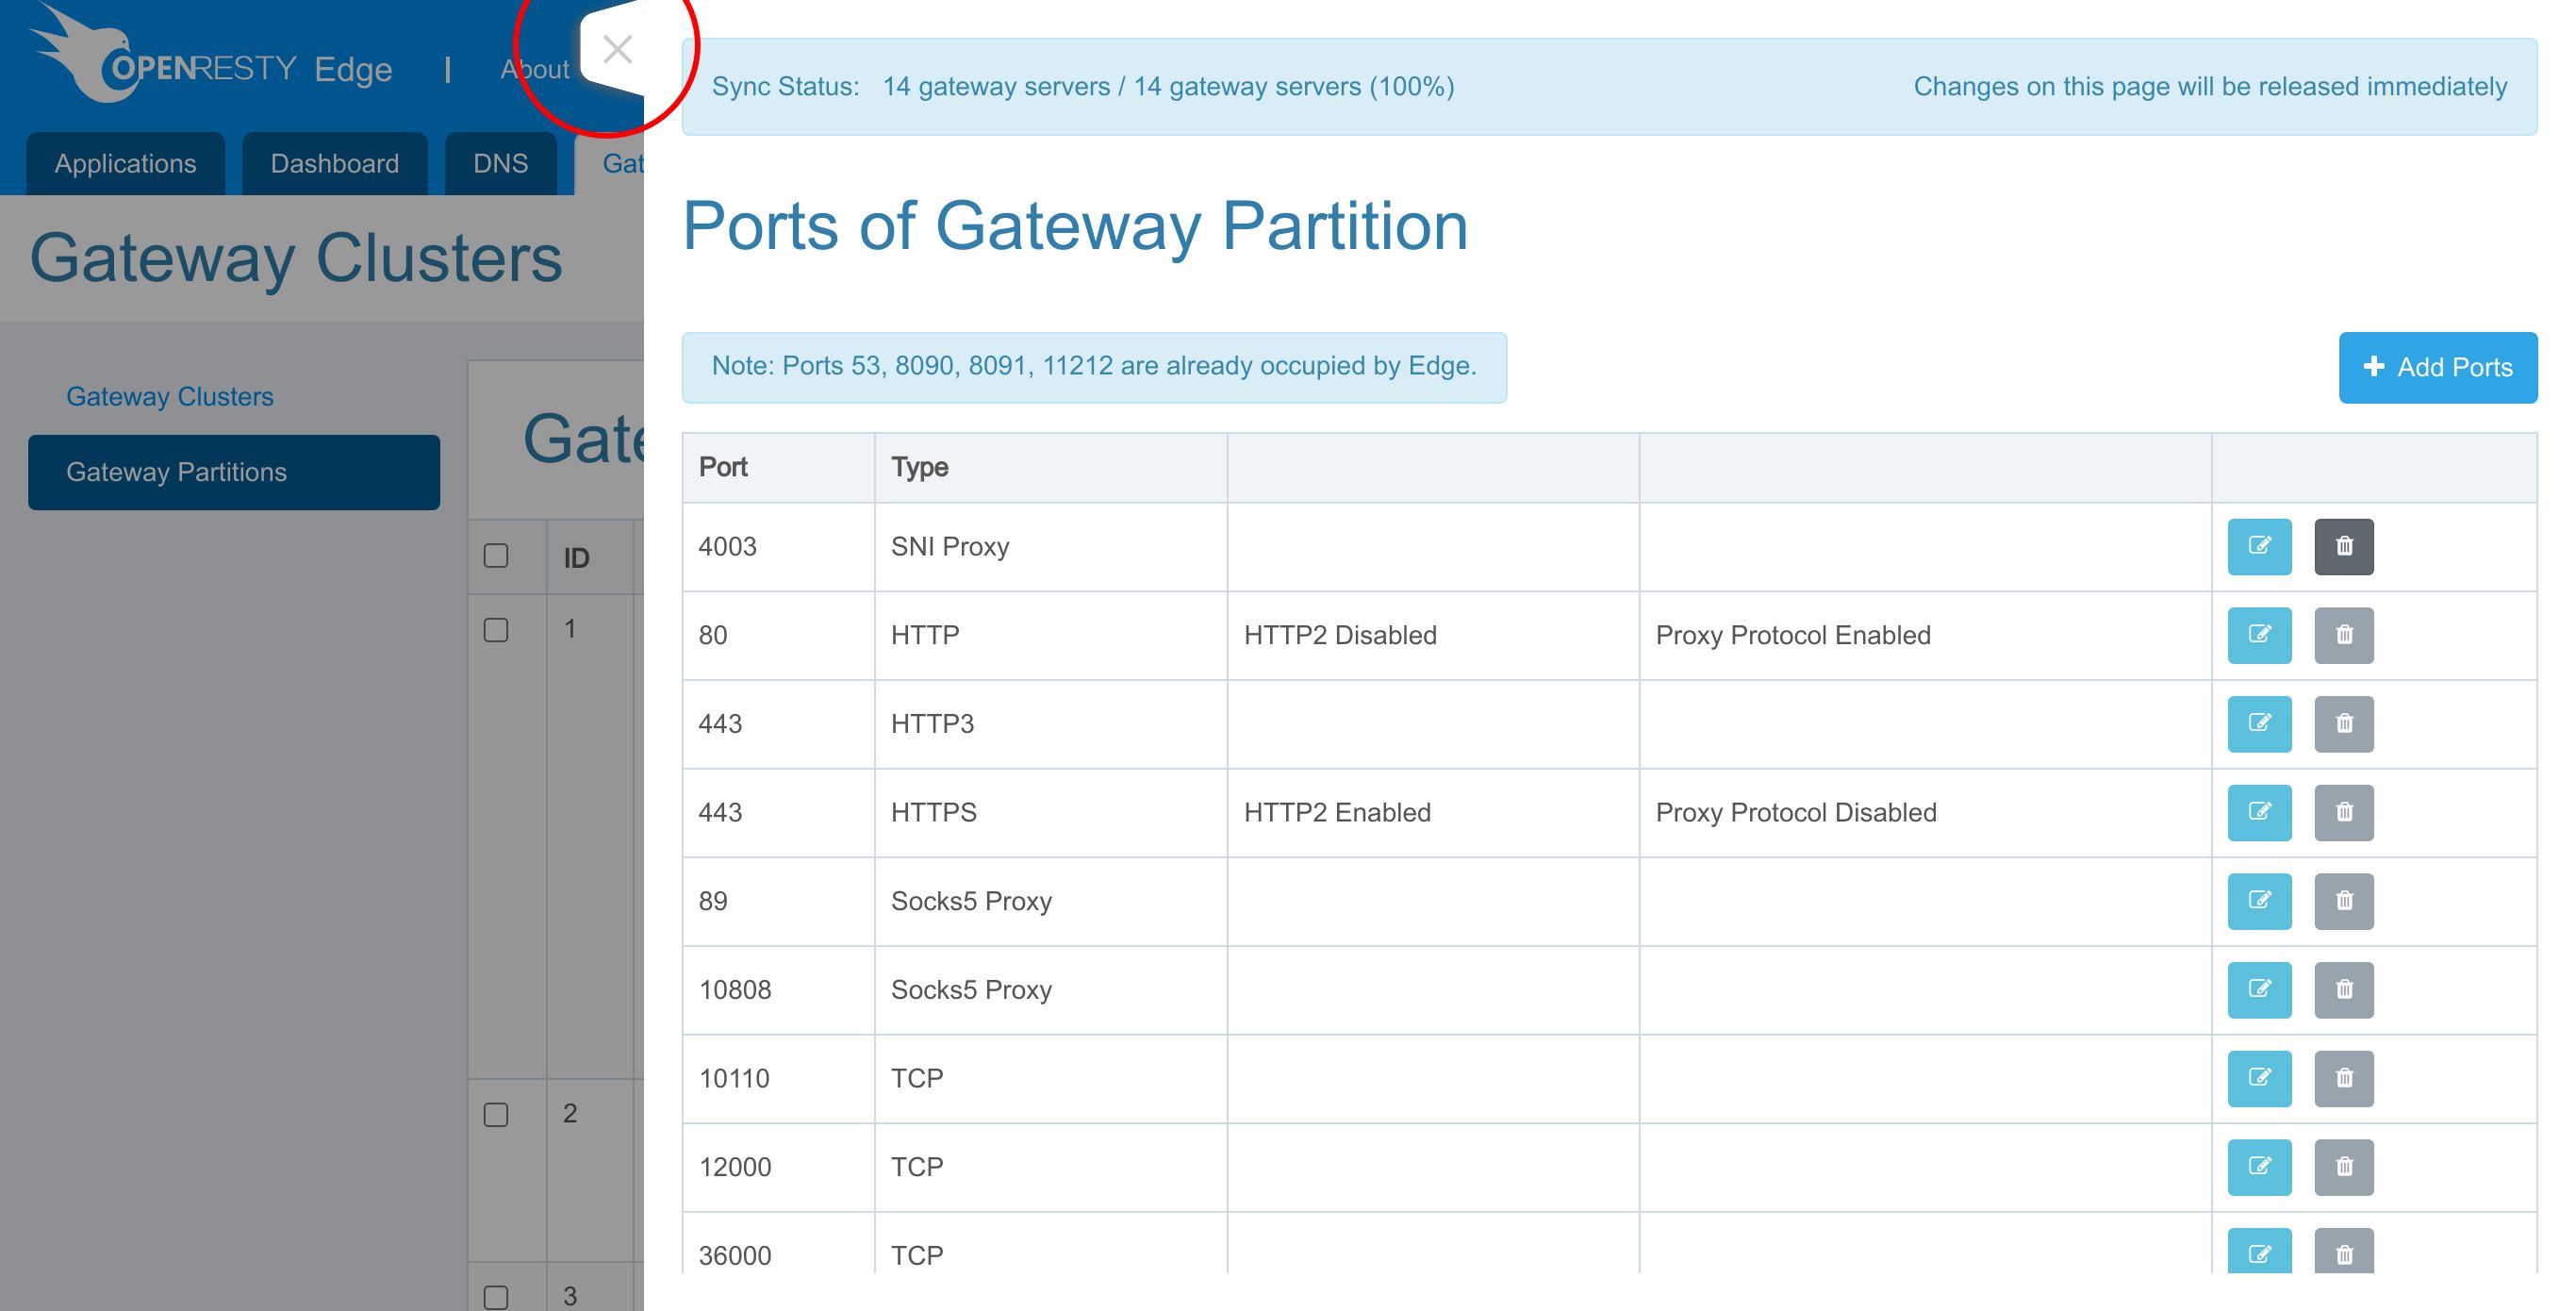
Close this panel.
Test the SNI proxy with curl and a browser
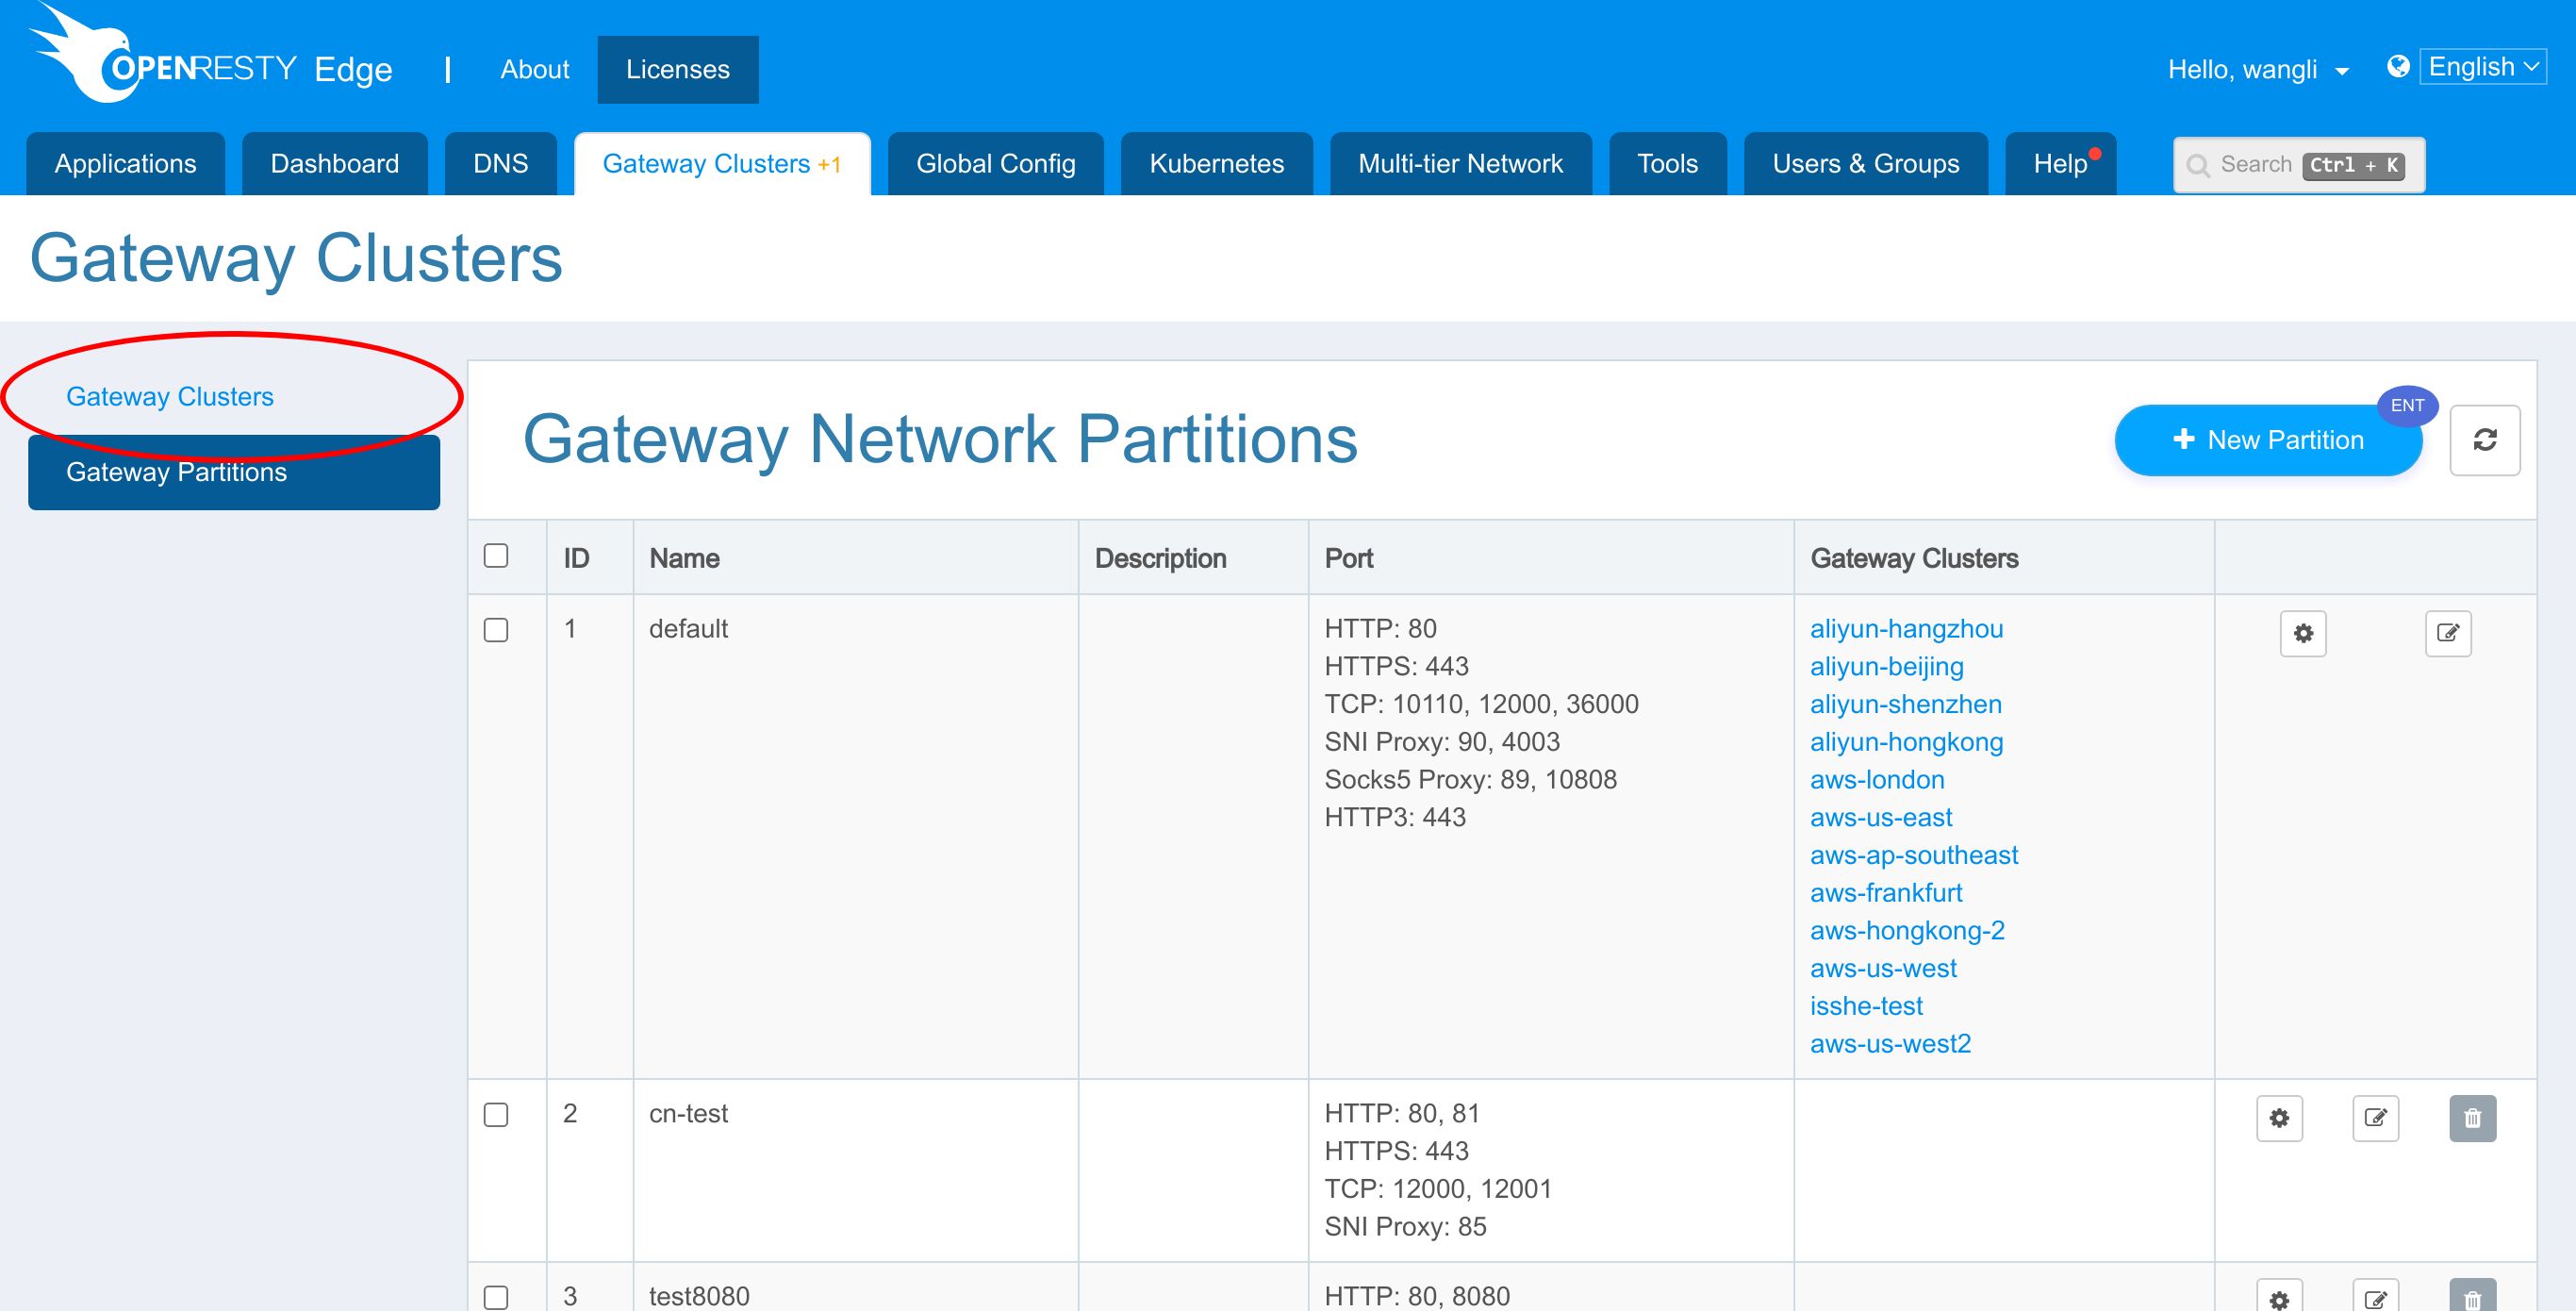
Now let’s go to the gateway clusters page and select an Edge server to do the test.
We have a node in the United States with an IP address ending with .84.
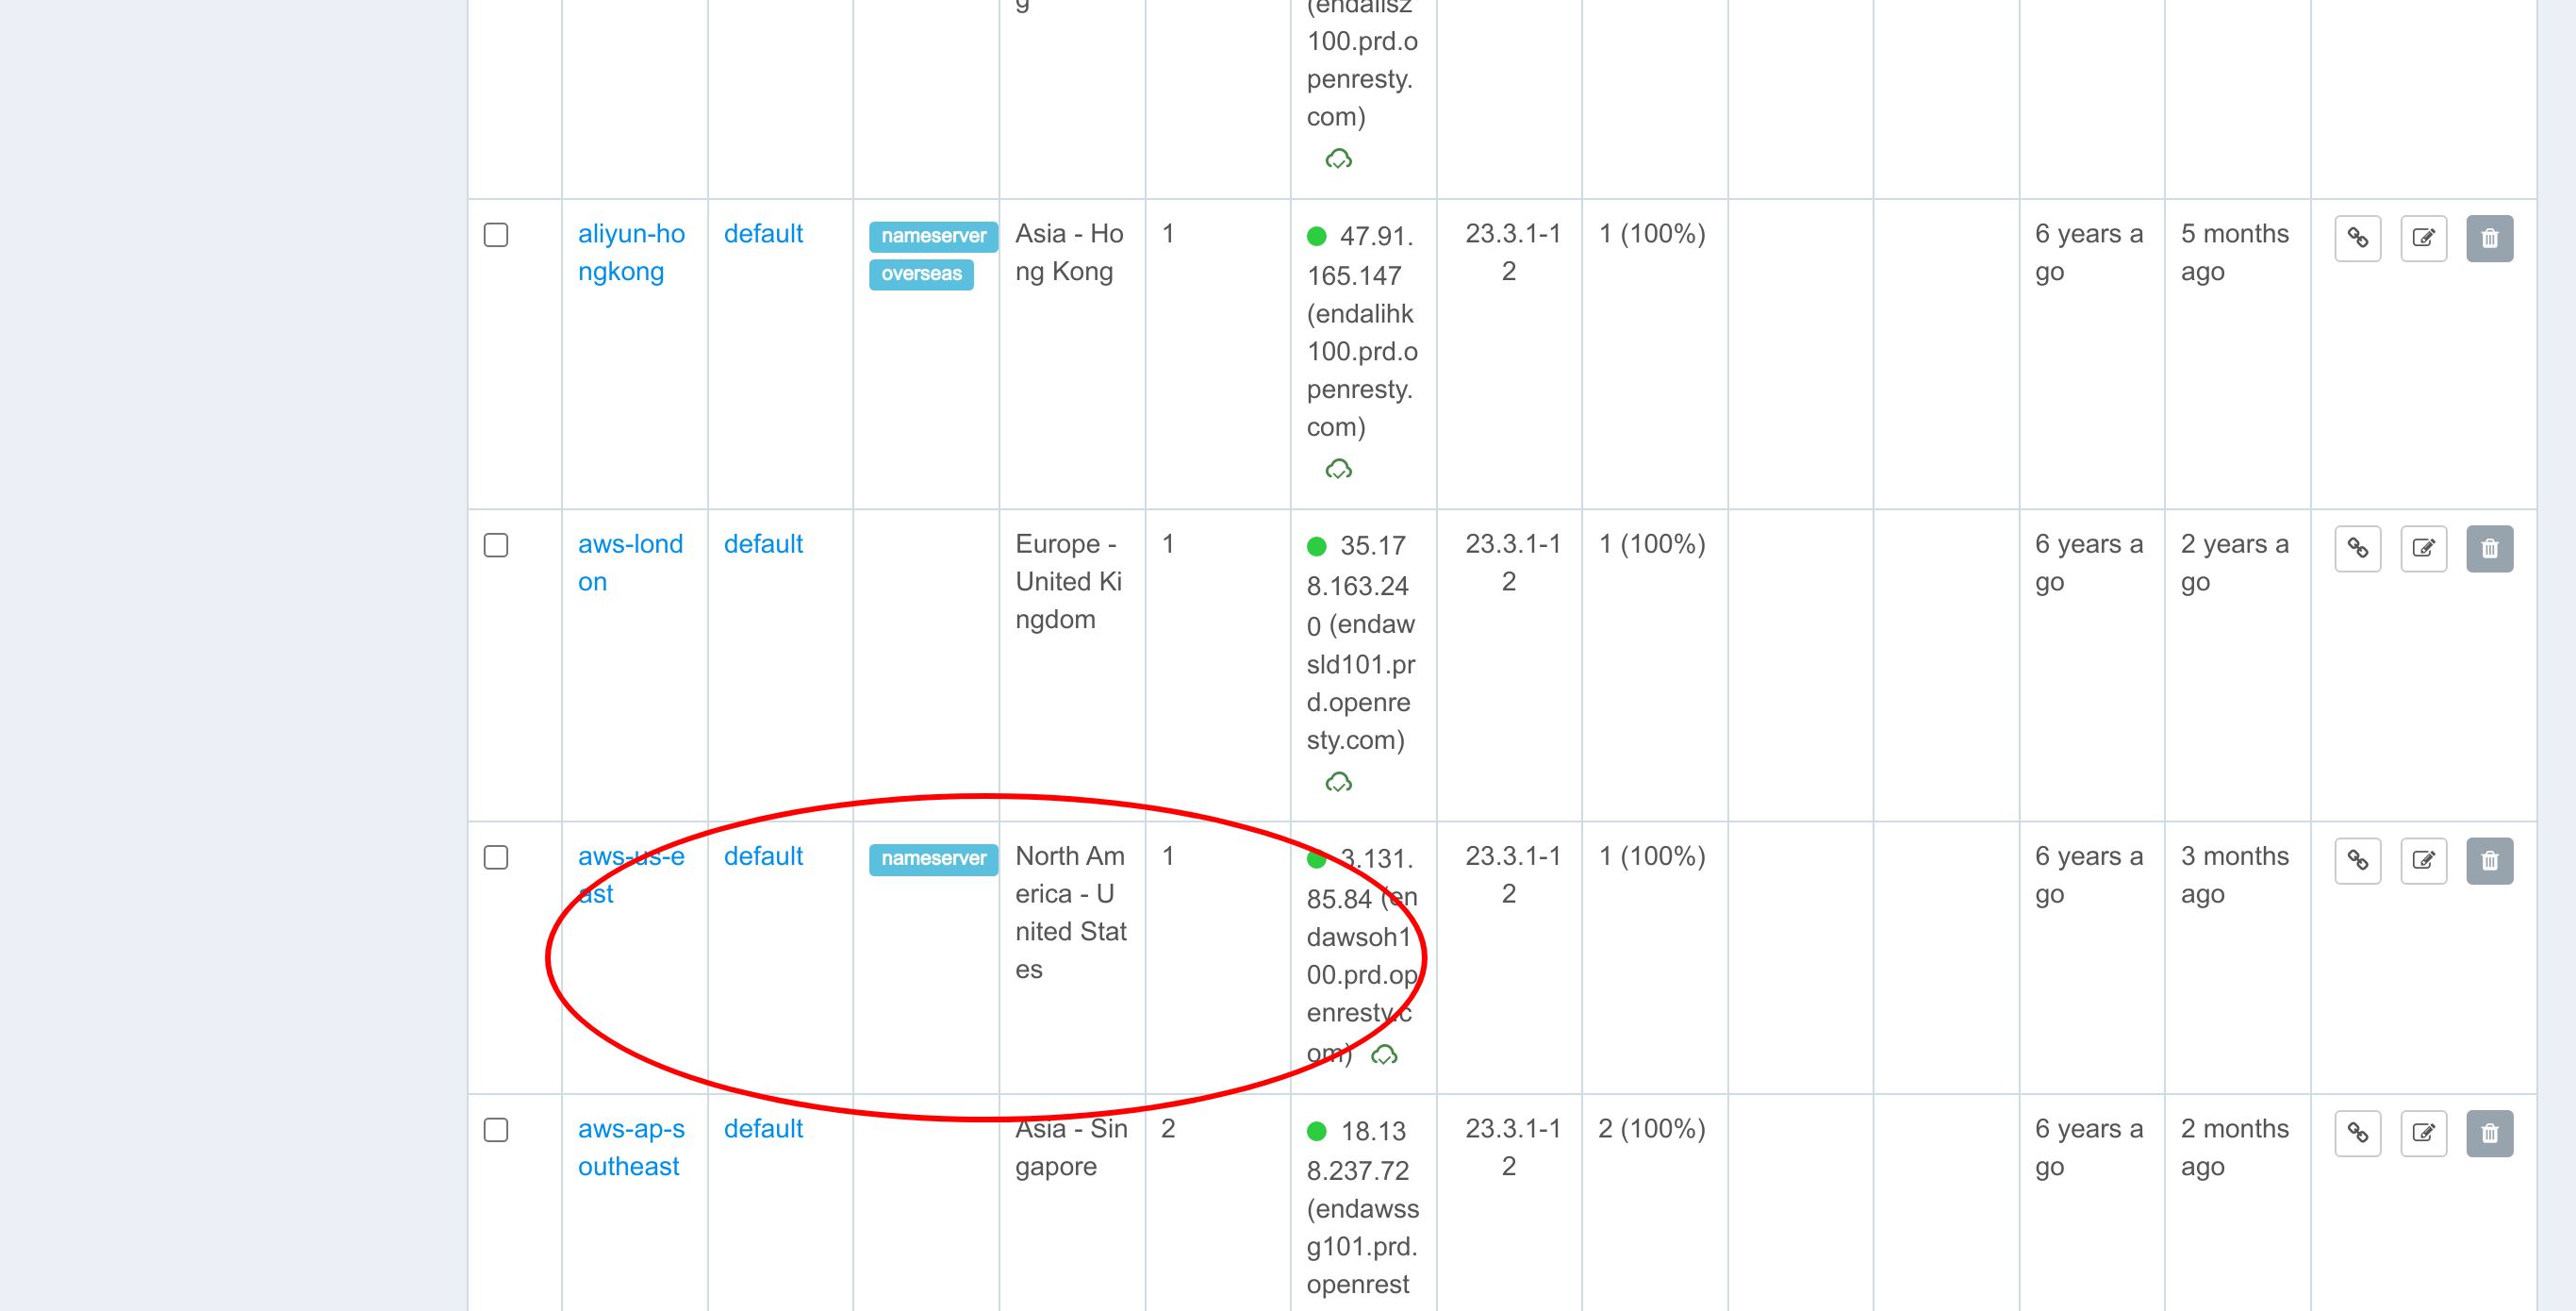
We will test the page rules that we added using this server.
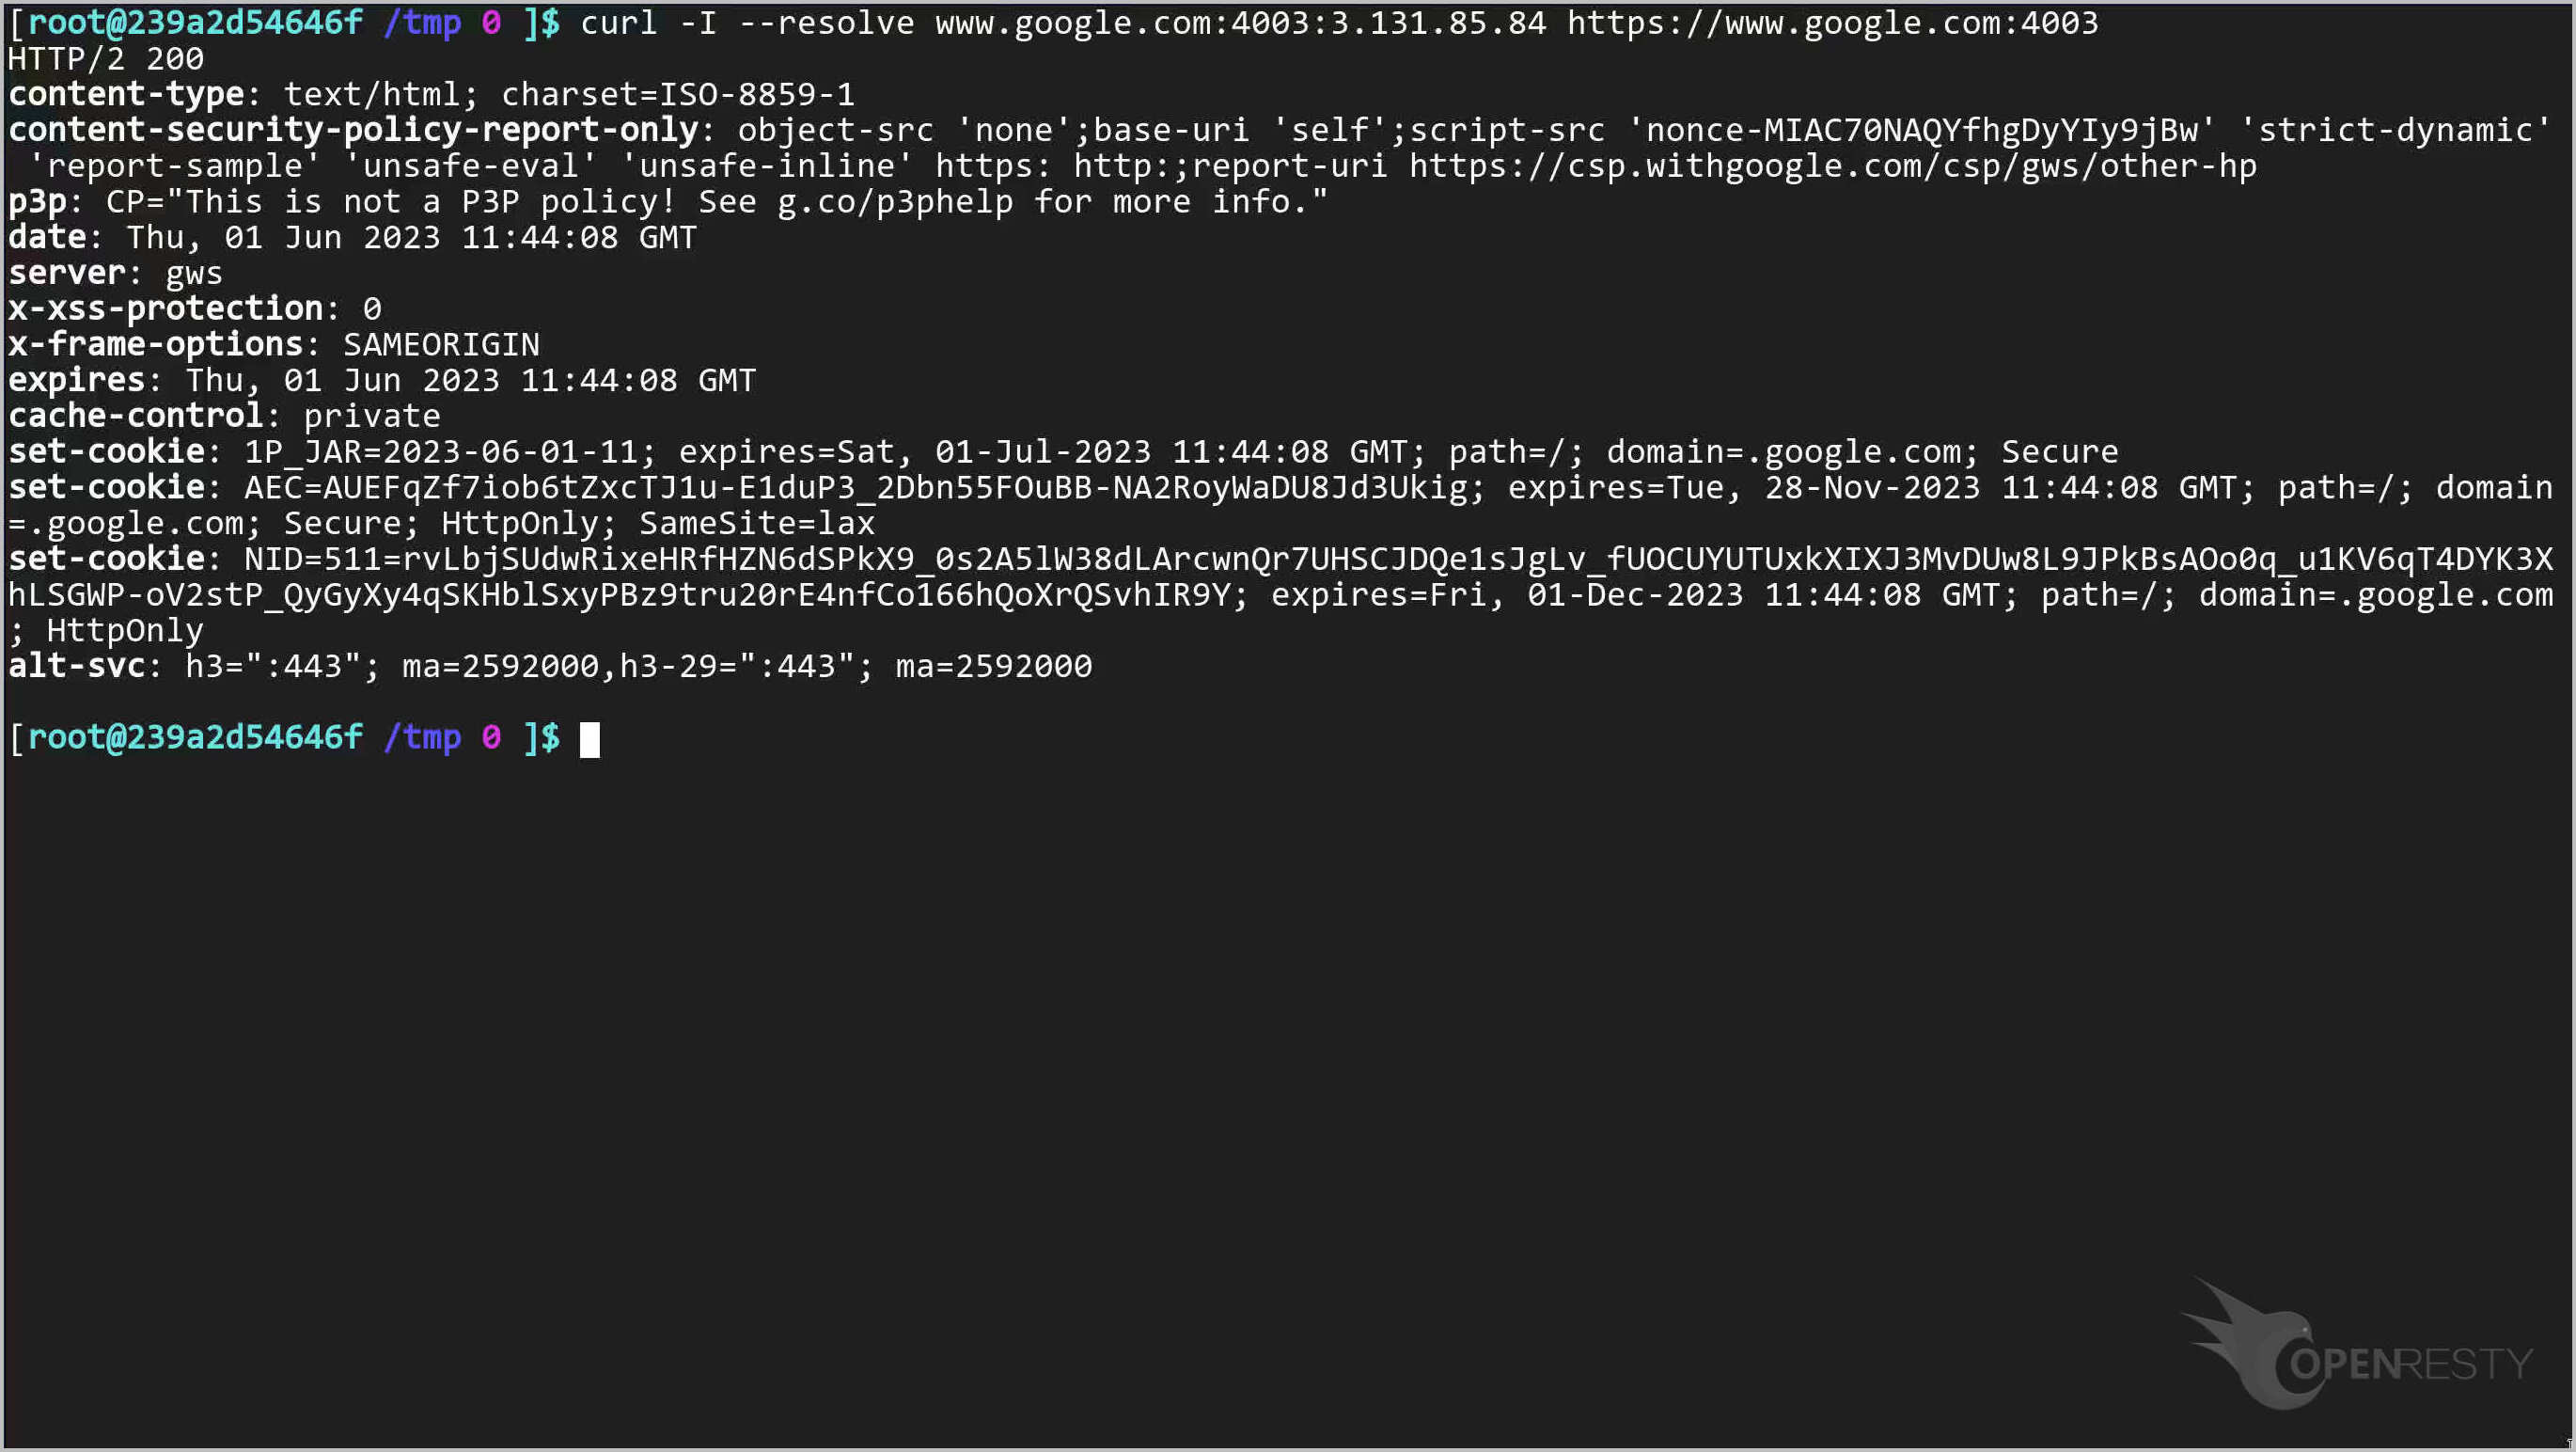
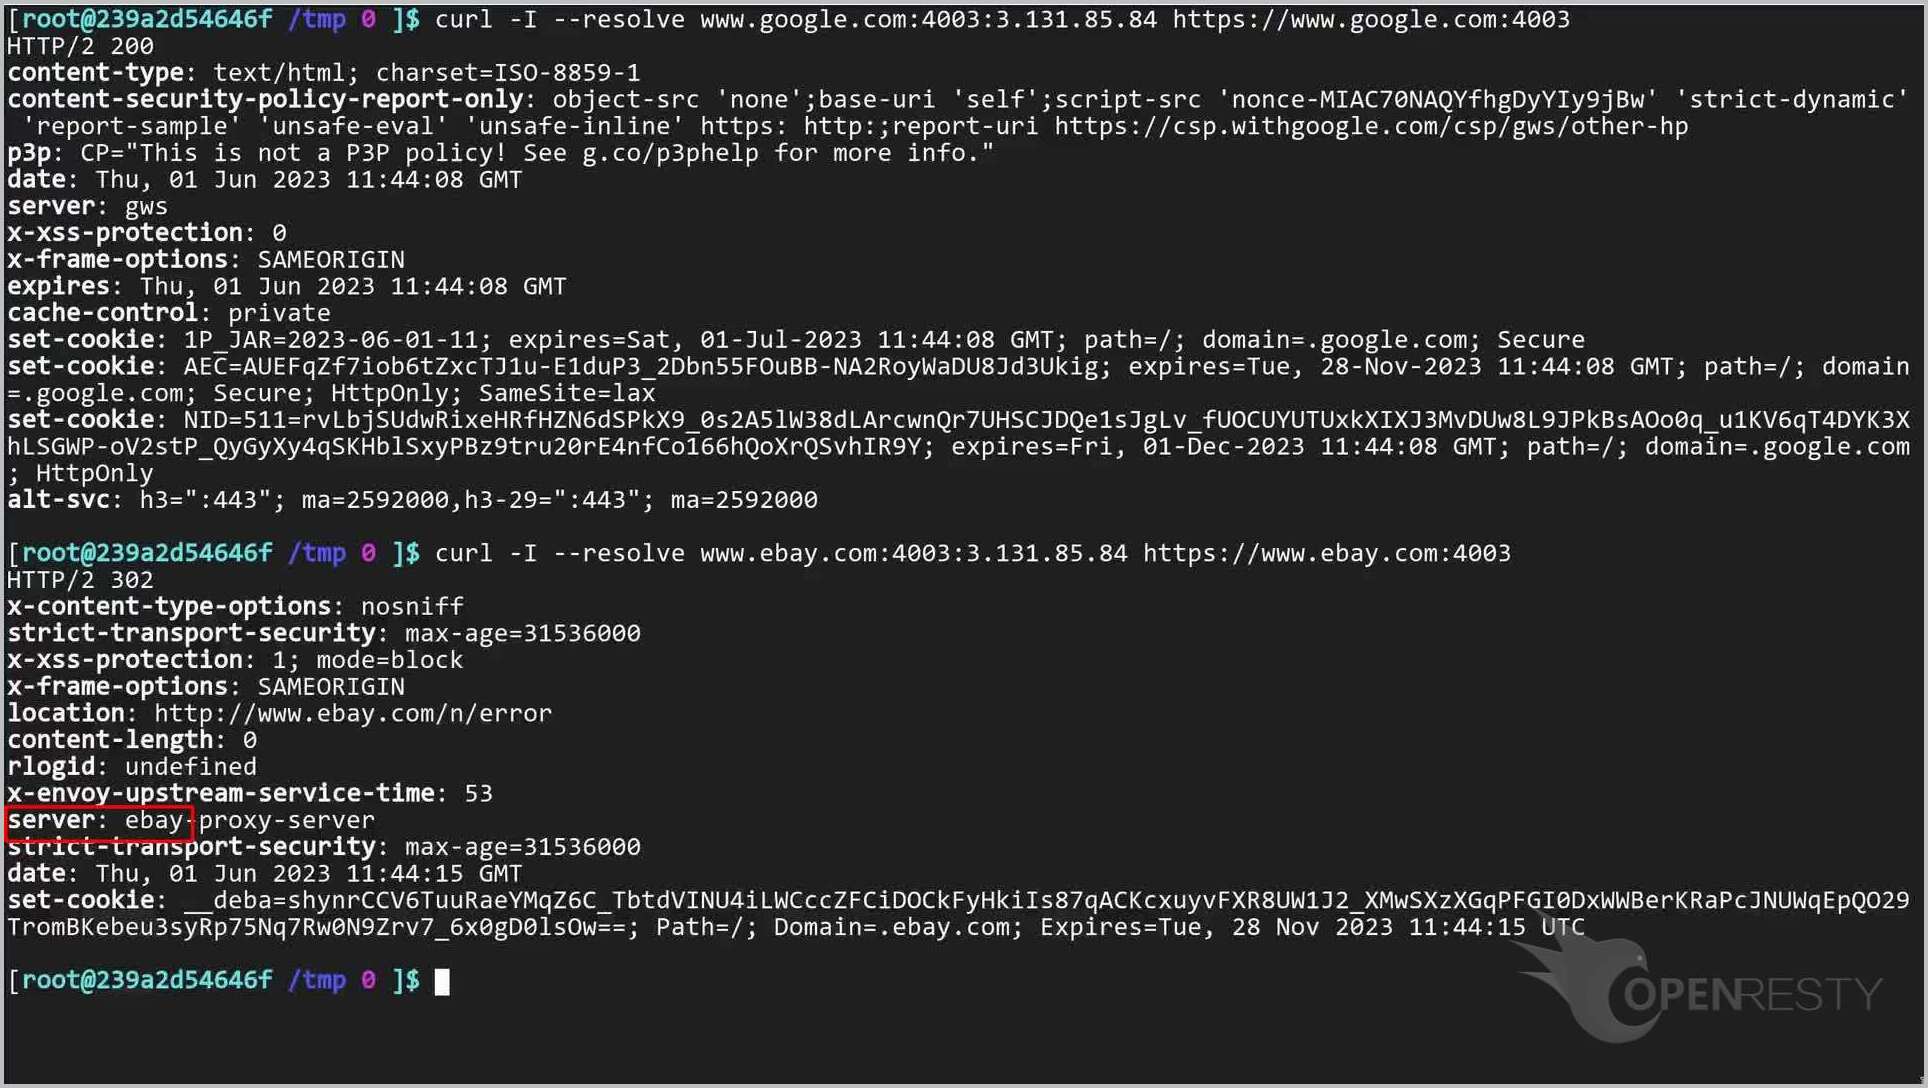
We send a curl request with the SNI name www.google.com.
curl -I --resolve www.google.com:4003:3.131.85.84 https://www.google.com:4003
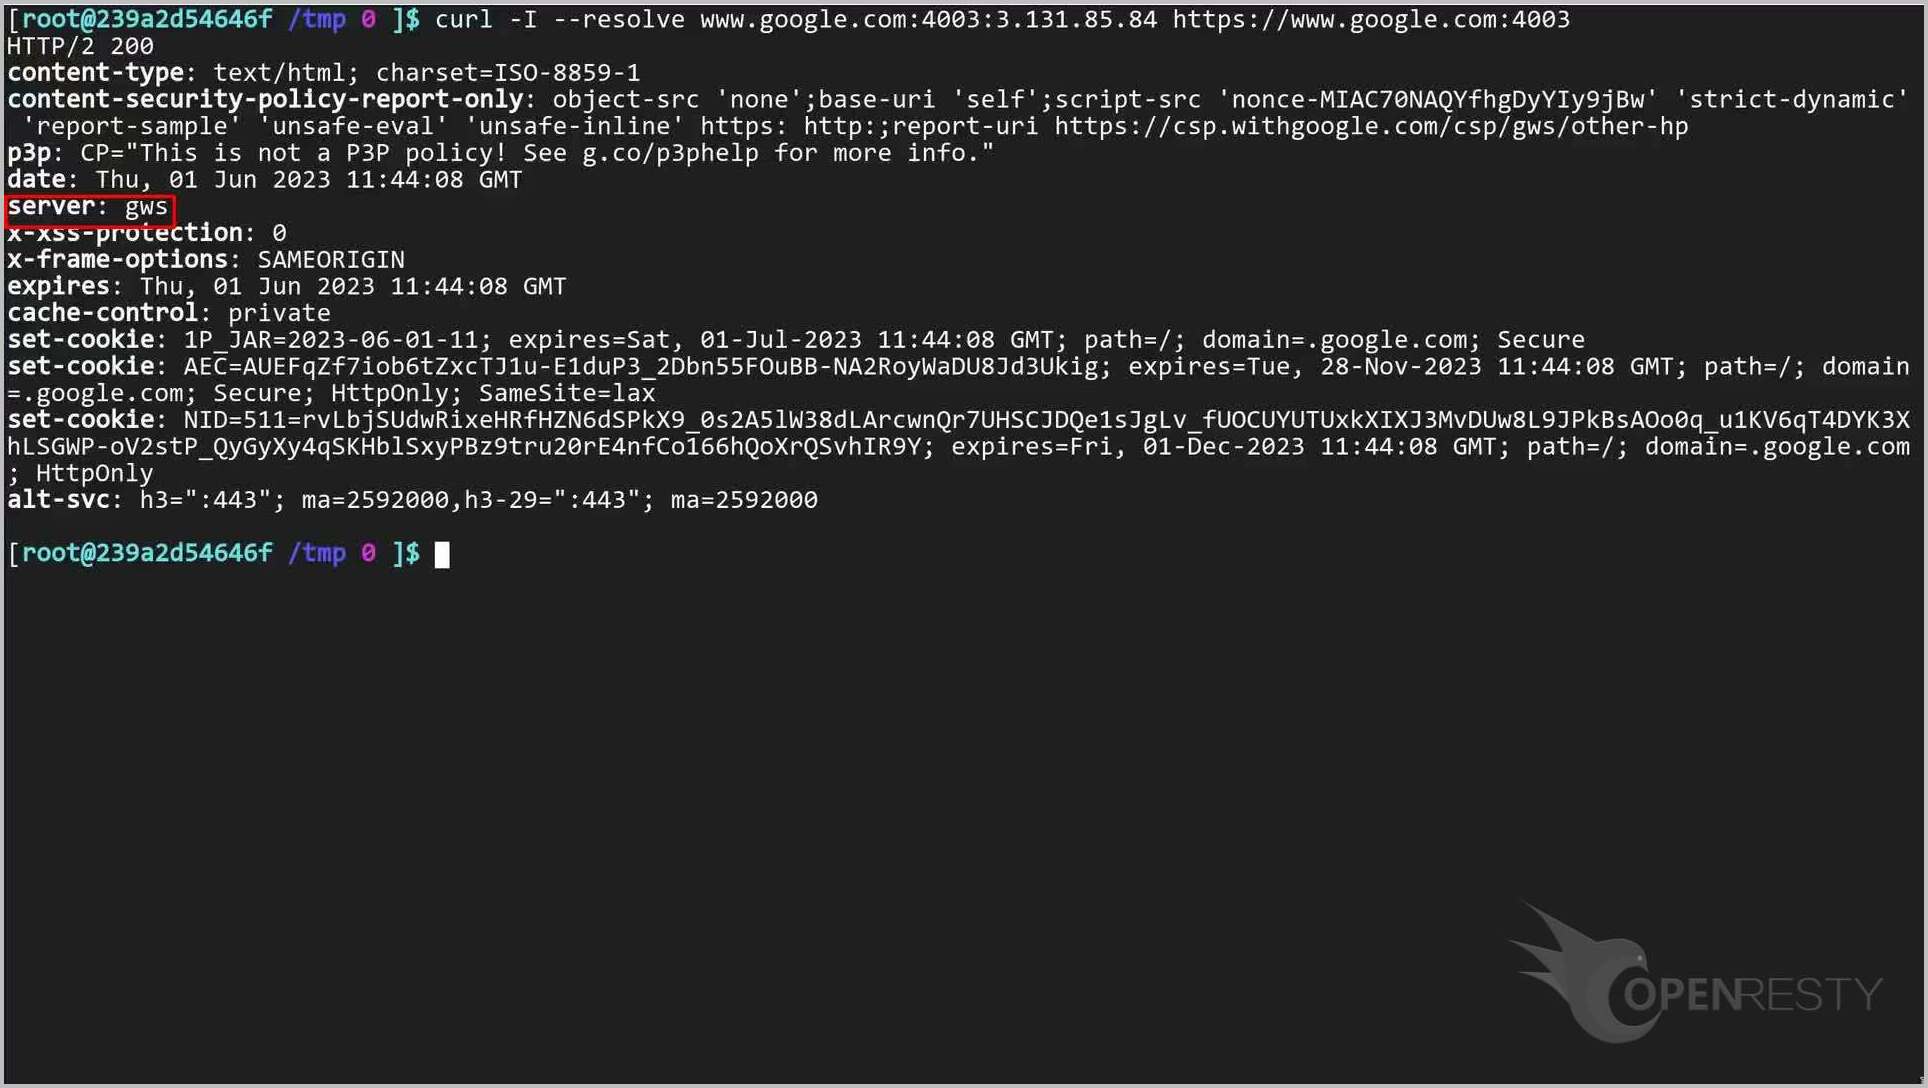
As you can see, the server is google. That means the page rule that we just added works. The request with the SNI Name “www.google.com” is proxied to the correct upstream.
Now let’s send another curl request with the SNI name www.ebay.com.
curl -I --resolve www.ebay.com:4003:3.131.85.84 https://www.ebay.com:4003
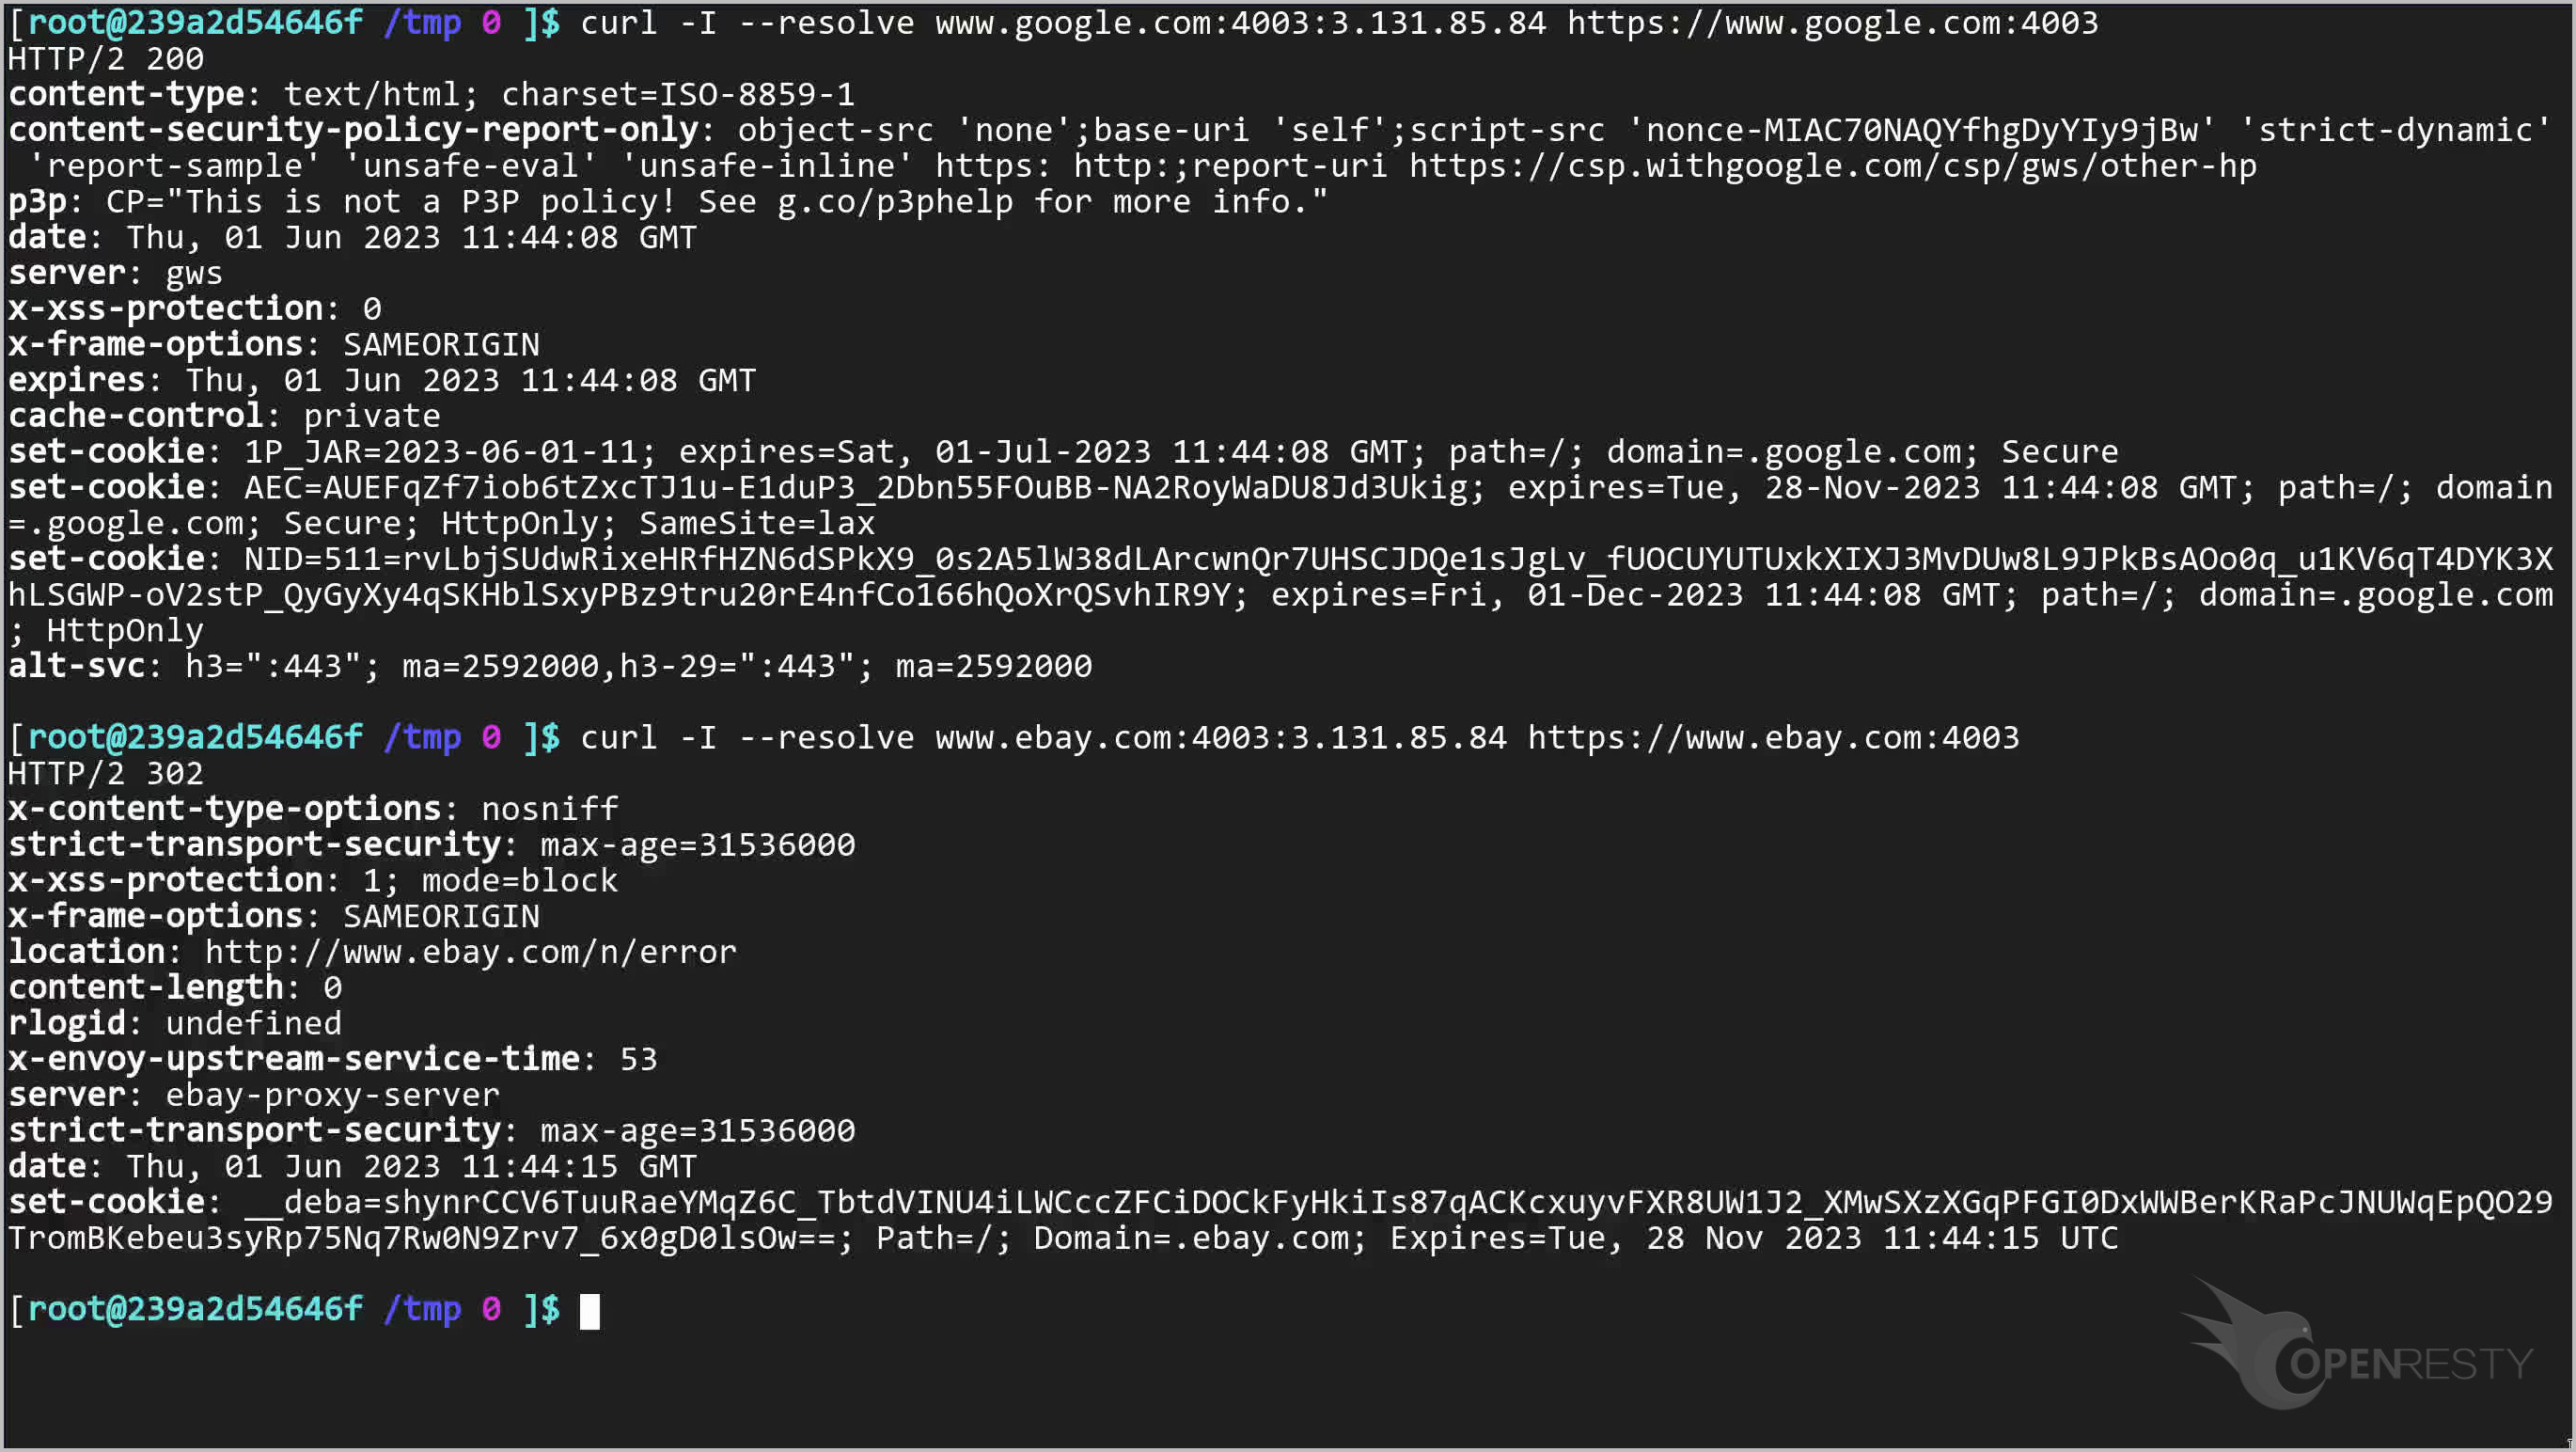
We see that the server is ebay. Page rule works.
Now let’s do the test using the browser. First, we see the hosts binding on the machine.
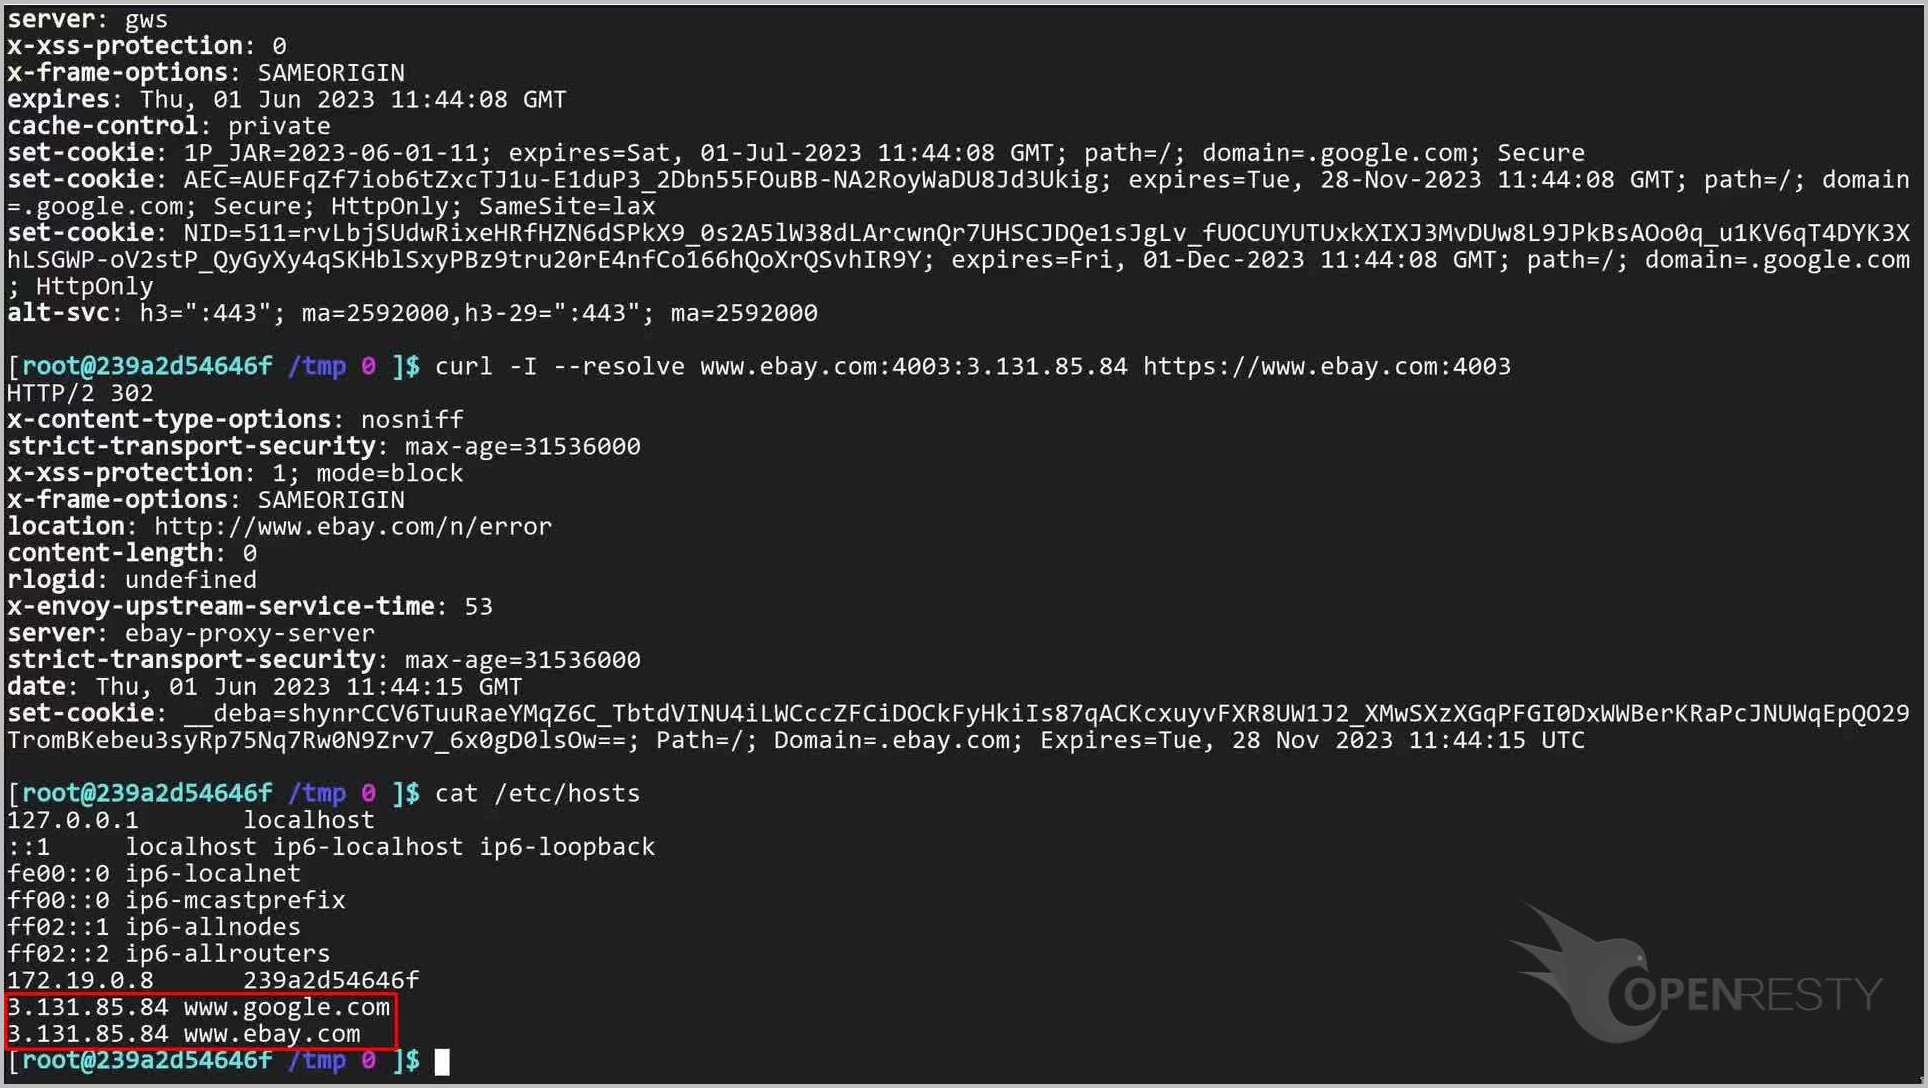
cat /etc/hosts
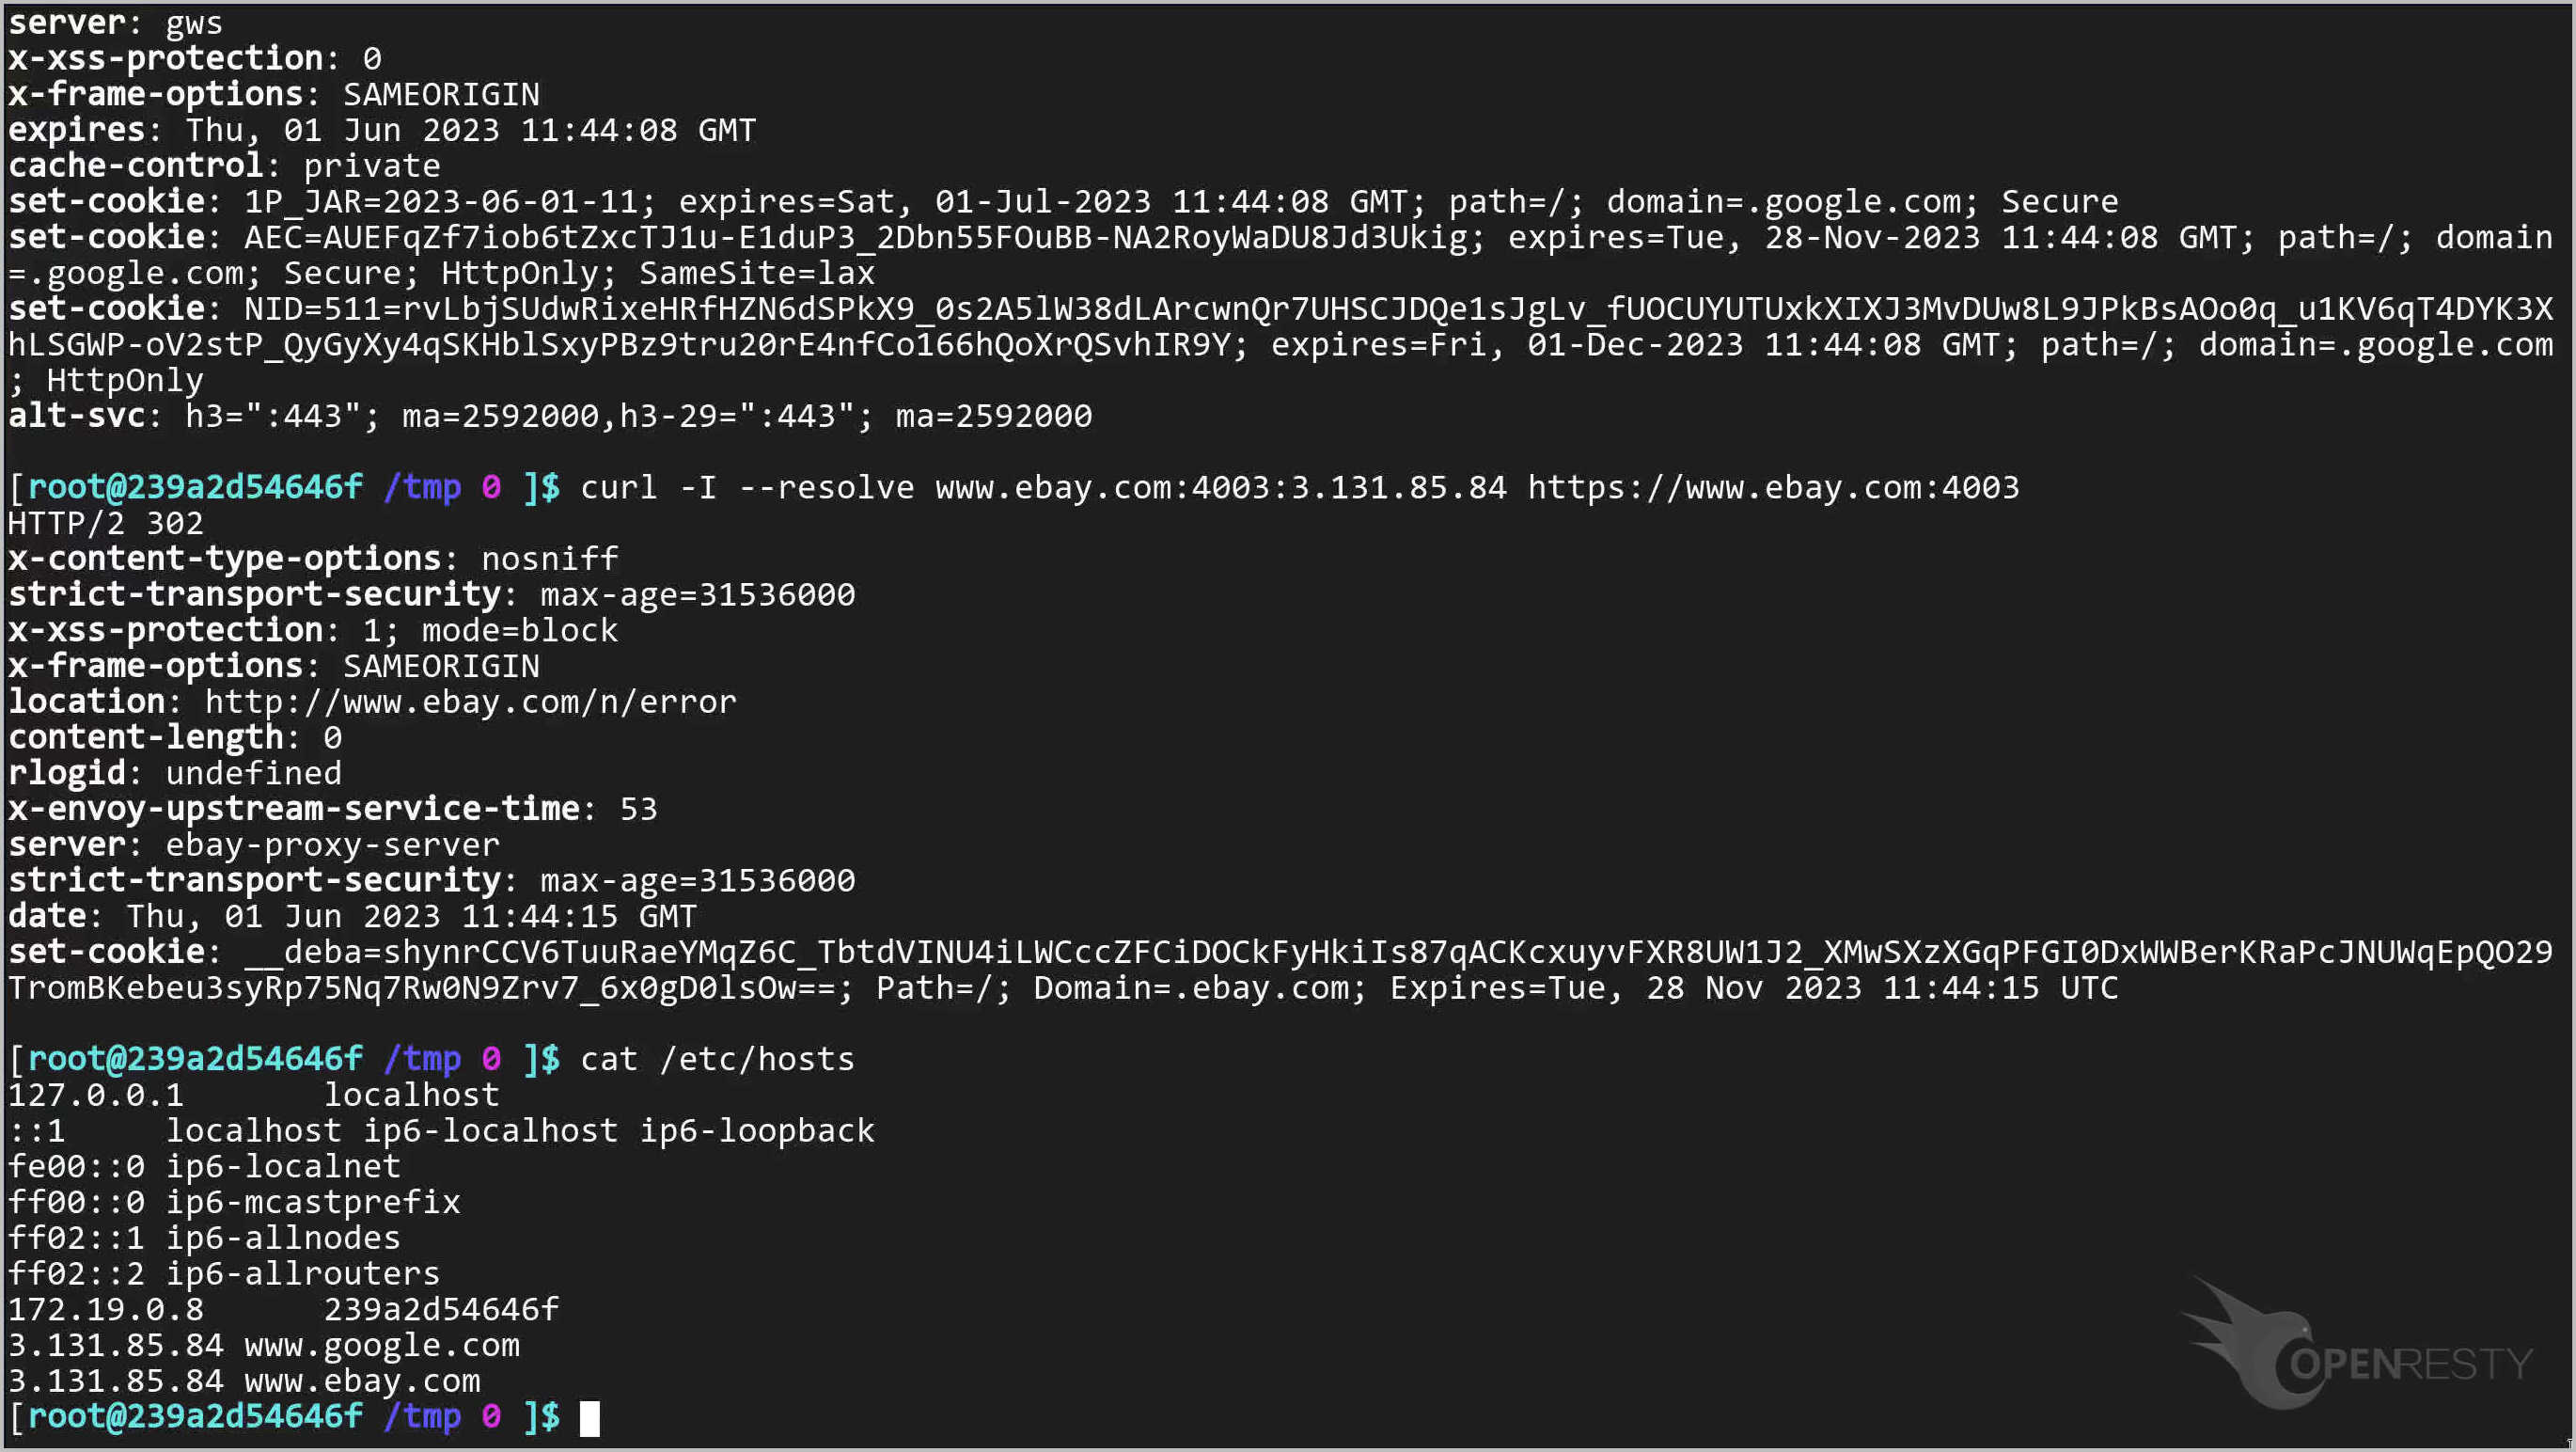
We can see hosts bind correctly.

Visit eBay.

Frequently asked questions
How does an SNI proxy route TLS traffic without decryption?
An SNI proxy reads the Server Name Indication (SNI) hostname from the unencrypted ClientHello of the TLS handshake and uses it to pick a backend, then forwards the encrypted stream through as-is. In OpenResty Edge, you match the SNI Server Name variable in a page rule, so the gateway routes each connection to the right upstream without terminating or decrypting TLS.
How do I route different SNI hostnames to different backends in OpenResty Edge?
Create one upstream per backend, then add a page rule for each hostname whose condition sets the SNI Server Name variable to that hostname (for example www.google.com or www.ebay.com) and whose proxy target is the matching upstream. When a request arrives, the gateway compares its SNI name against the rules and proxies to the corresponding upstream.
What port does the SNI proxy listen on?
The port is whatever you add to the gateway partition as an SNI Proxy type port. In this tutorial we add port 4003, so Edge servers listen on 4003 and route incoming TLS connections by SNI name. You can choose any free port.
Do configuration changes require restarting the gateway?
No. OpenResty Edge does incremental configuration synchronization and live-updates config at the request level. None of the application-level changes require a server reload, restart, or binary upgrade, so releases stay scalable even with many users making frequent changes.
Can OpenResty Edge proxy protocols other than SNI TLS?
Yes. Besides SNI Proxy stream applications, Edge supports TCP stream applications and Layer 7 proxying—for example, see how to configure a gRPC proxy in OpenResty Edge for HTTP/2-based backends.
How do I test that the SNI proxy is working?
Send a TLS request with a specific SNI name and confirm which backend answers. This tutorial uses curl -I --resolve www.google.com:4003:<edge-ip> https://www.google.com:4003 and the same for www.ebay.com, then repeats the check in a browser via /etc/hosts bindings.
What is OpenResty Edge
OpenResty Edge is our all-in-one gateway software for microservices and distributed traffic architectures. It combines traffic management, private CDN construction, API gateway, security, and more to help you easily build, manage, and protect modern applications. OpenResty Edge delivers industry-leading performance and scalability to meet the demanding needs of high concurrency, high load scenarios. It supports scheduling containerized application traffic such as K8s and manages massive domains, making it easy to meet the needs of large websites and complex applications.
→ SNI proxying is part of the platform’s Layer-4 toolbox. For everything else it does, see the OpenResty Edge platform overview, or compare it with open-source OpenResty.
→ Related: if you terminate TLS at the gateway instead, the ACME module in OpenResty Edge can issue and renew the SSL certificates automatically.
If you like this tutorial, please subscribe to this blog site and/or our YouTube channel. Thank you!
About The Author
Yichun Zhang (Github handle: agentzh), is the original creator of the OpenResty® open-source project and the CEO of OpenResty Inc..
Yichun is one of the earliest advocates and leaders of “open-source technology”. He worked at many internationally renowned tech companies, such as Cloudflare, Yahoo!. He is a pioneer of “edge computing”, “dynamic tracing” and “machine coding”, with over 22 years of programming and 16 years of open source experience. Yichun is well-known in the open-source space as the project leader of OpenResty®, adopted by more than 40 million global website domains.
OpenResty Inc., the enterprise software start-up founded by Yichun in 2017, has customers from some of the biggest companies in the world. Its flagship product, OpenResty XRay, is a non-invasive profiling and troubleshooting tool that significantly enhances and utilizes dynamic tracing technology. And its OpenResty Edge product is a powerful distributed traffic management and private CDN software product.
As an avid open-source contributor, Yichun has contributed more than a million lines of code to numerous open-source projects, including Linux kernel, Nginx, LuaJIT, GDB, SystemTap, LLVM, Perl, etc. He has also authored more than 60 open-source software libraries.
Related Articles
OpenResty XRay May 29, 2023

OpenResty XRay Apr 25, 2023

OpenResty XRay Apr 19, 2023

OpenResty XRay Jul 8, 2026

OpenResty XRay Apr 10, 2024