Set up a Simplest Reverse Proxy and Load Balancer with OpenResty Edge
Today I’d demonstrate how to setup the simplest reverse proxy and load balancer in OpenResty Edge.

Create a sample application
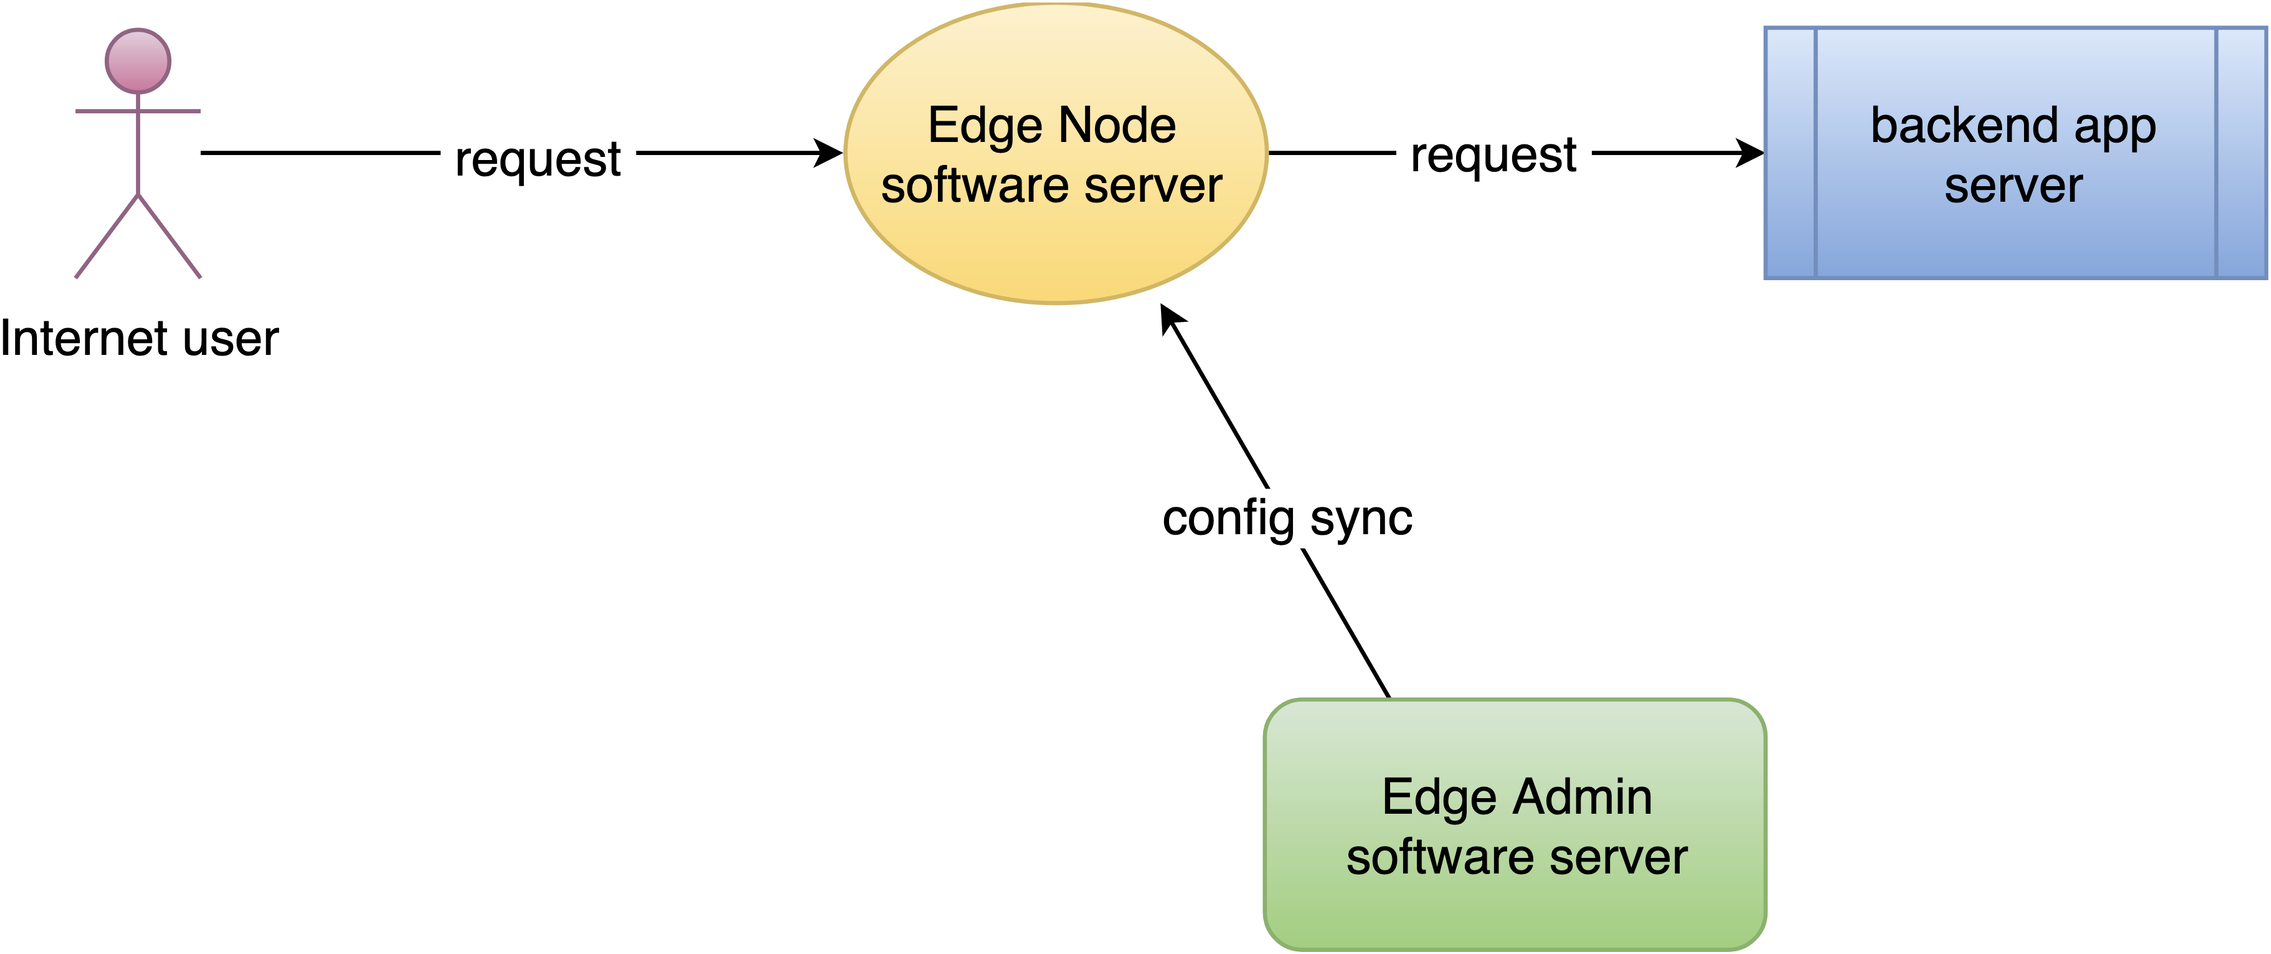
We manage all the gateway server nodes and their configurations in a central place, the Edge Admin web console.
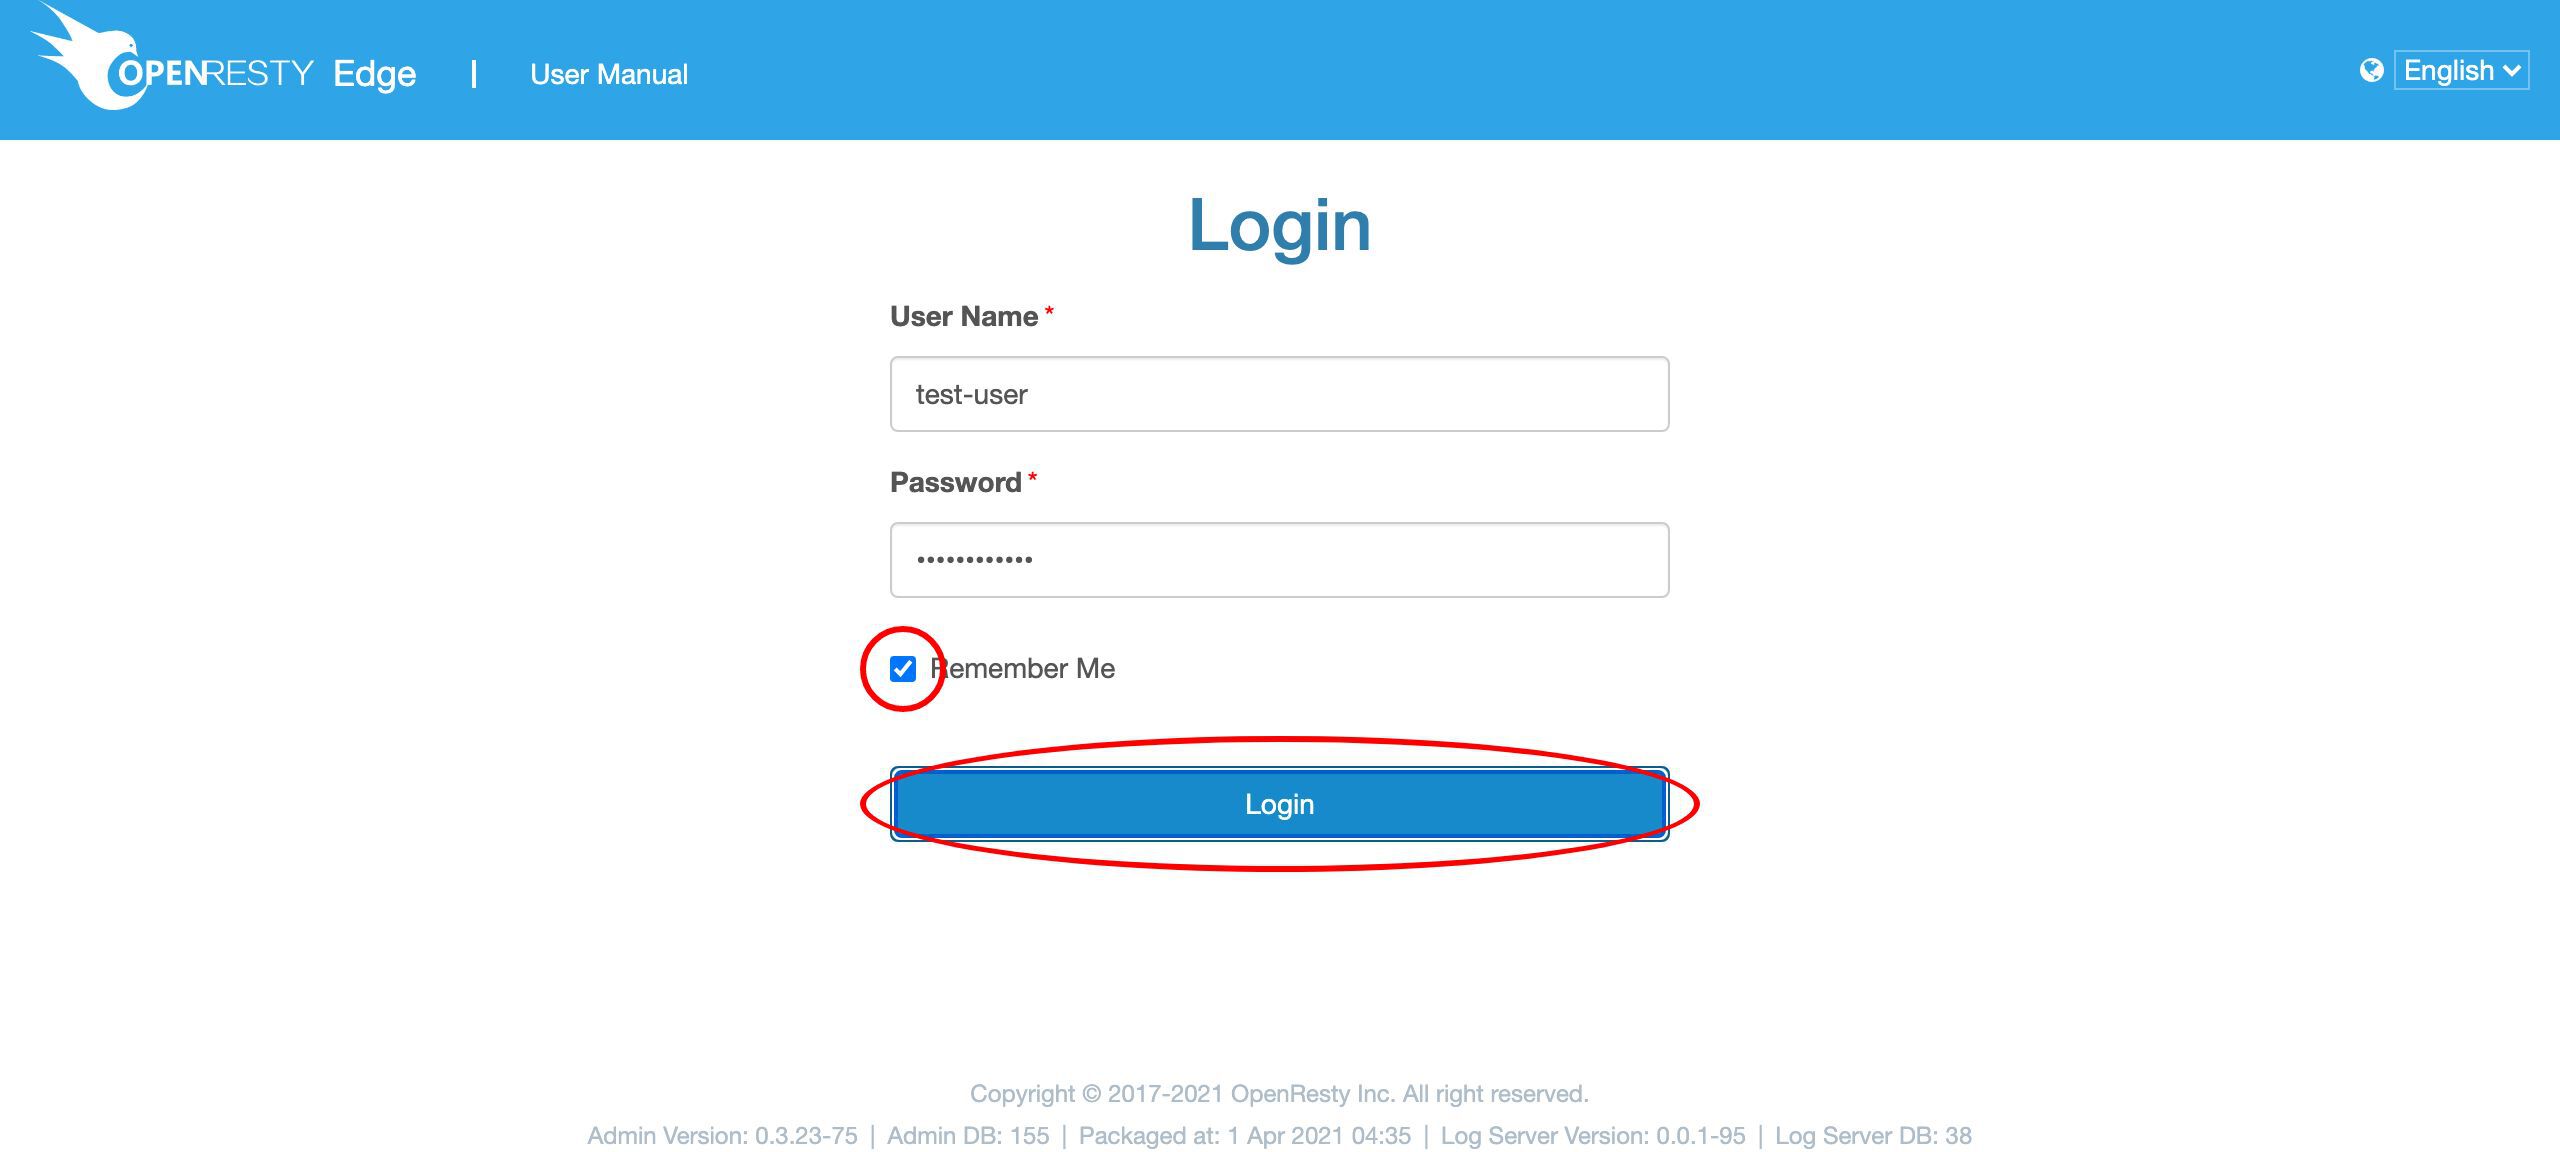
Let’s go to a web console of OpenResty Edge. This is our sample deployment of the console. Every user would have their own deployment.
Let’s login using our user name and password.

Other authentication methods are also configurable.
Sign in now.
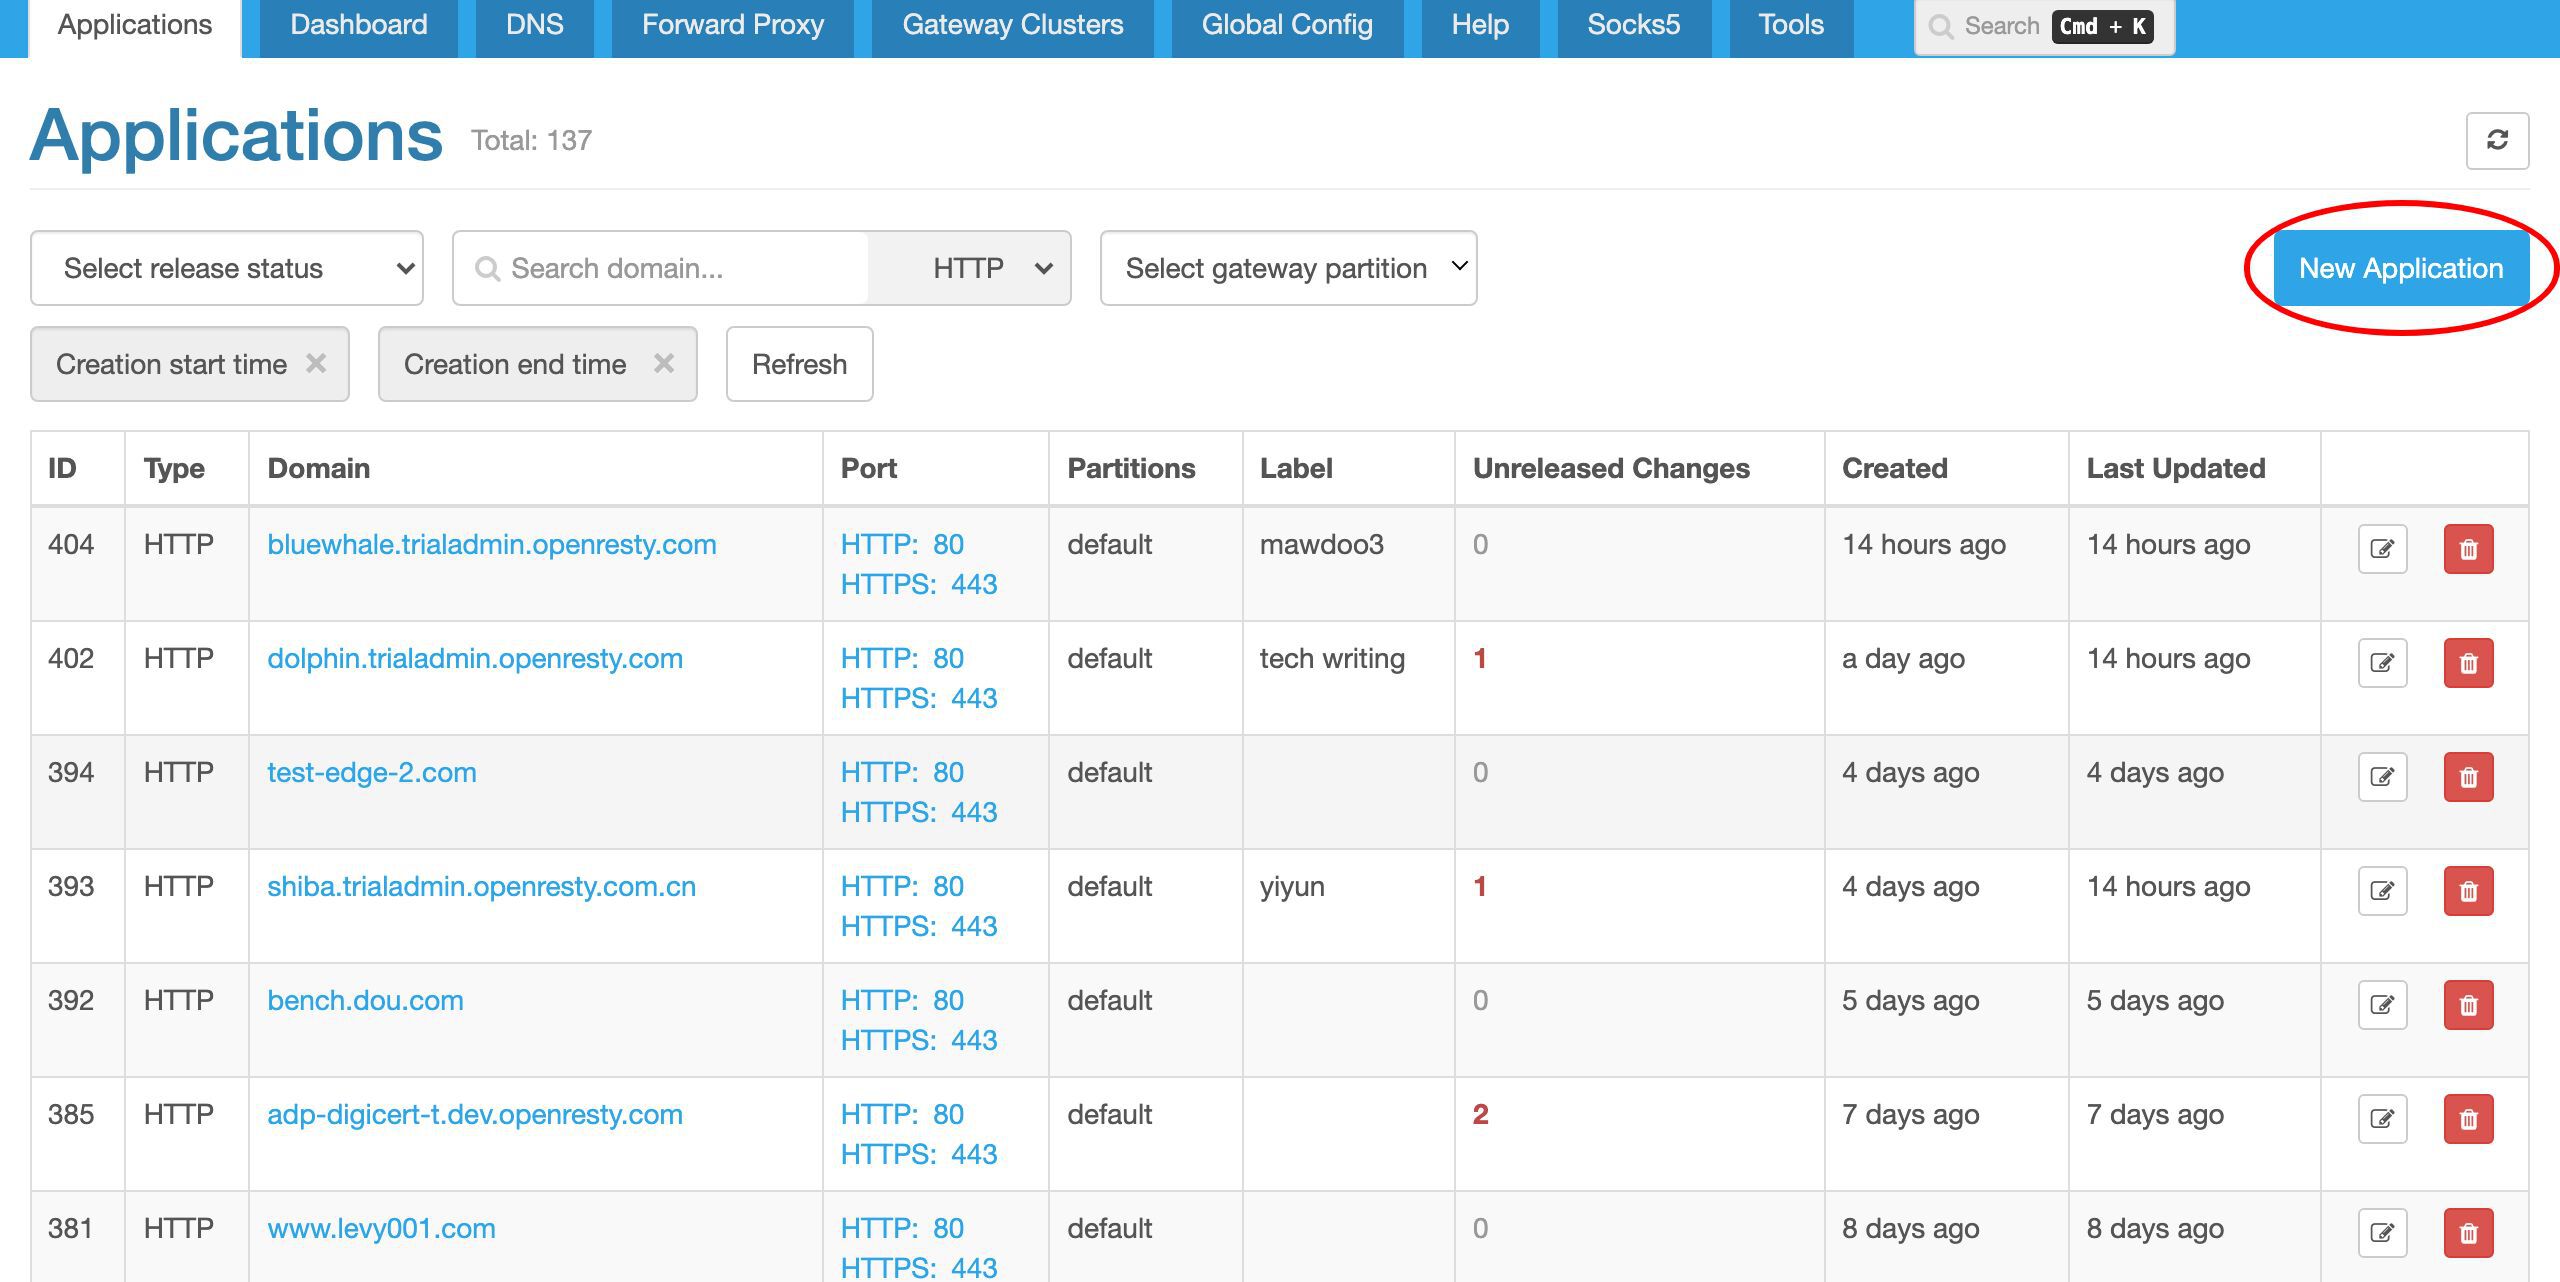
We’re now at the application list page. There are many existing applications we created previously. Each application is like a virtual host or virtual server in the same gateway.
Here we’d create a new application.
We will just create one of the HTTP type. It is the default.
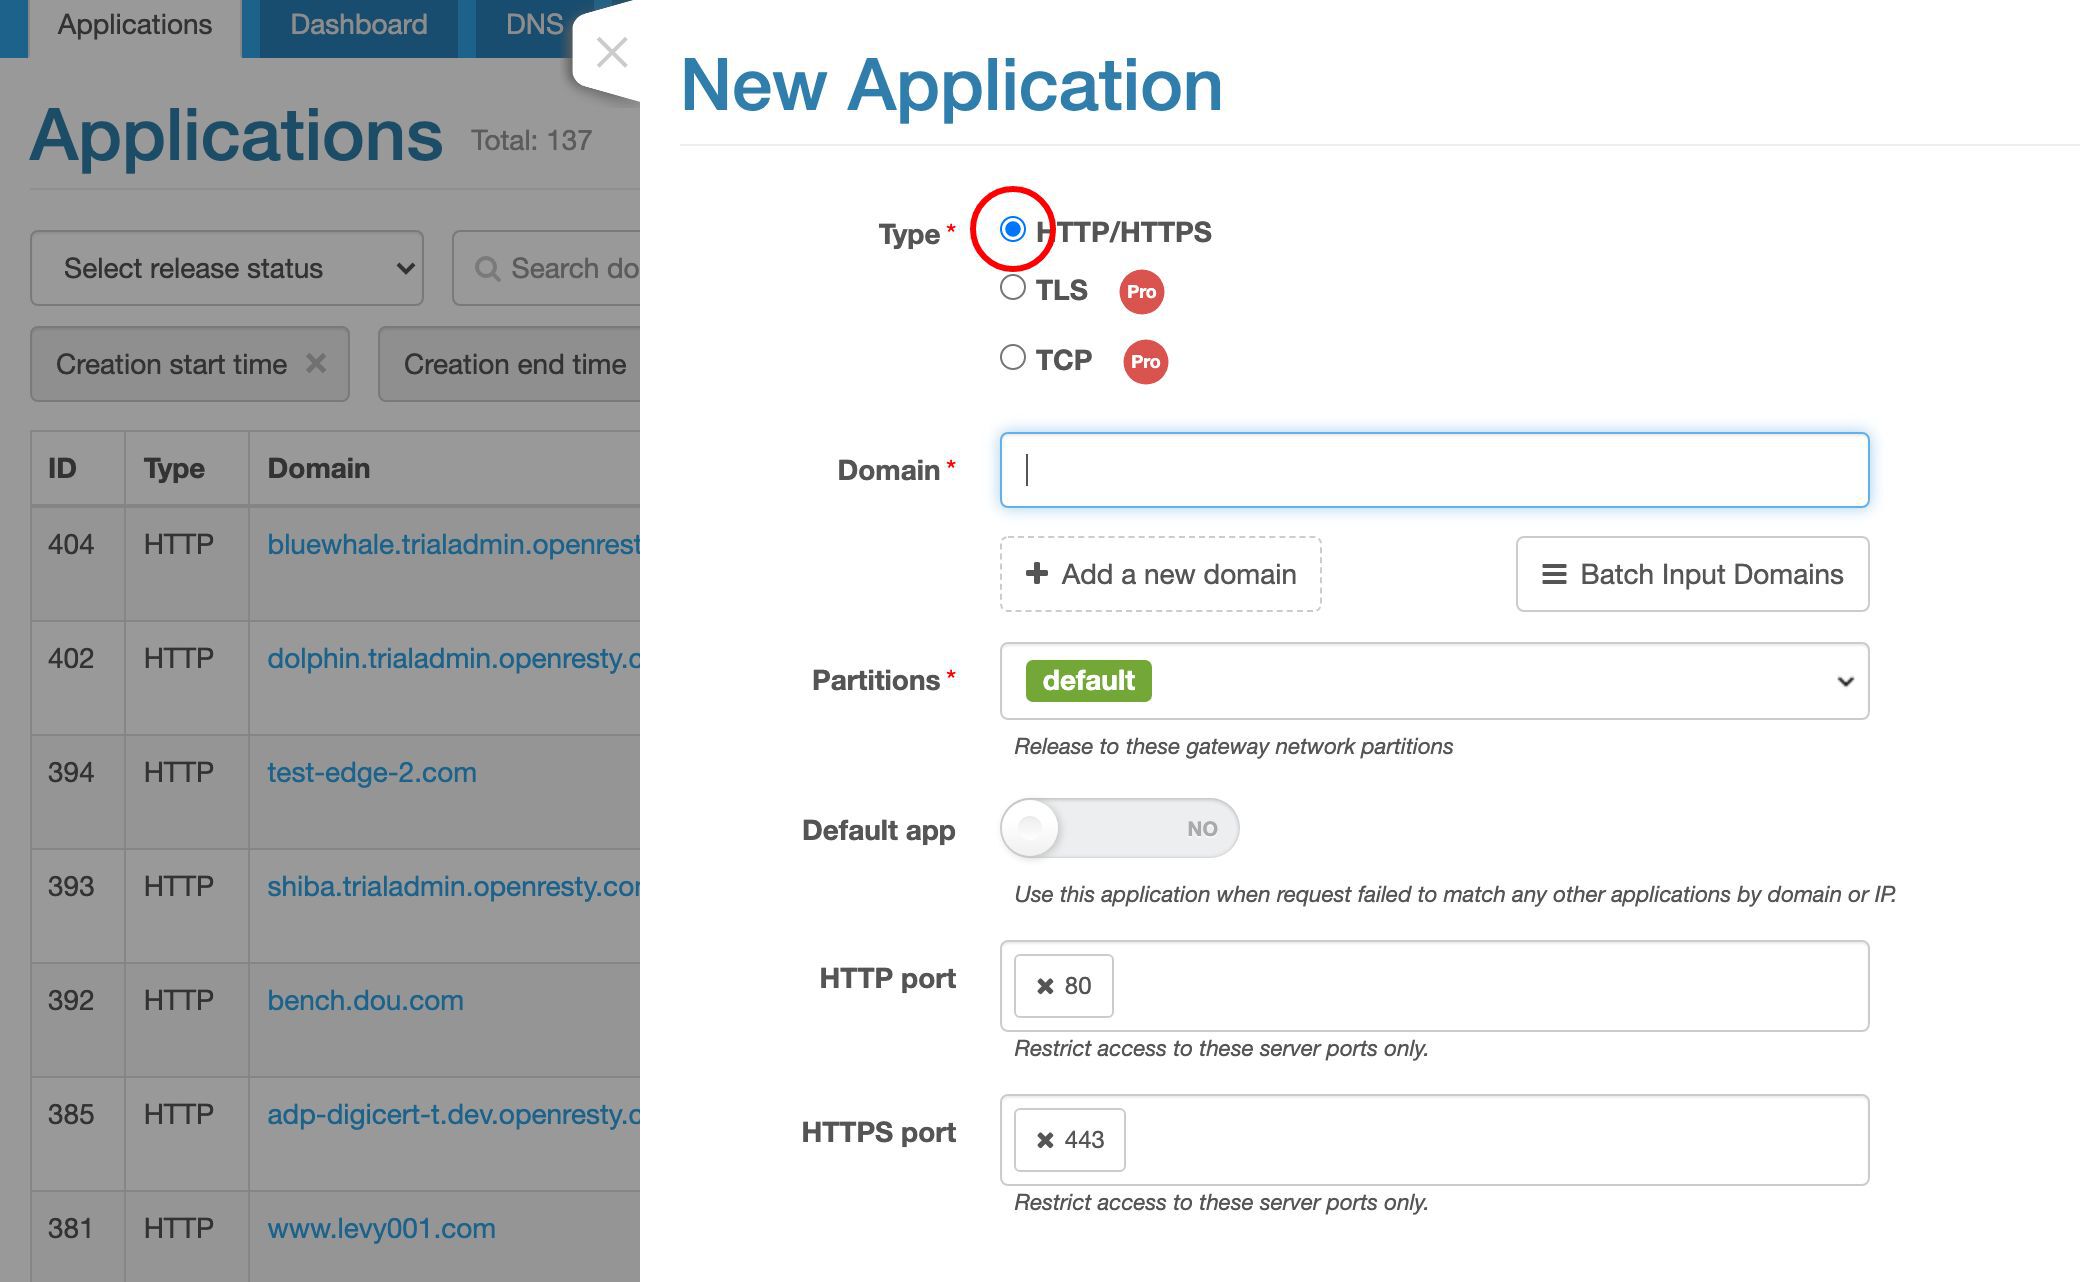
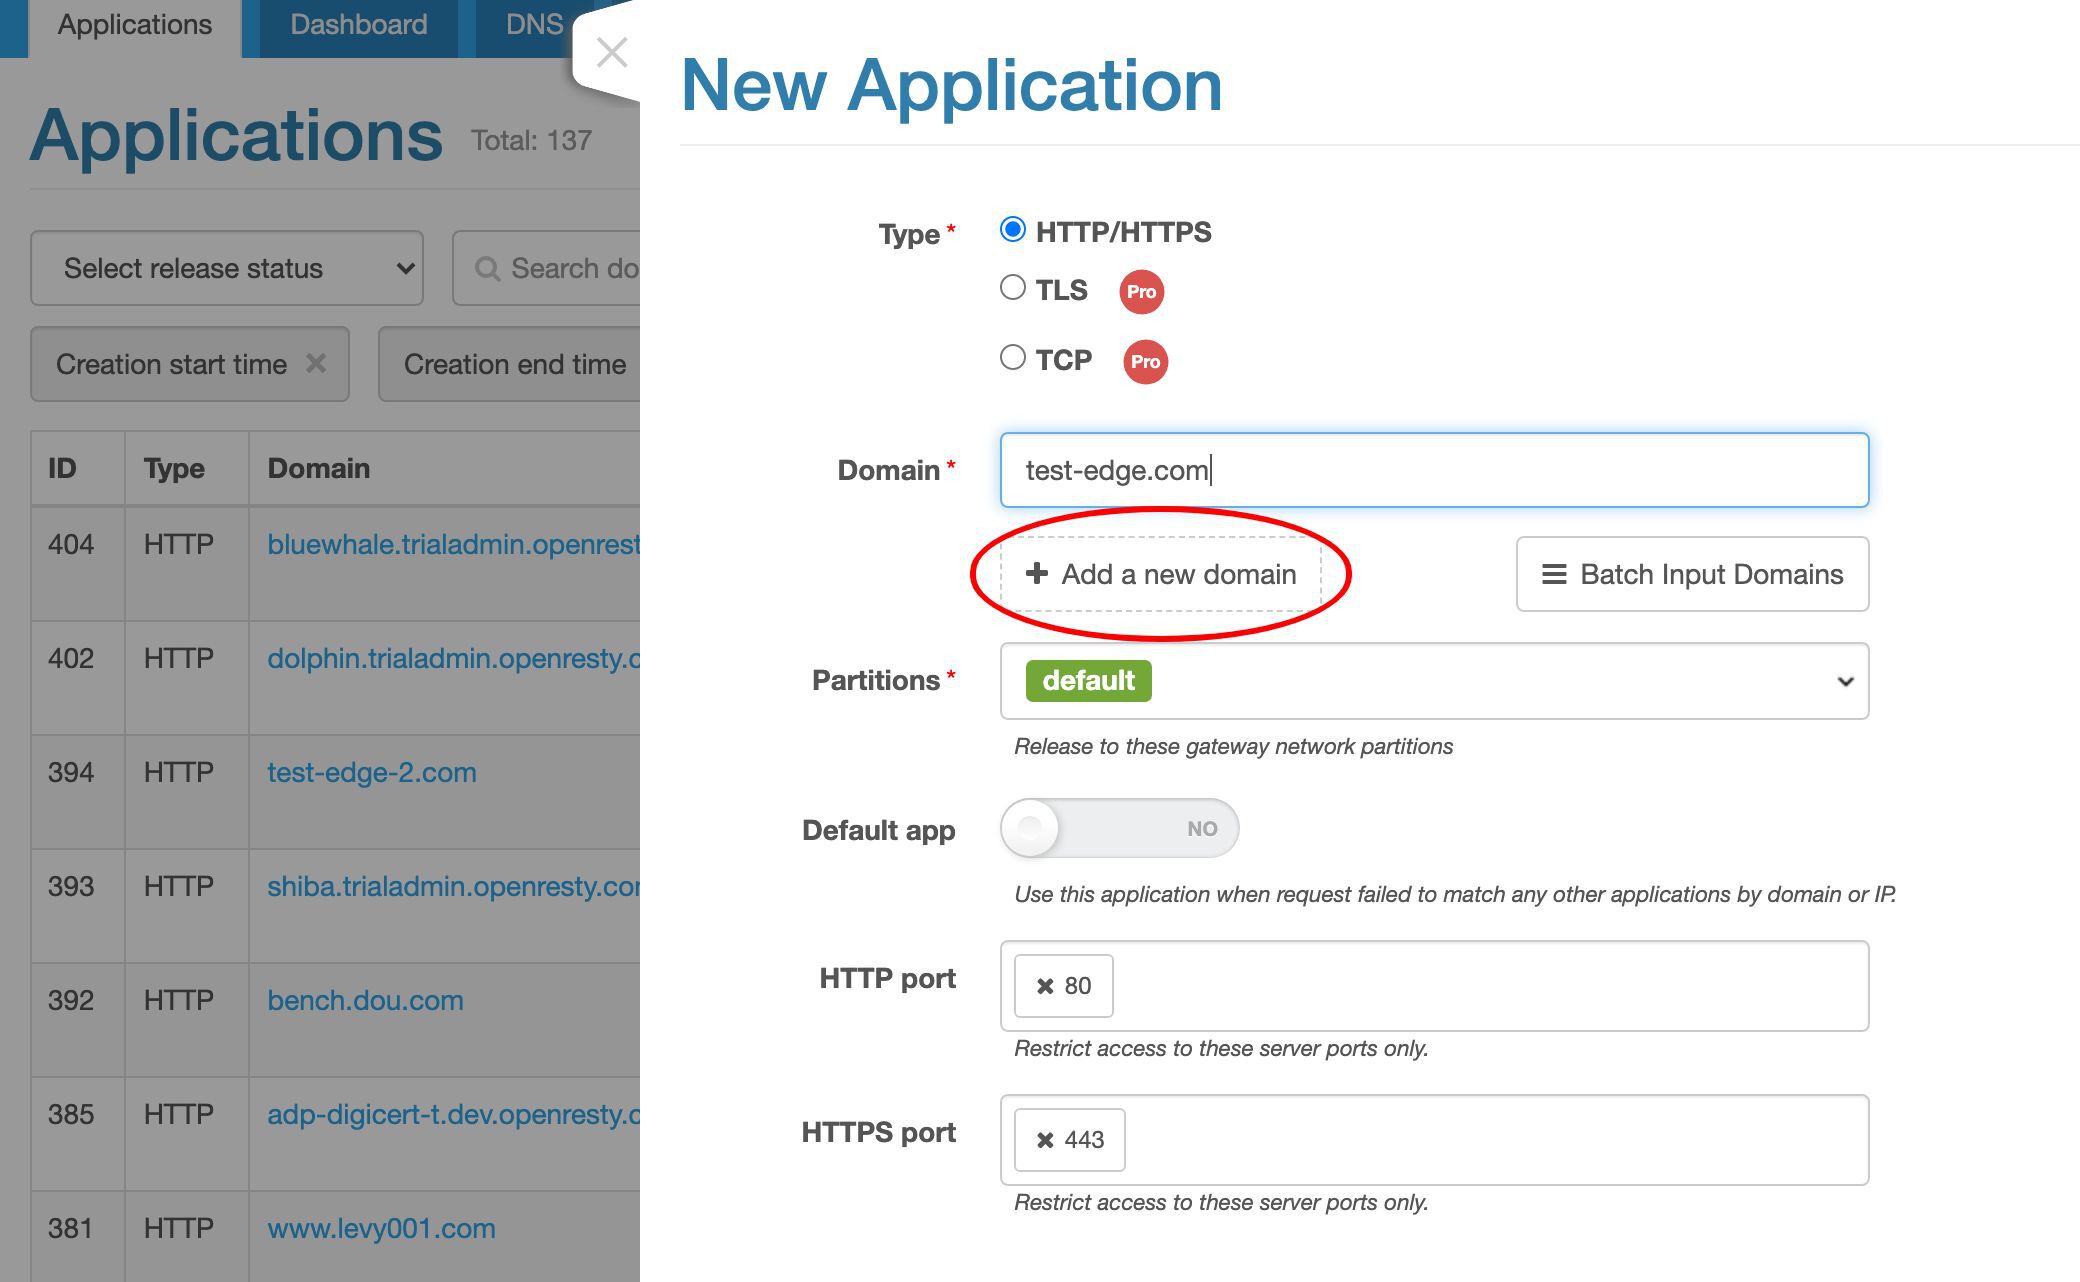
We assign a single domain, test-edge.com, to this application.
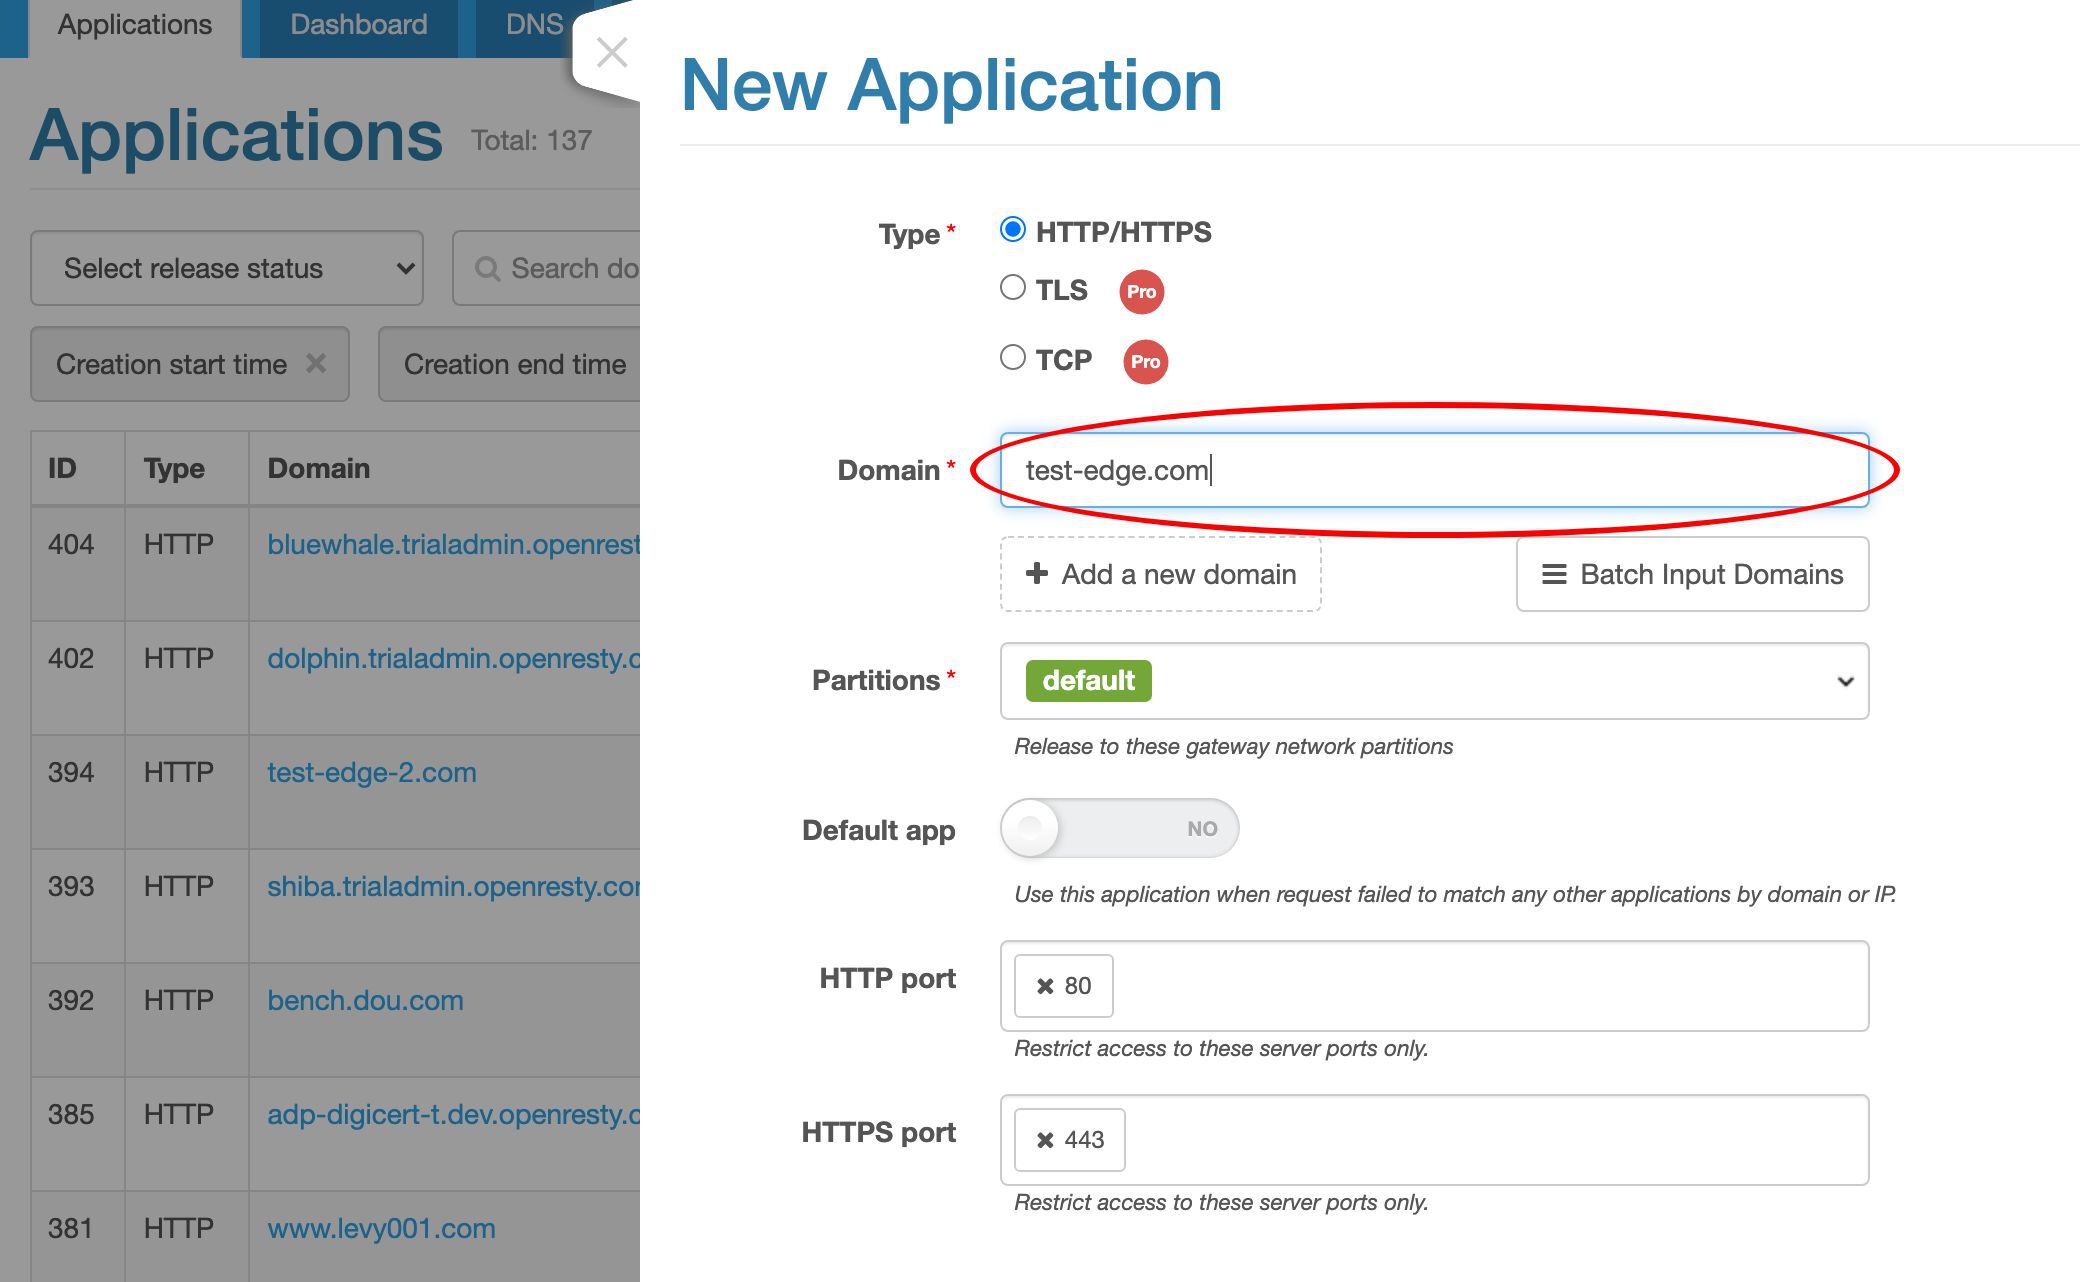
We may add more domains, including wildcard domains.
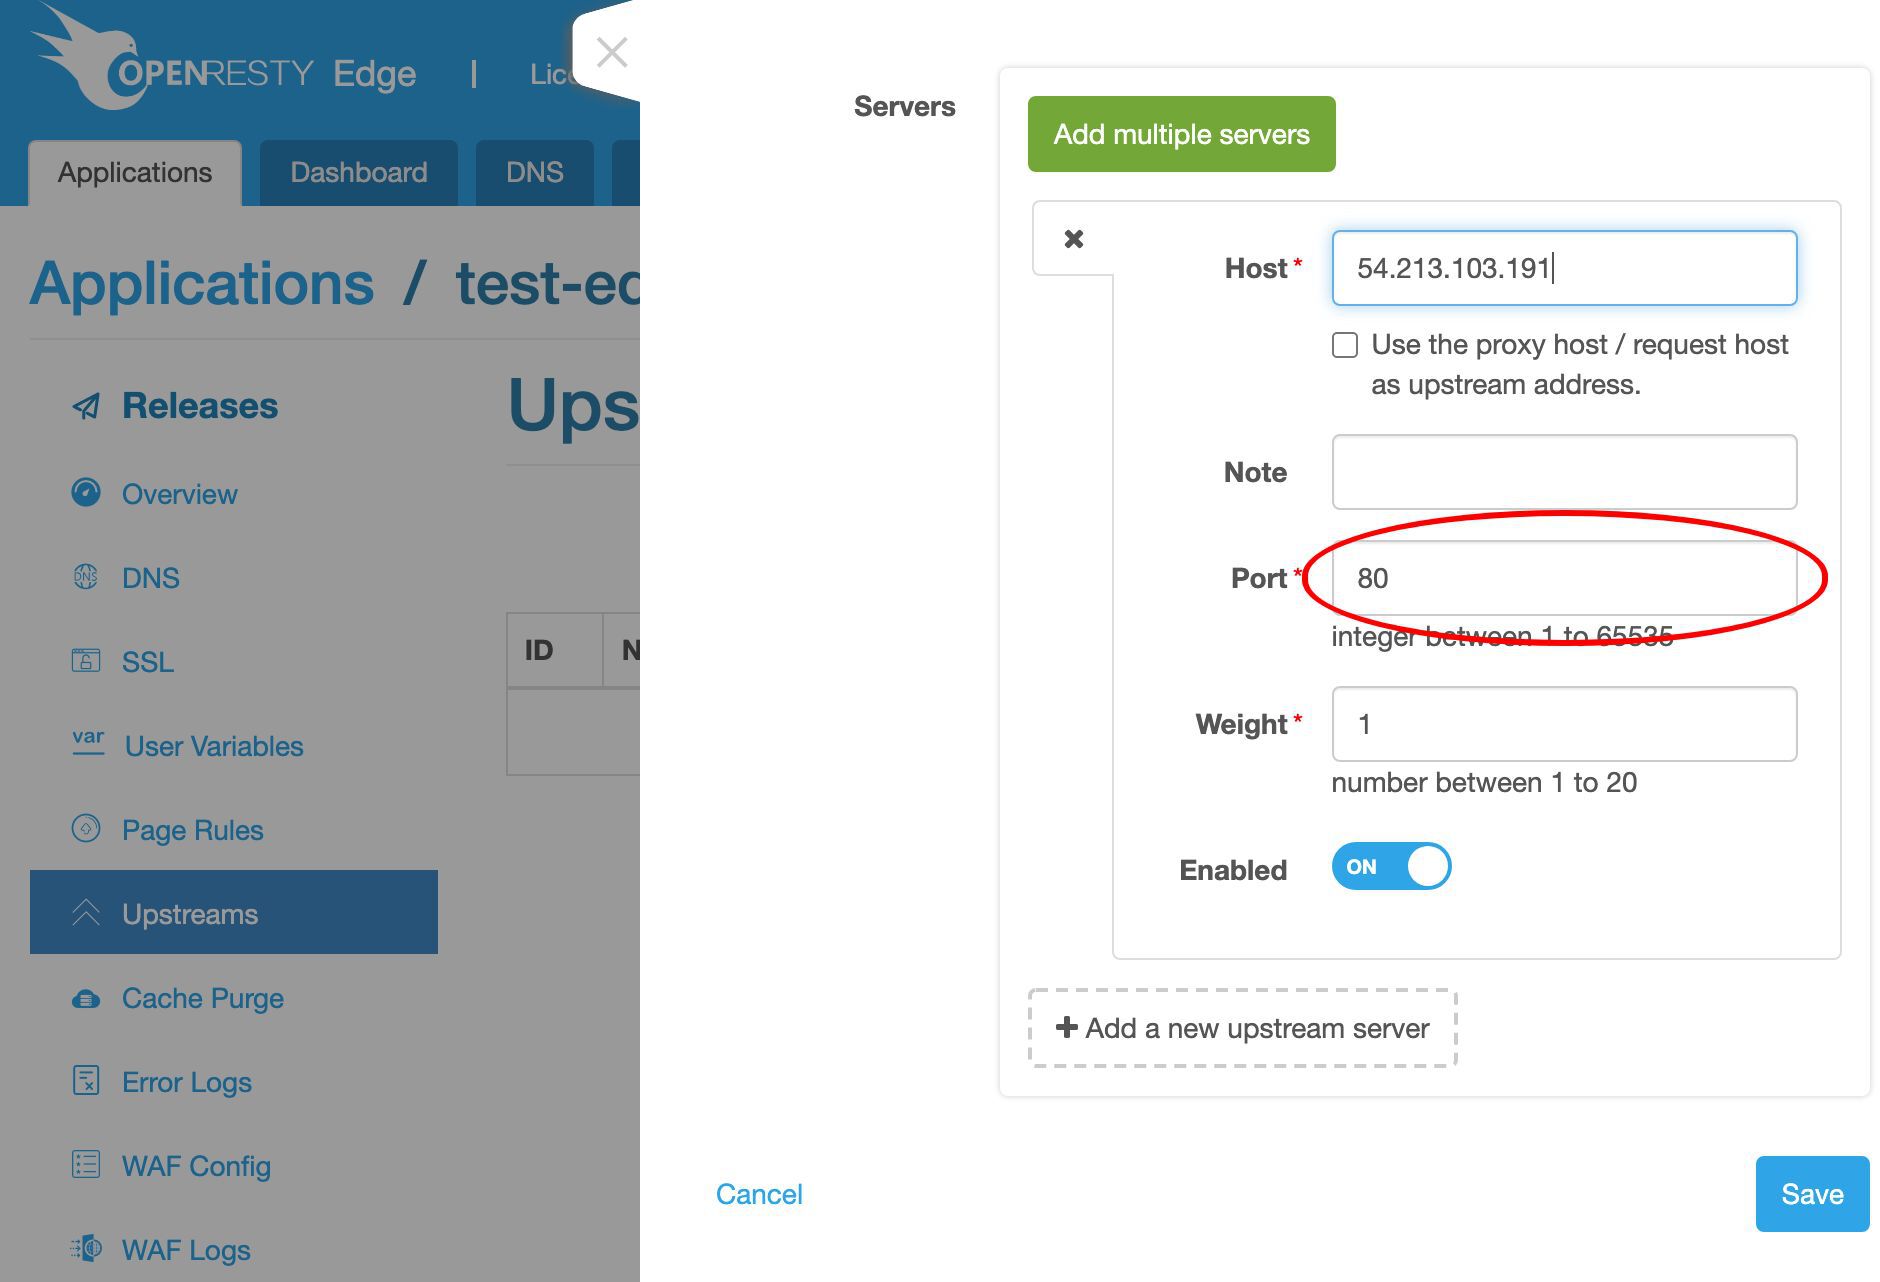
We only care about the 80 port in this example.
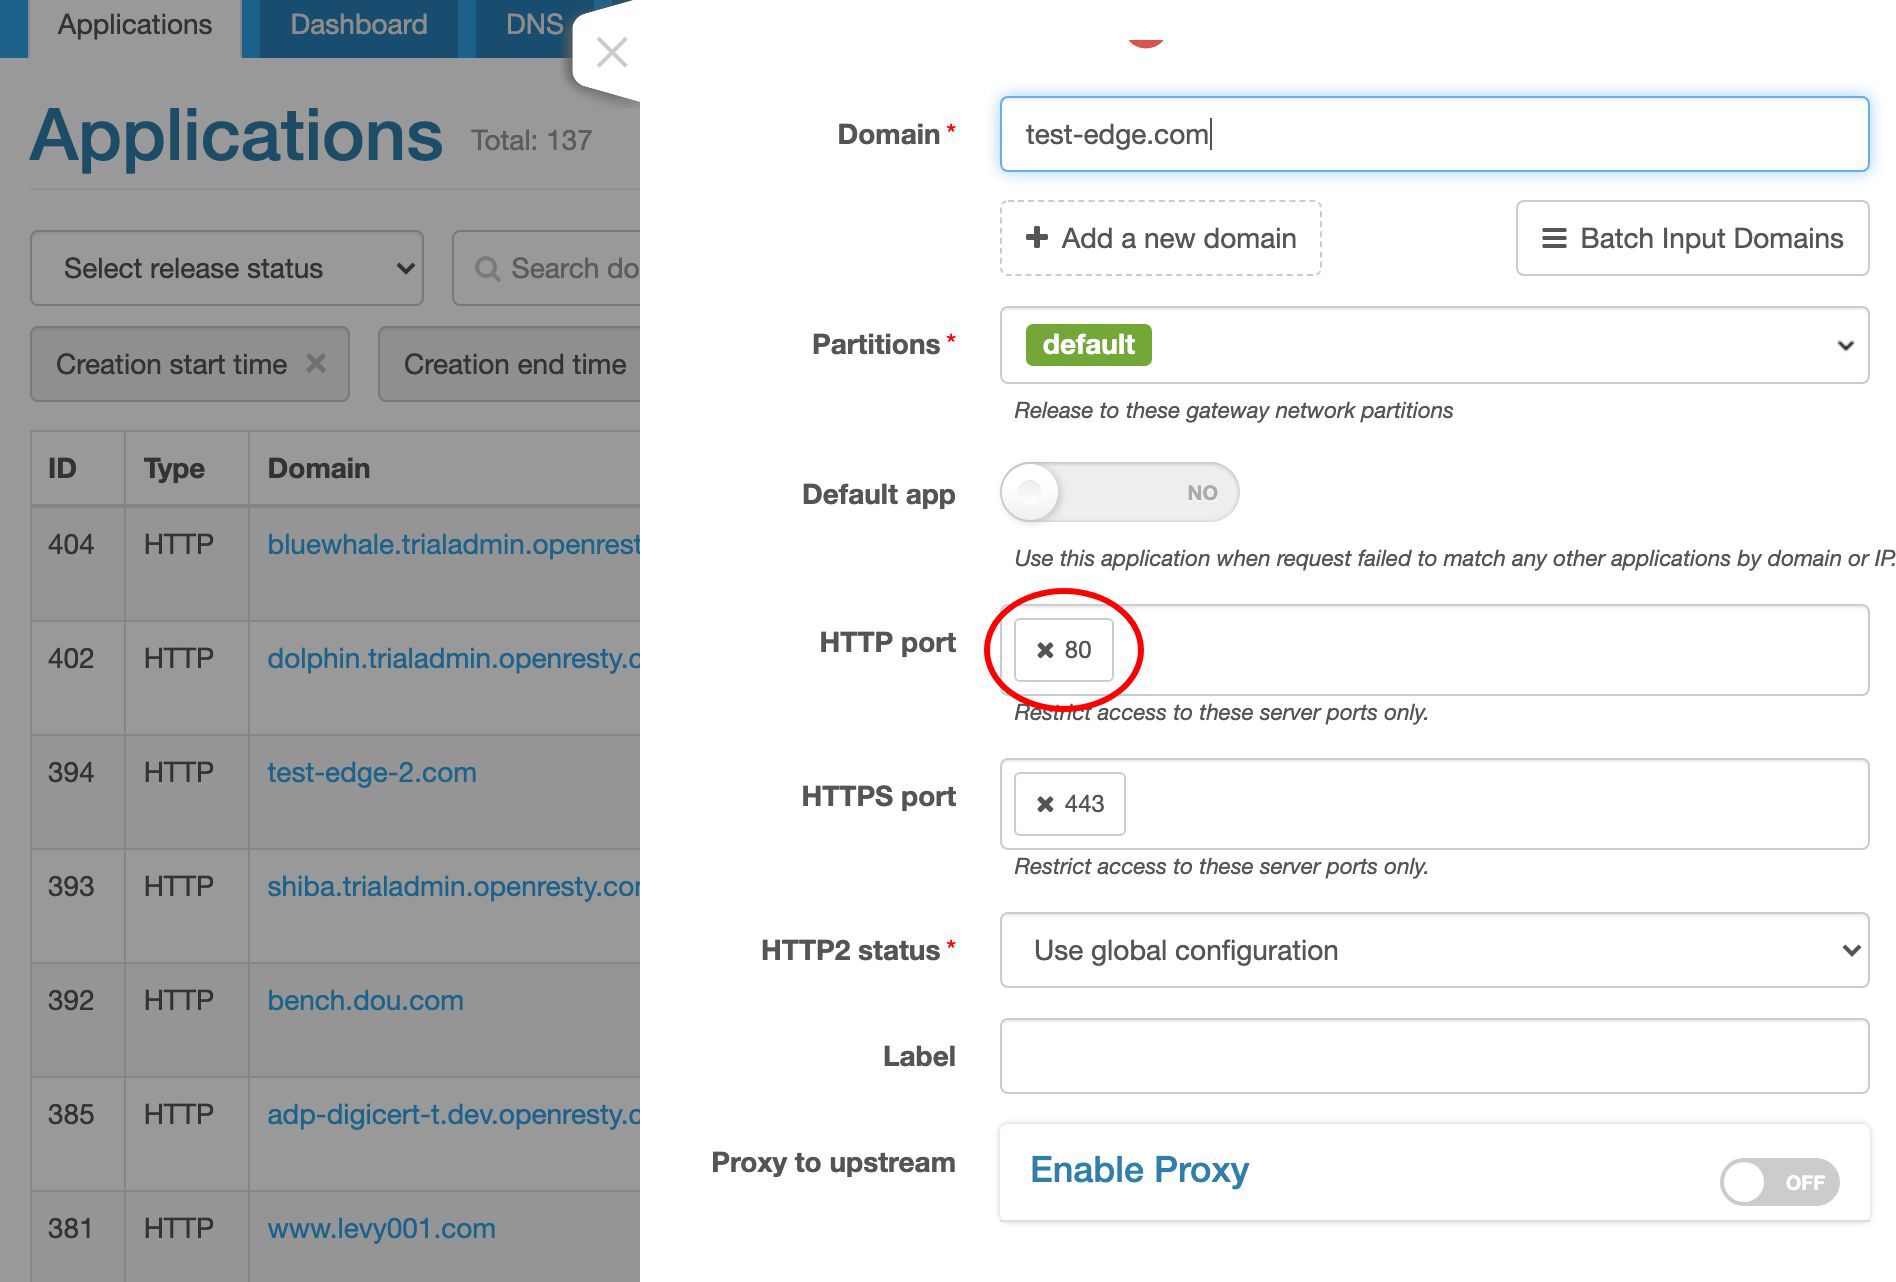
Let’s create this application!
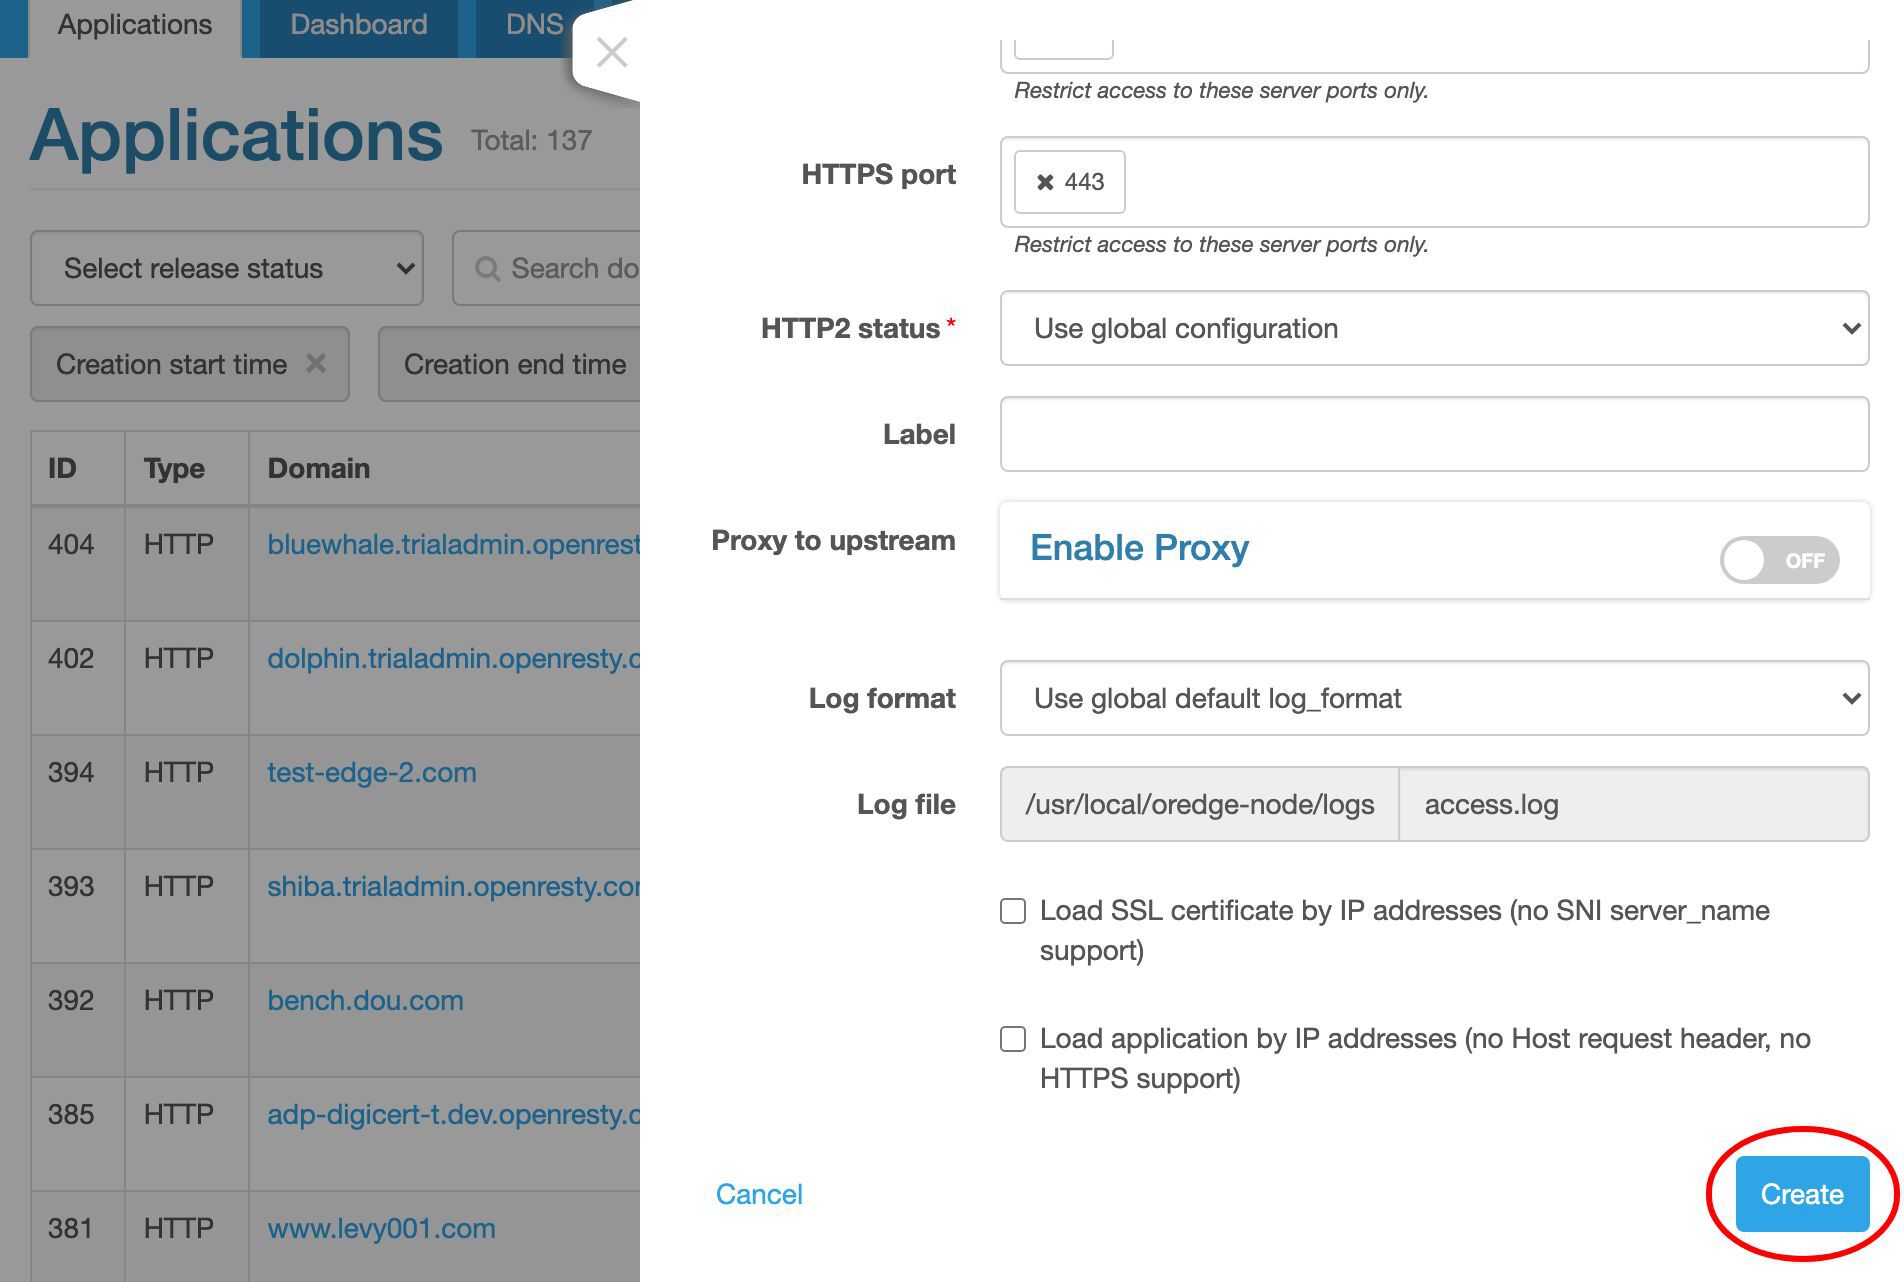
Now we are inside this new application. It’s empty.
Create an upstream for the sample application
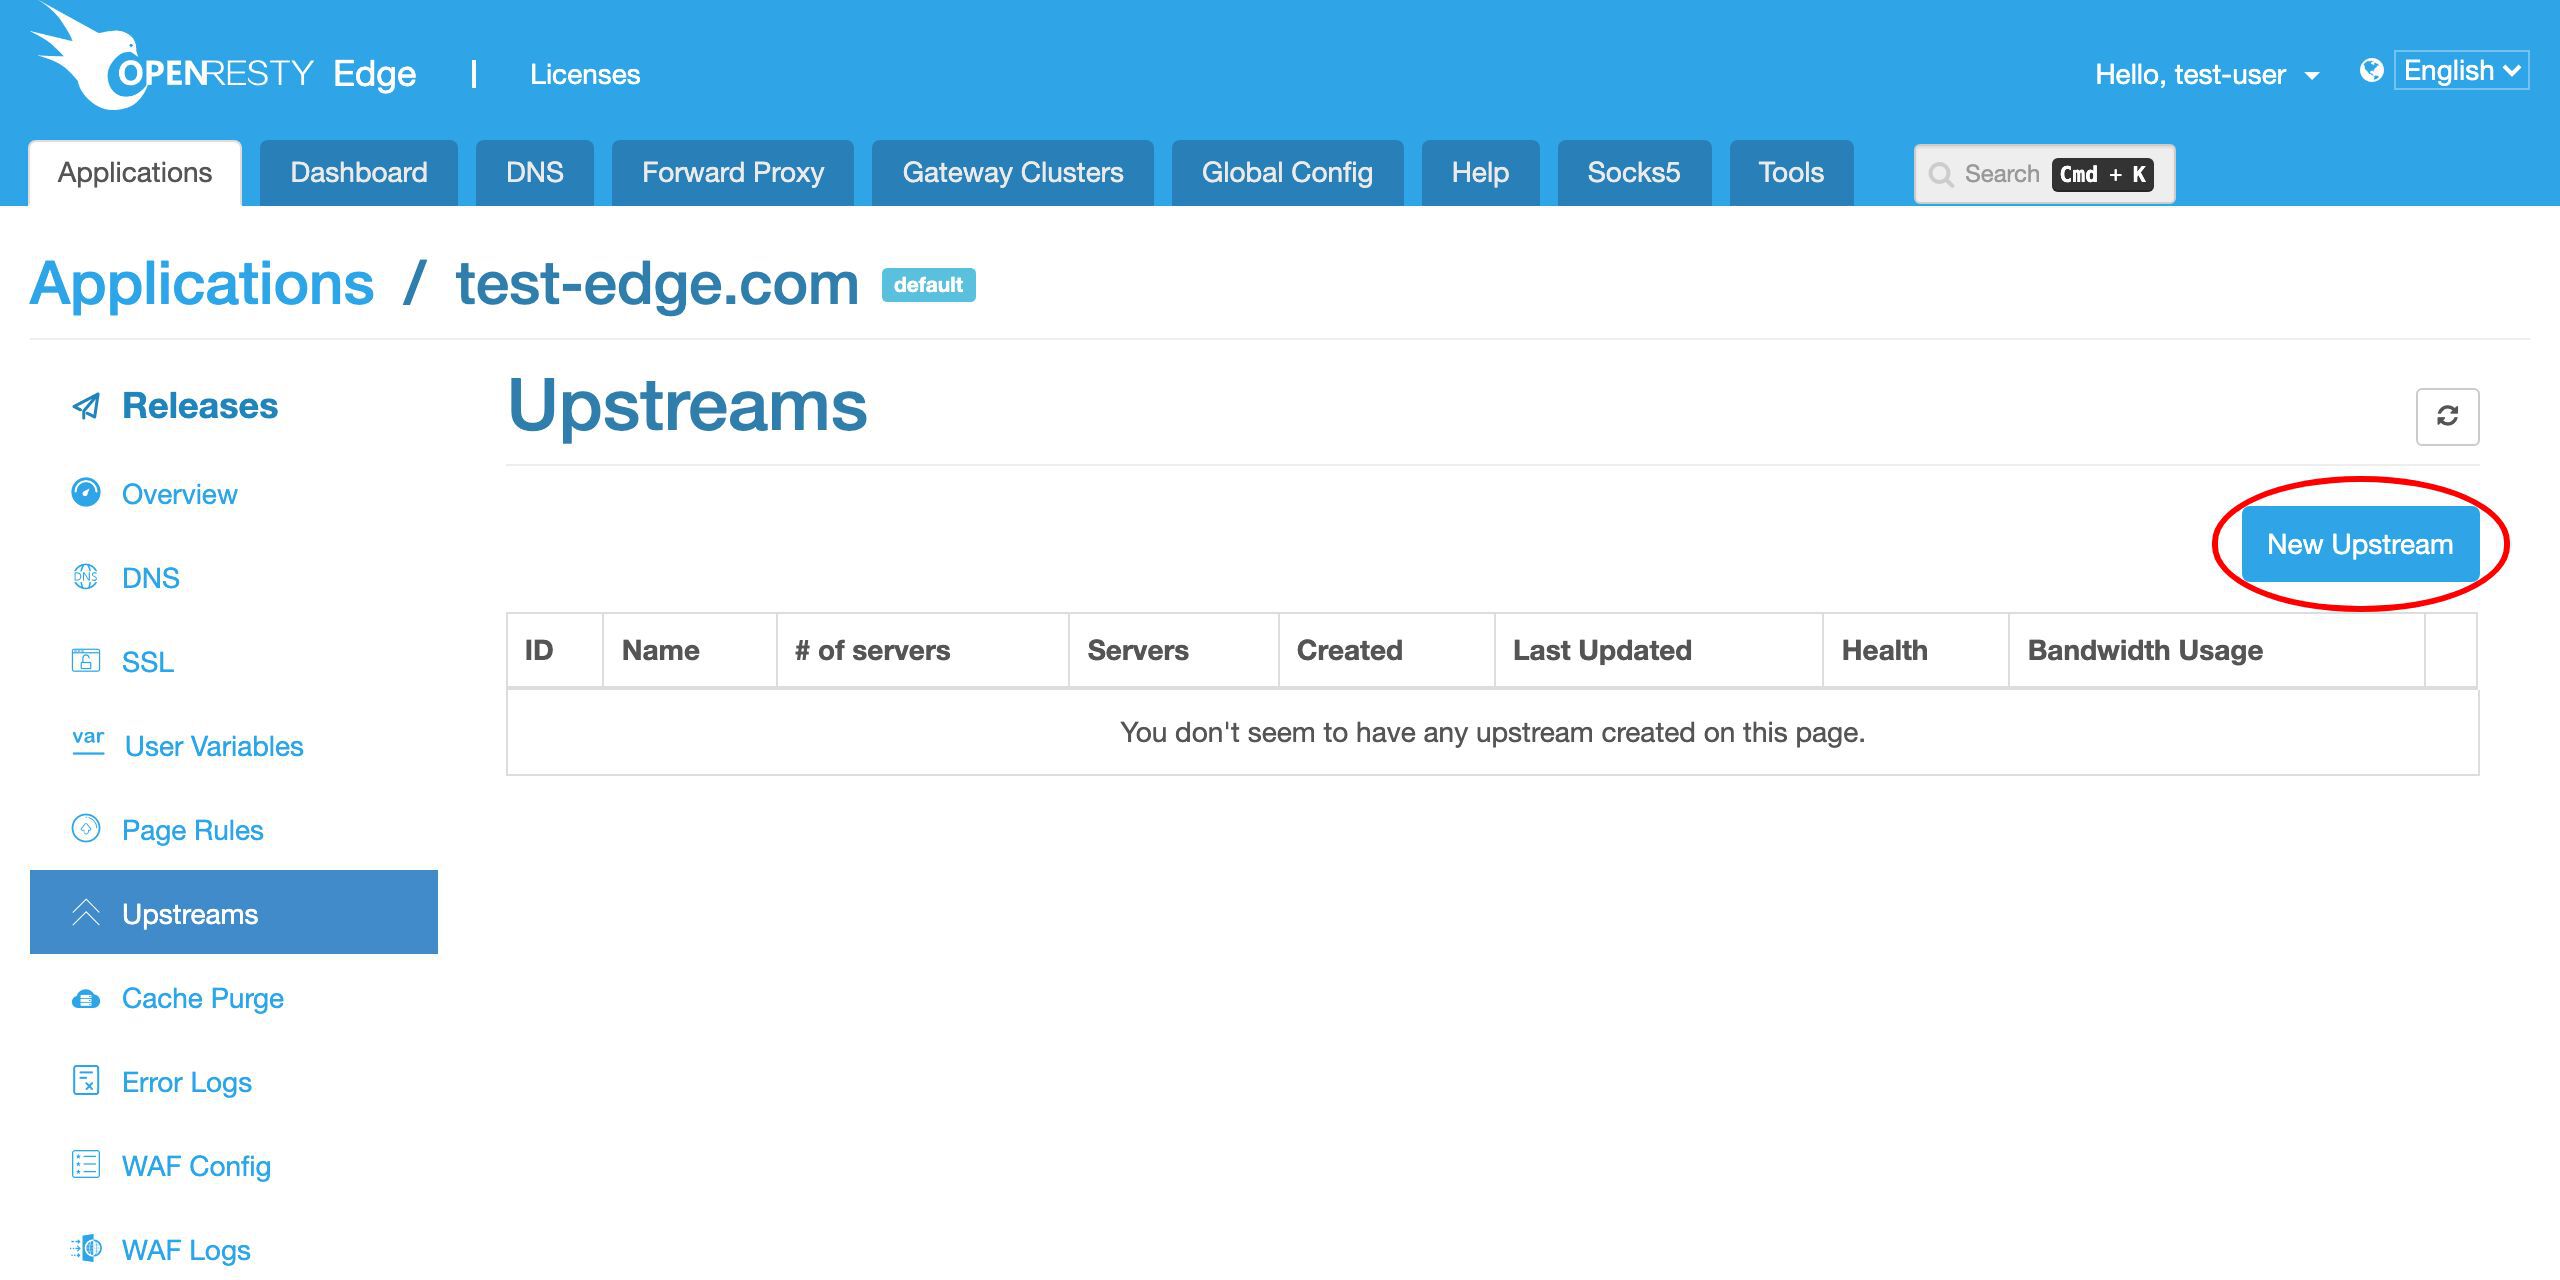
Let’s go to the Upstreams page.

Obviously, we currently have no upstreams defined.
Create a new upstream for our backend servers.
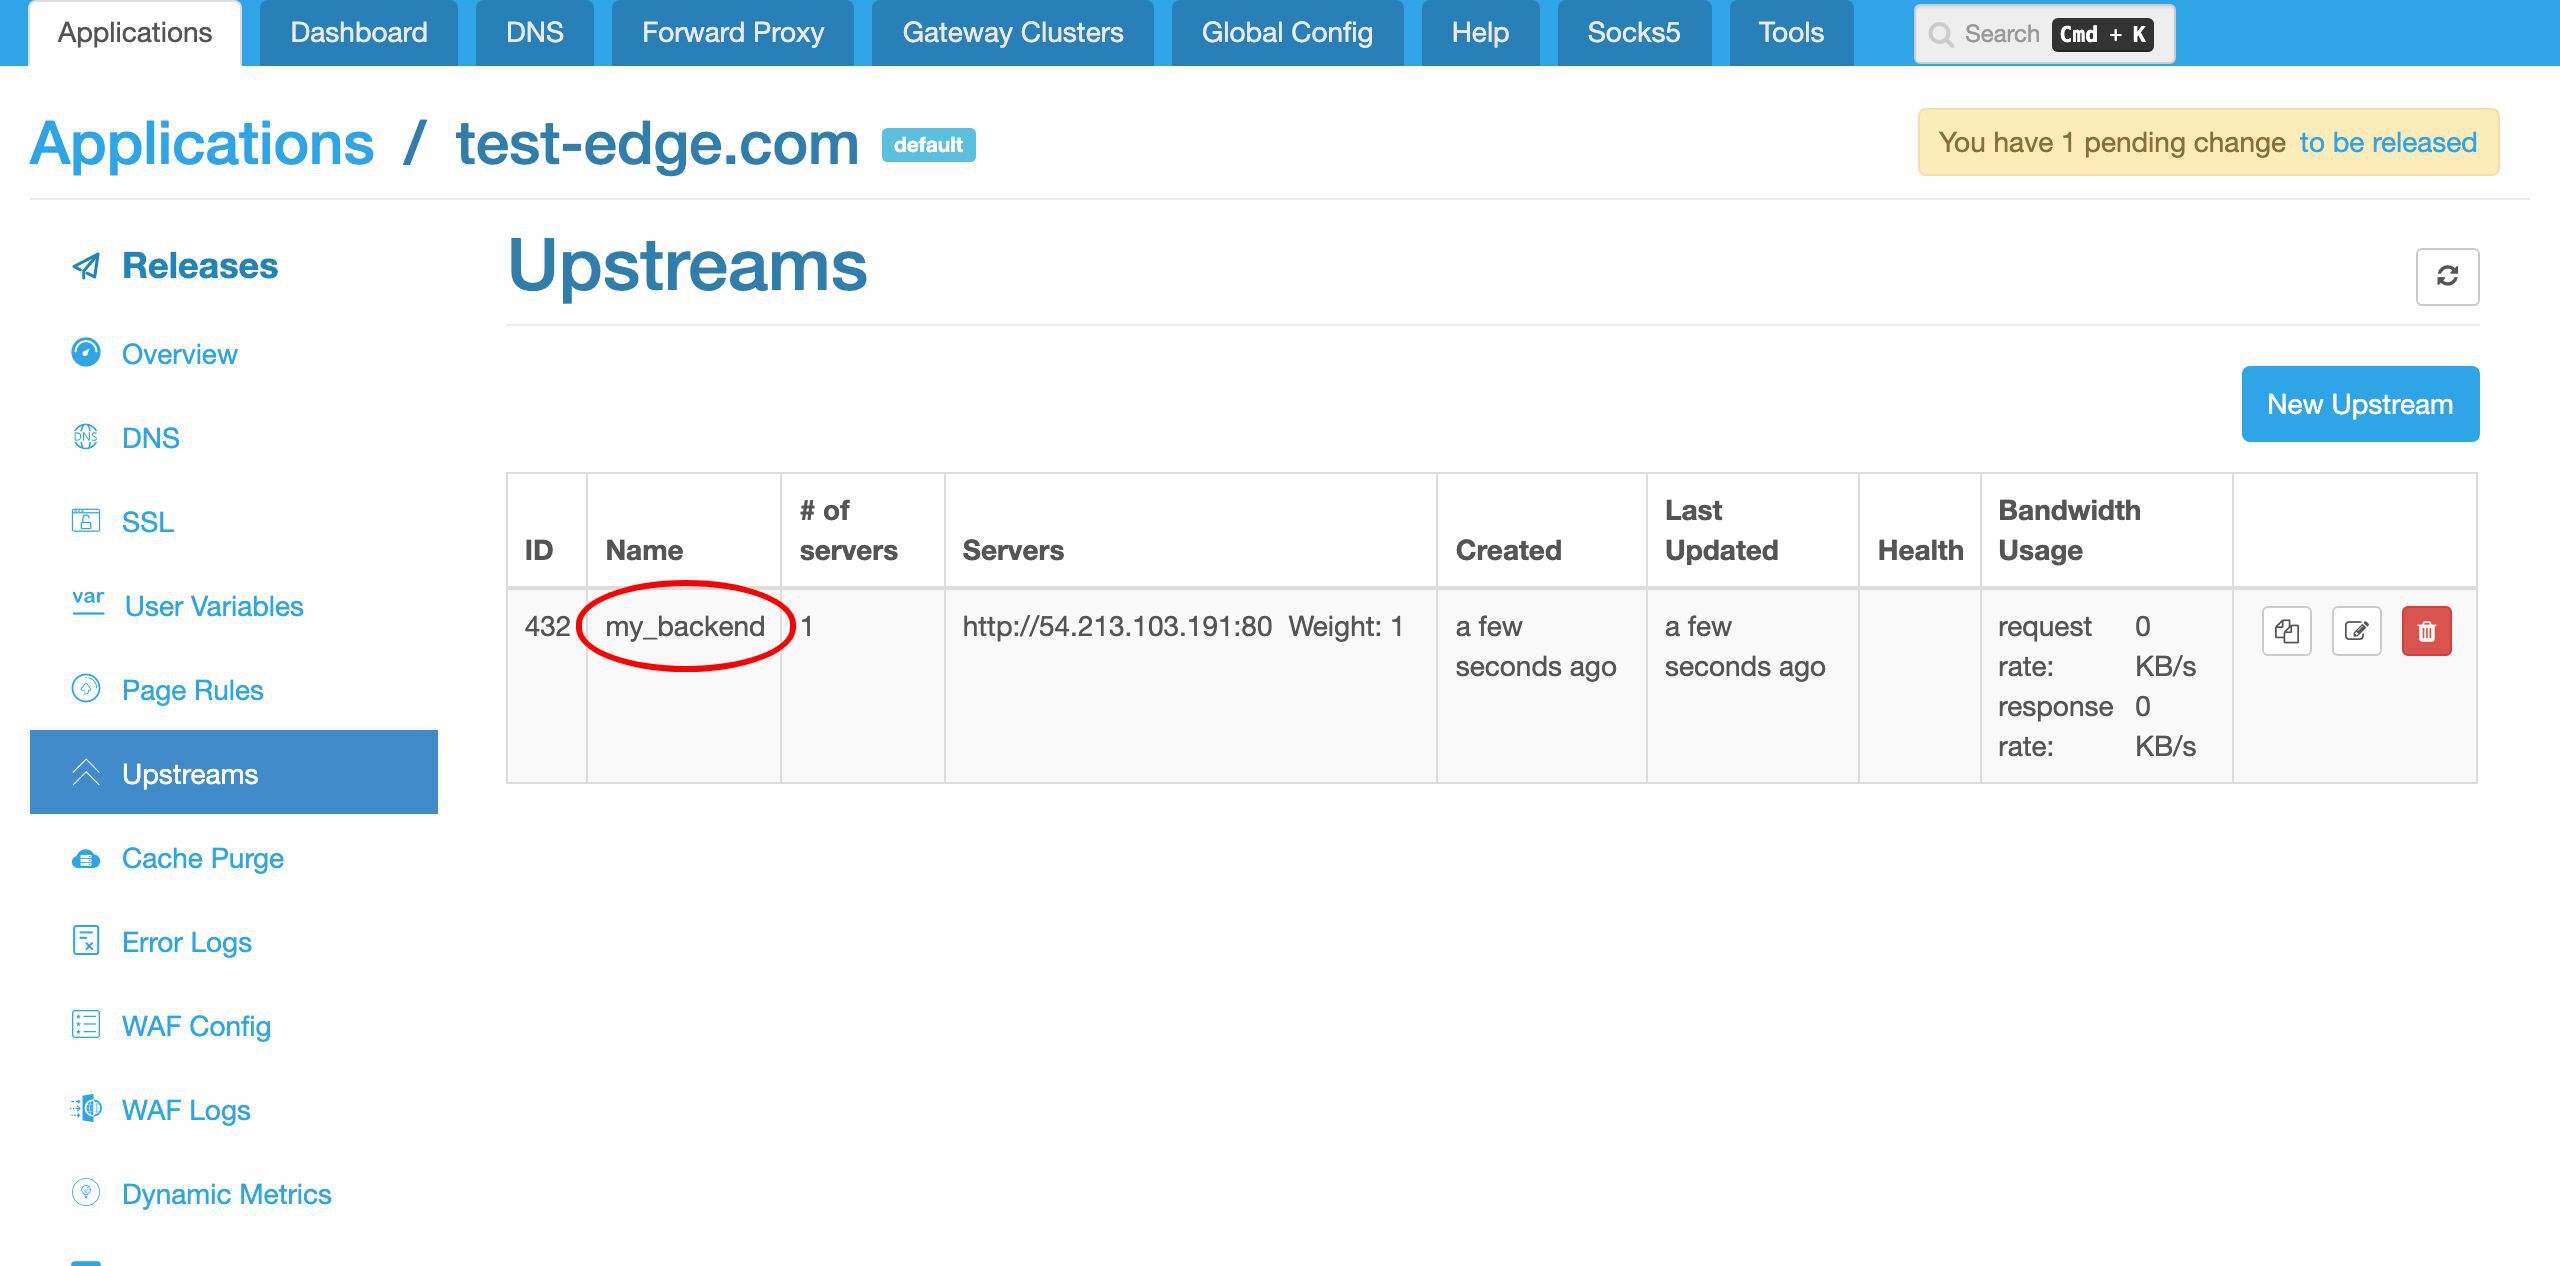
We give this upstream a name, say, my_backend.
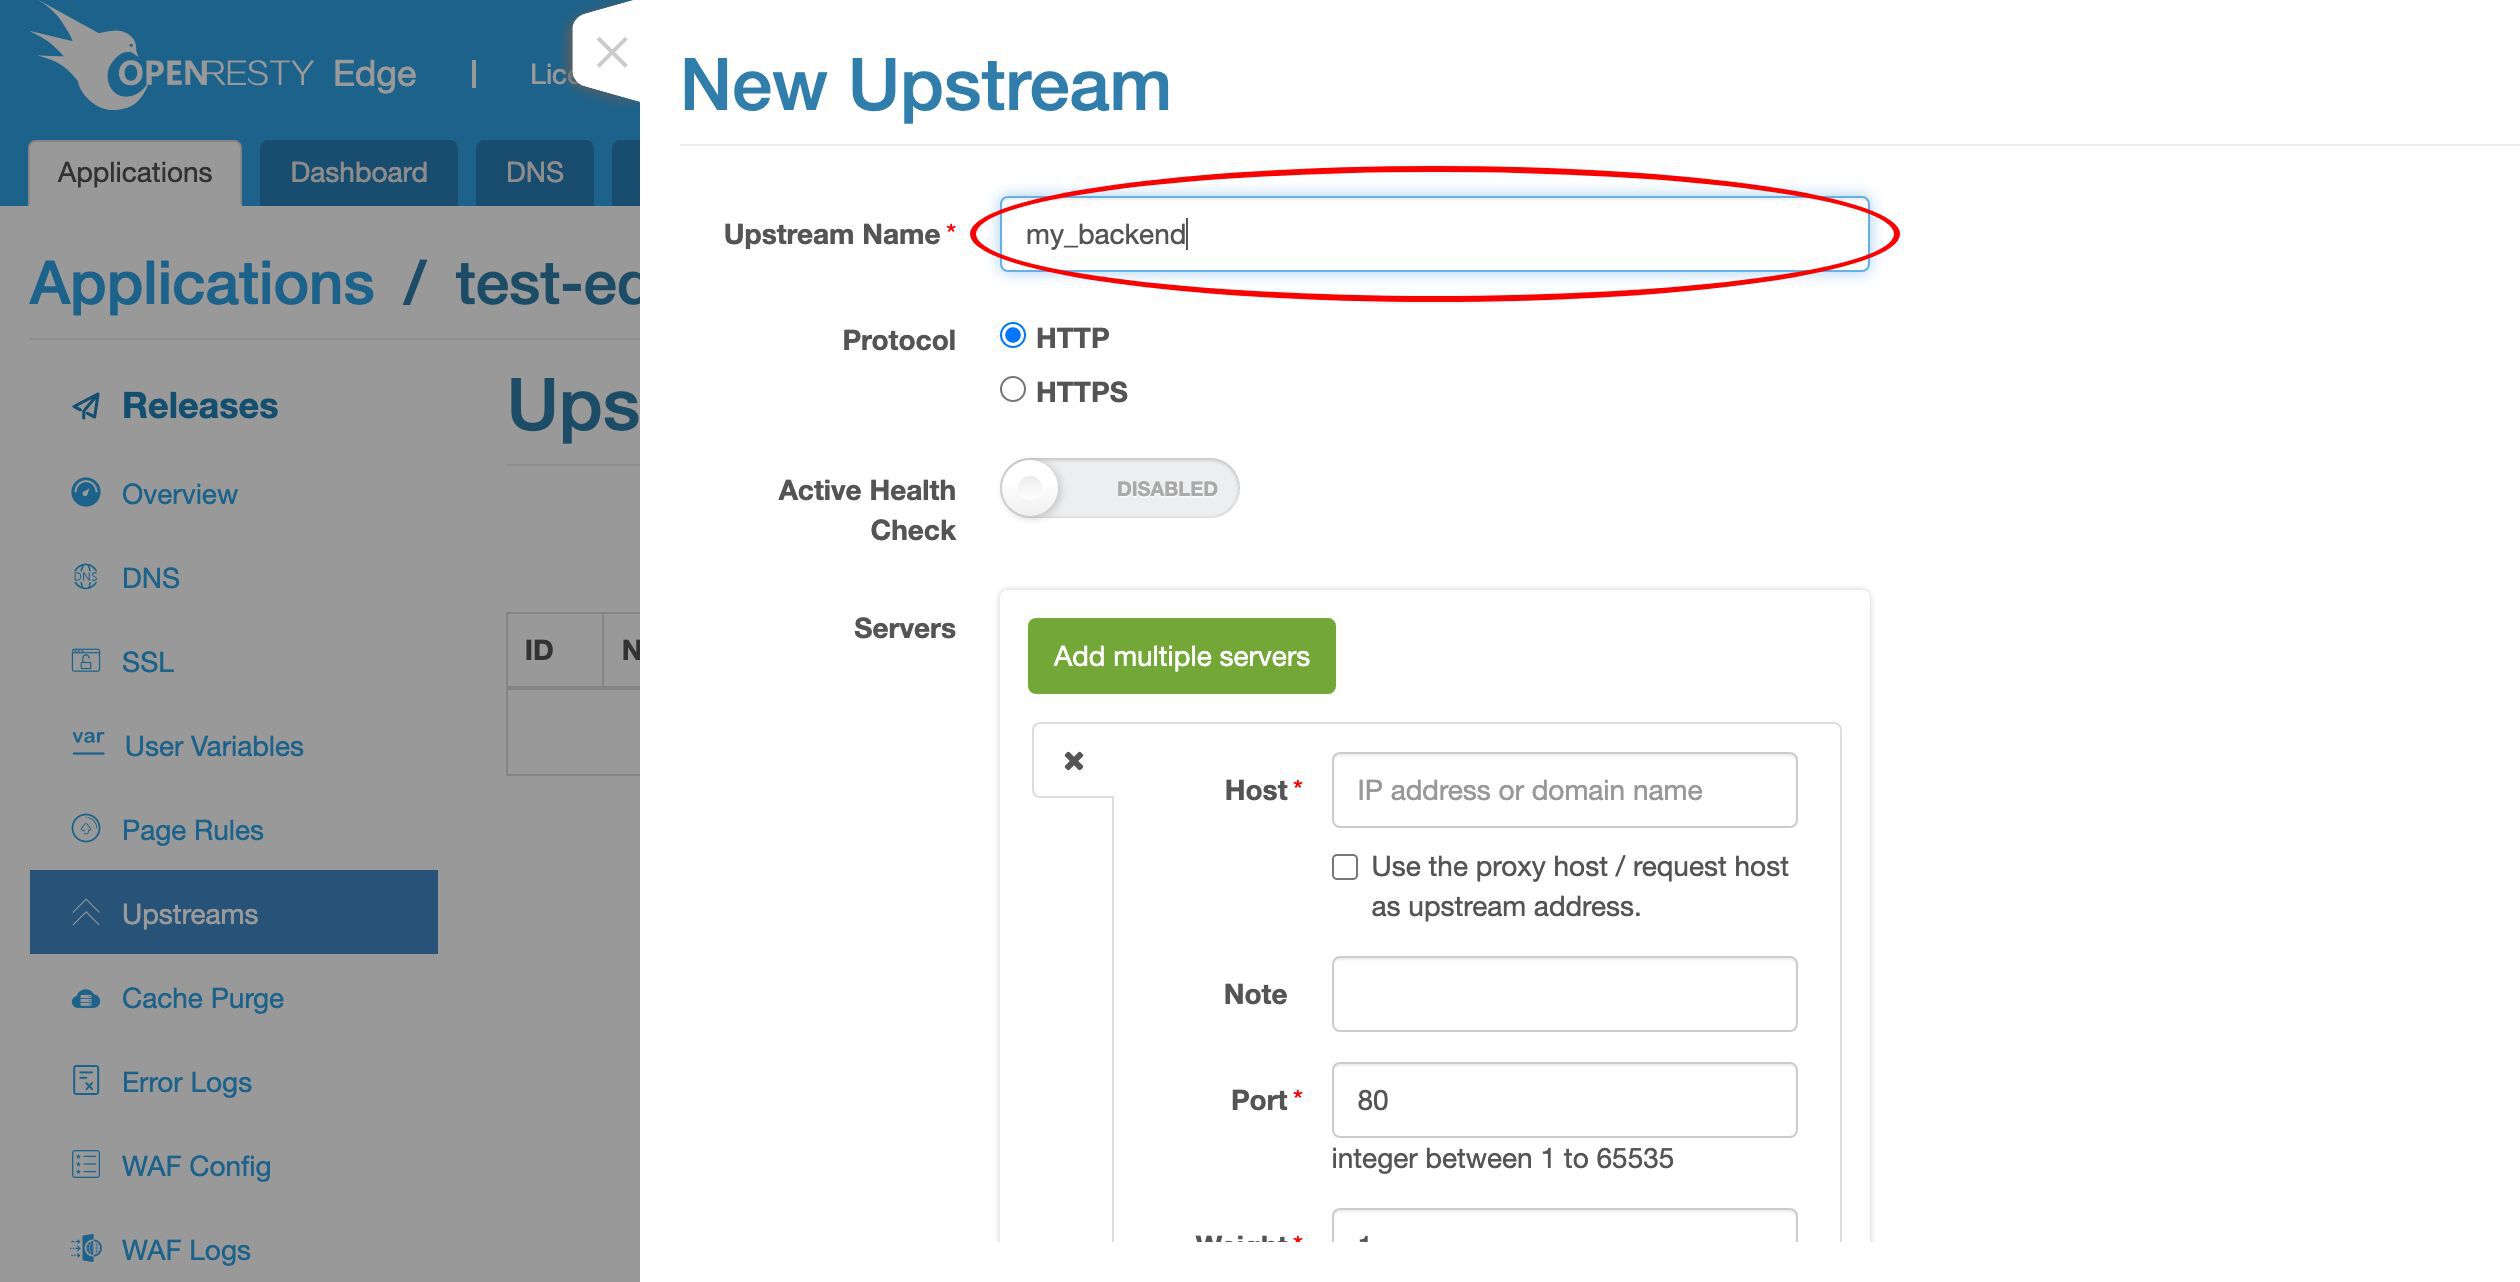
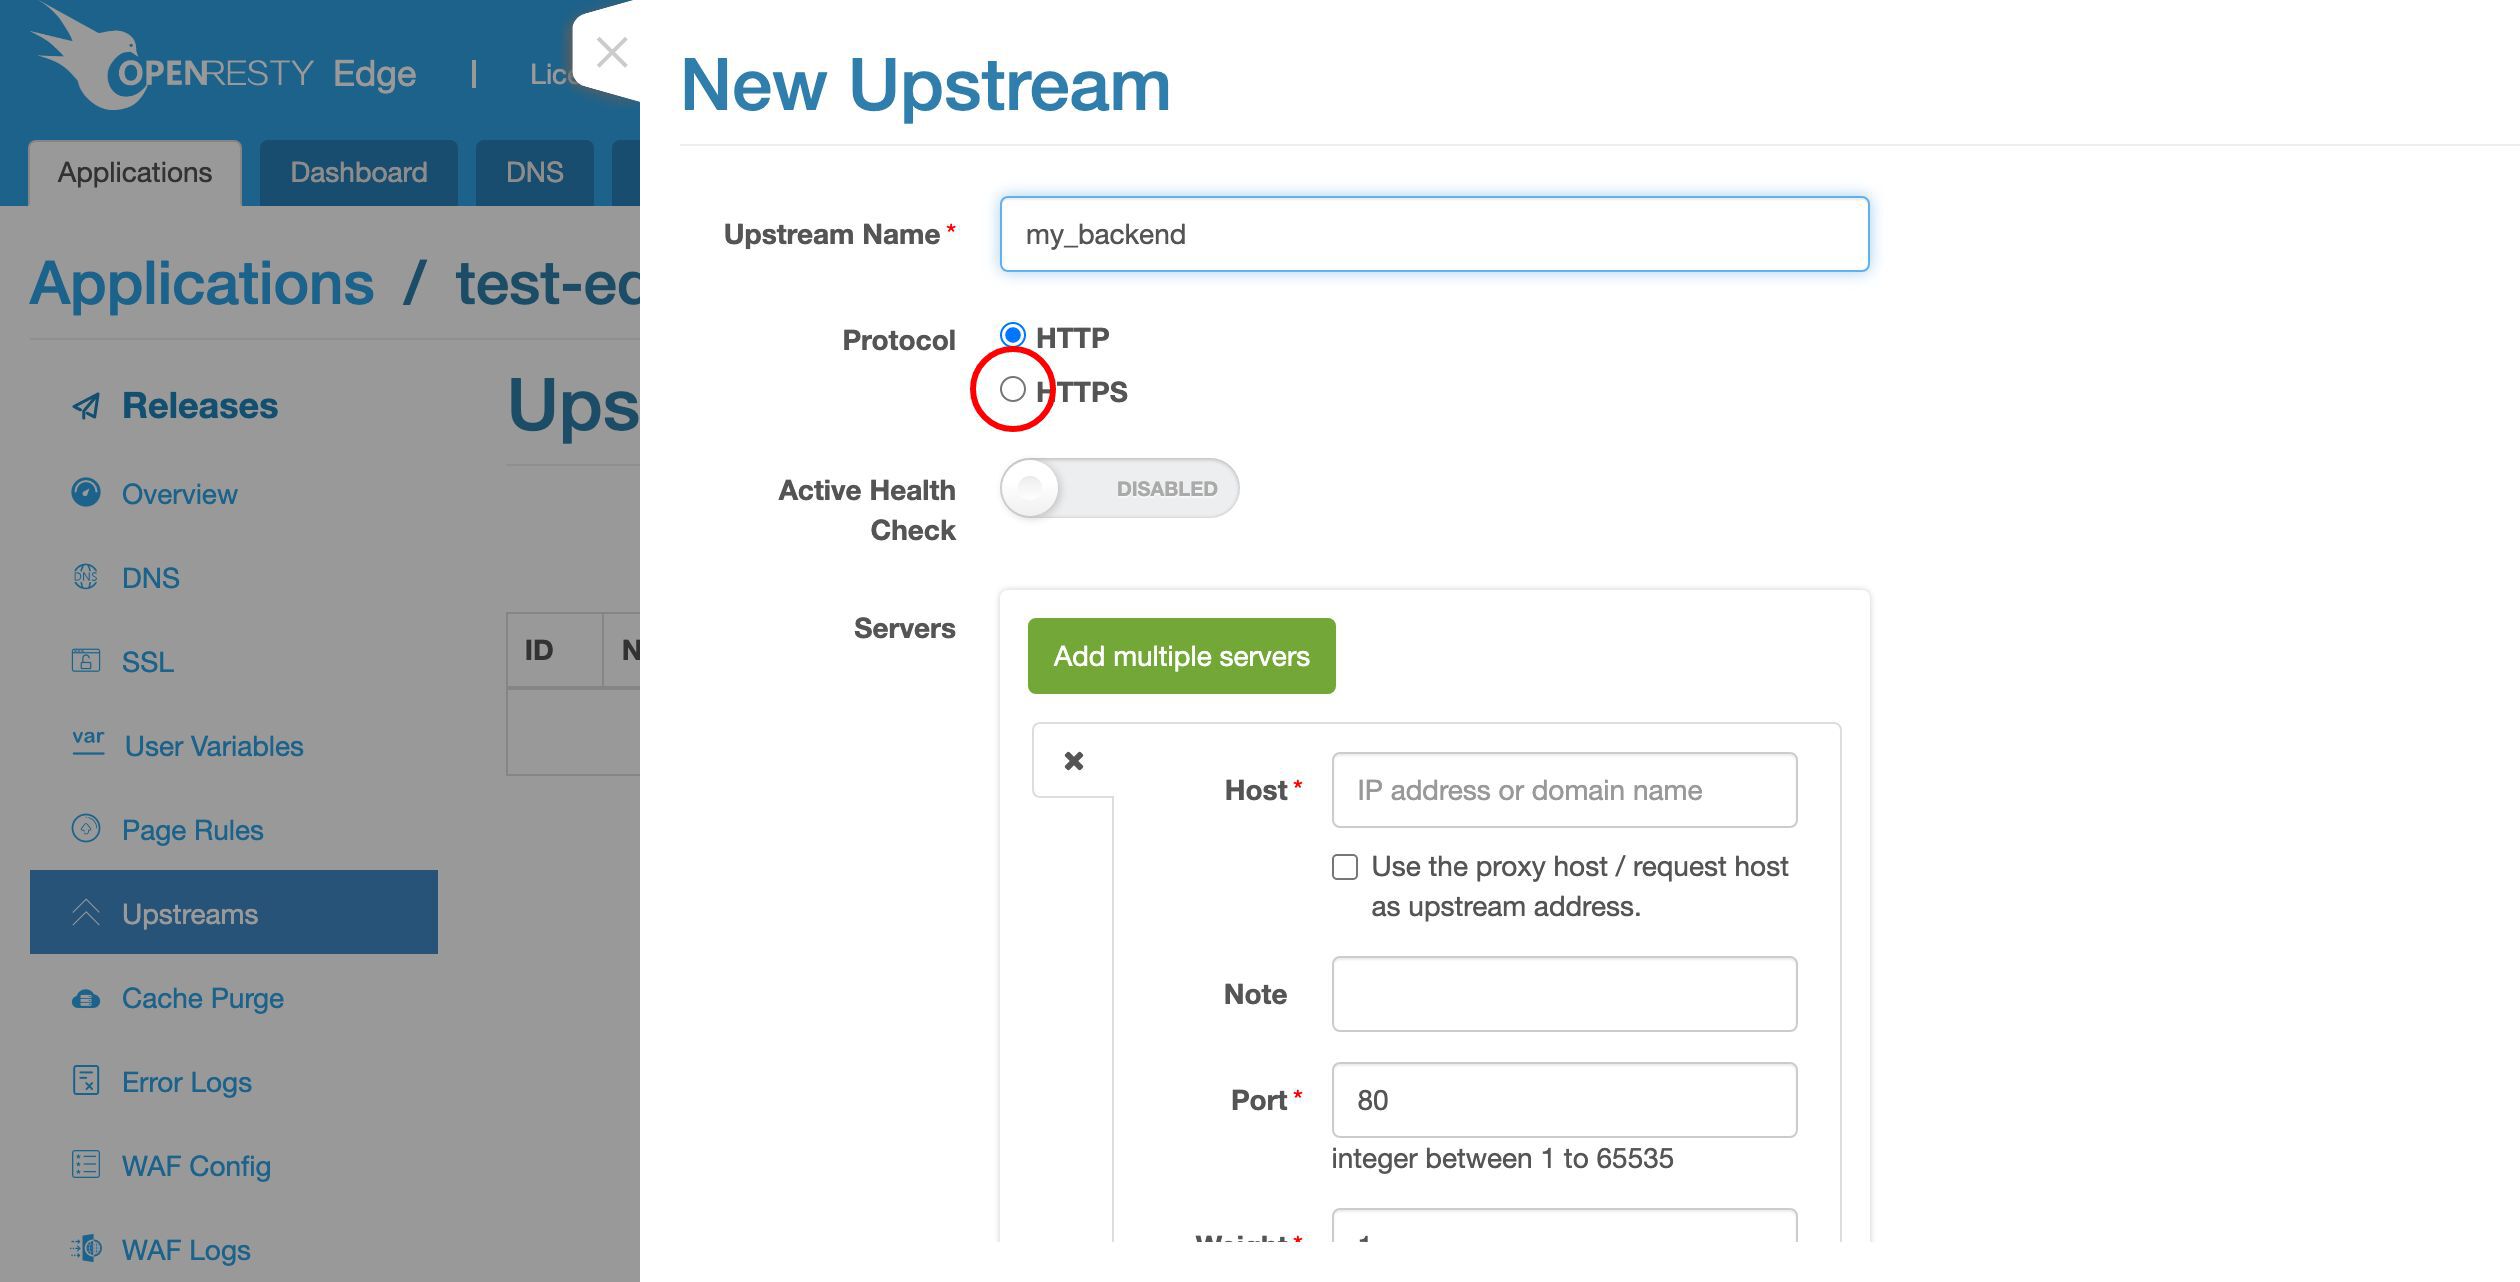
For simplicity, we just use the HTTP protocol here.
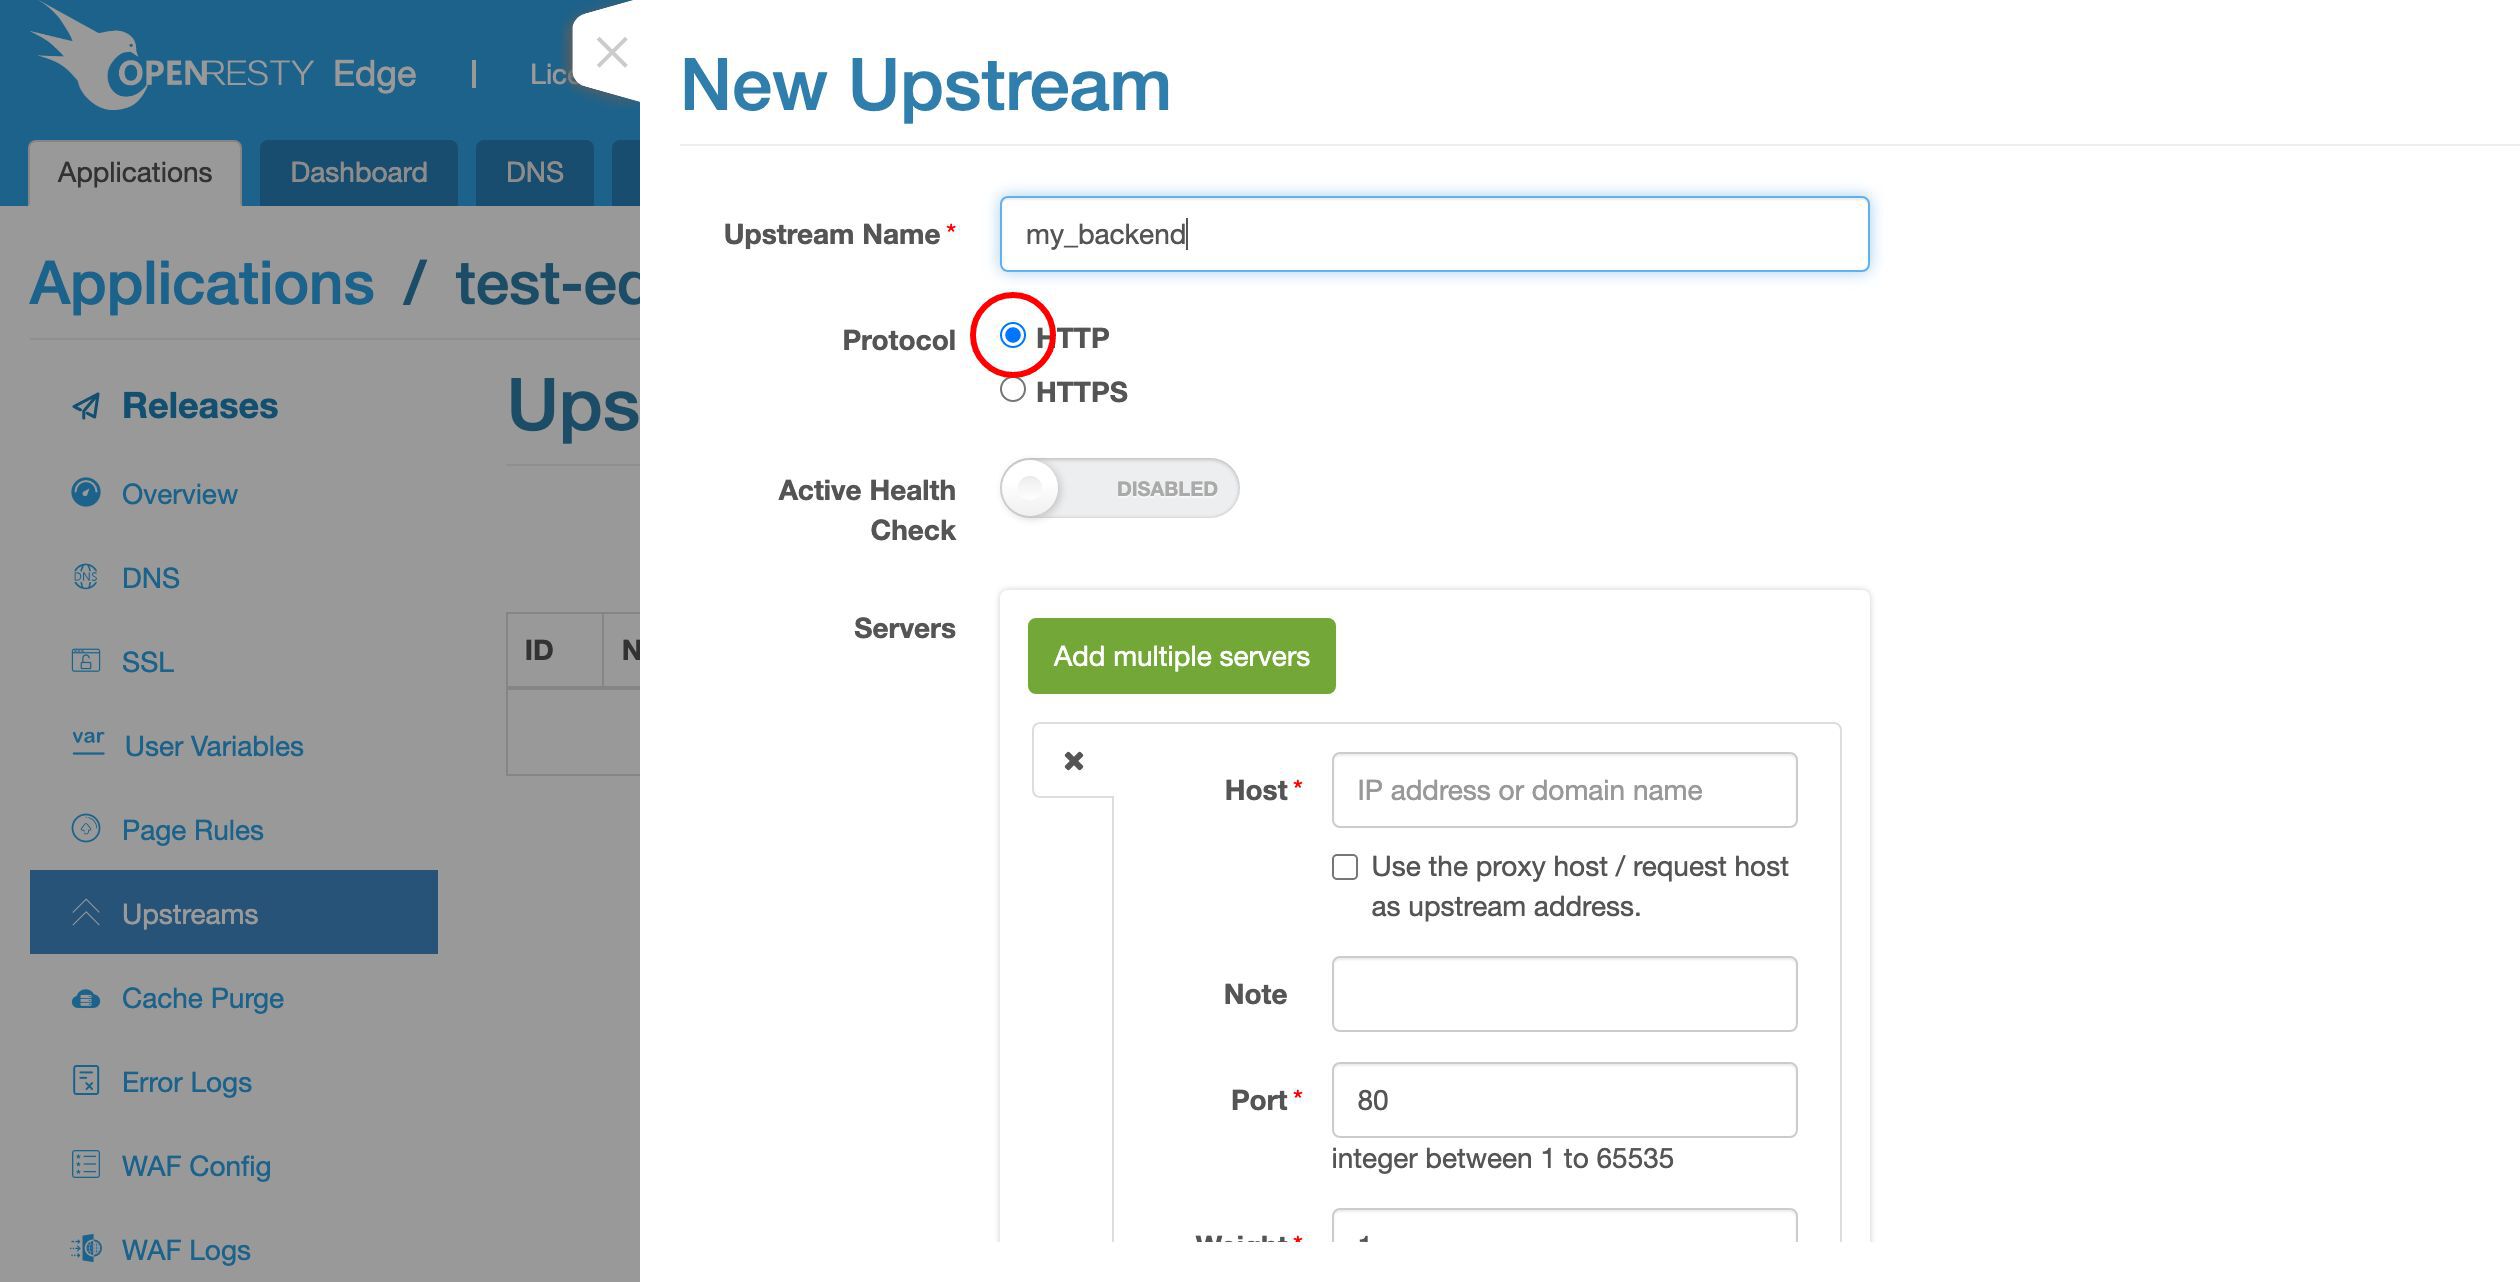
We may always want to use HTTPS for the real thing.
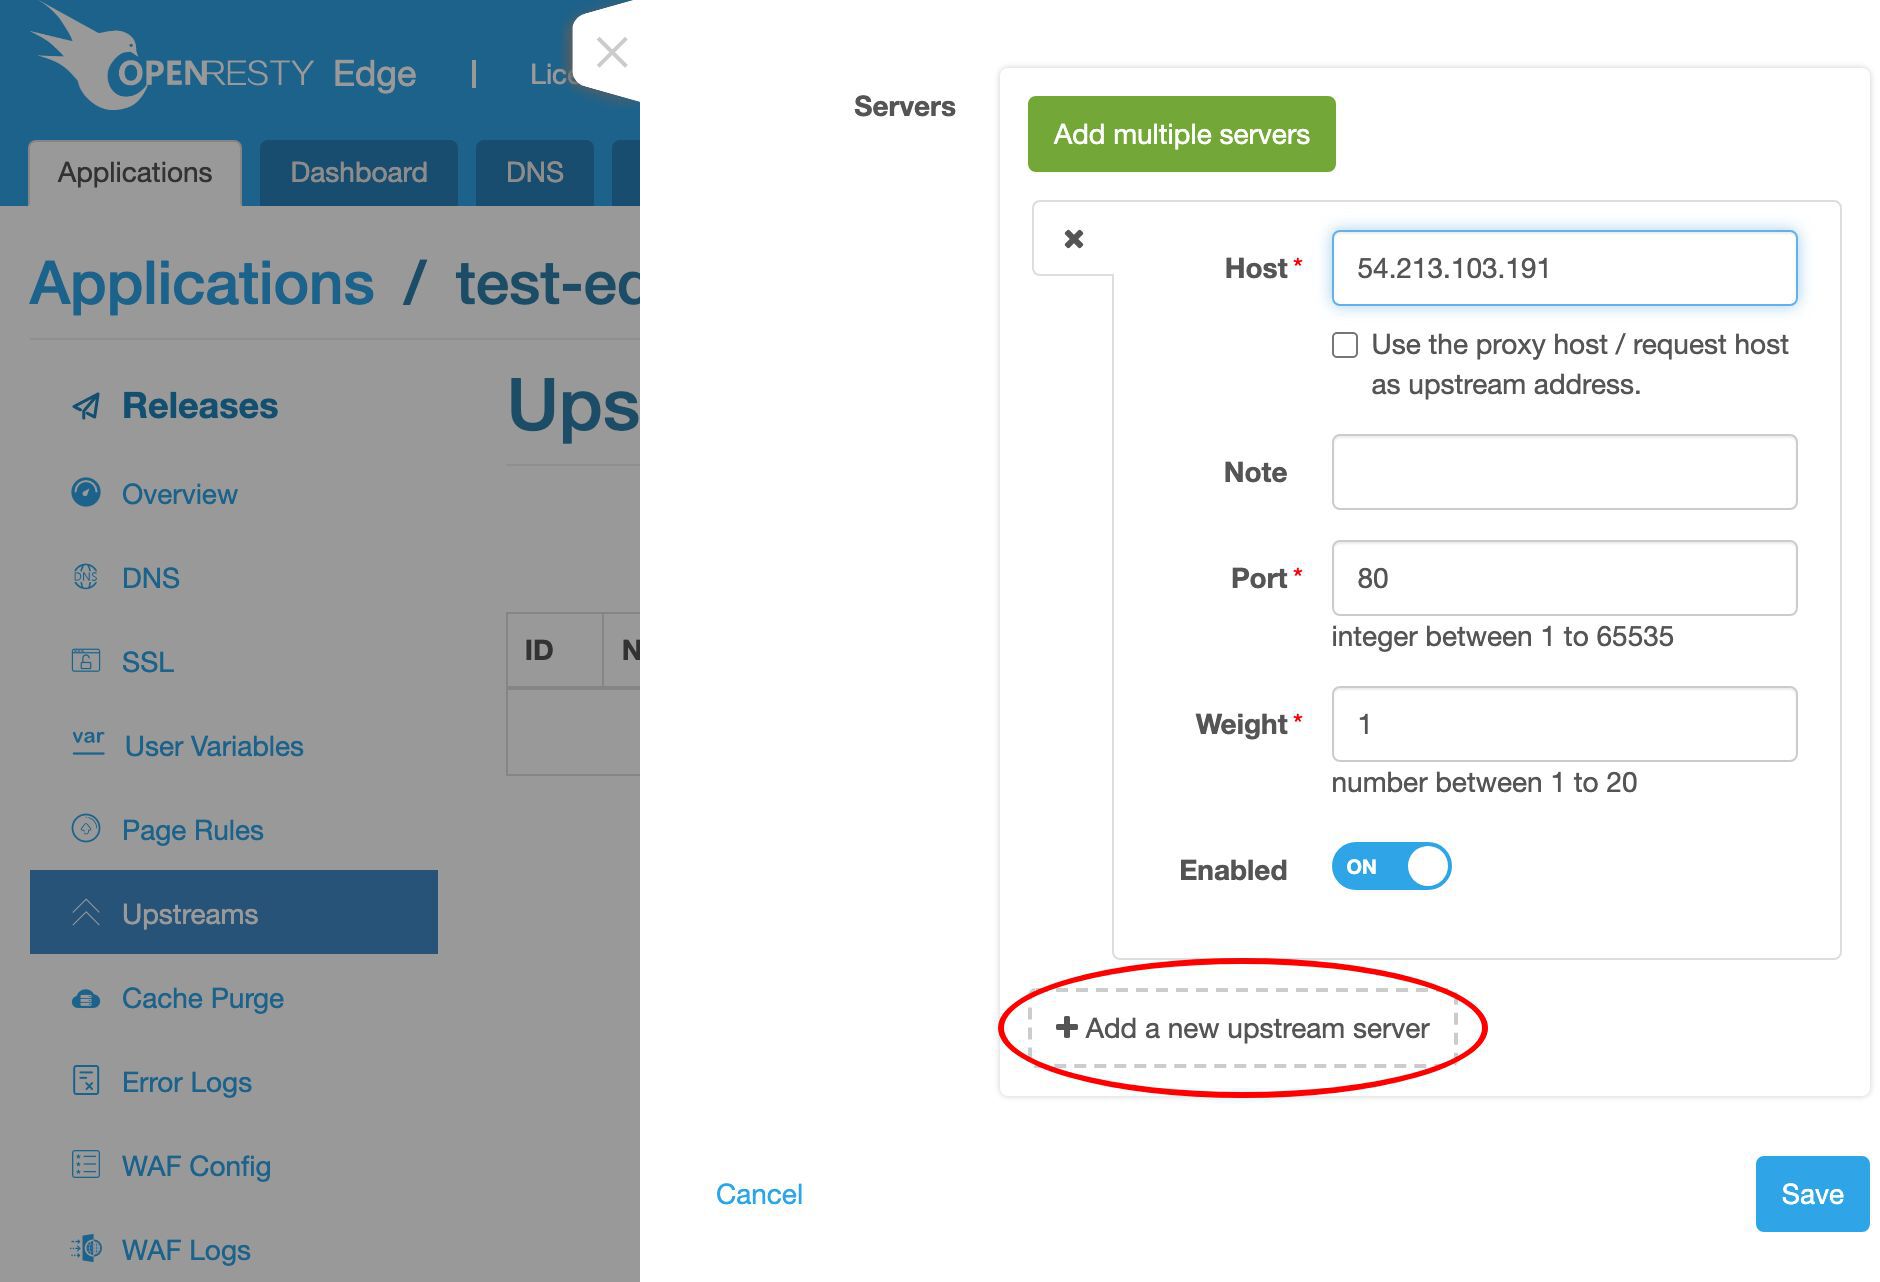
Here we need the backend server’s IP address.
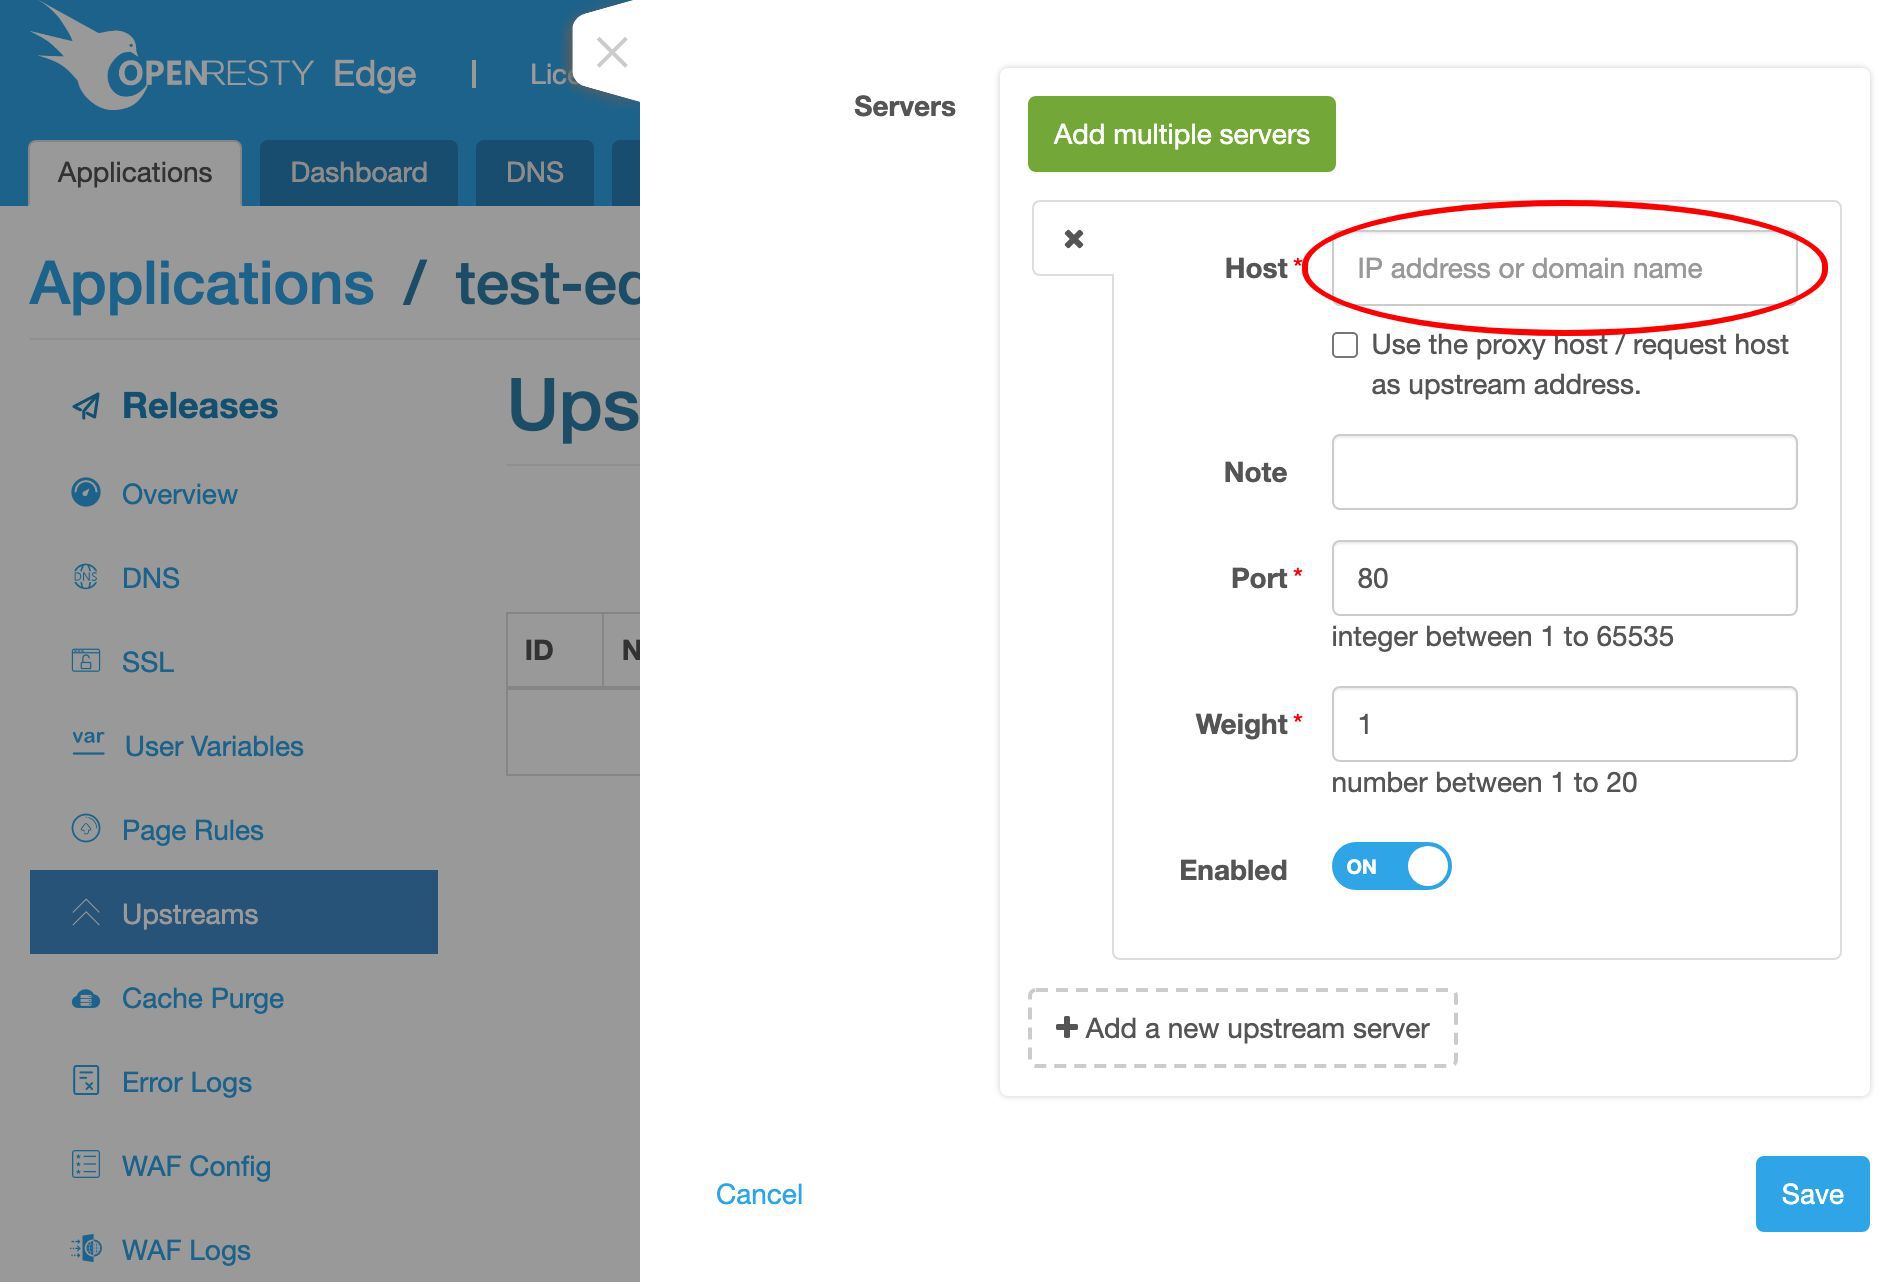
We’ve already prepared a sample backend server at this IP address.
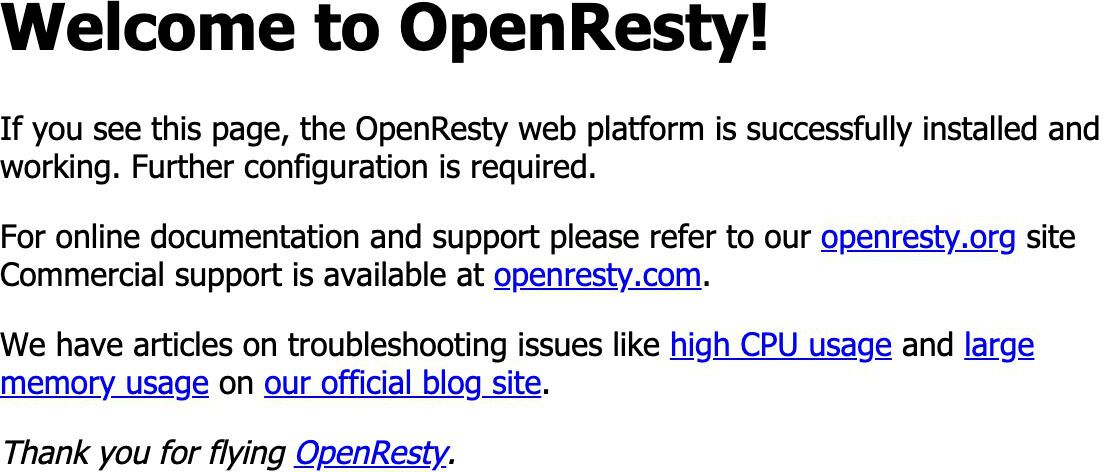
It simply returns the default index page of the open source OpenResty server software.
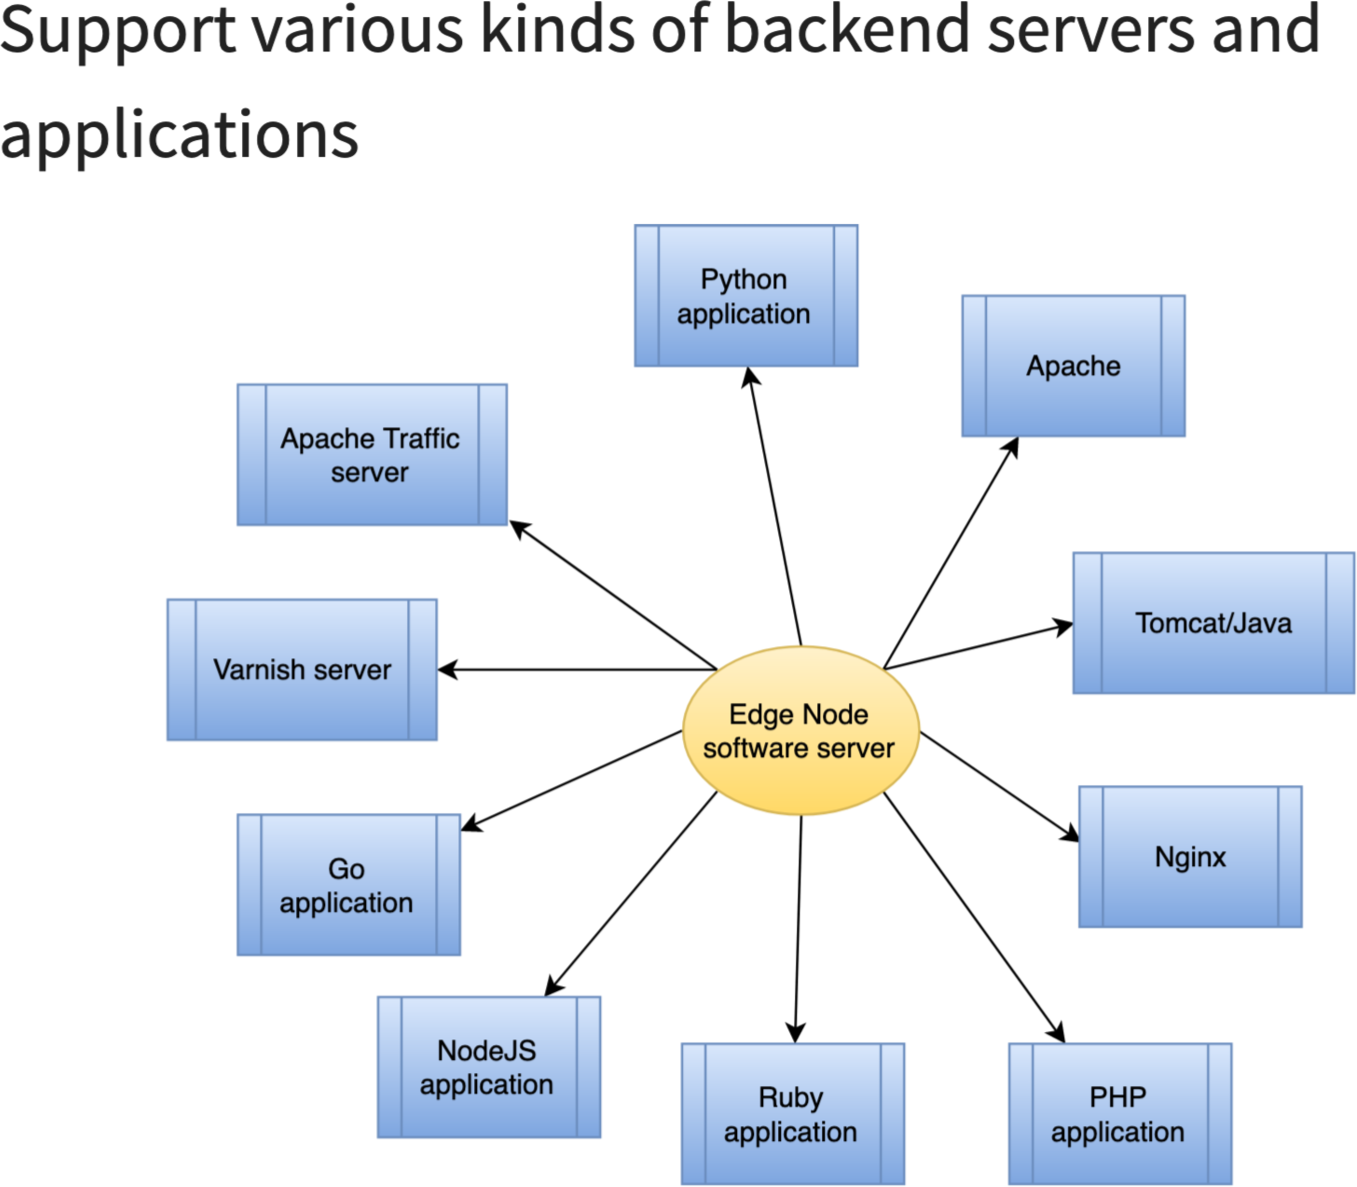
It could be anything that speaks HTTP.
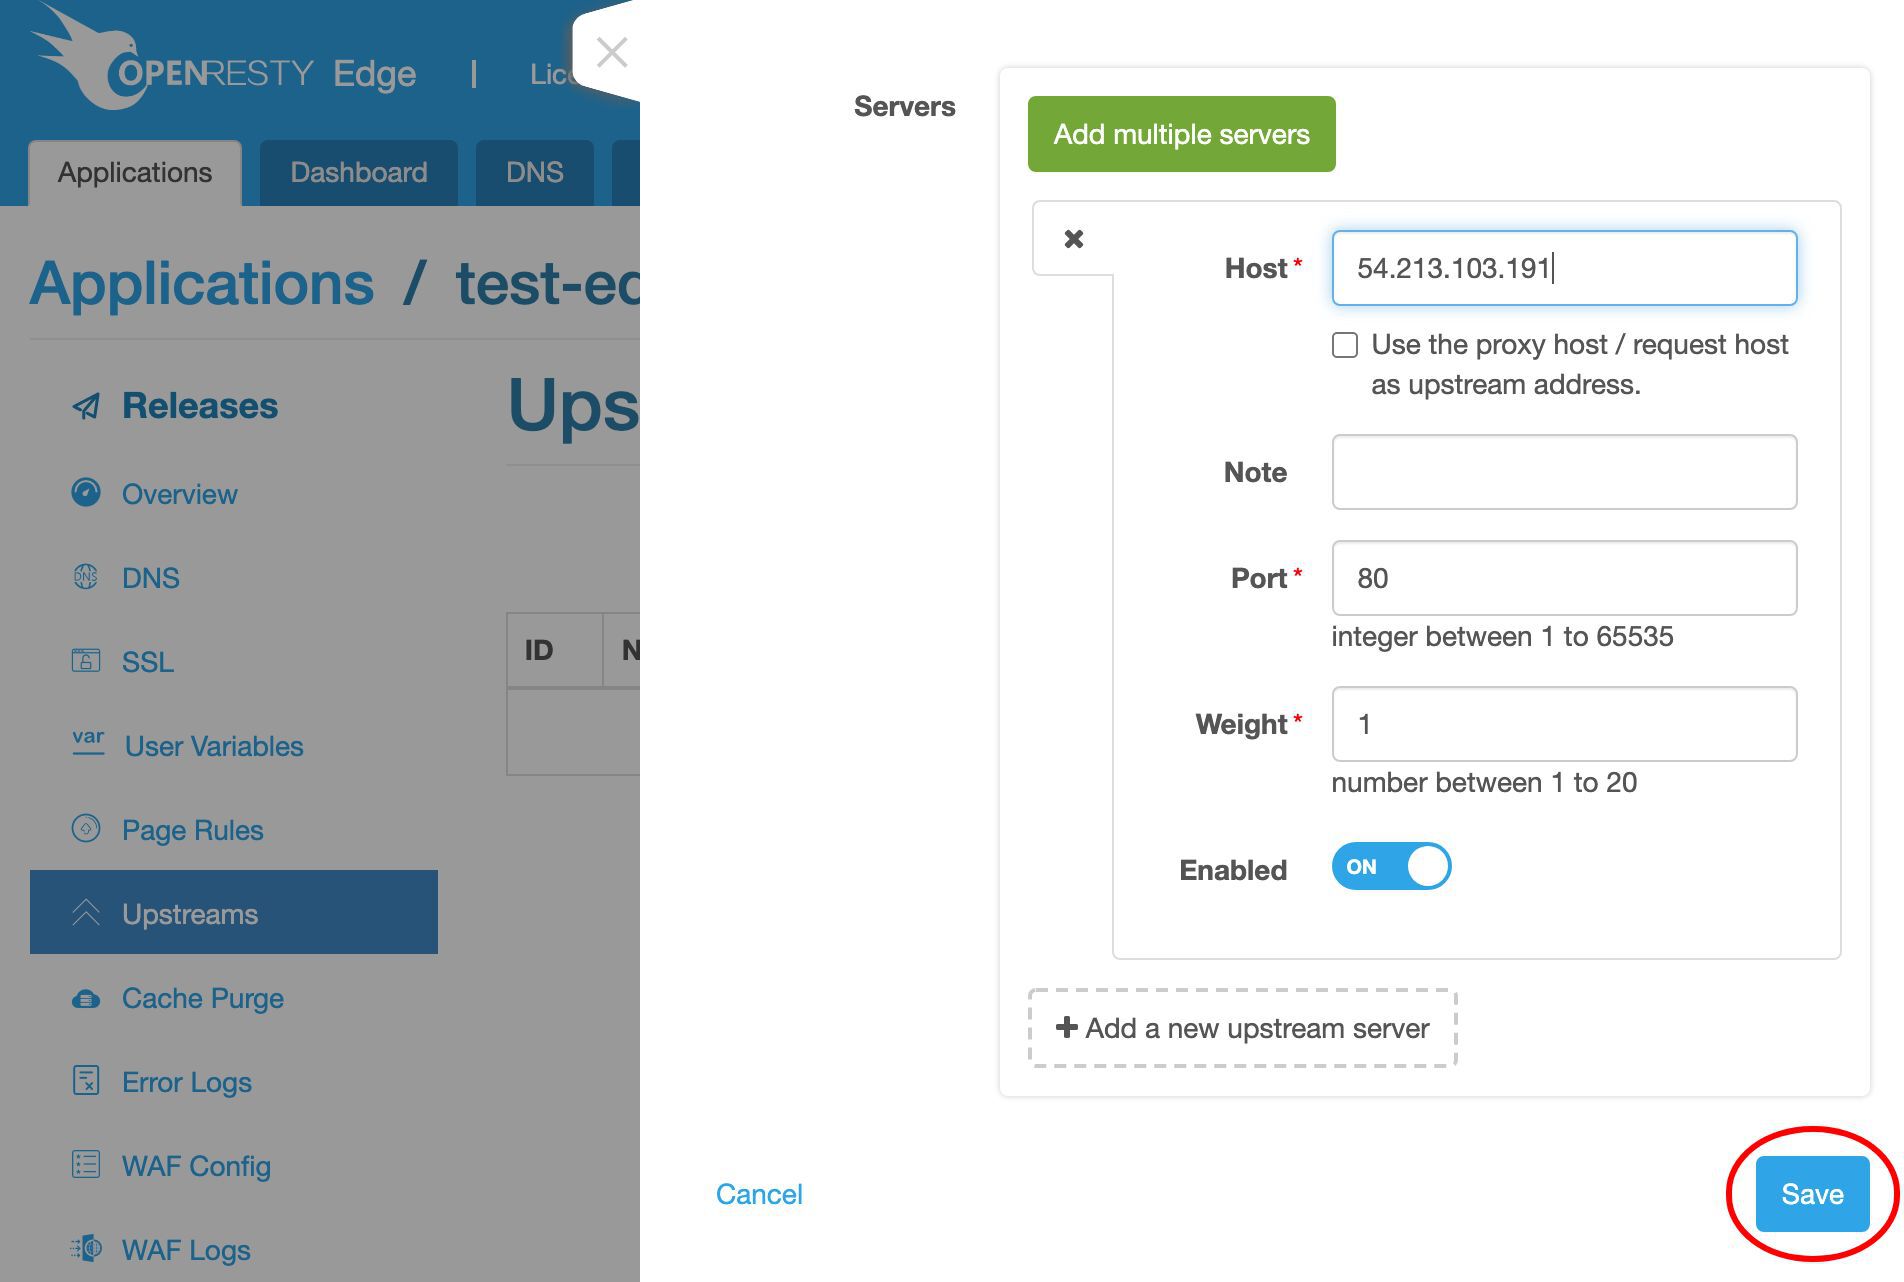
We can now fill out the host field for the backend server.

We may add more servers to this upstream in the future.
Now save this upstream.
We can see this my_backend upstream is already there.
Create a page rule to make use of the upstream
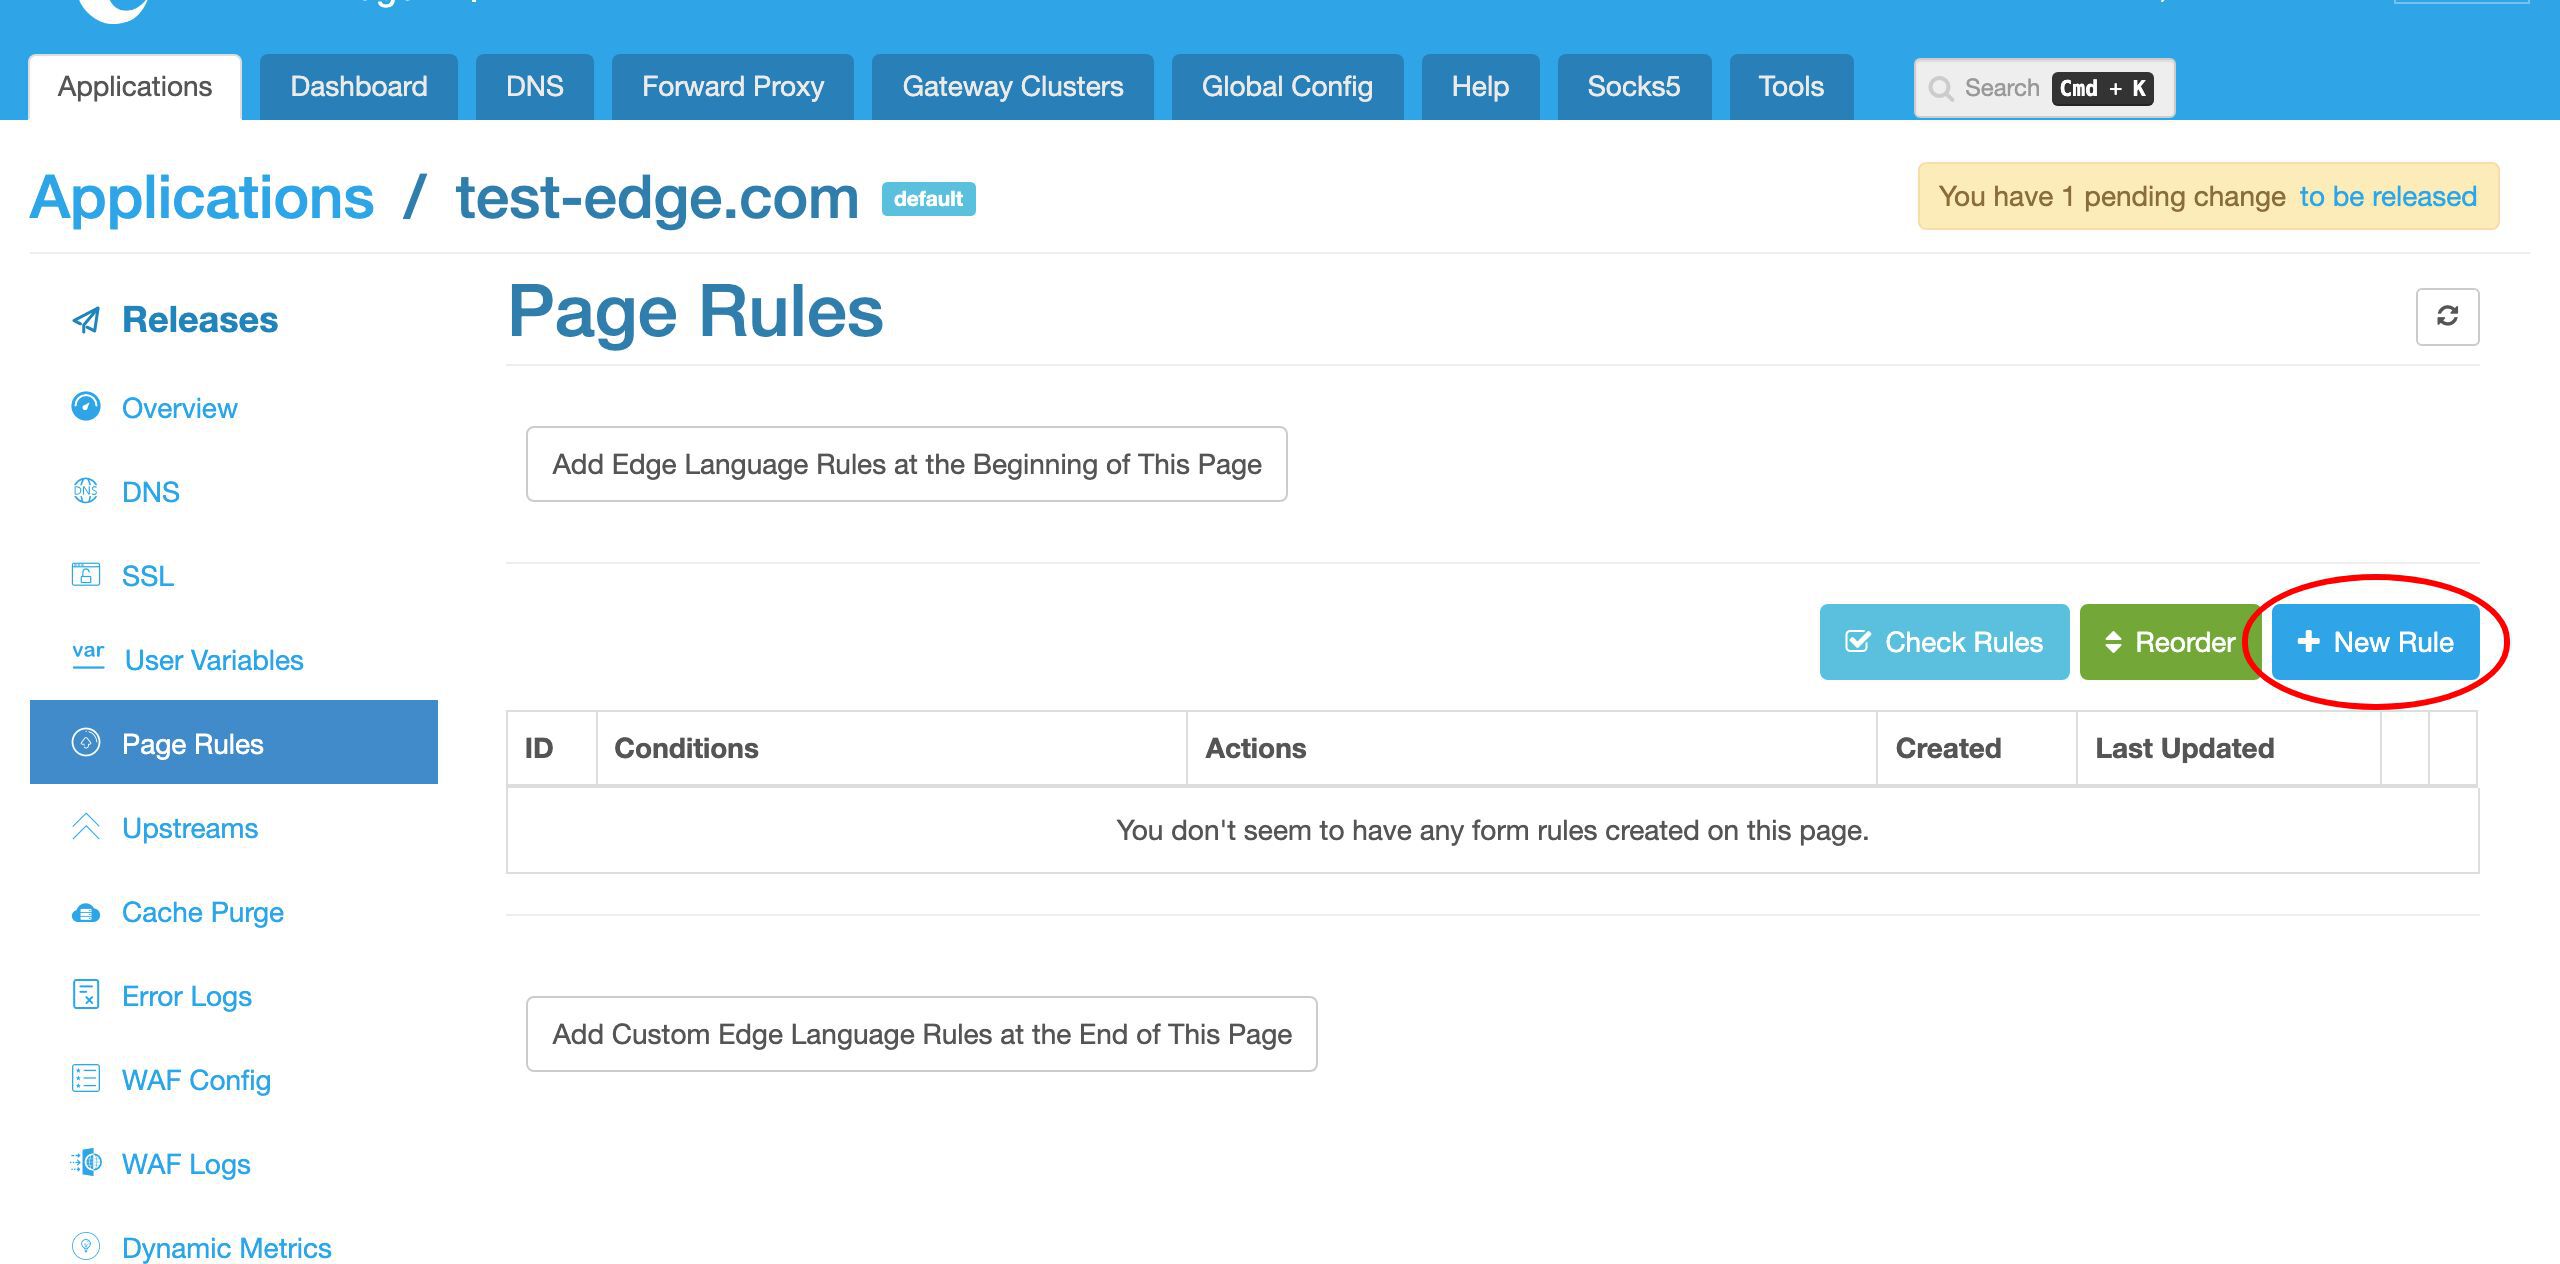
Now let’s create a new page rule to actually make use of this upstream.

We currently don’t have any page rules defined.
Create a new page rule.
For this page rule, we do not specify a condition. This way it will apply to all incoming requests.
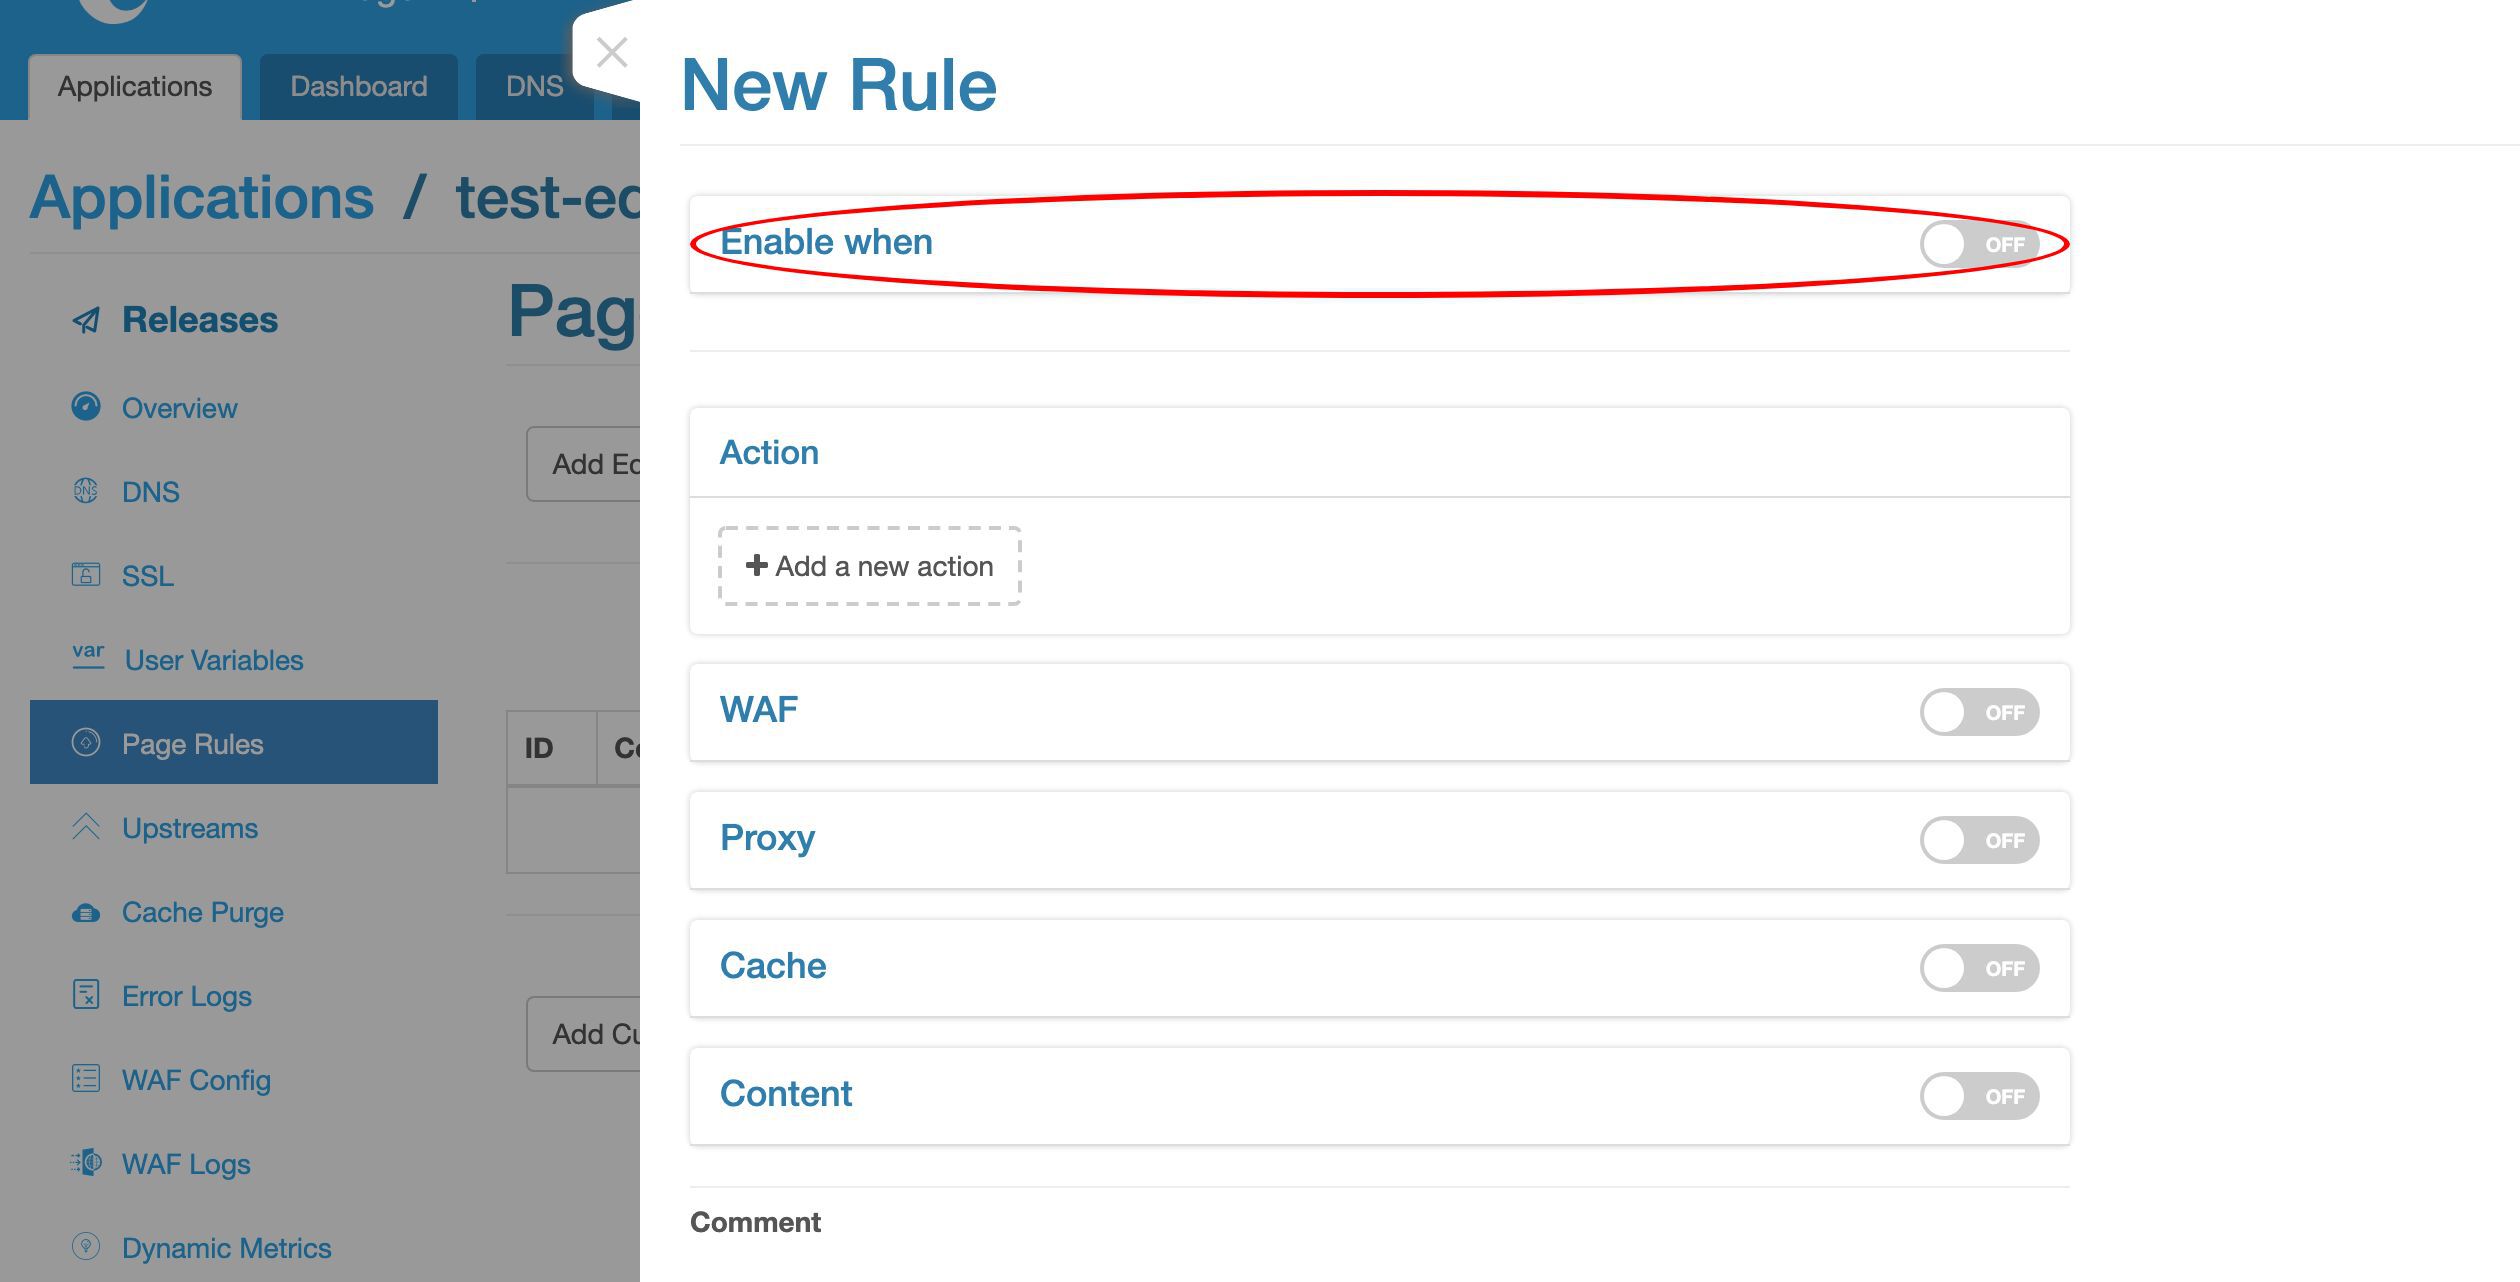
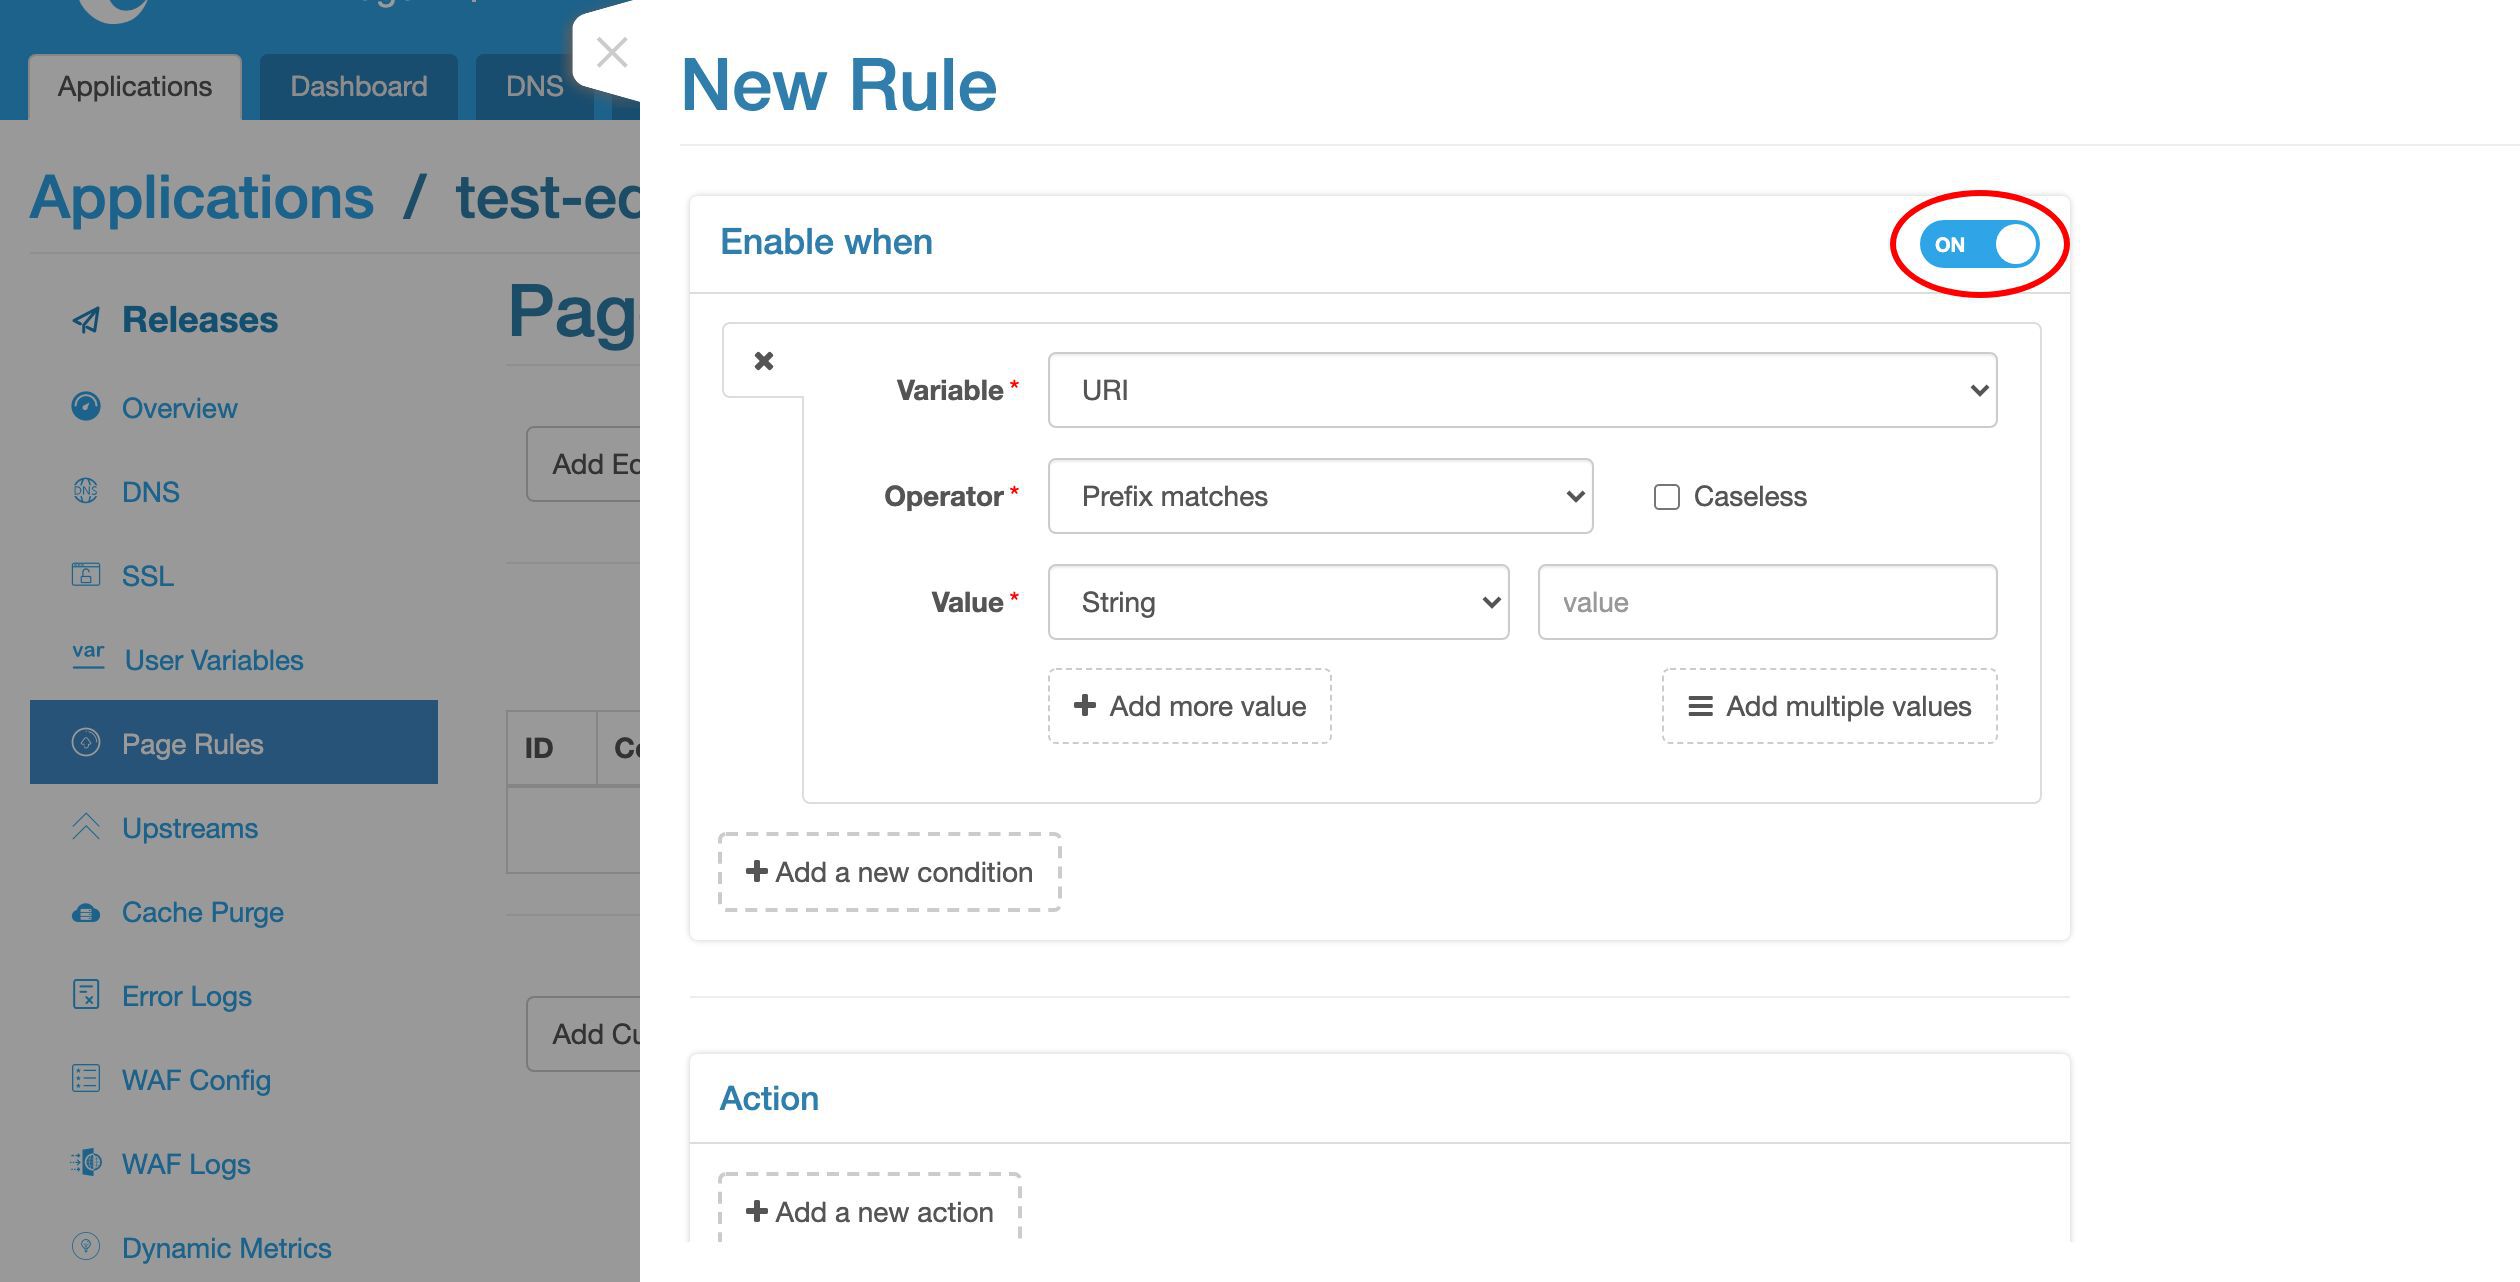
We could, however, limit this proxy page rule to certain requests only.
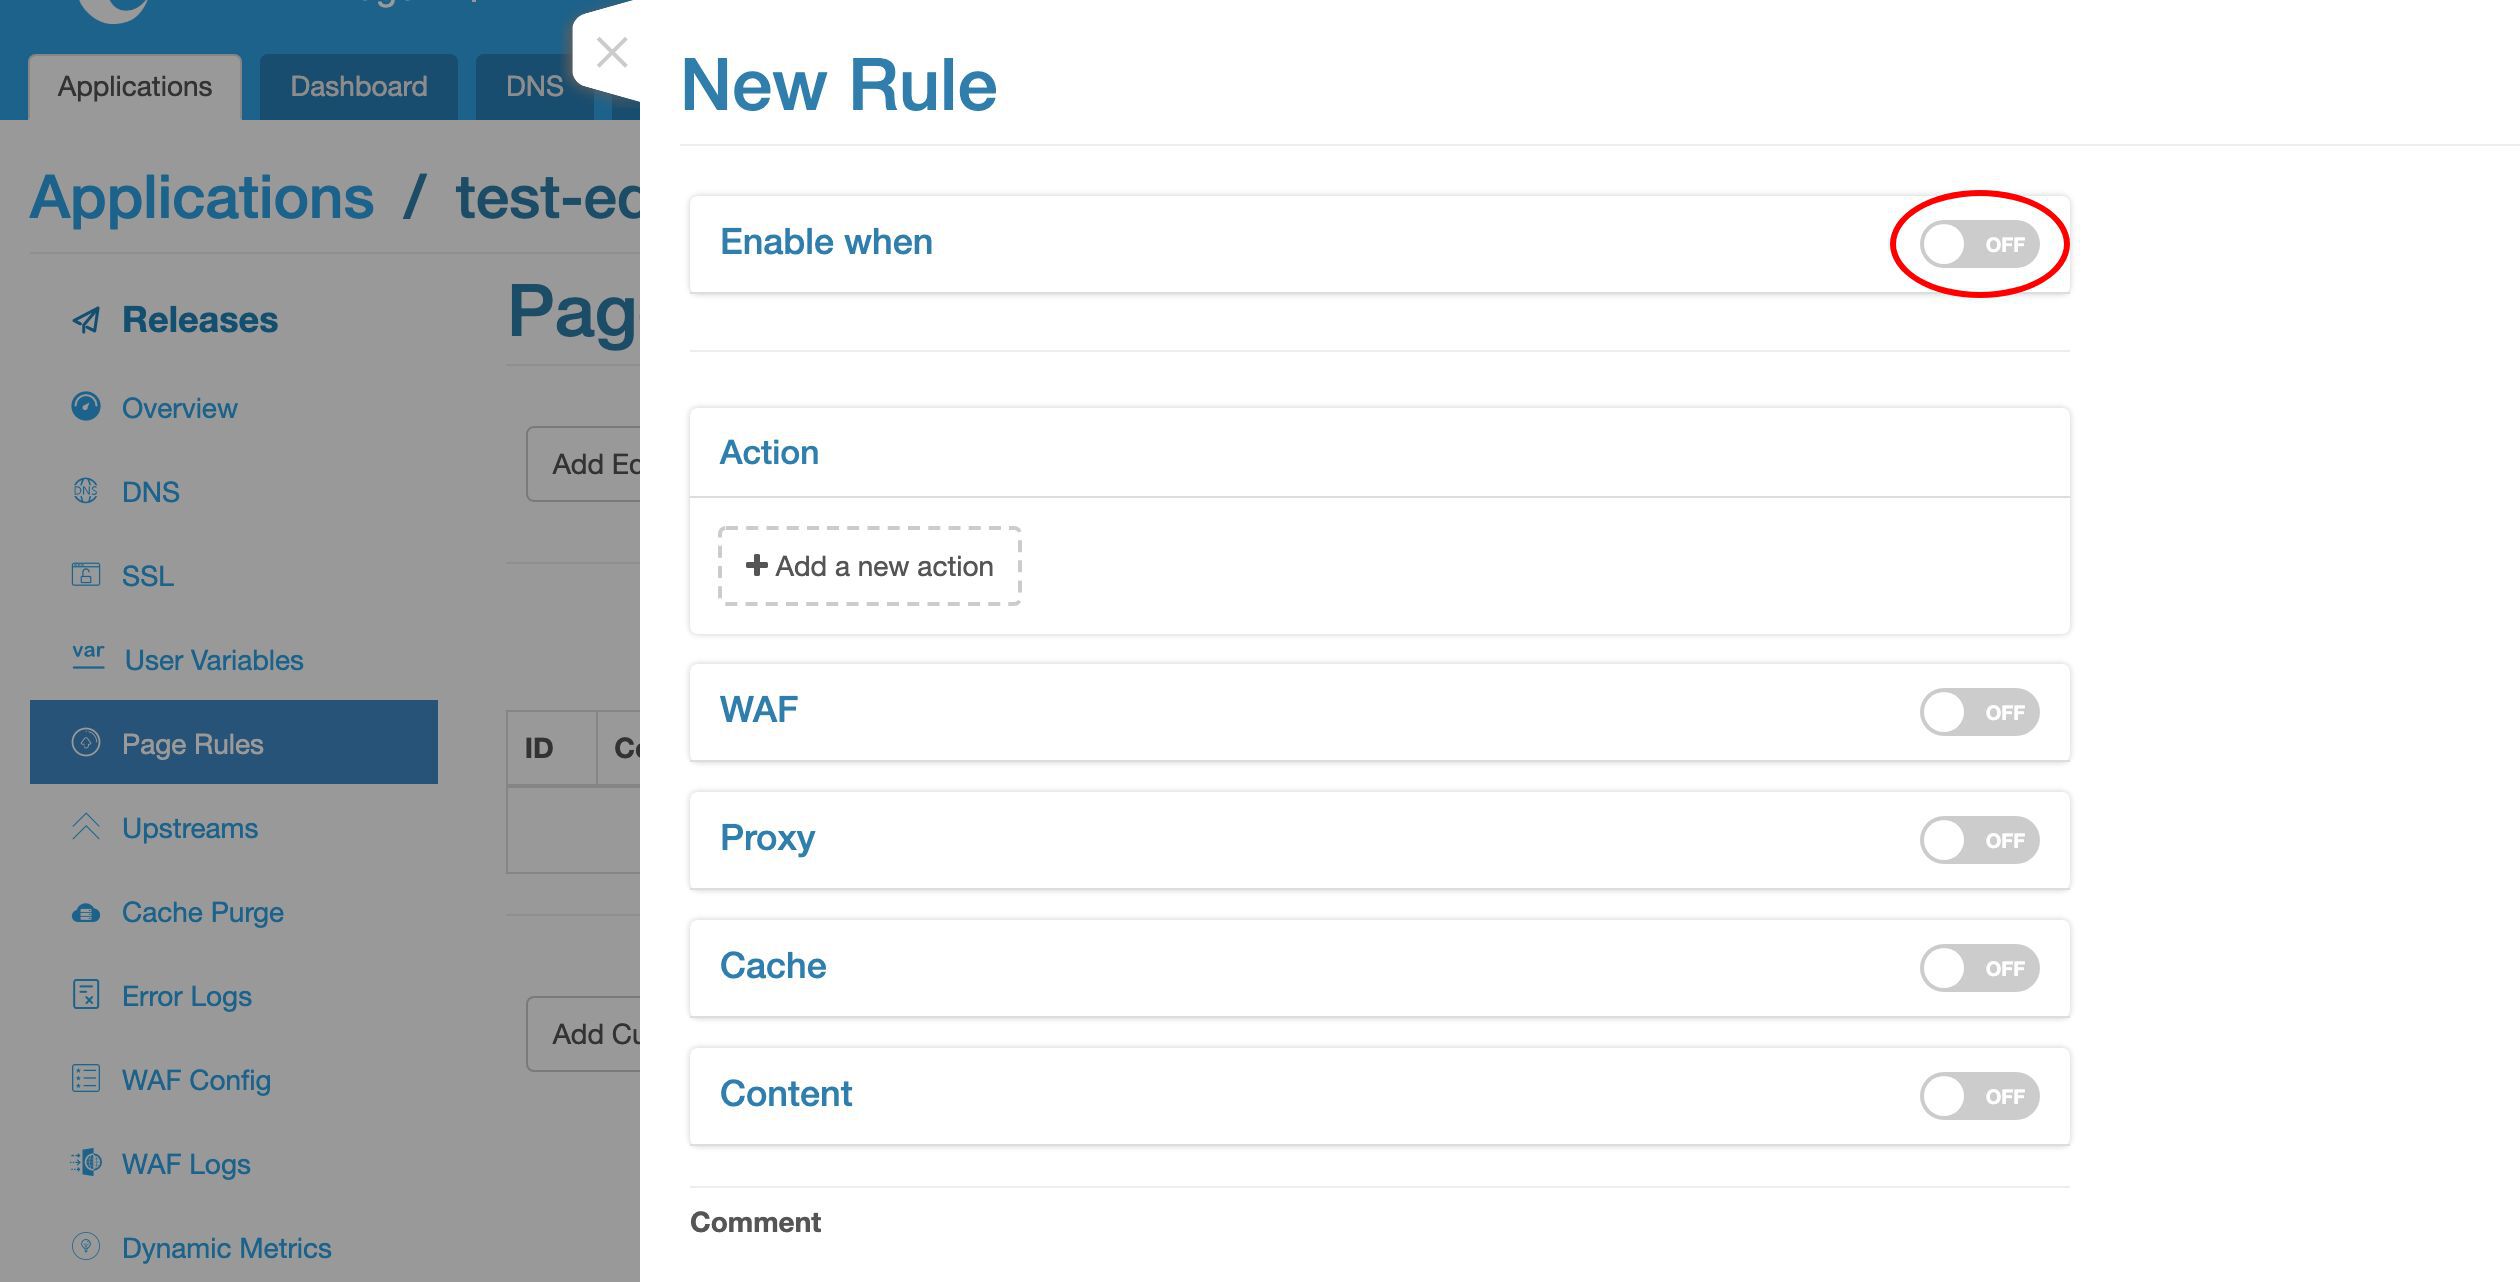
We disable the condition again.
Let’s add a proxy target here.

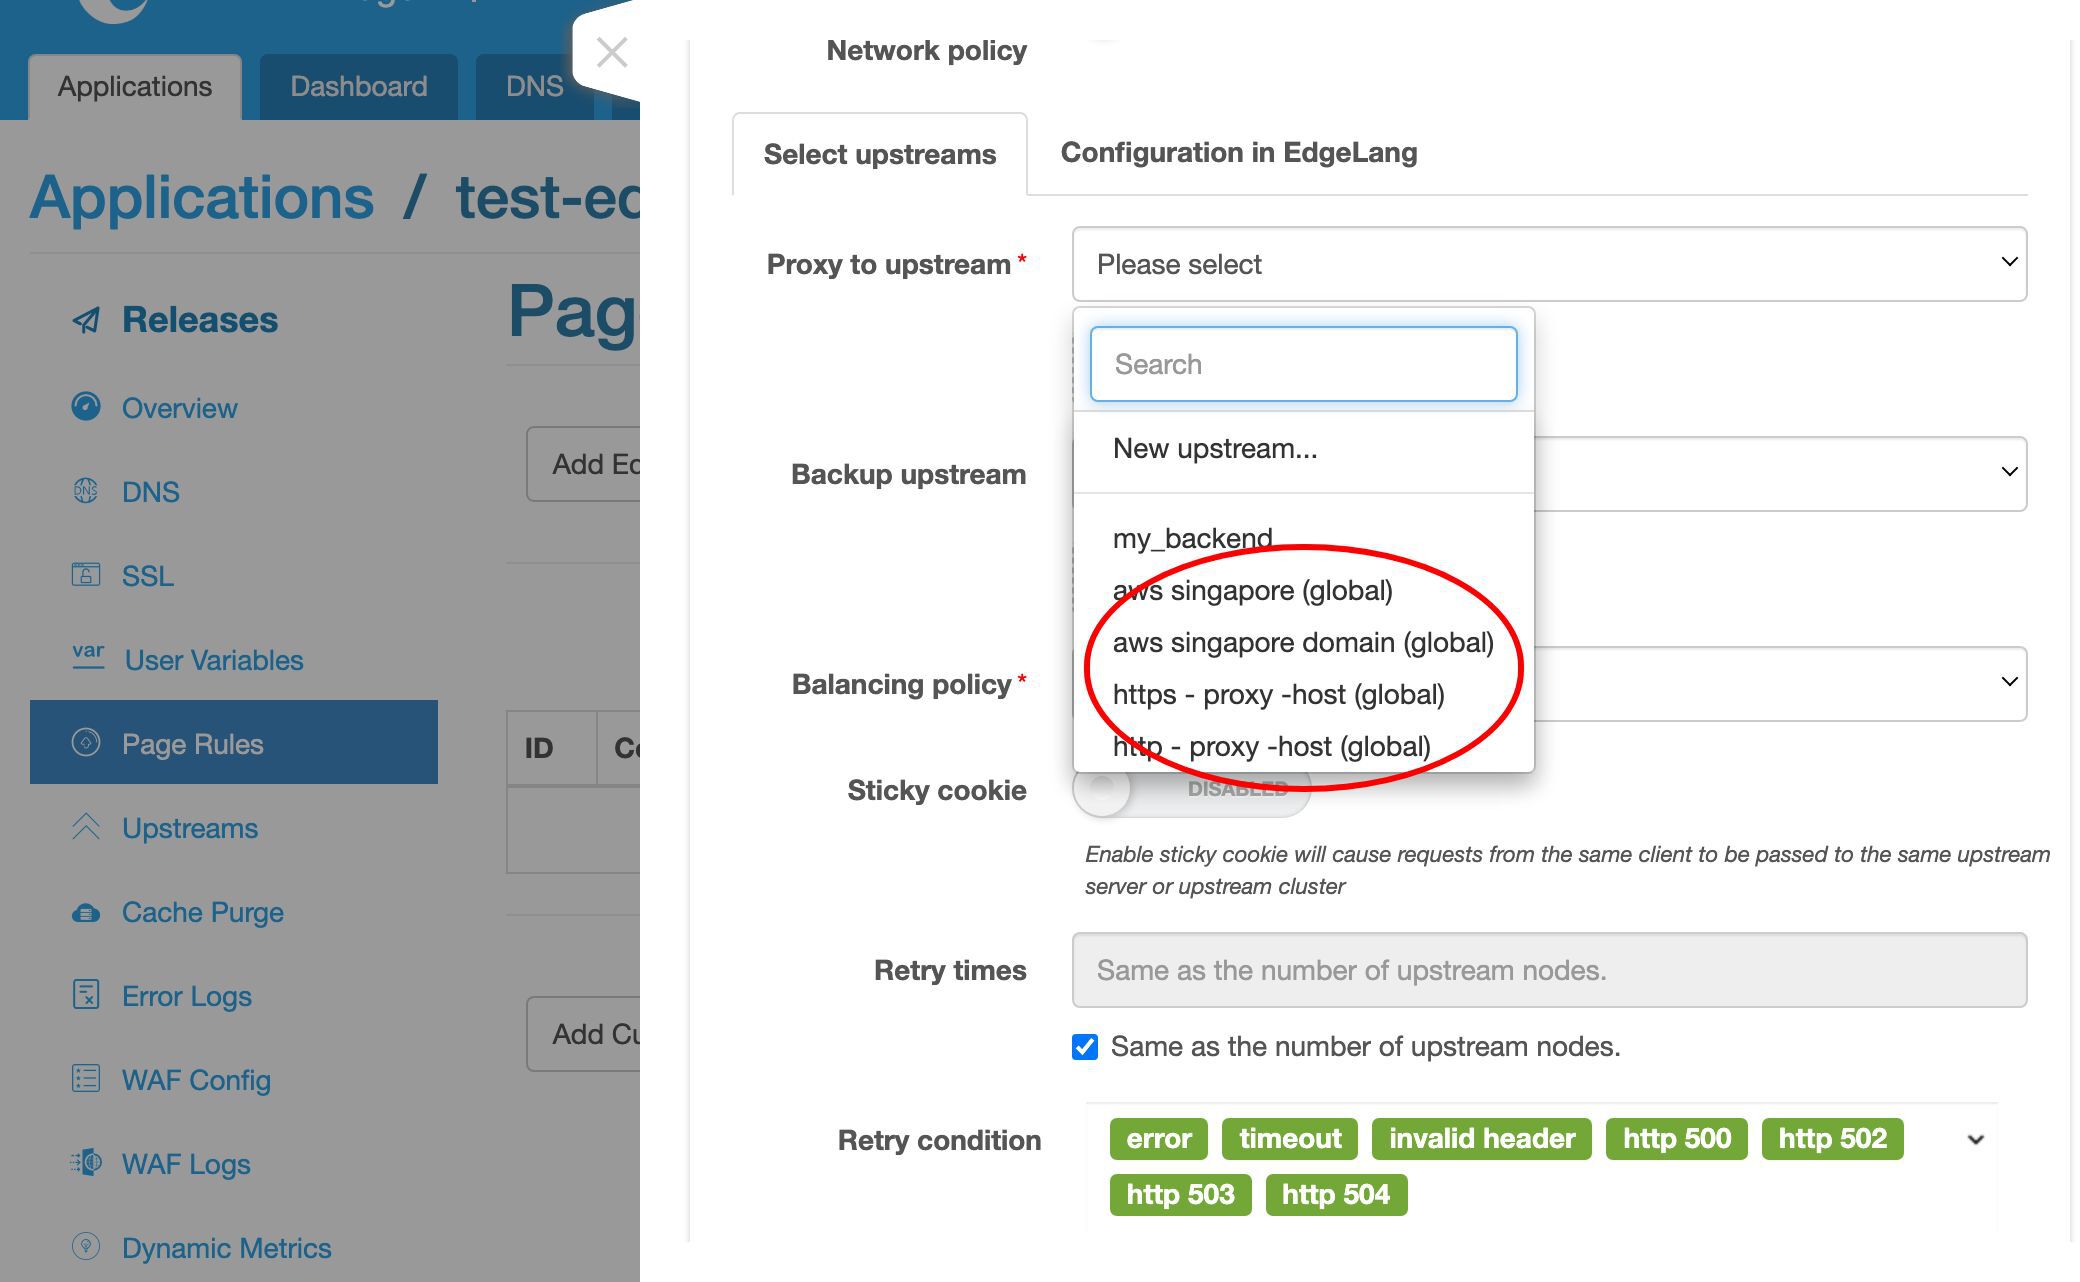
Let’s choose an upstream.
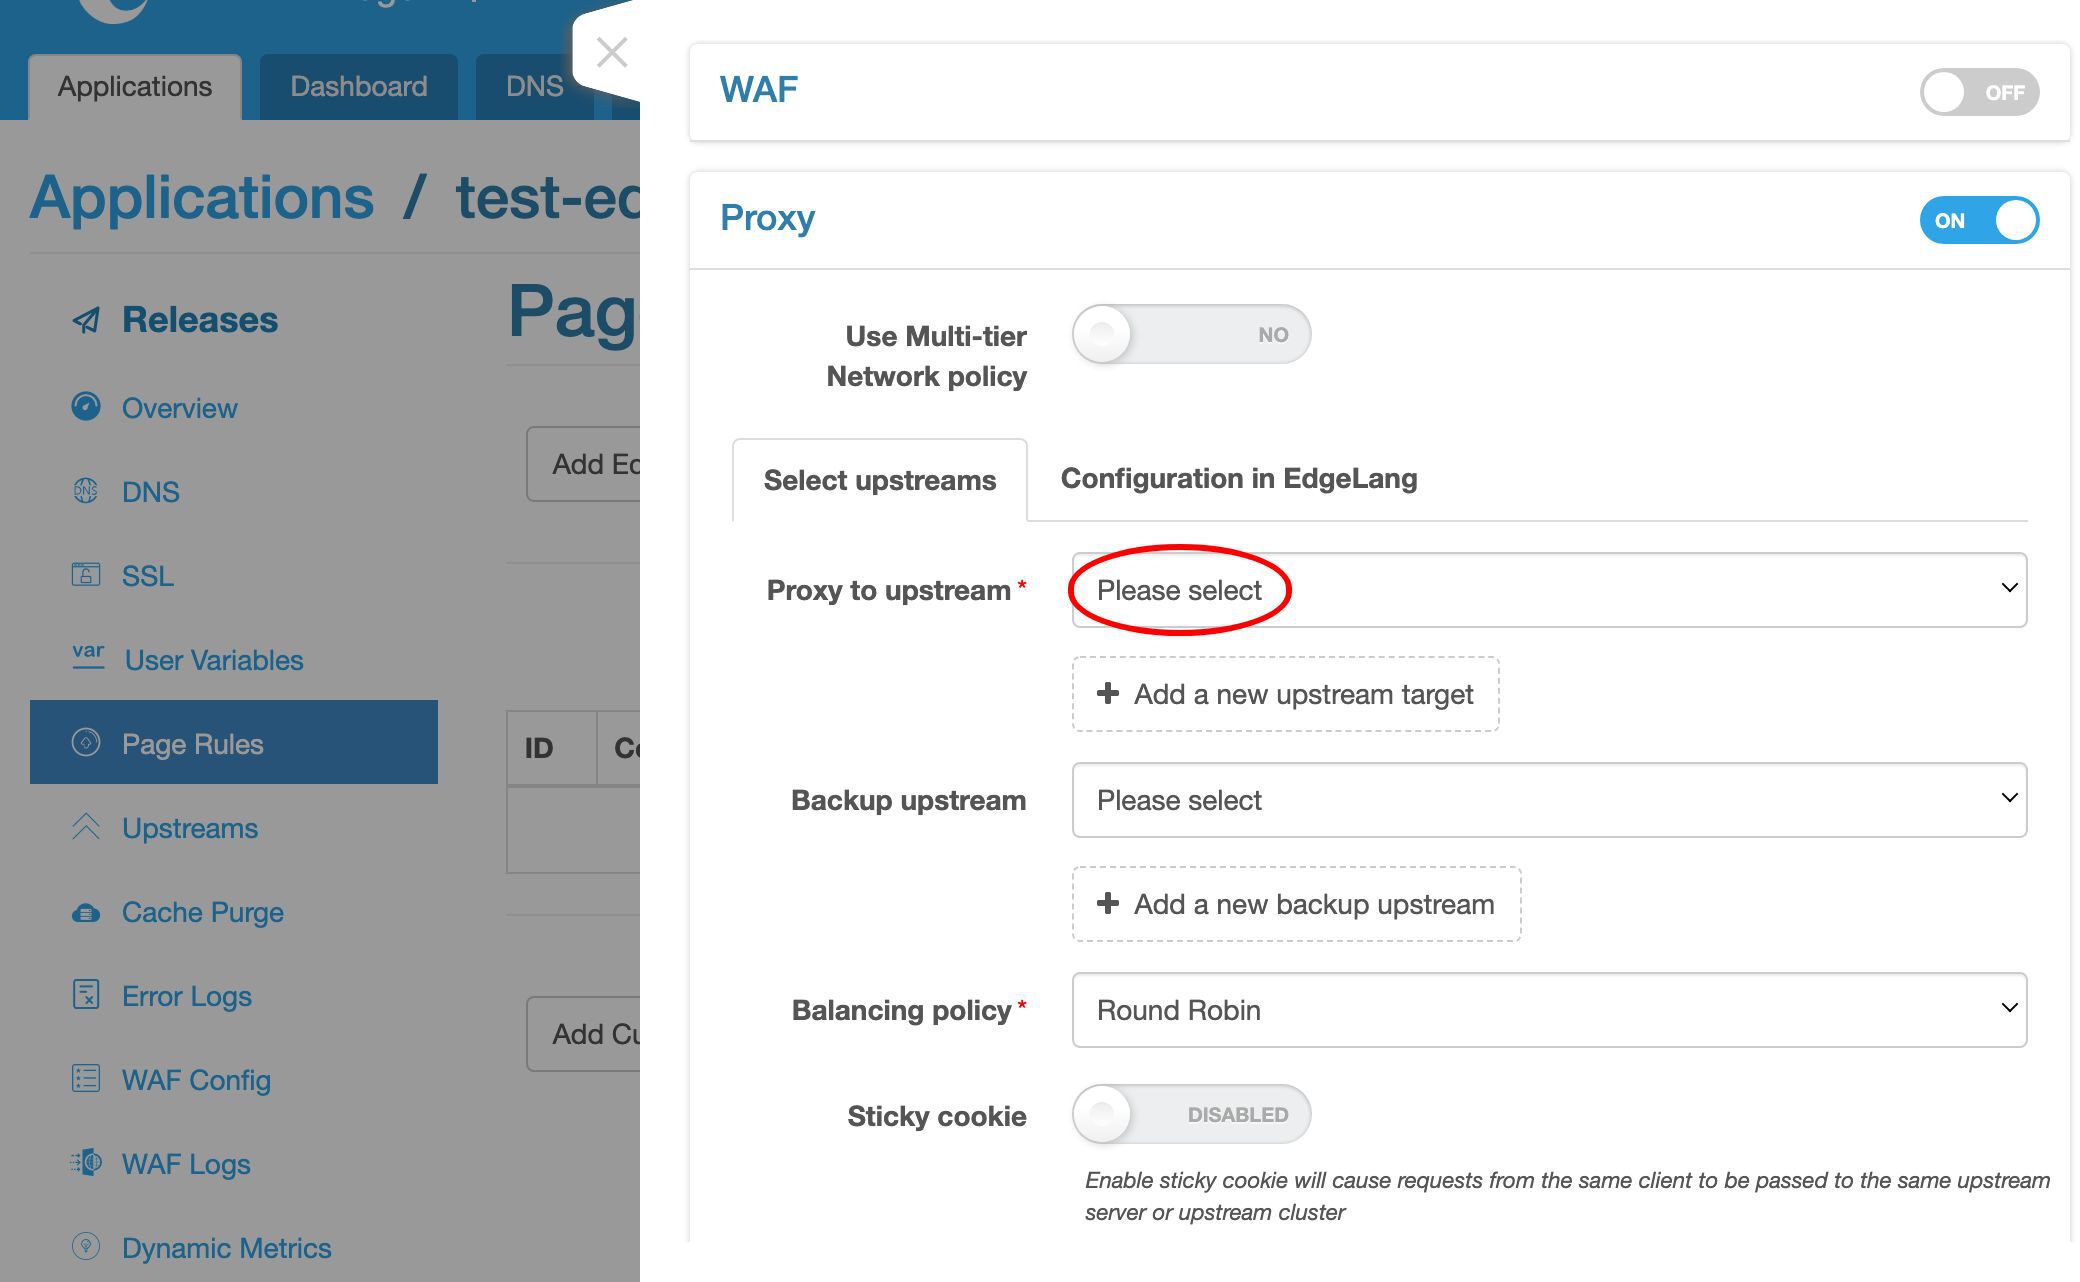
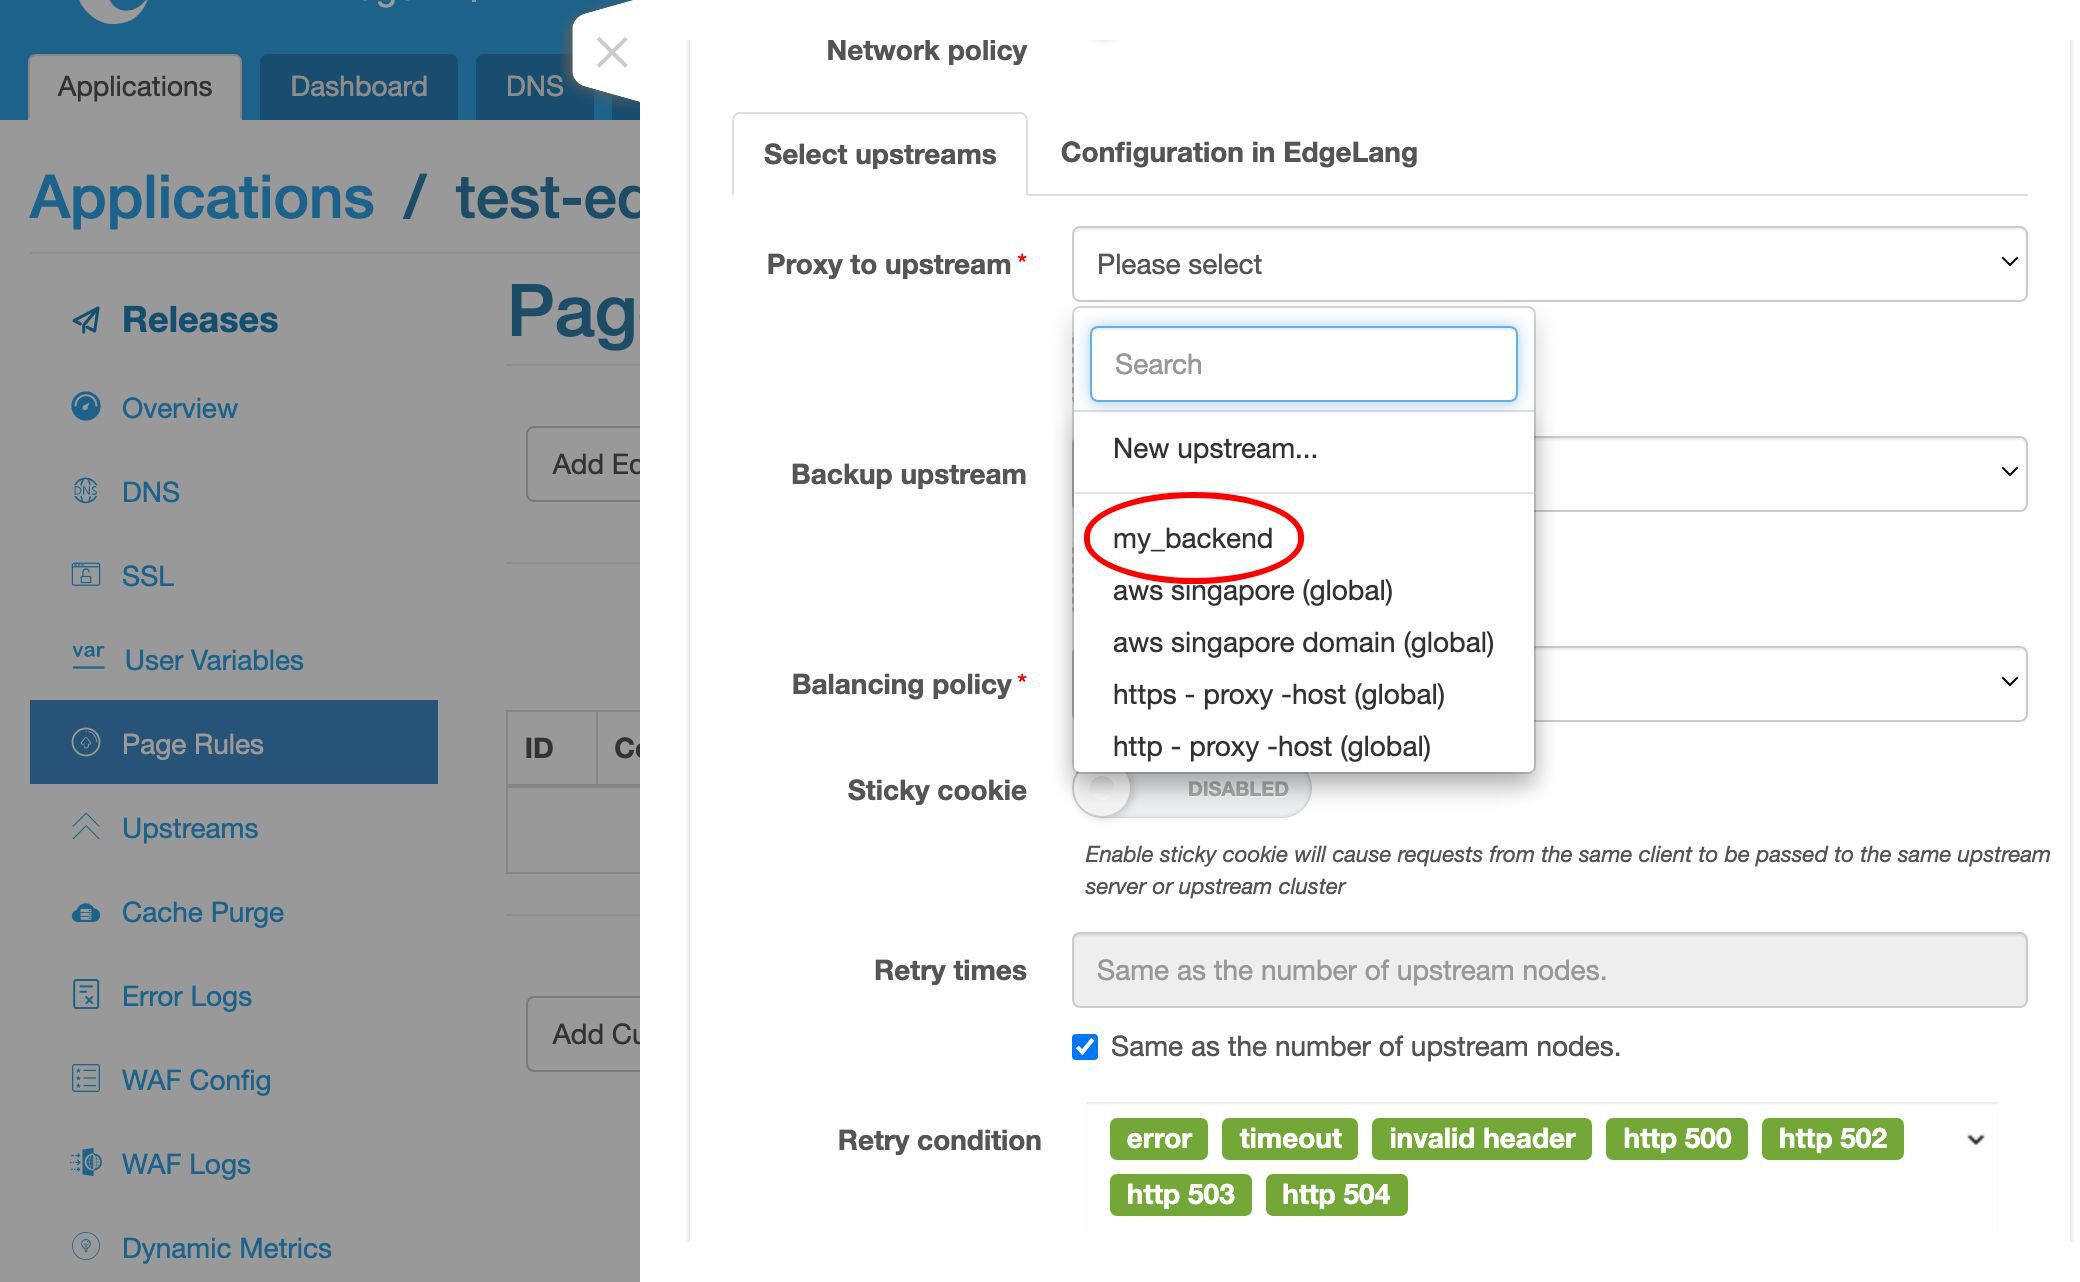
Here we have our newly created upstream present.

We also have some pre-defined global upstreams. They can be reused by all the applications including this one.
We select our my_backend upstream.
Our upstream has only one server.
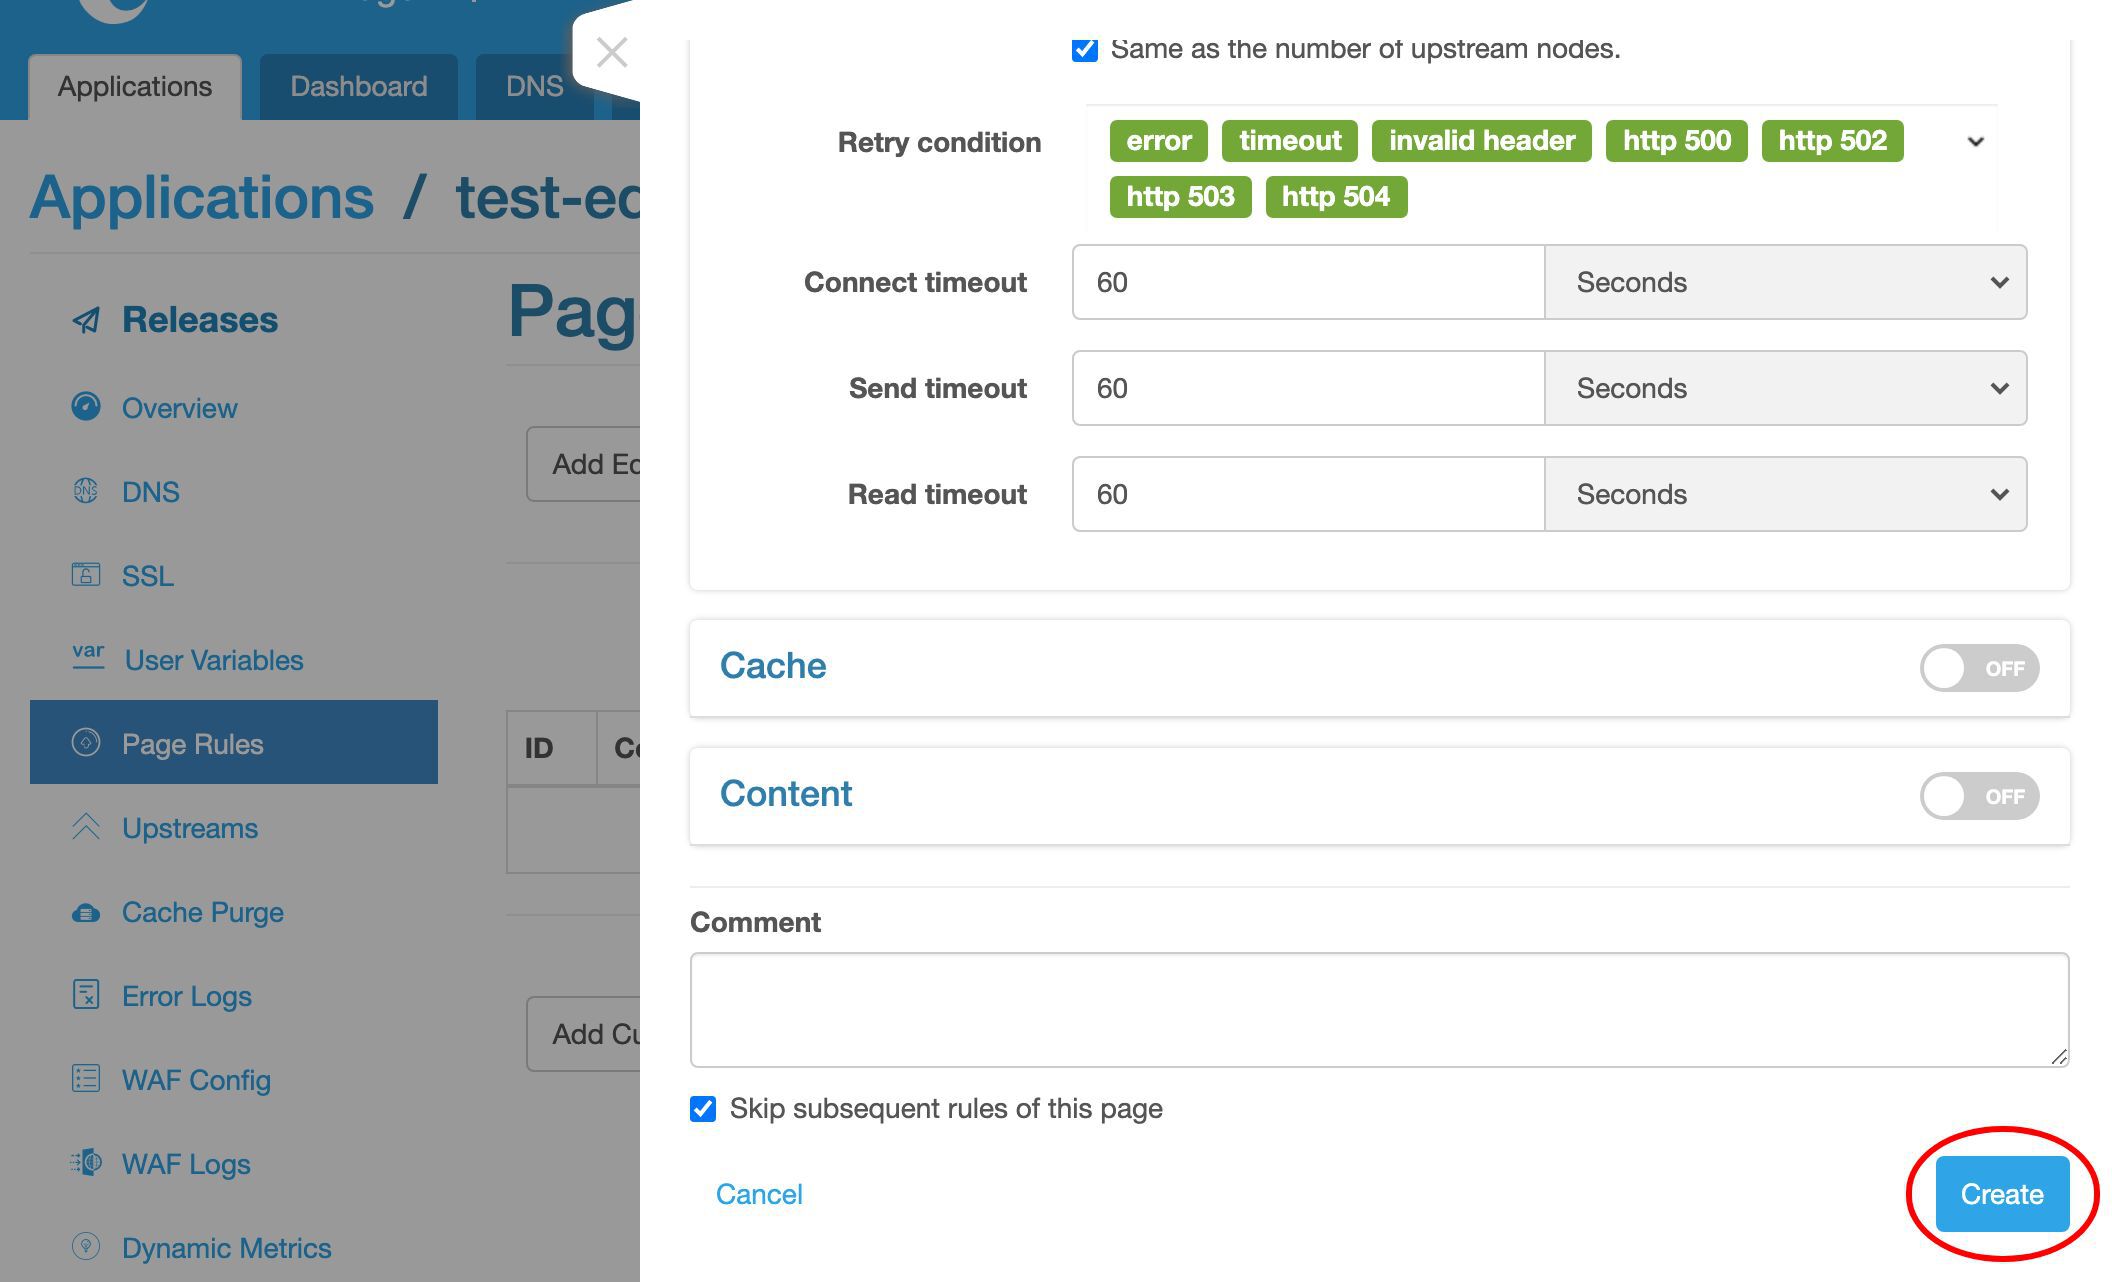
So the balancing policy does not really matter here.
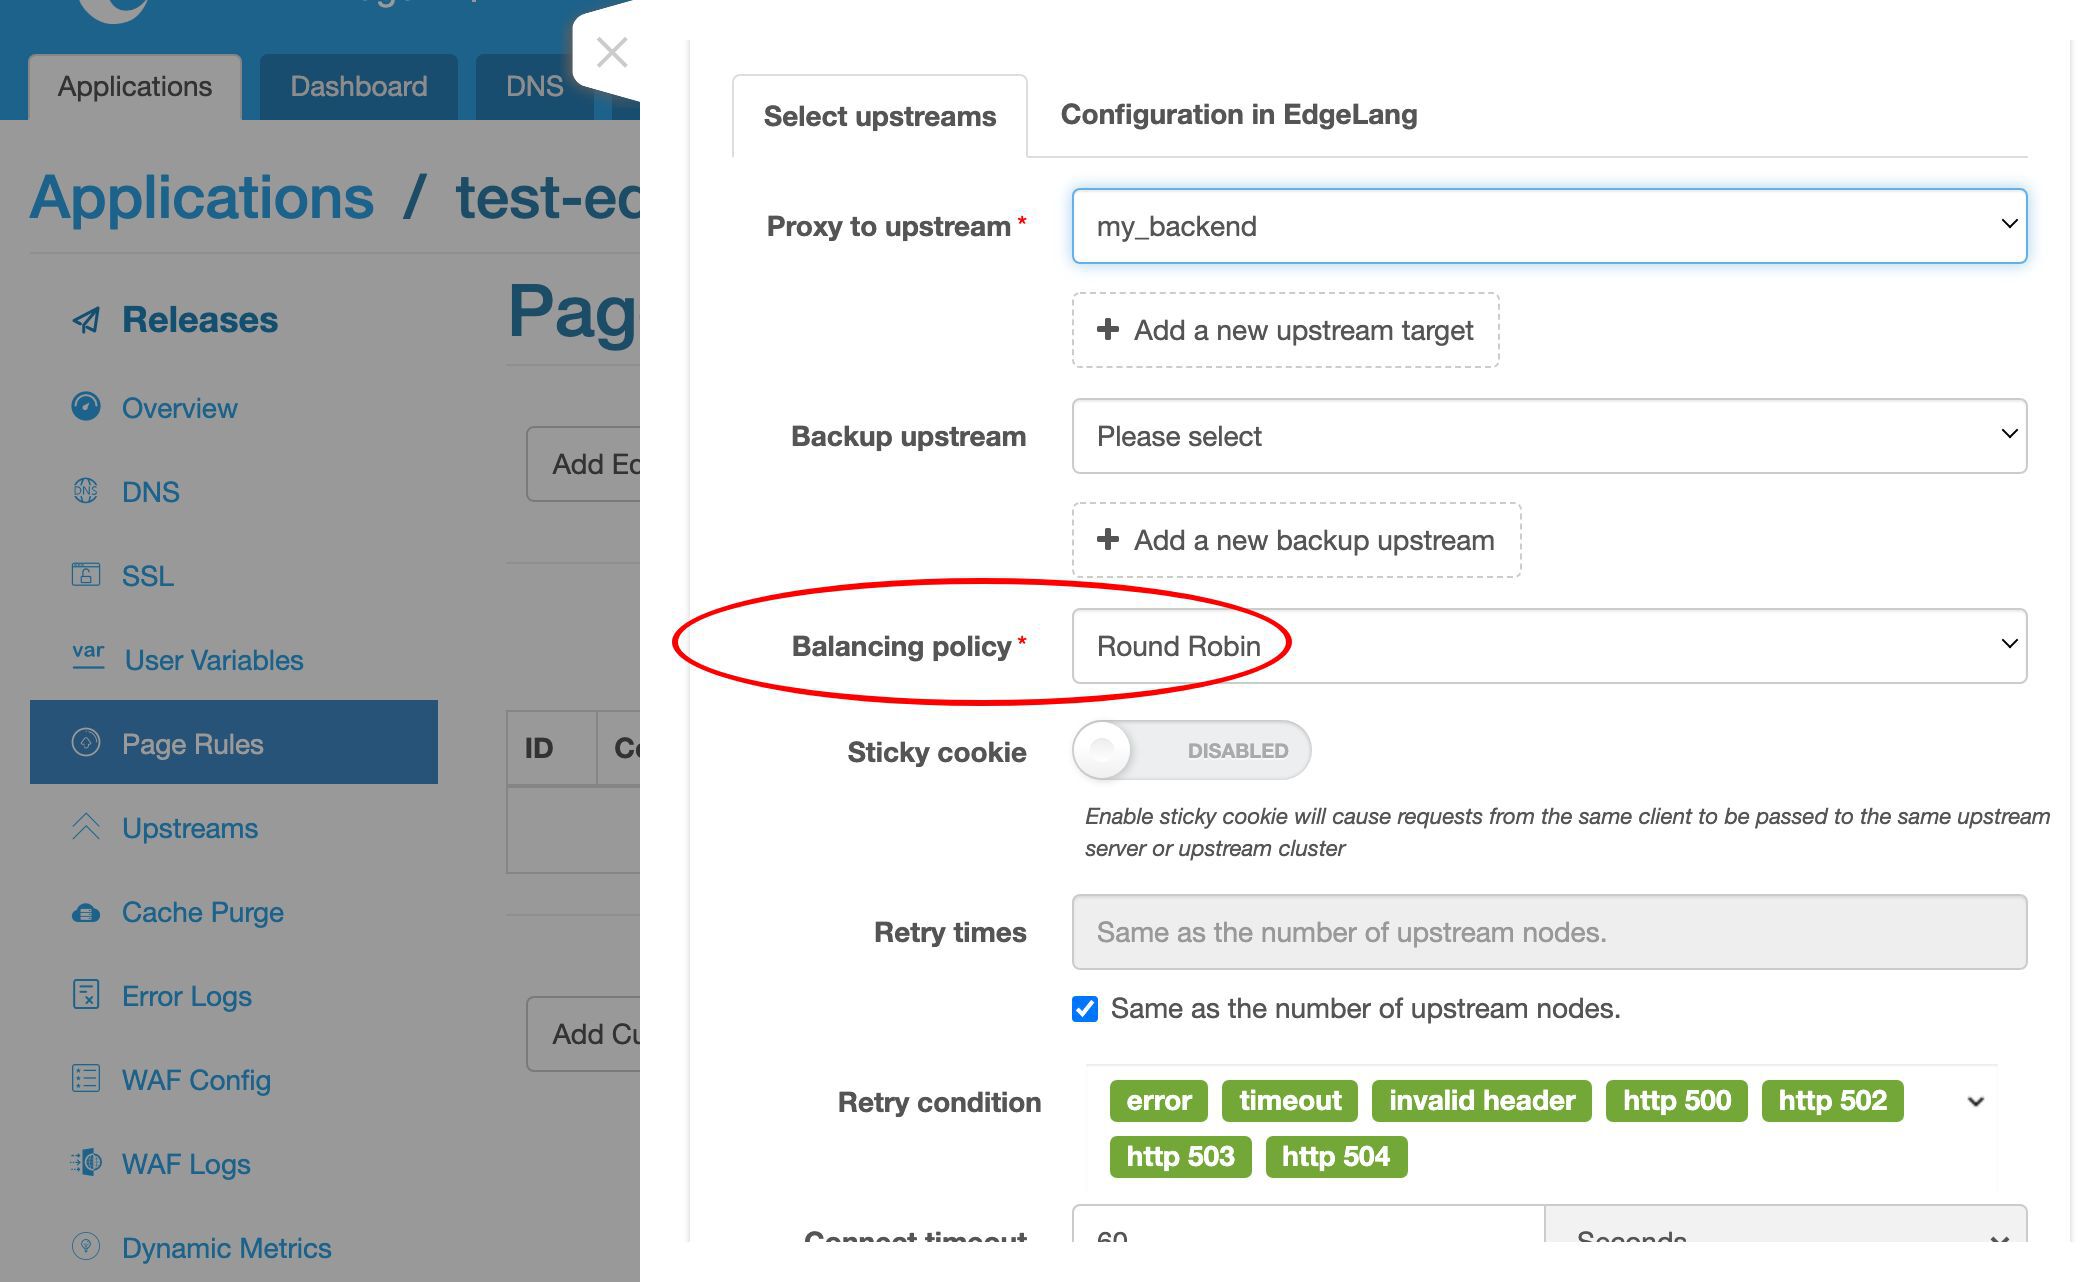
We’d just keep the default round robin policy.
We may also want to enable caching of the responses. We’ll cover this topic in another video.
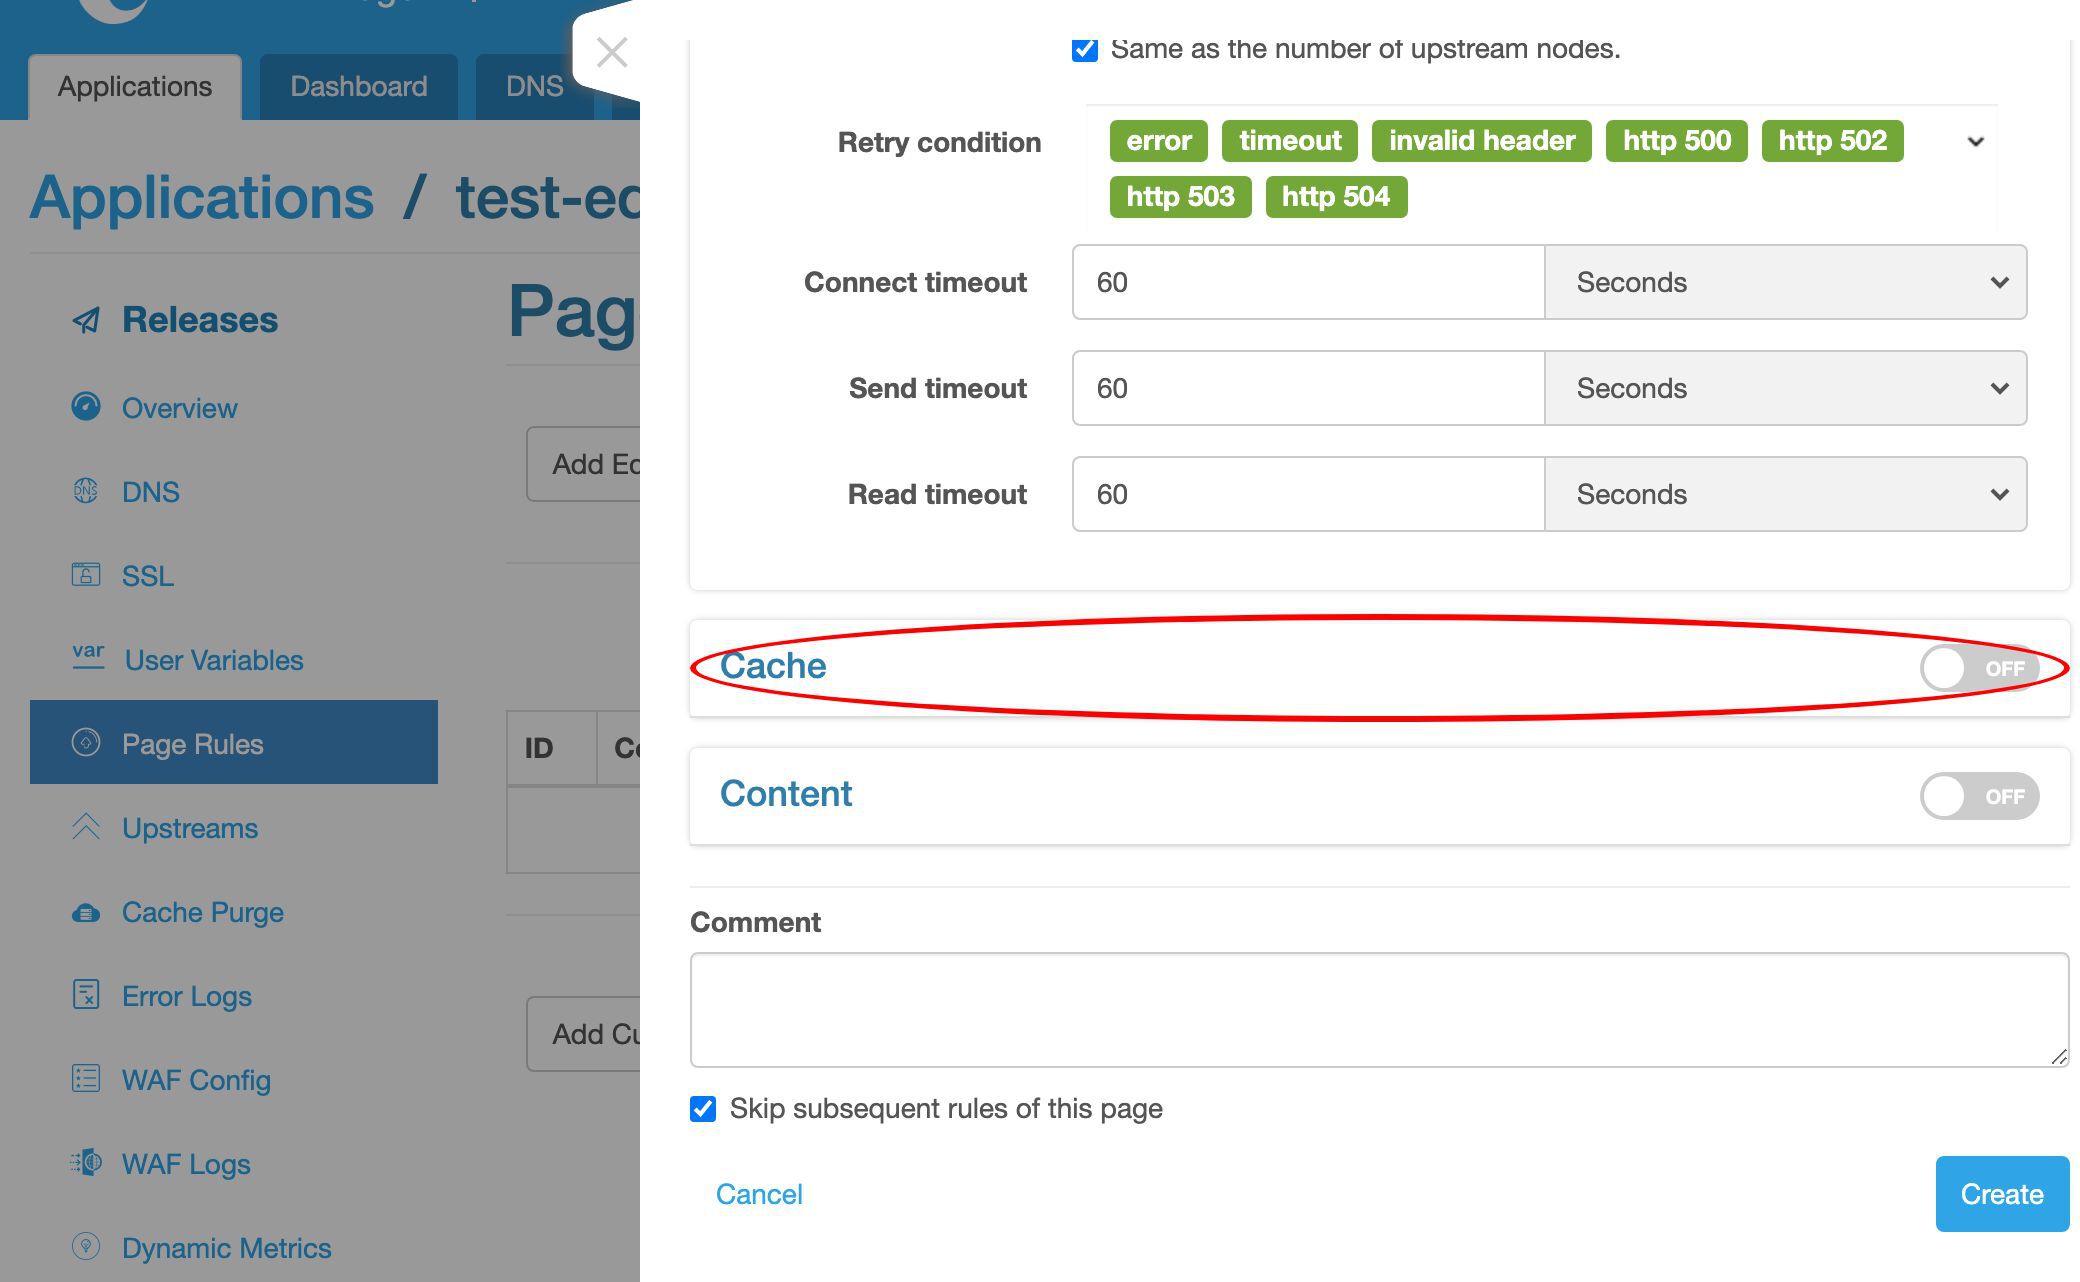
Finally, create this rule for real.
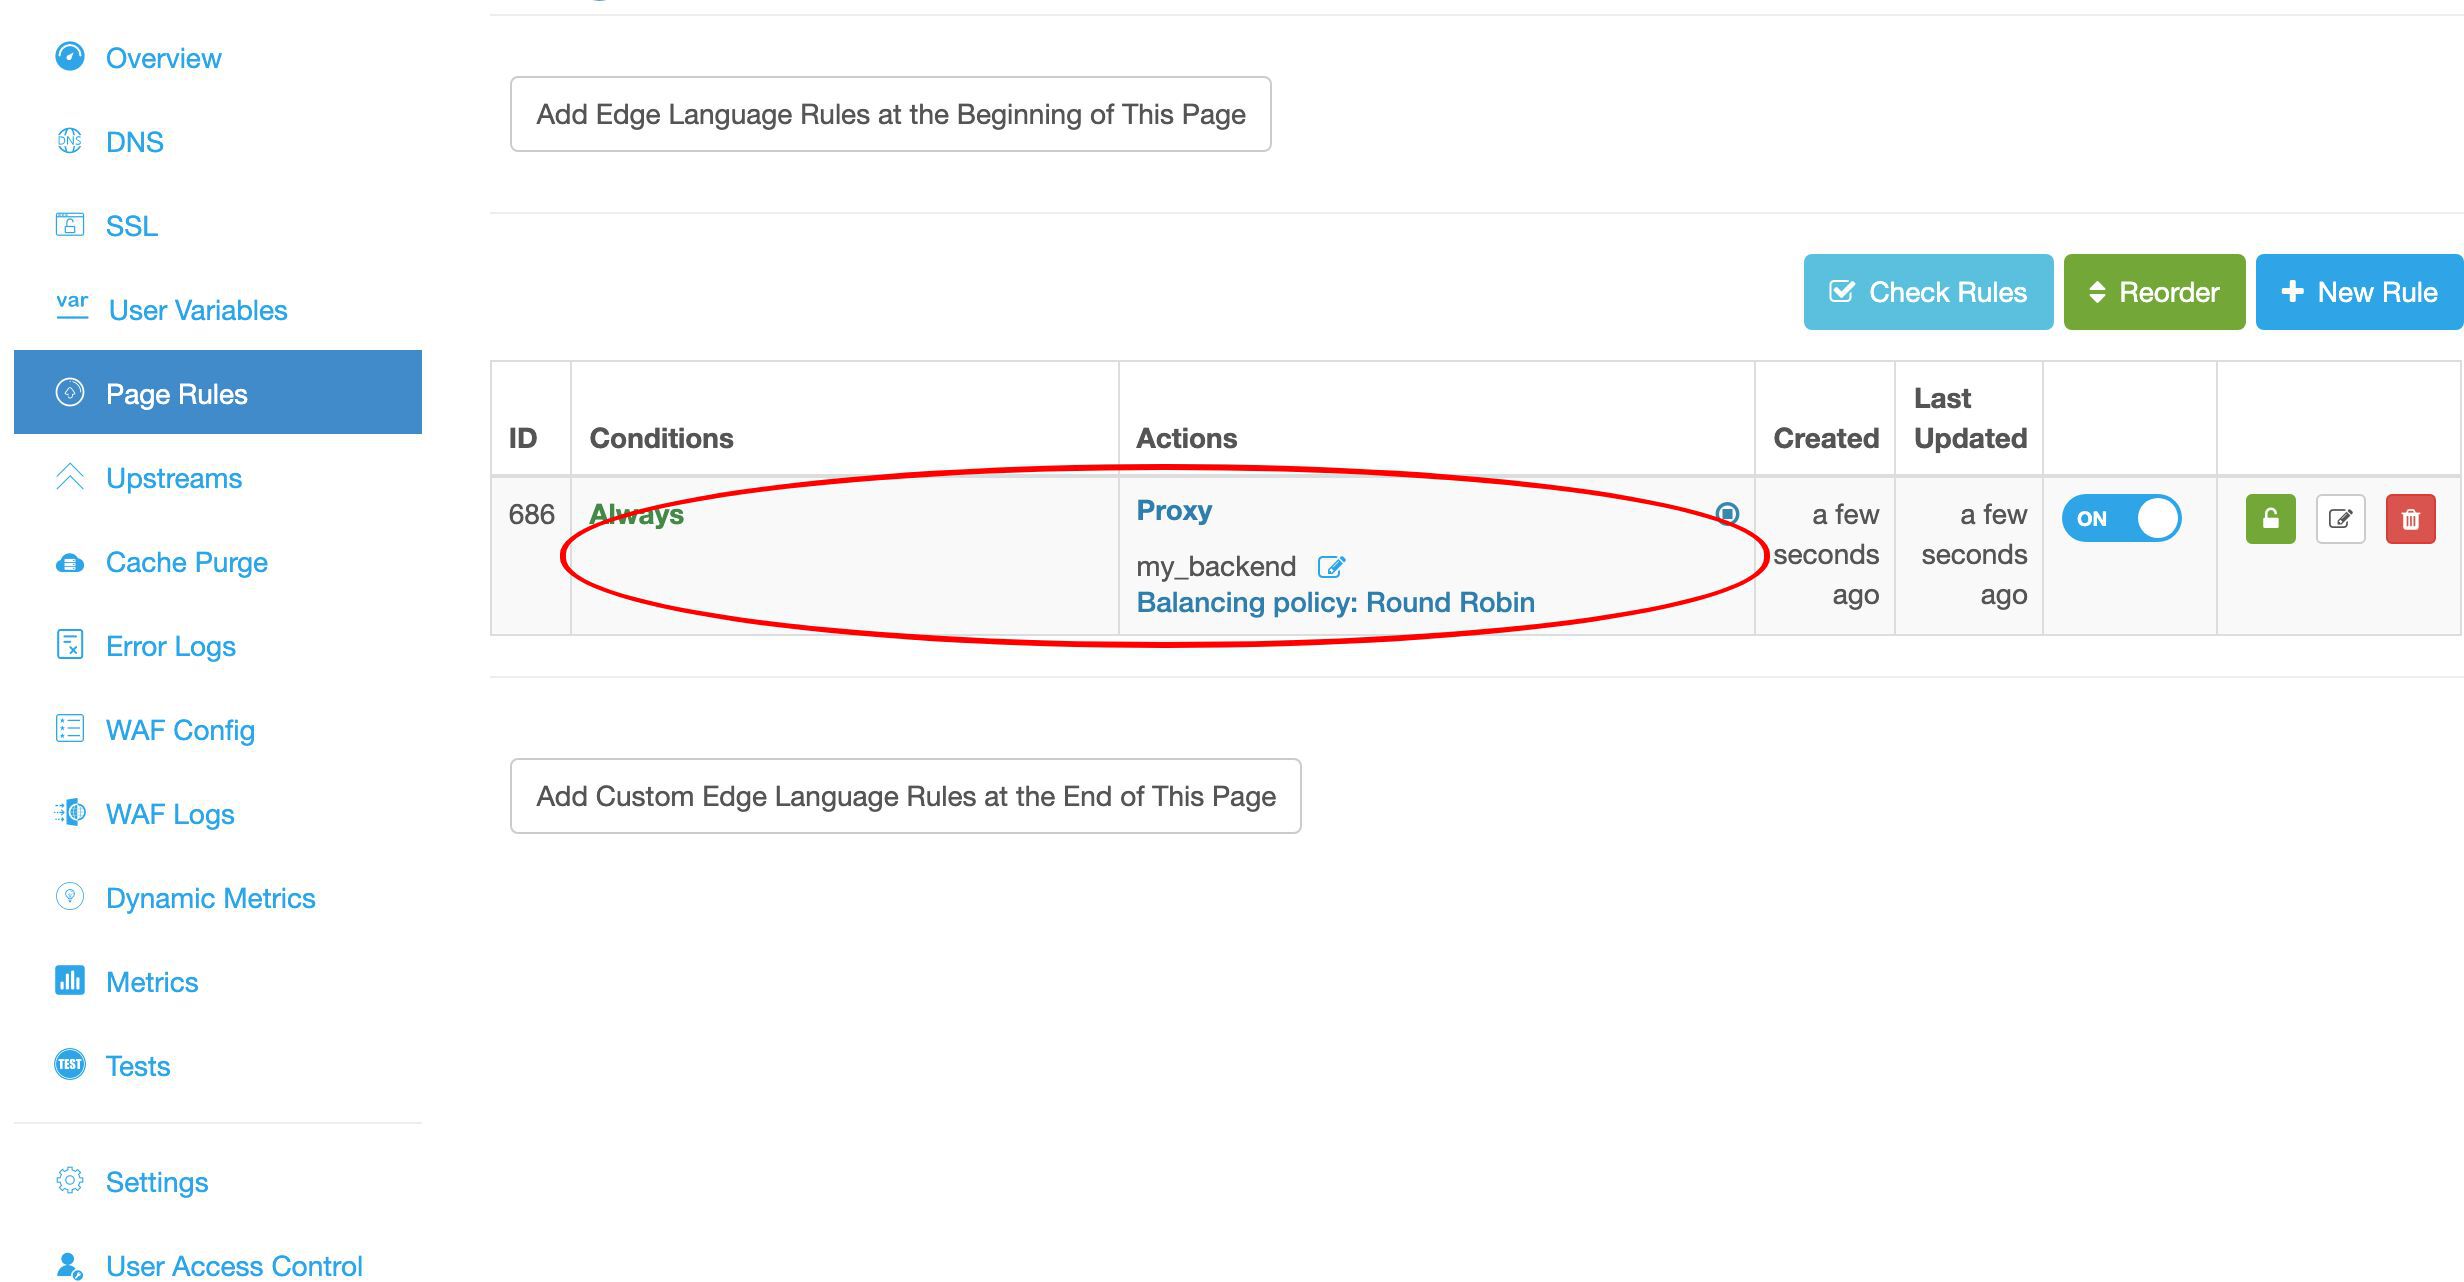
We can see the proxy page rule is already listed on the page rule list.
Release the configuration
The last step is to make a new configuration release. It will push out our pending changes to all our gateway servers.
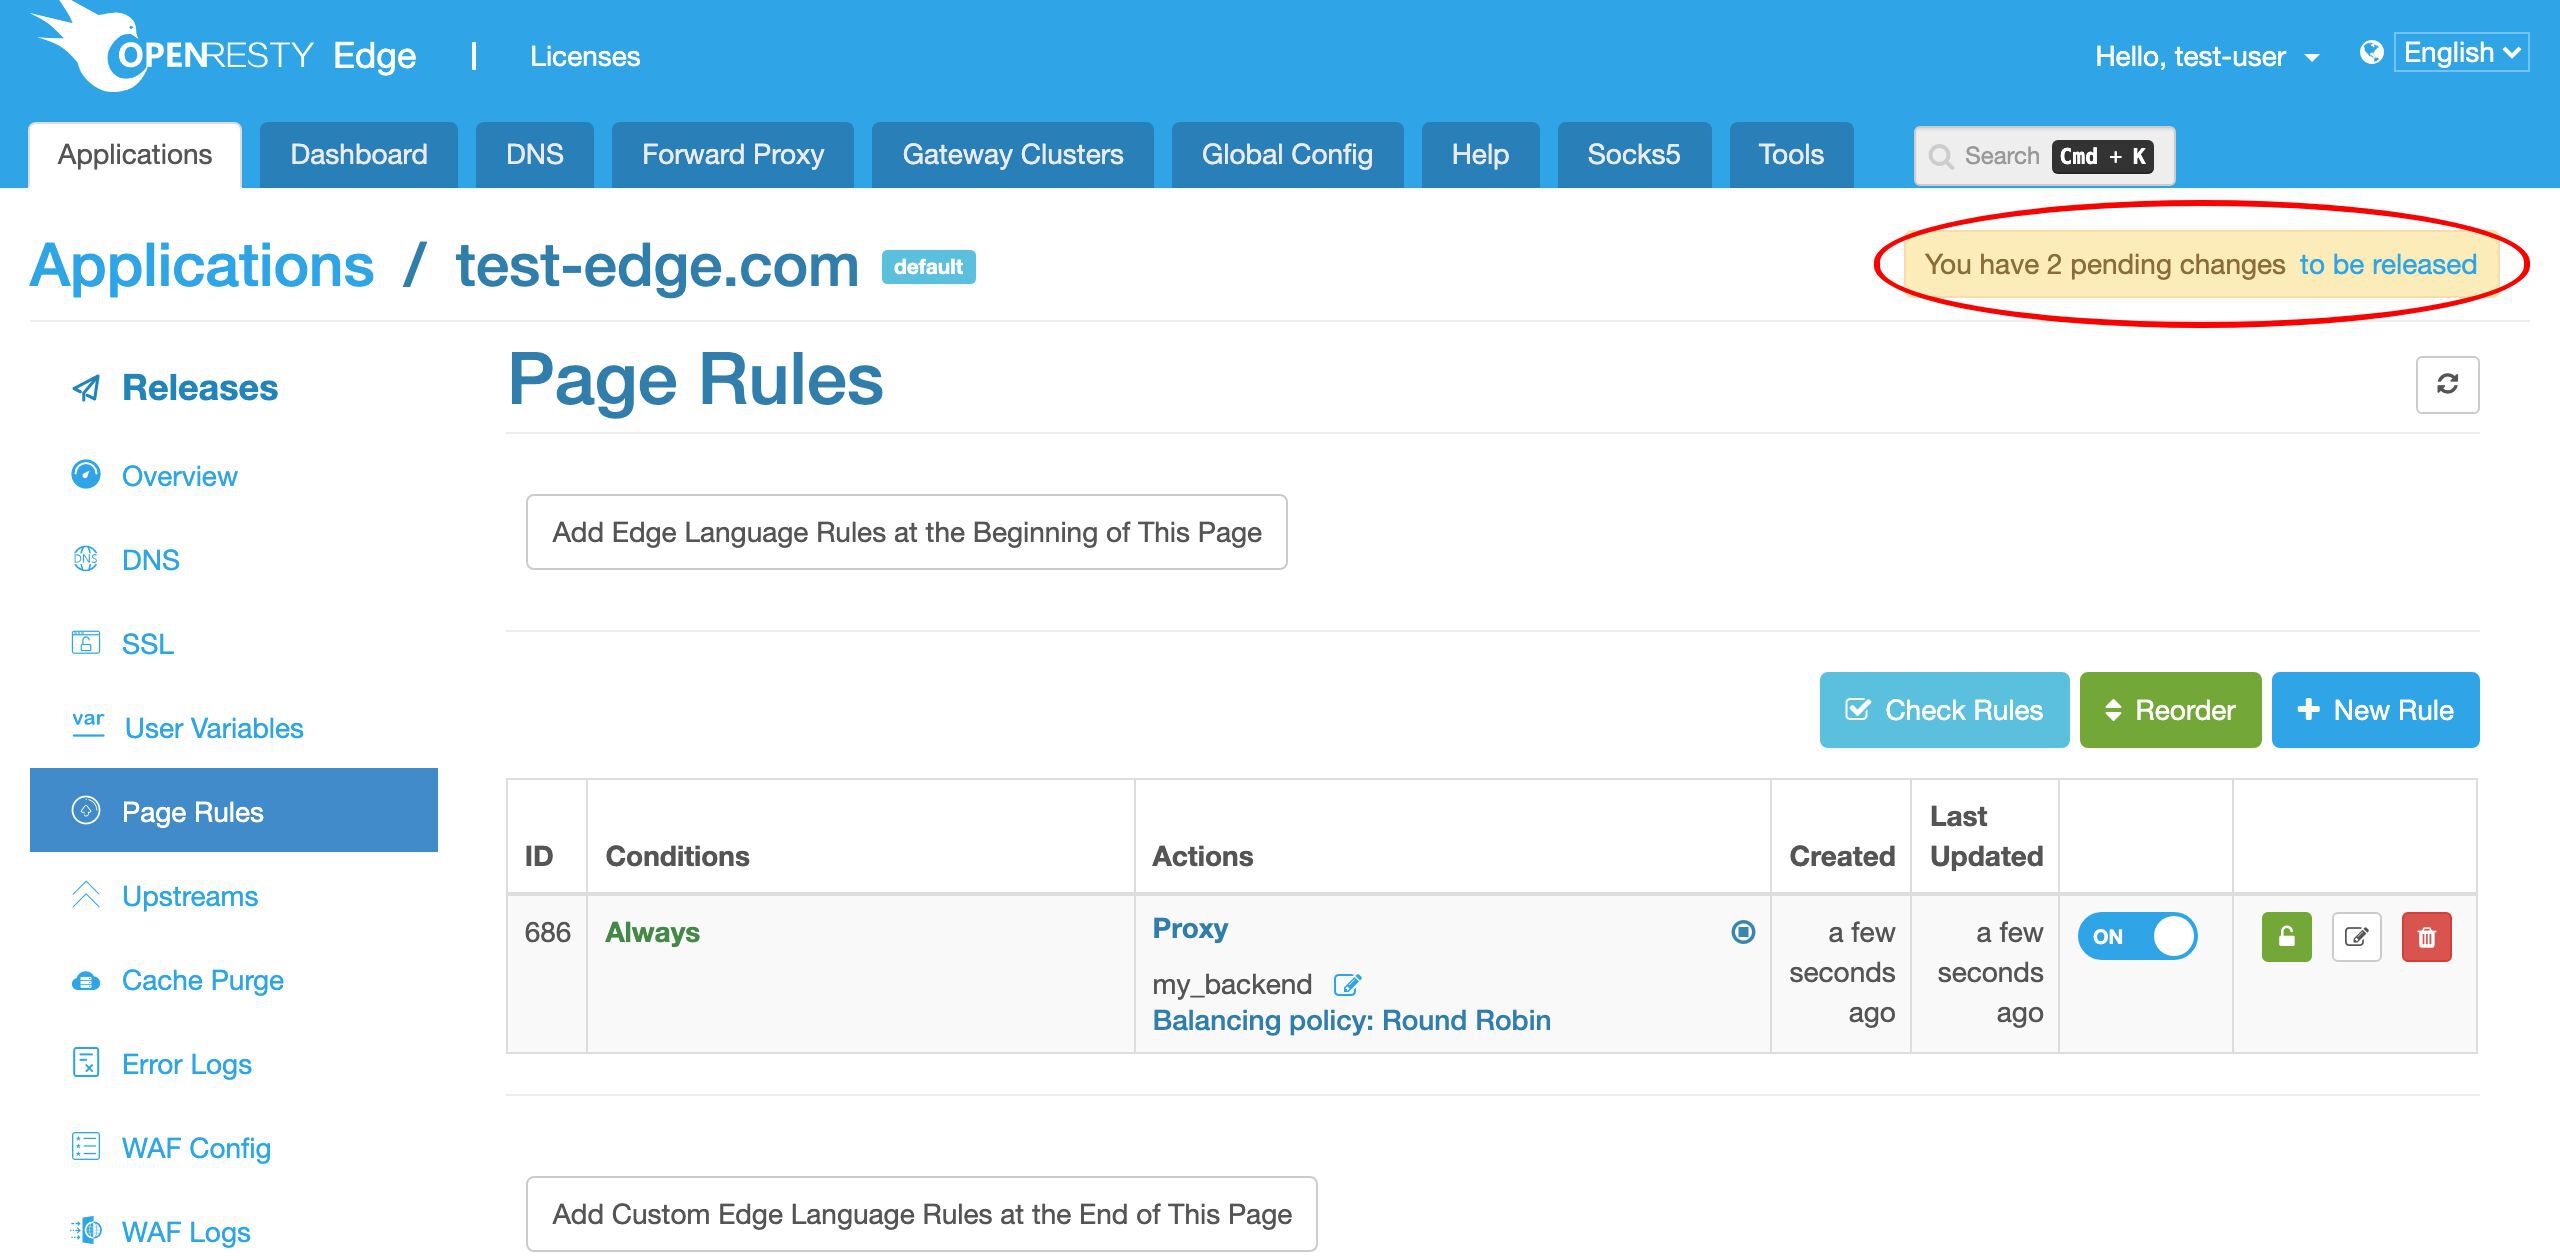
Let’s click on this link to make a new release.
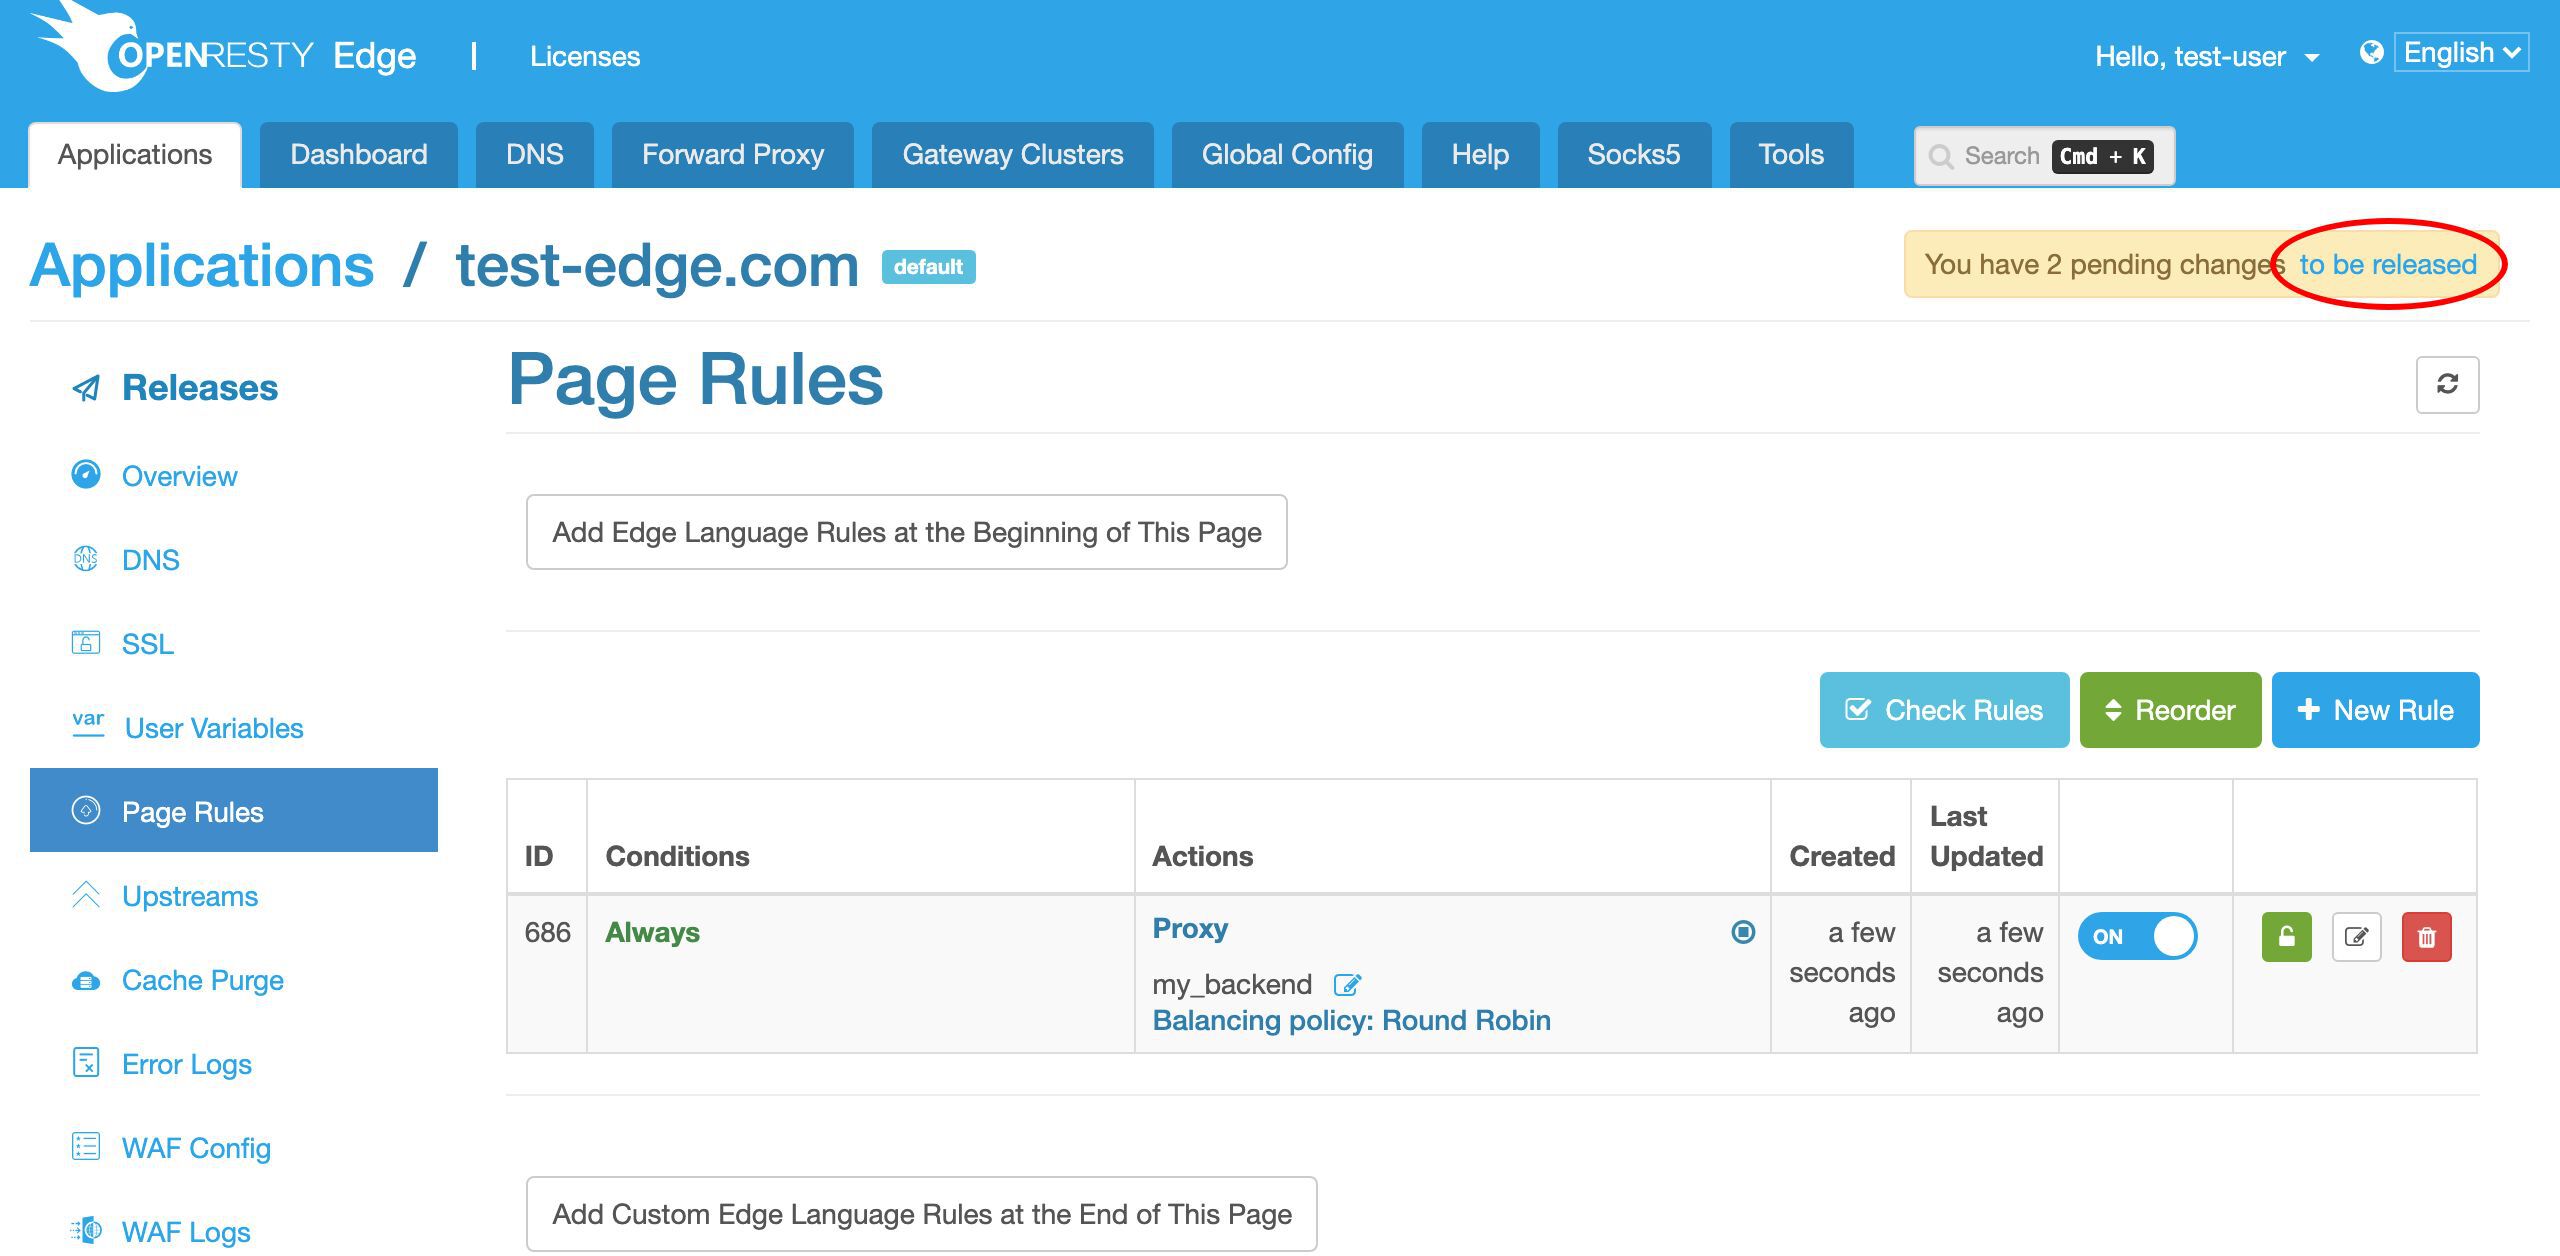
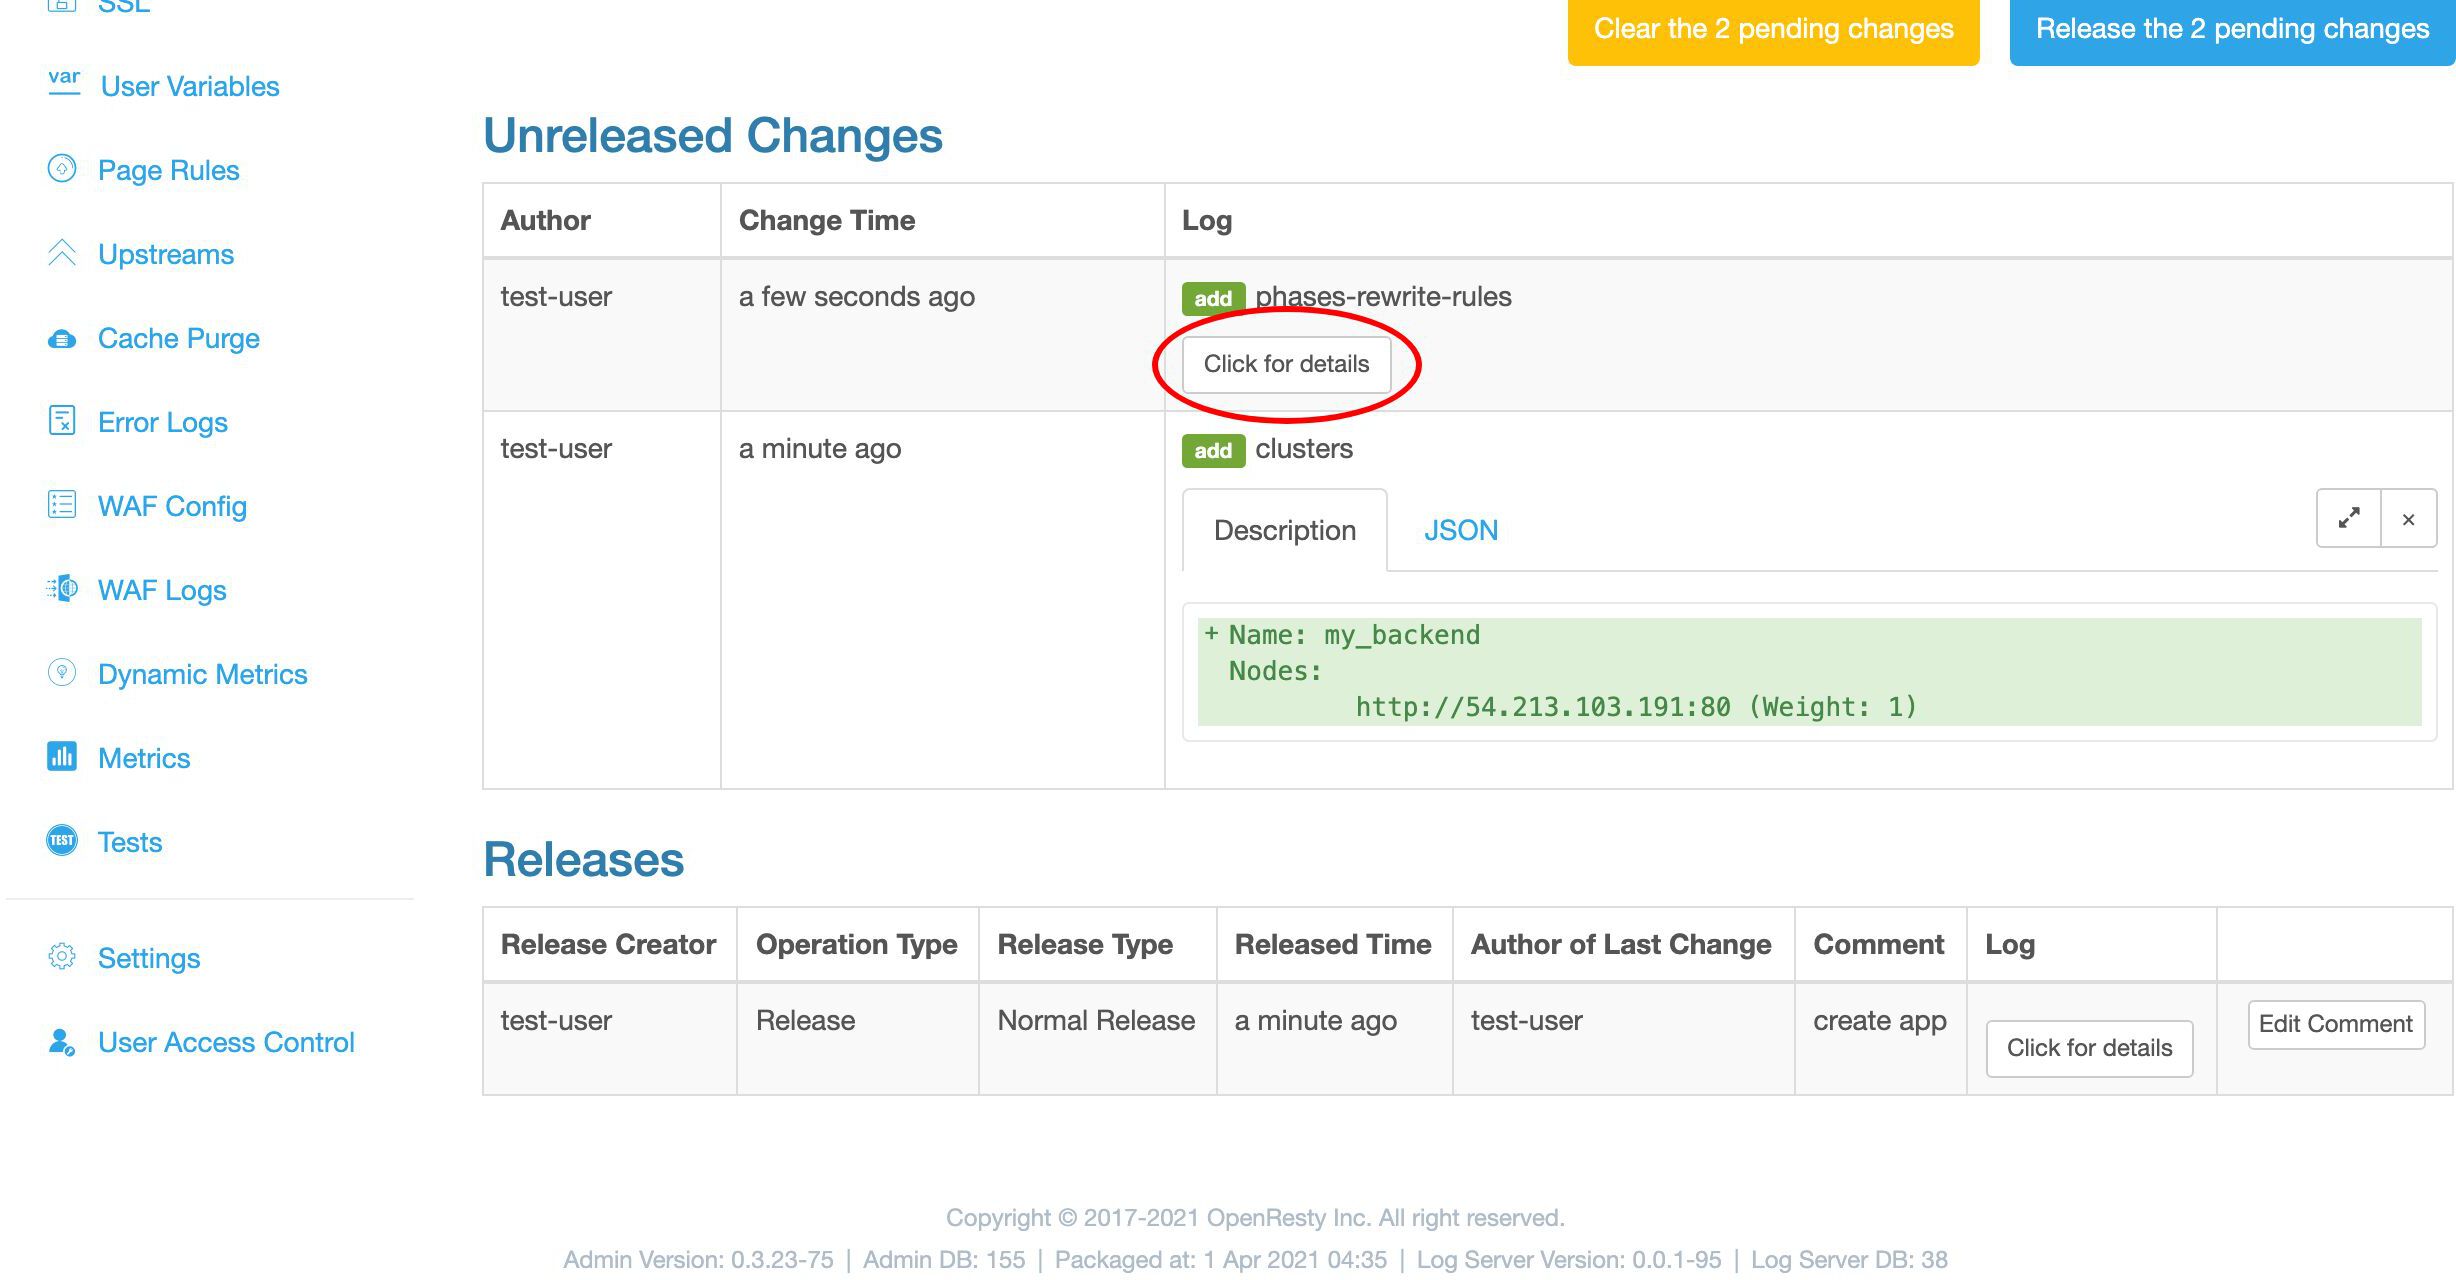
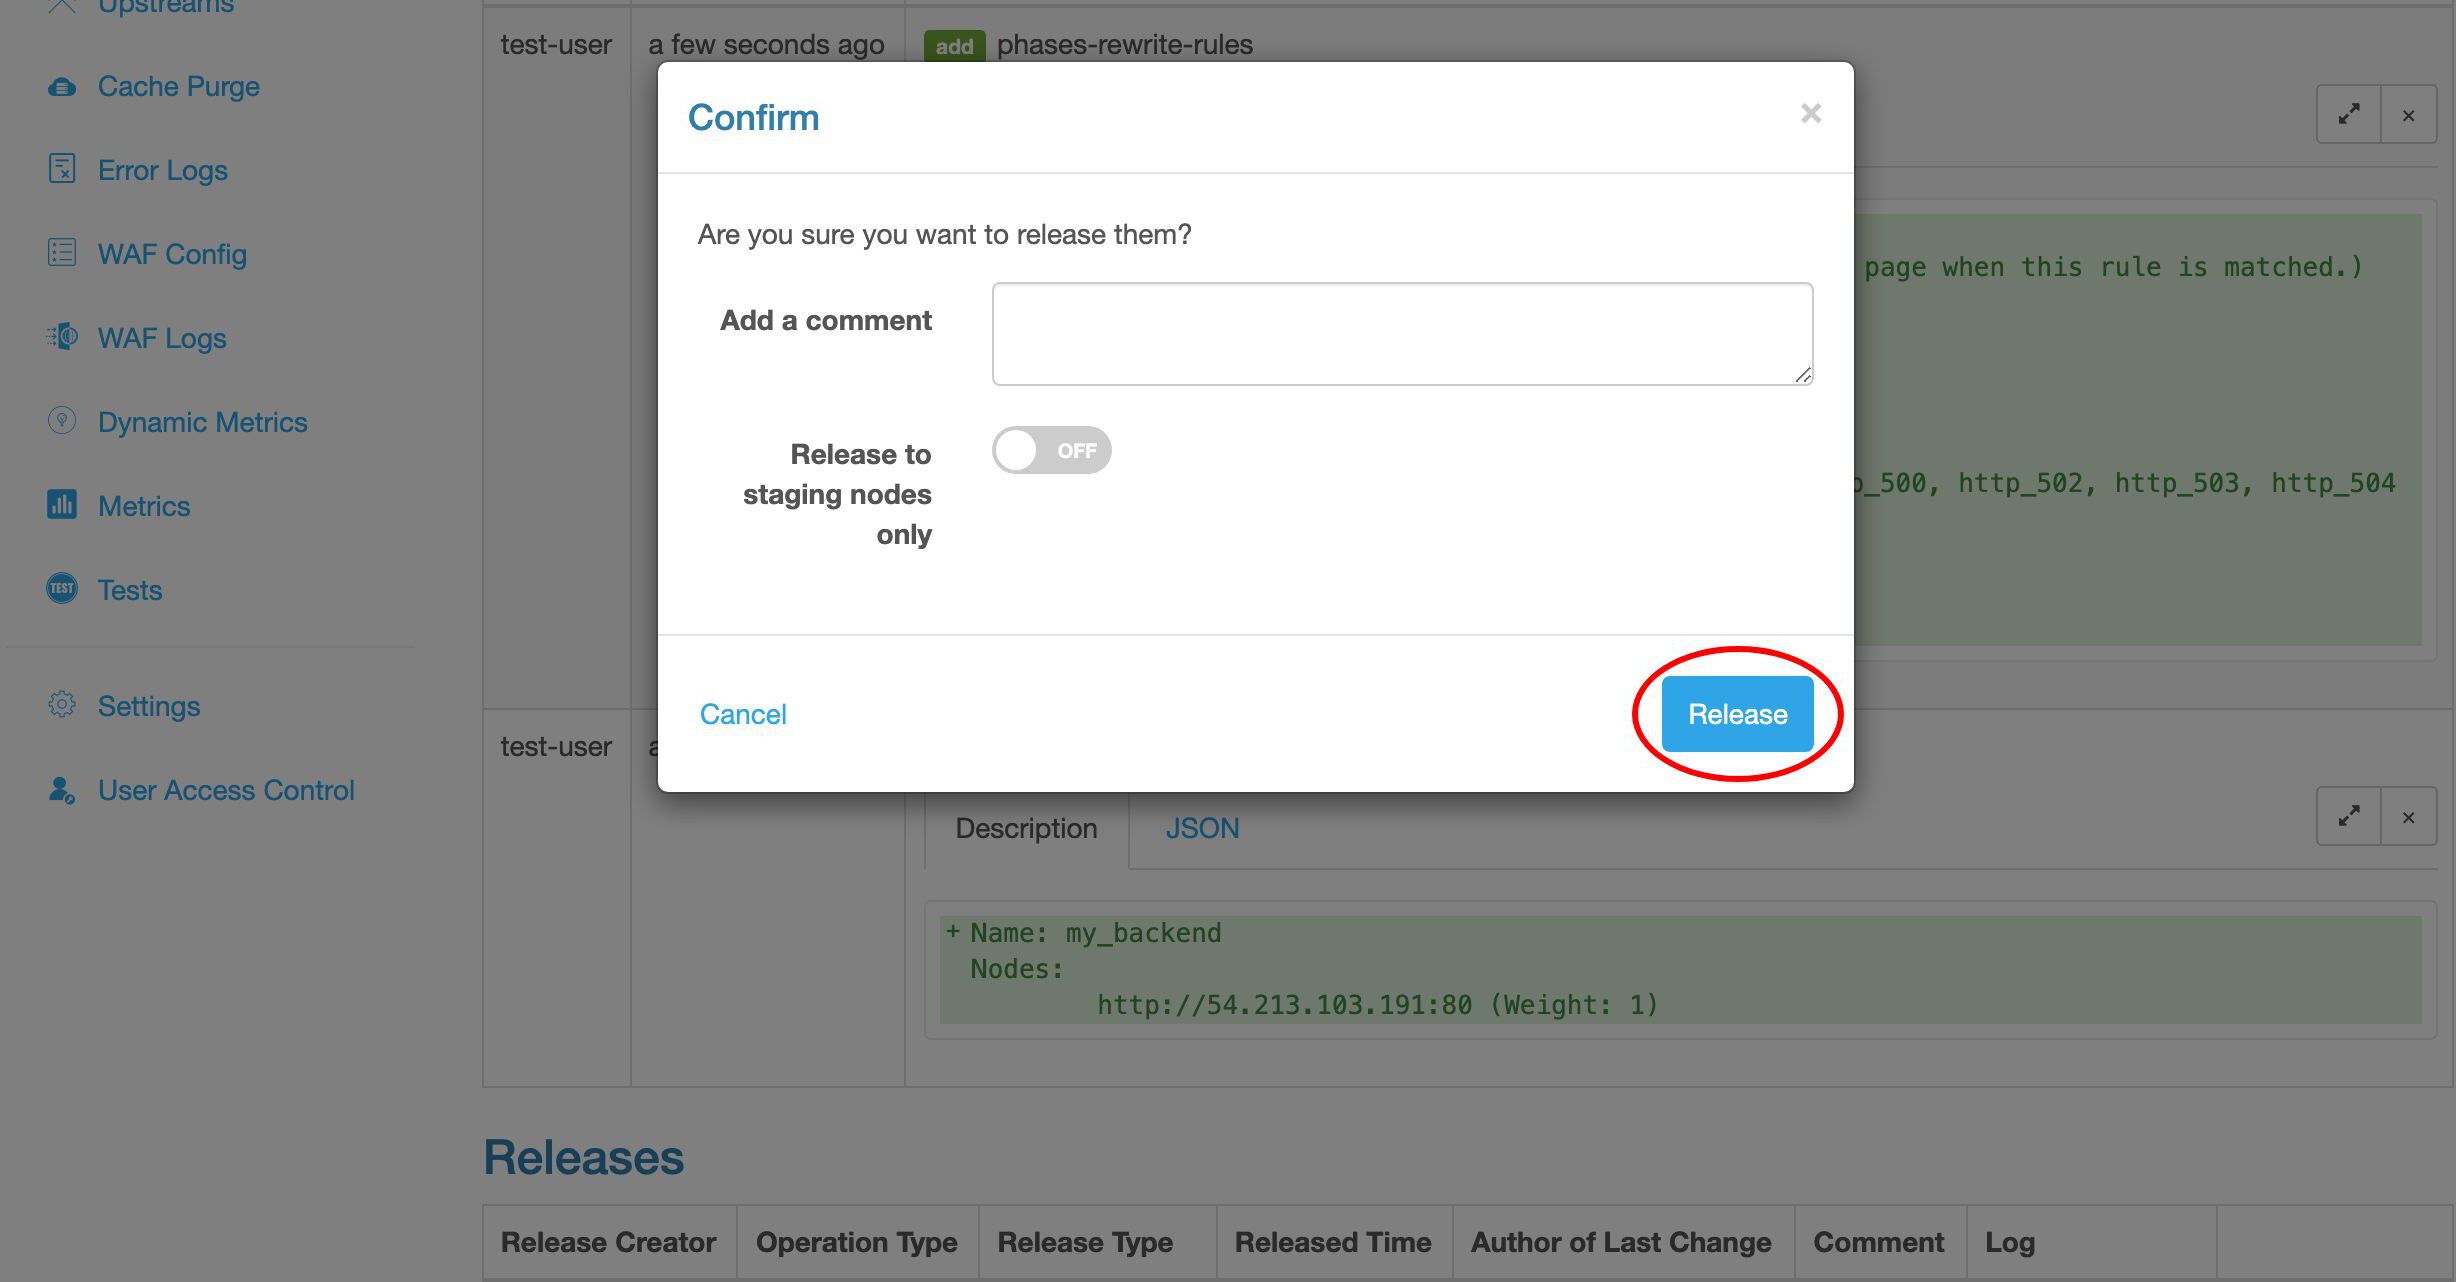
We have a chance to review our changes before pushing them out.
This is our first change.
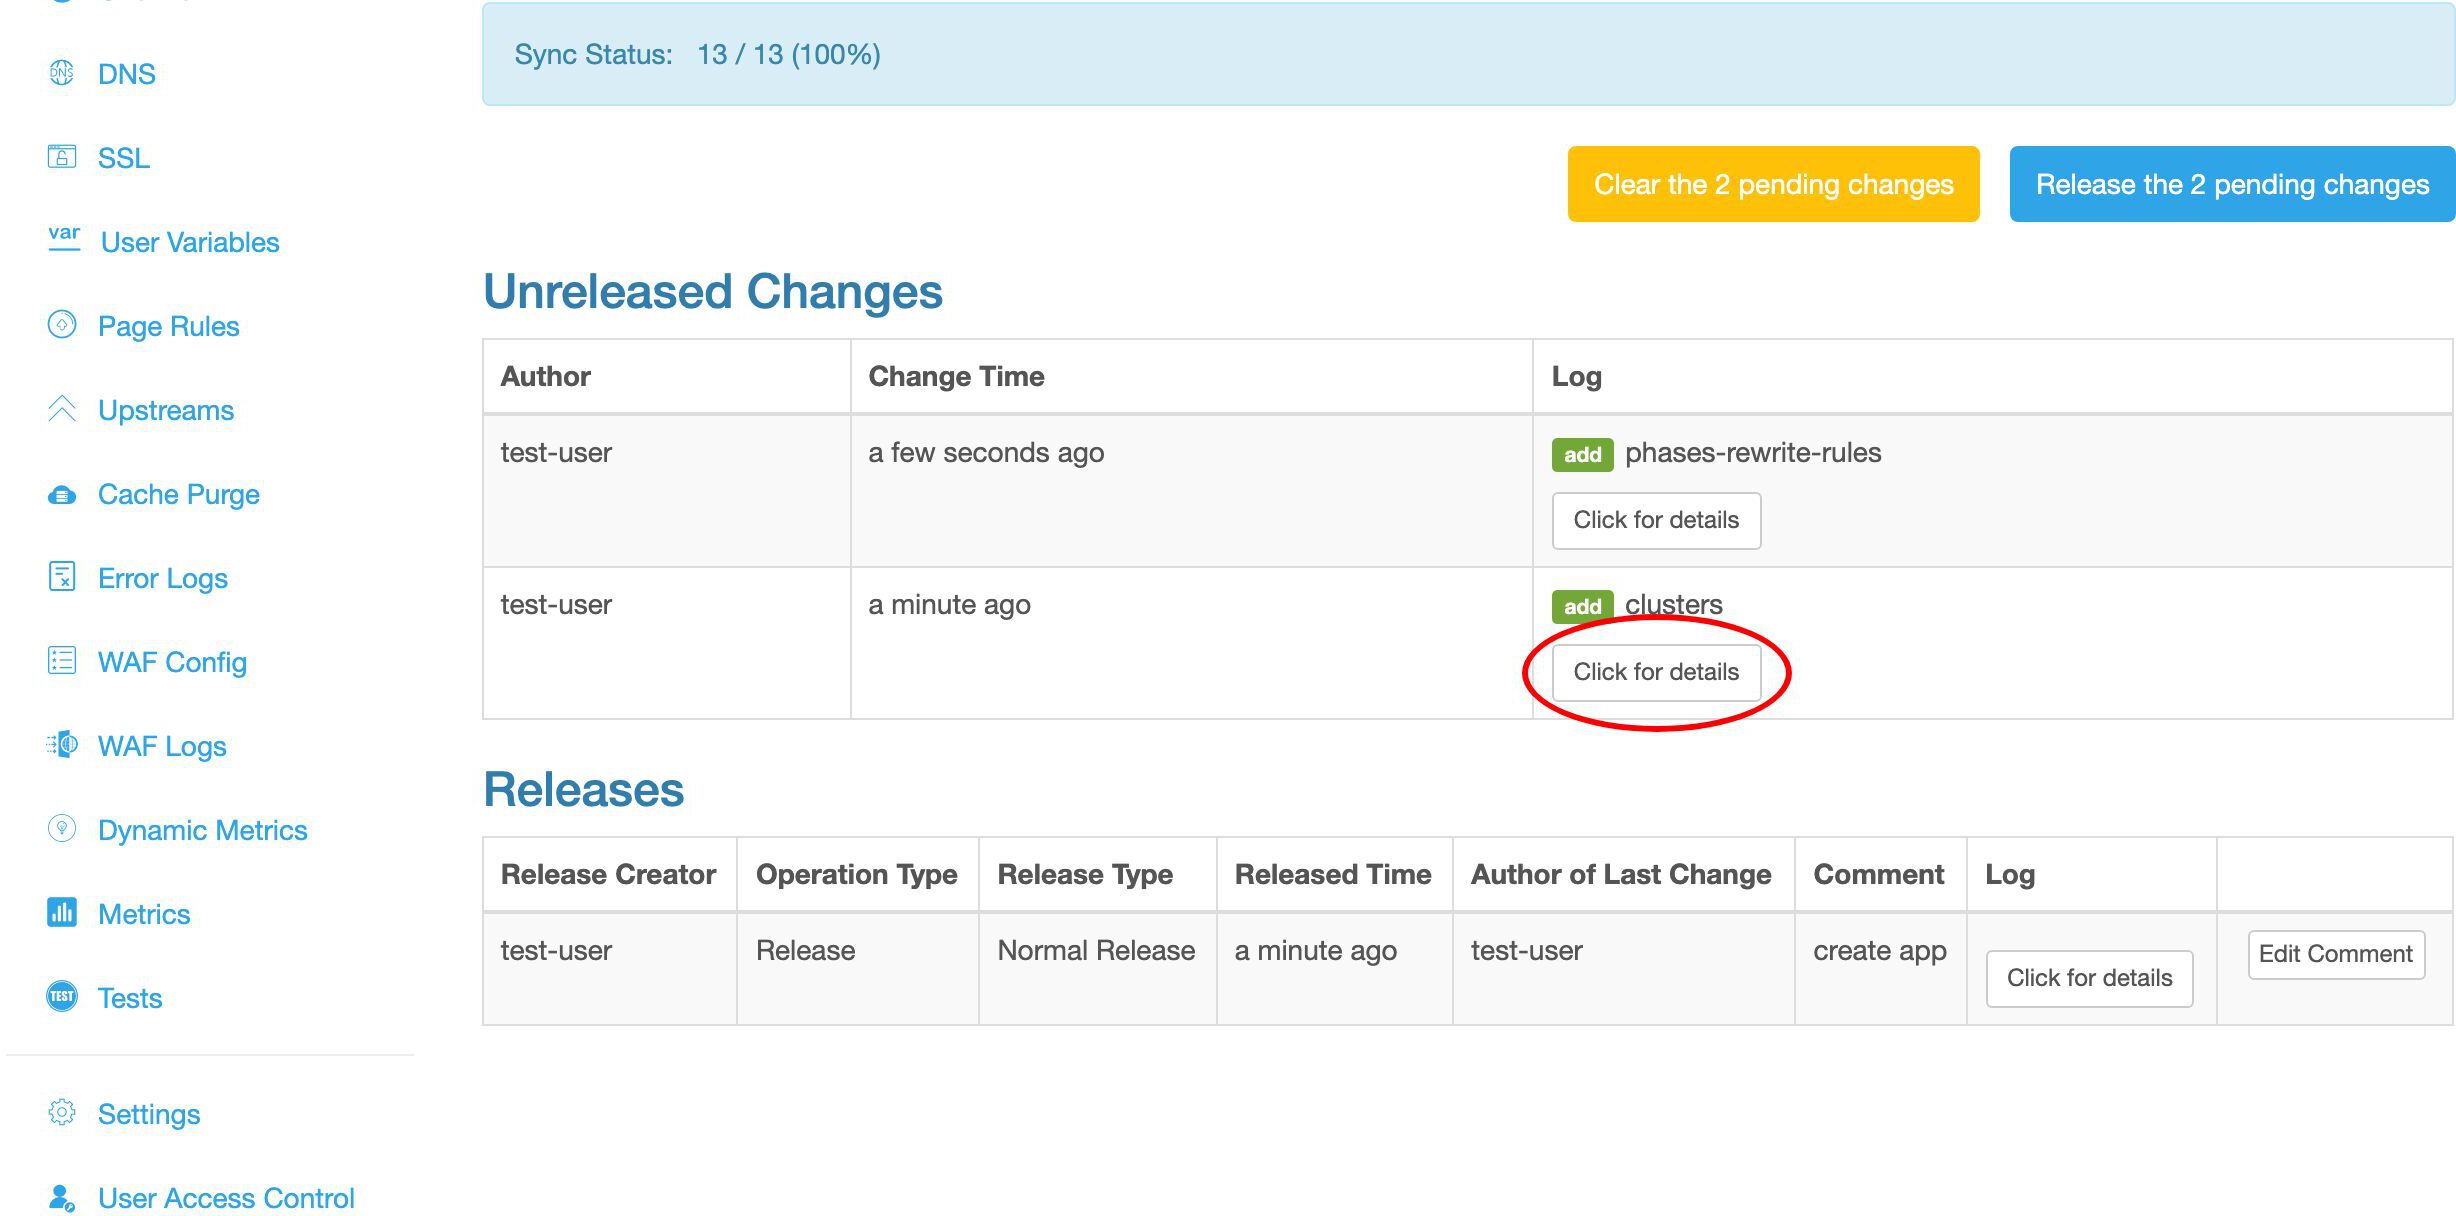
It is our addition of the my_backend upstream.
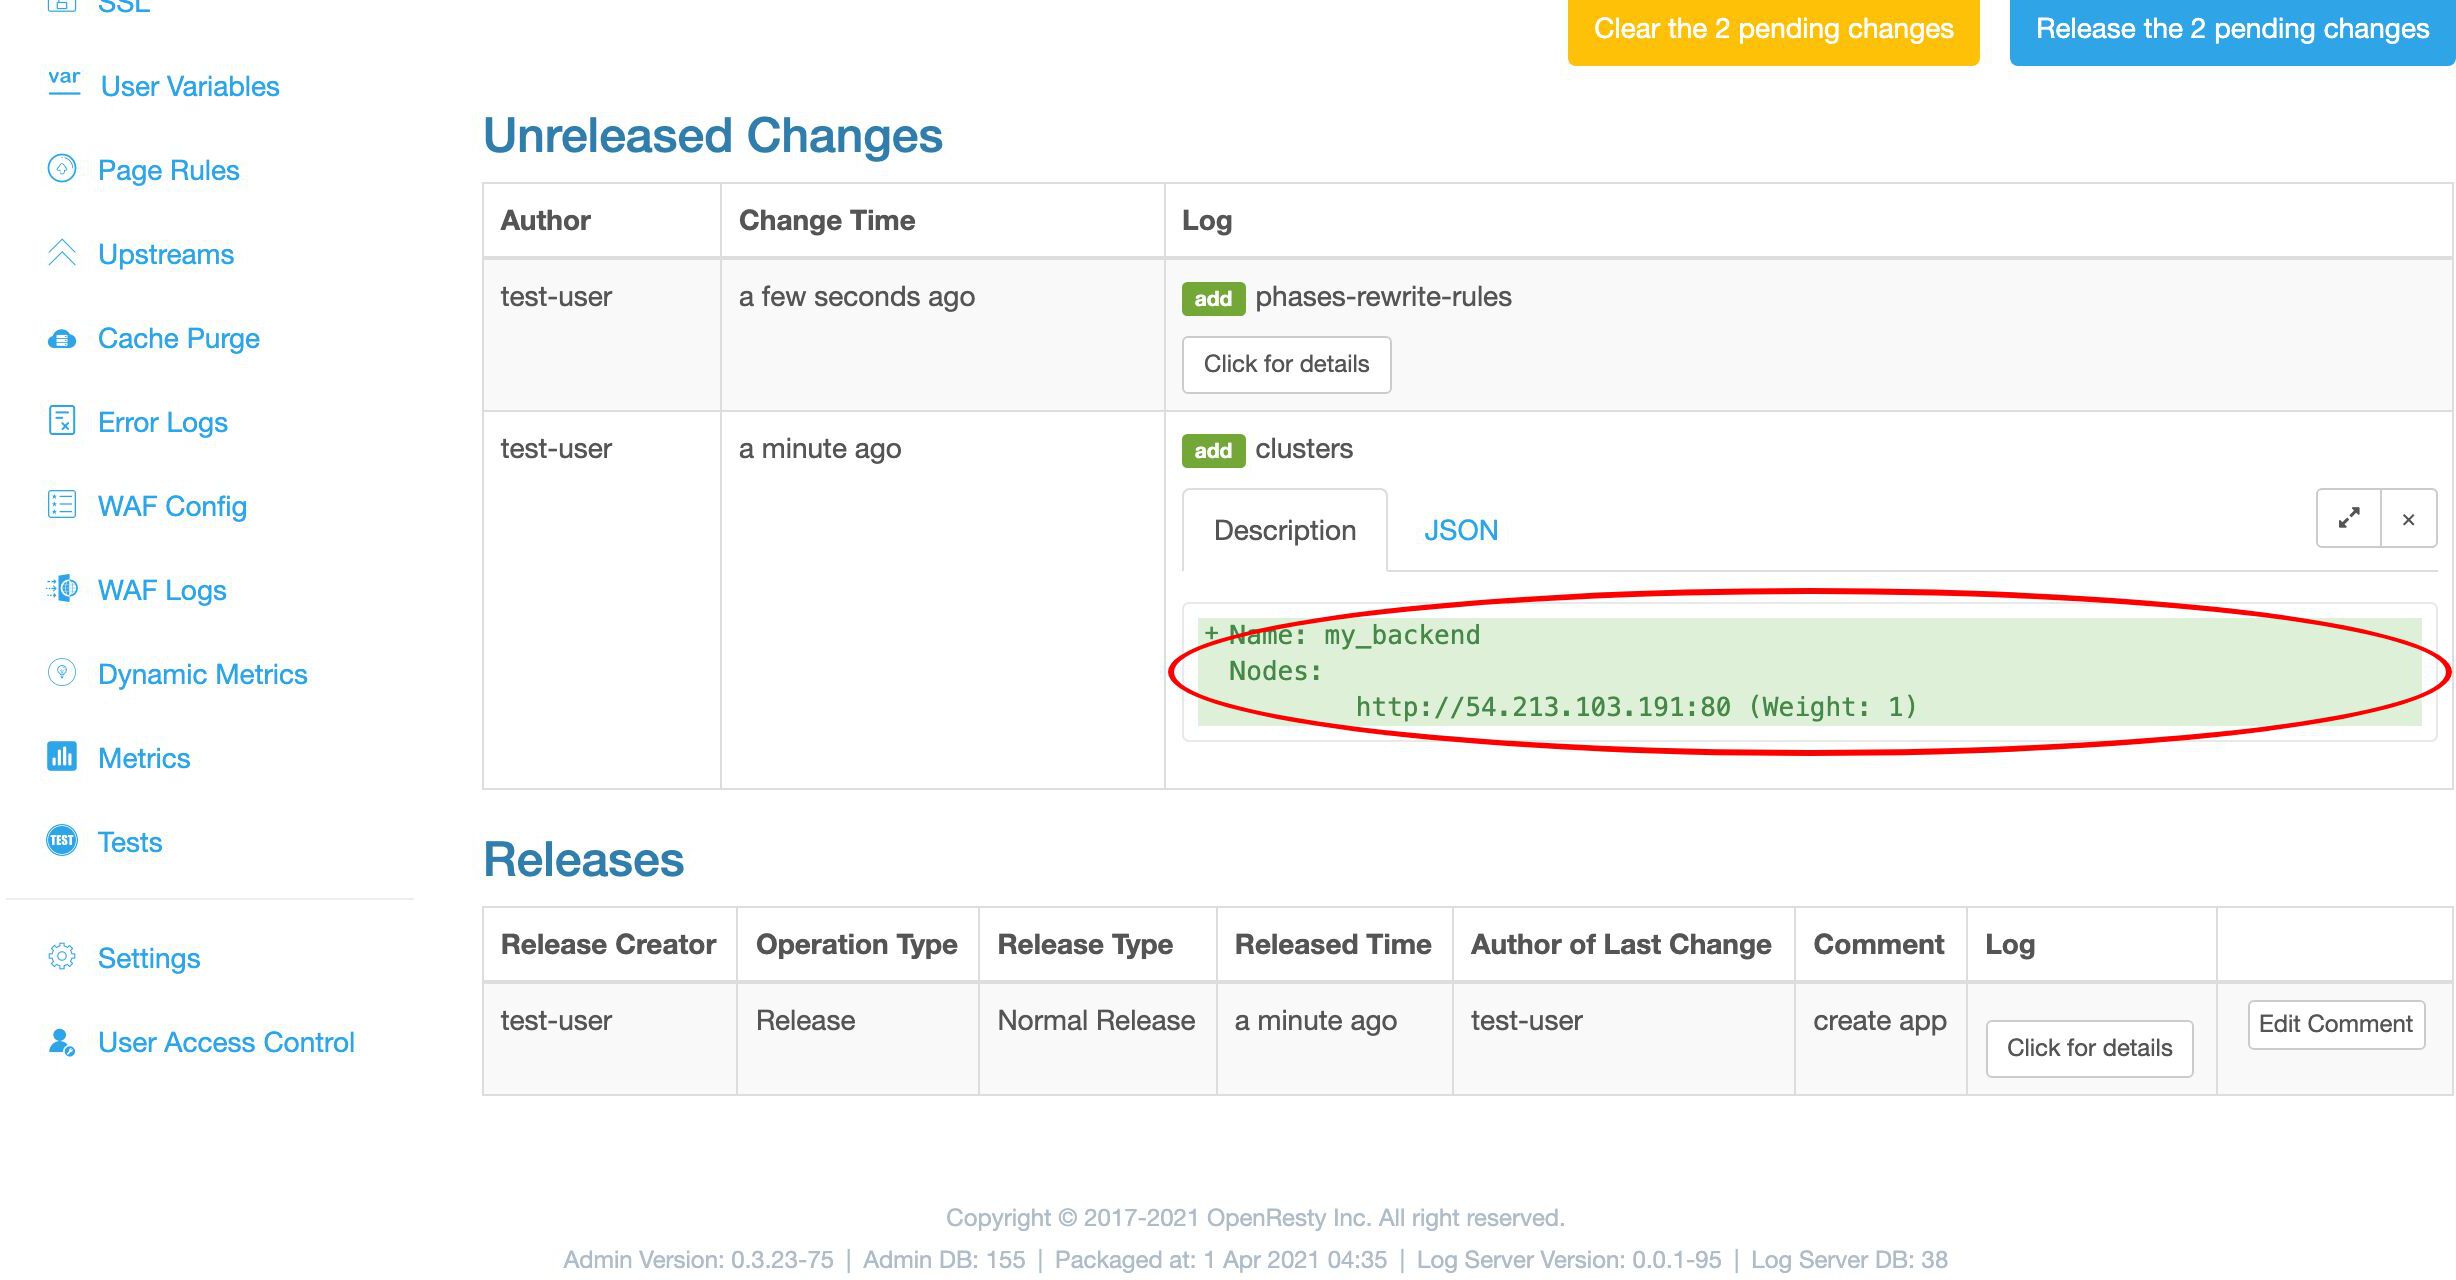
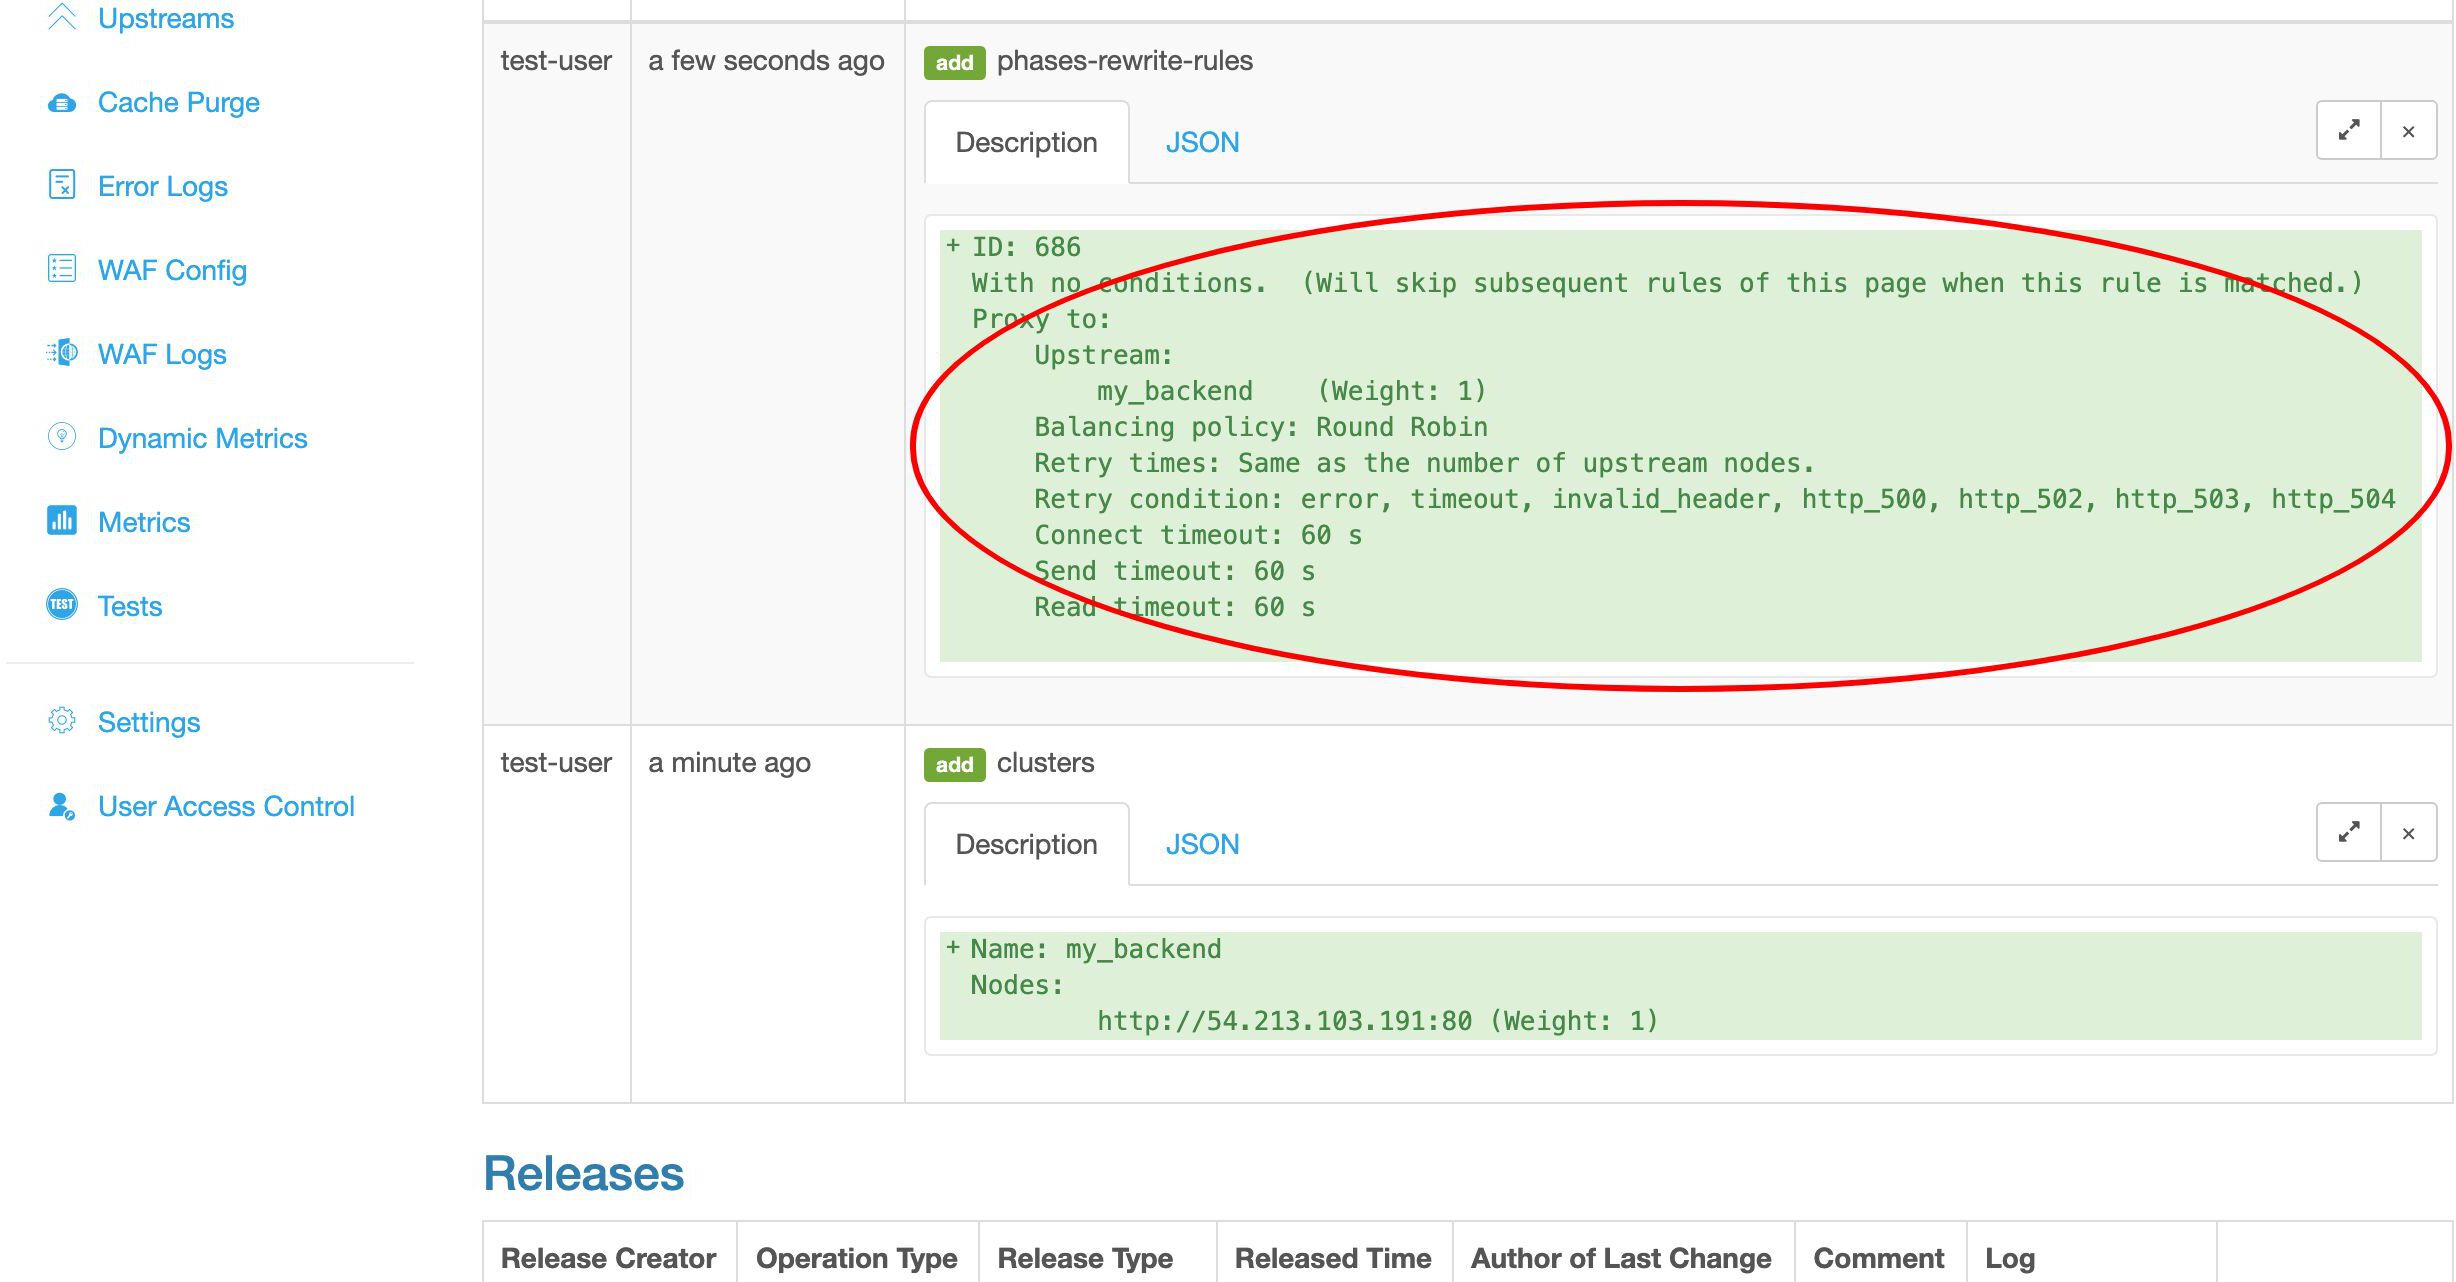
This is our second change.
Now we make a release to all our gateway servers.

Ship it!
We can watch the configuration synchronization progress at real time. It is pushed out to the whole gateway network.
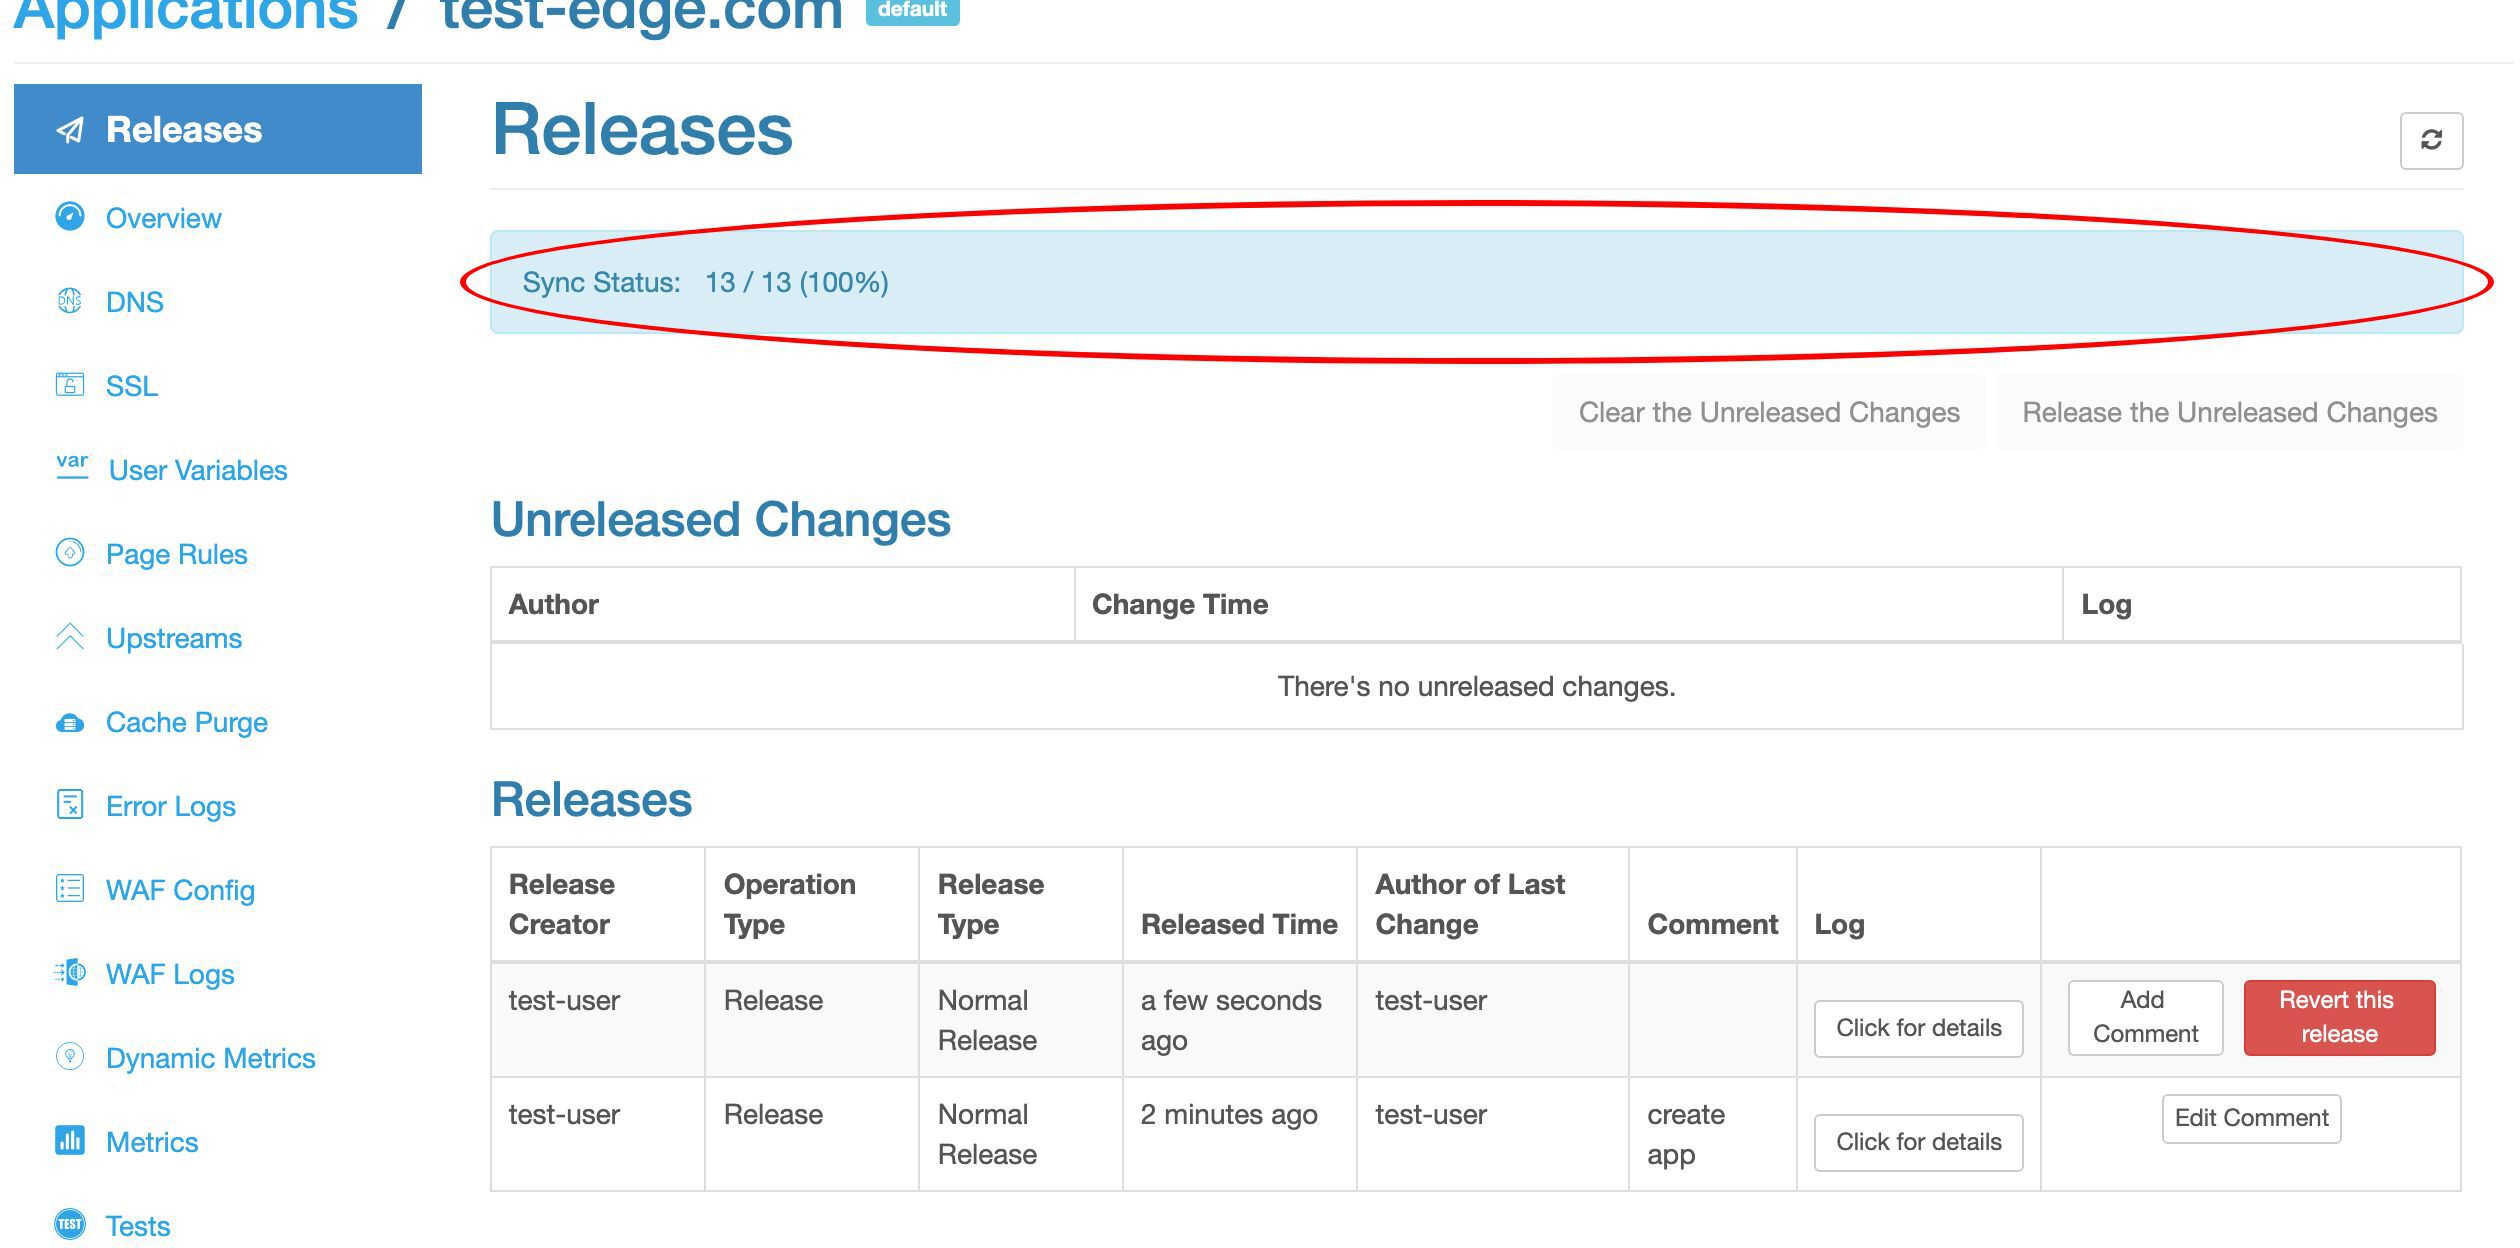
Now it is fully synchronized. As we can see, this sample deployment has 13 servers in the gateway network.
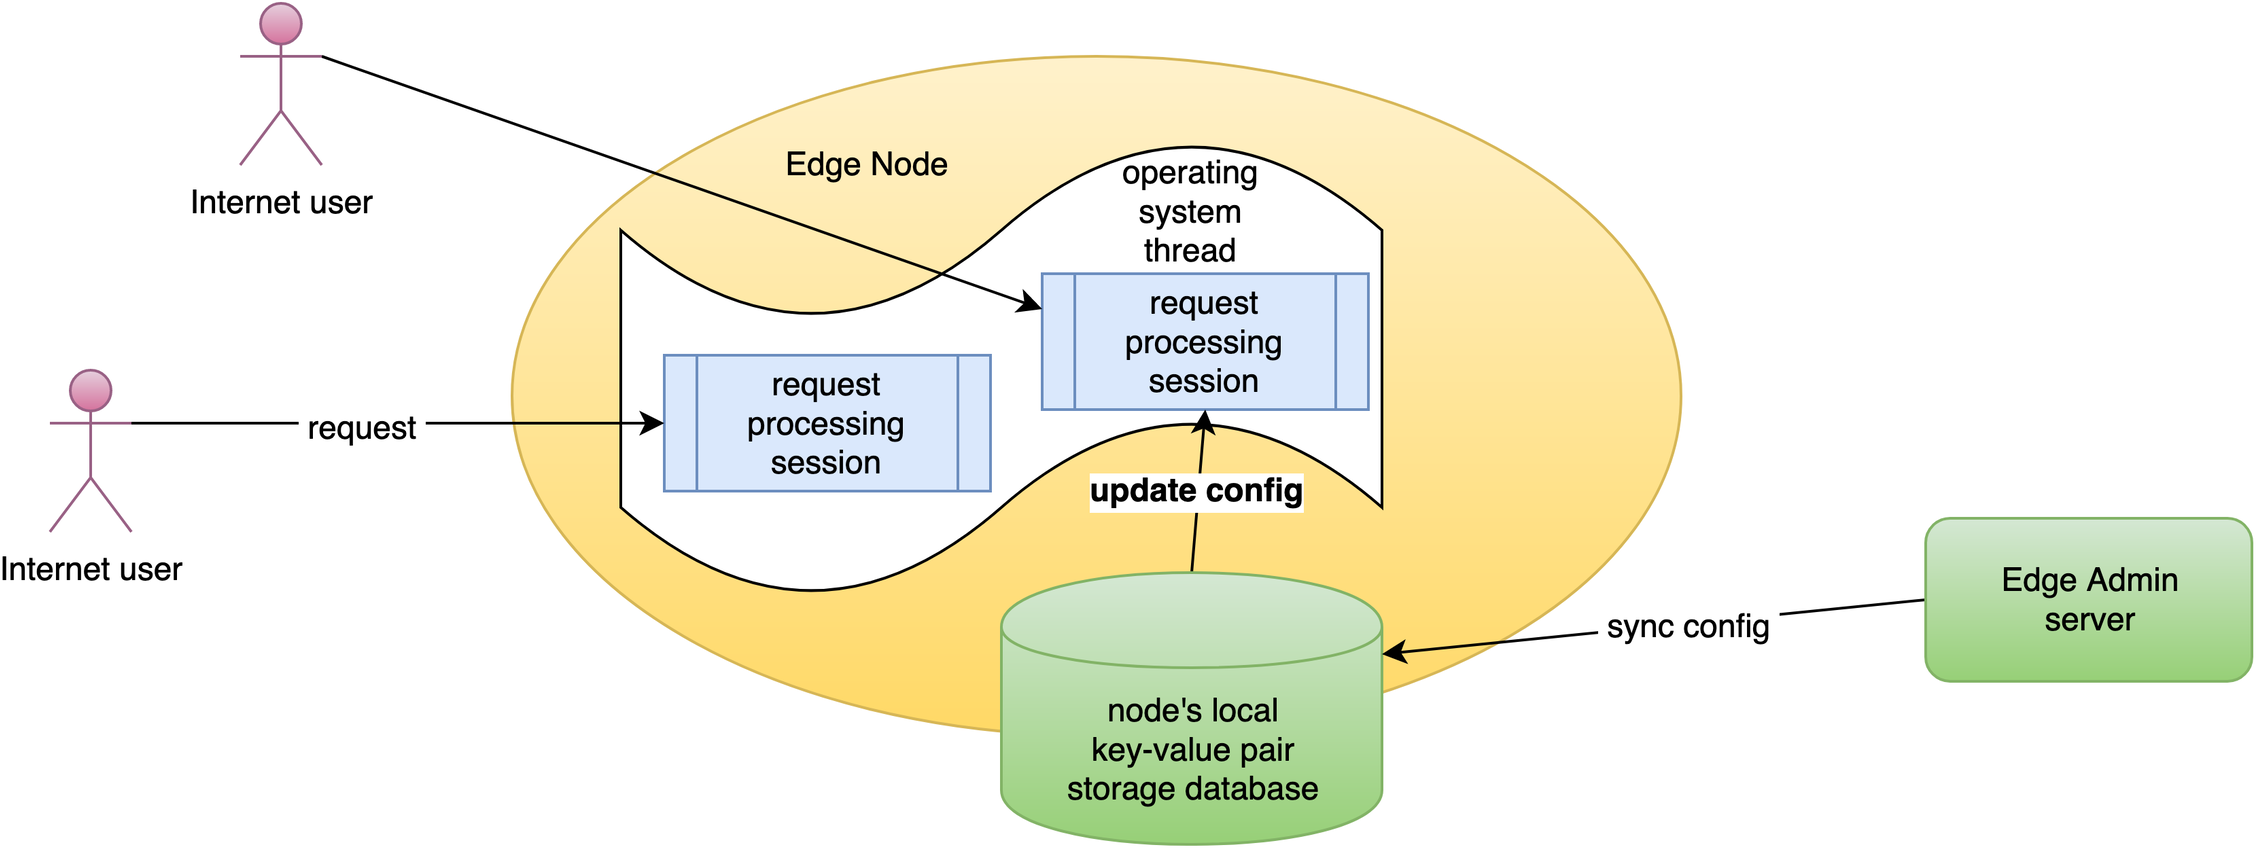
We do incremental config synchronization across the whole network.
We live-update config on the request level. None of the application-level configuration changes require server reload, restart, or binary upgrade. So it is very scalable even when you have many different users making frequent releases.
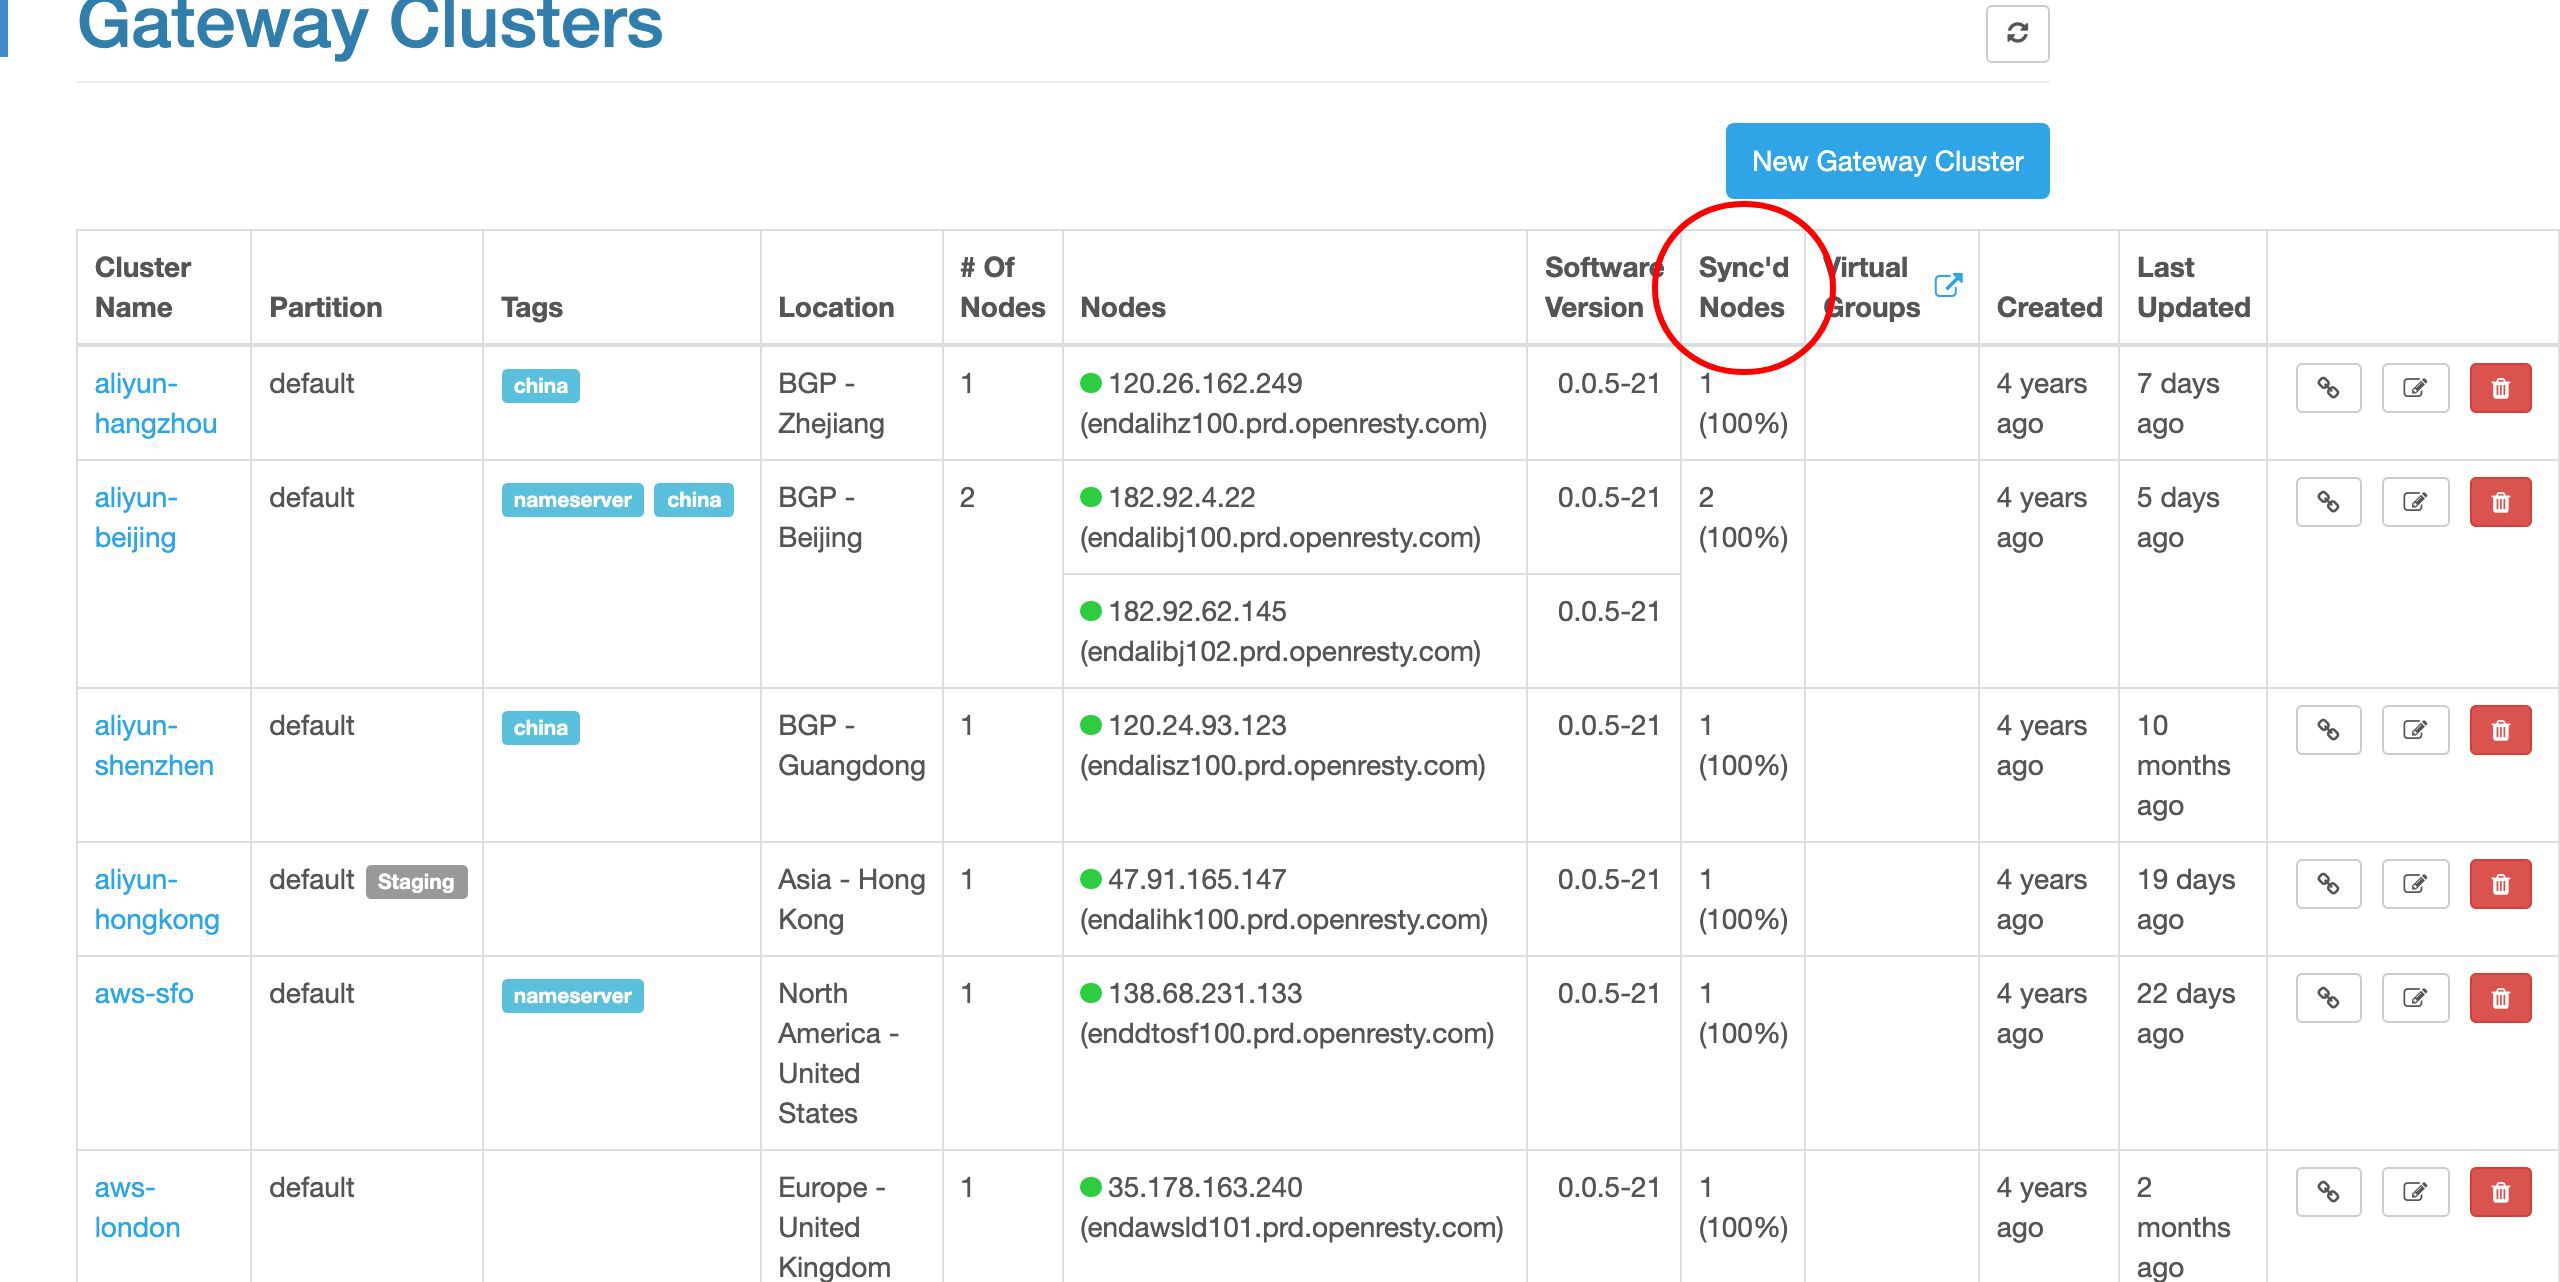
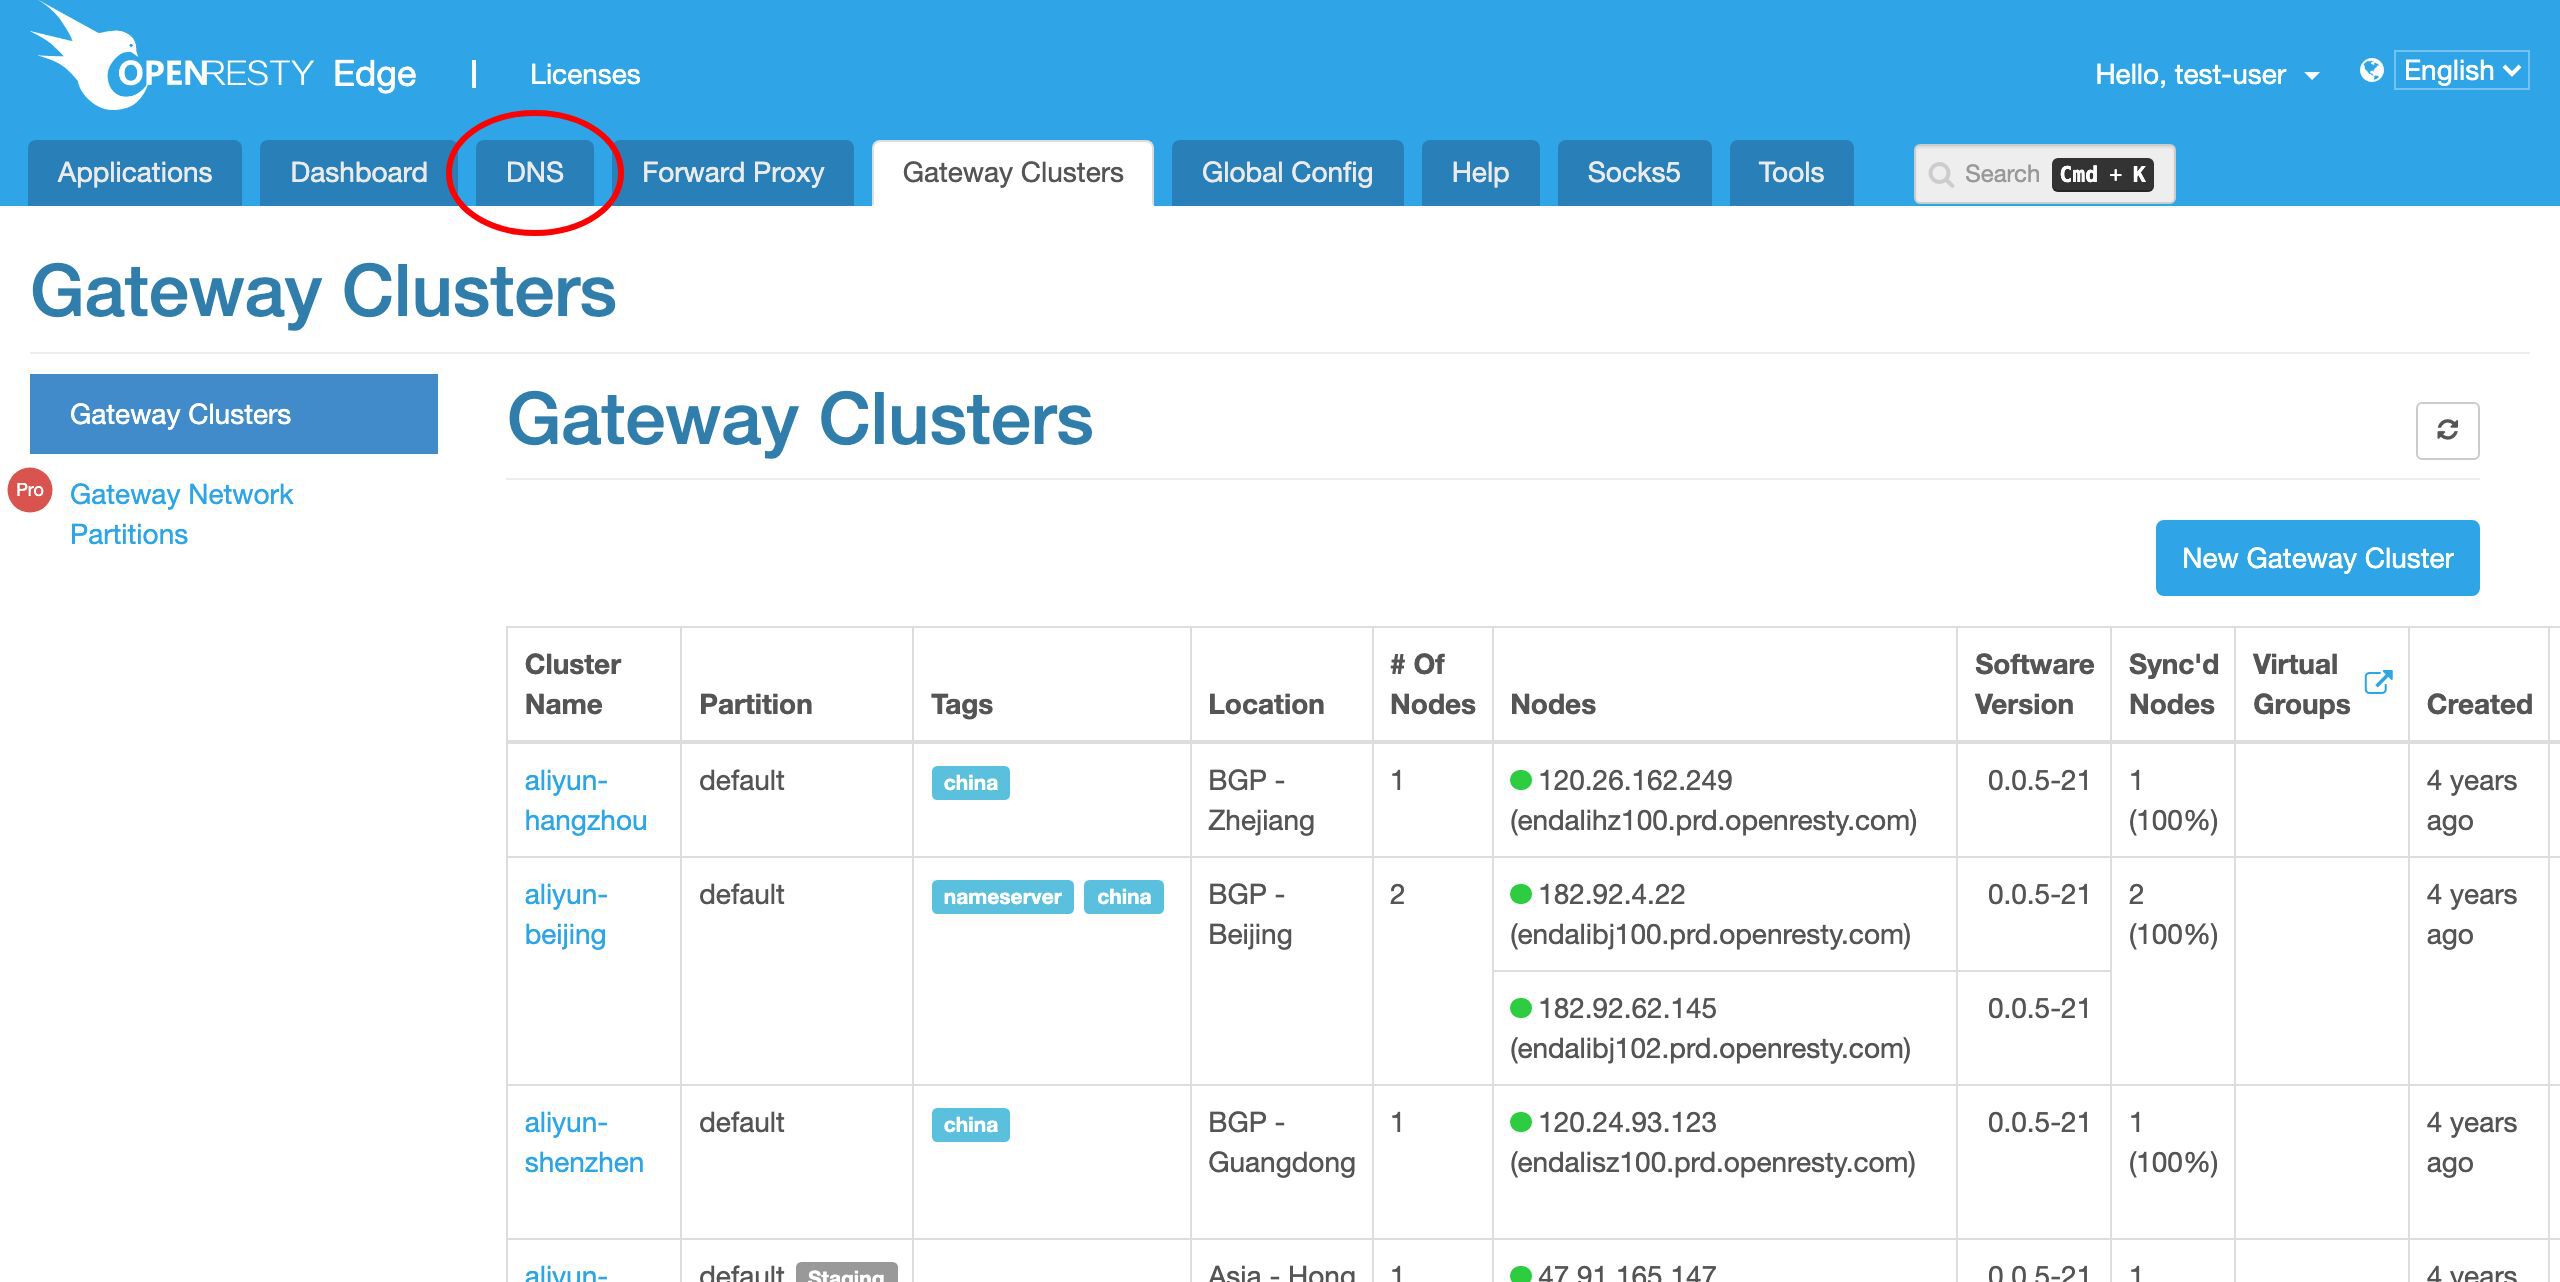
We can also check all the gateway servers grouped by clusters.
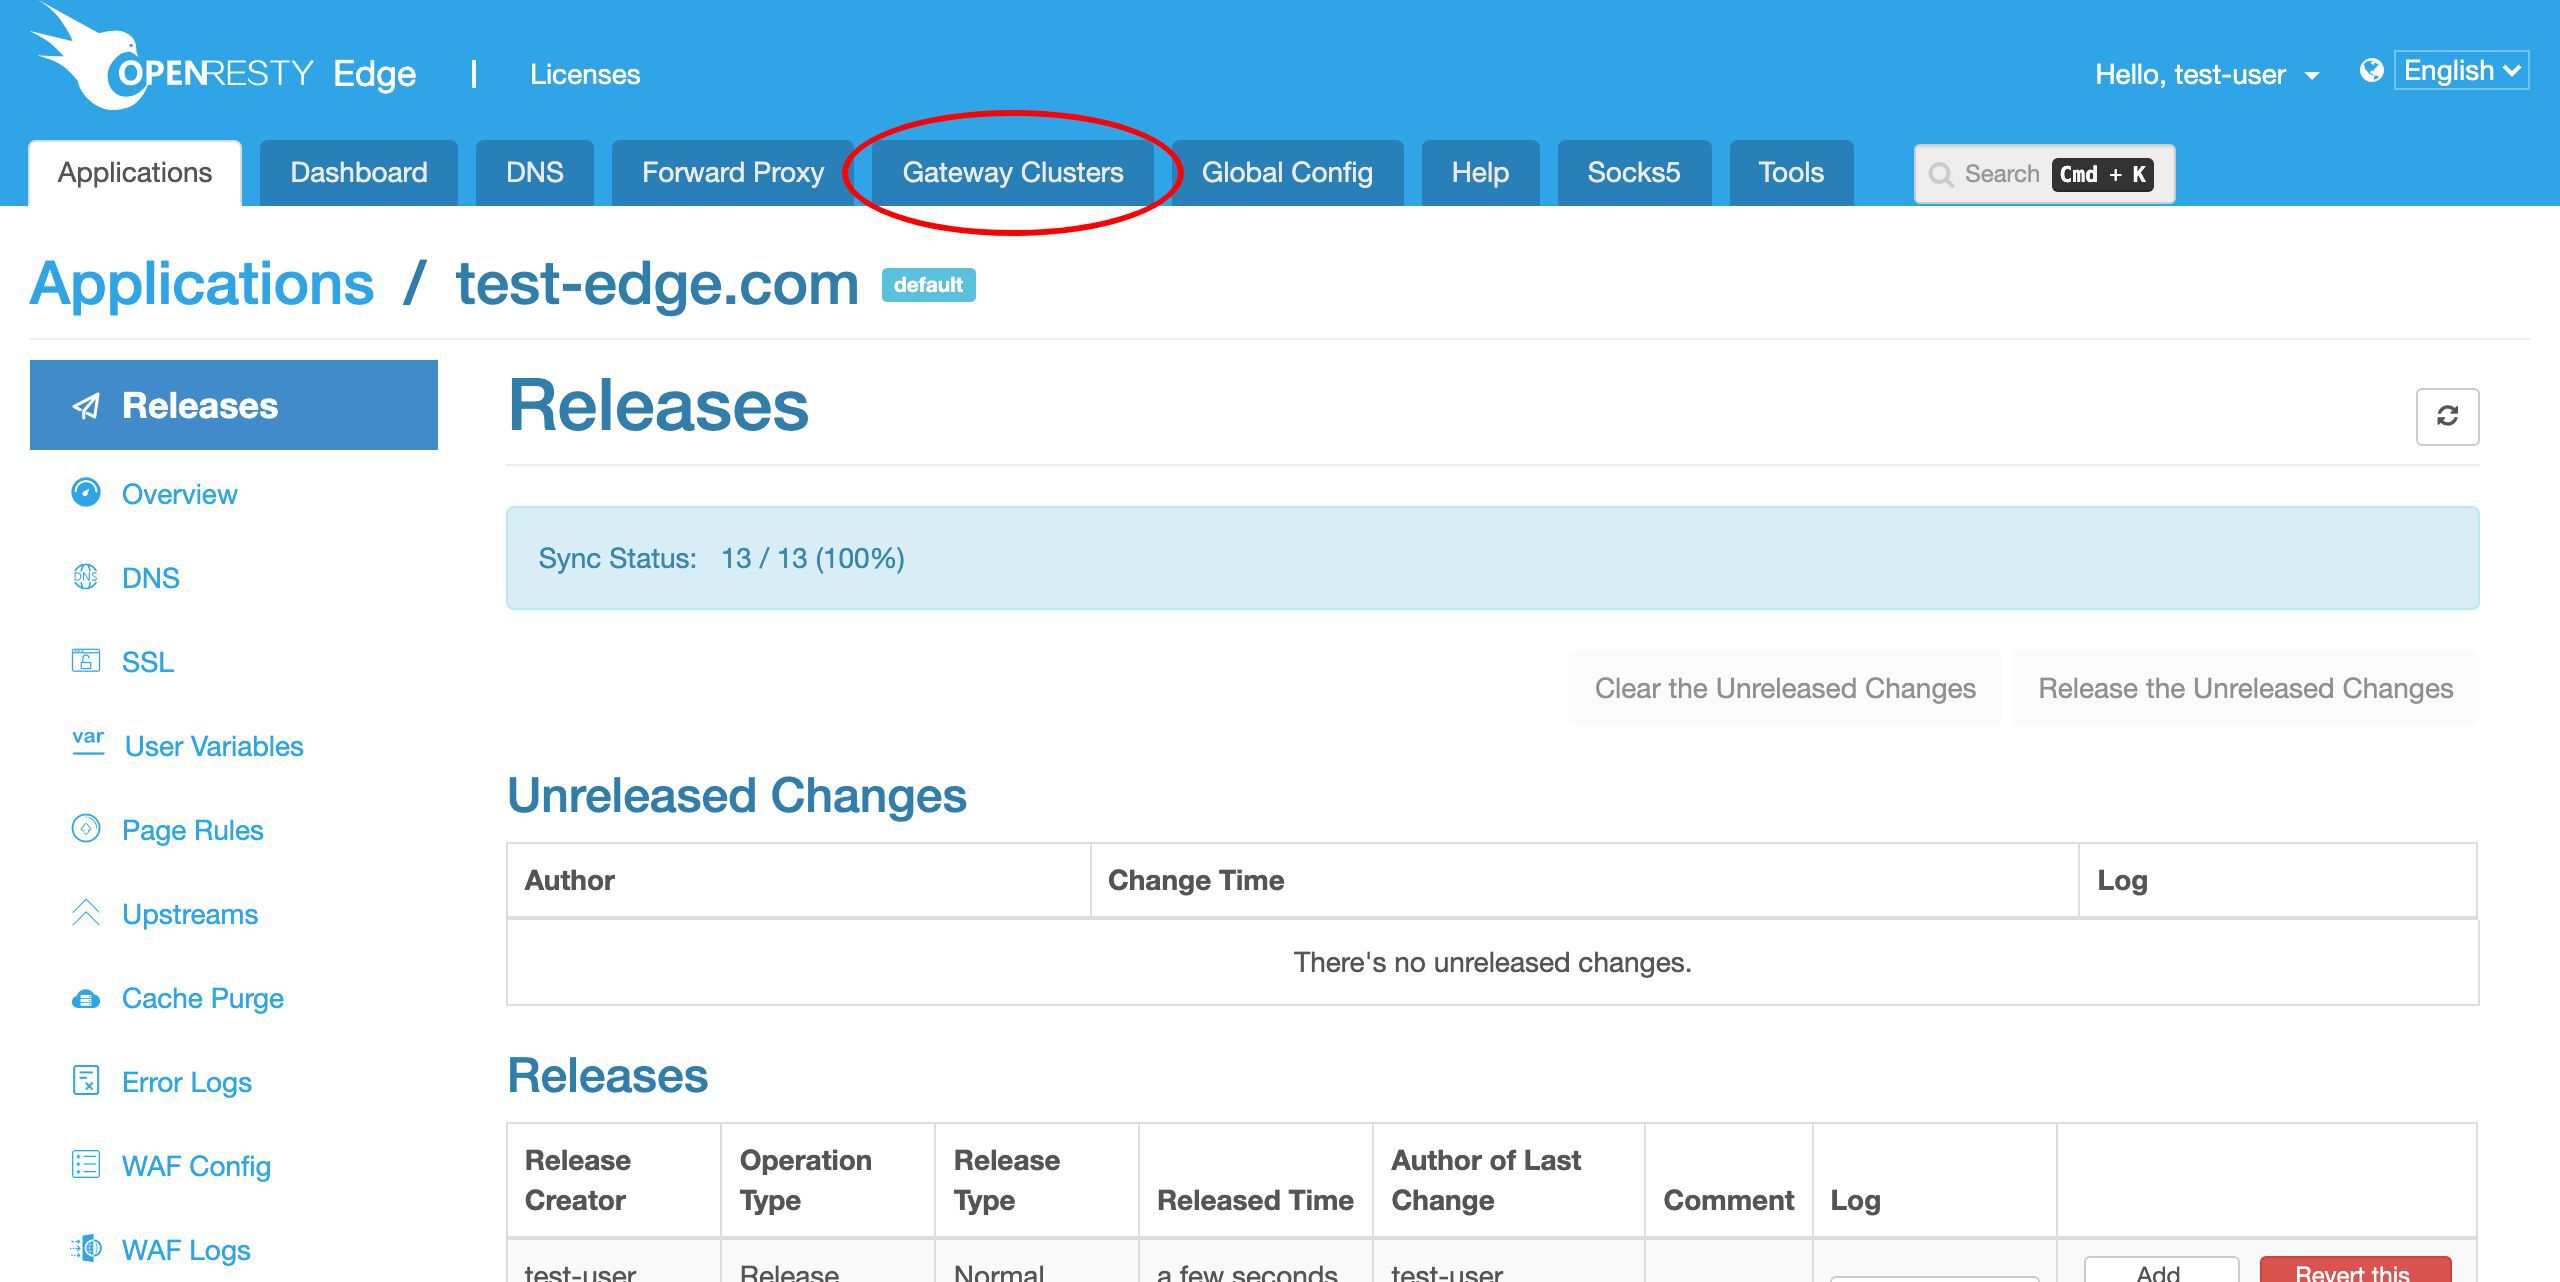
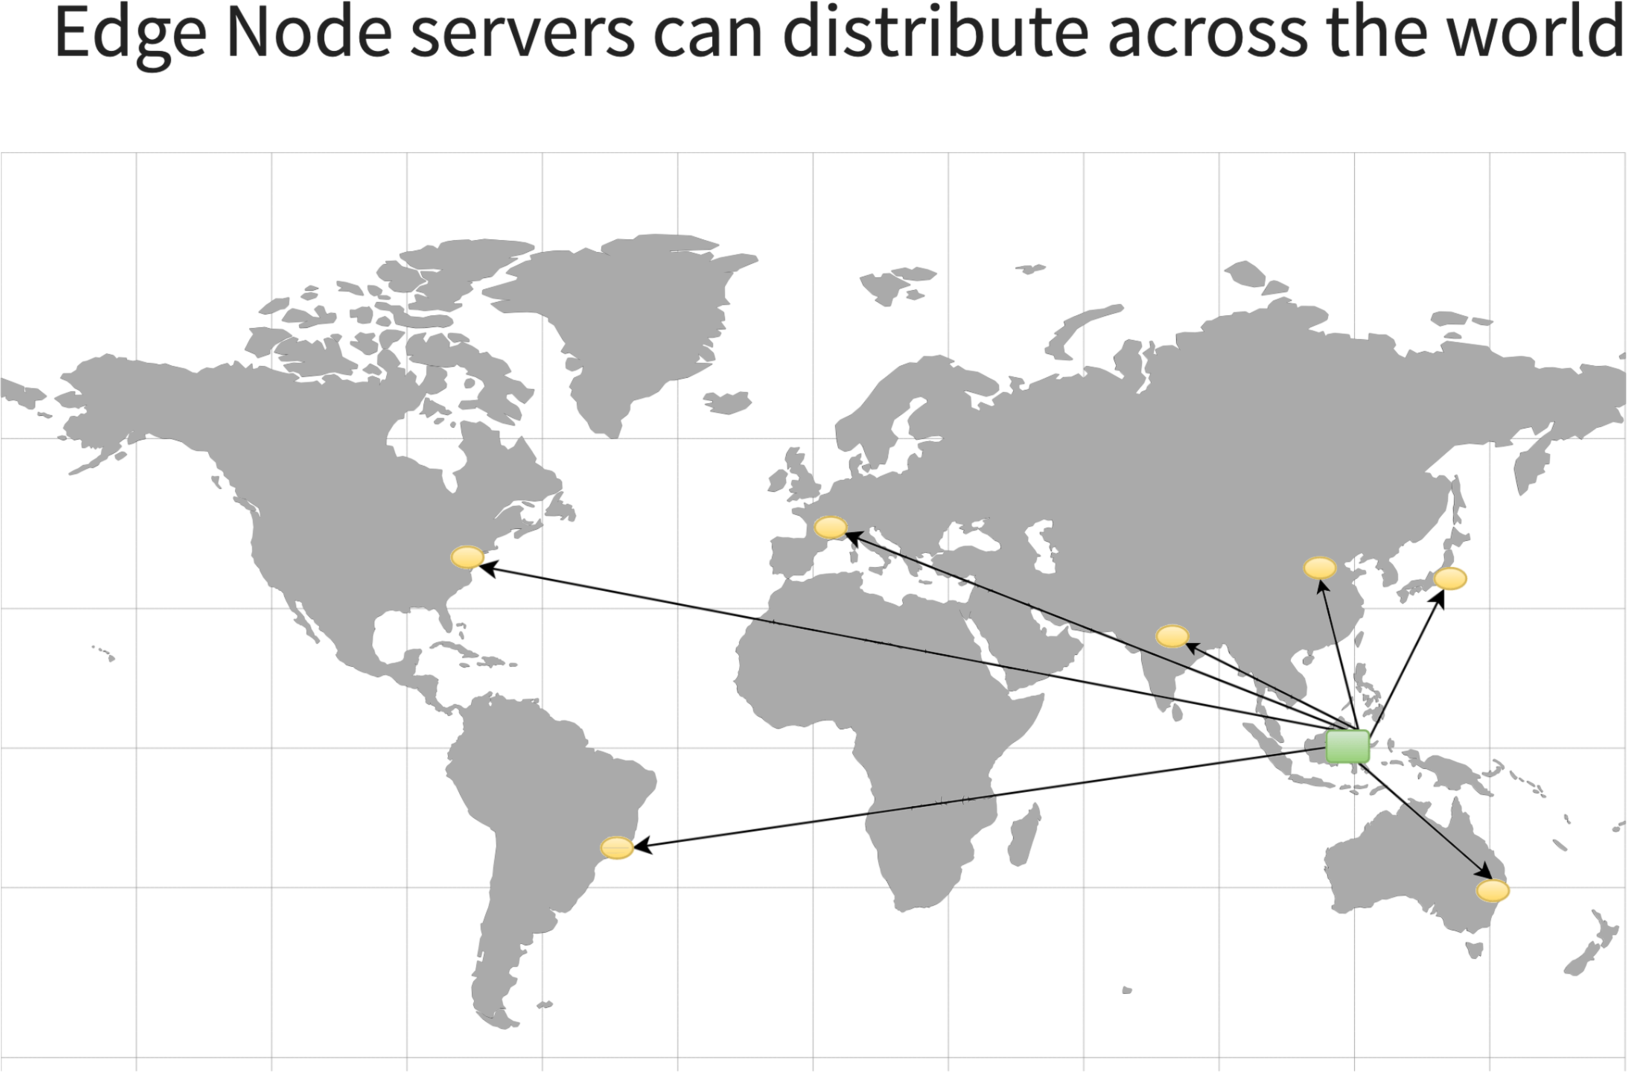
This is just our sample deployment around the world.
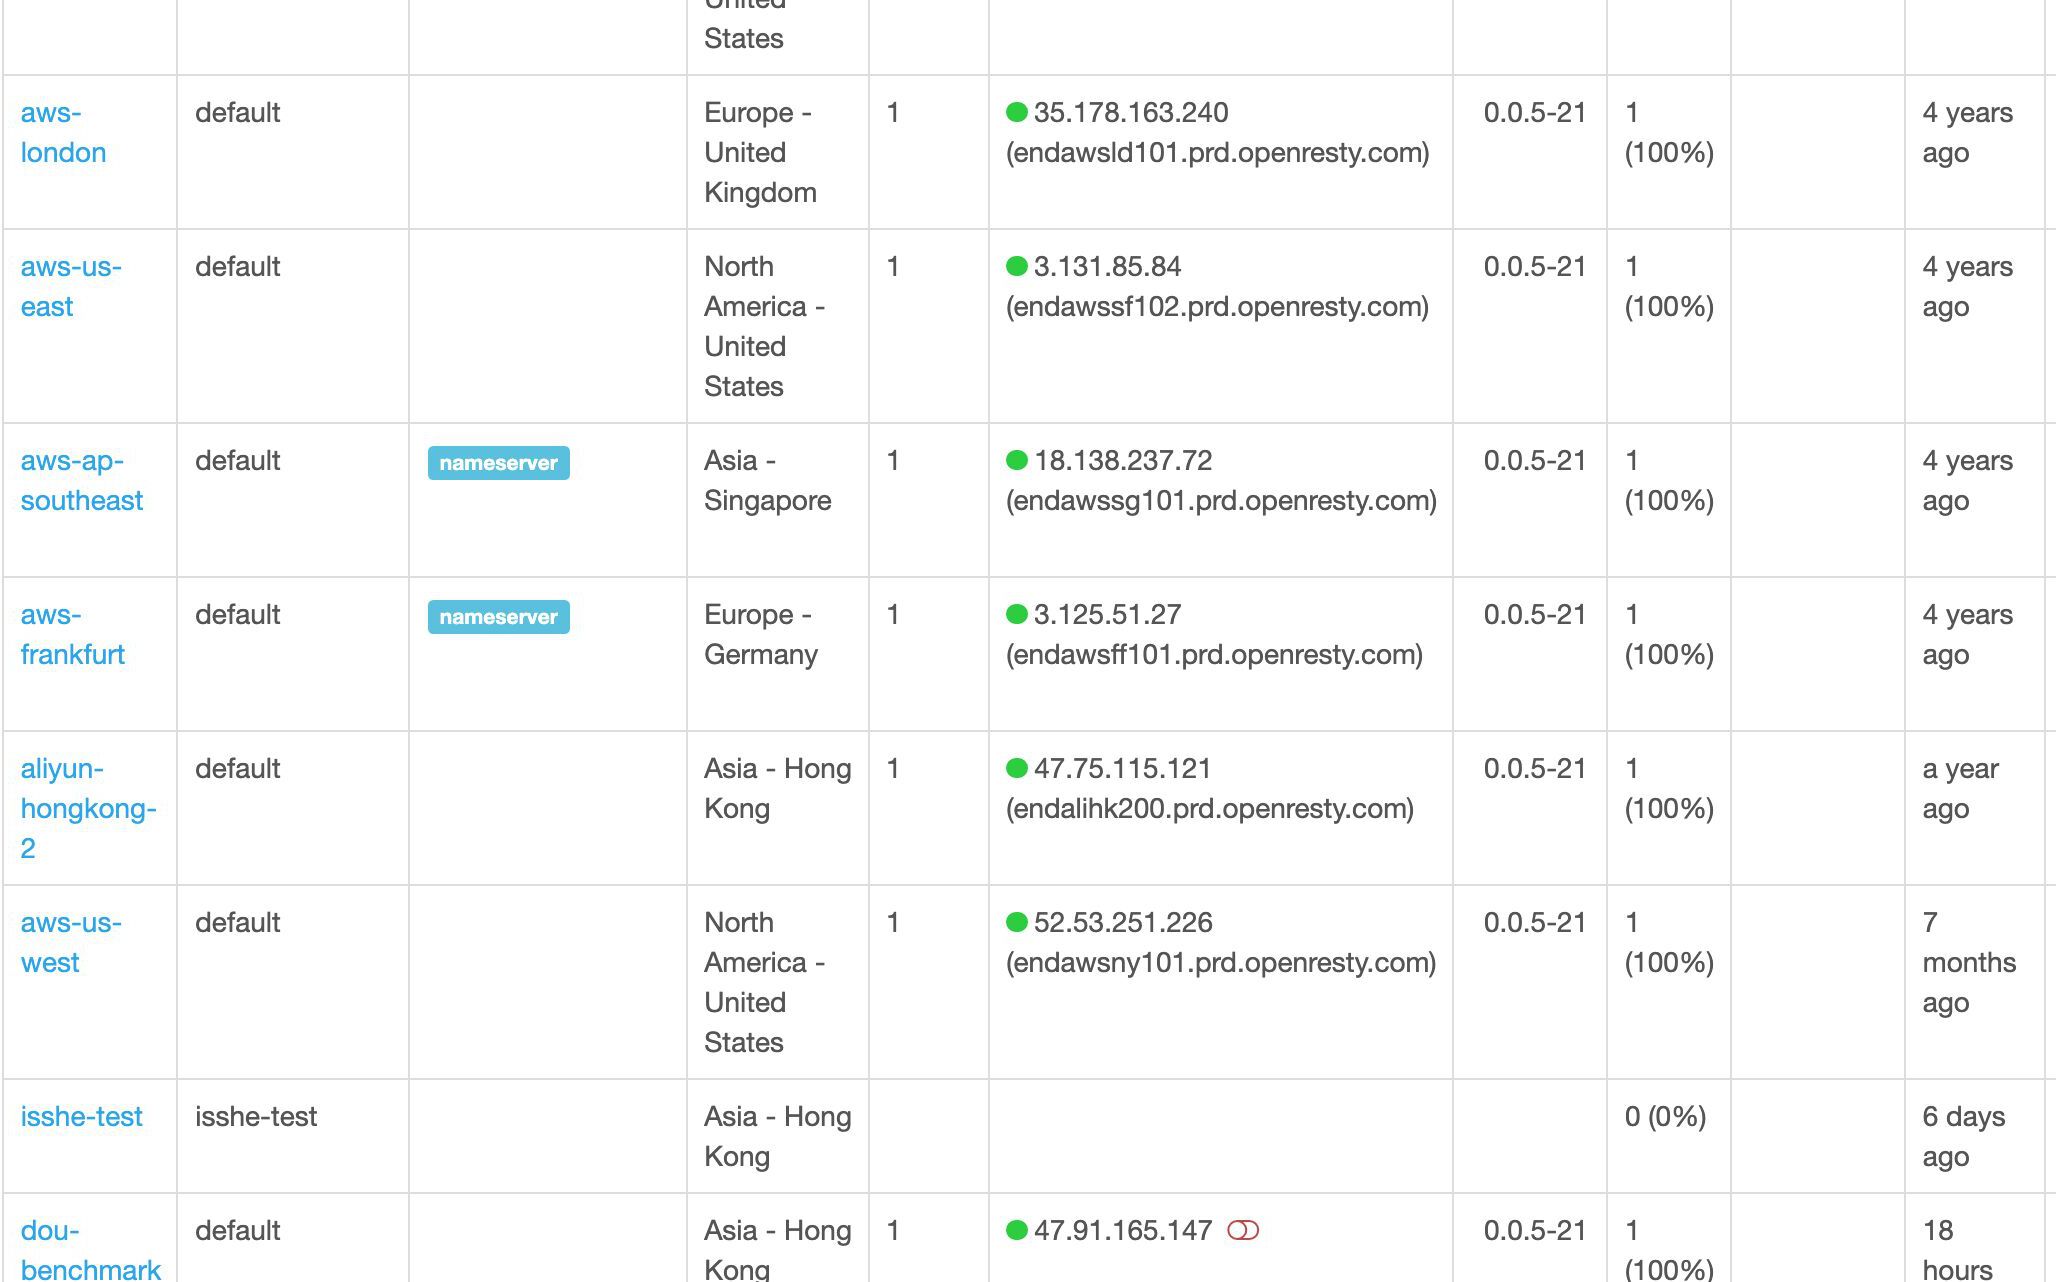
Our users are free to deploy their gateway servers anywhere they like. Or spanning different clouds and hosting services.
This column shows the configuration synchronization status for each gateway server.
We can test a gateway server near San Francisco here.
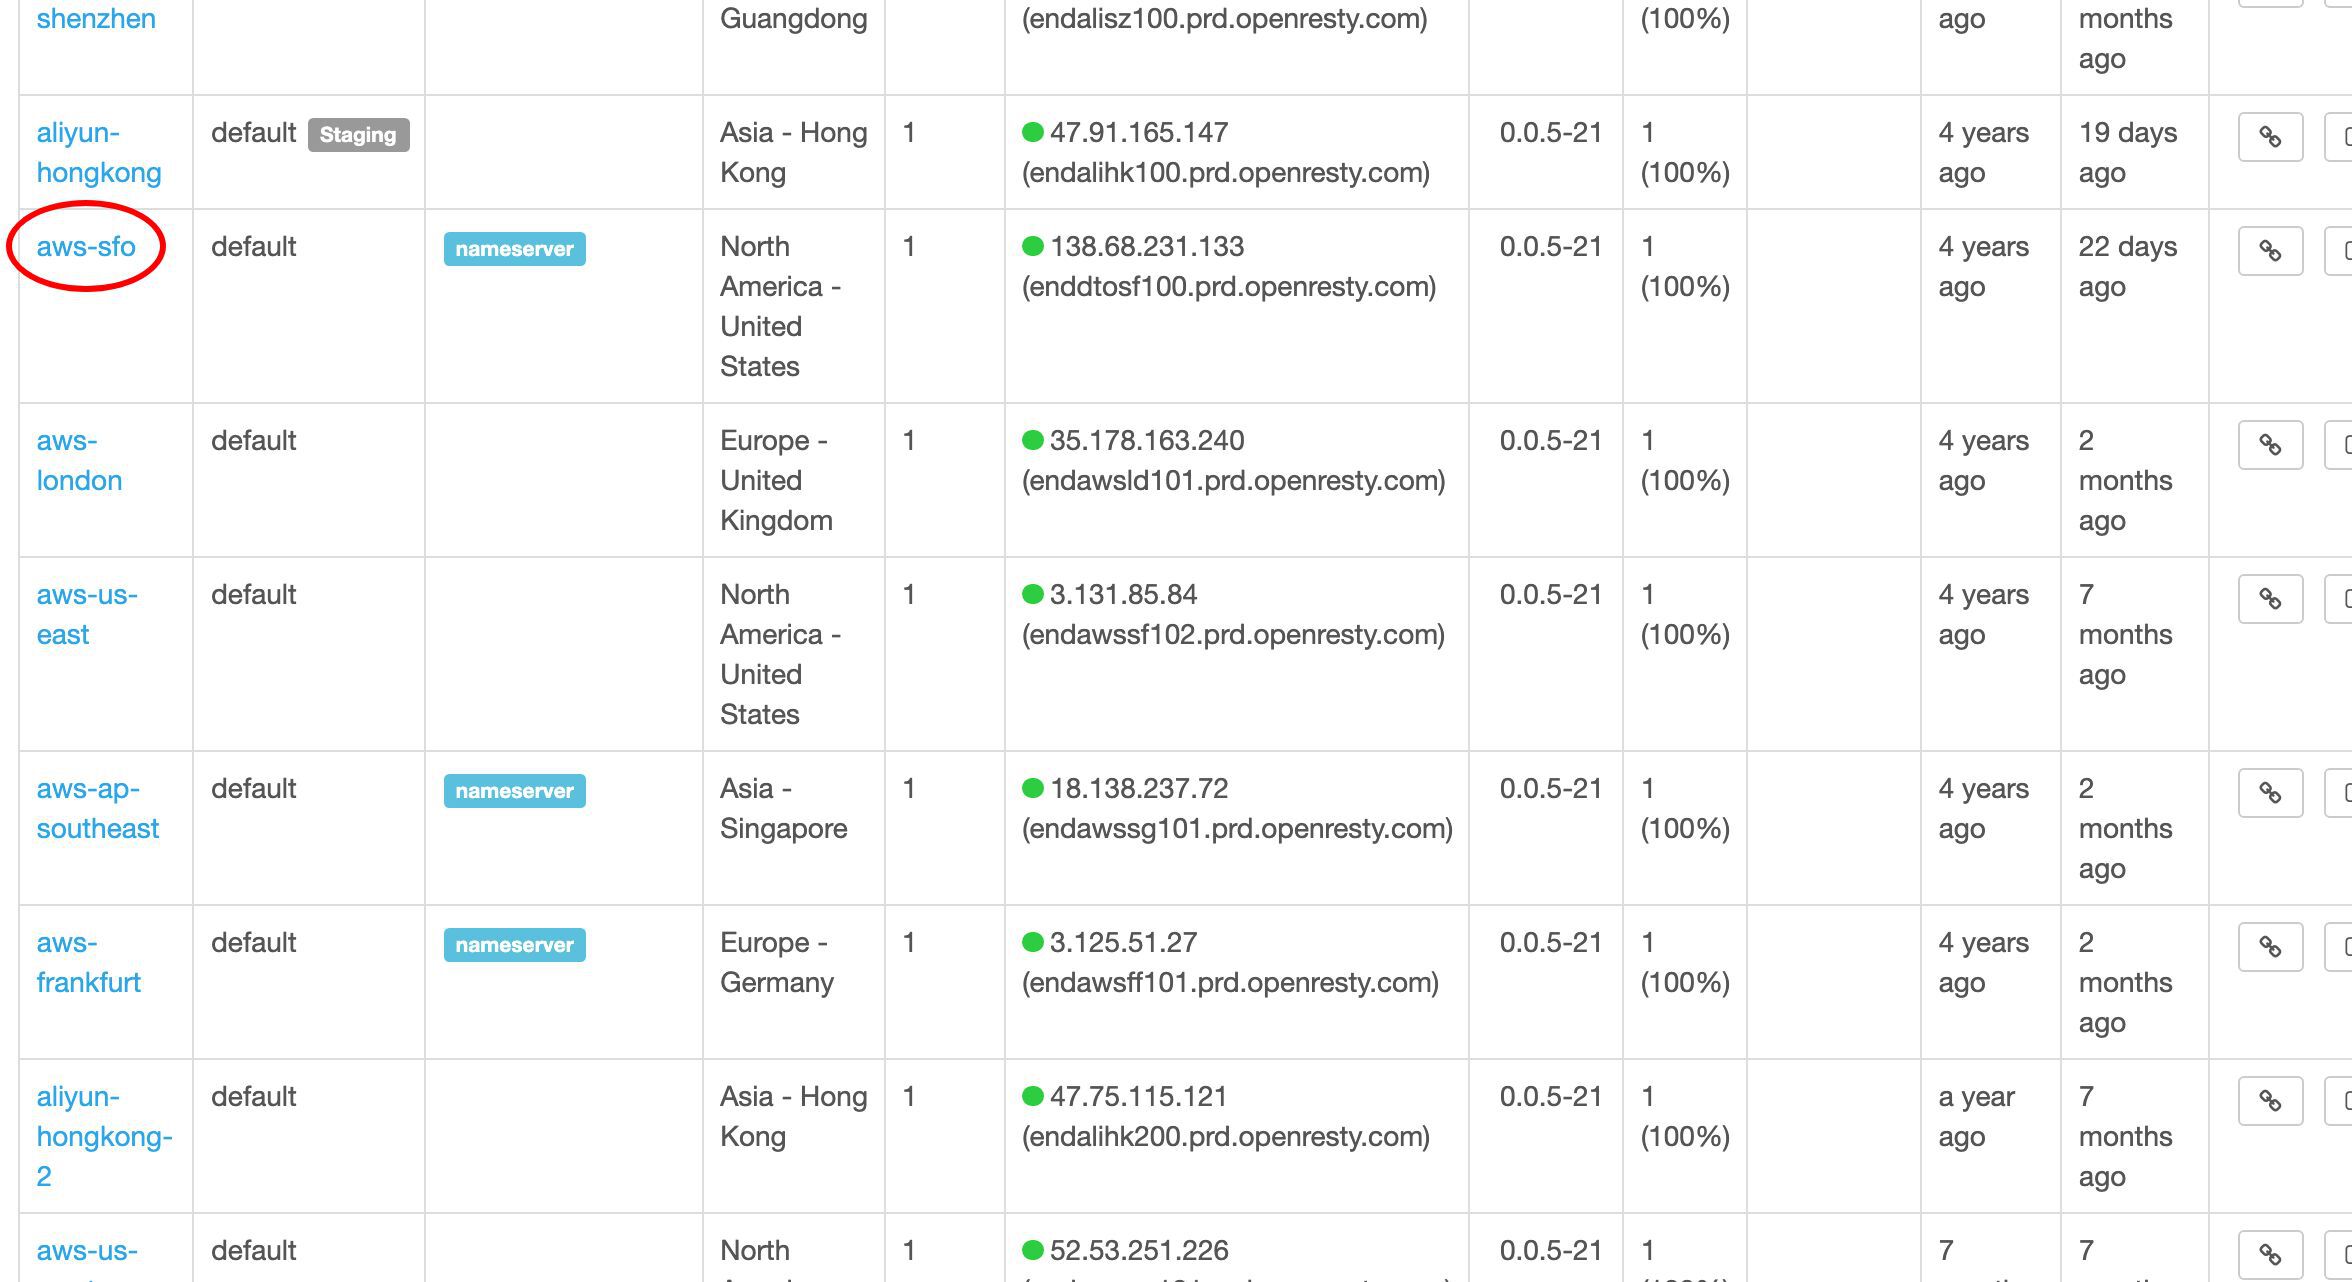
Its public IP address is this.
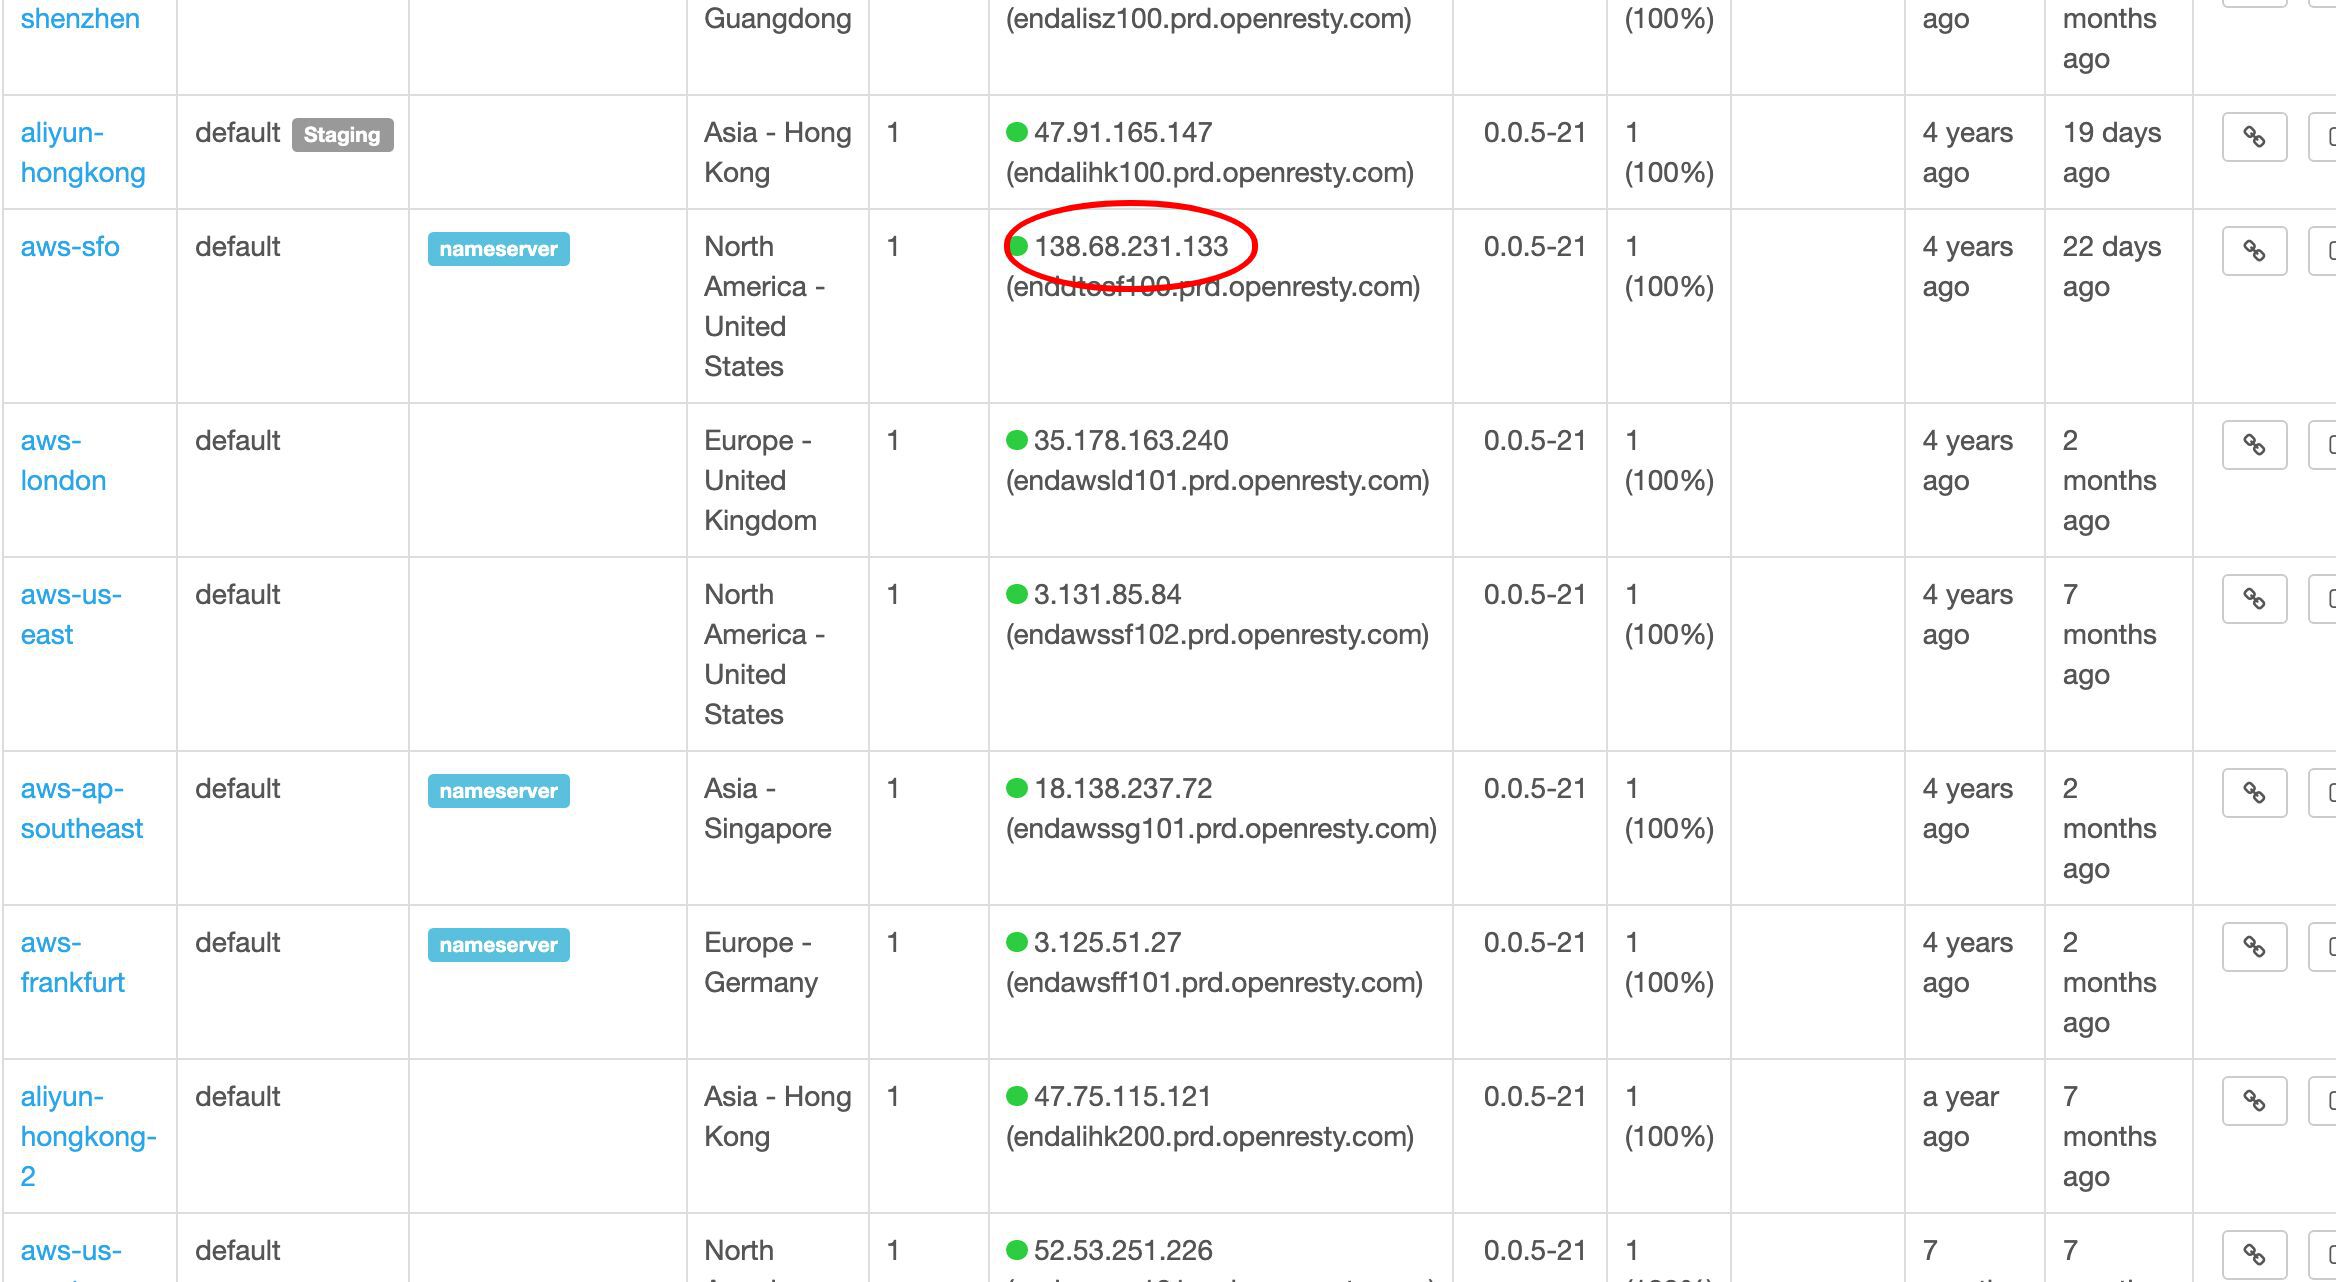
We copy this IP address to test this server directly.
On the terminal, we can use curl to test this San Francisco gateway server.
curl -sS -H 'Host: test-edge.com' 'http://138.68.231.133/' | less
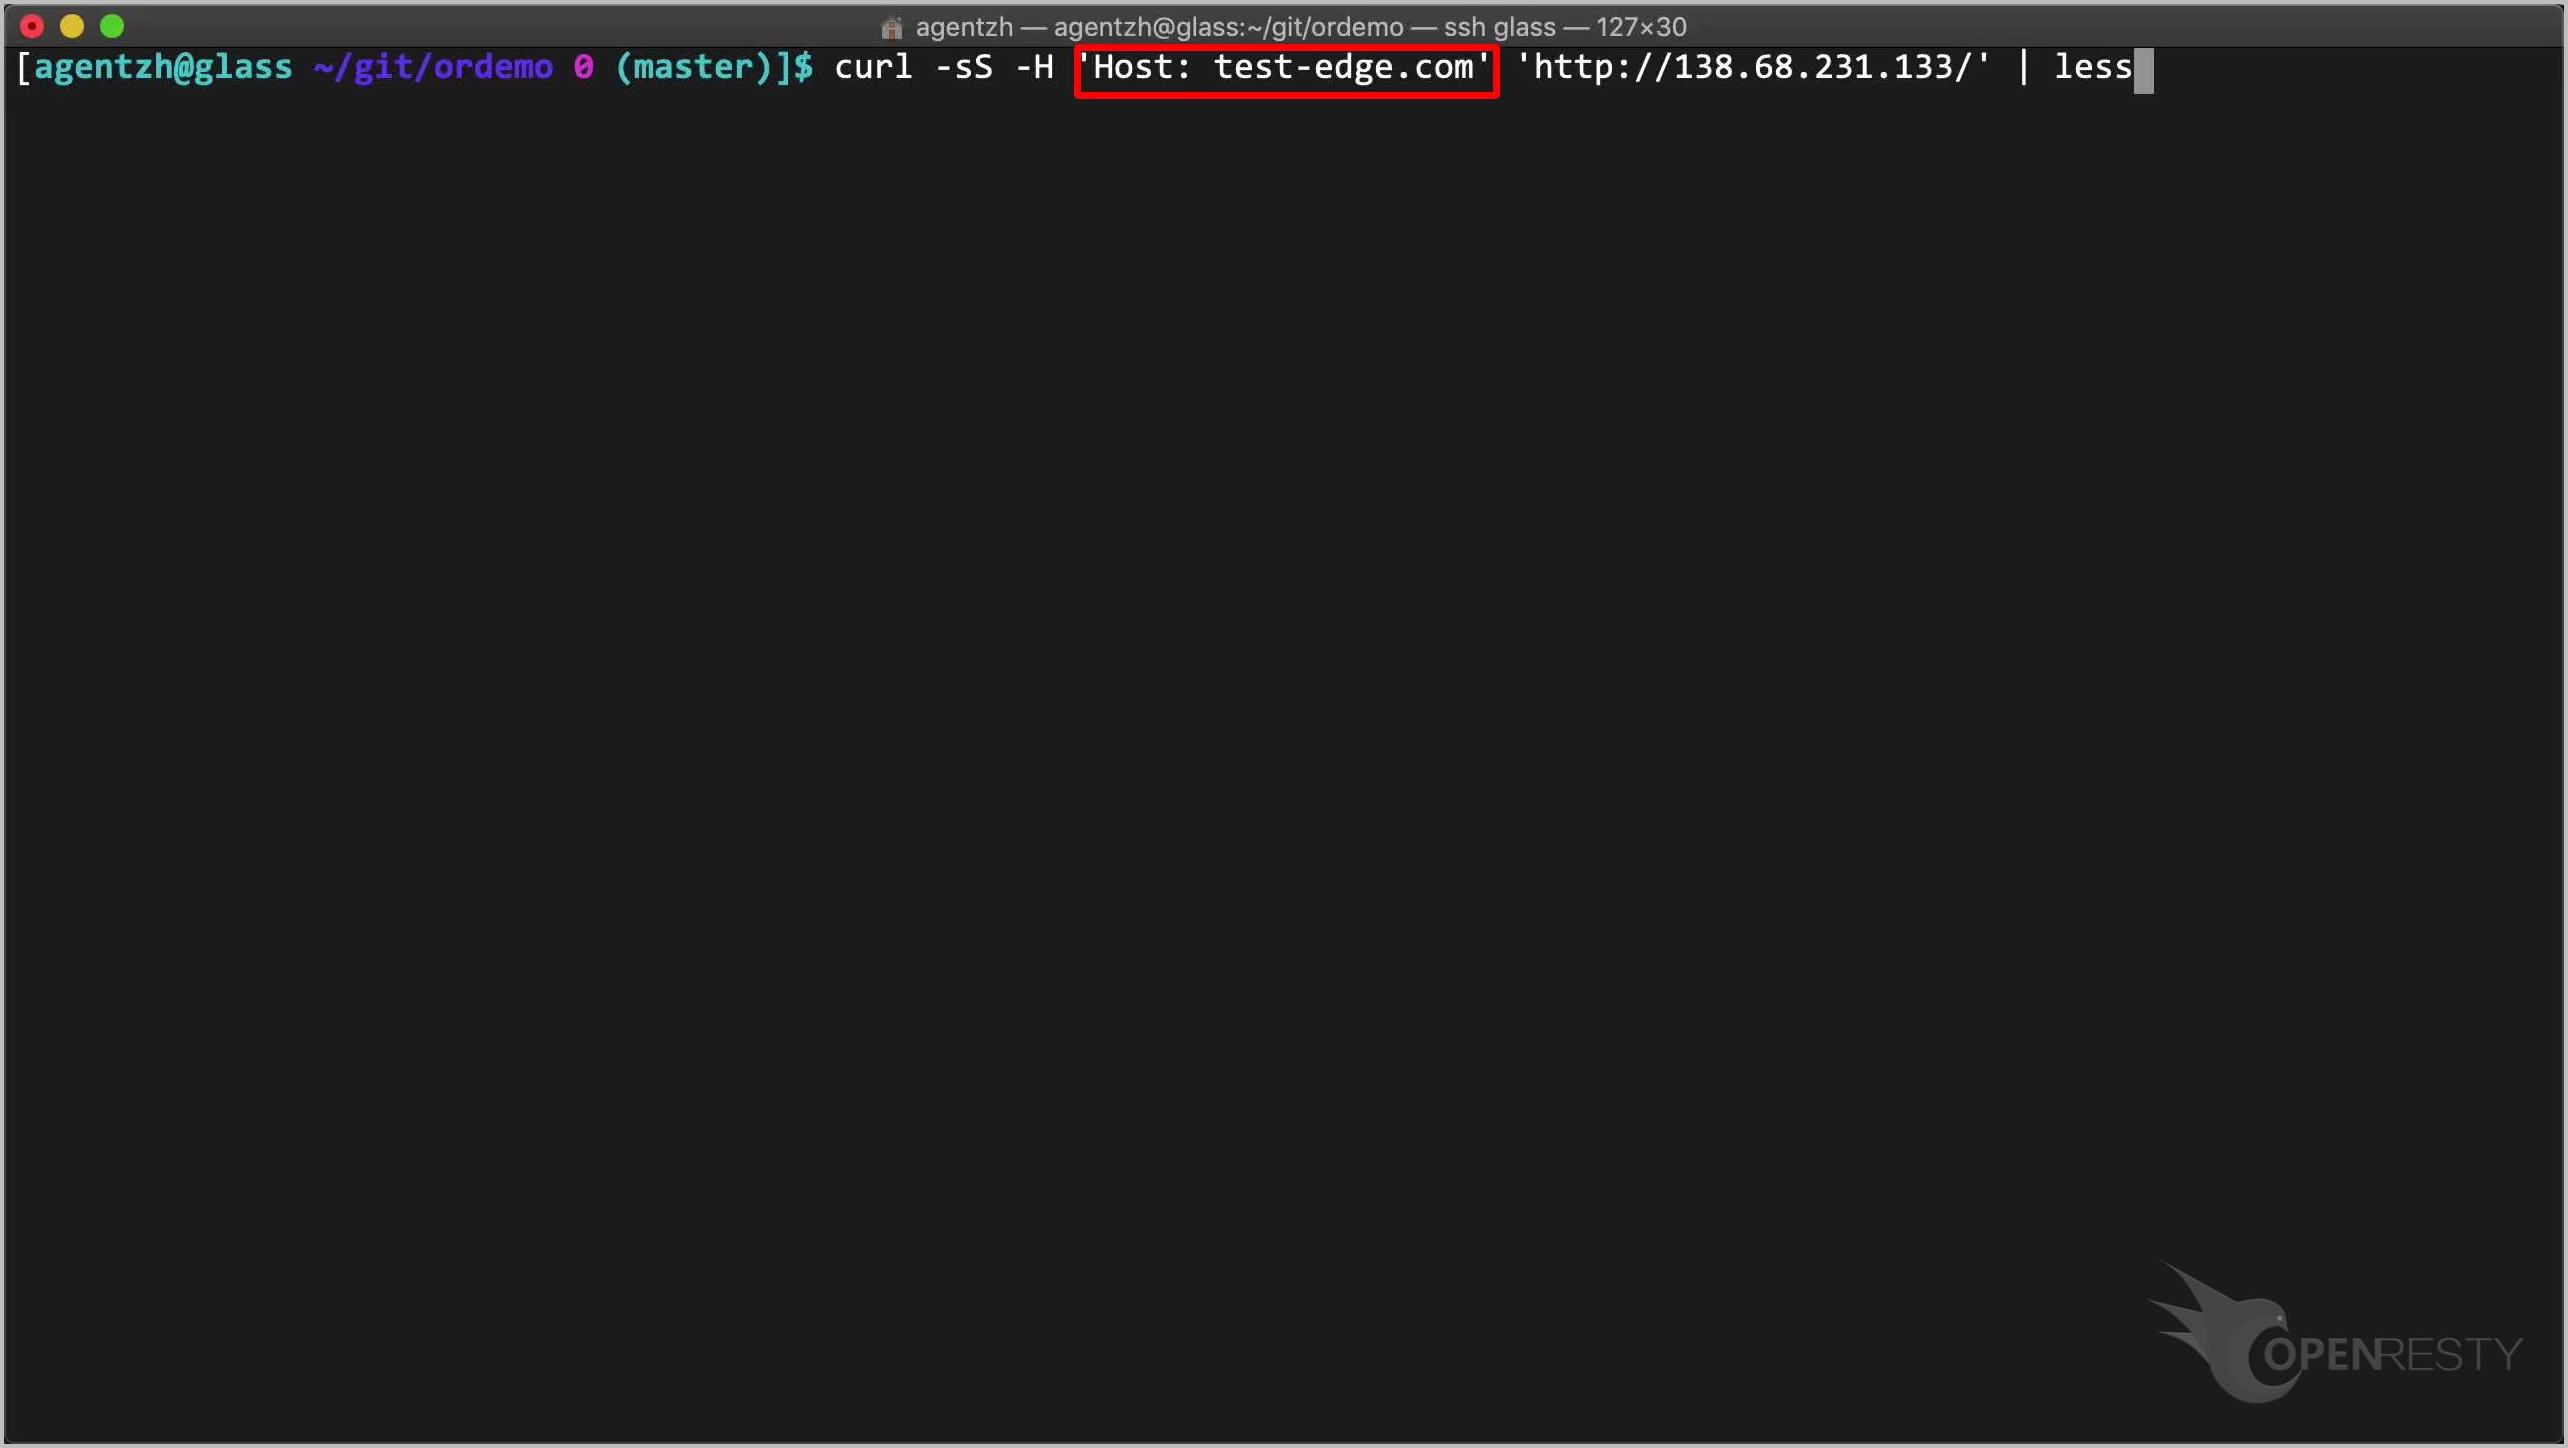
Note that we specify the Host request header. This is because the same server is serving many different virtual hosts.
Send the request.
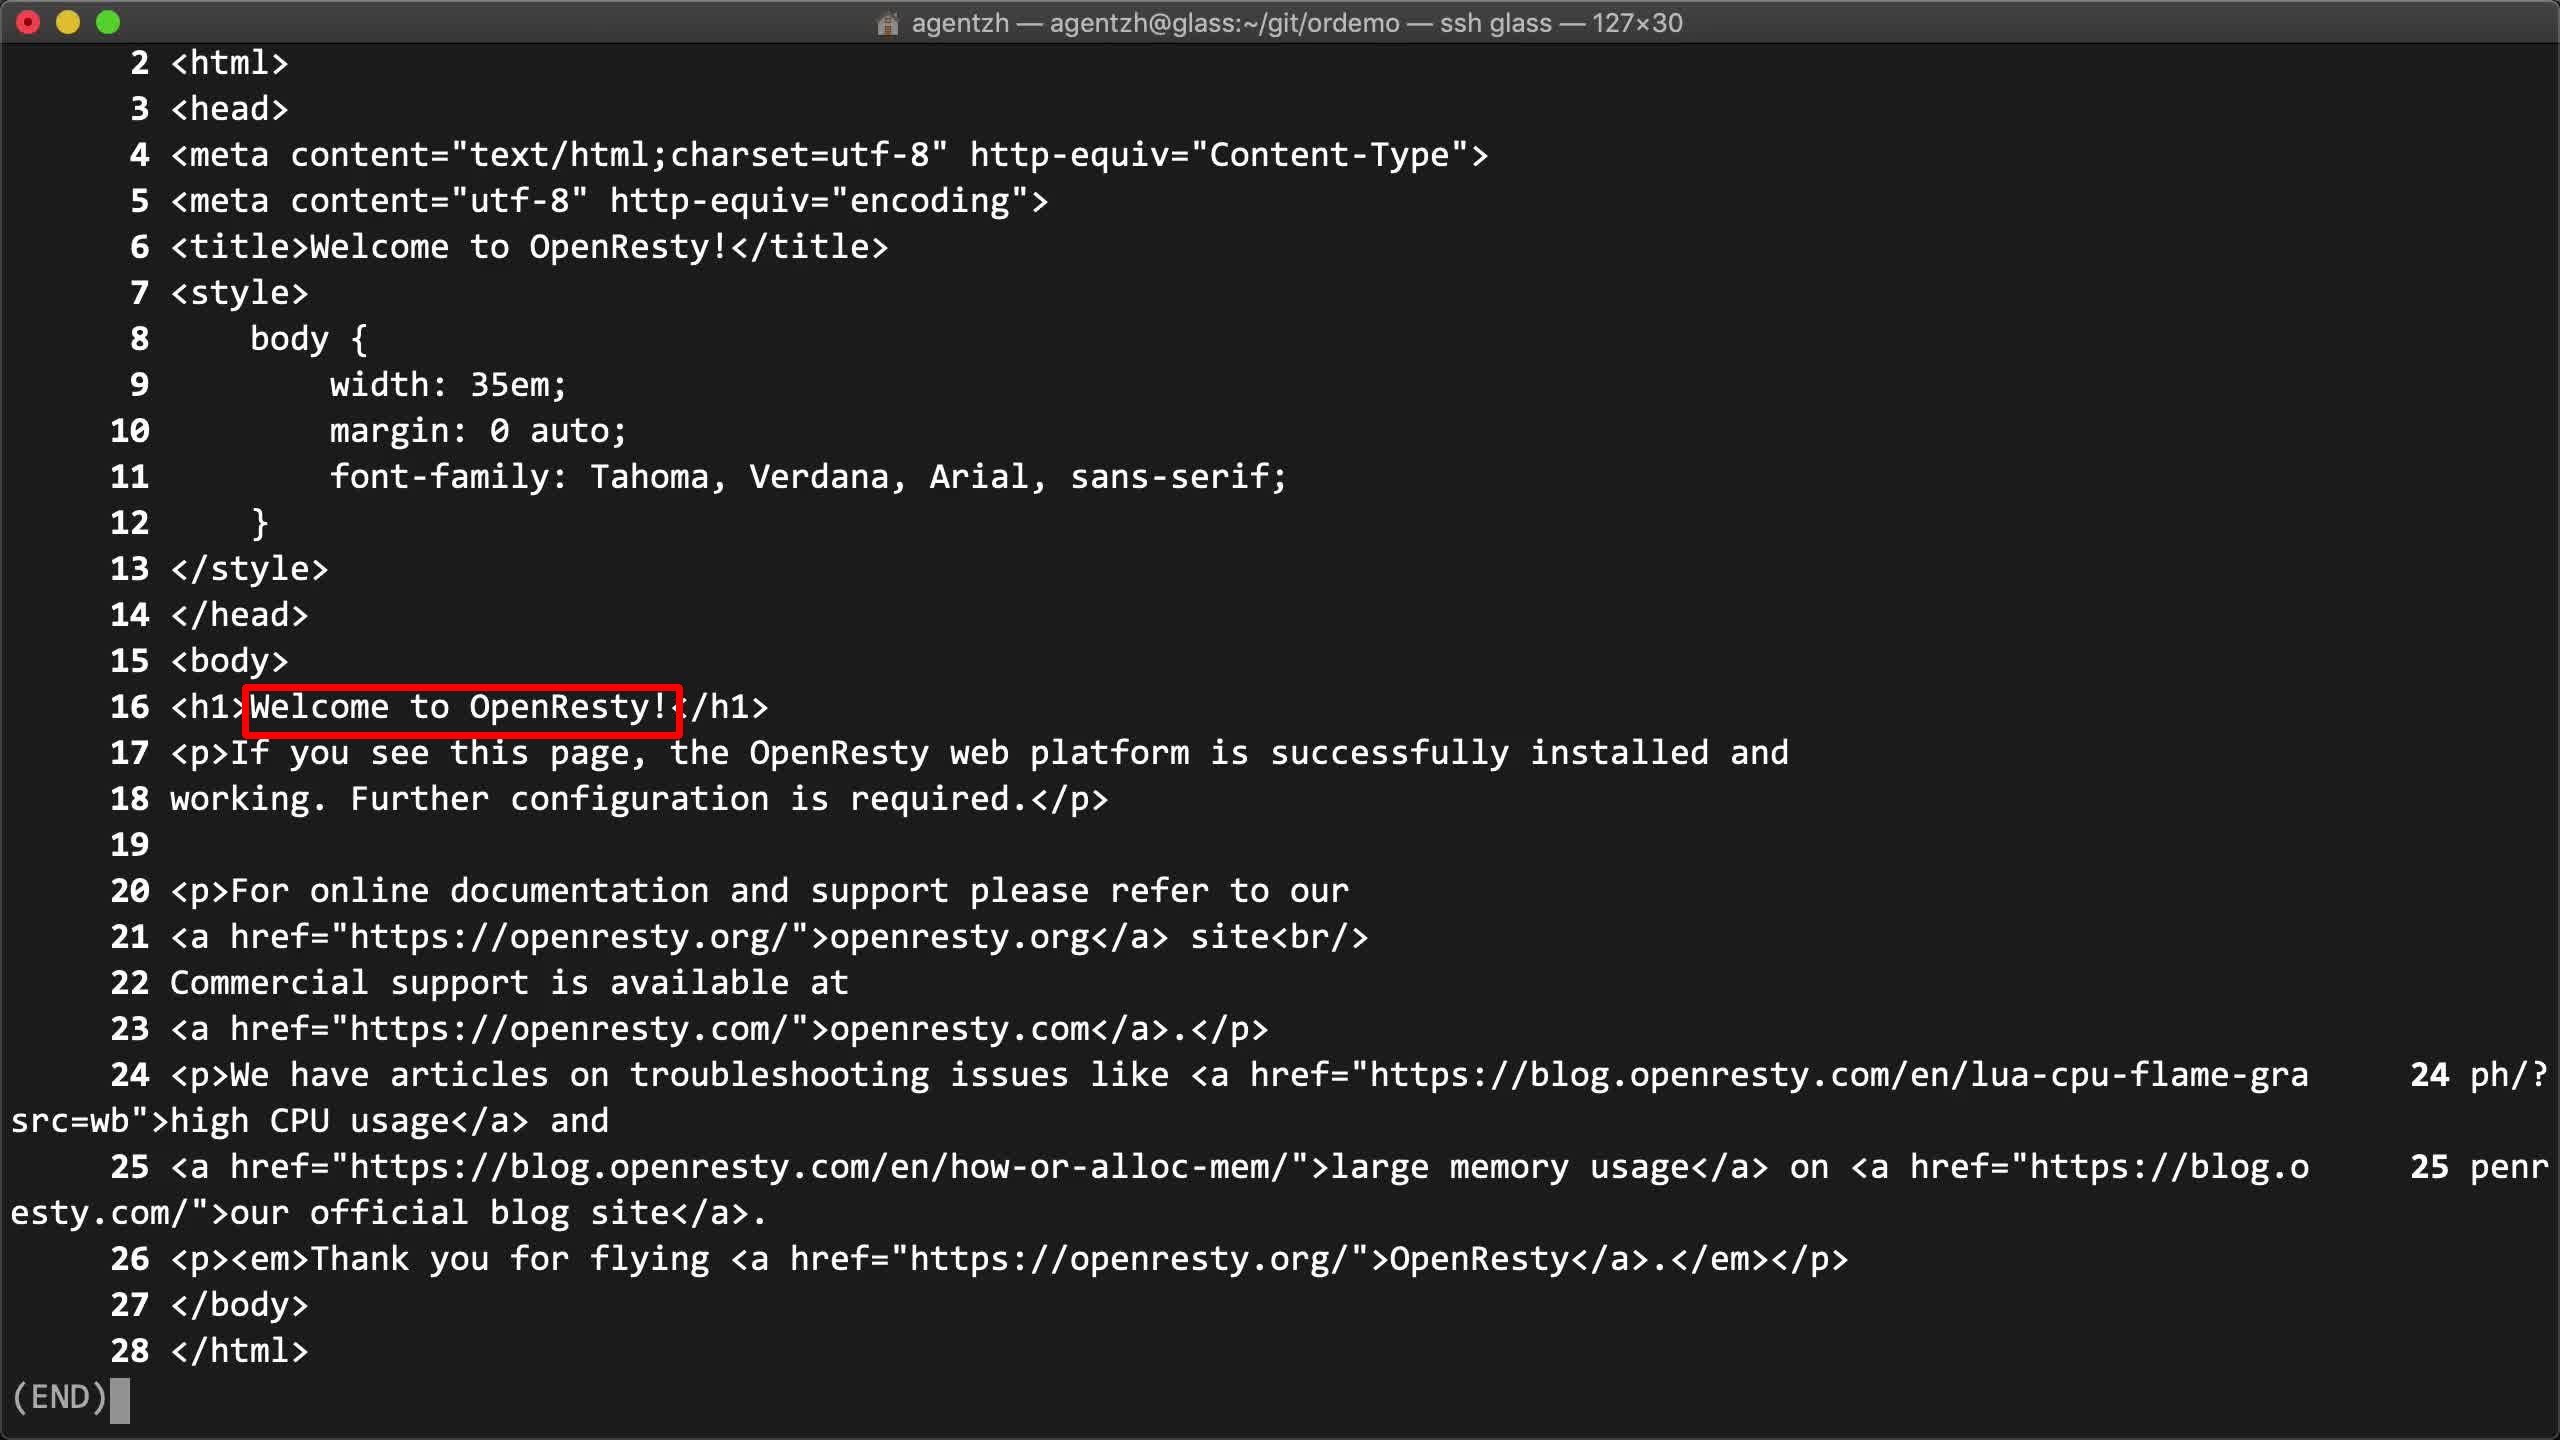
It works as expected! We got the default OpenResty index page just like accessing the backend server directly.
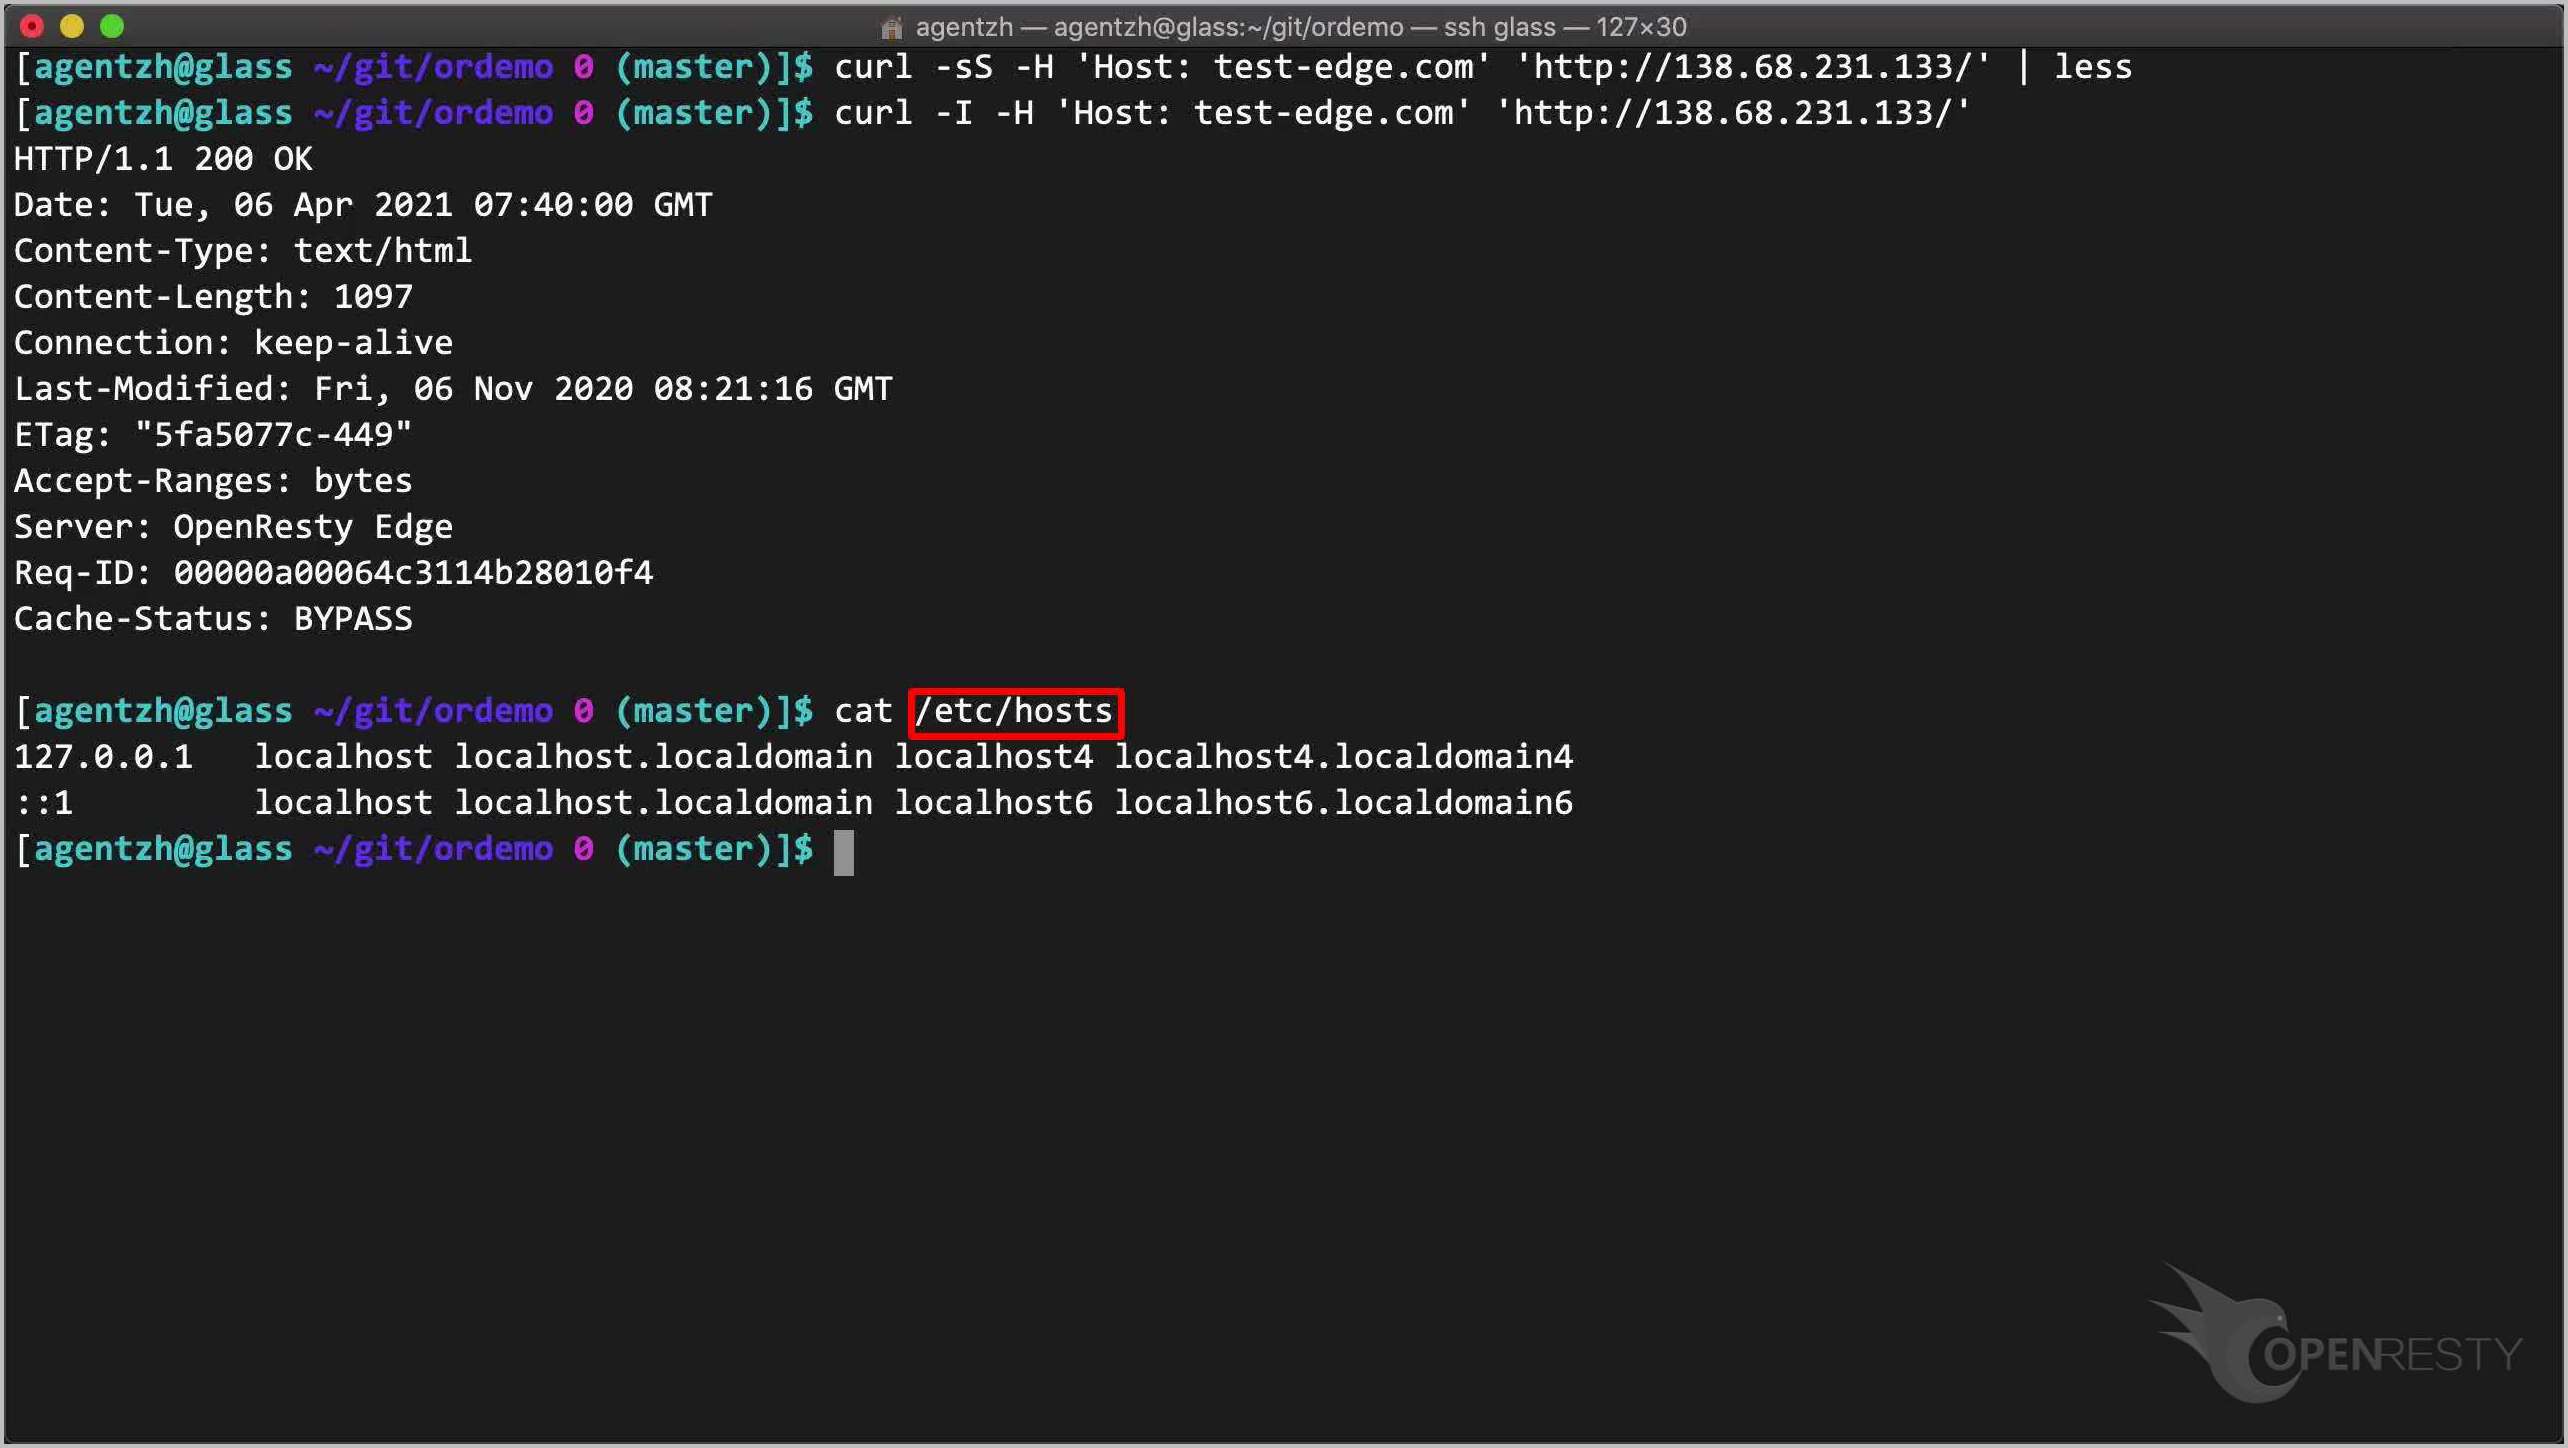
We can check the response header too via the -I option of curl.
curl -I -H 'Host: test-edge.com' 'http://138.68.231.133/'

There are some headers created by the OpenResty Edge gateway software.
Alternatively, we could bind the IP address to the host name in this local /etc/hosts file. Then we’ll be able to point a web browser to this domain directly.
cat /etc/hosts
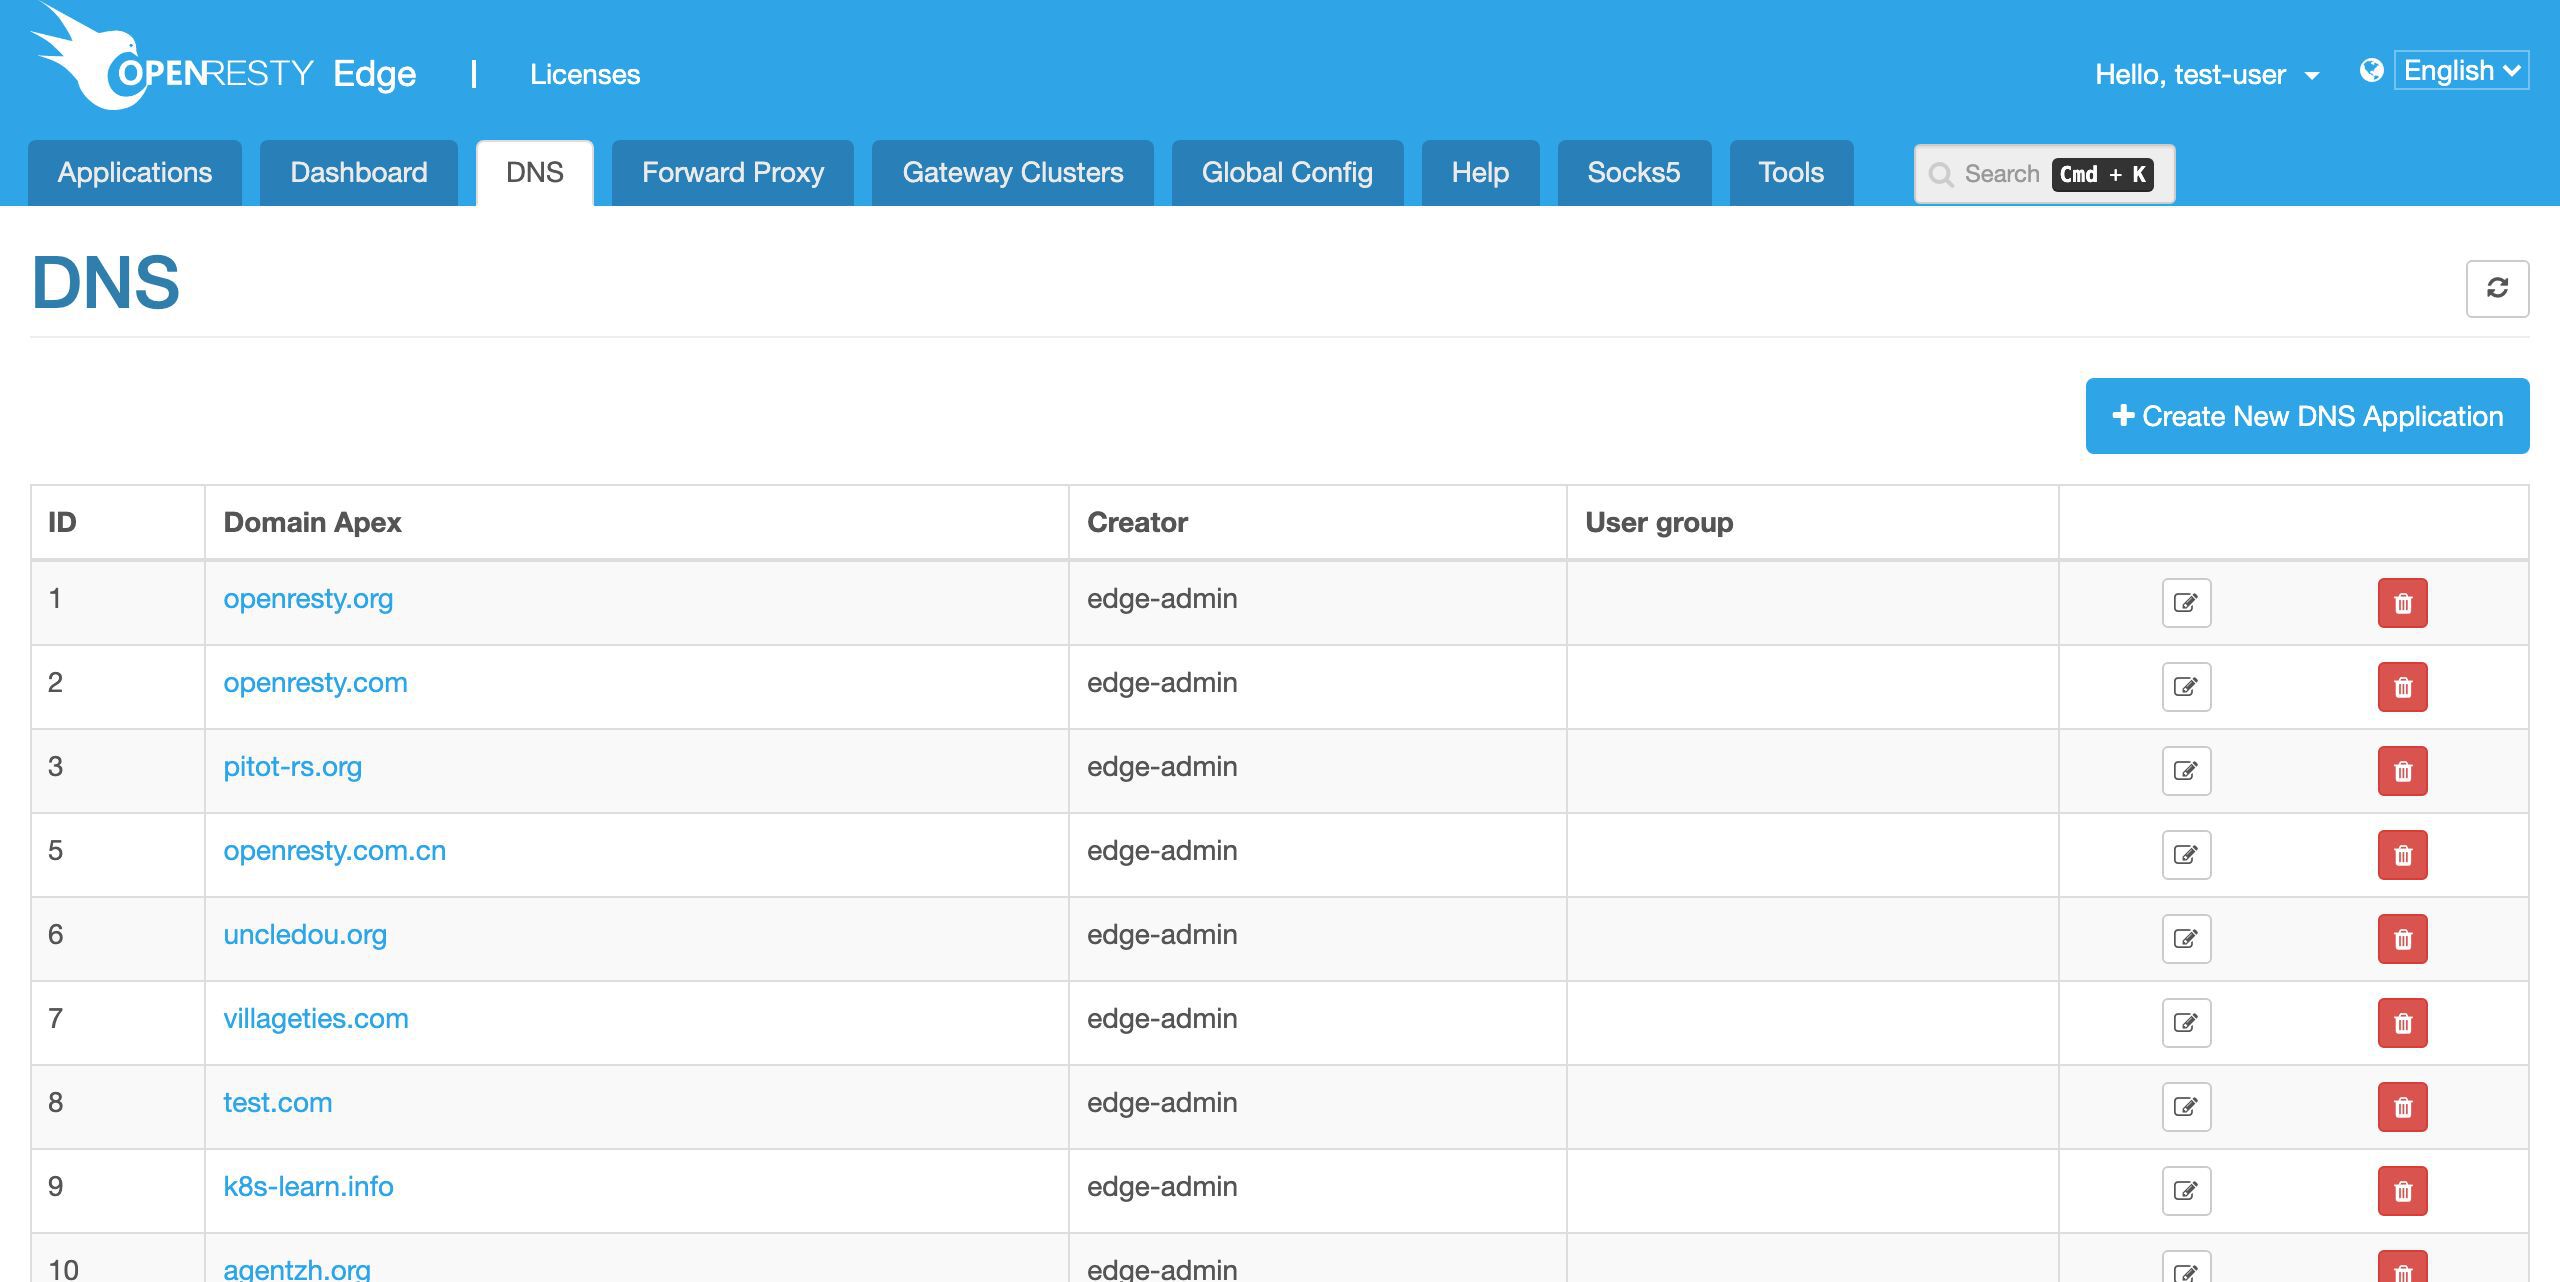
For the real setup, we should add the gateway server IP addresses to our DNS name servers.
dig test-edge.com
Here we haven’t configured this domain’s DNS records yet. We’ll demonstrate it in another video.
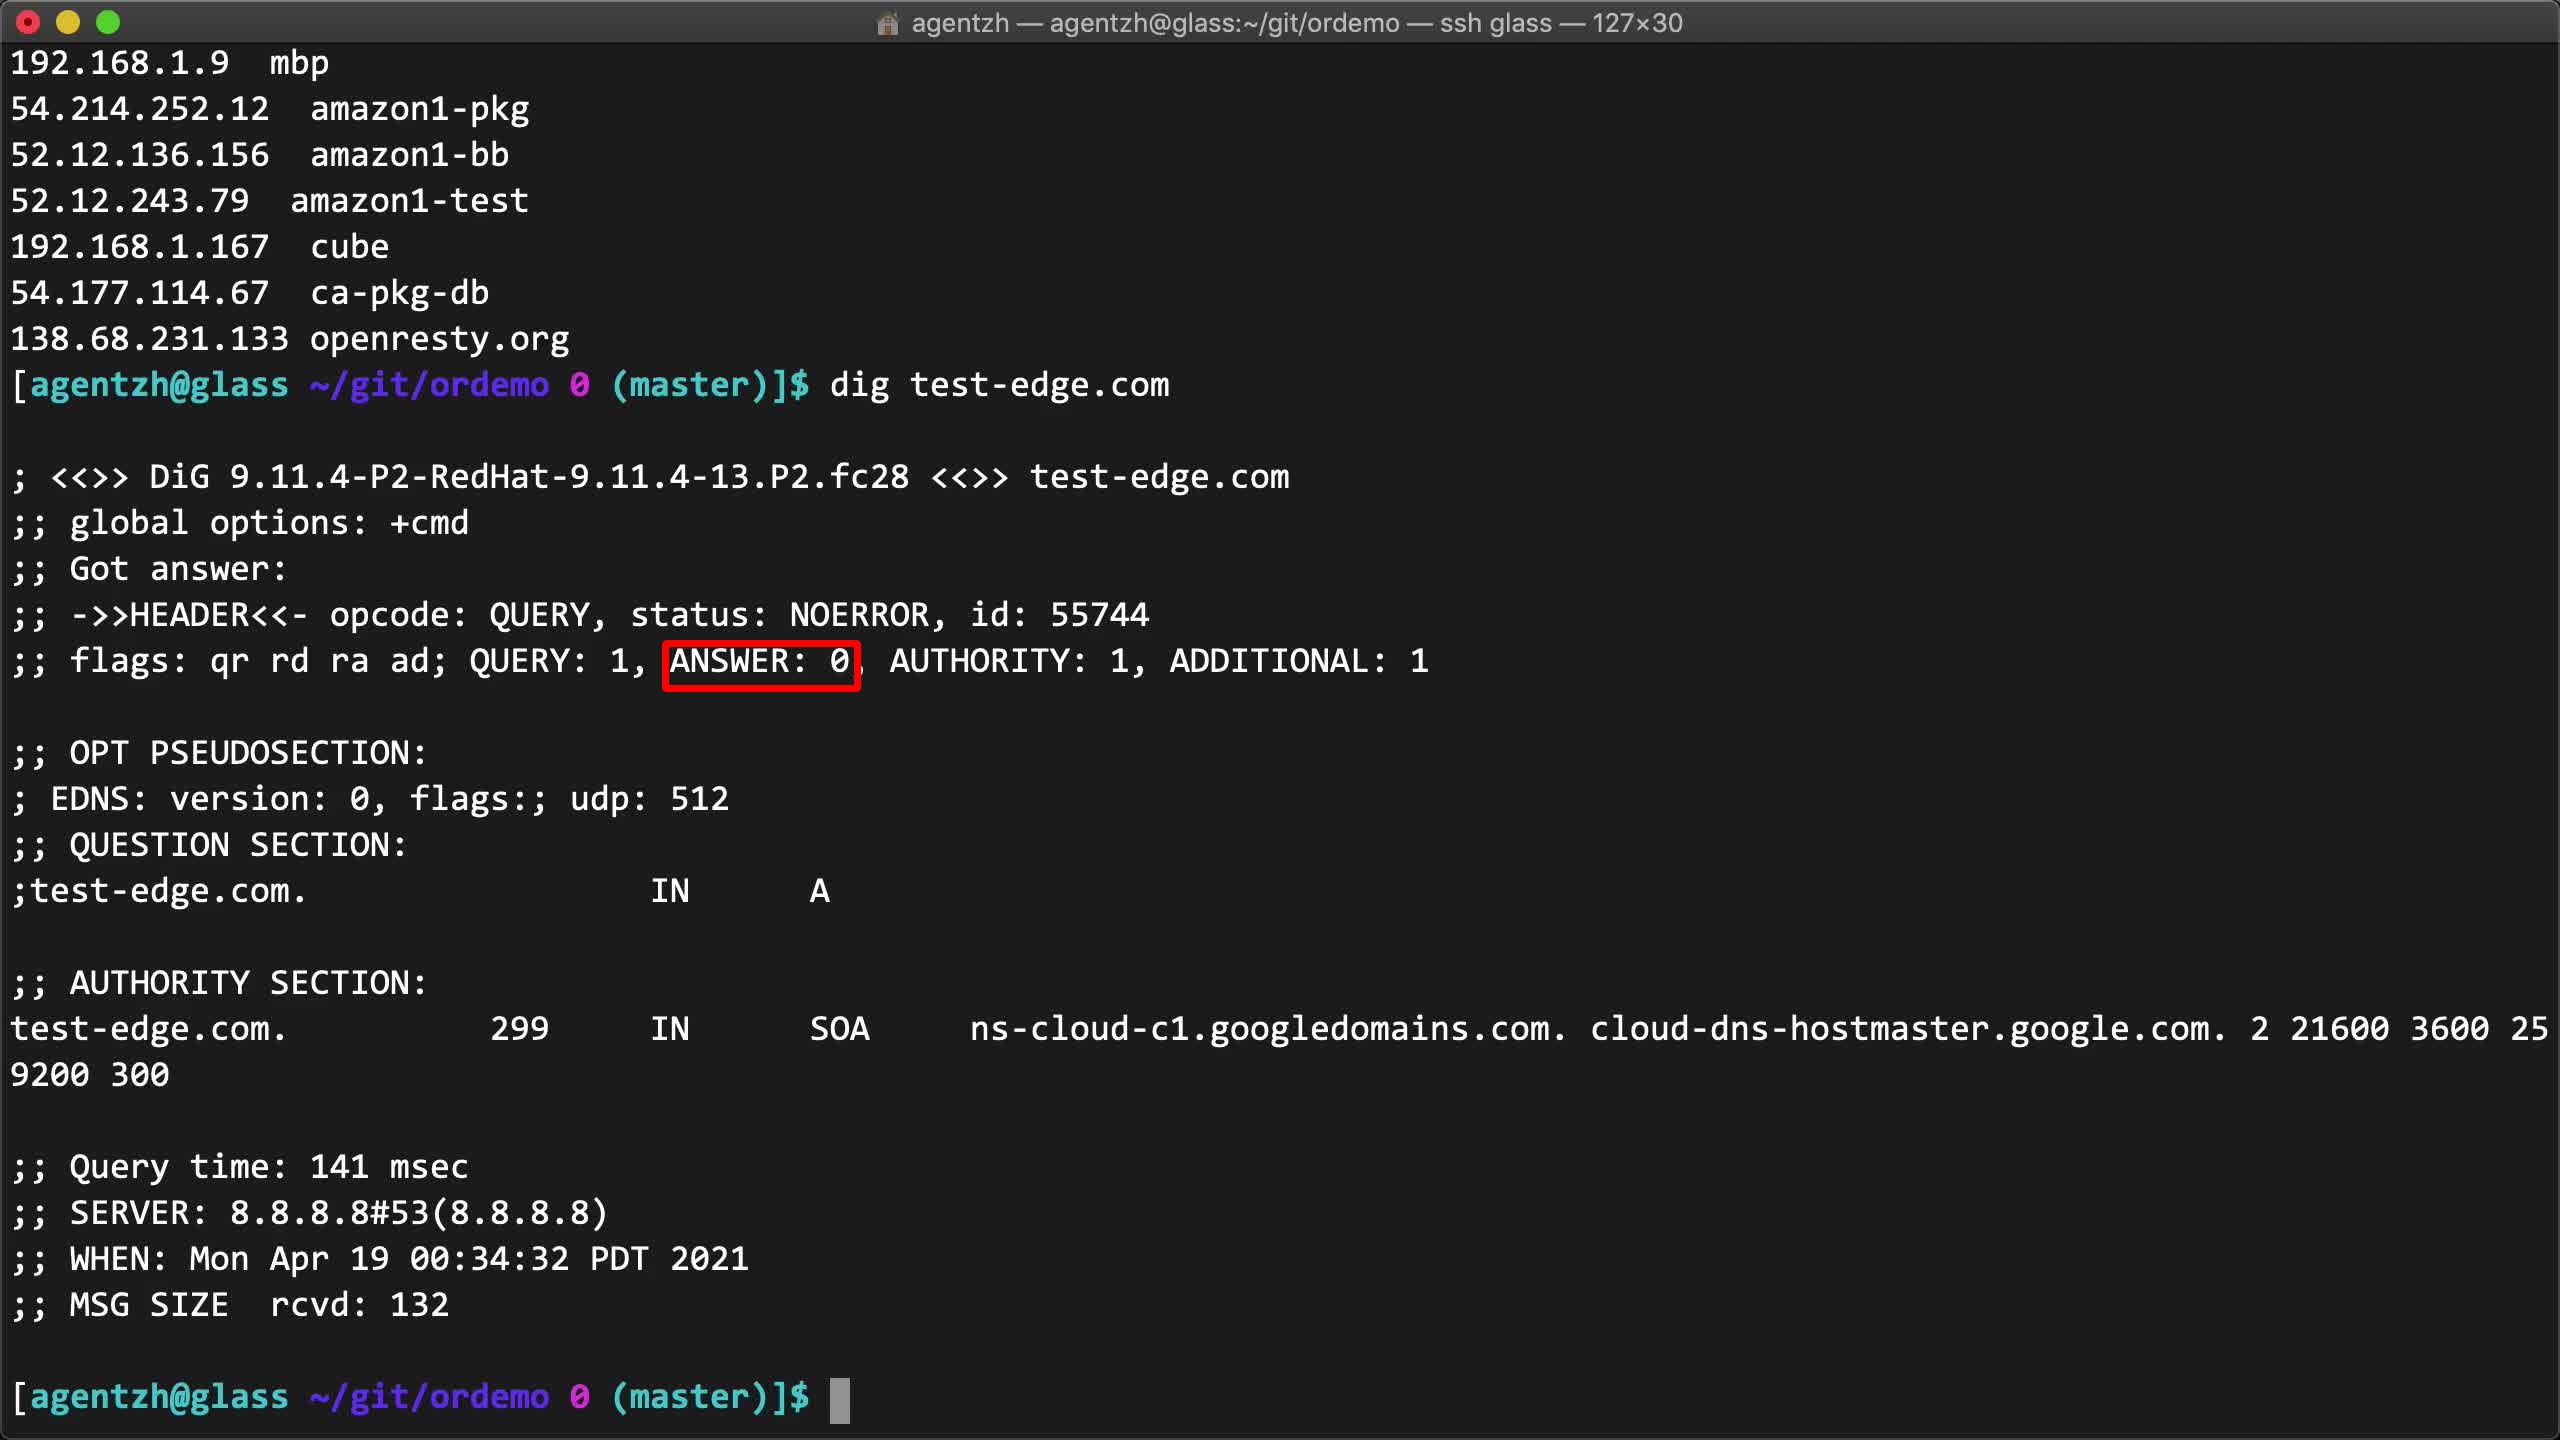
OpenResty Edge can also work as an authoritative DNS server network at the same time.
This is optional though. The user could still choose to use 3rd-party DNS name servers. This is what I’d like to cover today.
If you like this tutorial, please subscribe to this blog site and/or our YouTube channel. Thank you!
About The Author
Yichun Zhang (Github handle: agentzh), is the original creator of the OpenResty® open-source project and the CEO of OpenResty Inc..
Yichun is one of the earliest advocates and leaders of “open-source technology”. He worked at many internationally renowned tech companies, such as Cloudflare, Yahoo!. He is a pioneer of “edge computing”, “dynamic tracing” and “machine coding”, with over 22 years of programming and 16 years of open source experience. Yichun is well-known in the open-source space as the project leader of OpenResty®, adopted by more than 40 million global website domains.
OpenResty Inc., the enterprise software start-up founded by Yichun in 2017, has customers from some of the biggest companies in the world. Its flagship product, OpenResty XRay, is a non-invasive profiling and troubleshooting tool that significantly enhances and utilizes dynamic tracing technology. And its OpenResty Edge product is a powerful distributed traffic management and private CDN software product.
As an avid open-source contributor, Yichun has contributed more than a million lines of code to numerous open-source projects, including Linux kernel, Nginx, LuaJIT, GDB, SystemTap, LLVM, Perl, etc. He has also authored more than 60 open-source software libraries.
Related Articles
OpenResty XRay Sep 16, 2021

OpenResty XRay Apr 12, 2021

OpenResty XRay Apr 3, 2021

OpenResty XRay Apr 10, 2024

OpenResty XRay Jun 5, 2023


")
")
")


