Issue Free SSL Certificates via Let's Encrypt in OpenResty Edge
Today I’d like to show how to automatically issue free SSL certificates via Let’s Encrypt in OpenResty Edge.
Add wildcard domains to the sample application
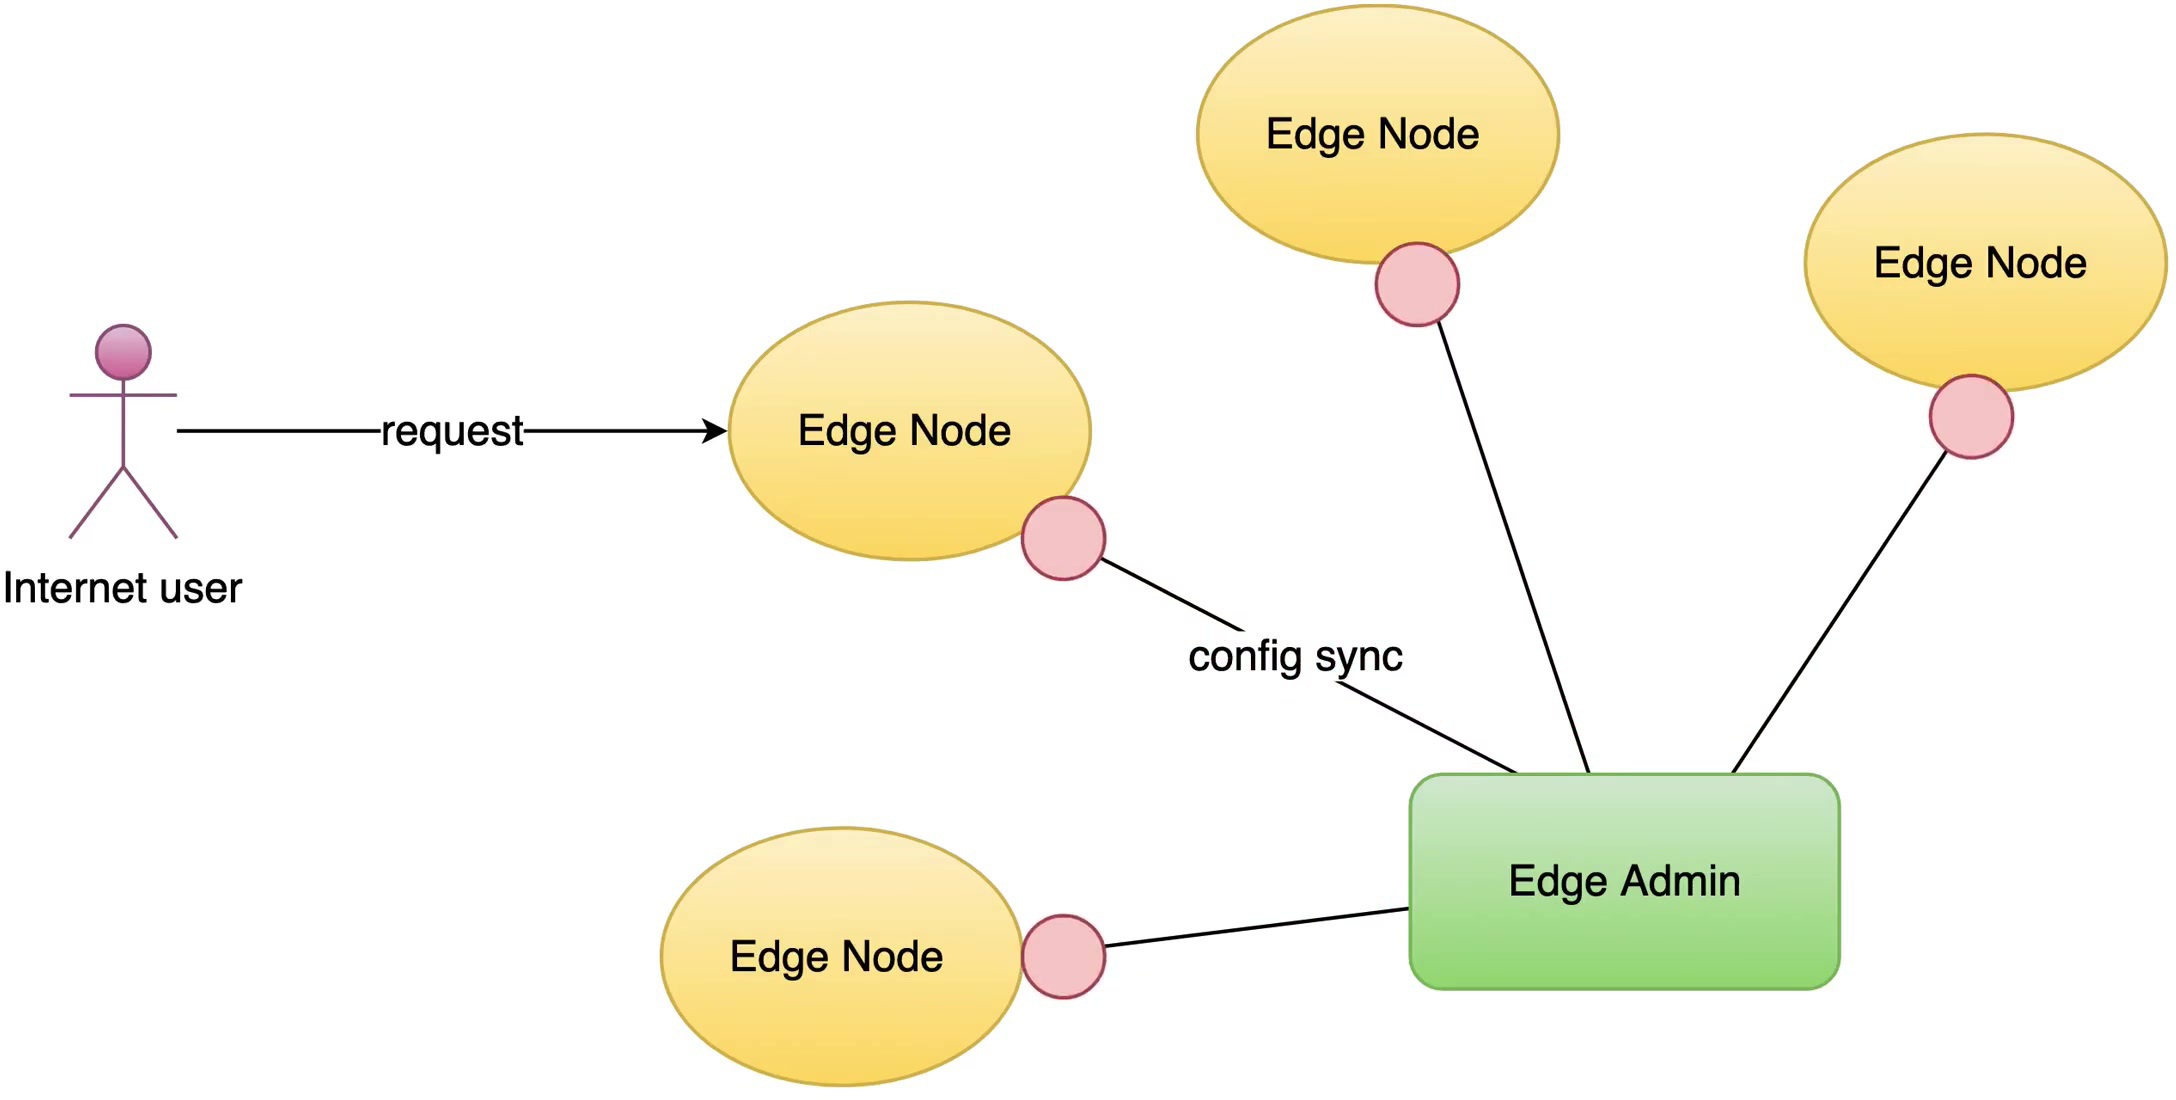
As always, let’s go to the OpenResty Edge’s Admin web console. This is our sample deployment of the console. Every user has her own local deployment.
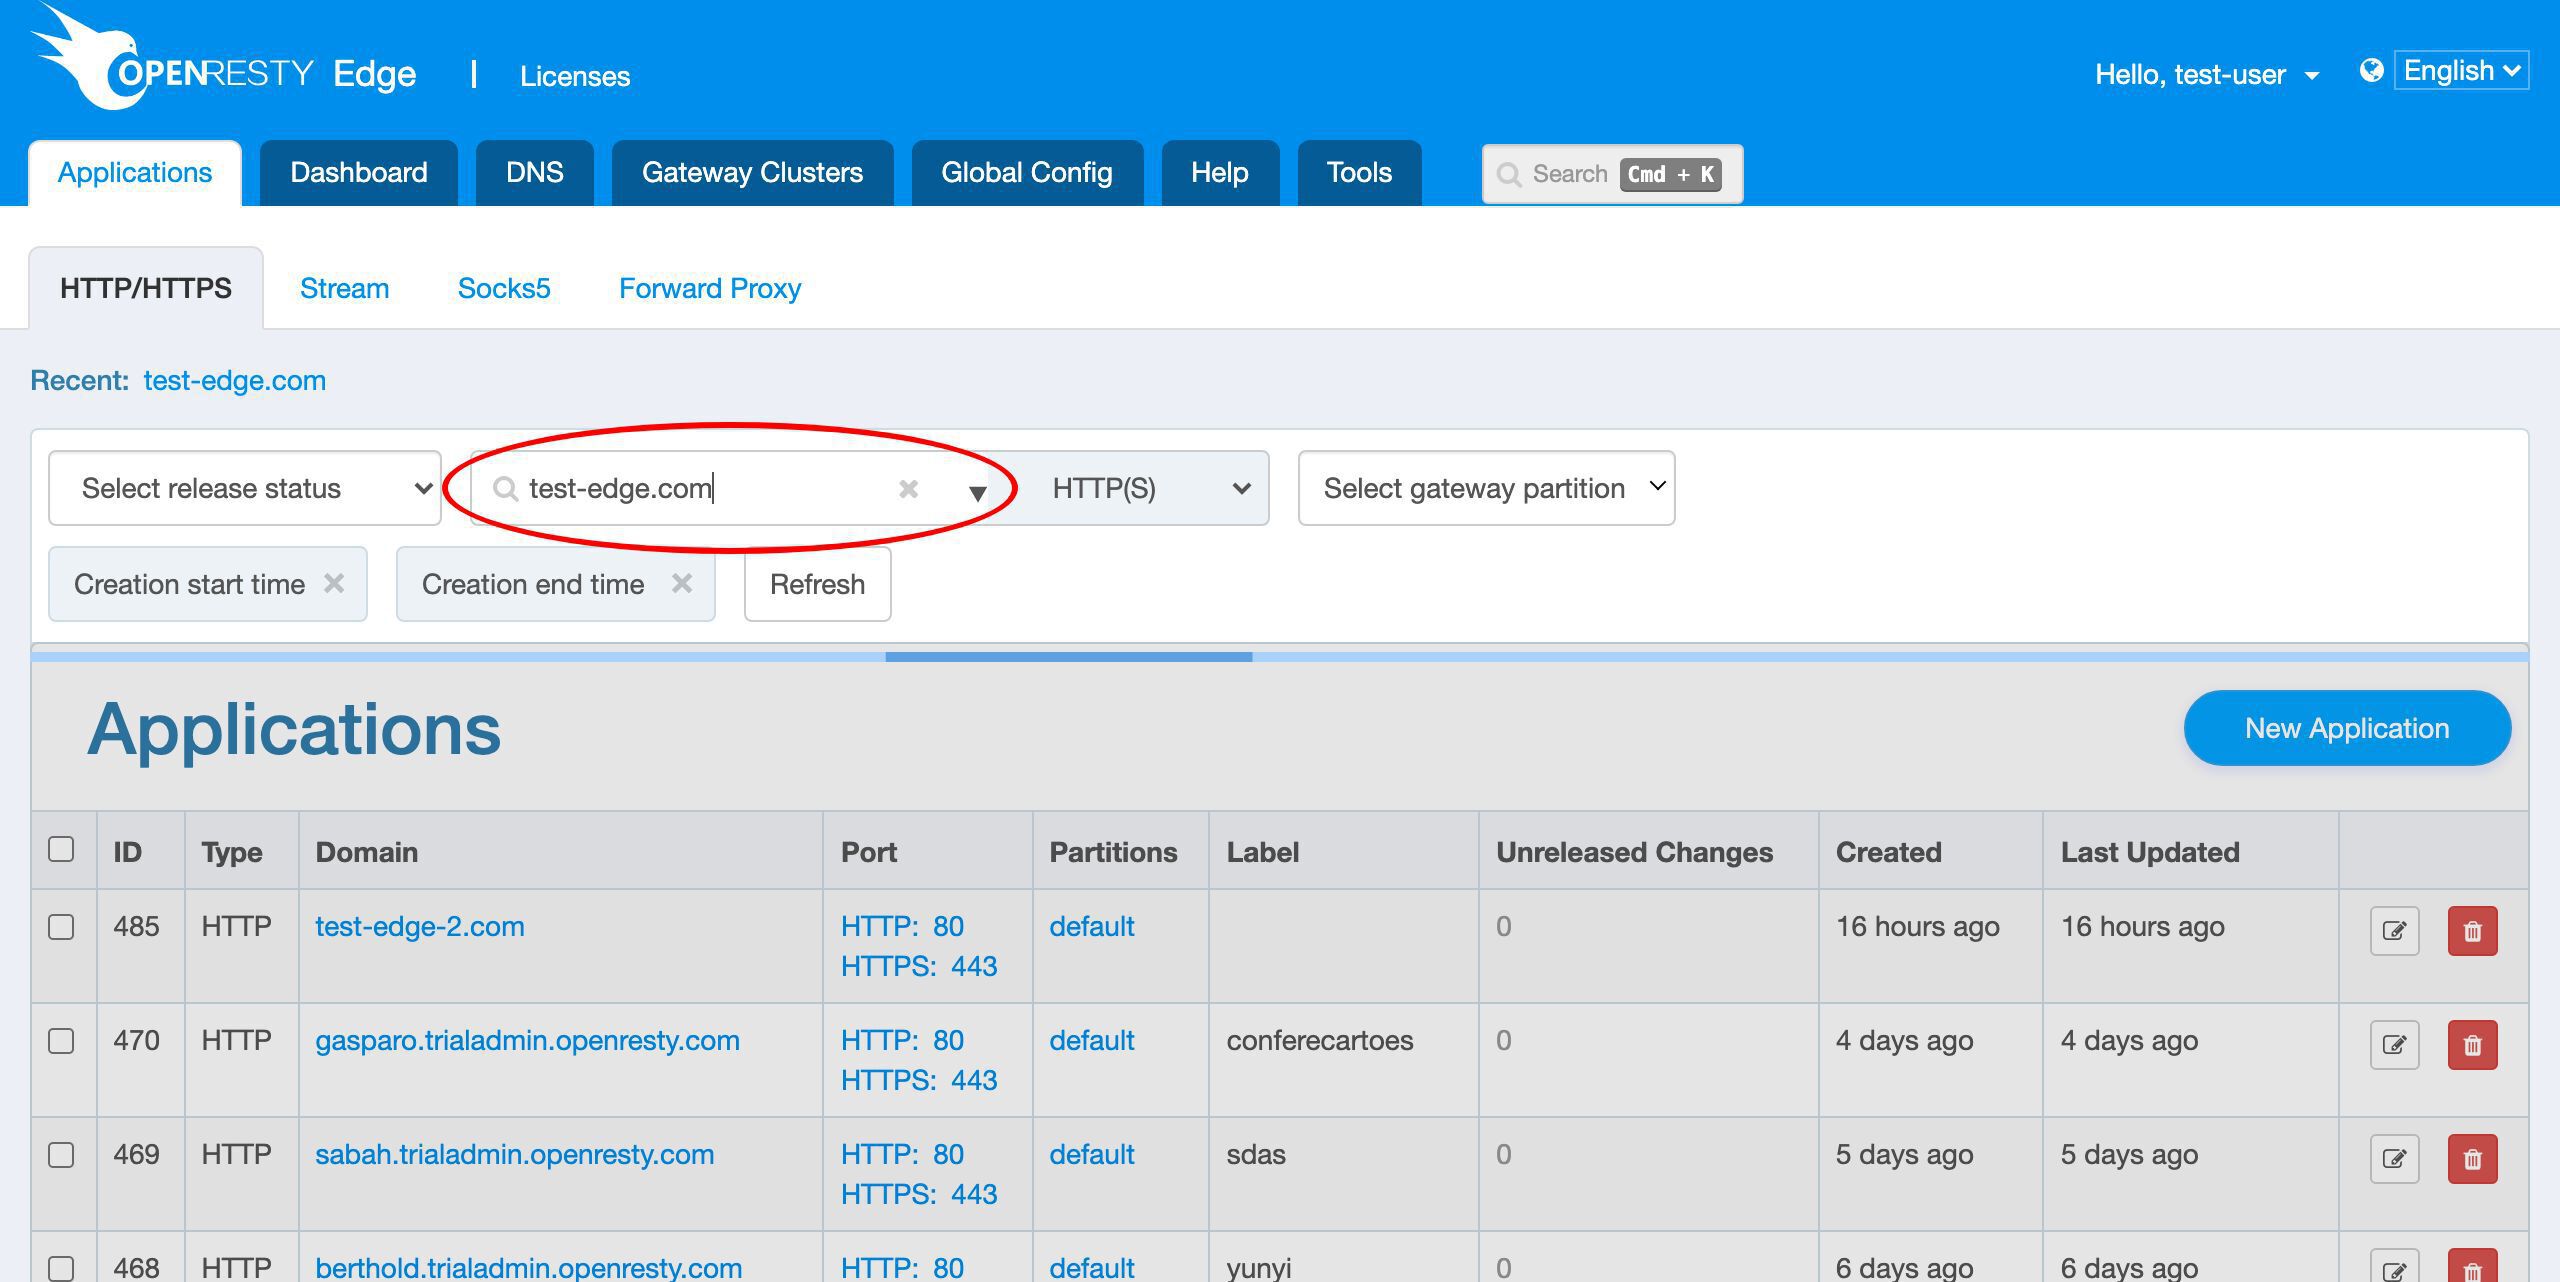
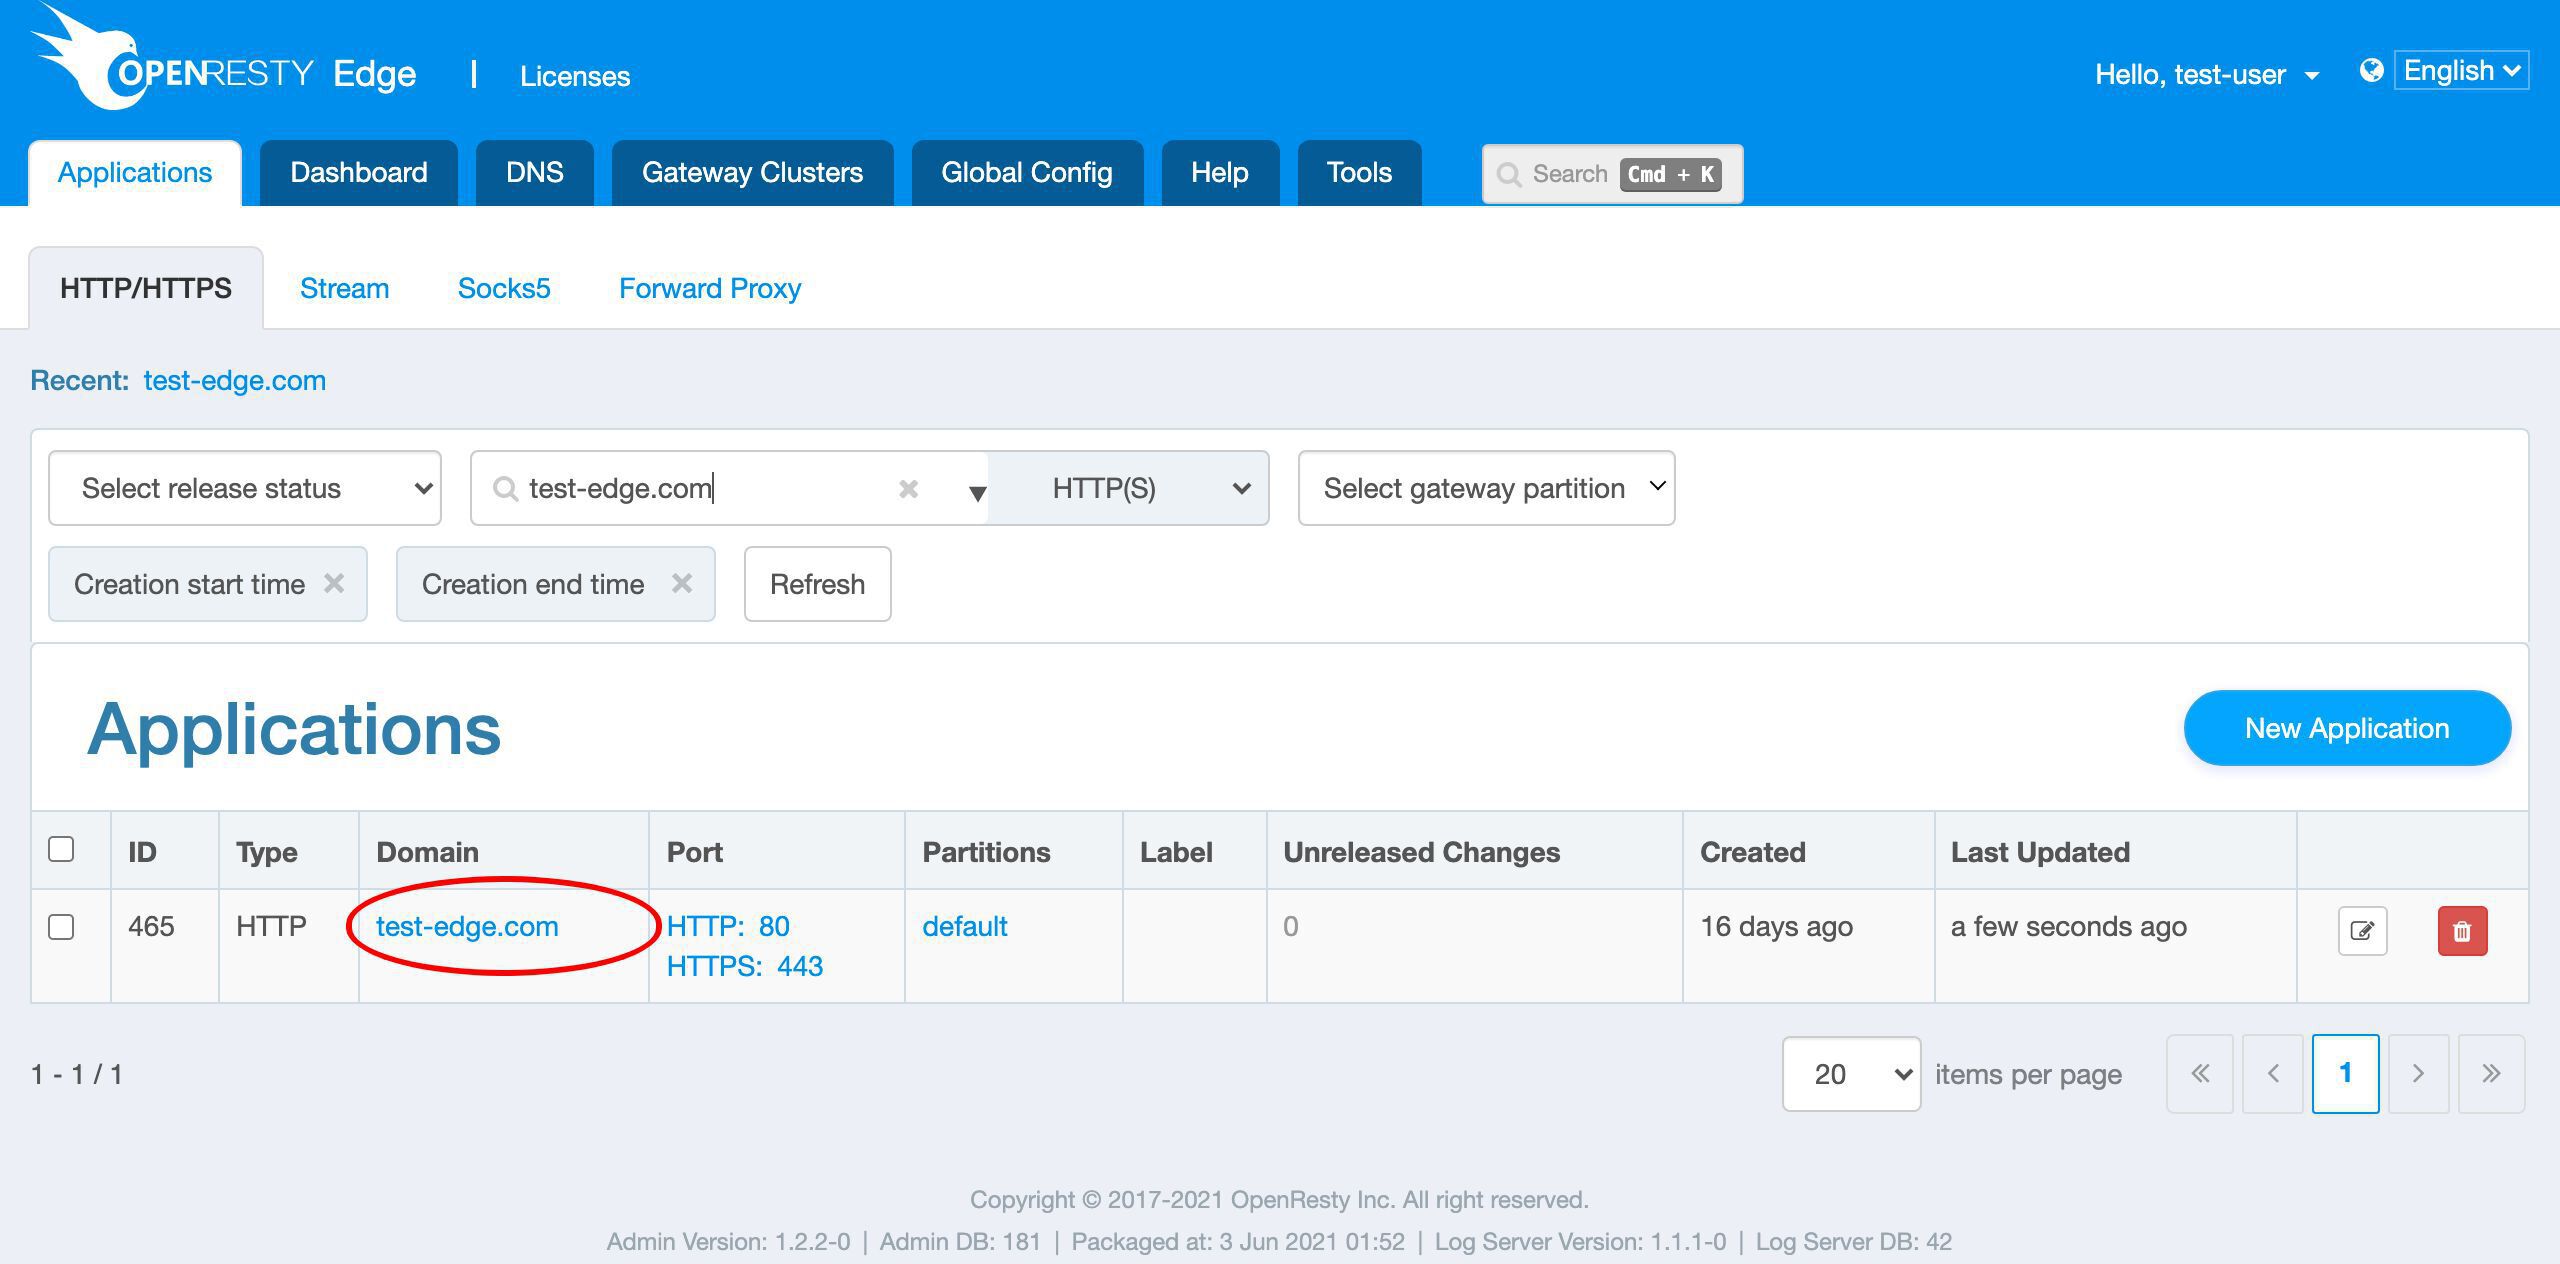
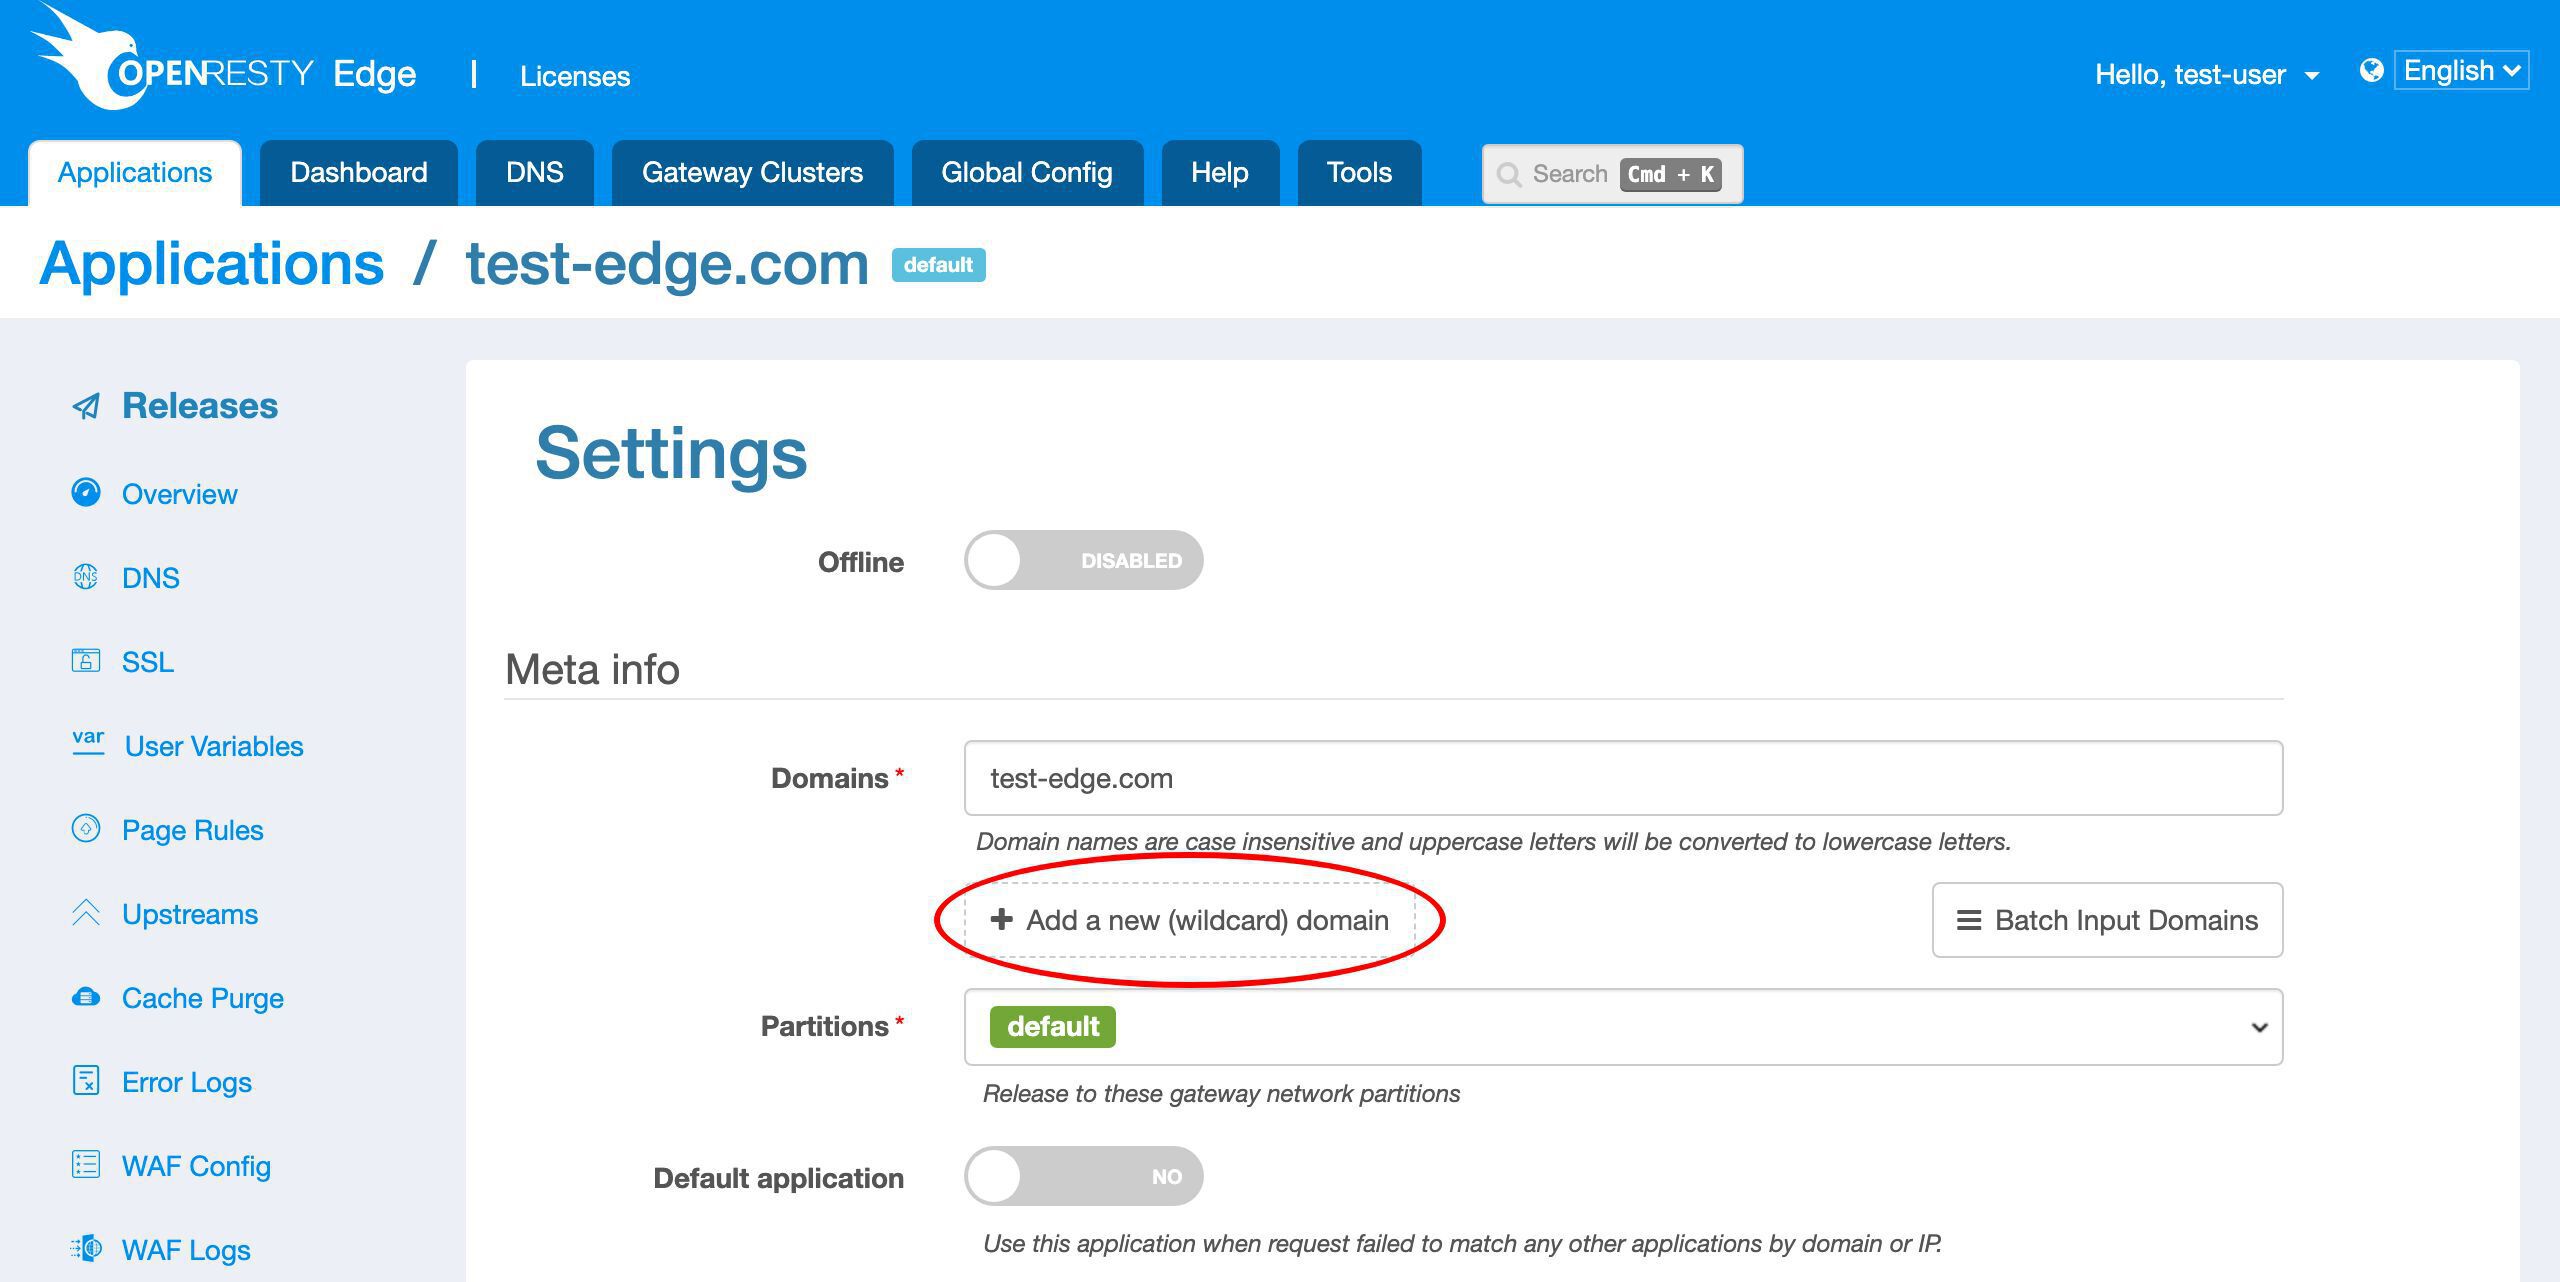
This time we use our continuing sample application for the test-edge.com domain.
We can see that it already listens on the 443 port for SSL.
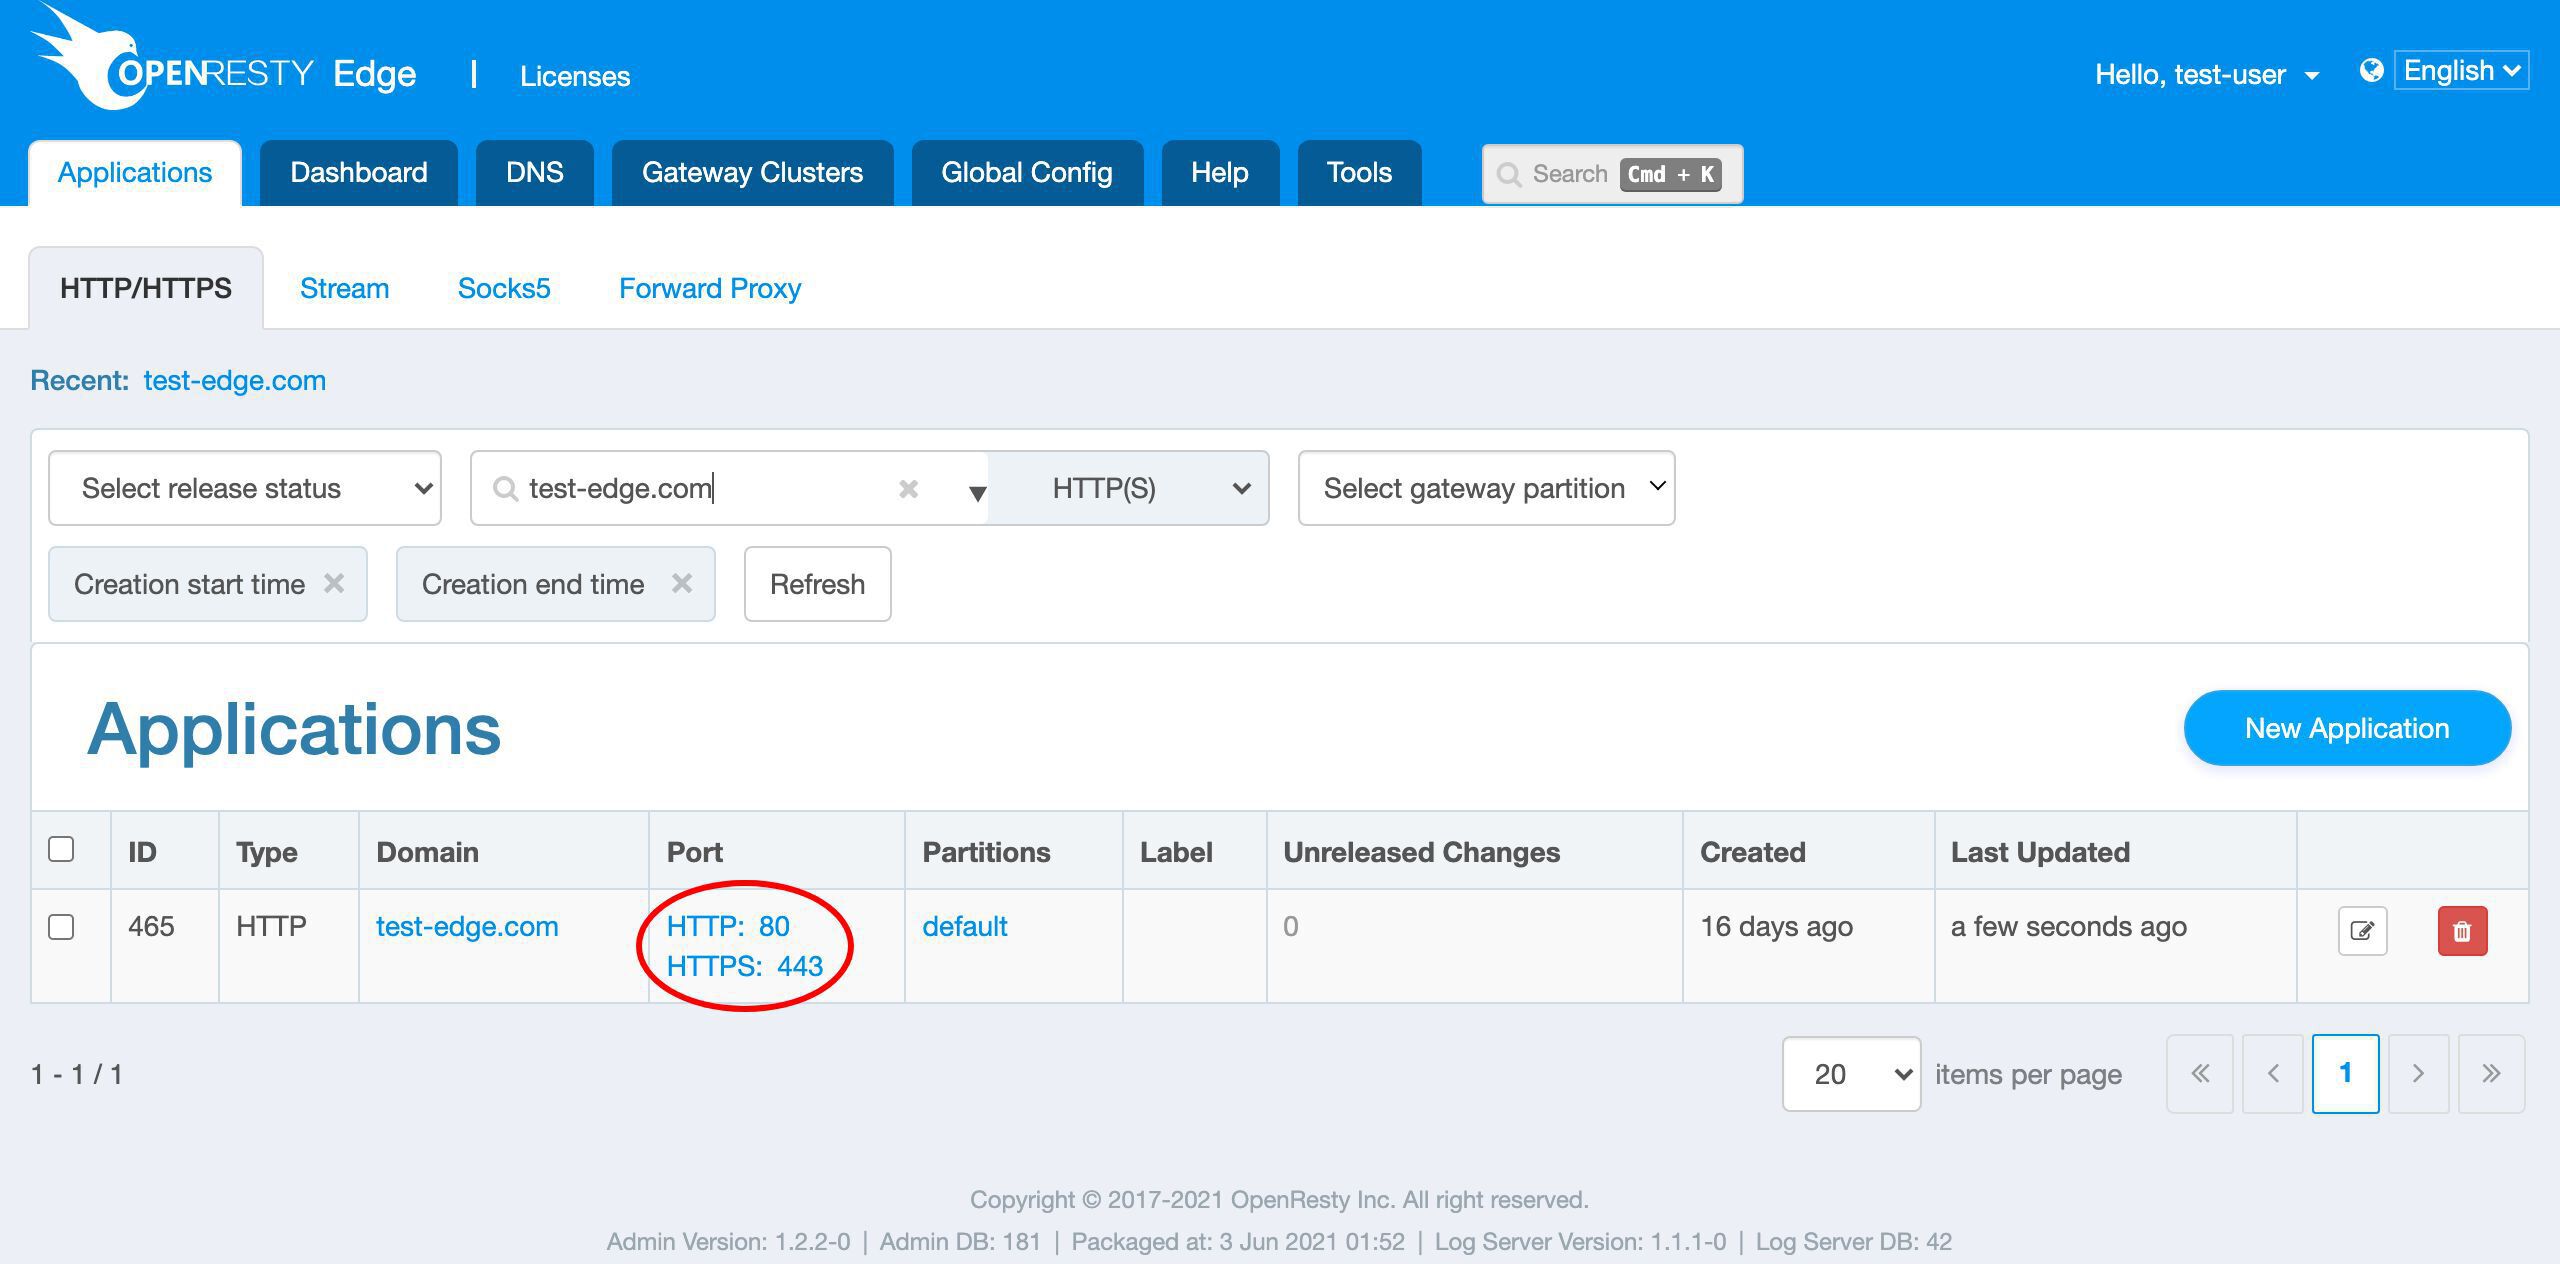
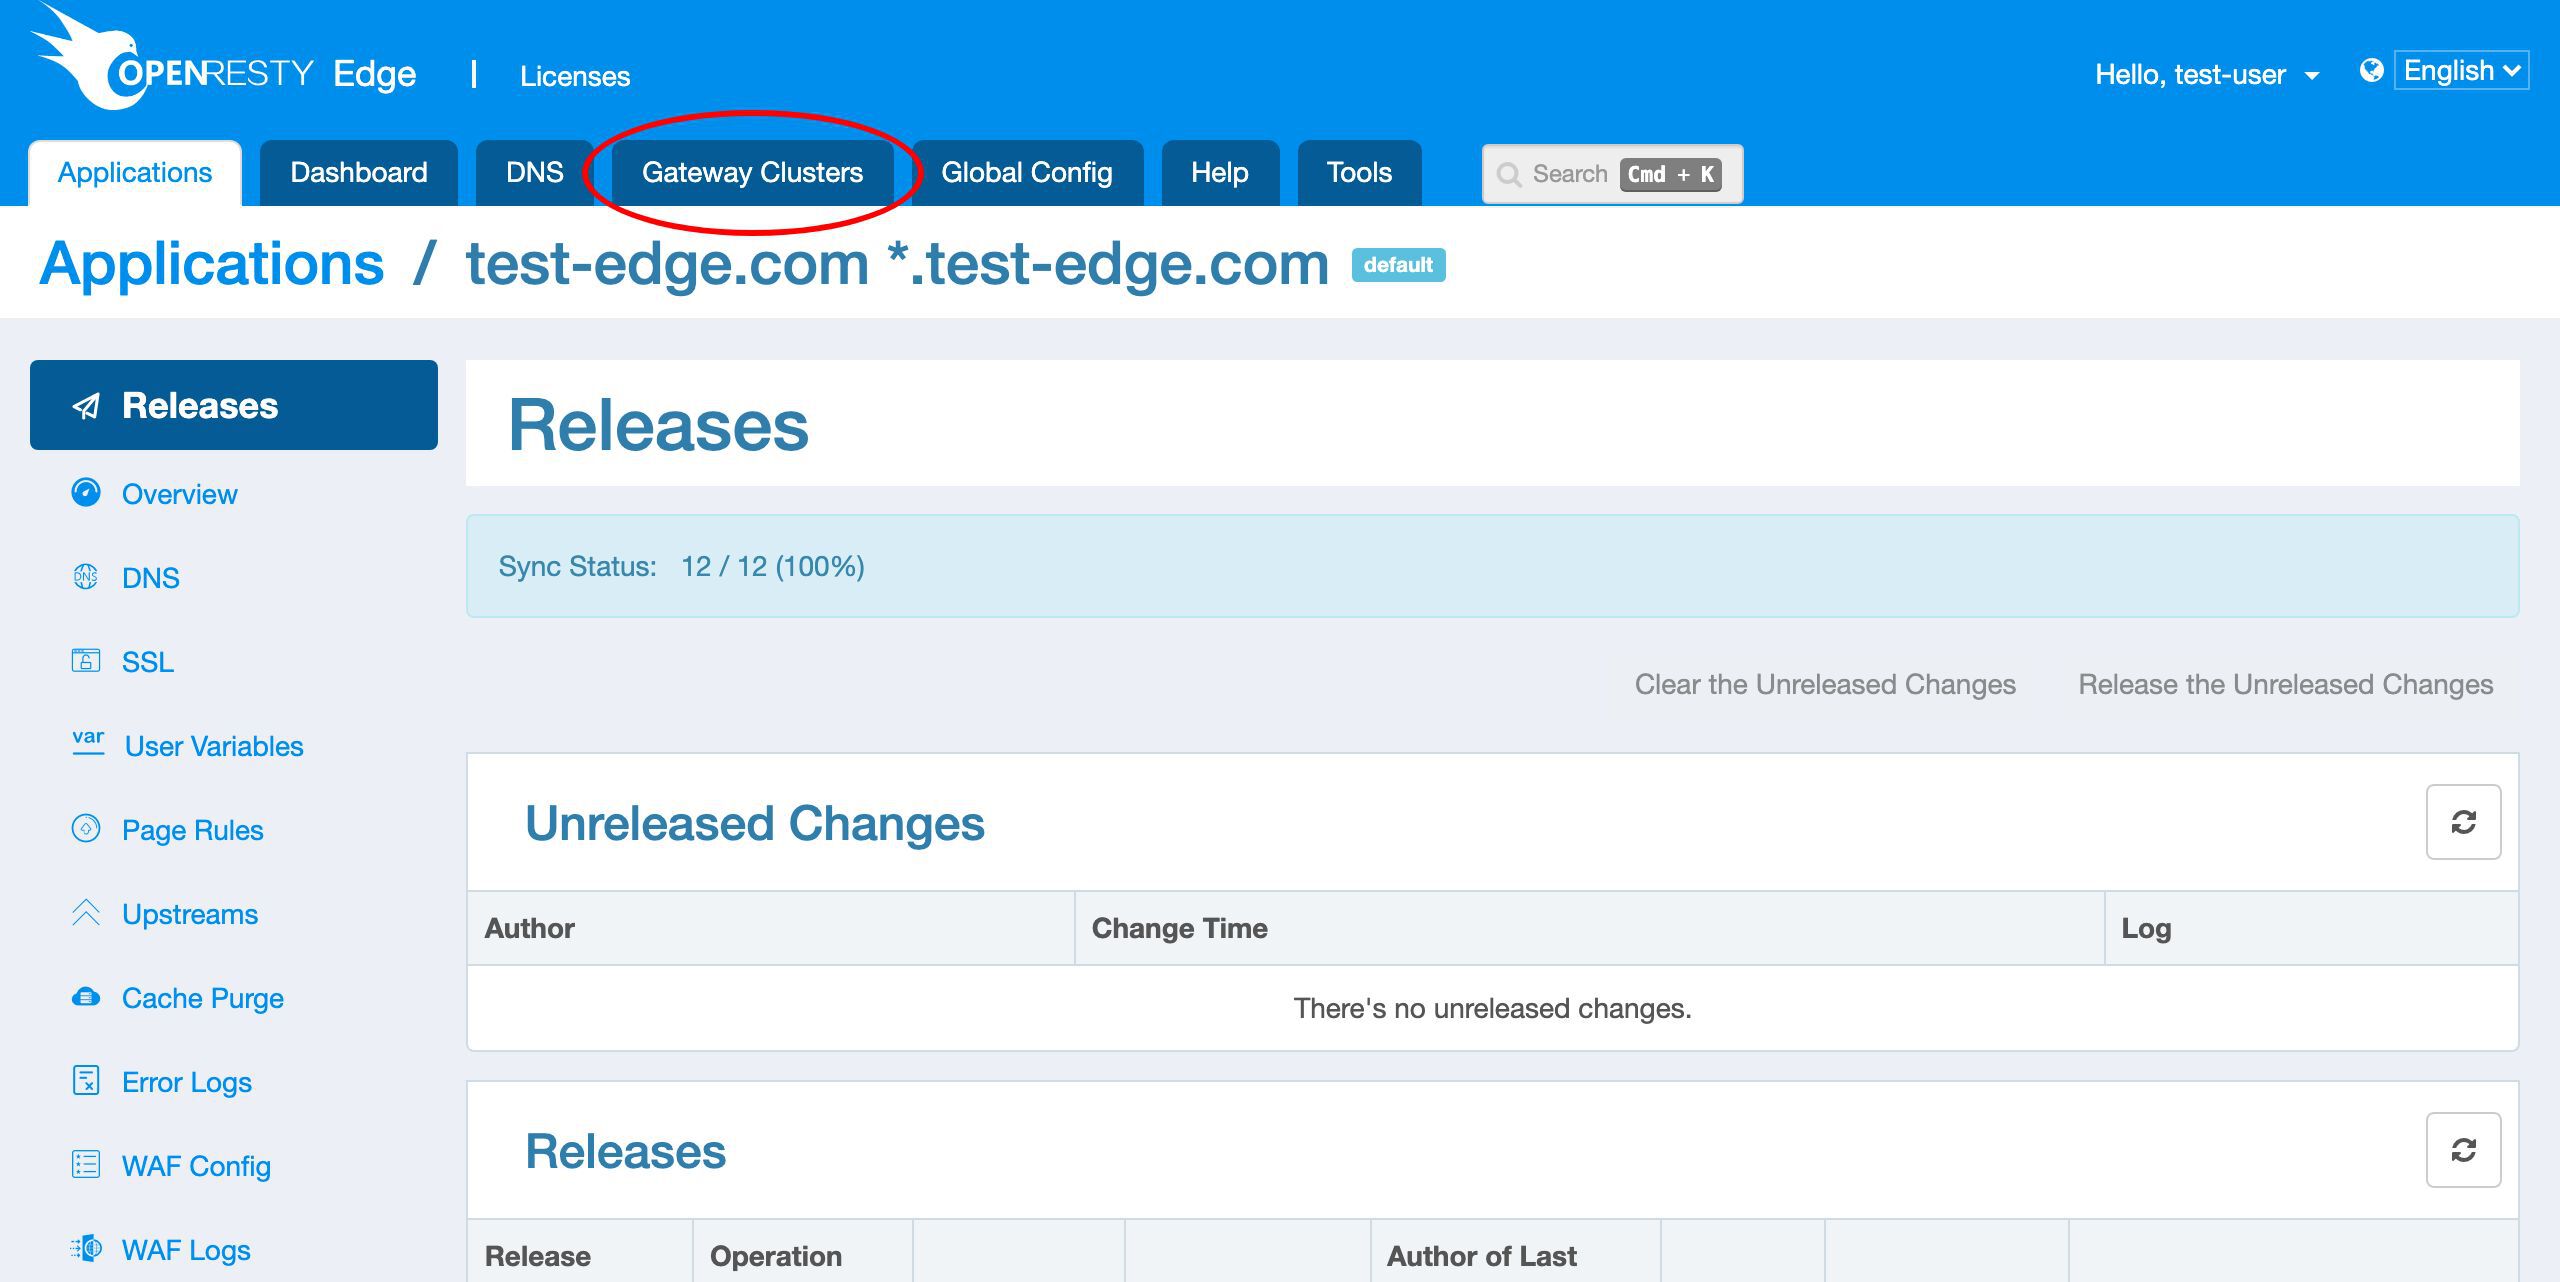
Let’s enter this application.
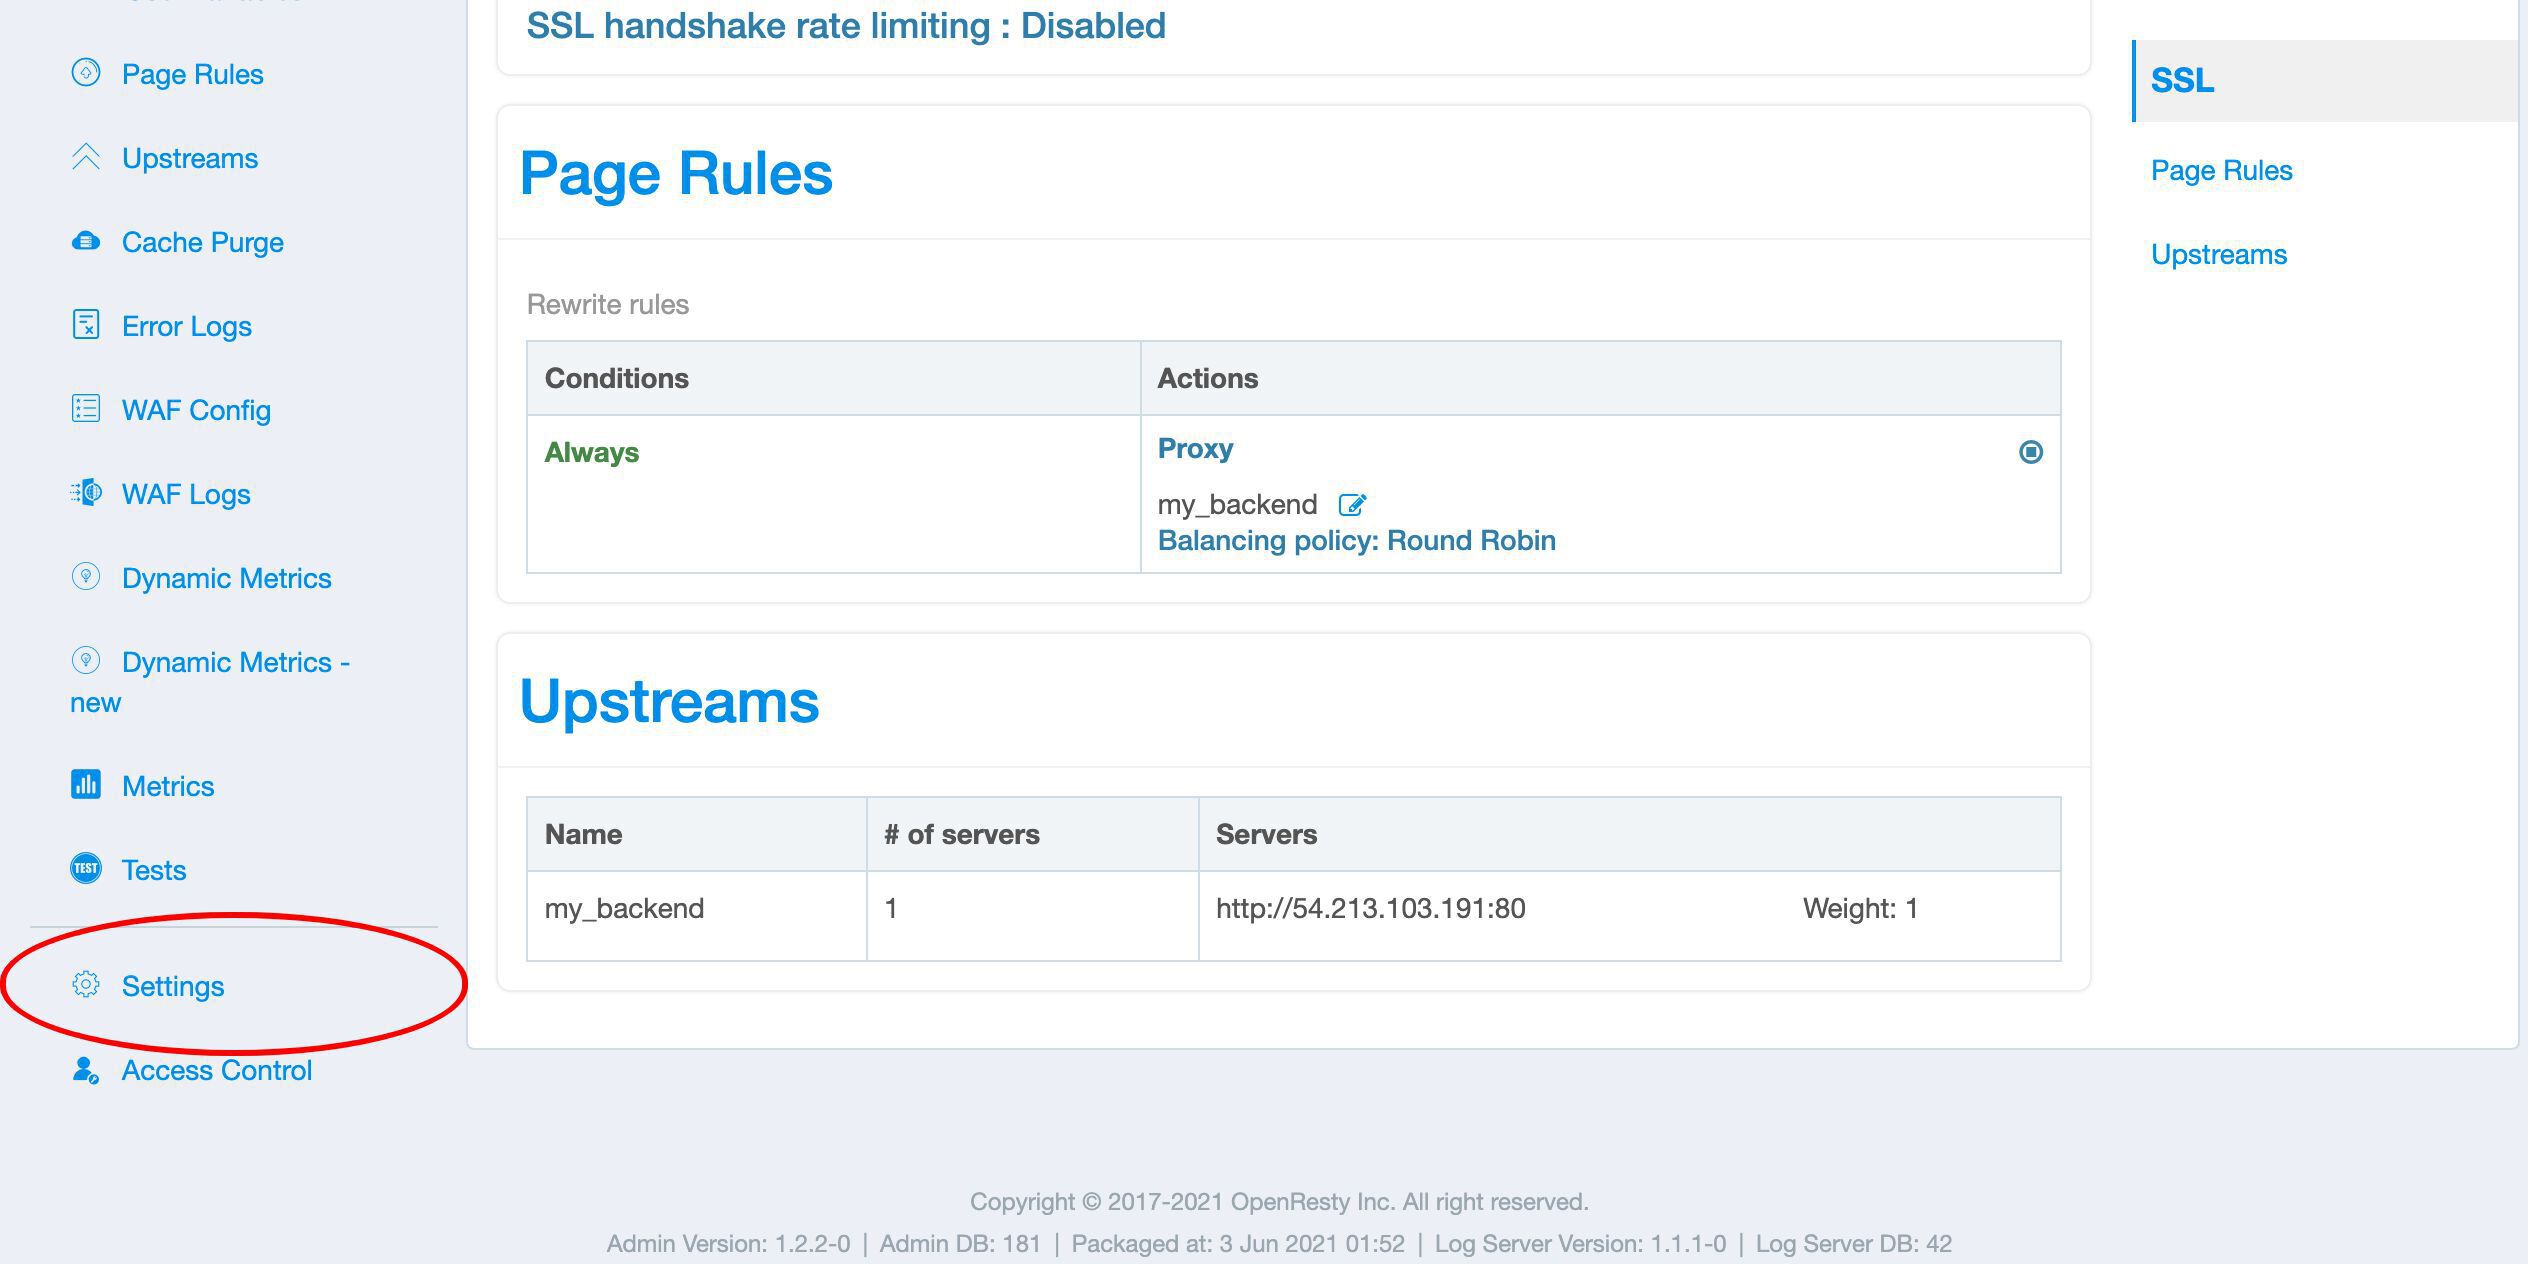
Here we need to demo sub-domain names, so we need to adjust the application’s settings first.
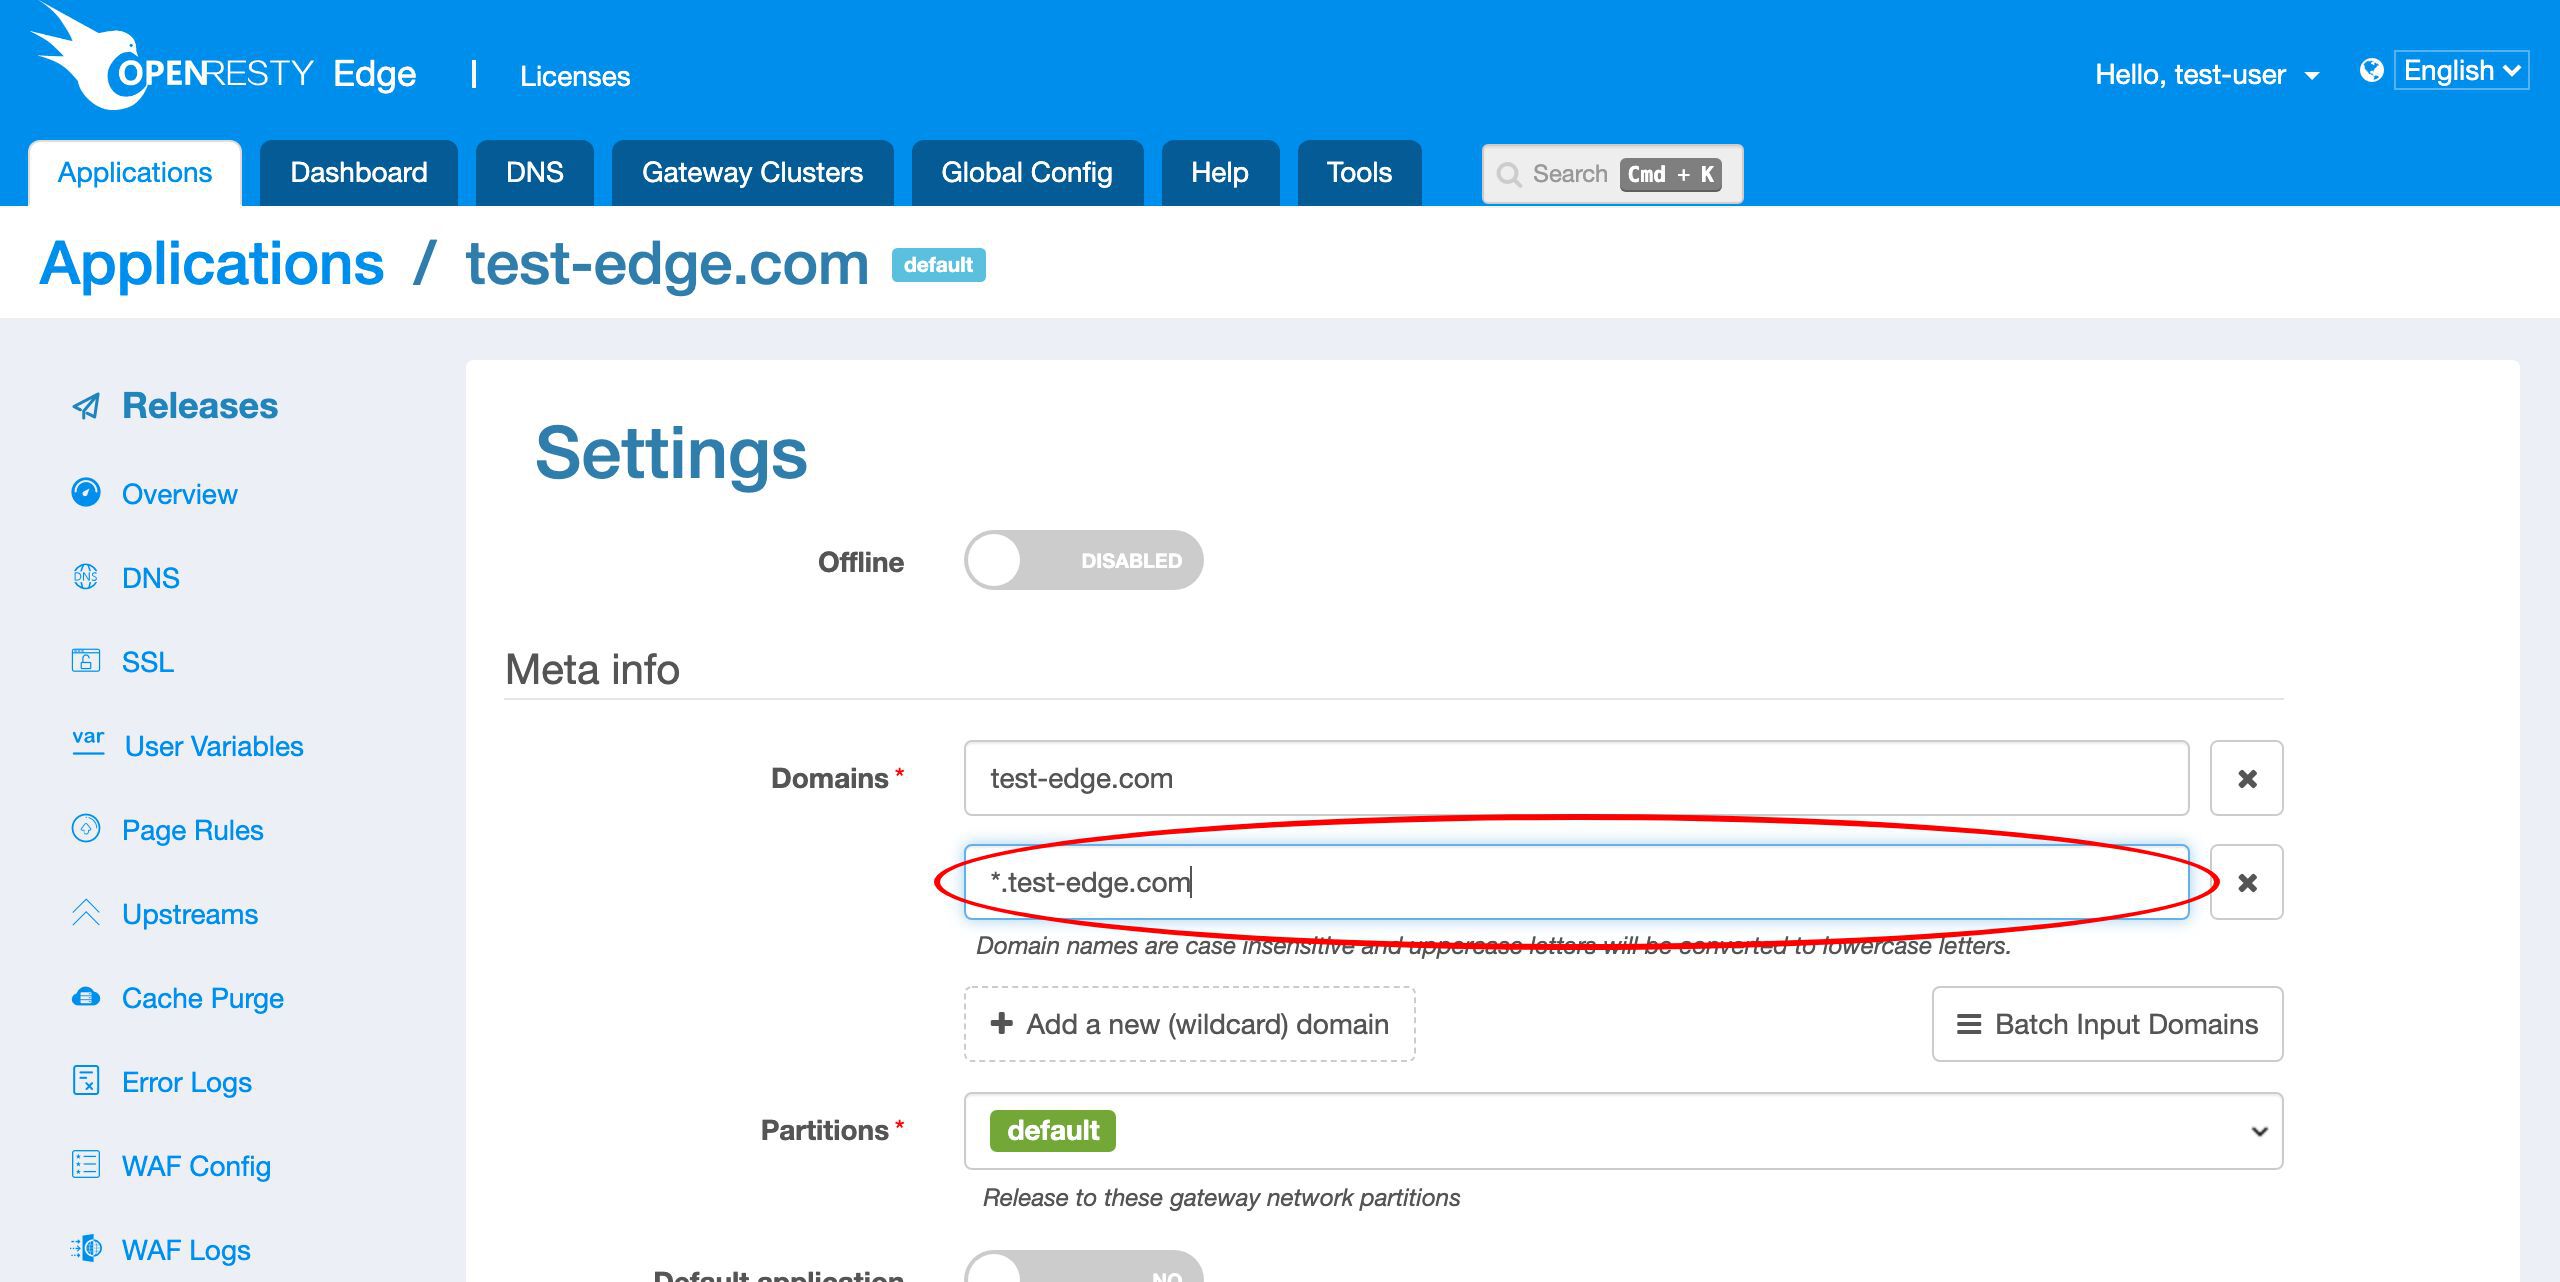
Let’s add a new wildcard domain name to this application.
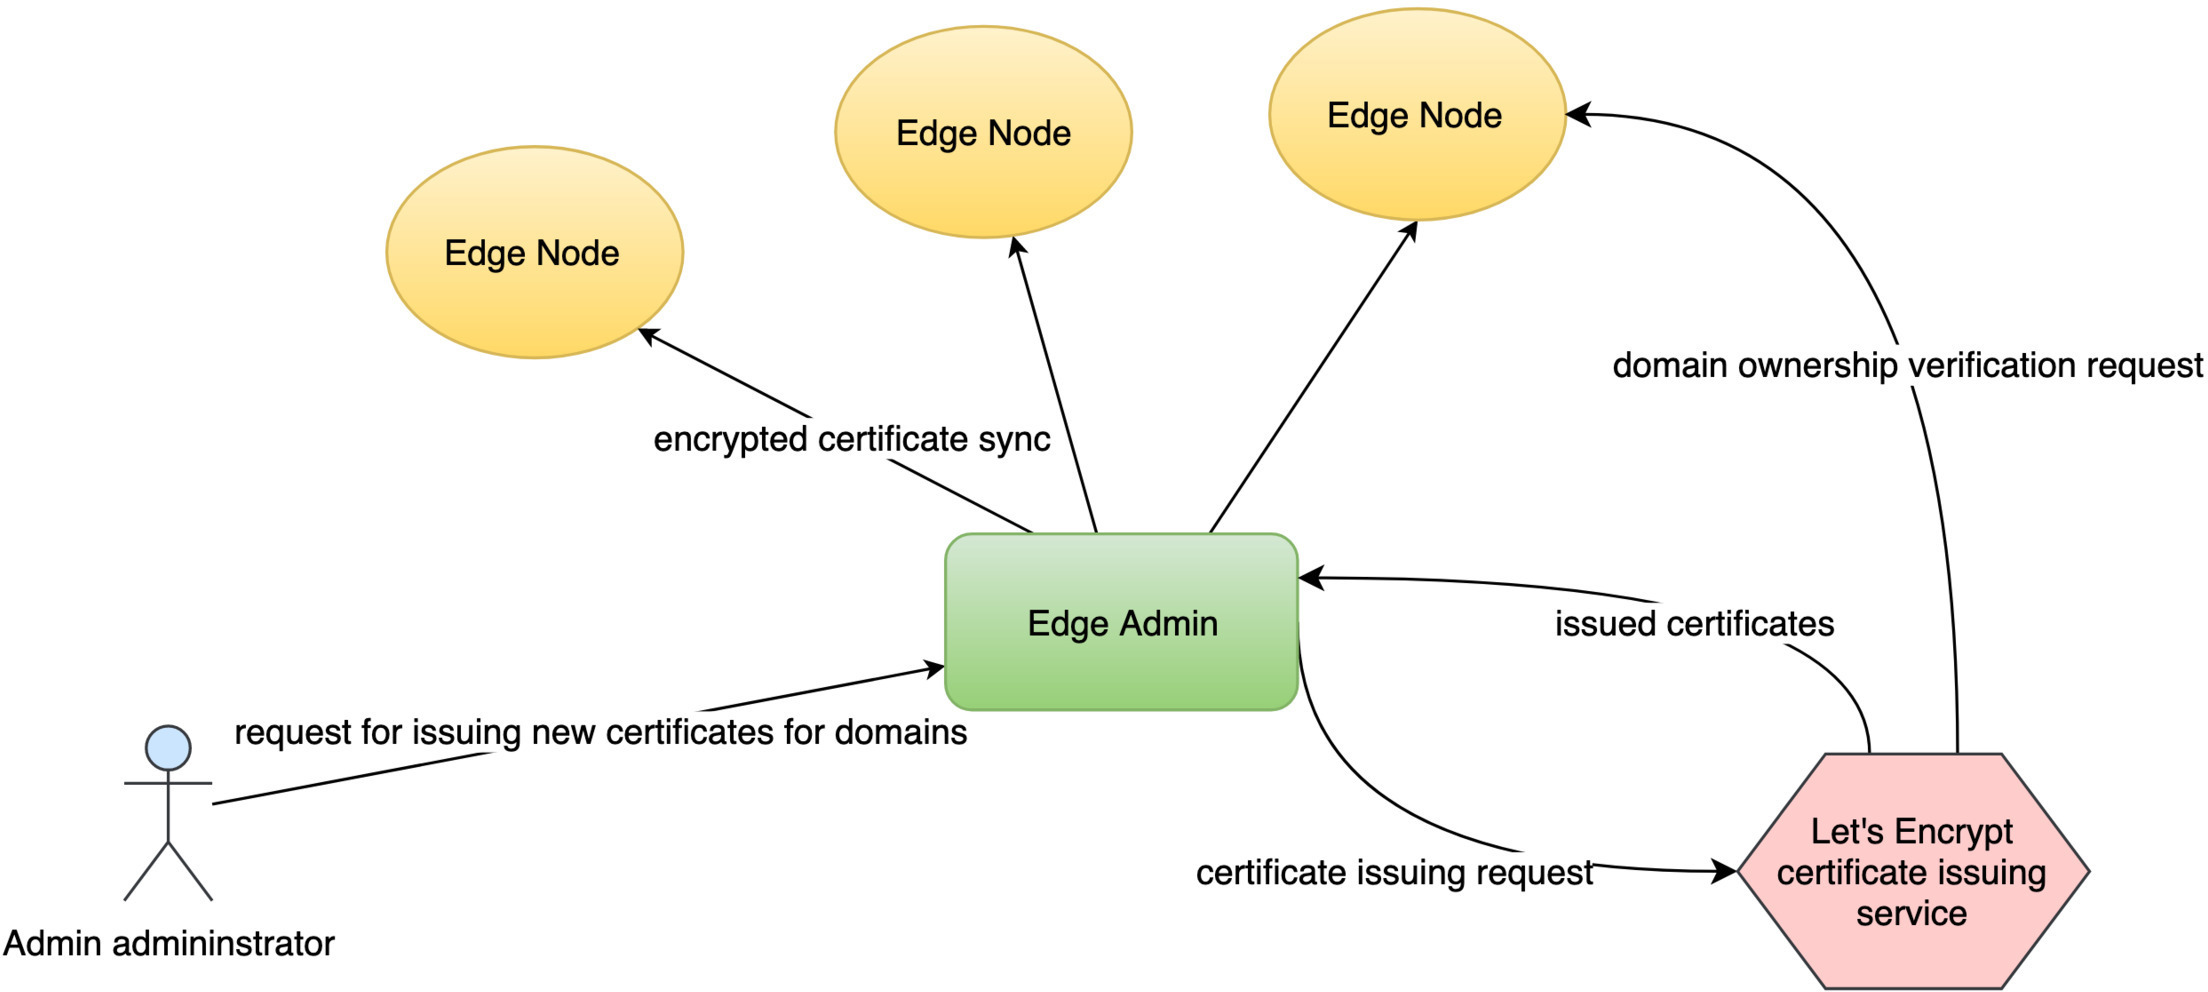
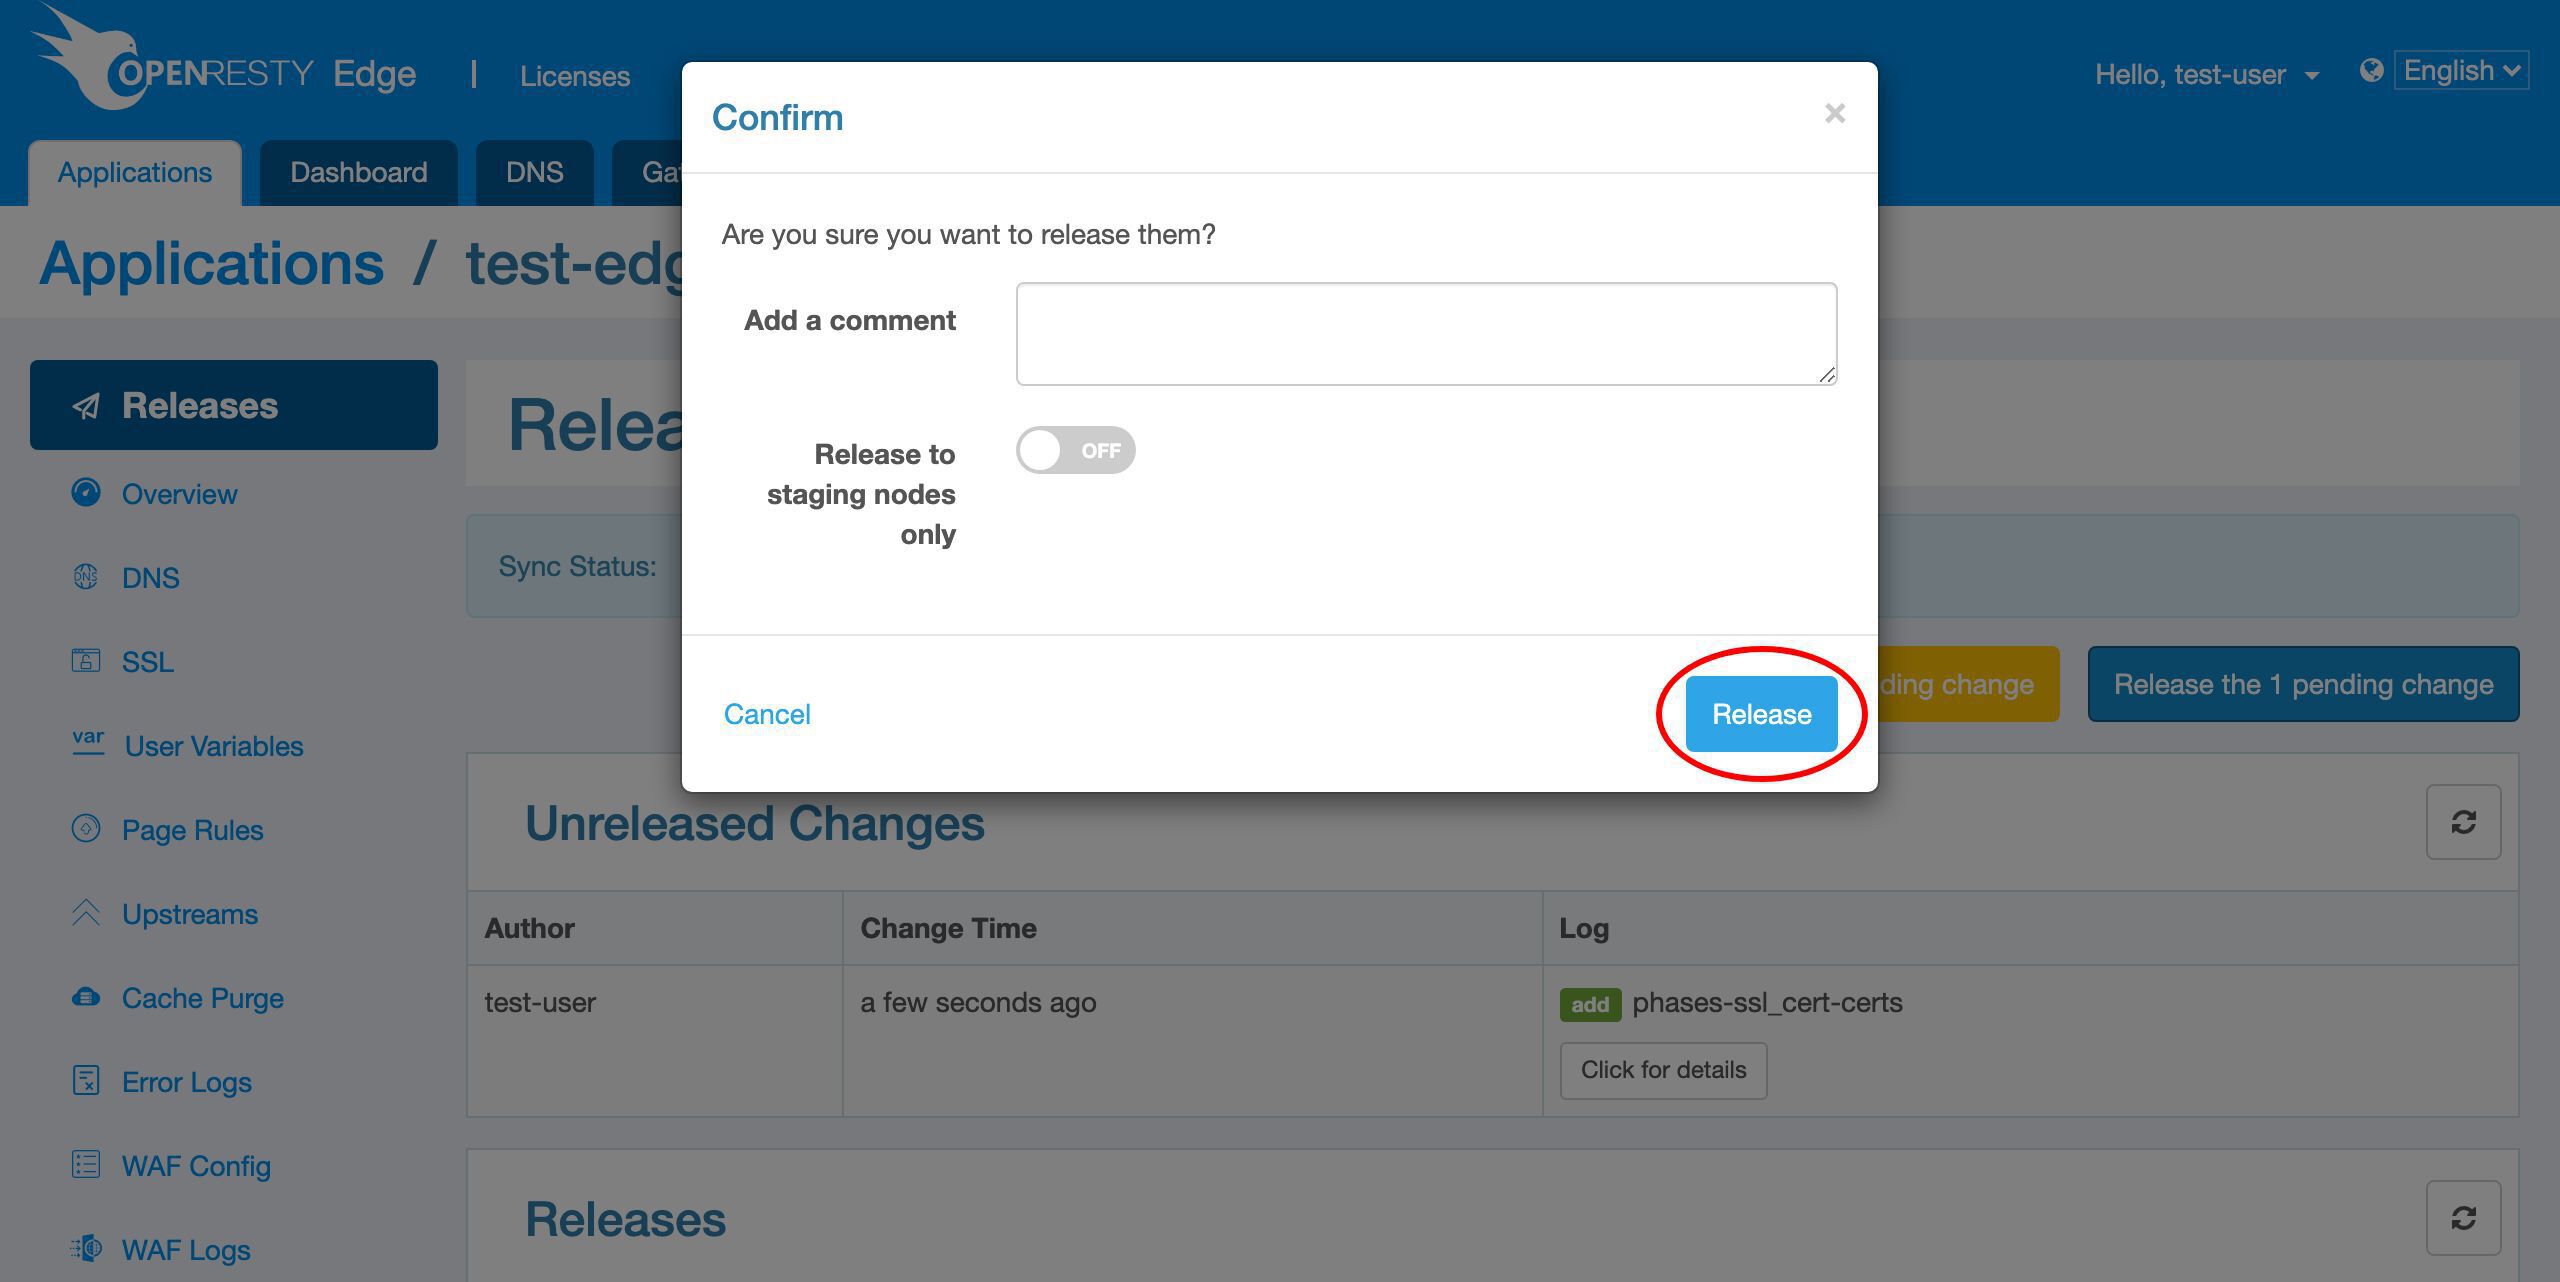
Let’s push out this change to our gateway servers. Because Let’s Encrypt servers will need to verify our domains’ ownership shortly.

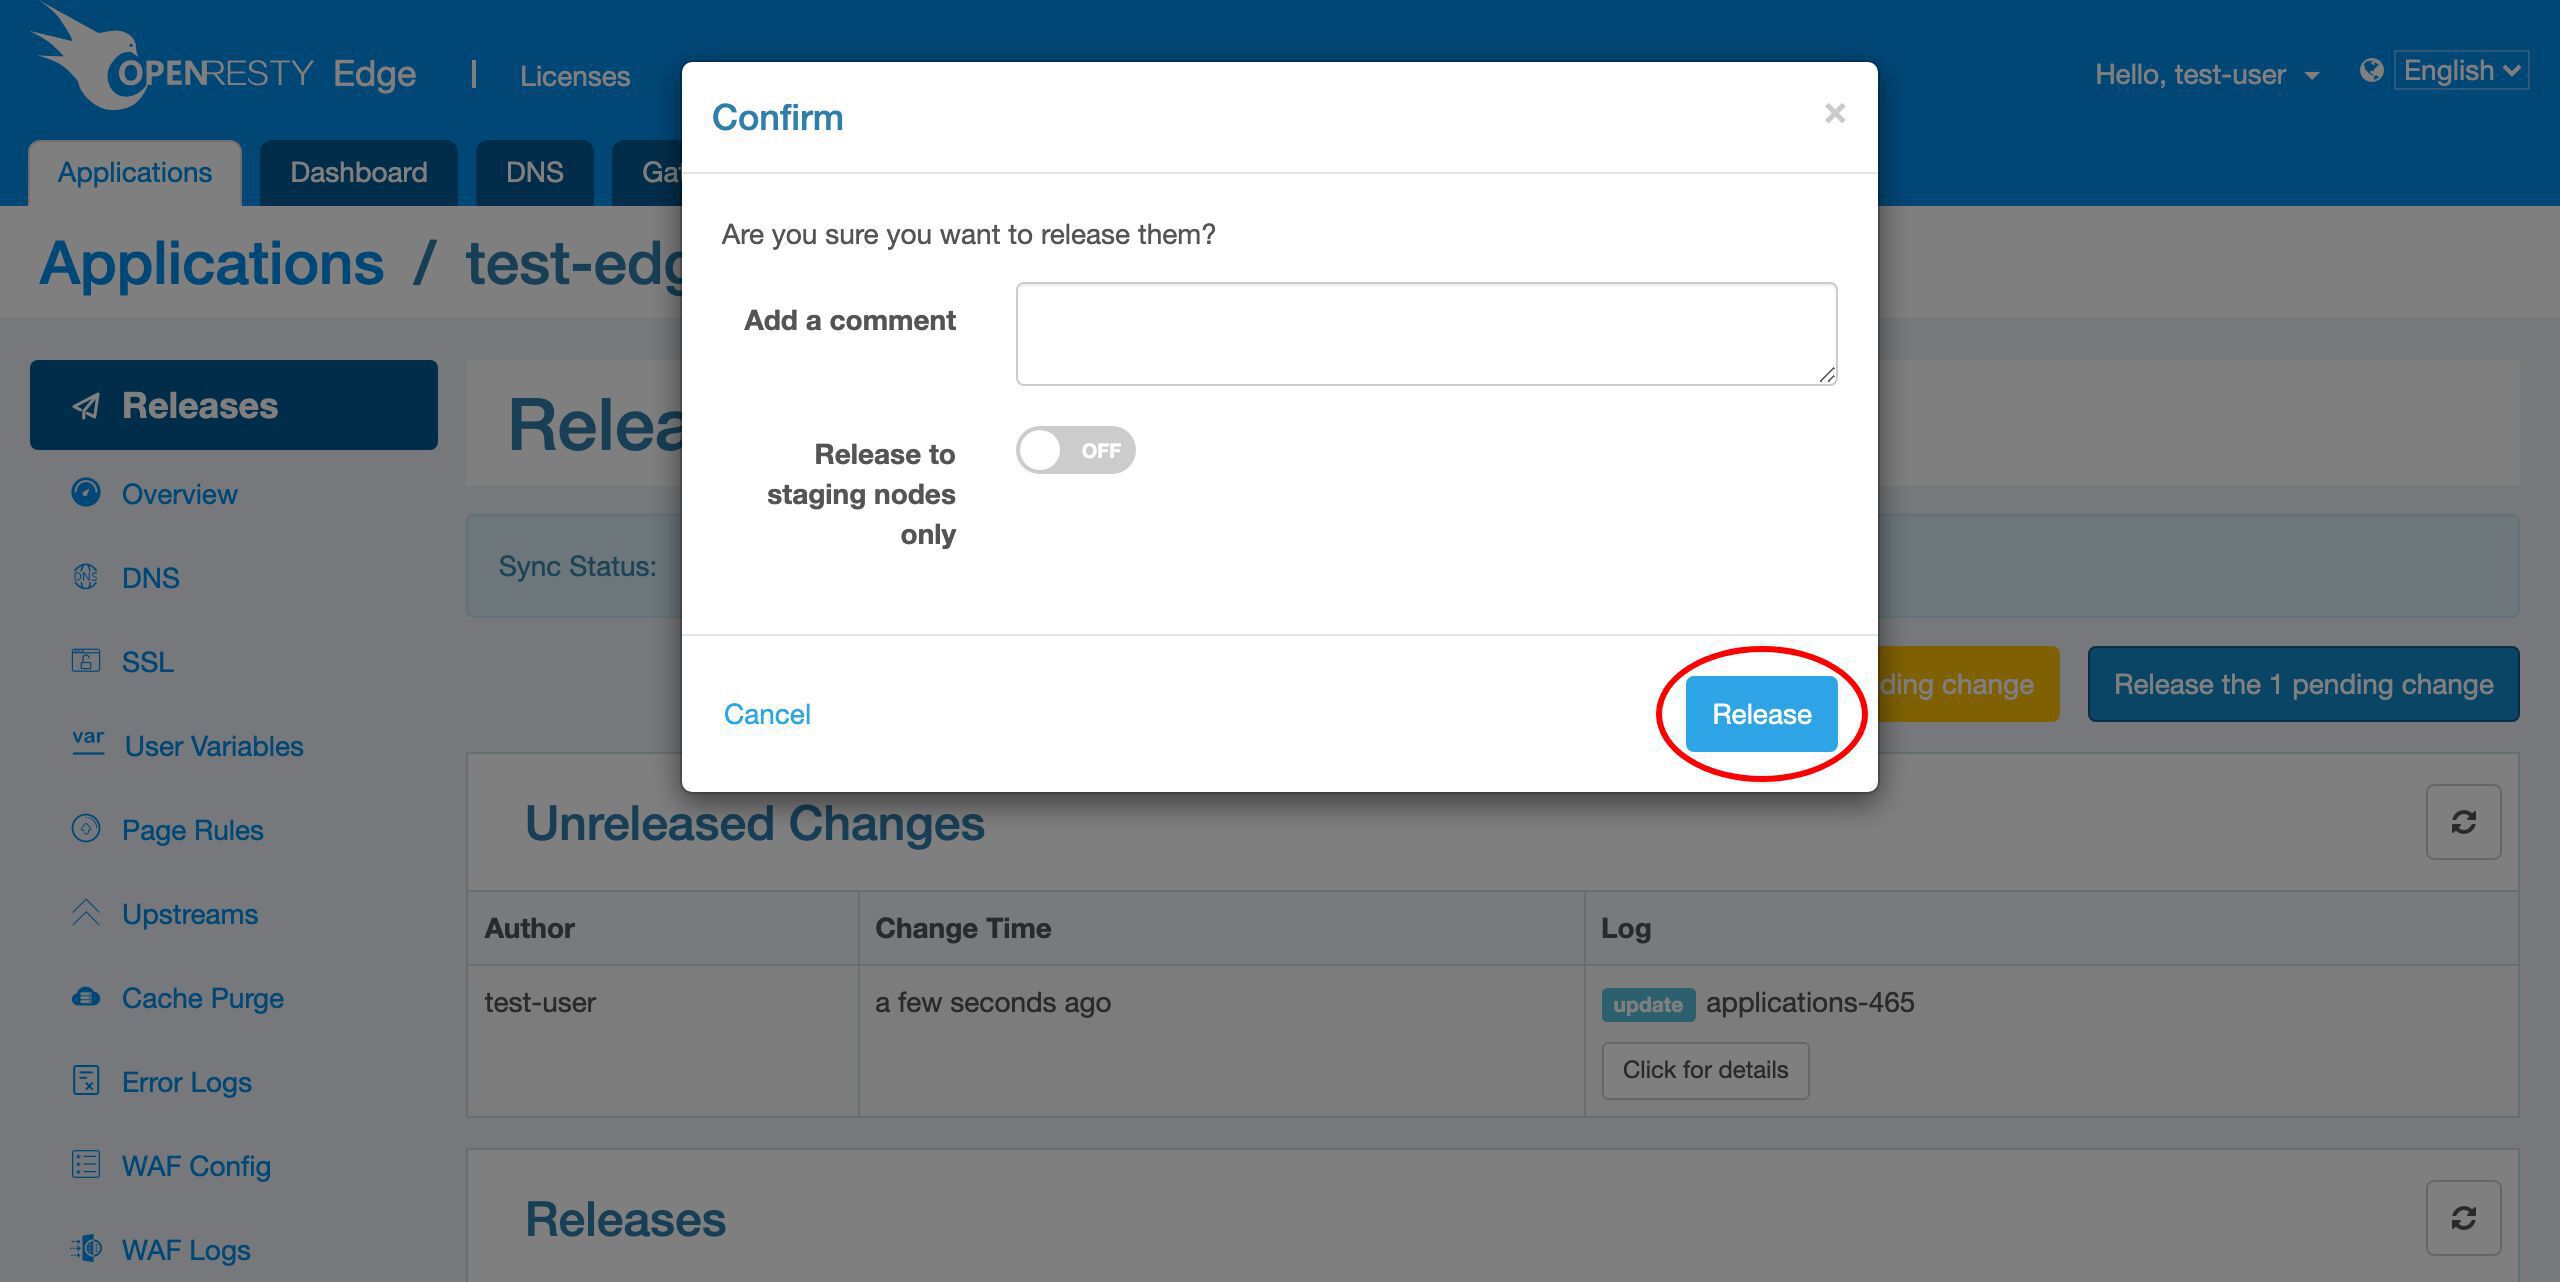
Release our pending changes.
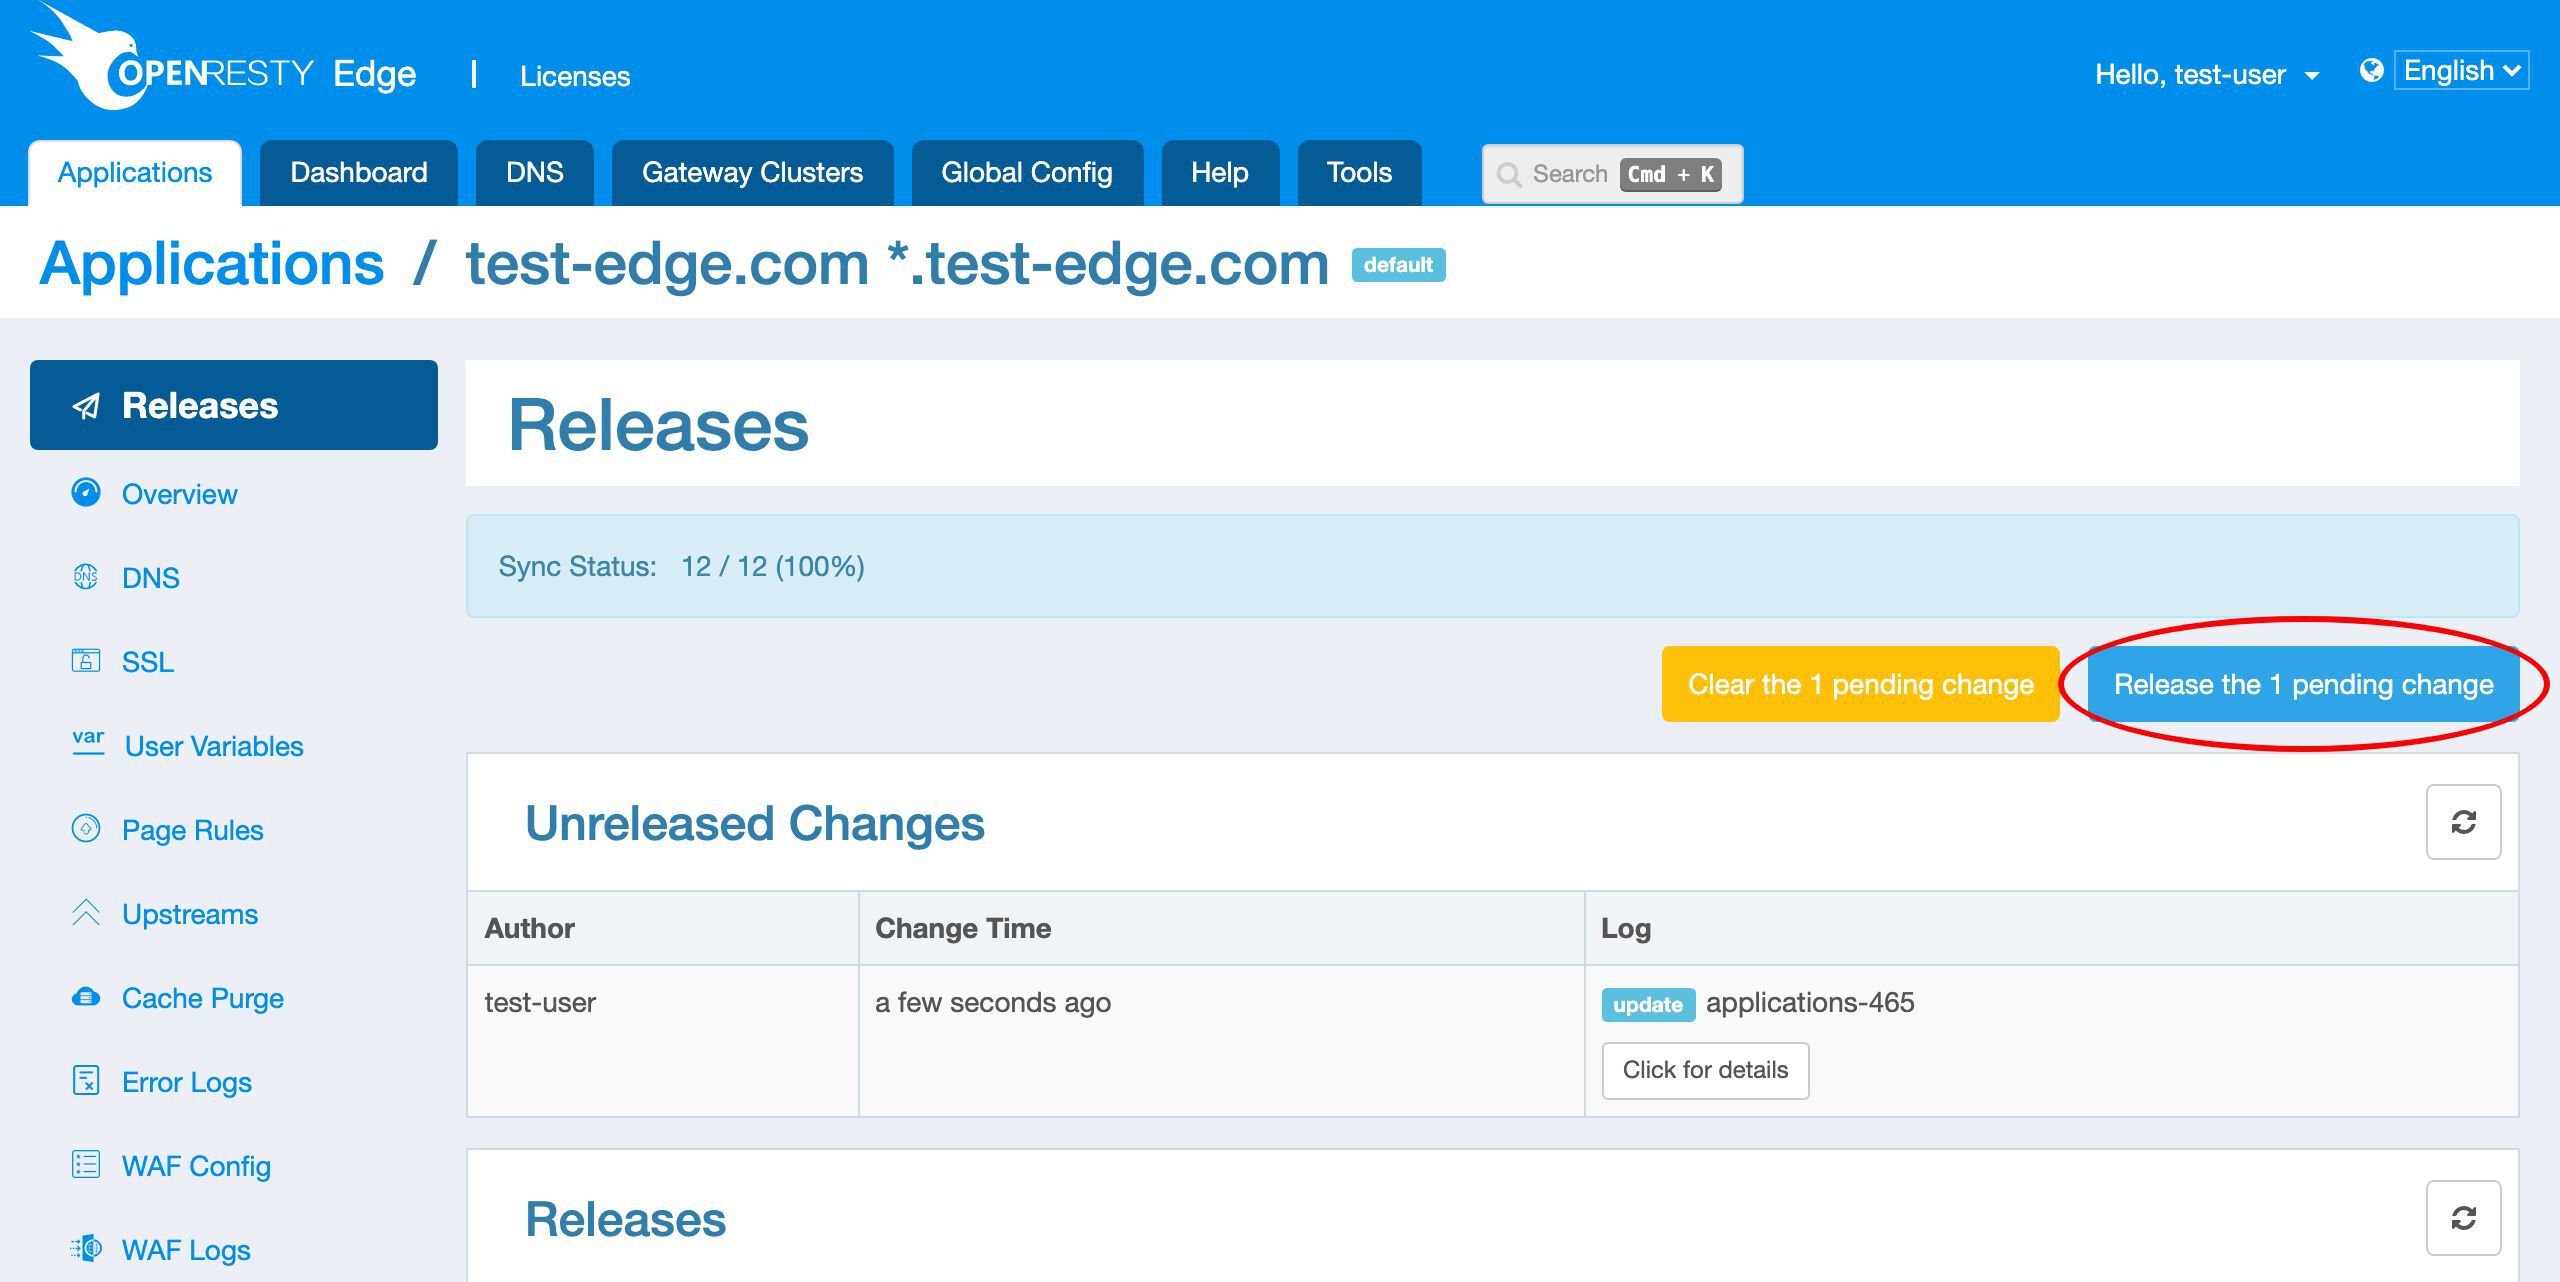
Ship it!
Add SSL certificates
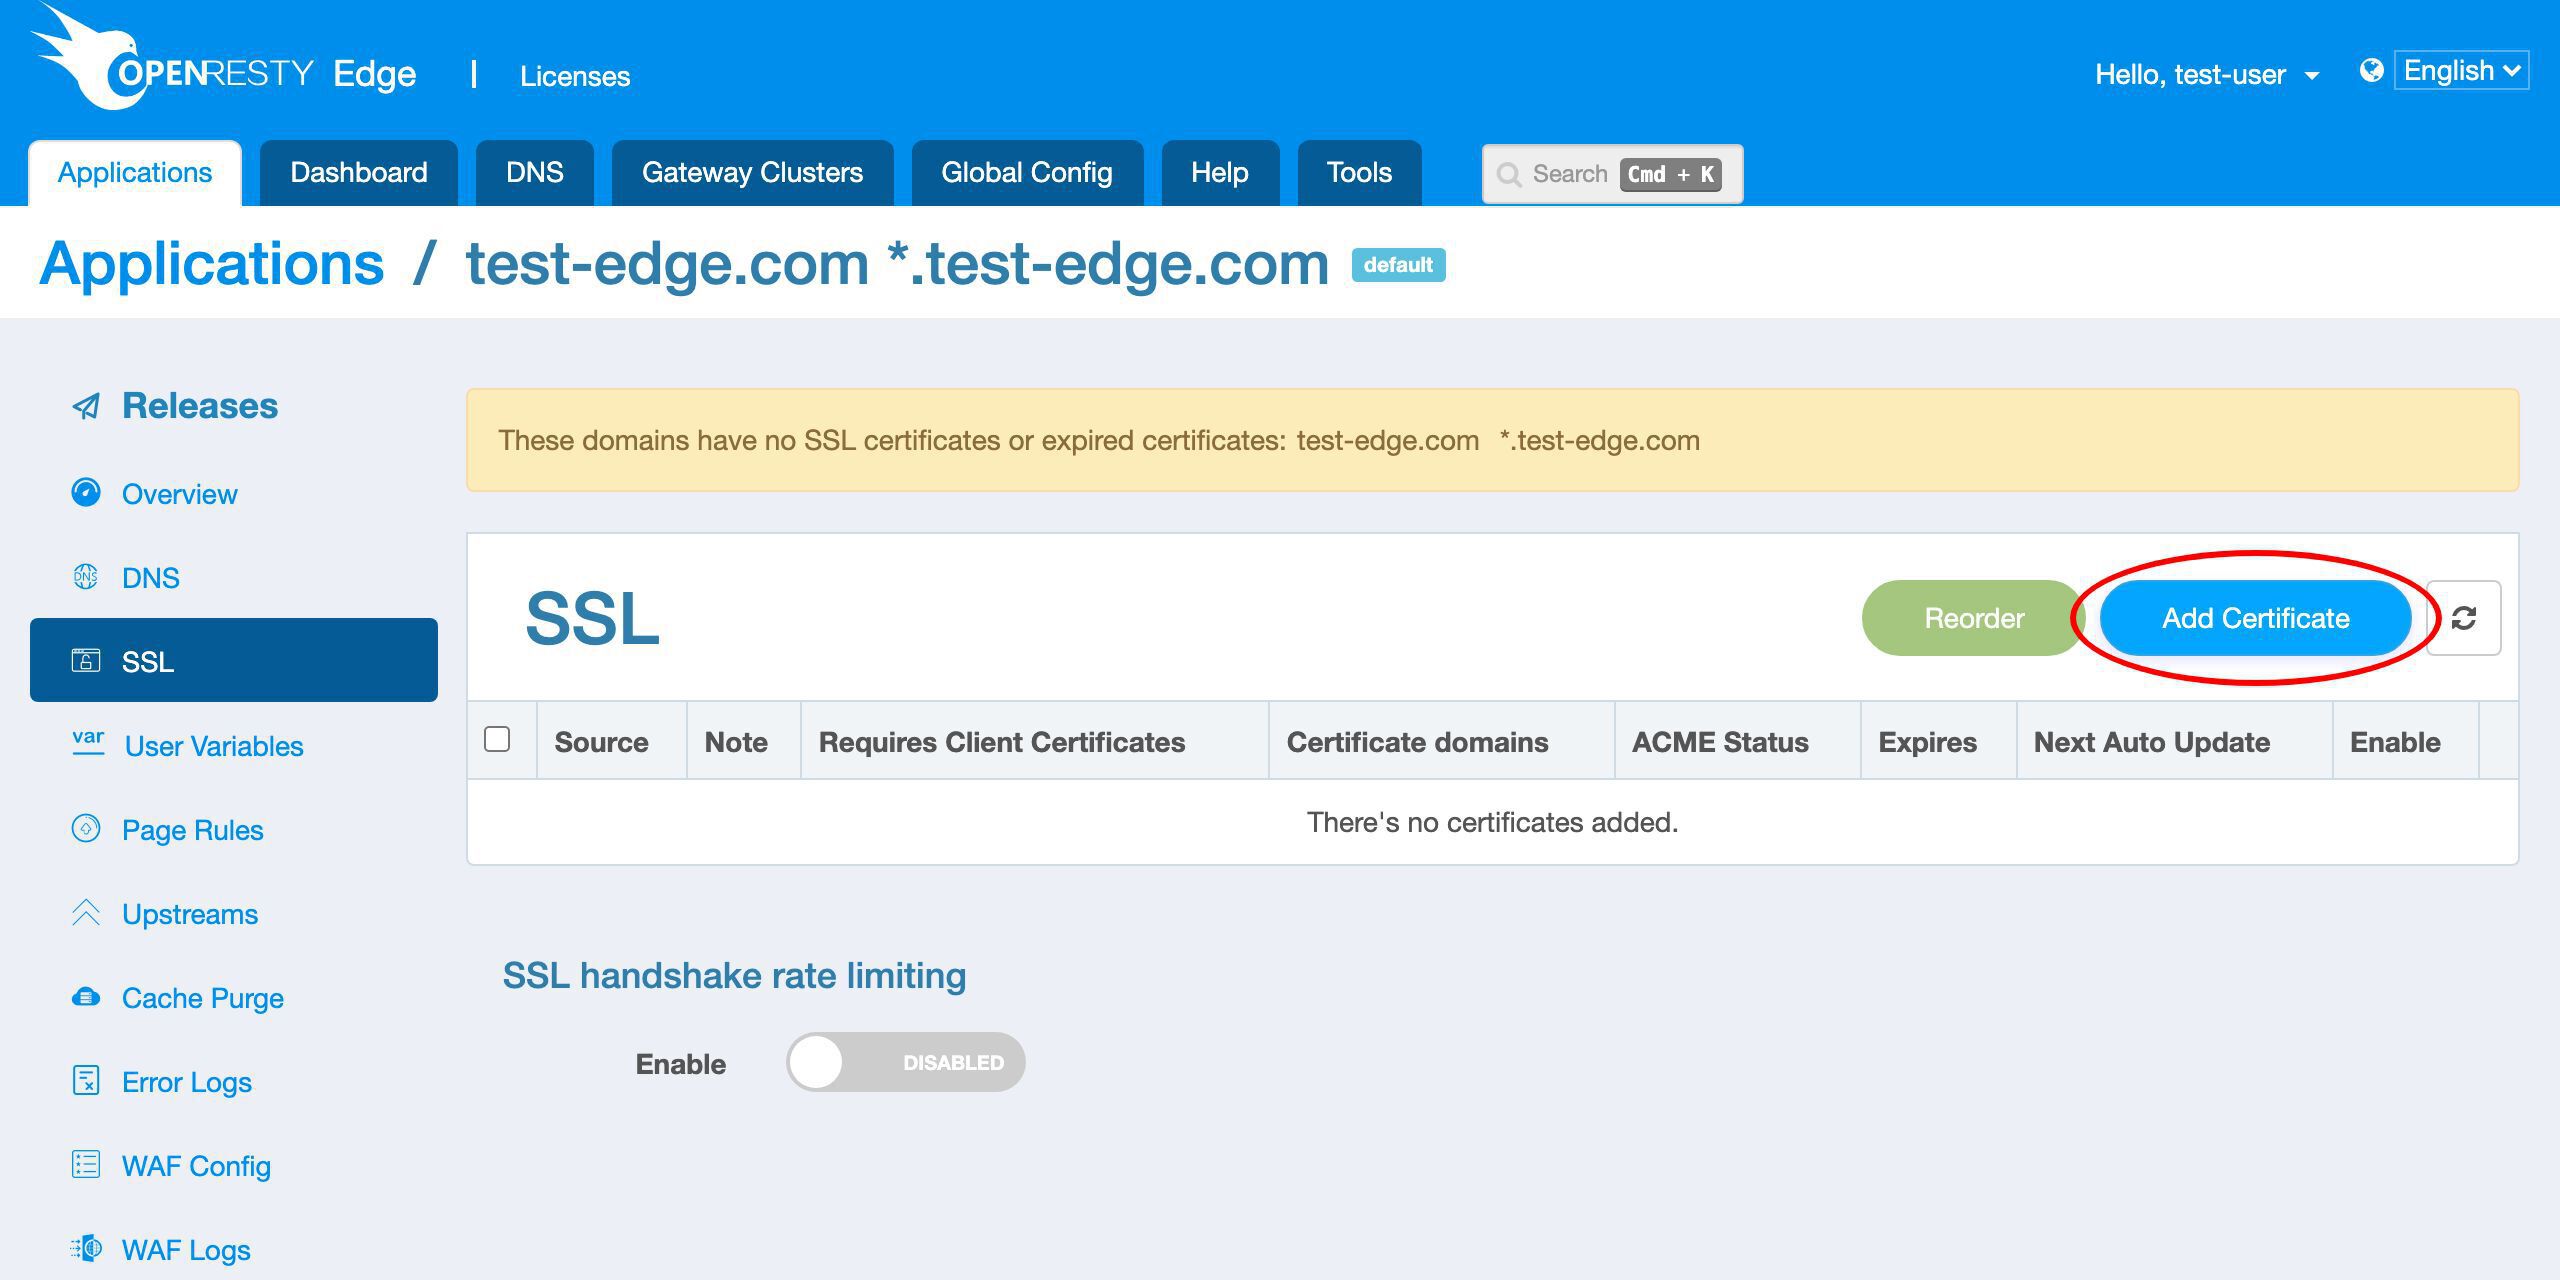
Goto the SSL page.
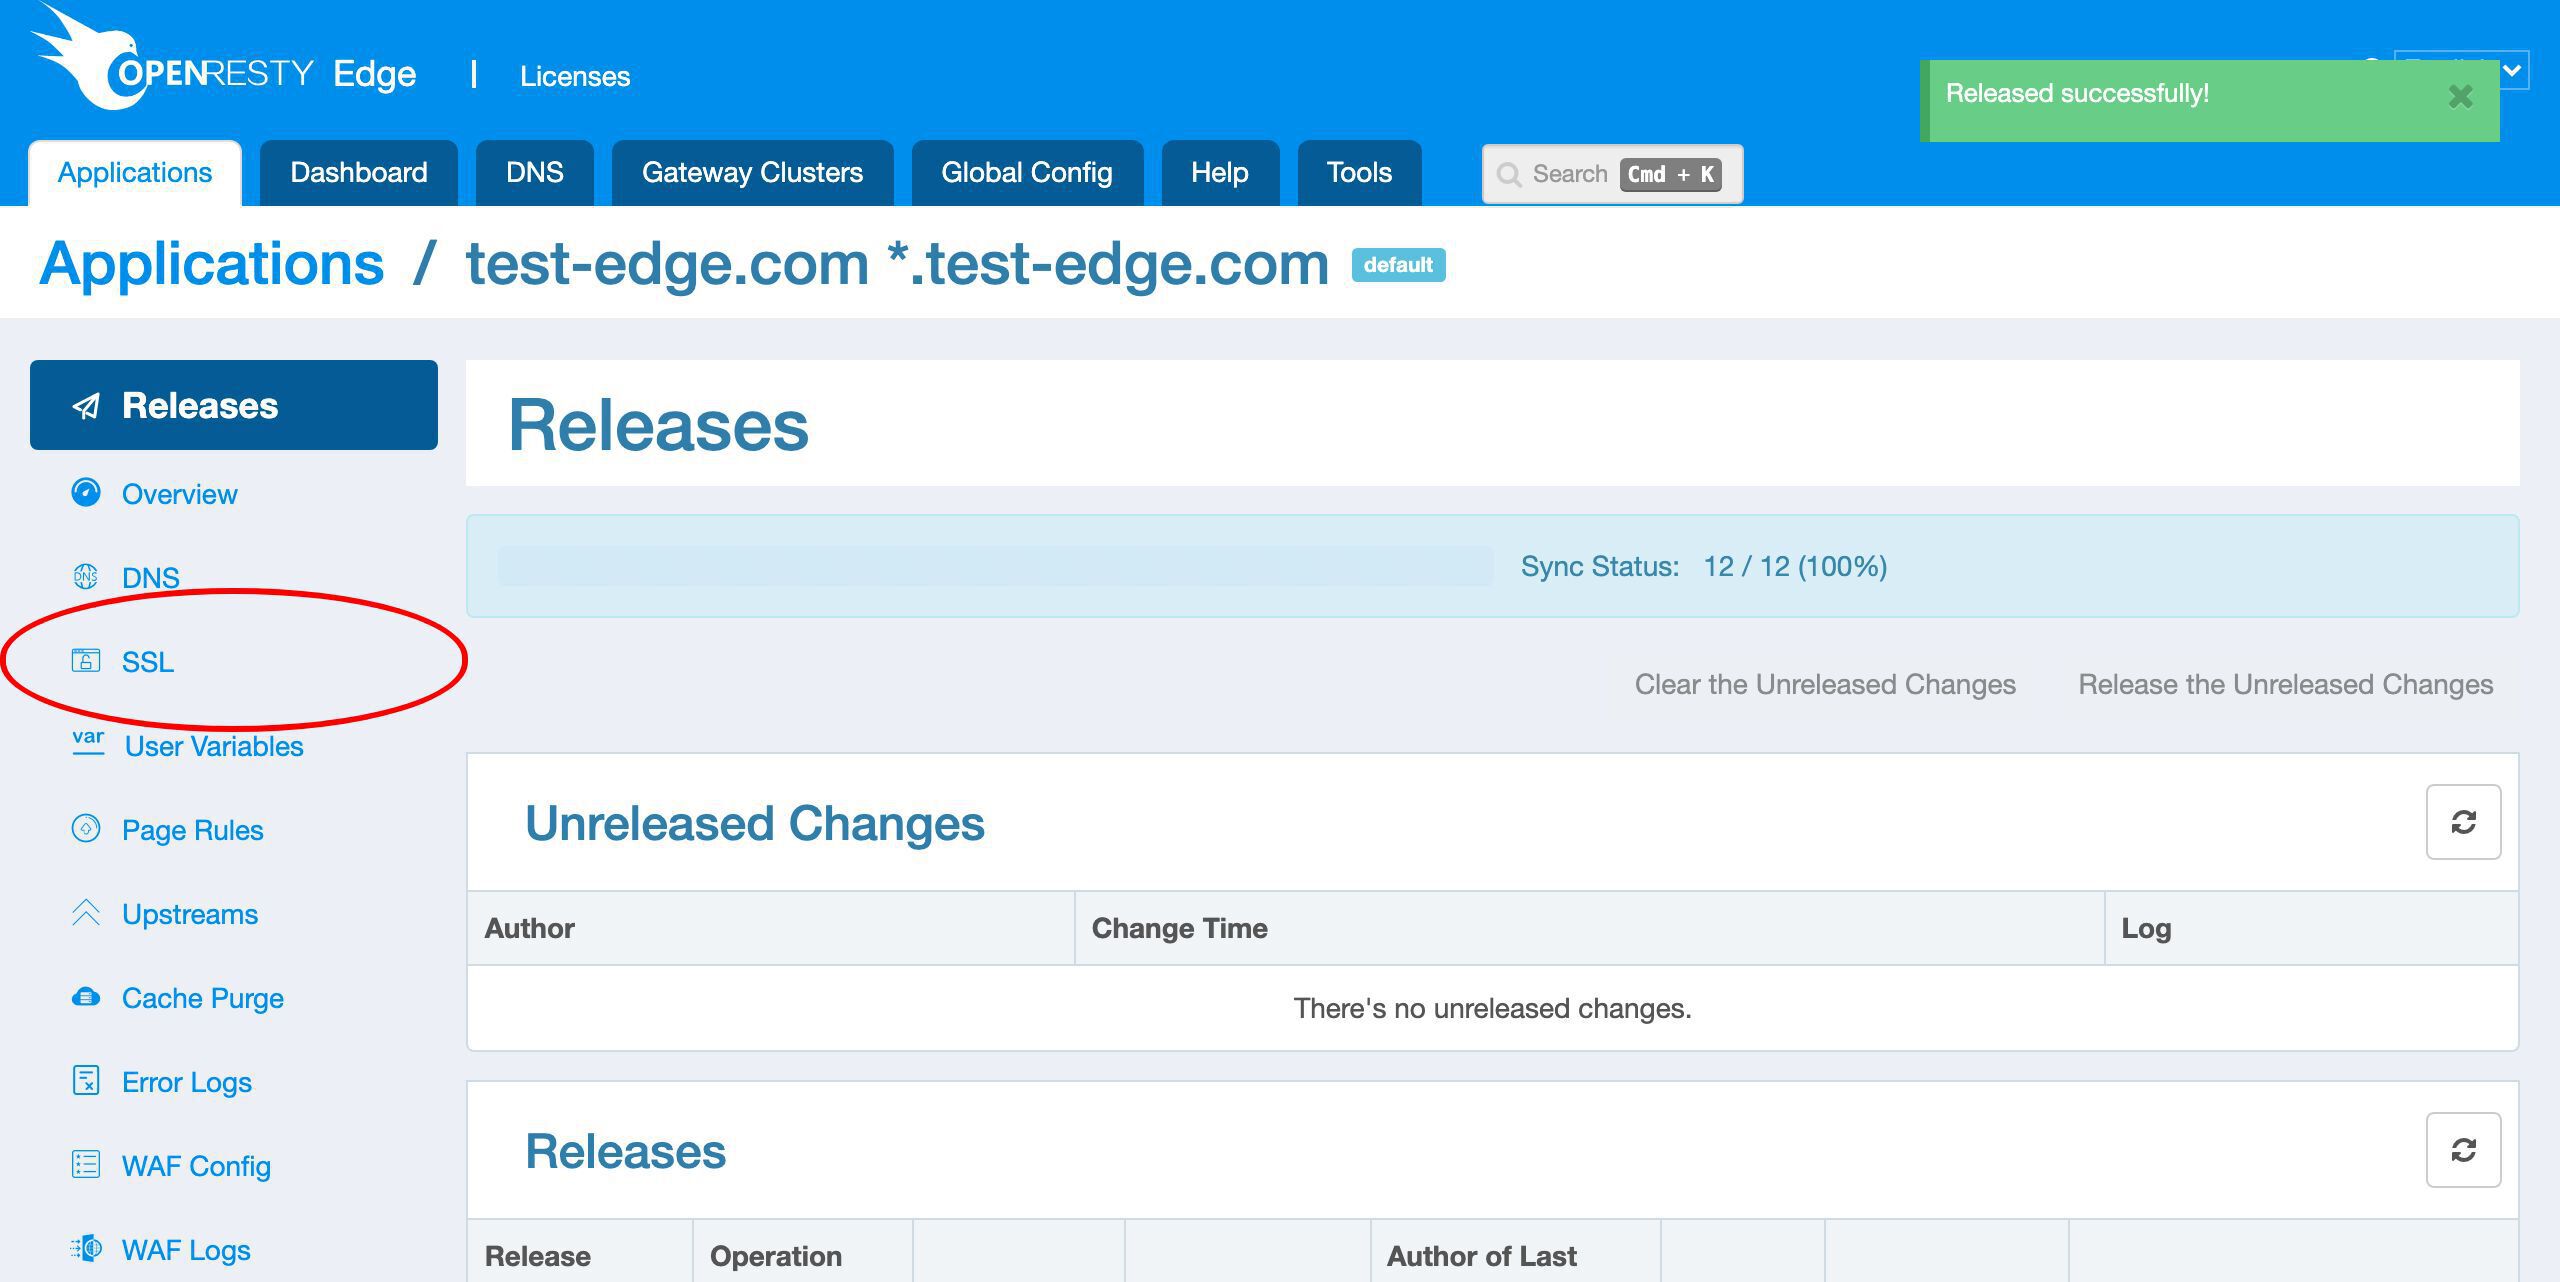
We can see that there are no SSL certificates defined yet.
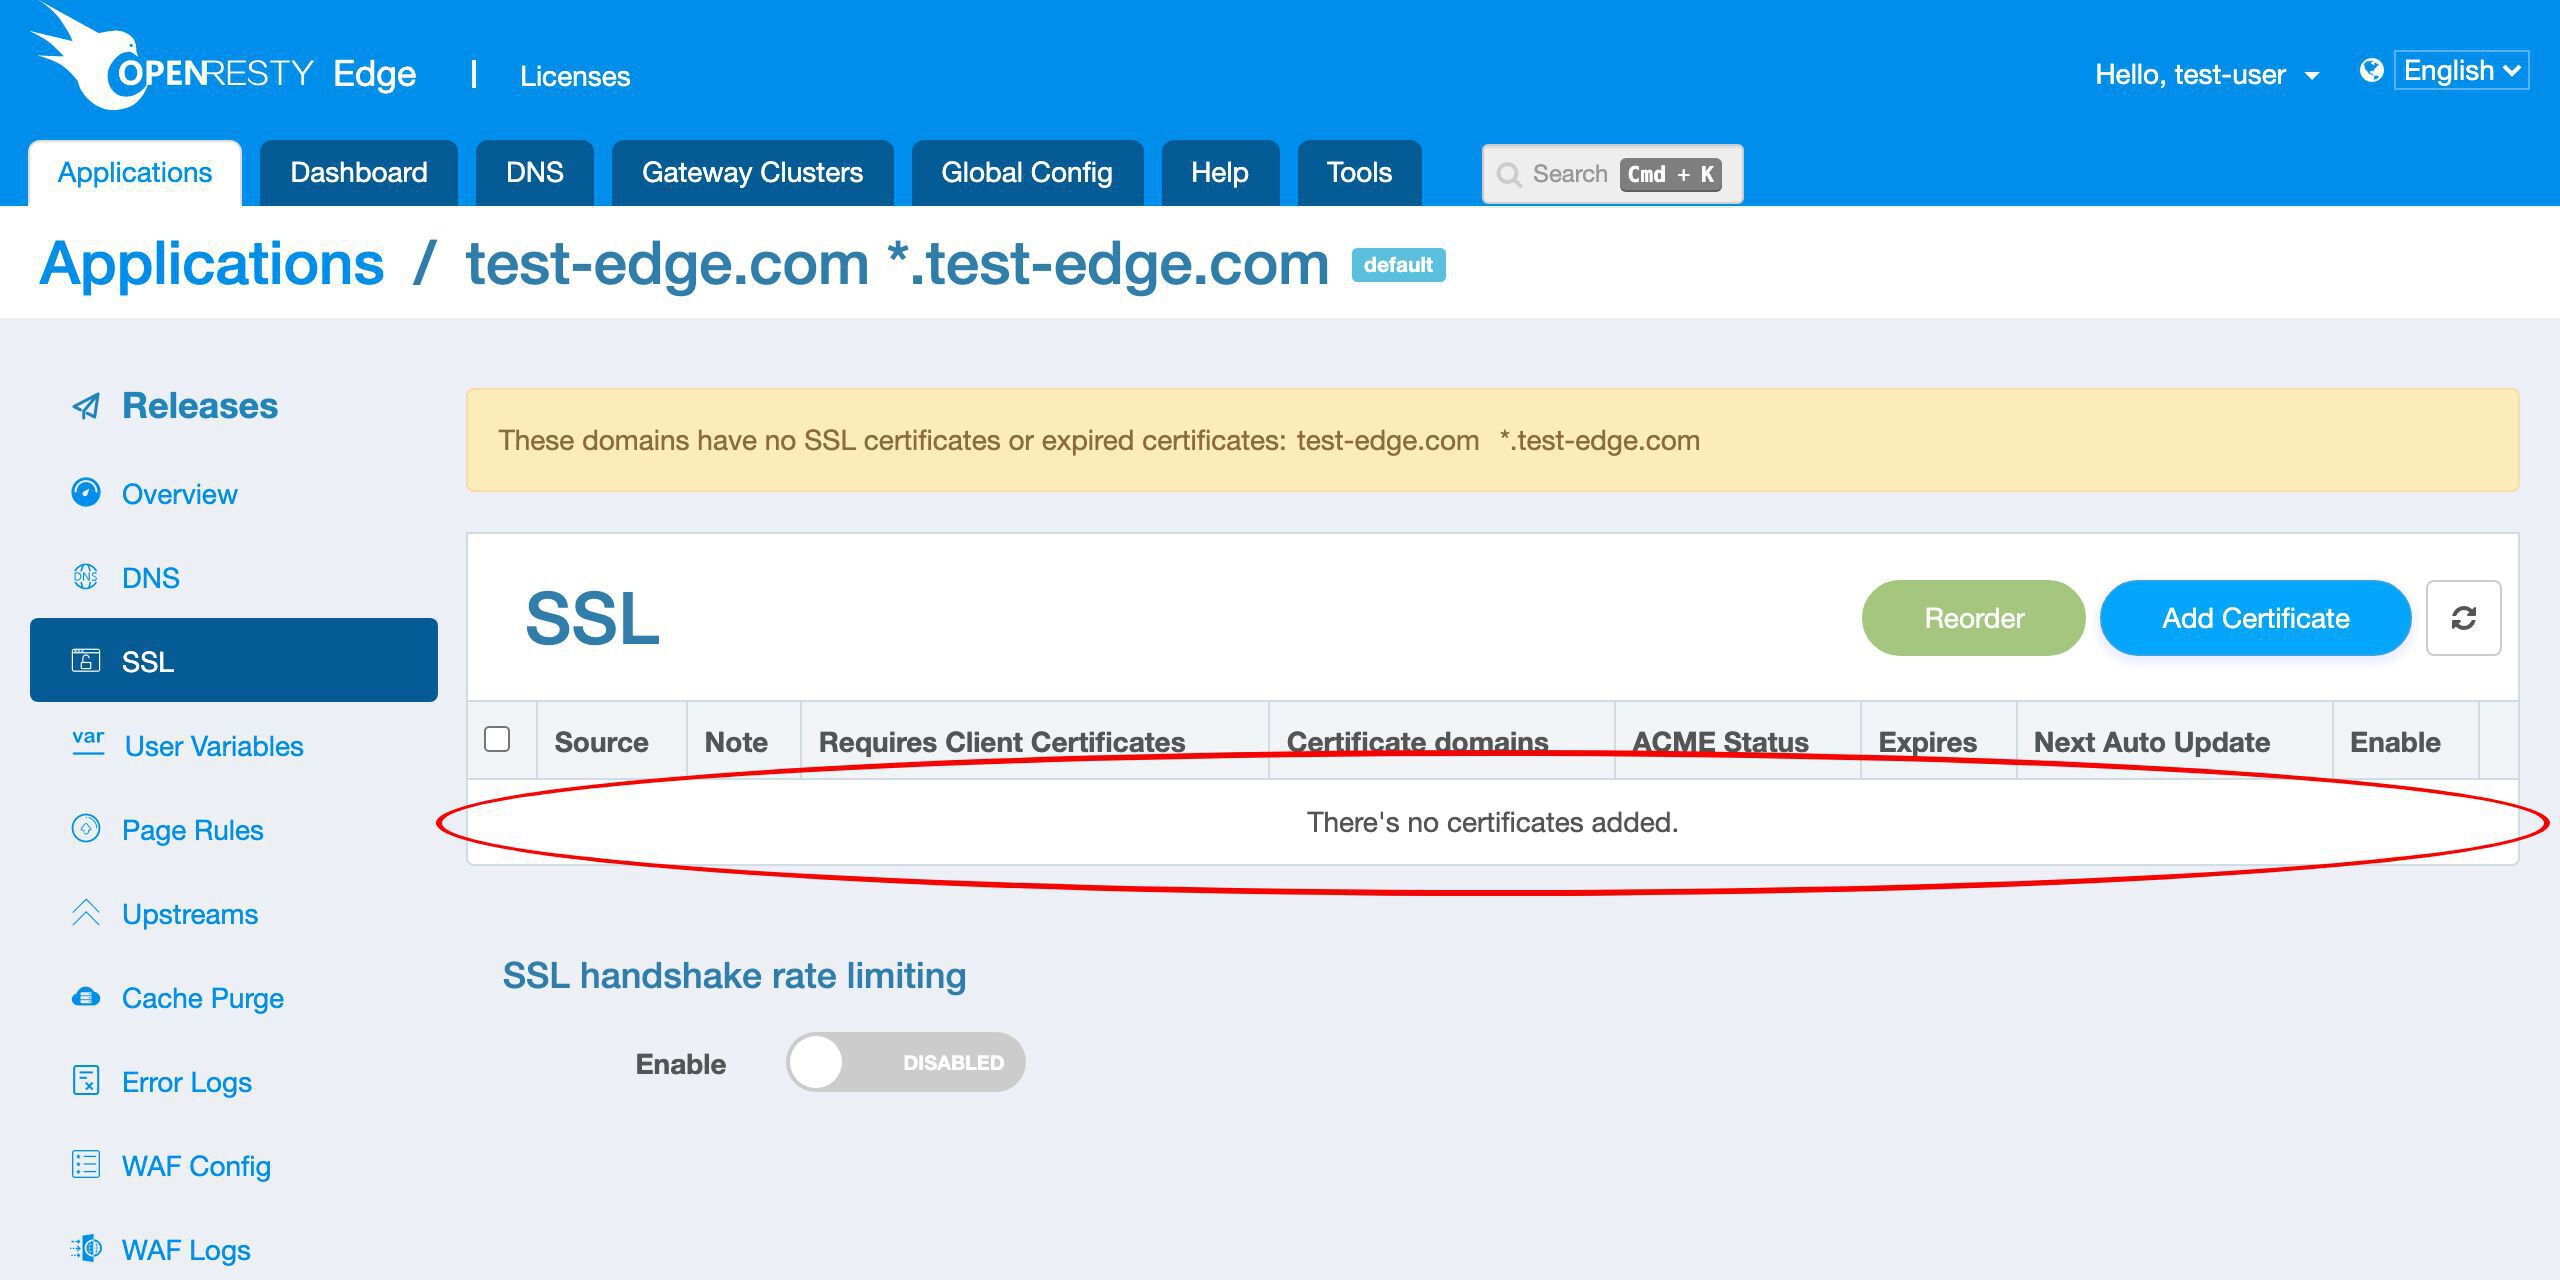
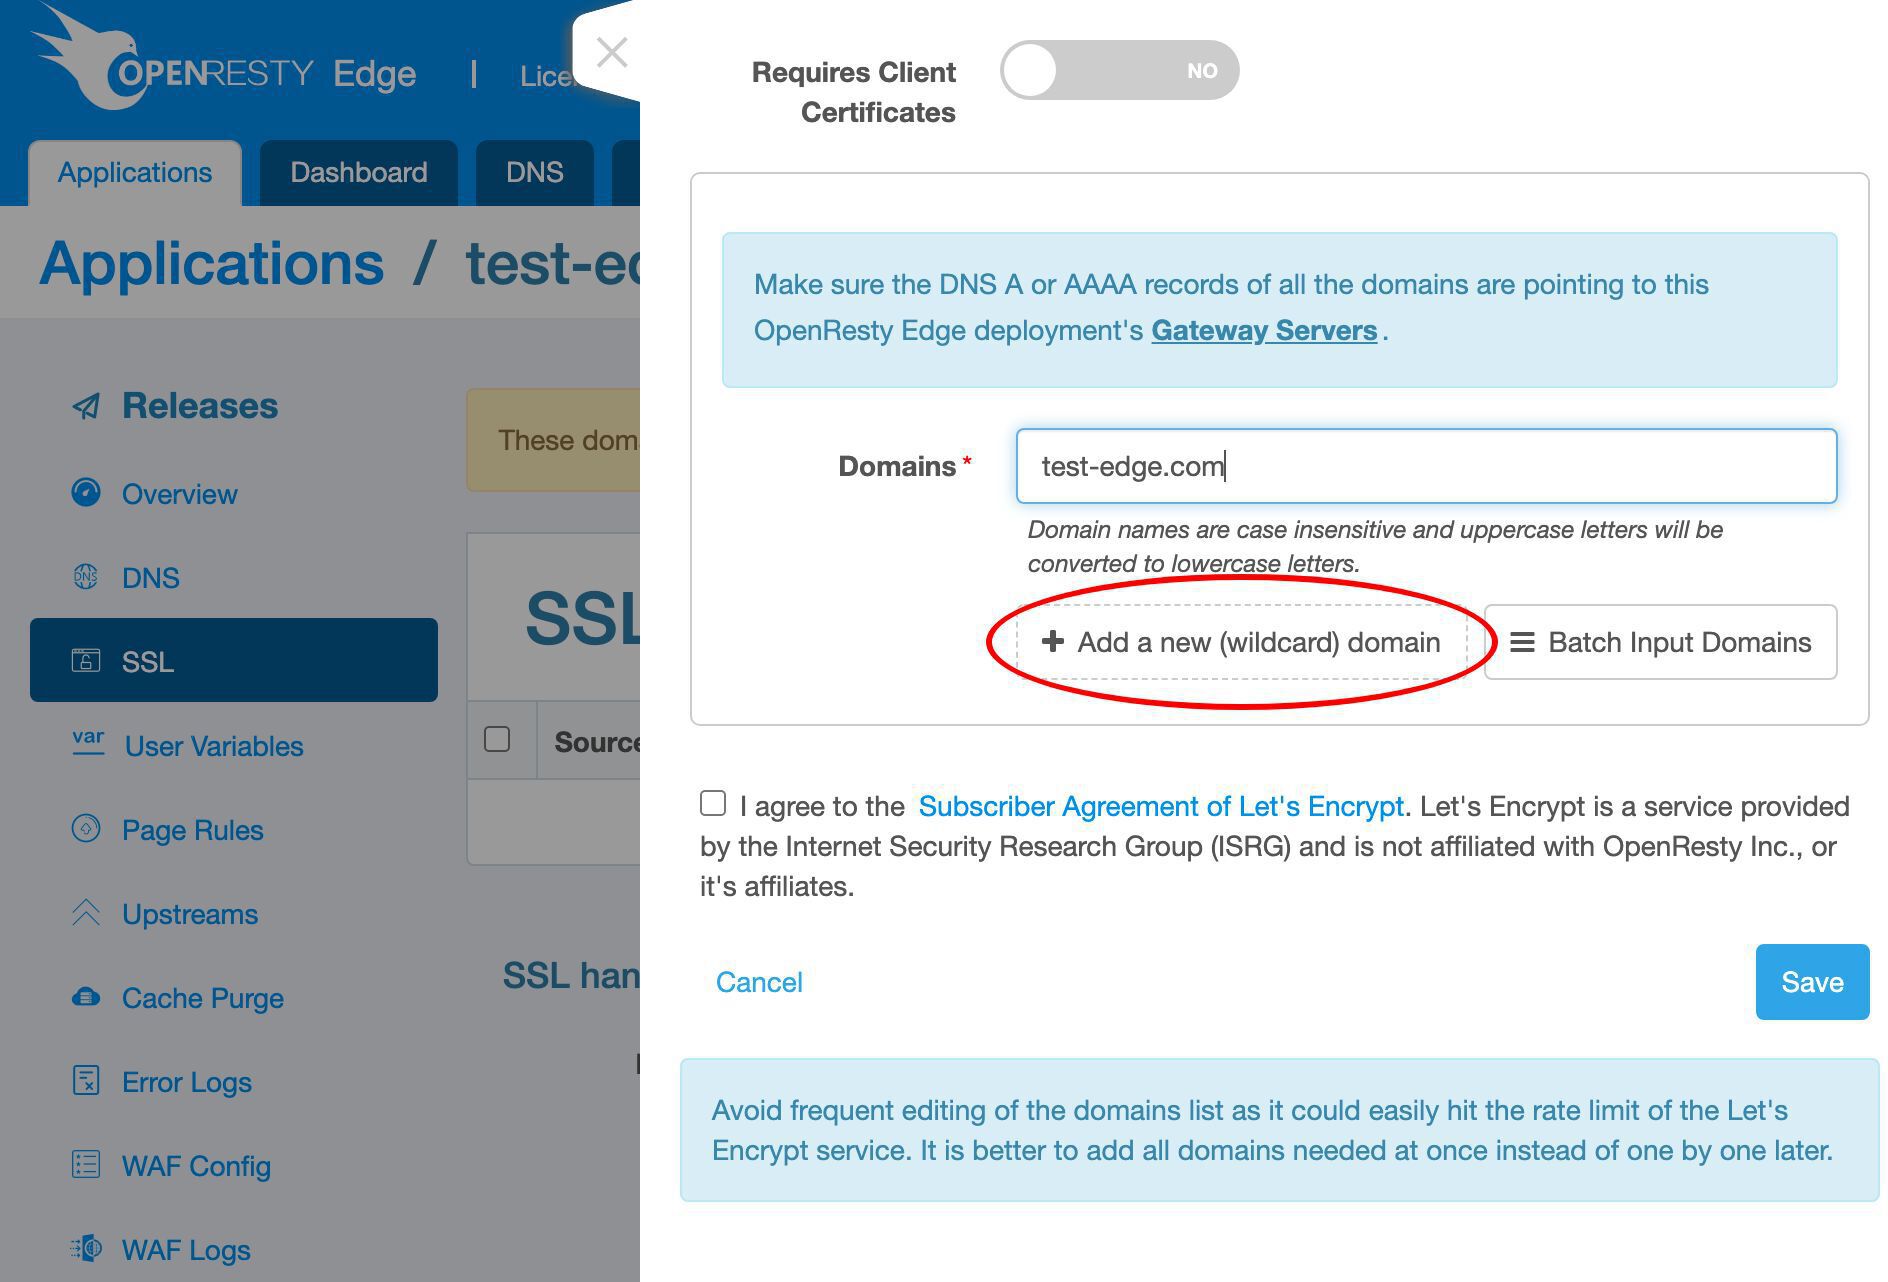
Let’s add a new certificate.
We support various different ways to issue new SSL certificates.
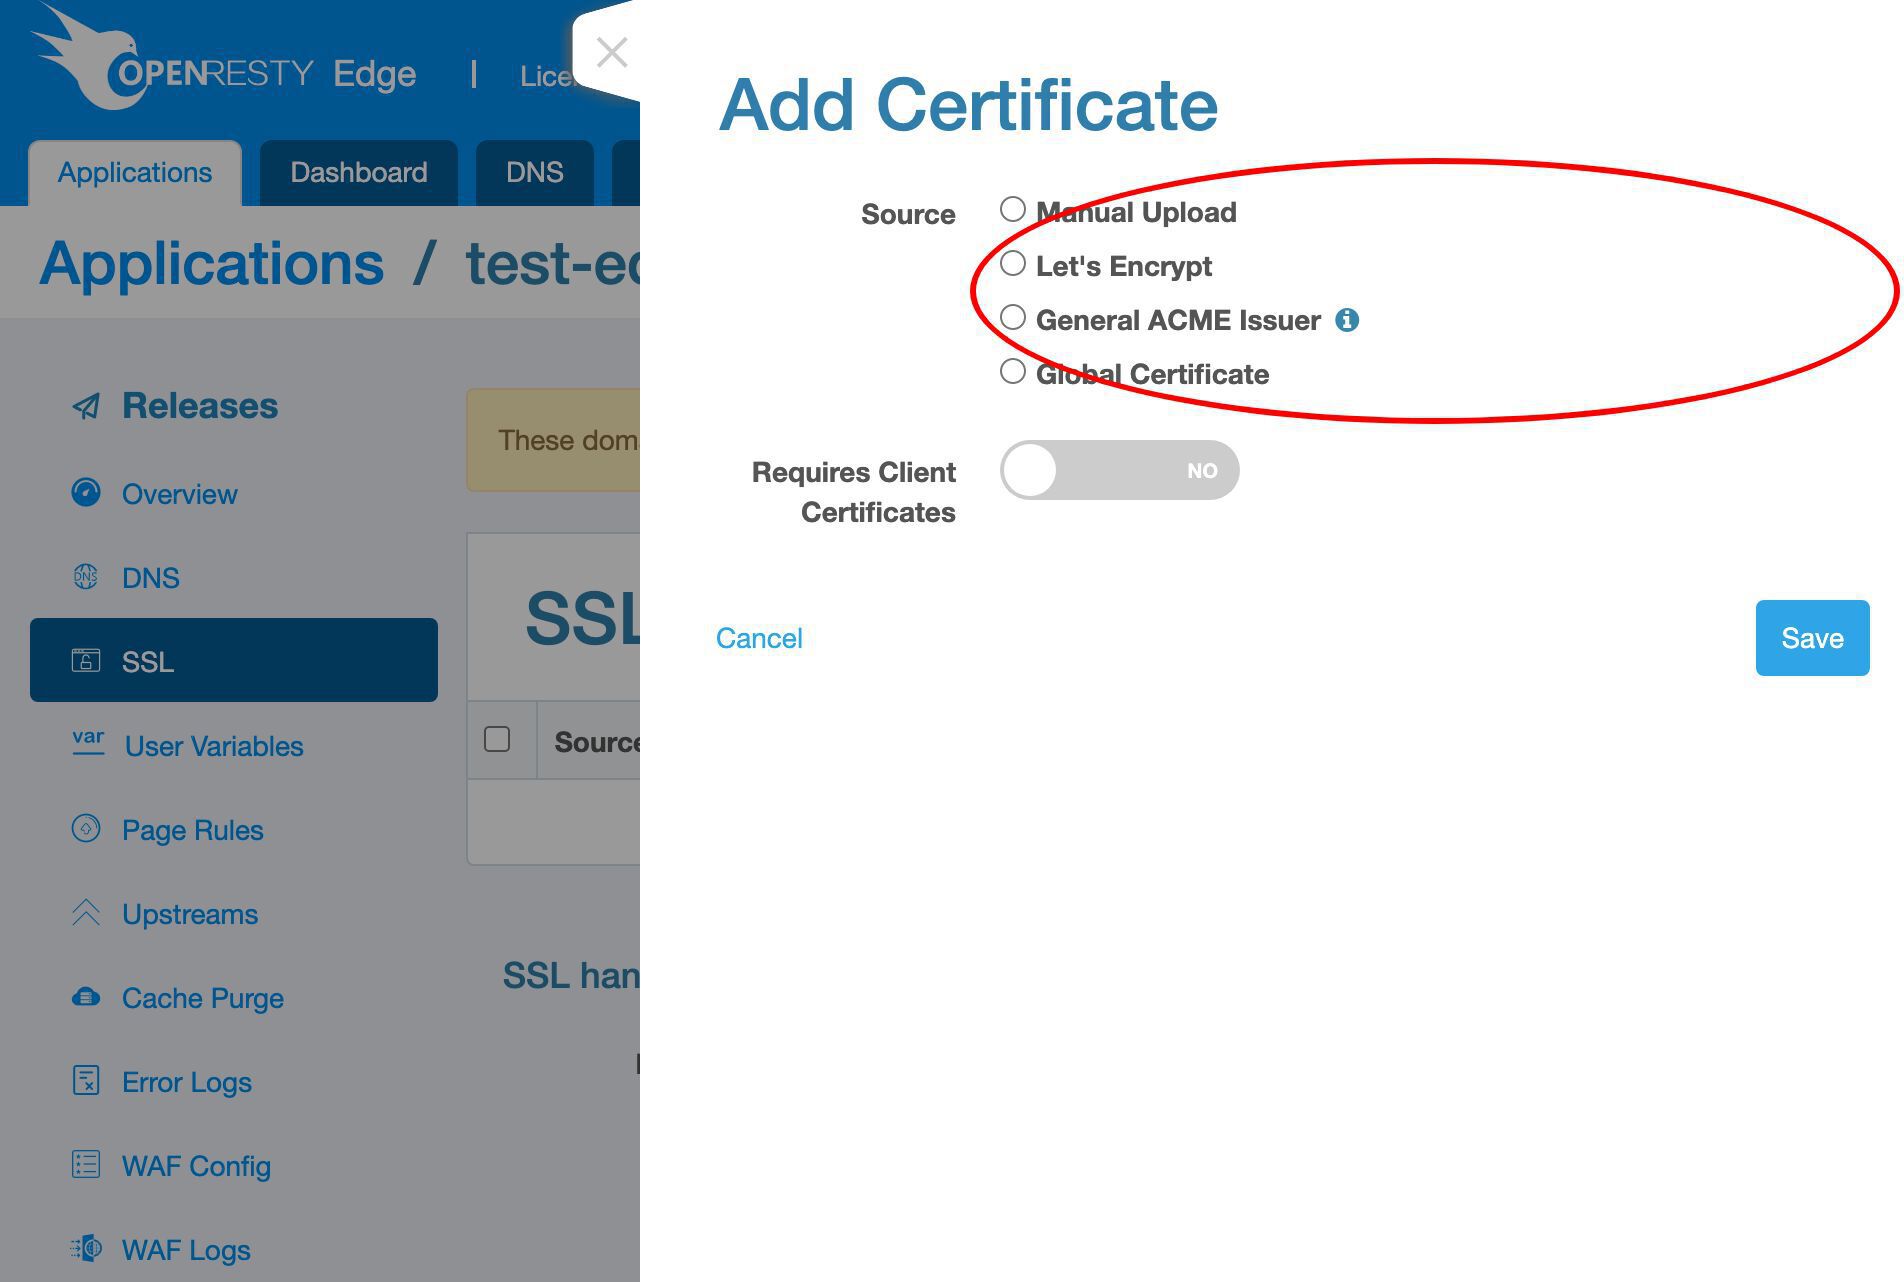
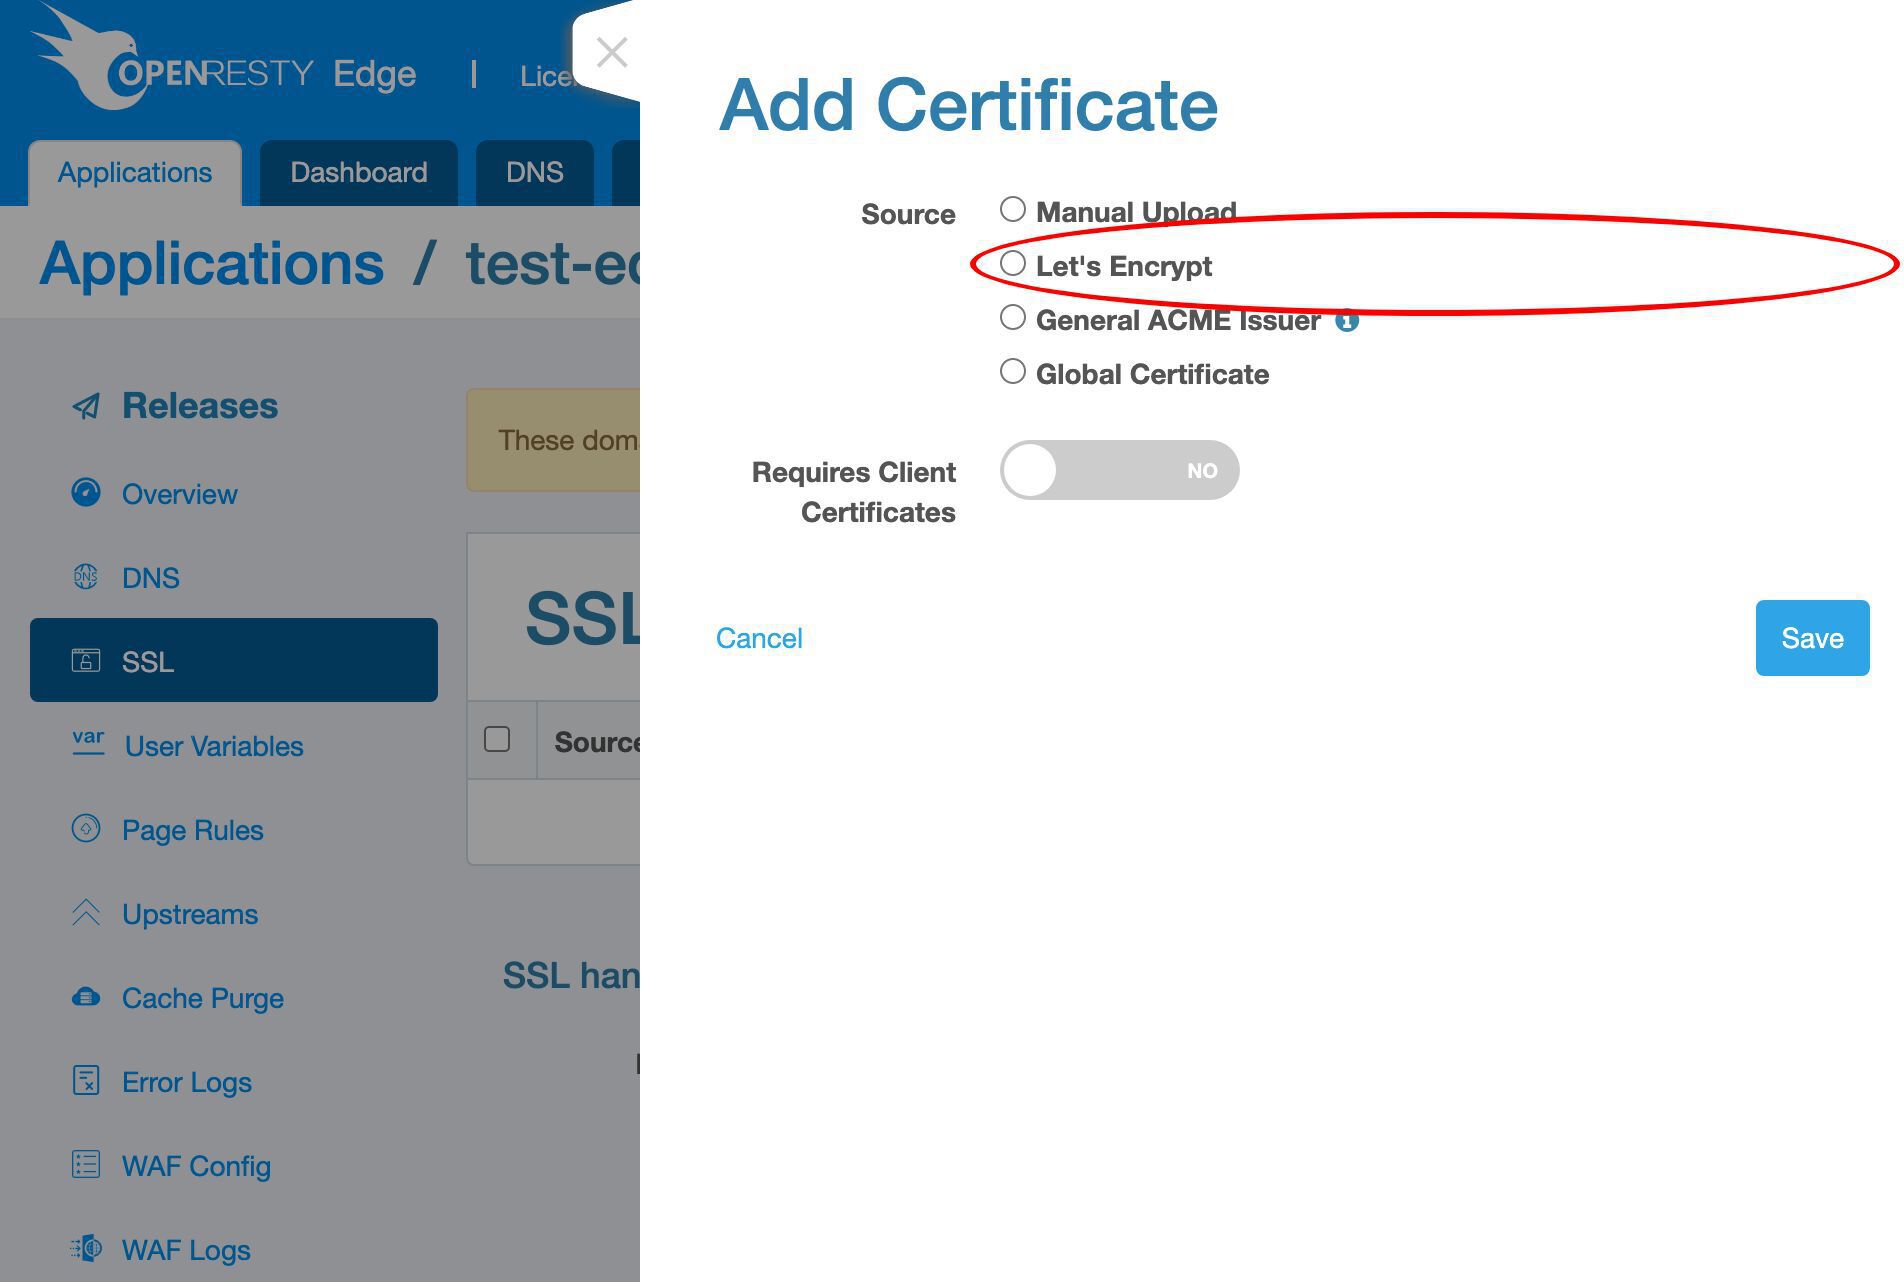
Here we’d just demonstrate the Let’s Encrypt way.
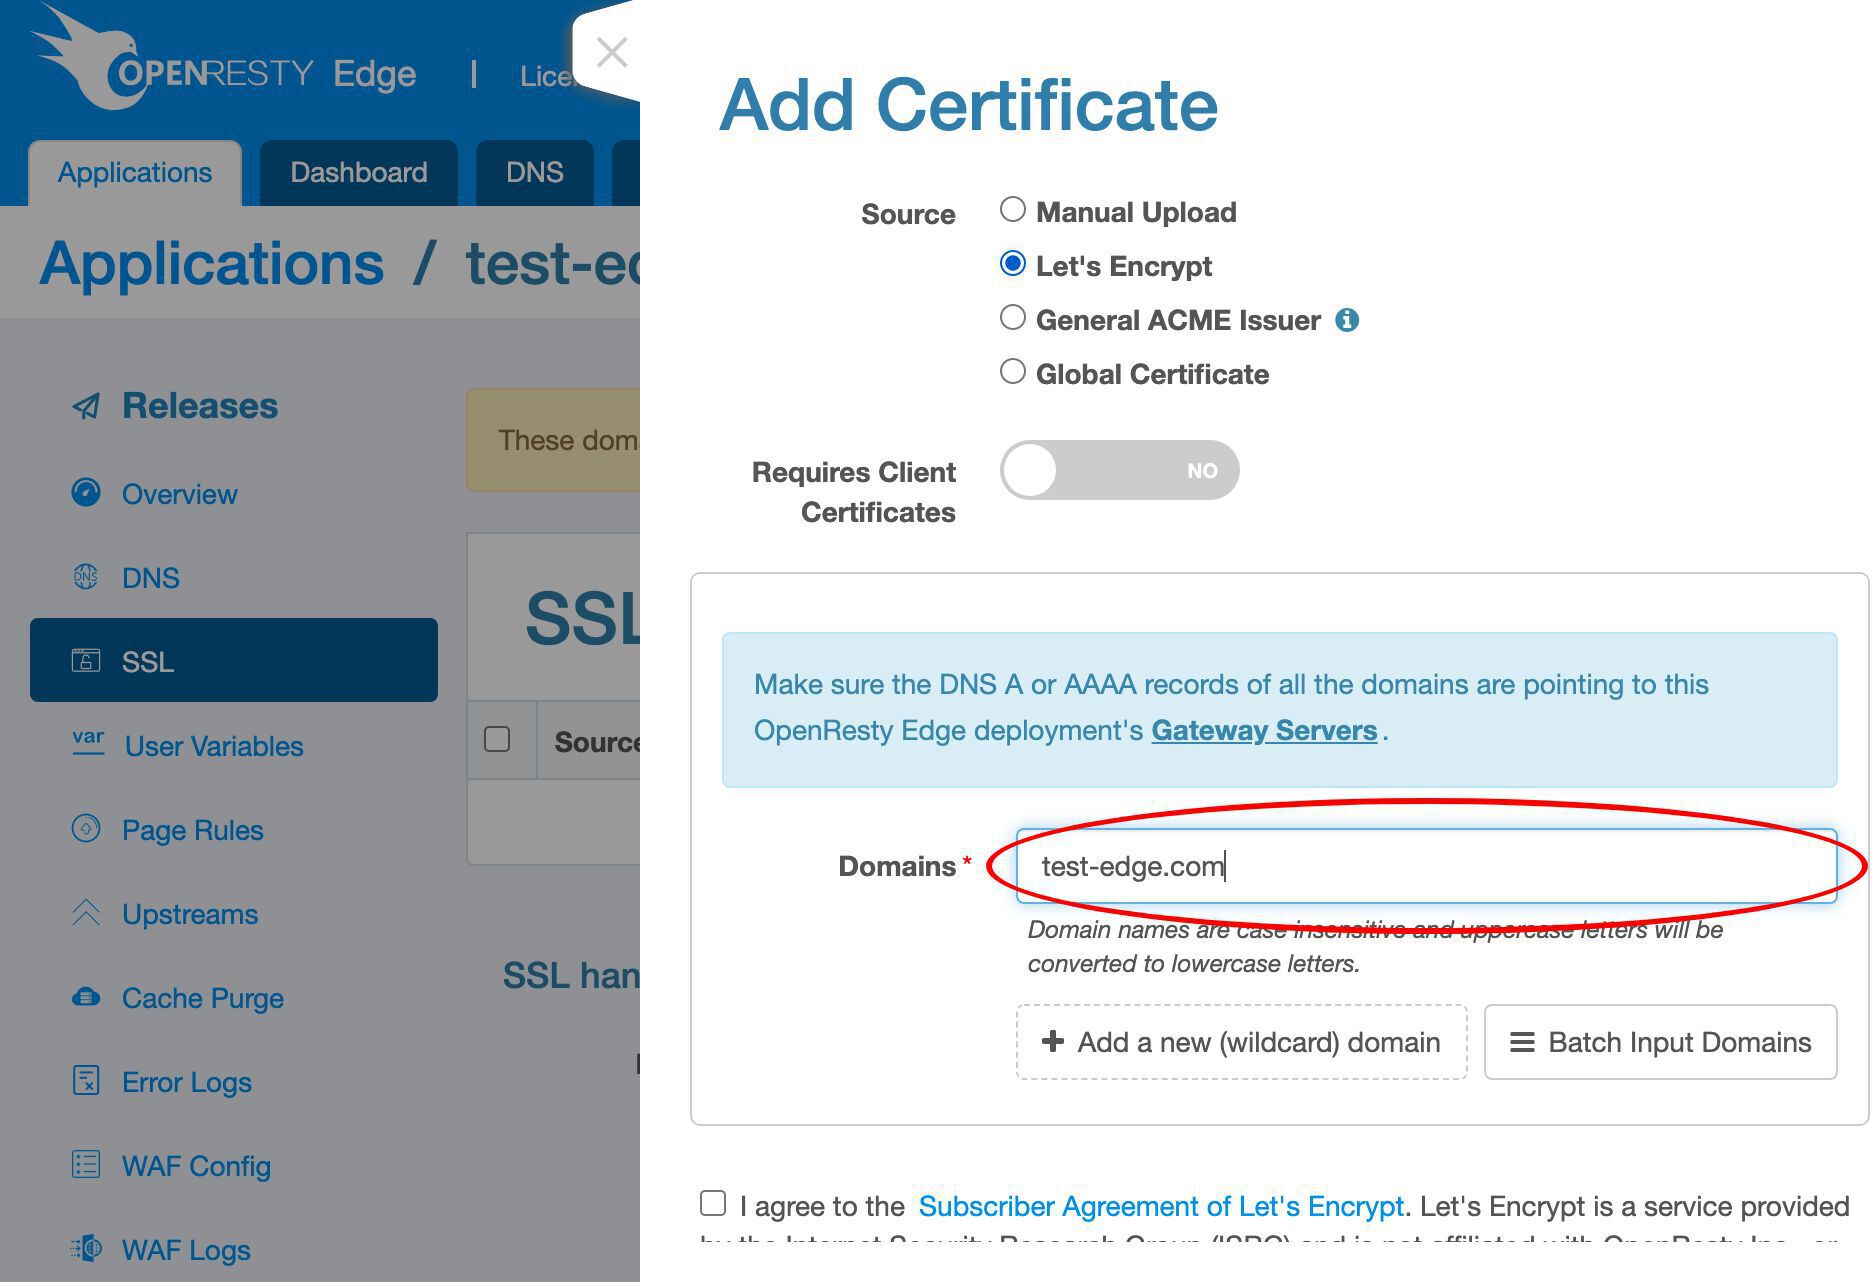
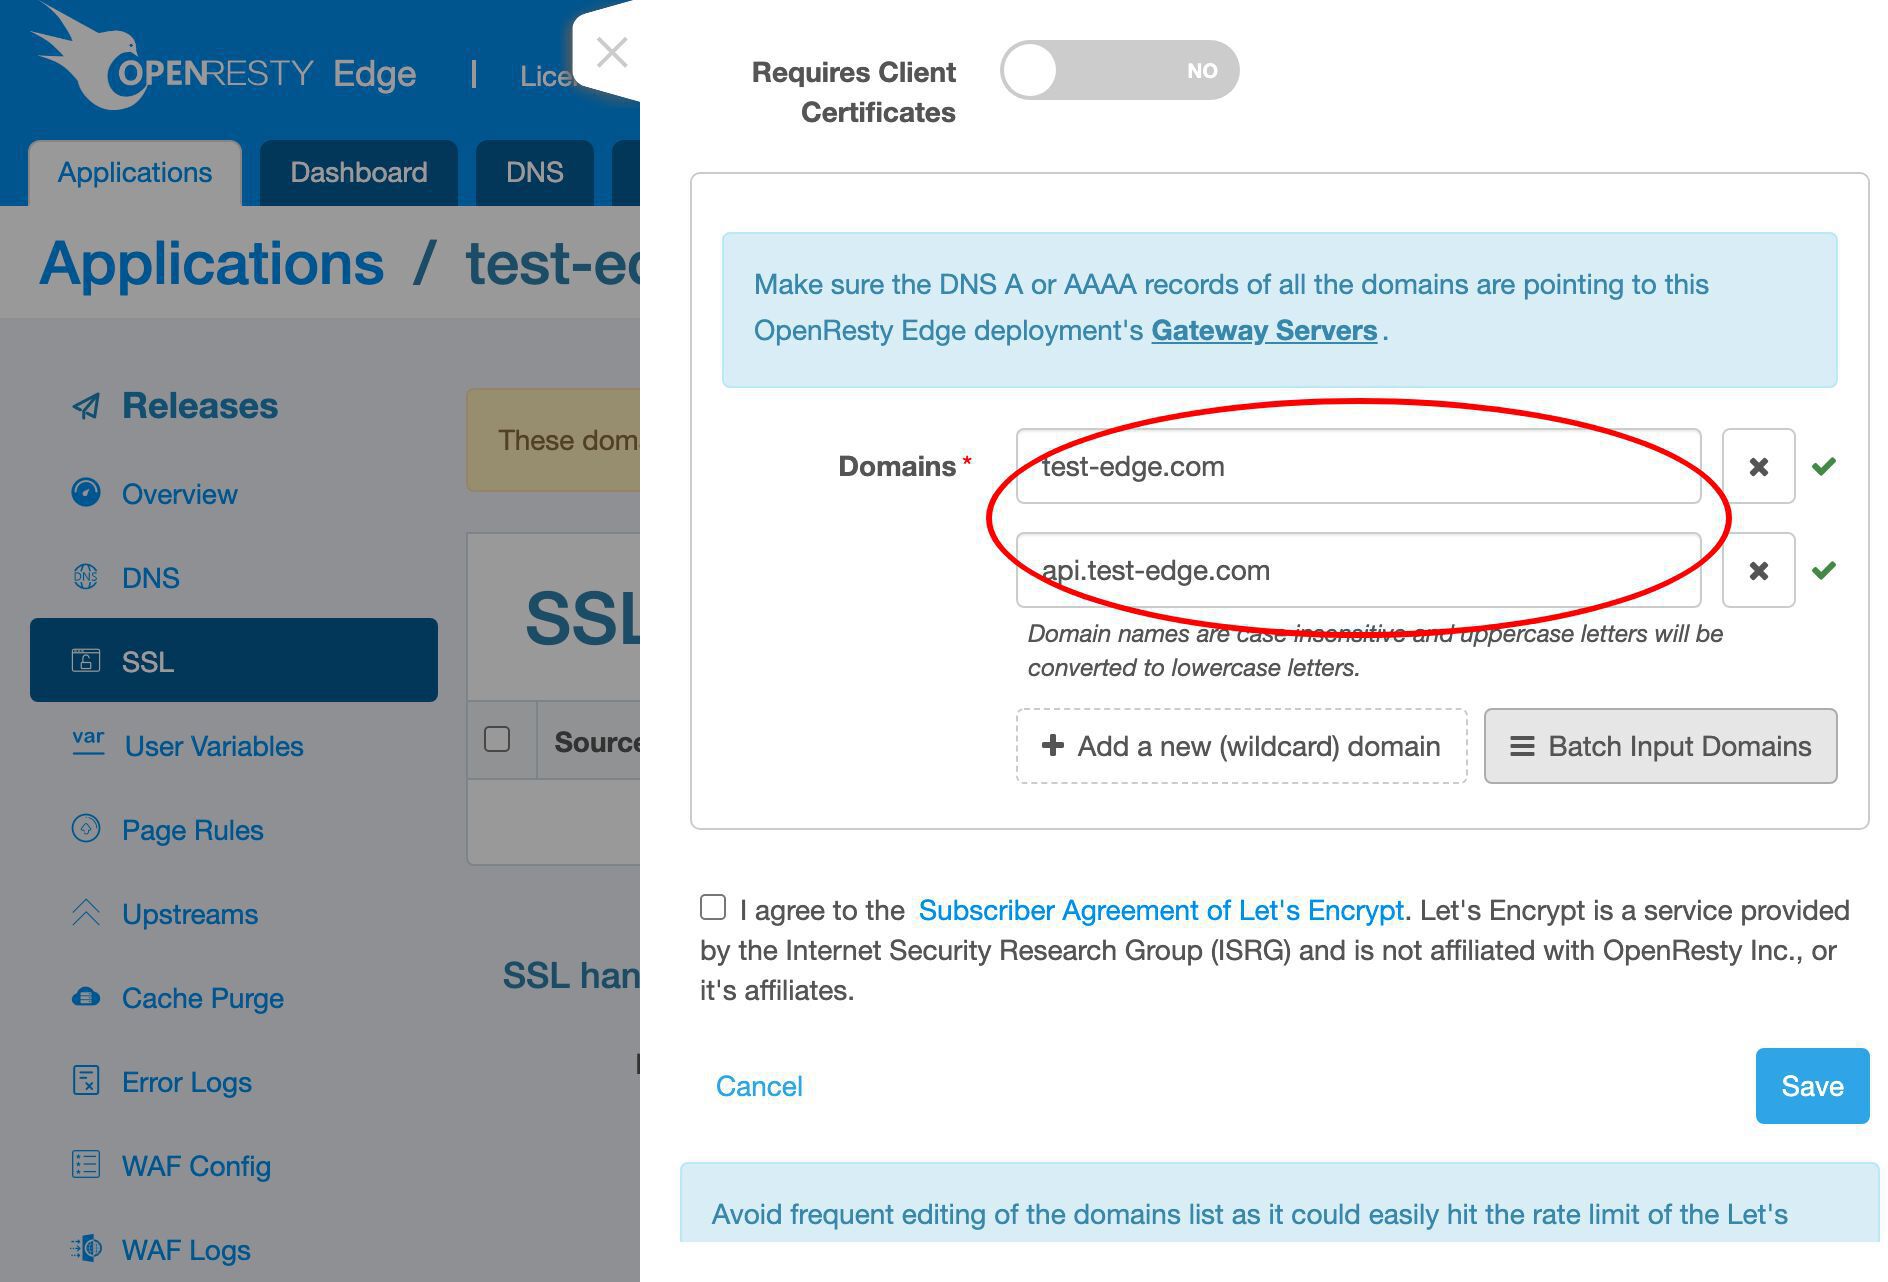
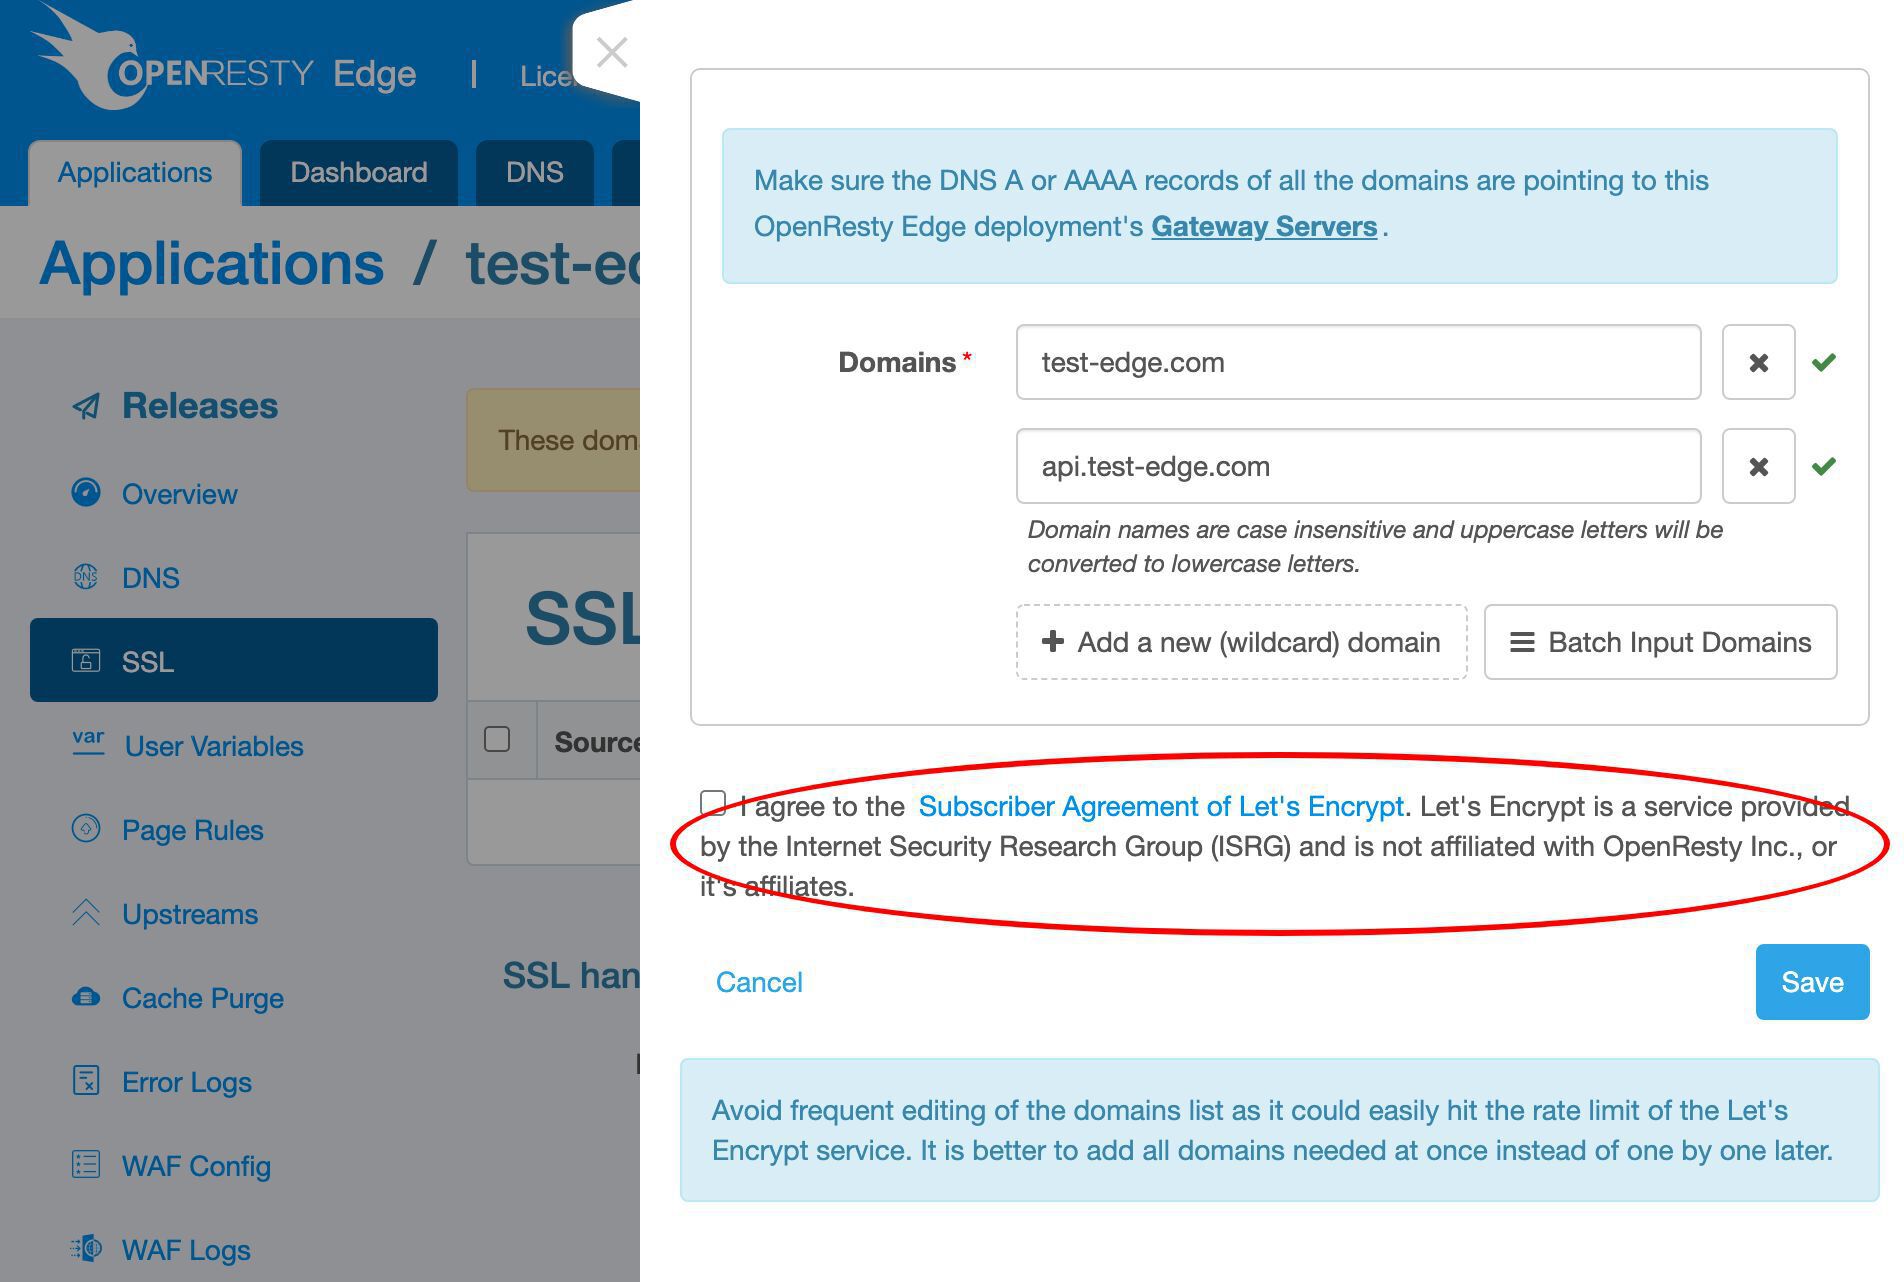
Add the apex domain name test-edge.com to this certificate.
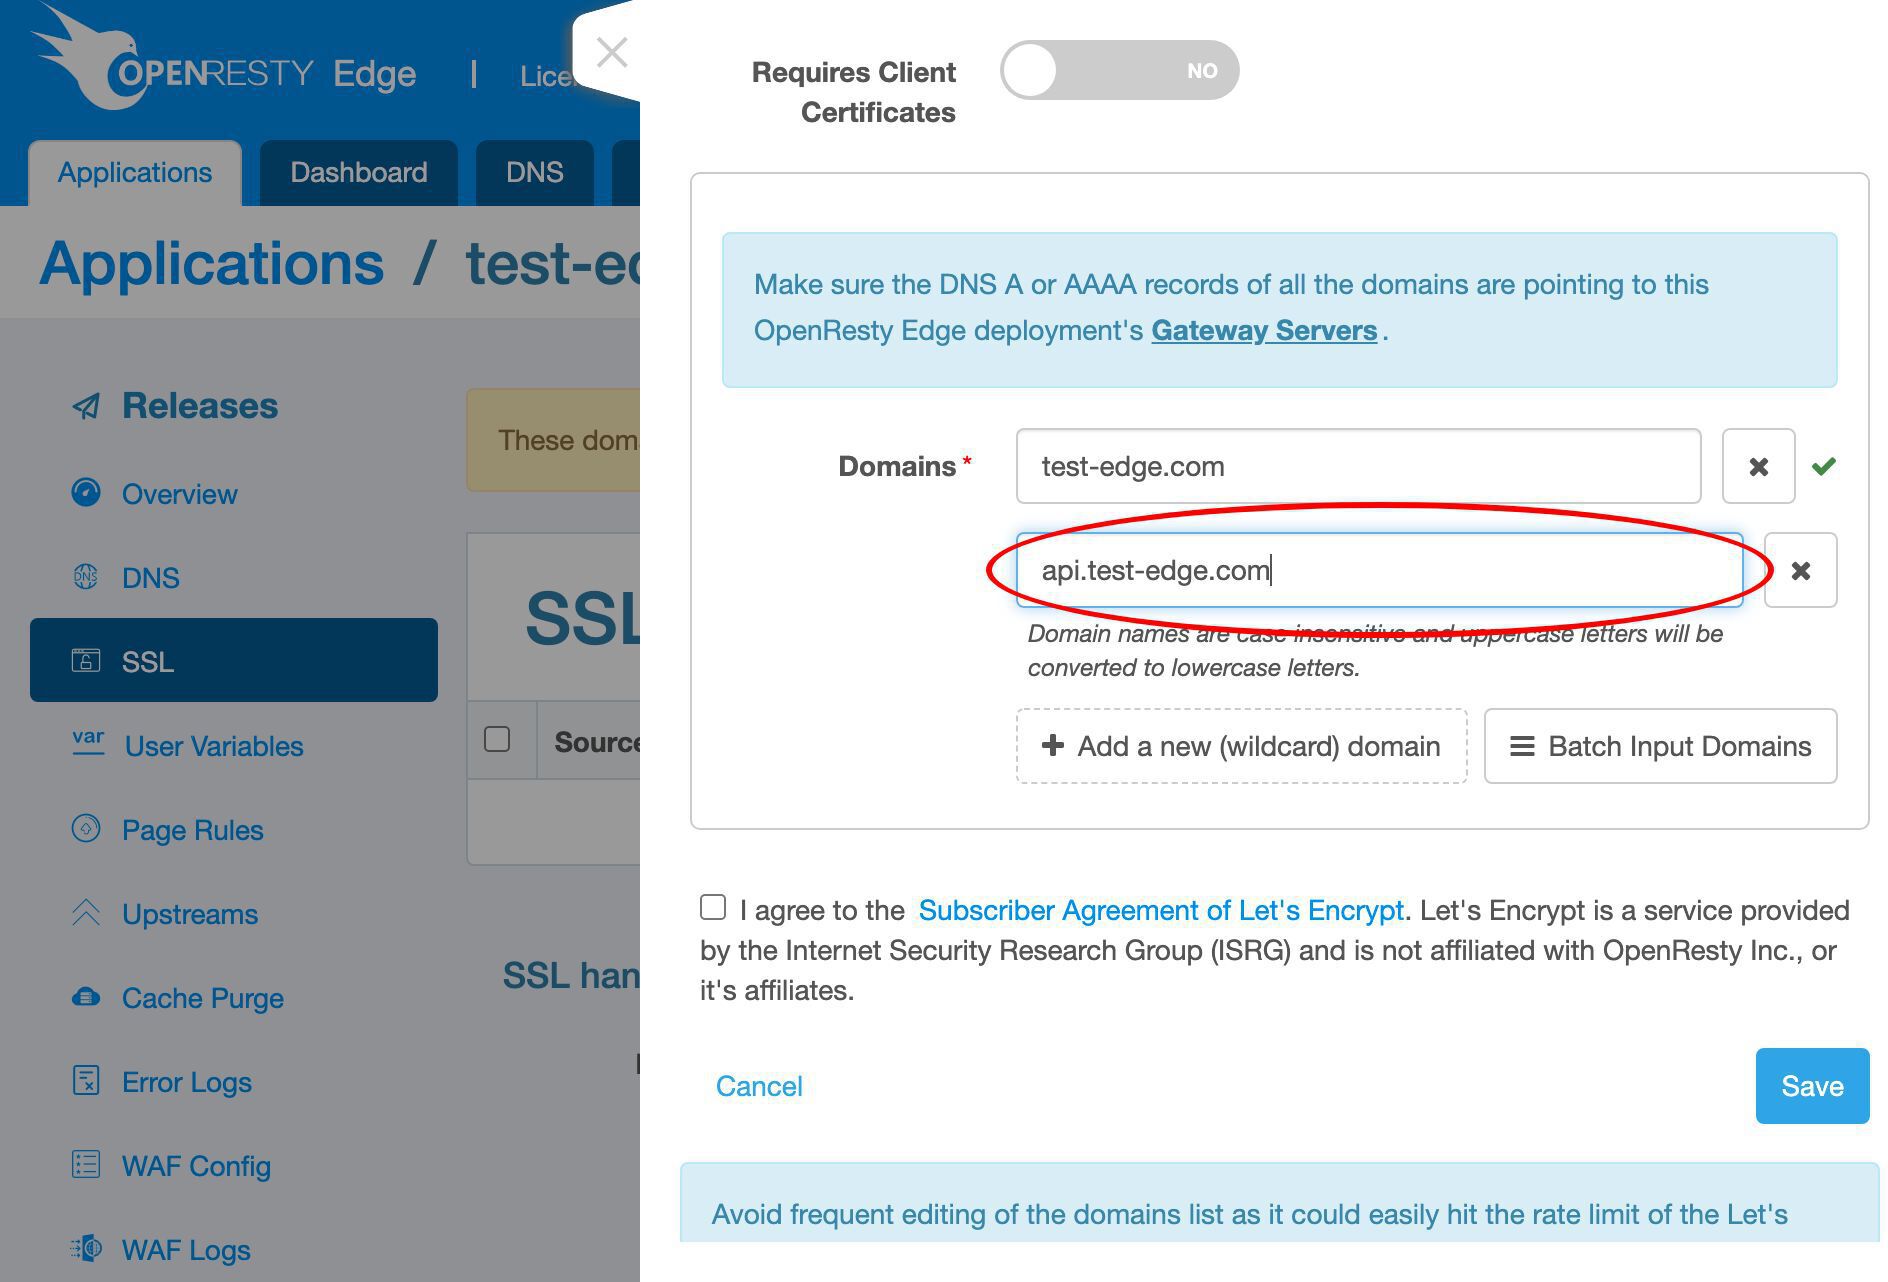
Add more sub-domain names.
Enter our api subdomain. It could be anything.
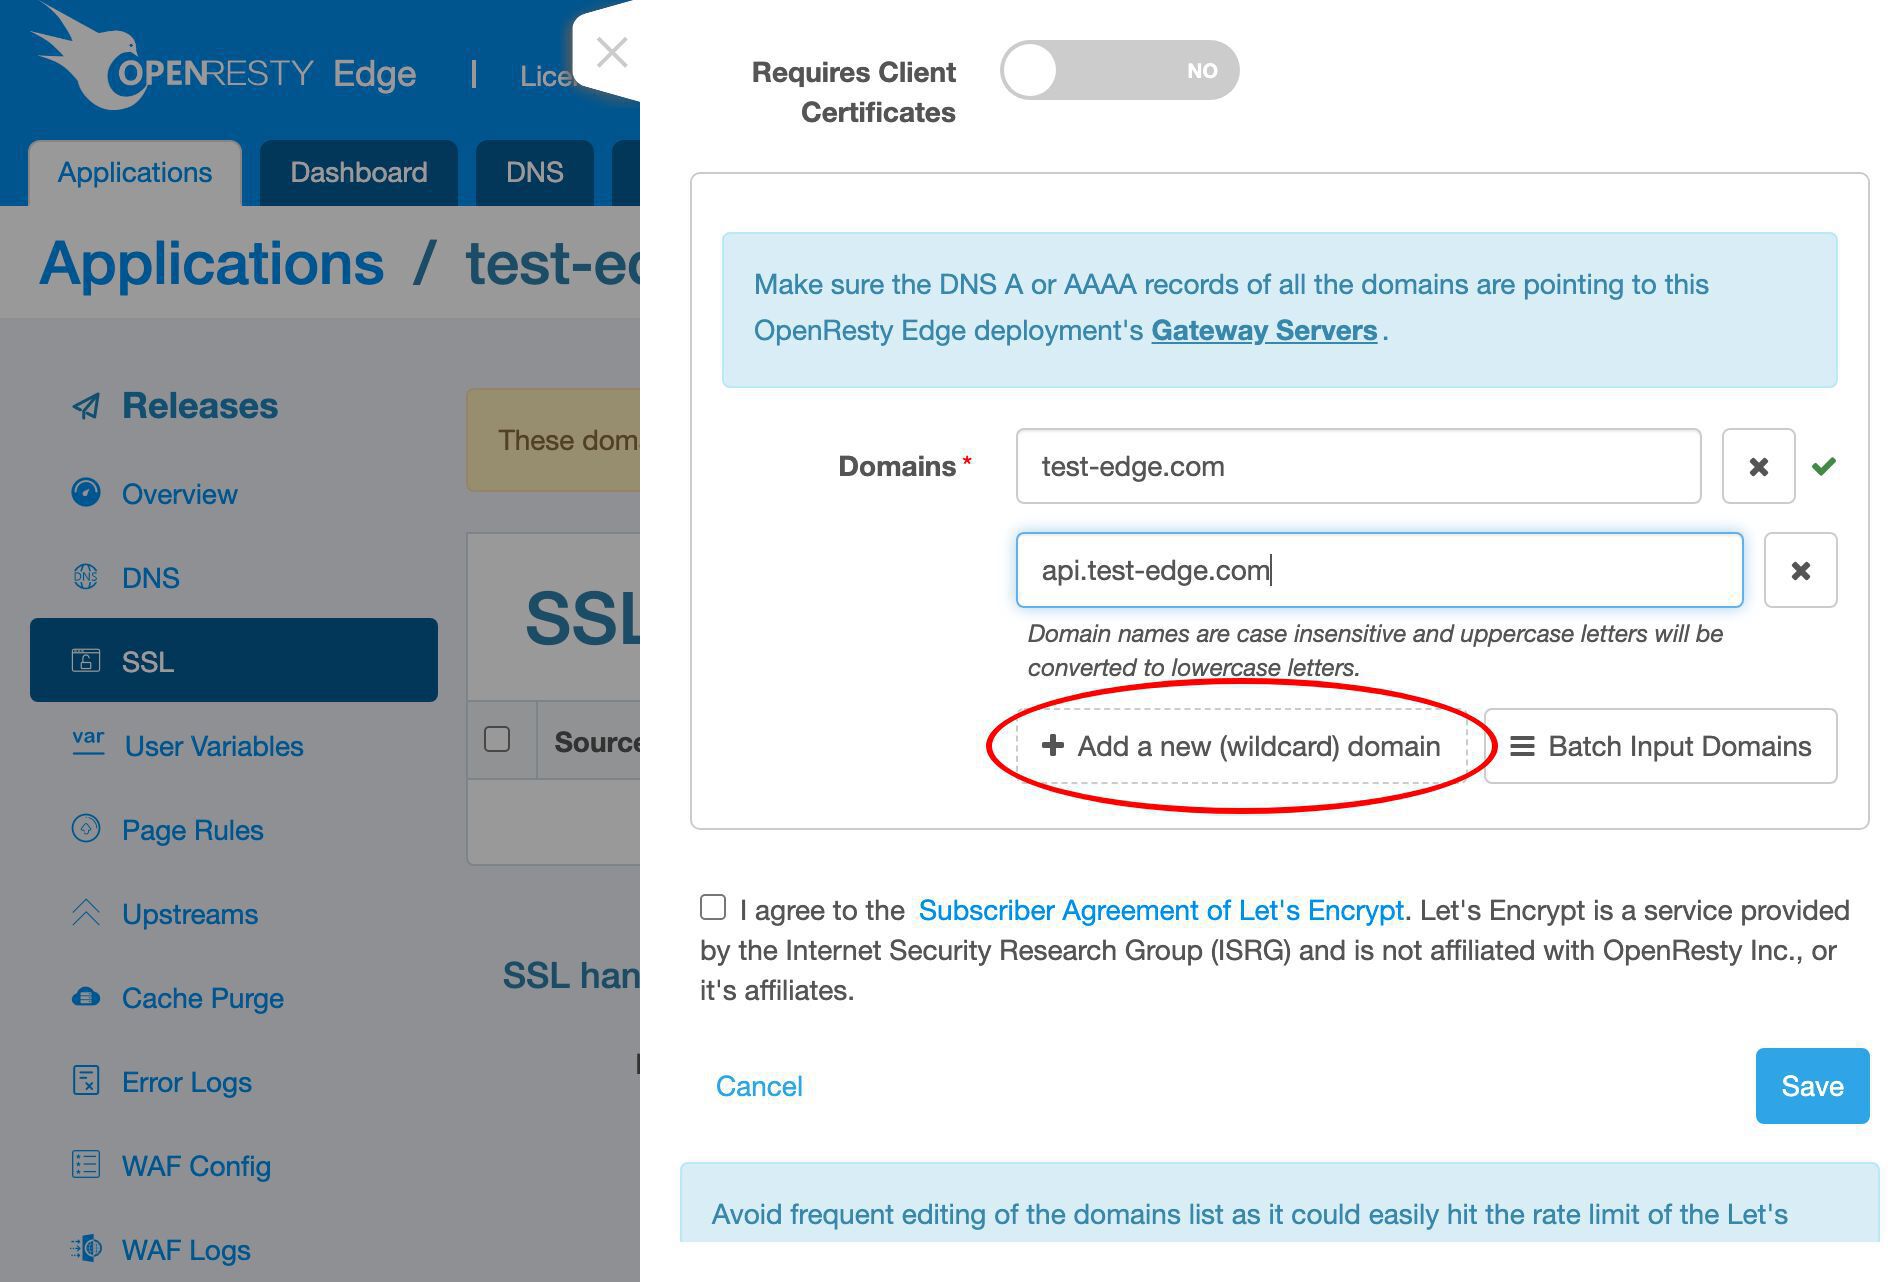
We could add even more.
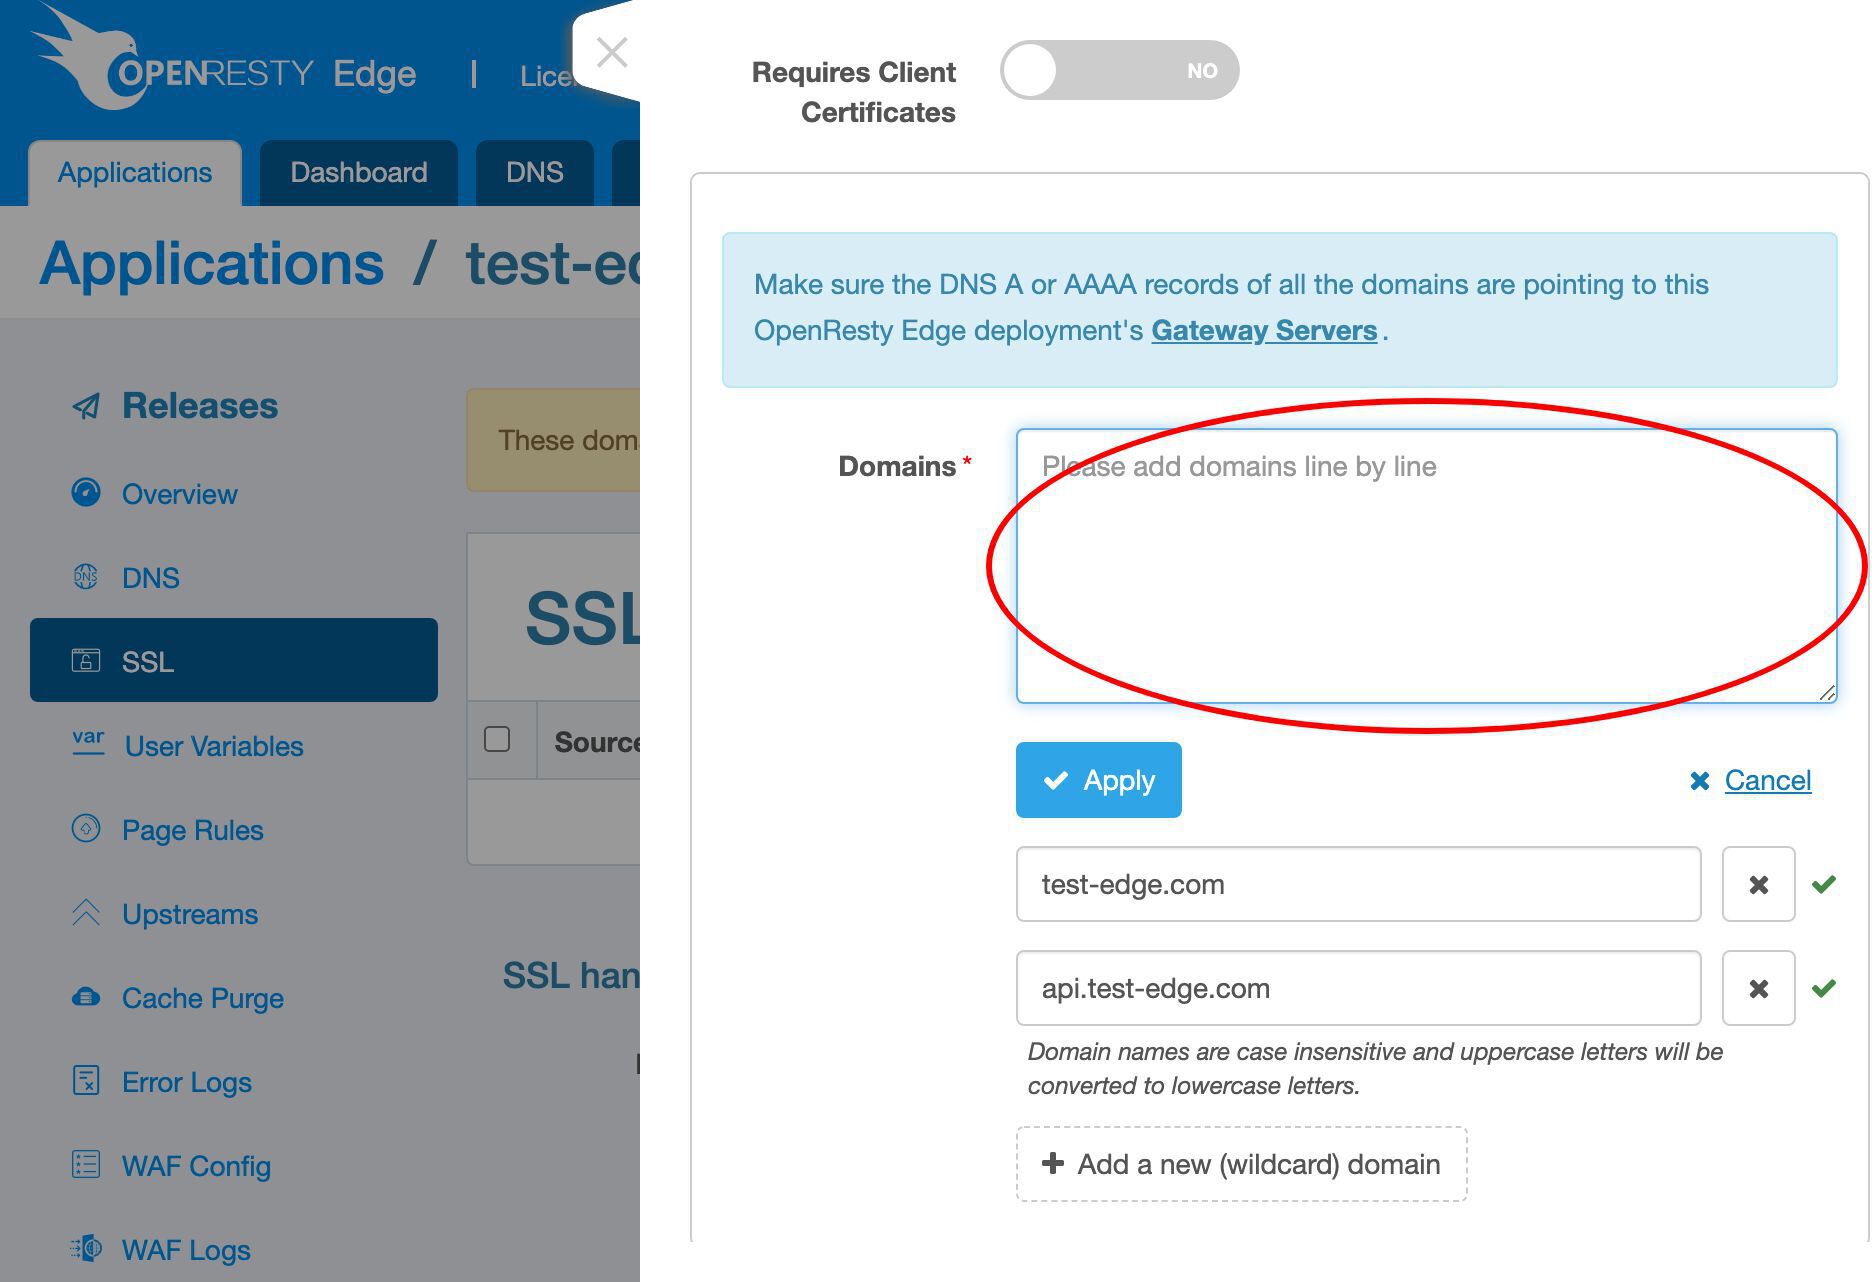
We could use the batch input mode if we have many domains.
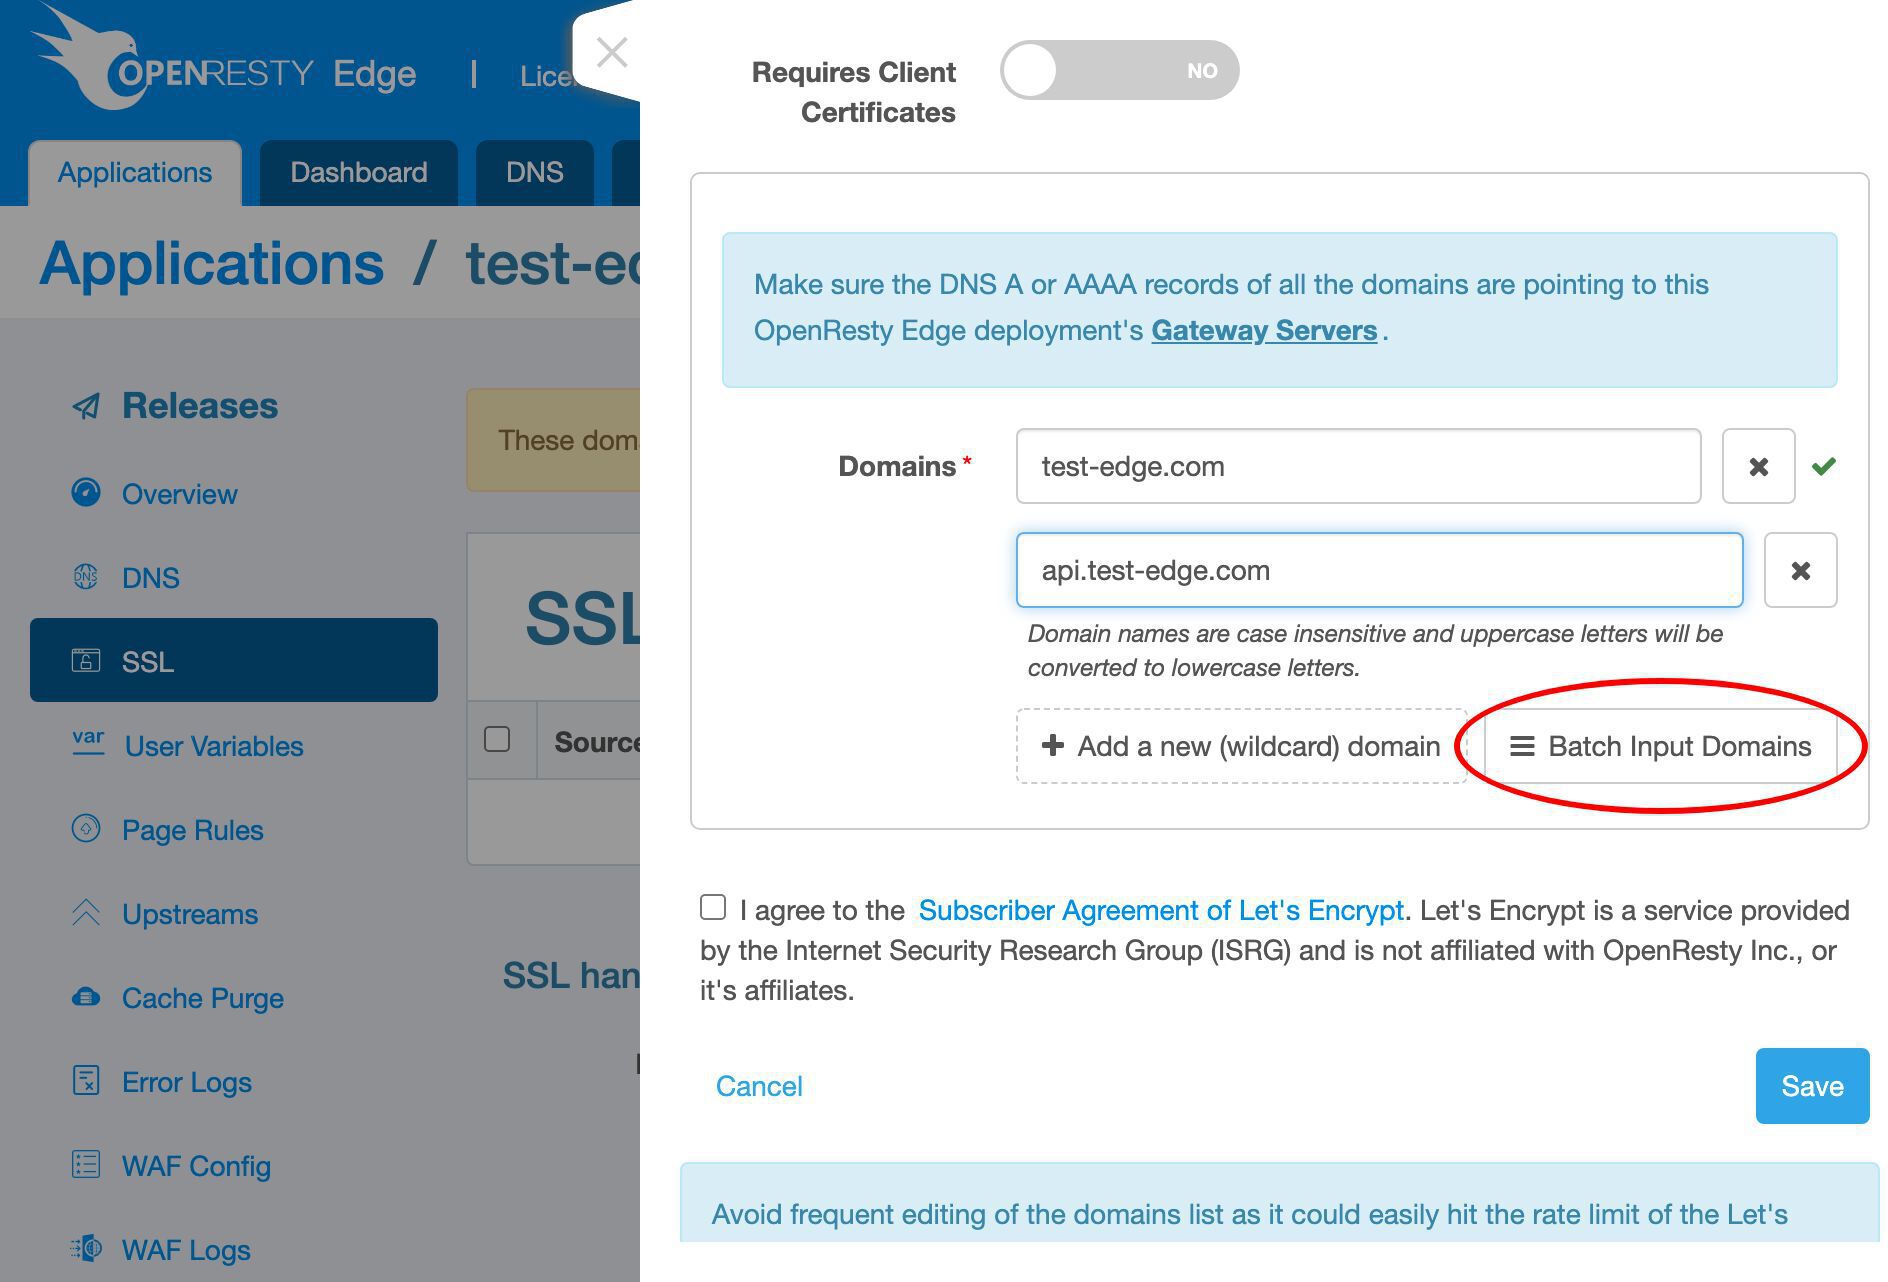
We can enter many domains here, line by line.
Quit the batch input mode.

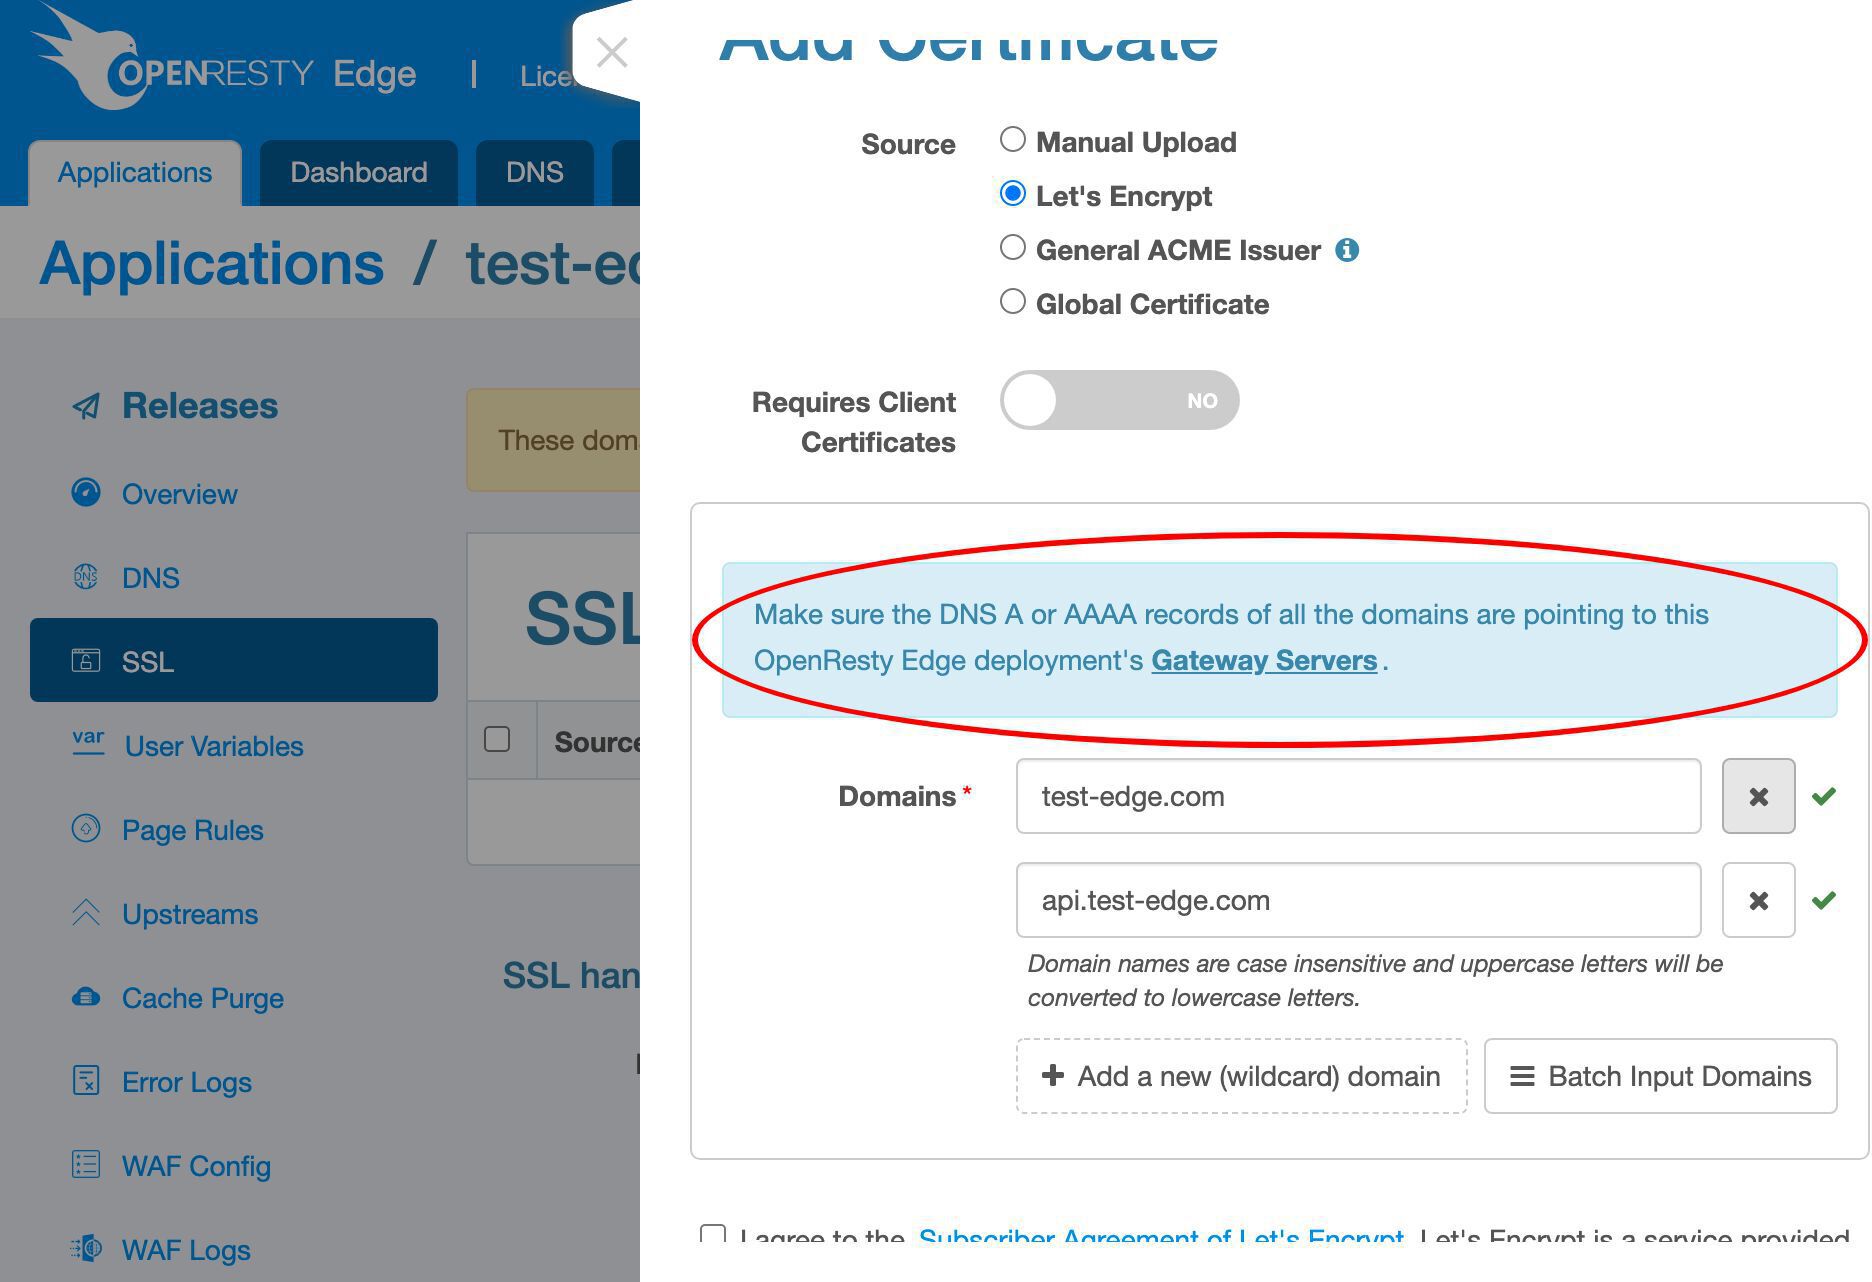
All the domain names here must be resolved to the gateway servers of this OpenResty Edge deployment.
This requirement is also mentioned here.
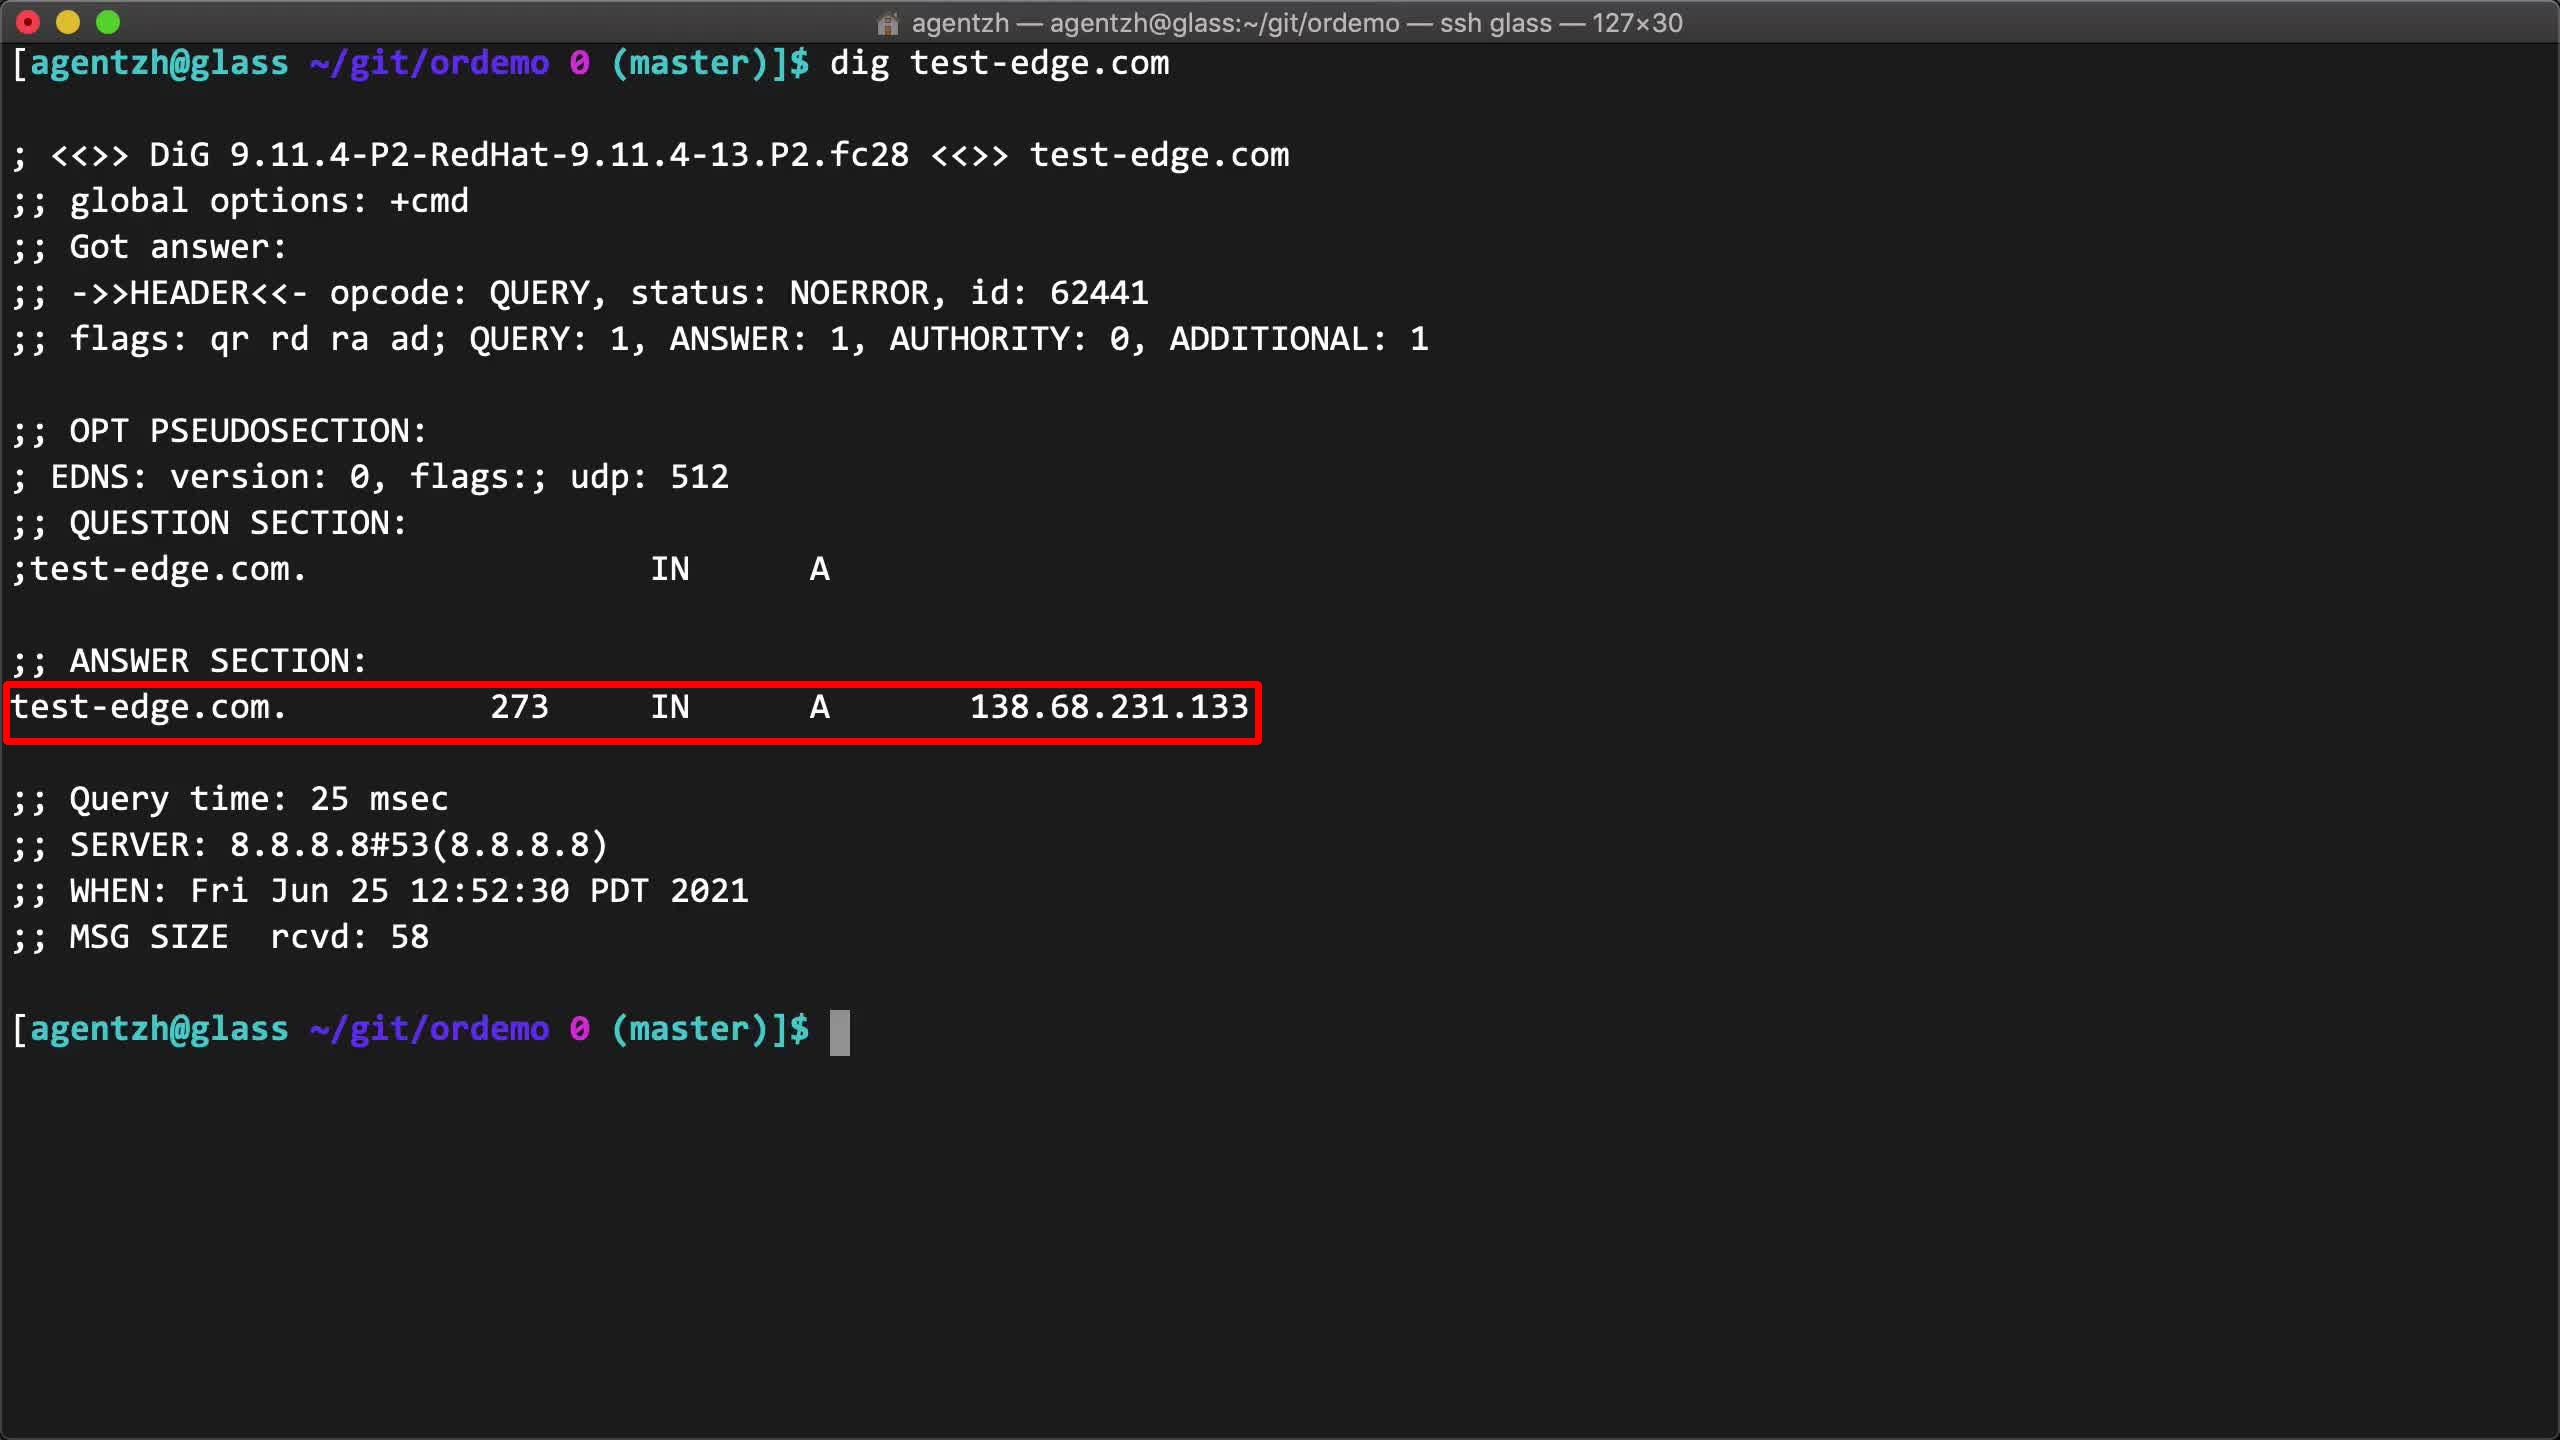
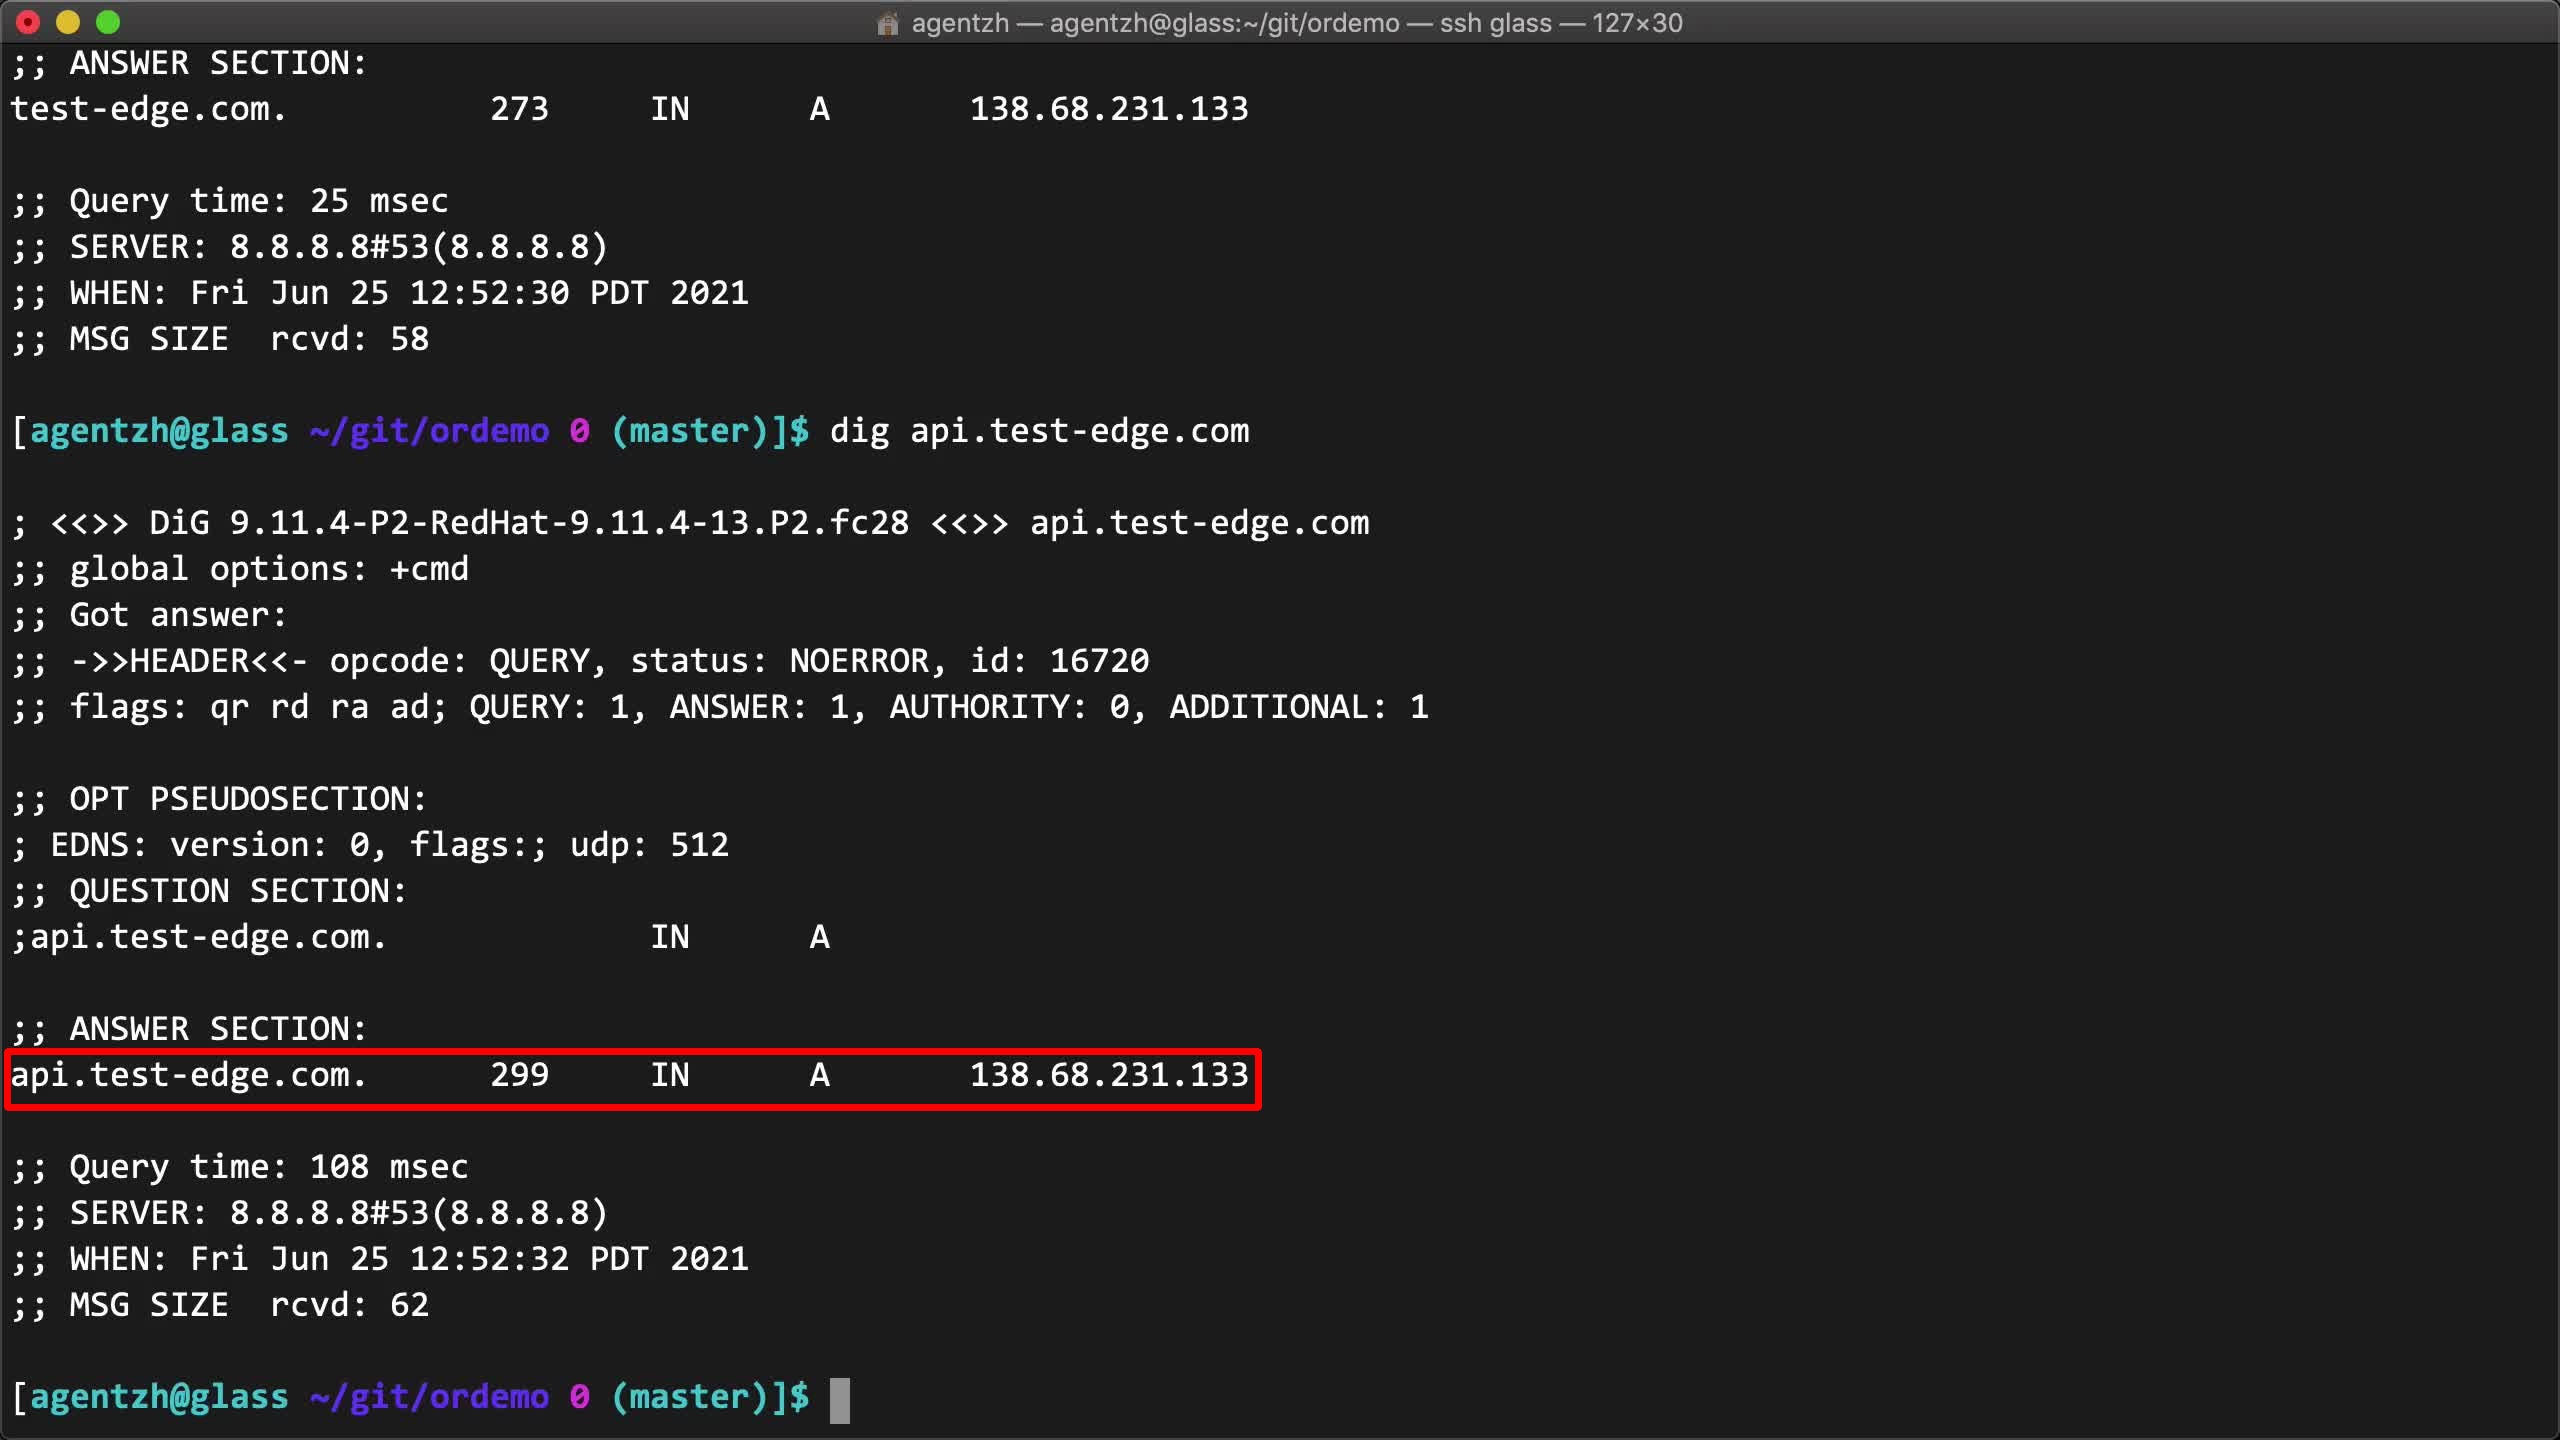
On the terminal, we can use the dig command to test if the domain has already resolved to our gateway servers.
dig test-edge.com
We can see the valid DNS answer here.
And also test the other api subdomain.
dig api.test-edge.com
Again, the DNS answer is good.
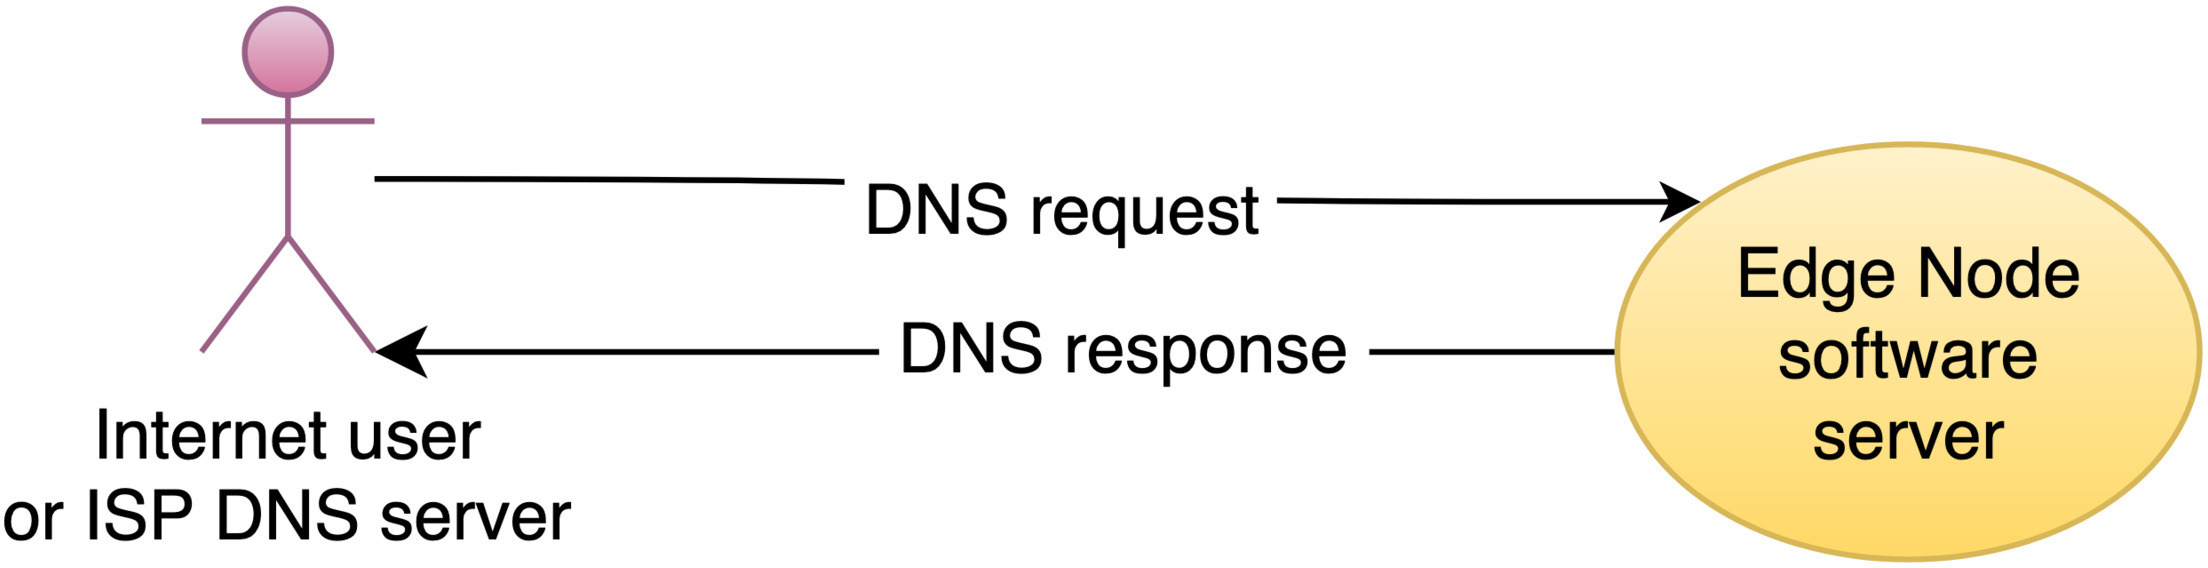
The Let’s Encrypt servers need to access our gateway servers through these domains. This is because they must make sure that we indeed own these domains.
For wildcard domains, you must also use OpenResty Edge as the authoritative DNS name servers for the domains.
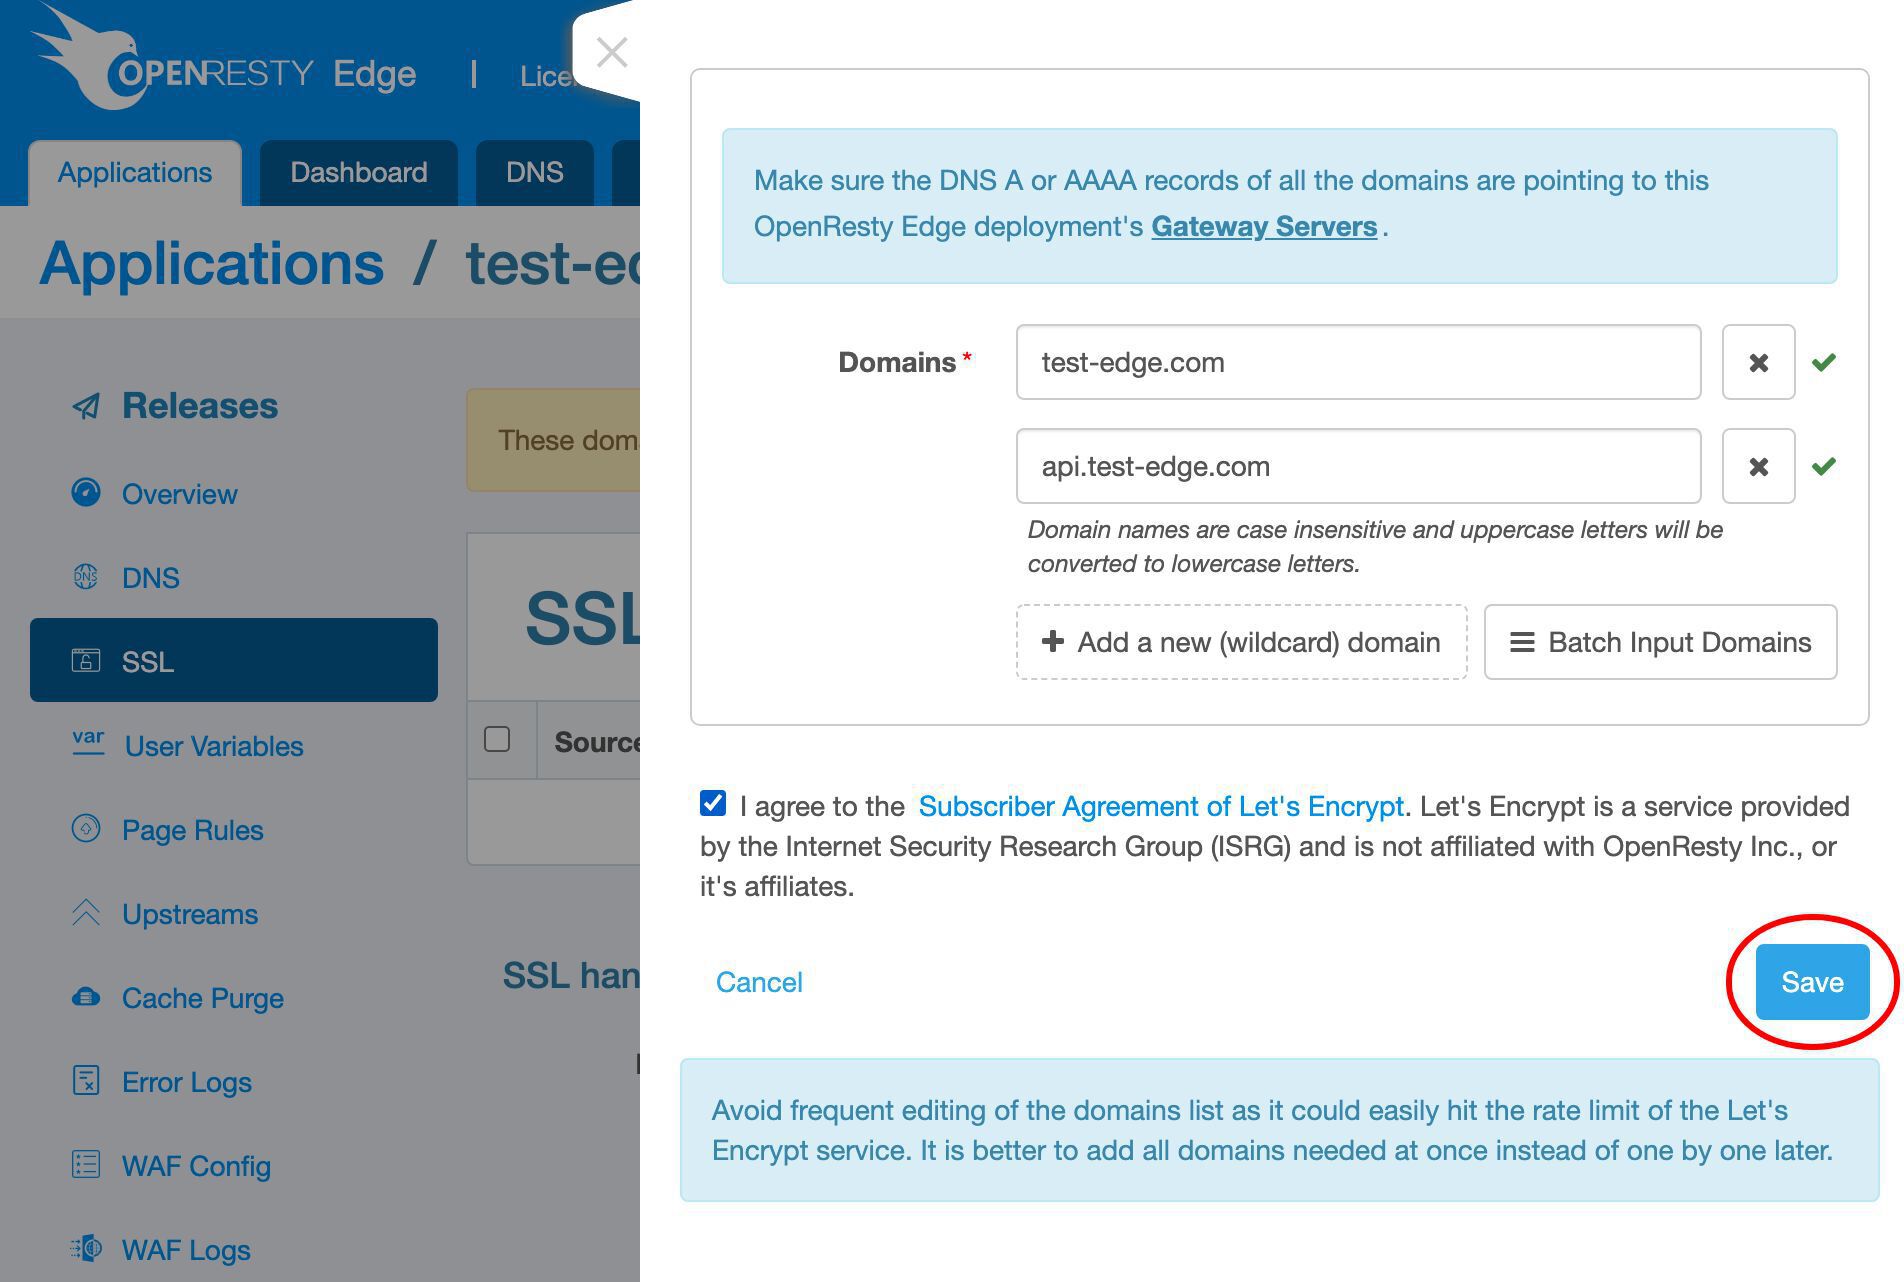
Agree to the Lets’ Encrypt Subscriber Agreement.
Save it.
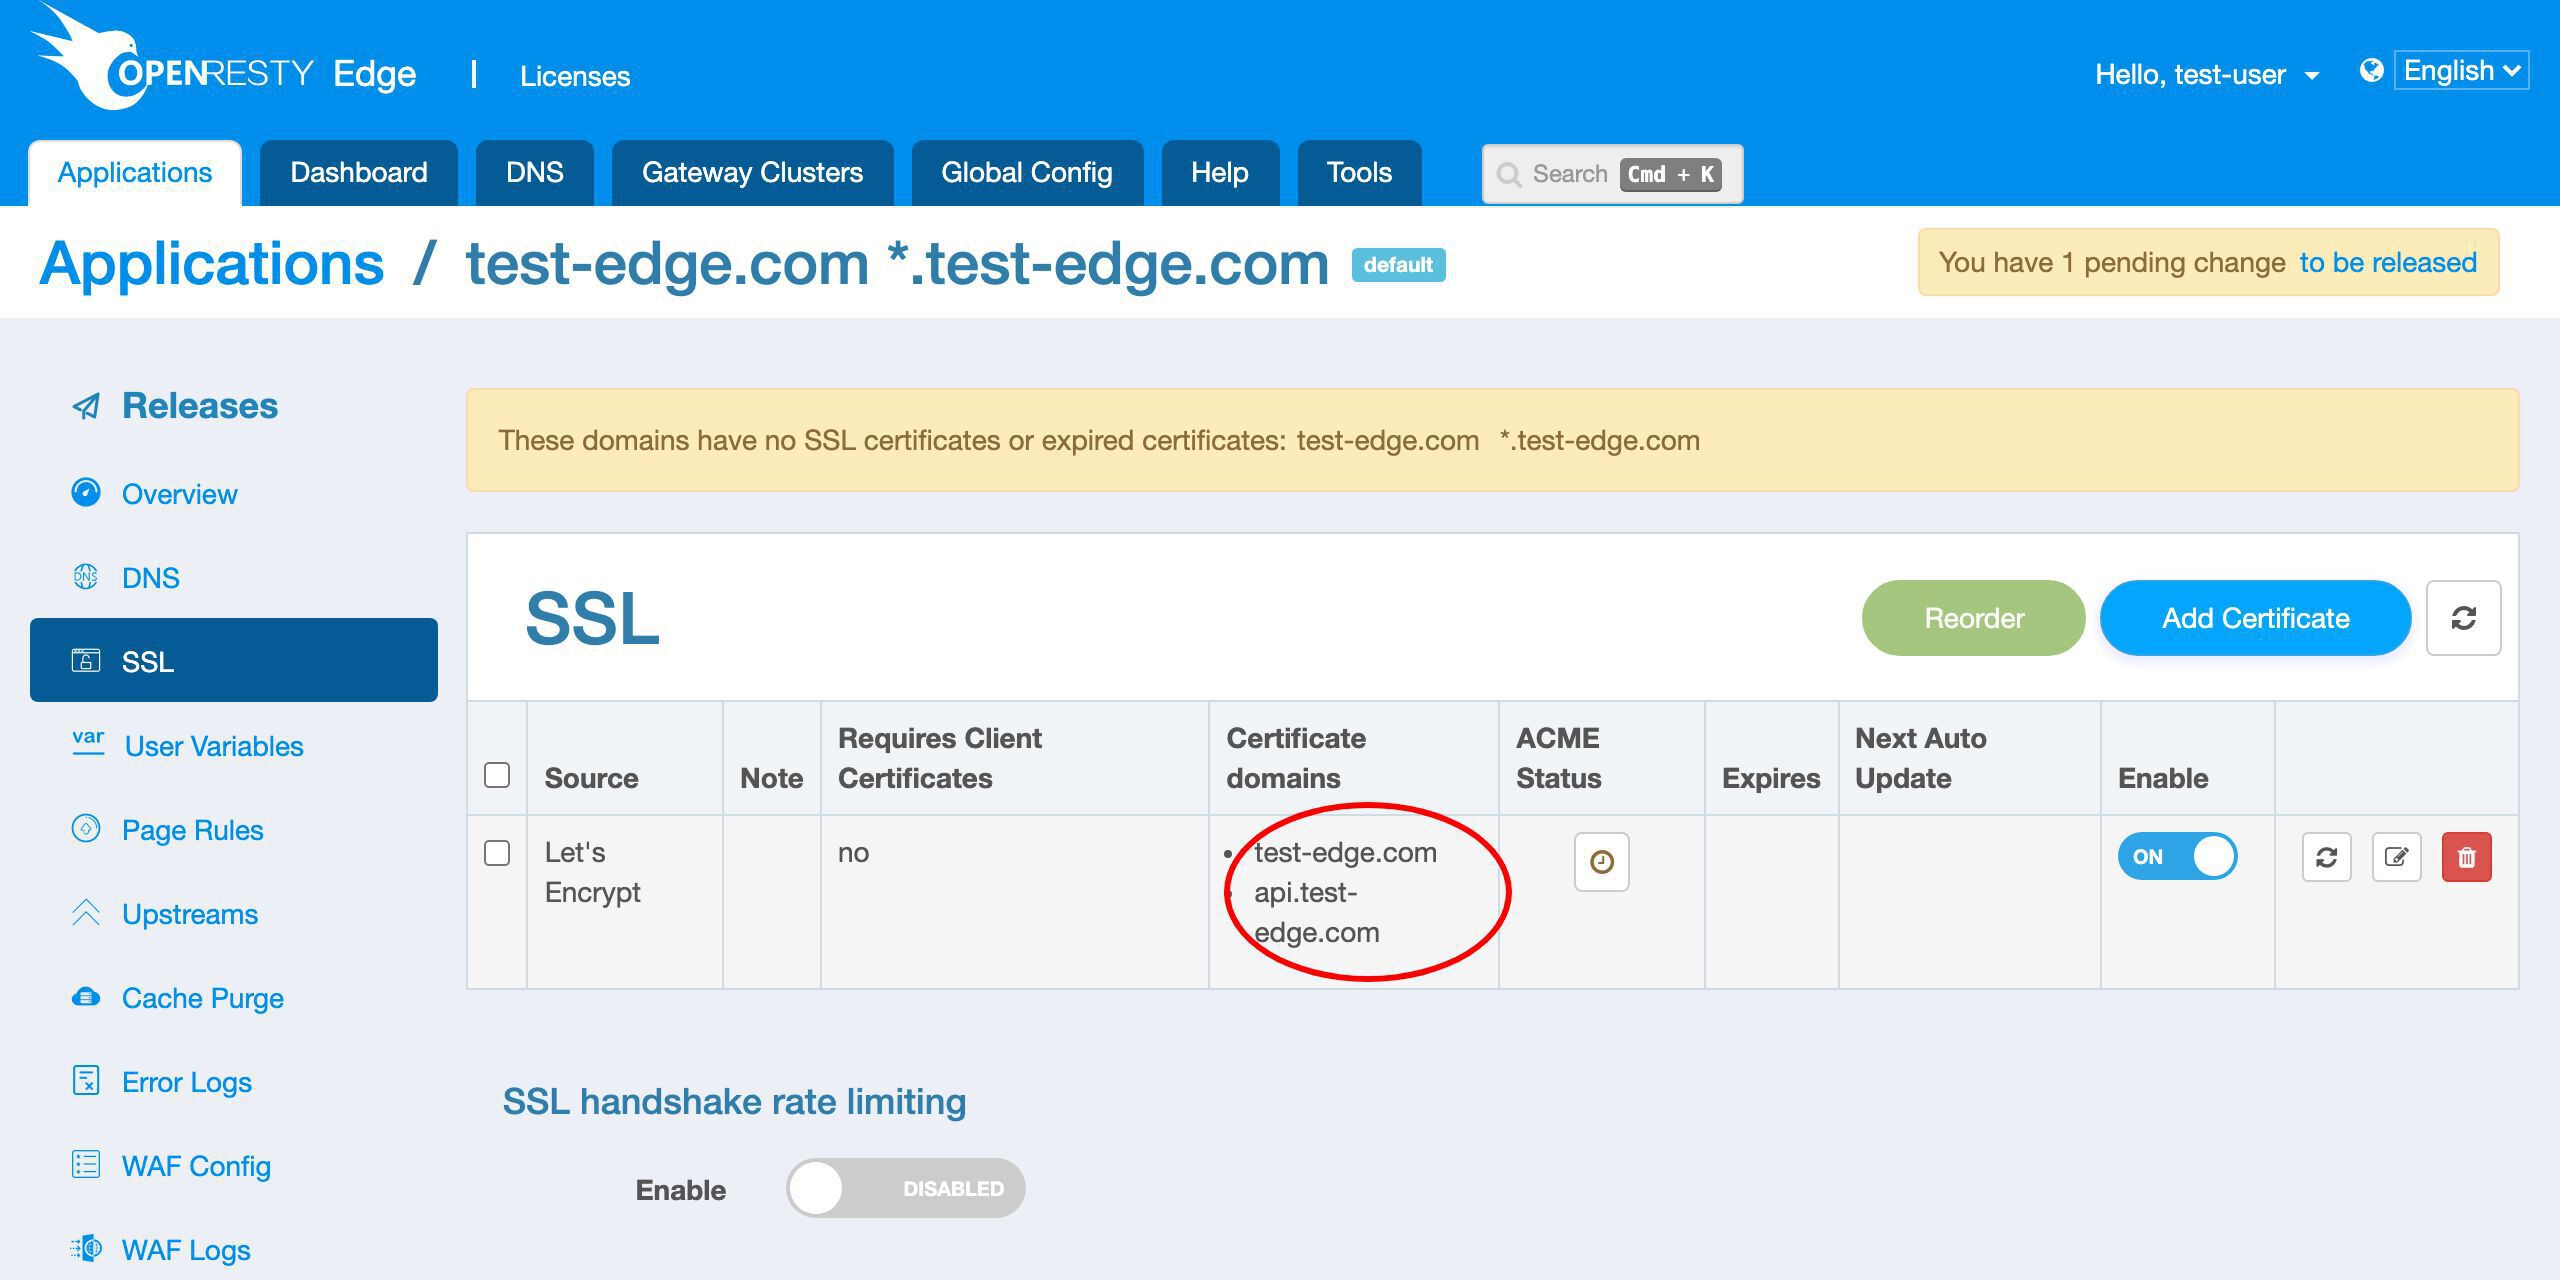
We can see the new row for the Let’s Encrypt certificate.
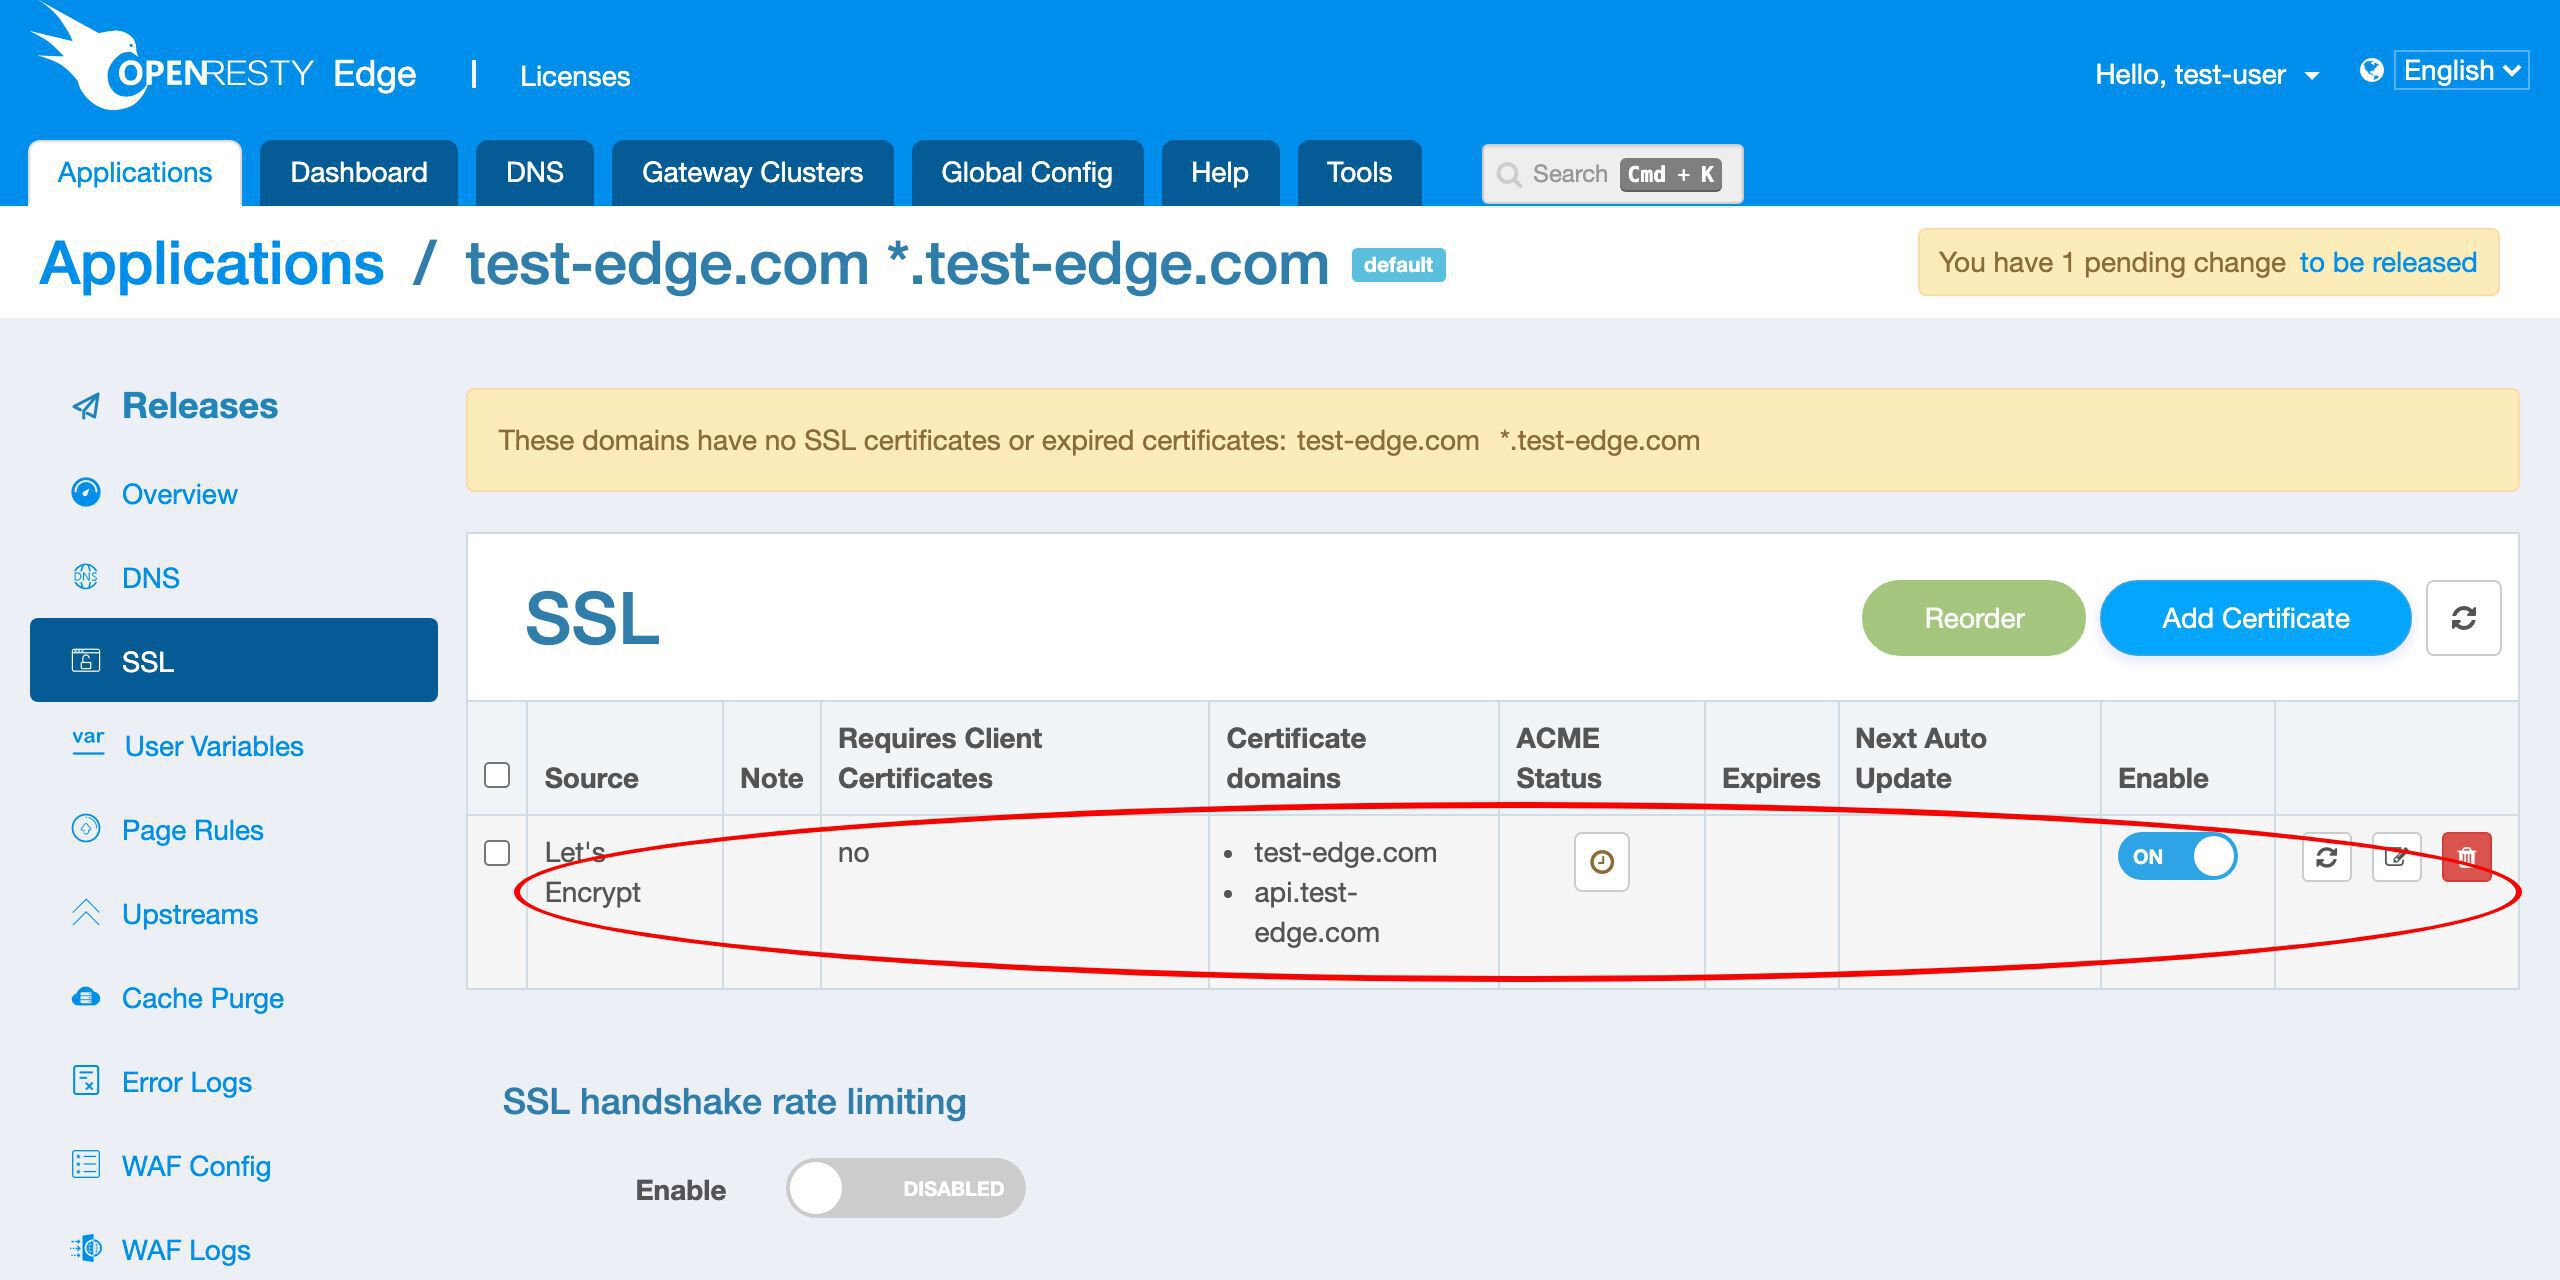
The certificate source is Let’s Encrypt.
It has two domain names, as expected.
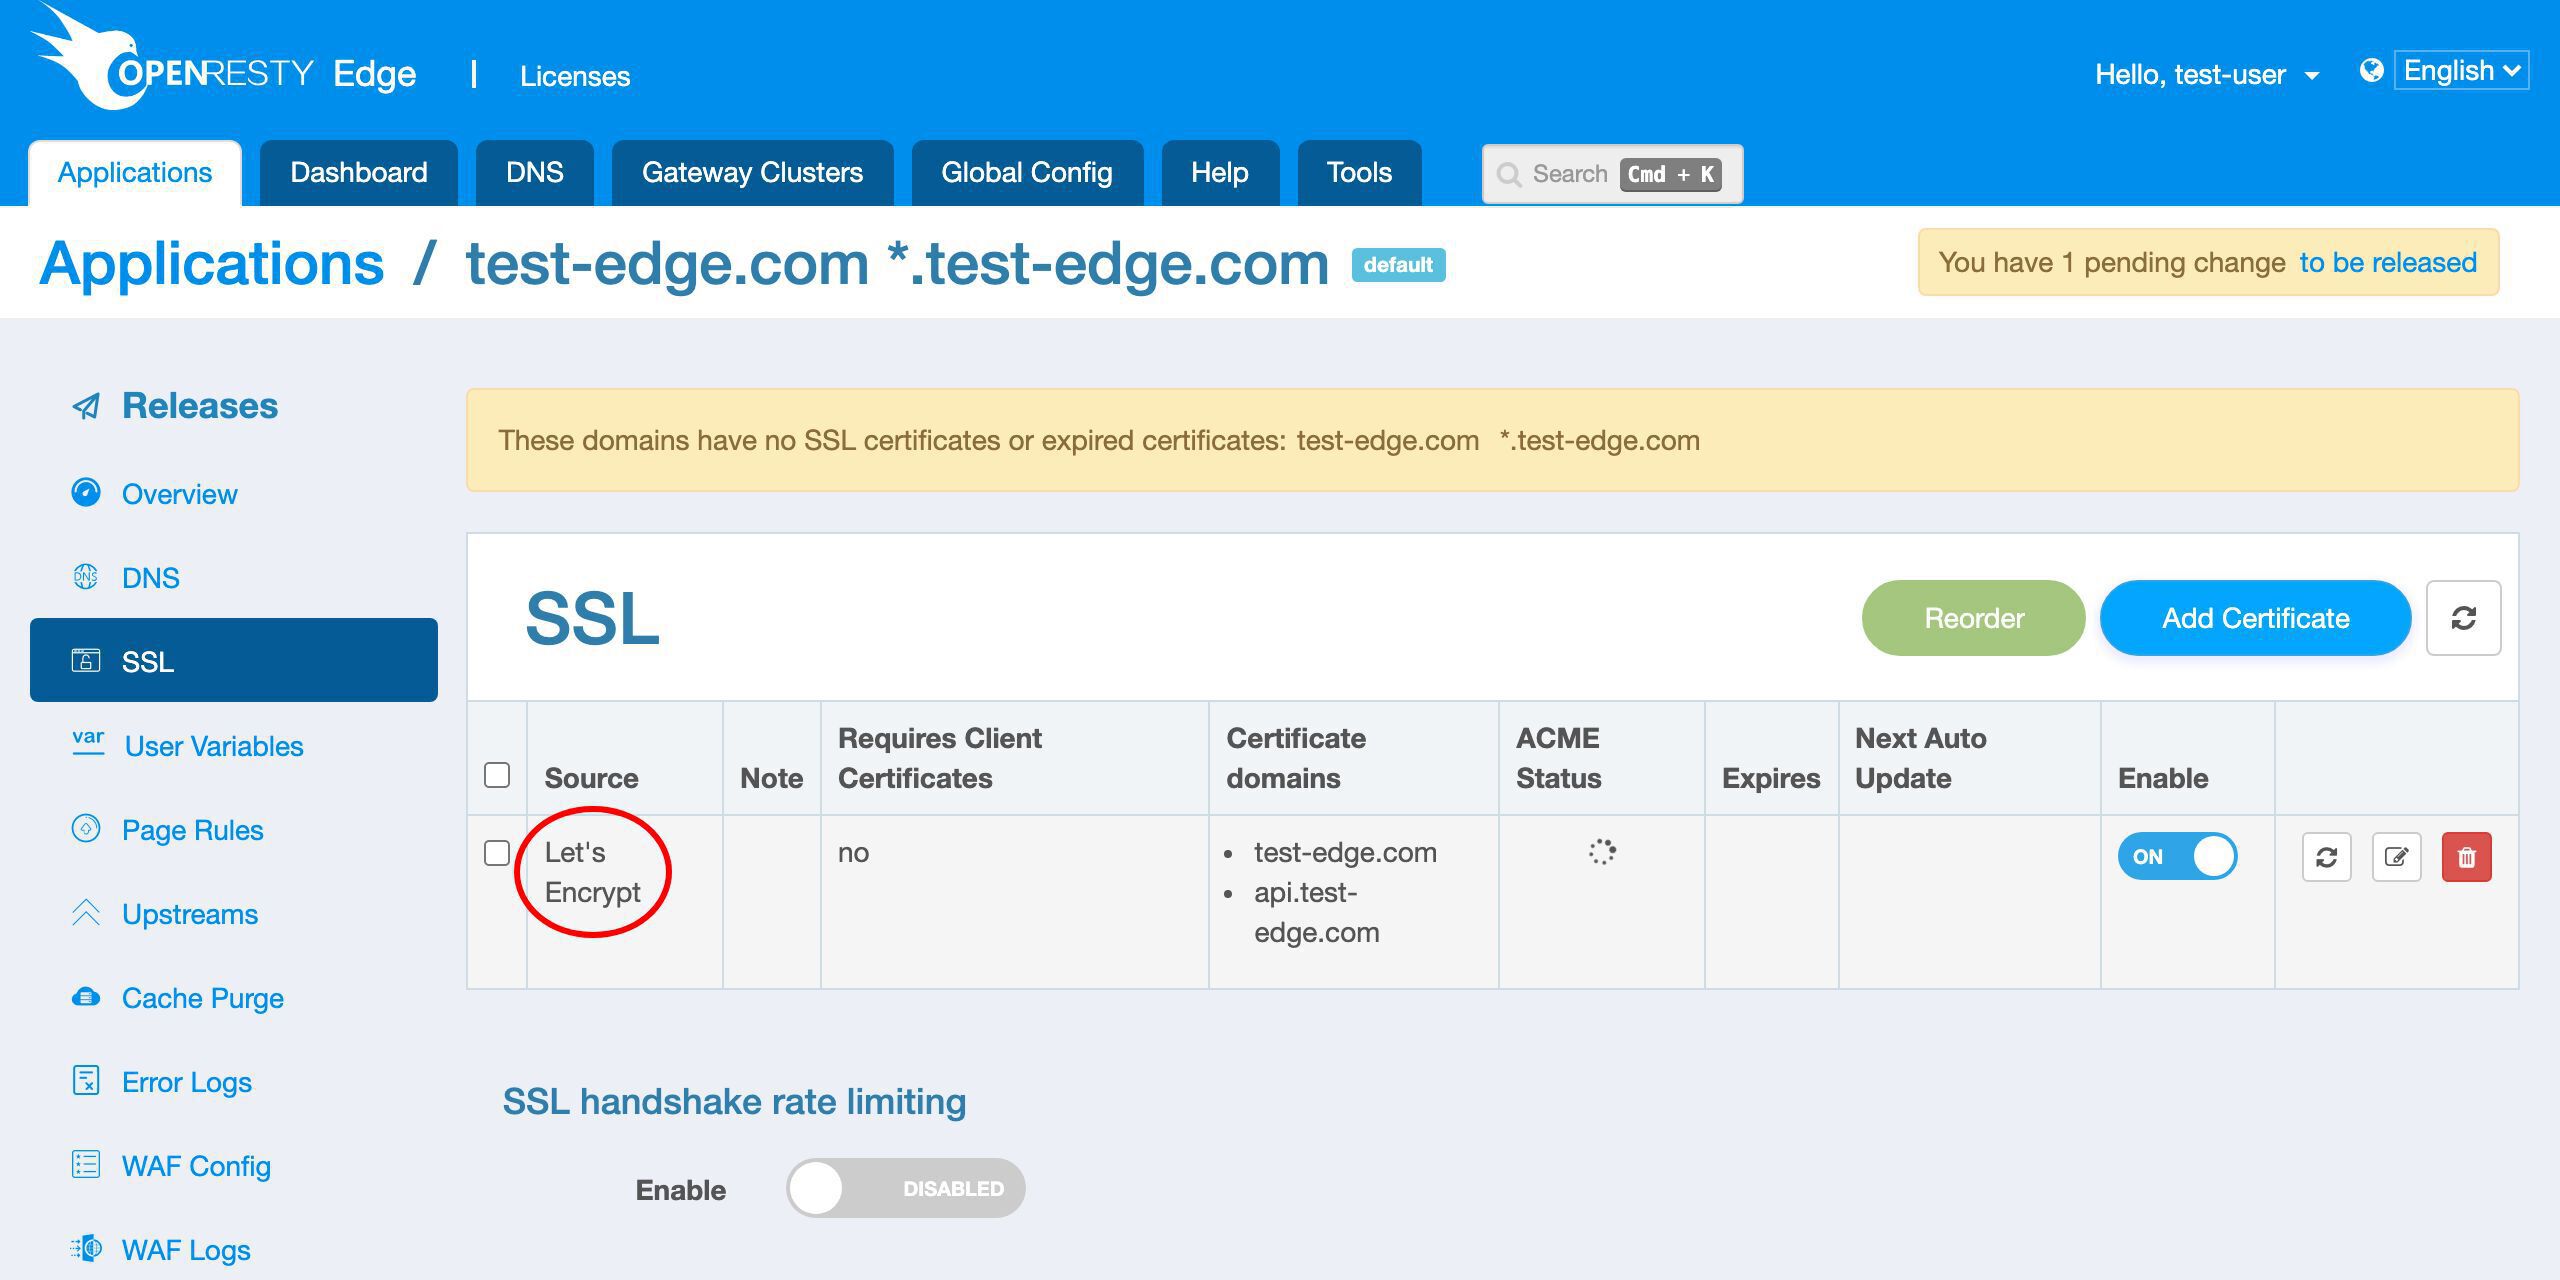
We can view the real time status here.
We can check the detailed progress by clicking on this status icon.
We can observe the detailed logs regarding the Let’s Encrypt certificate issuing process here.
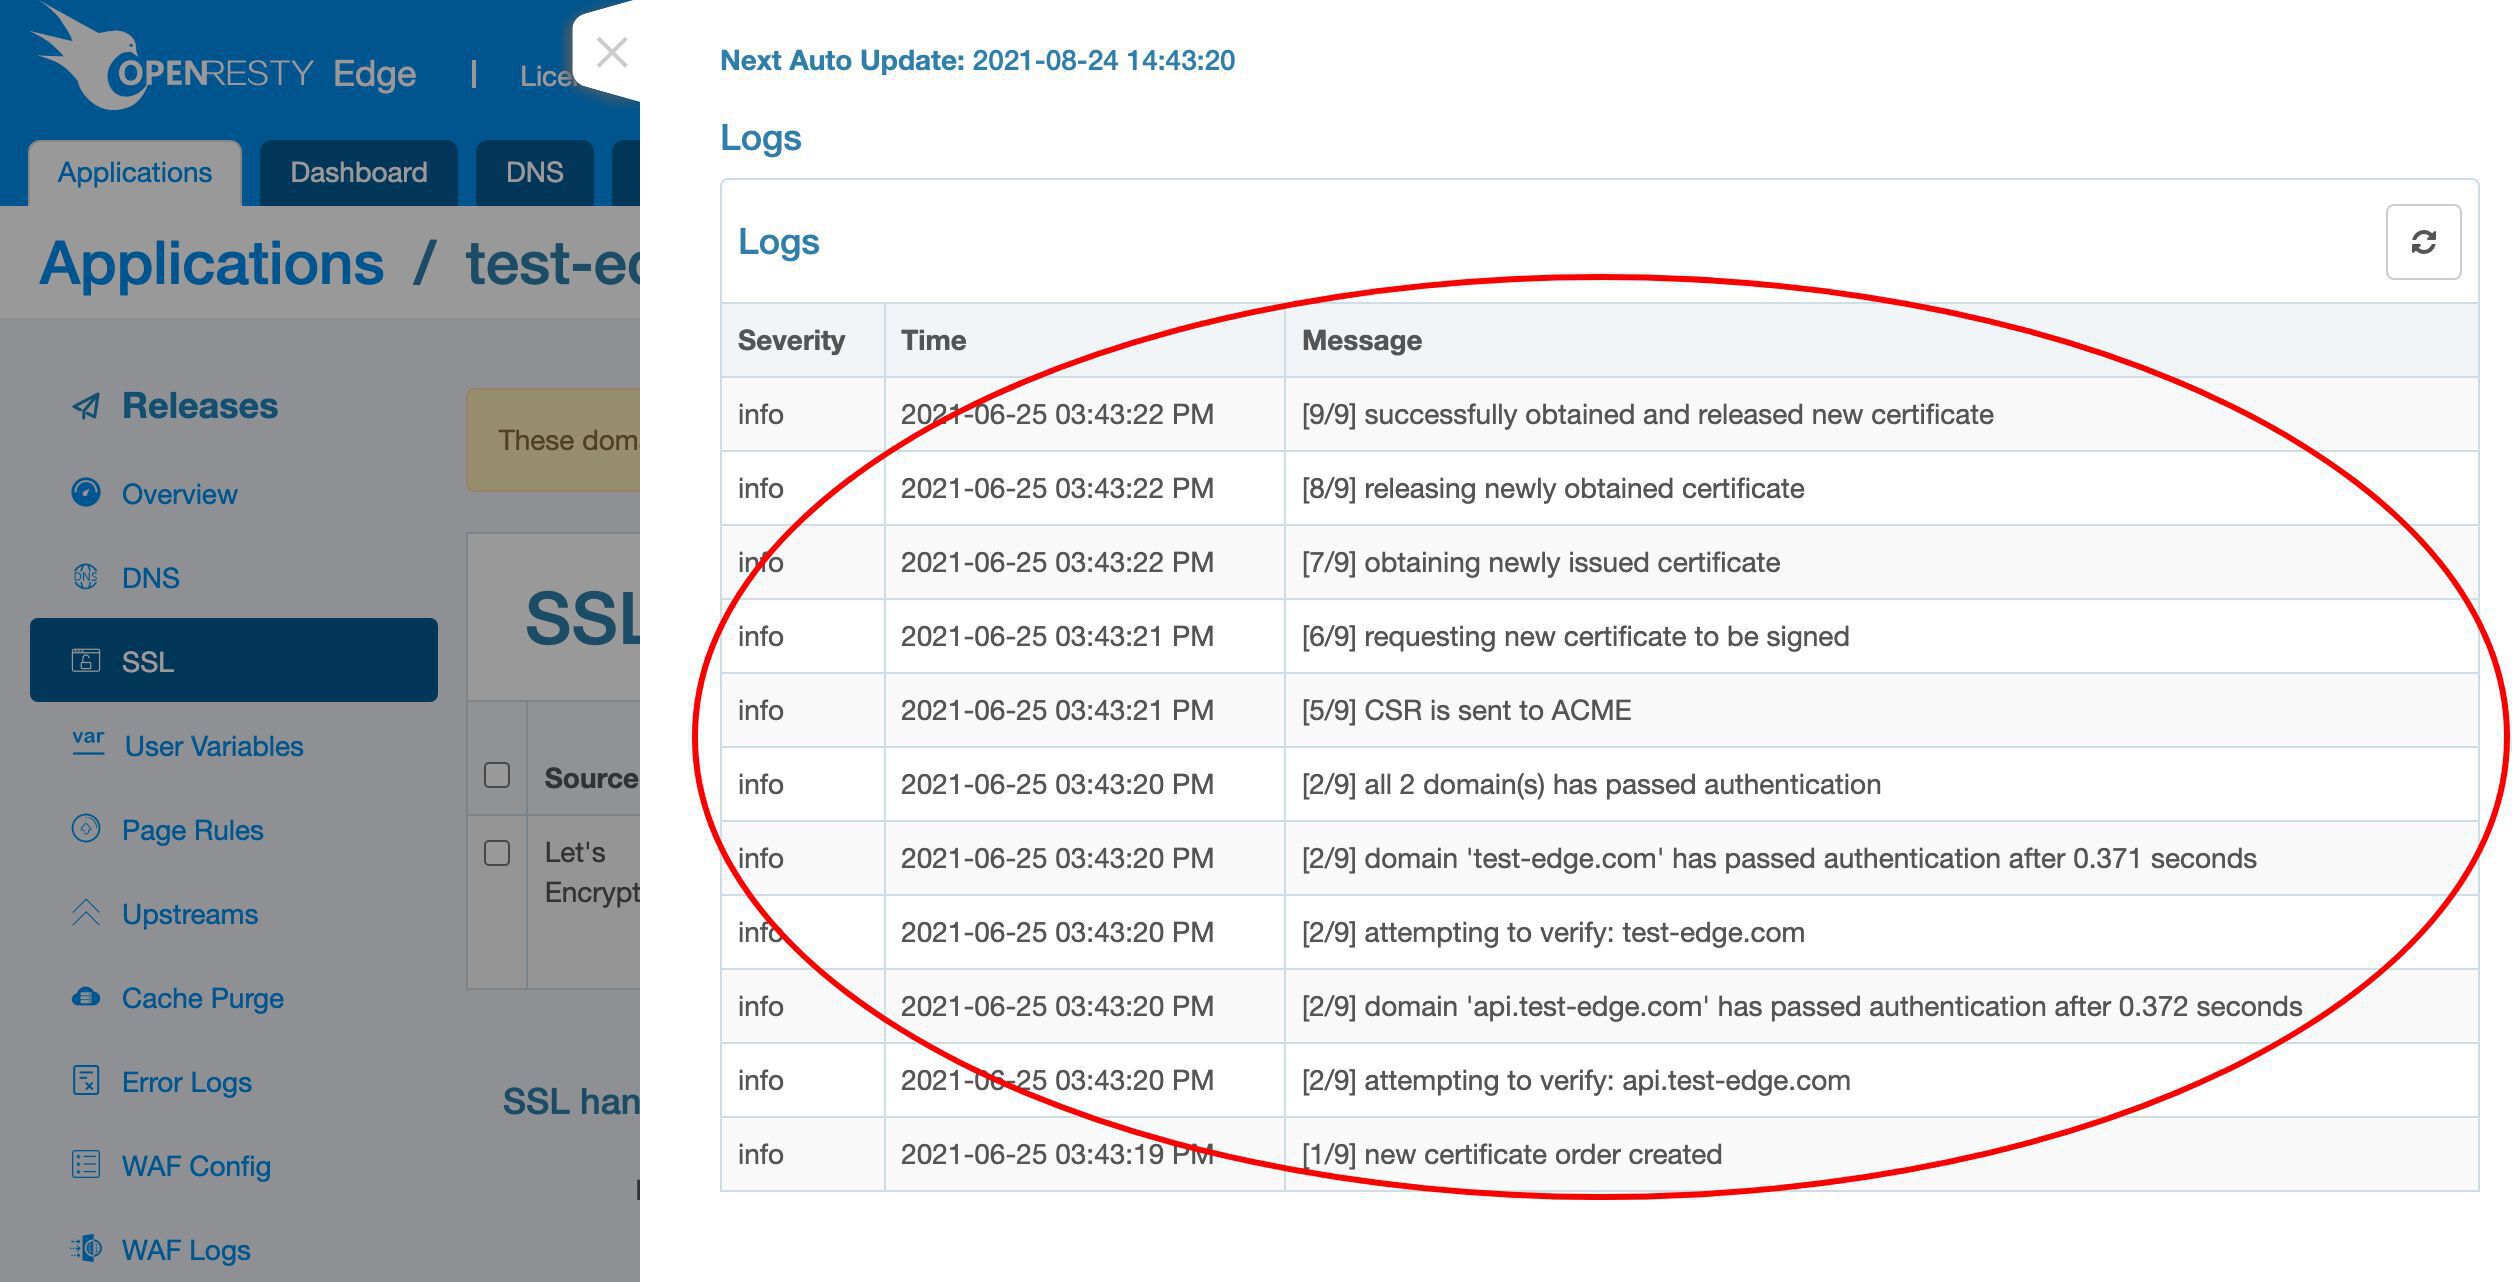
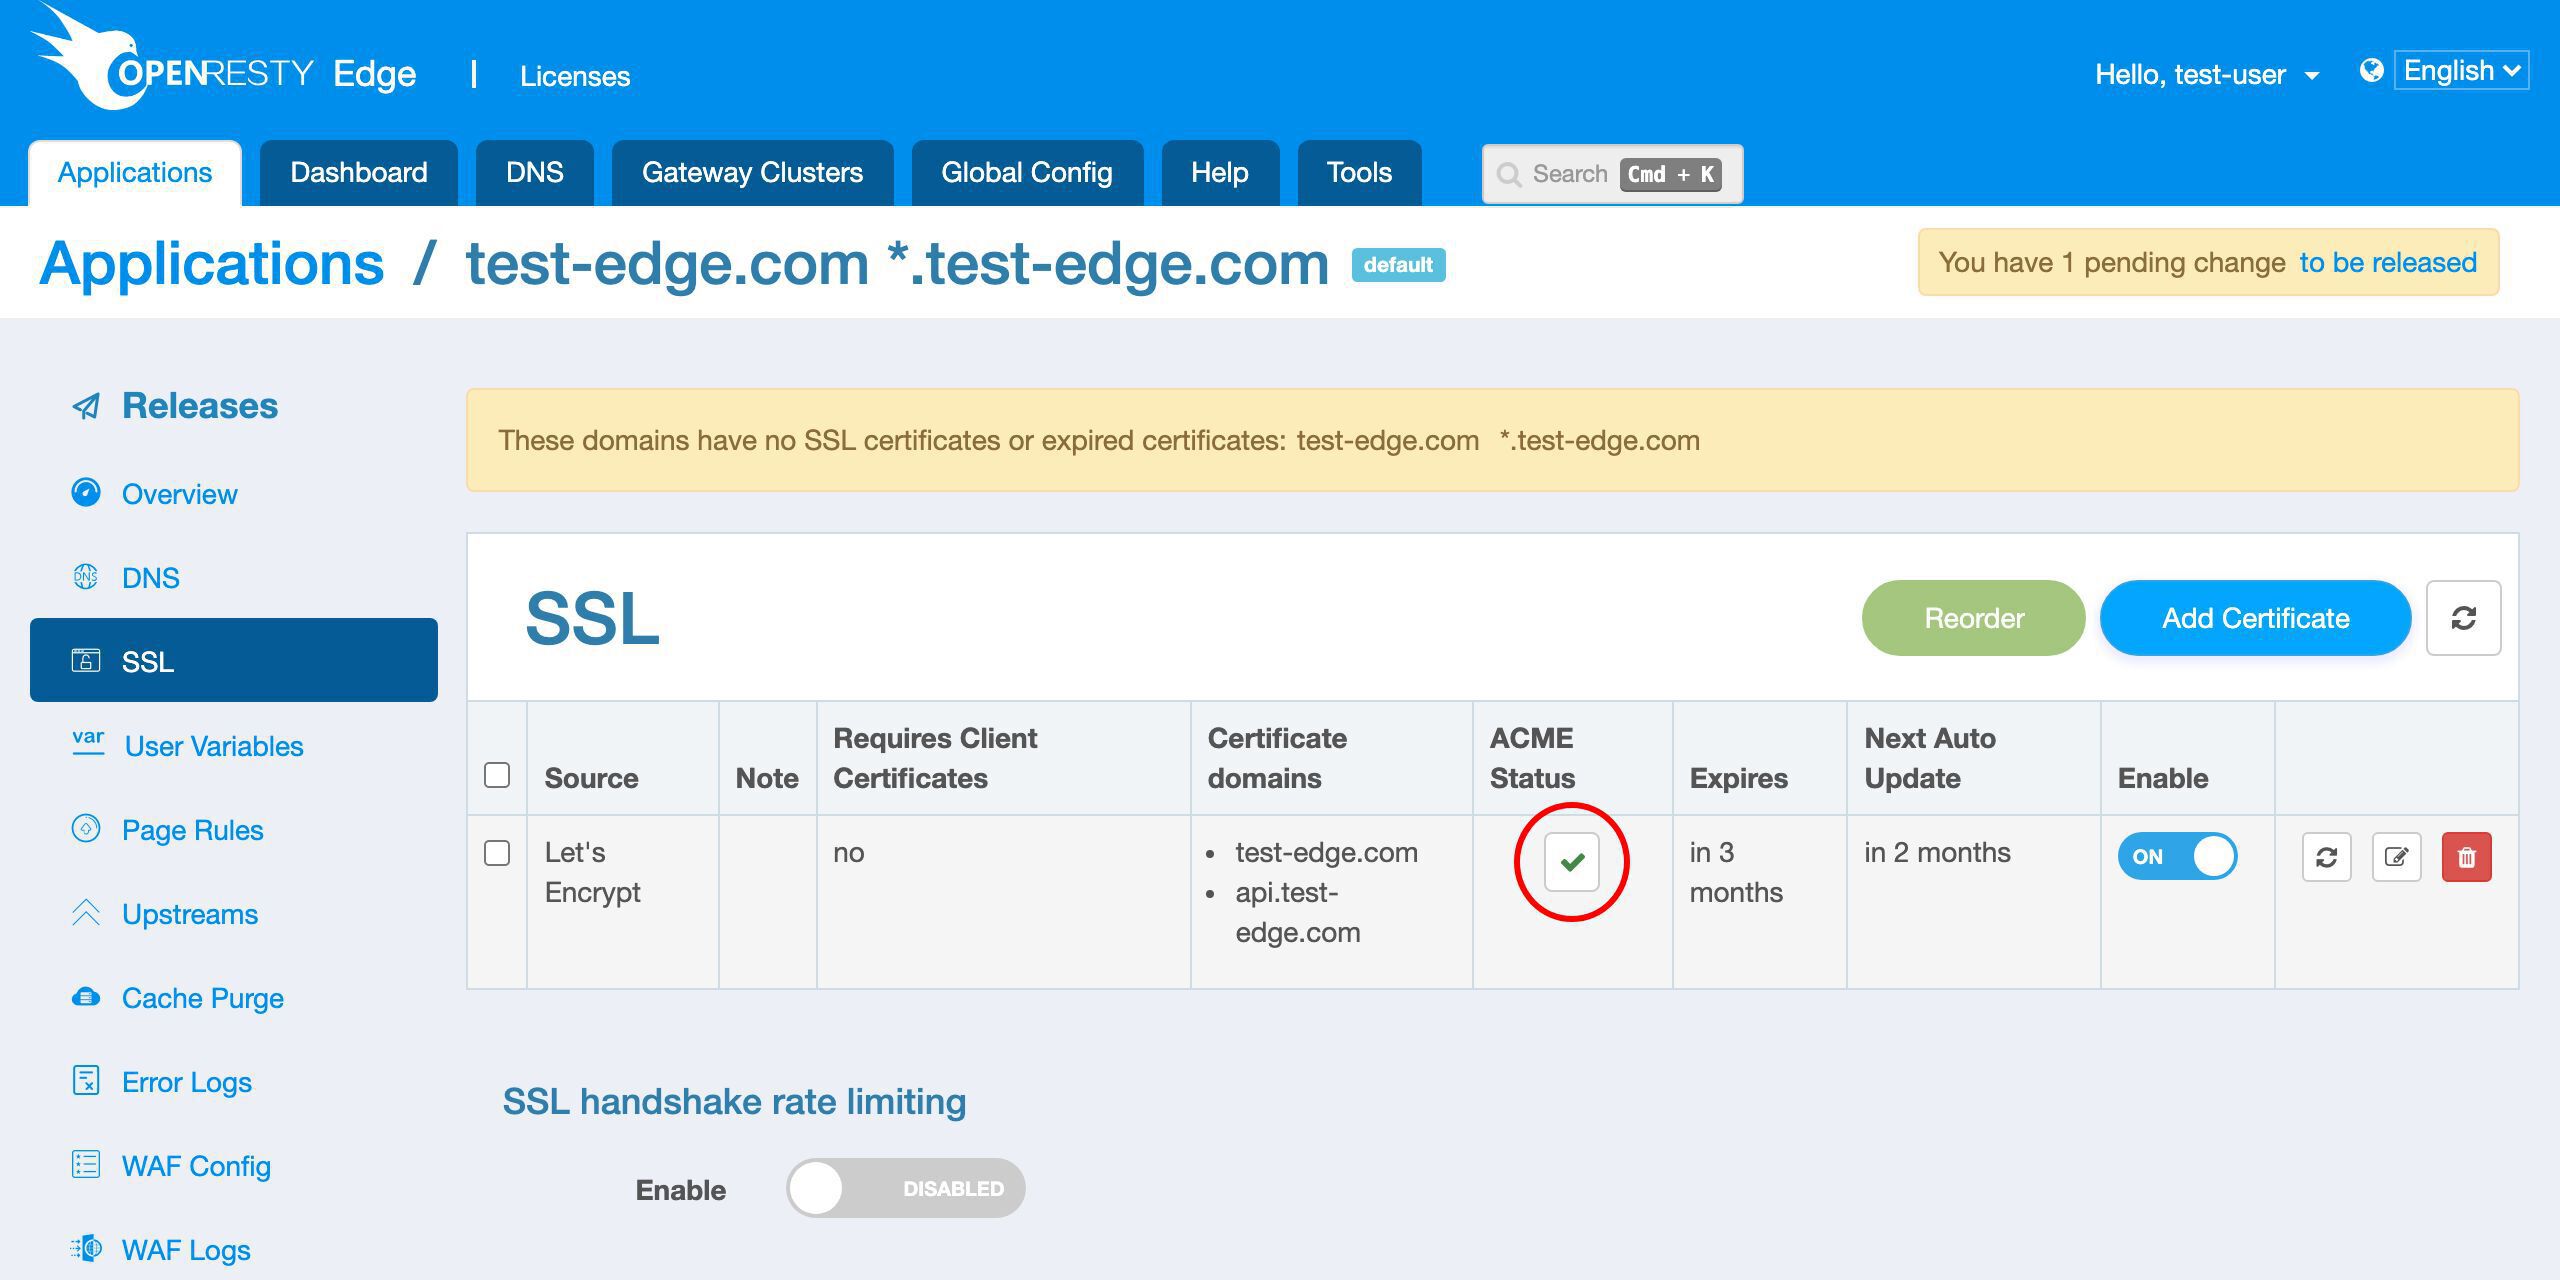
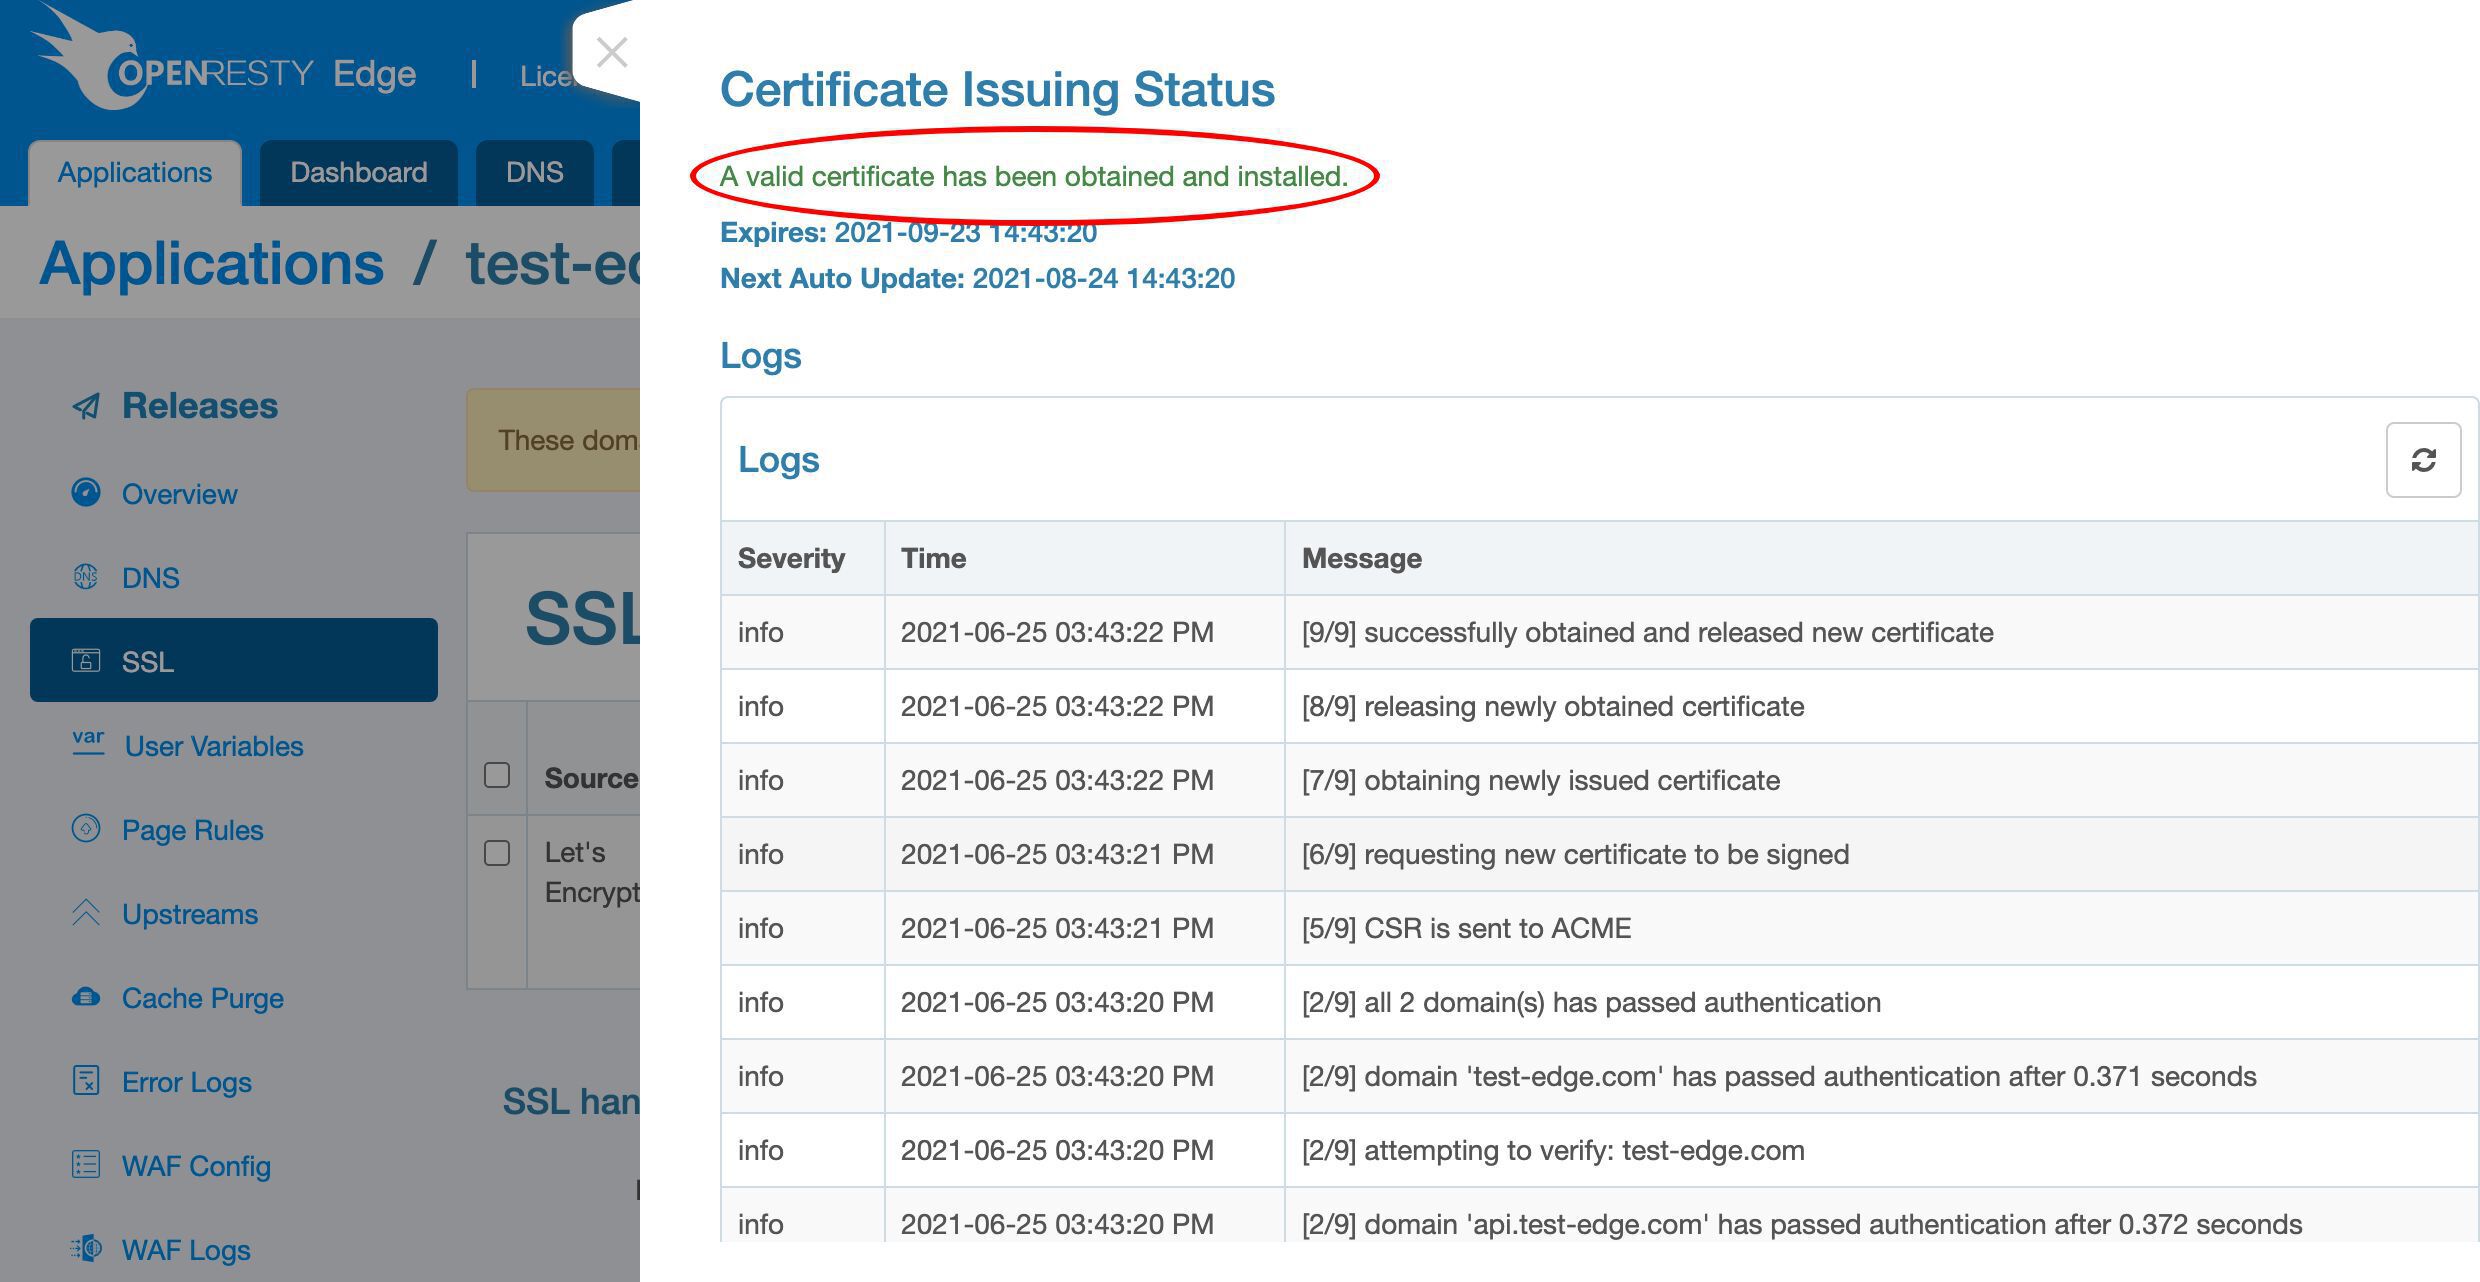
We can see now the certificate has been issued.
Let’s quit this status page.
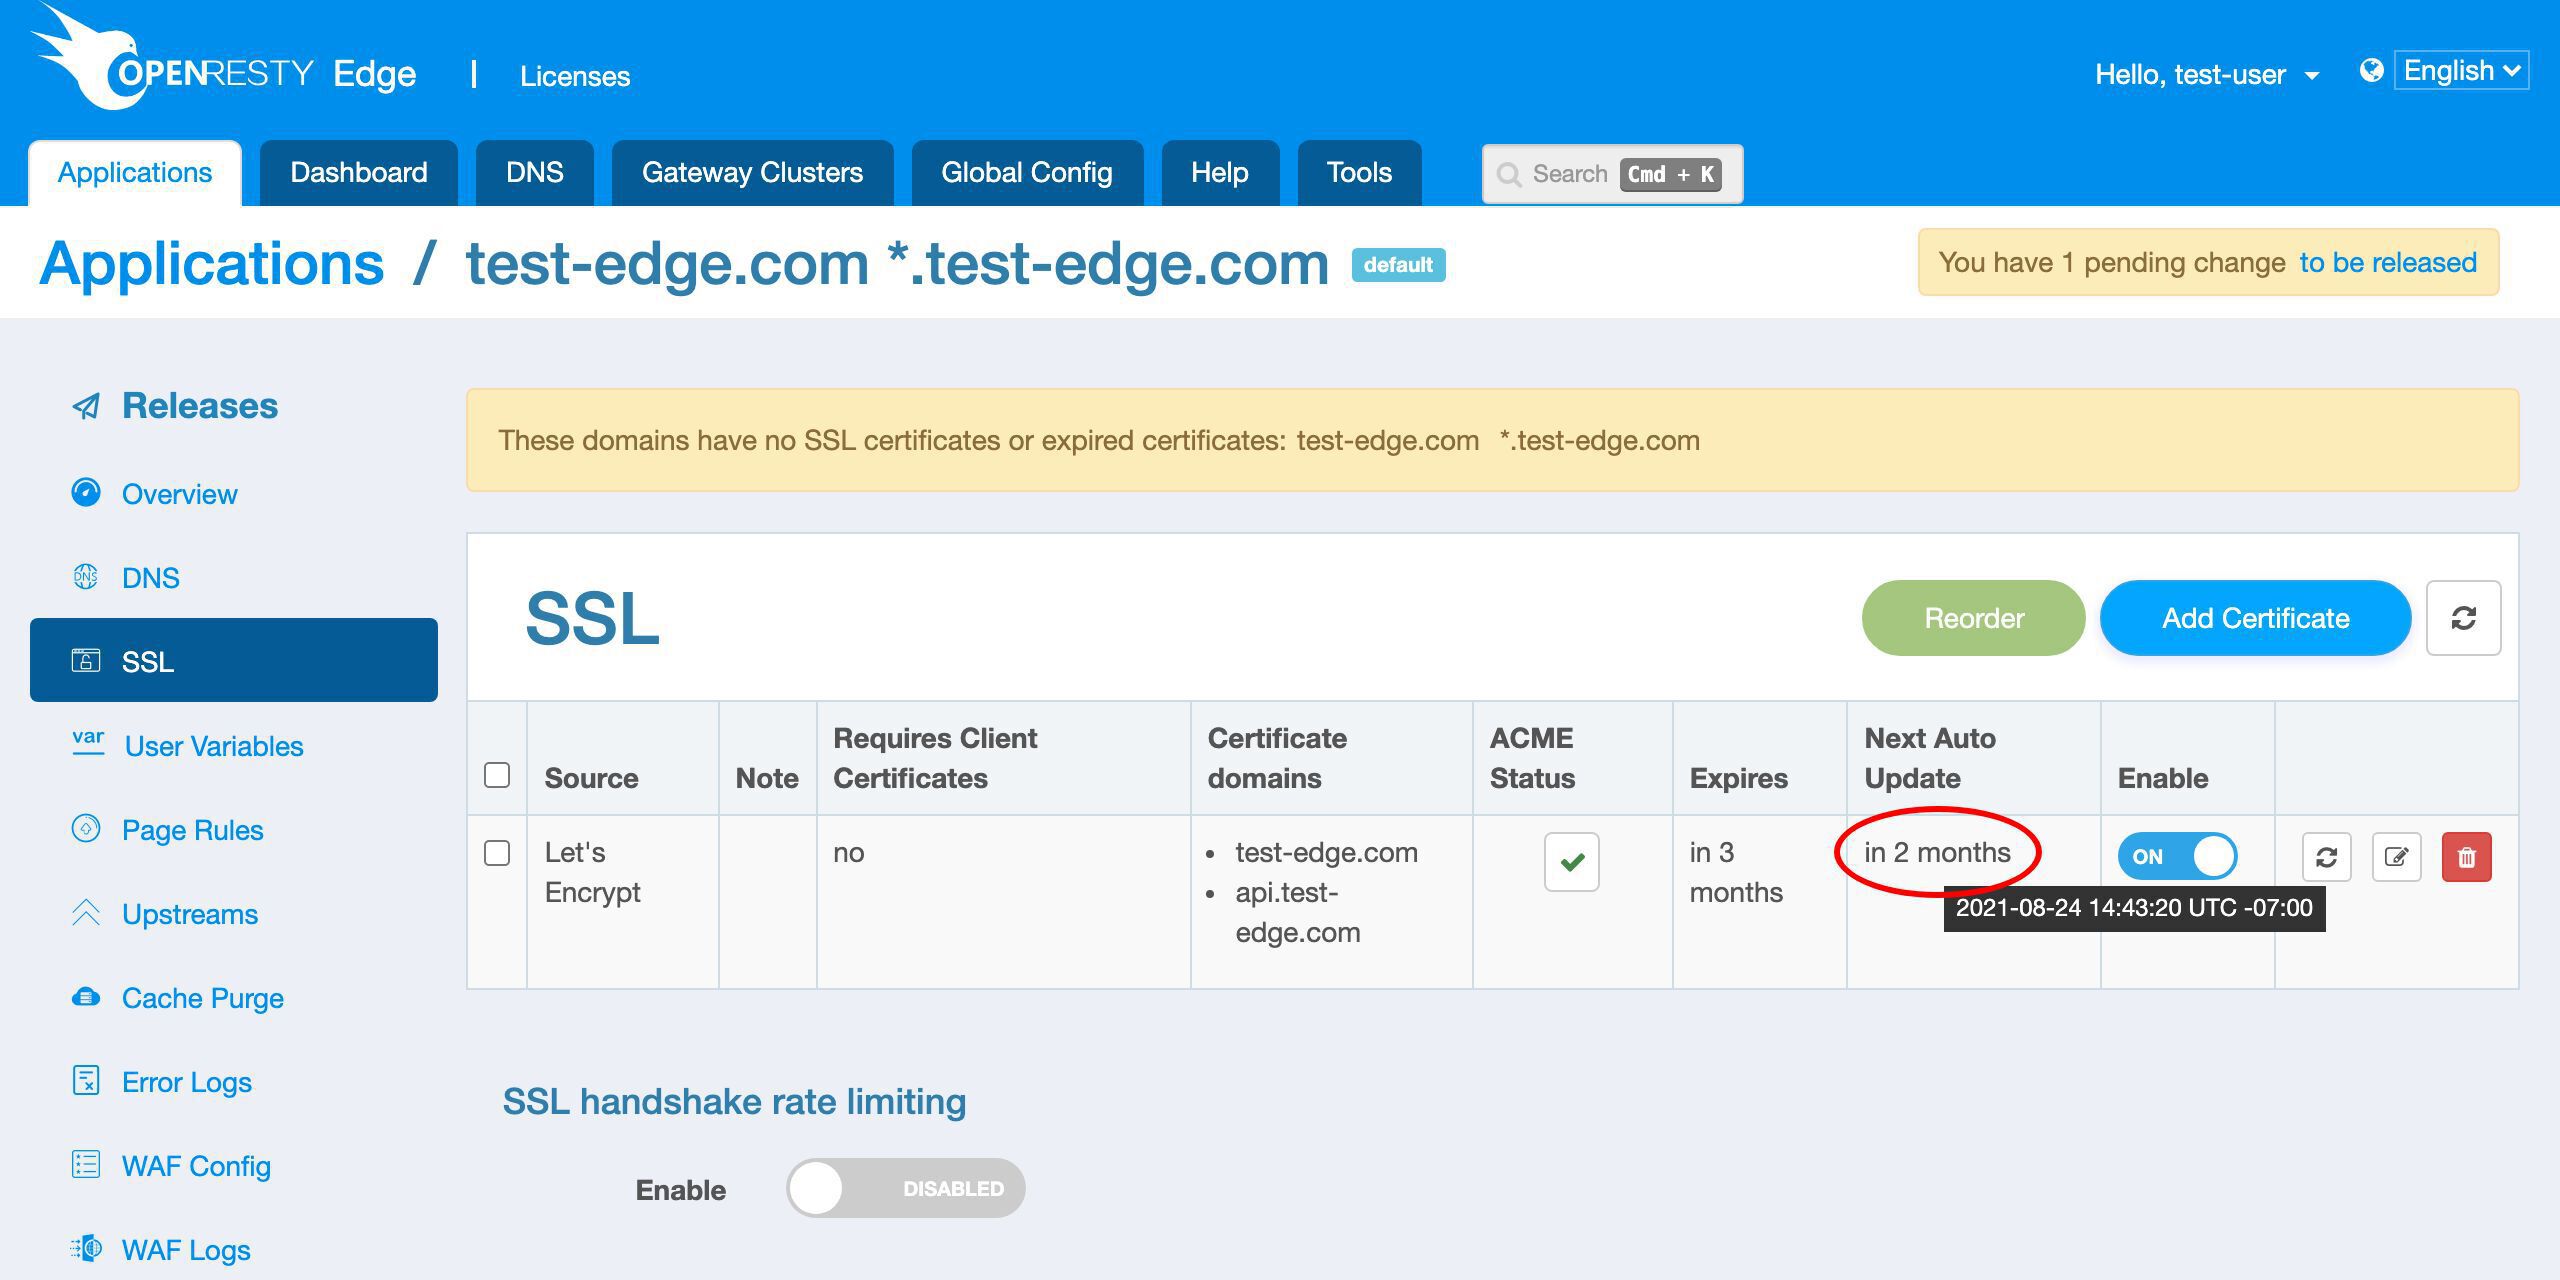
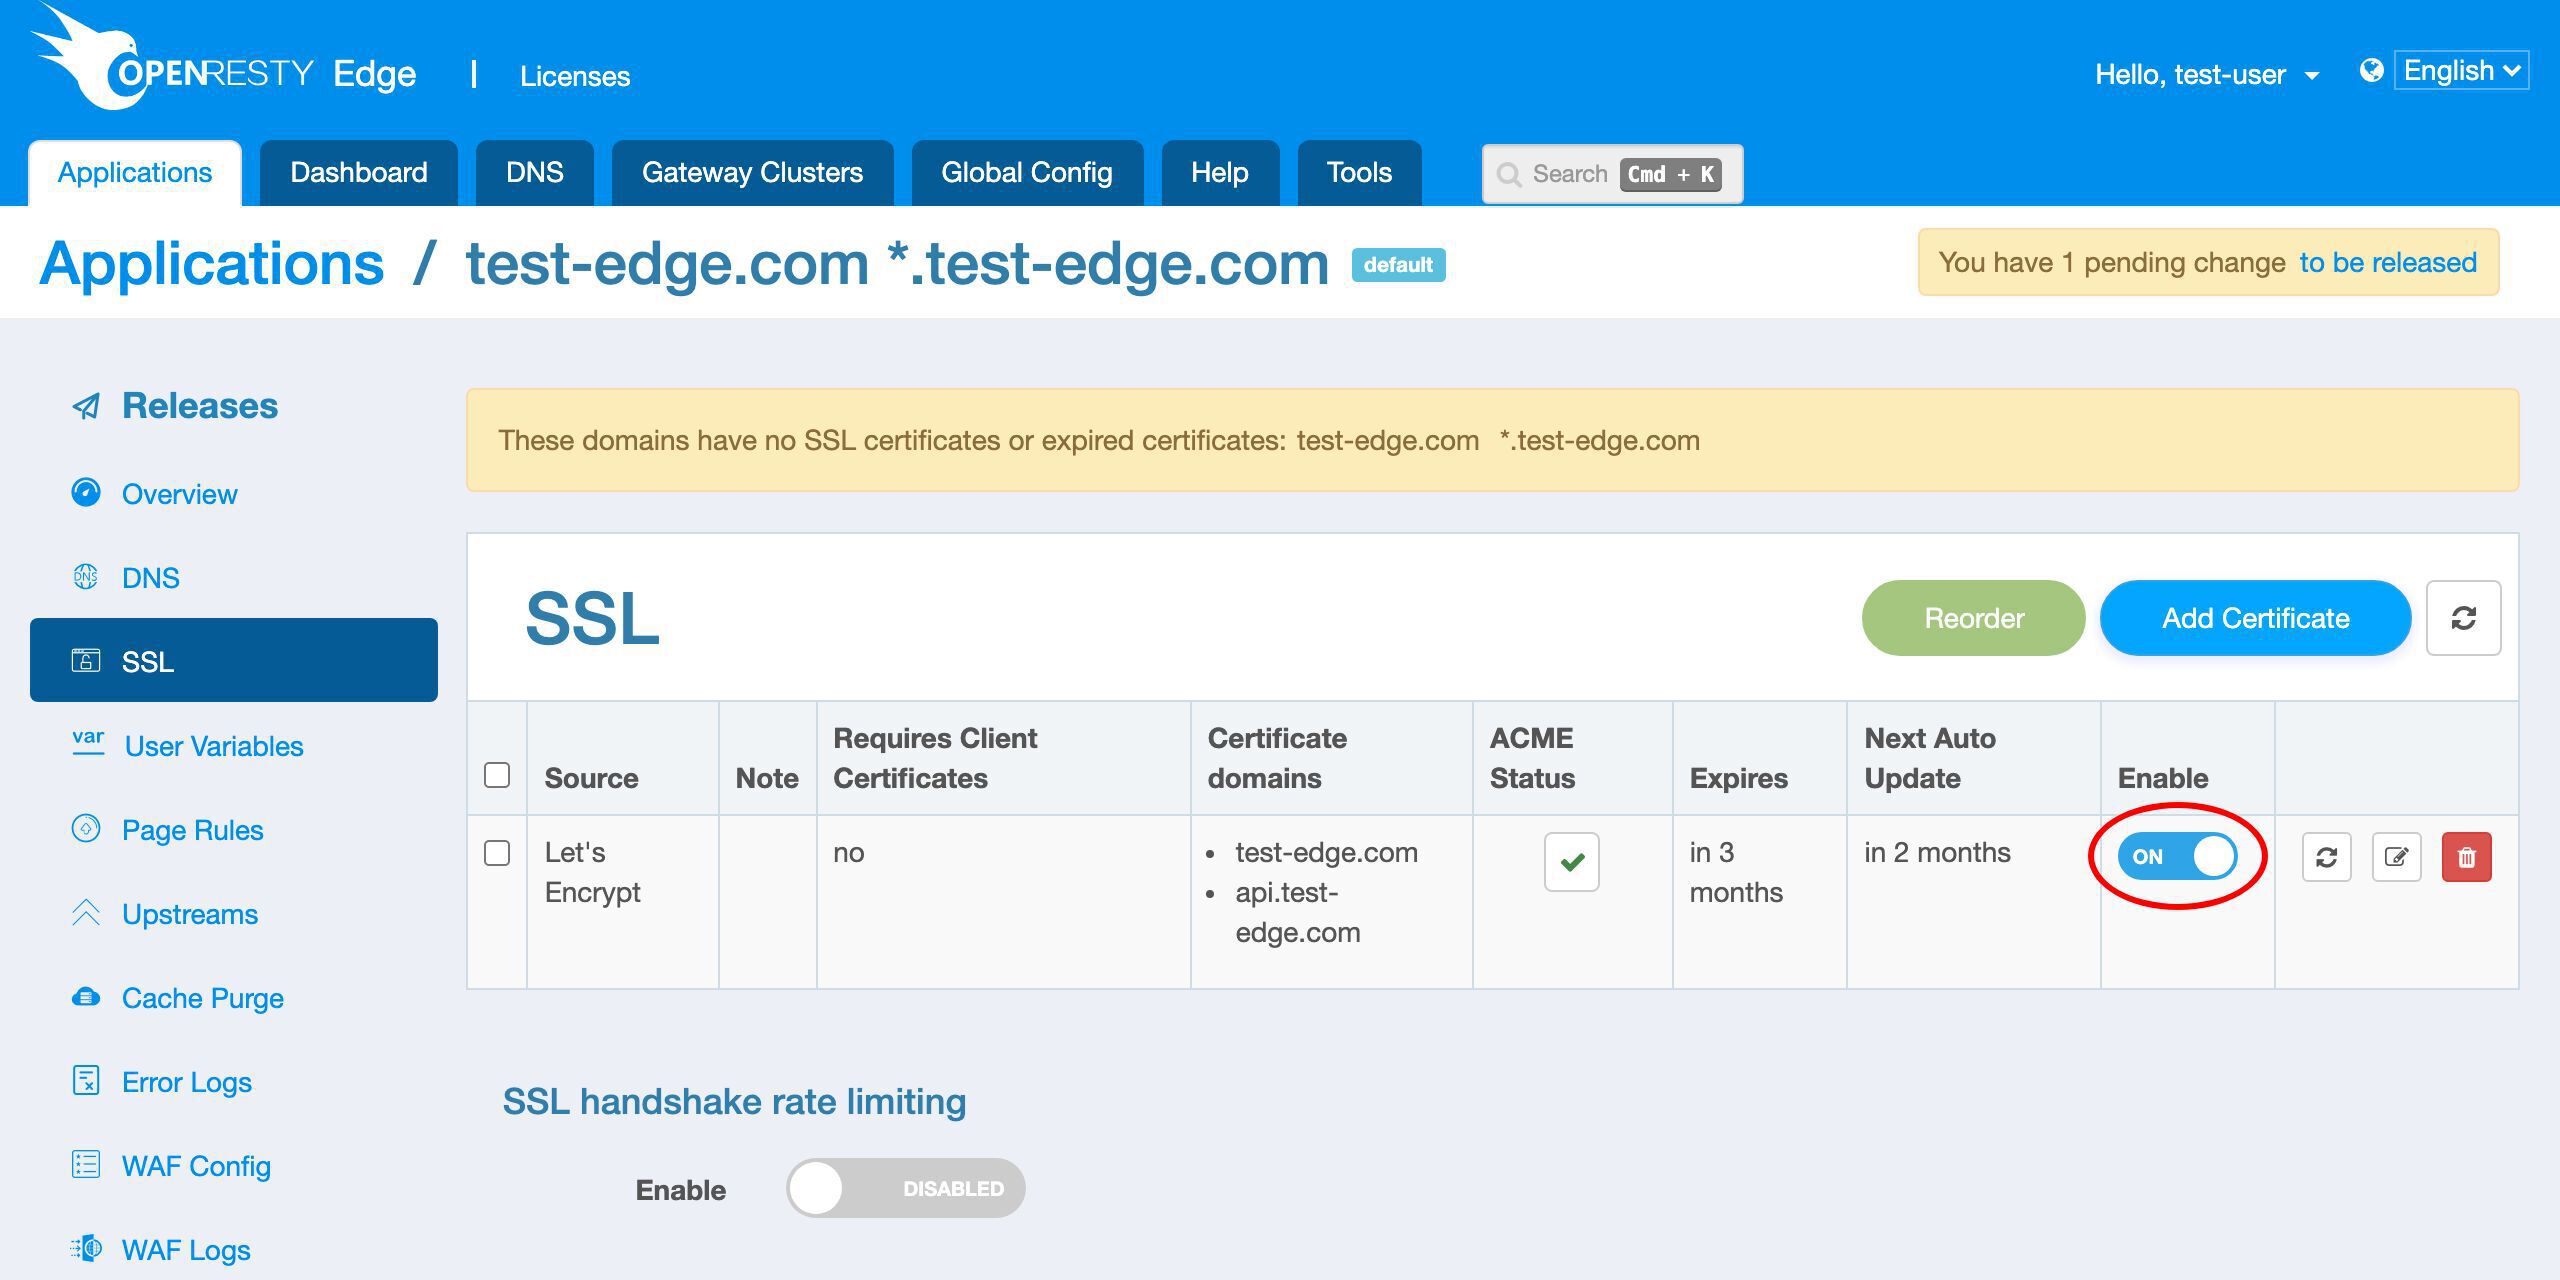
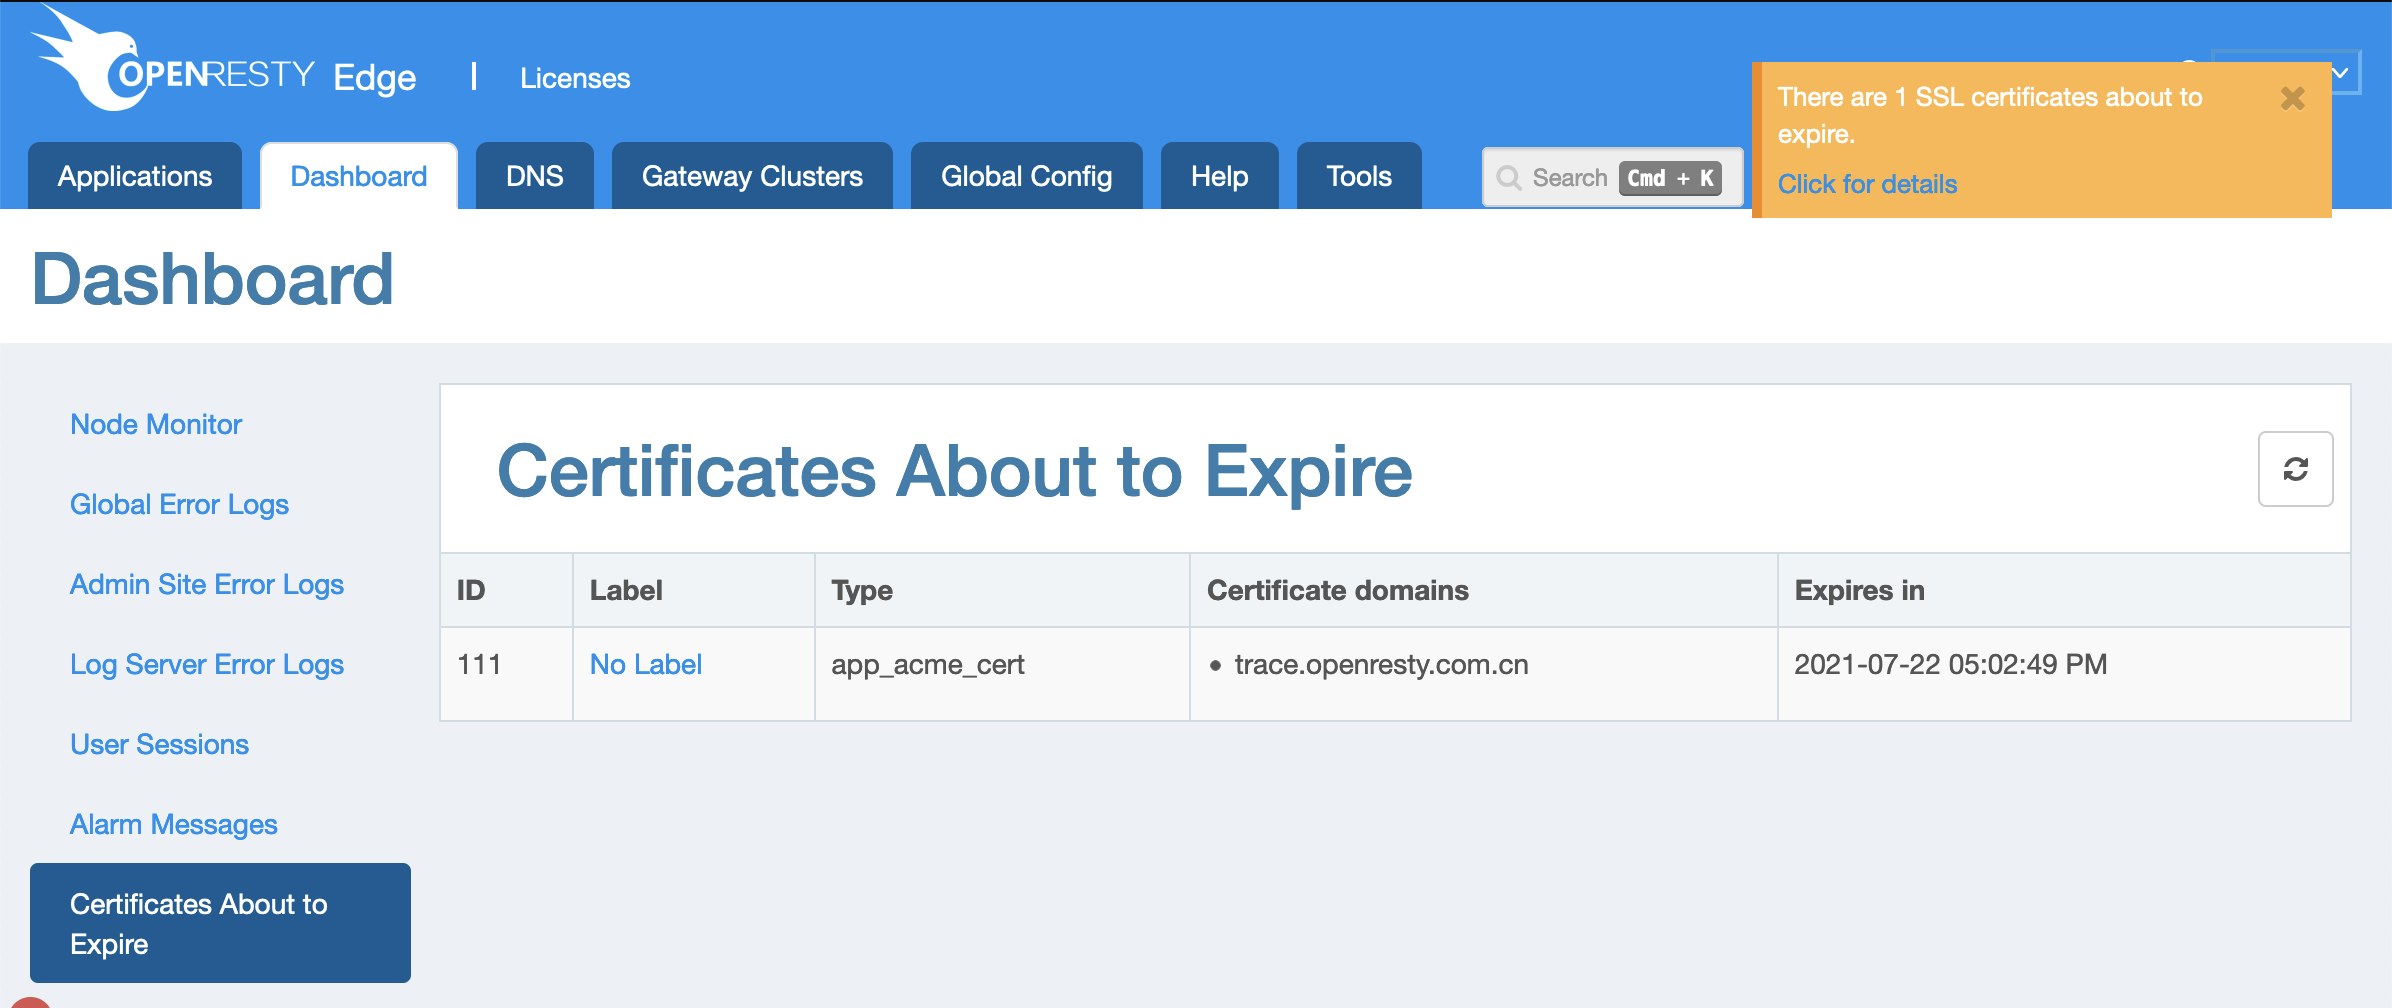
We can view the expiration time of the new certificate in this column.

We can see that the certificate will expire in 3 months.
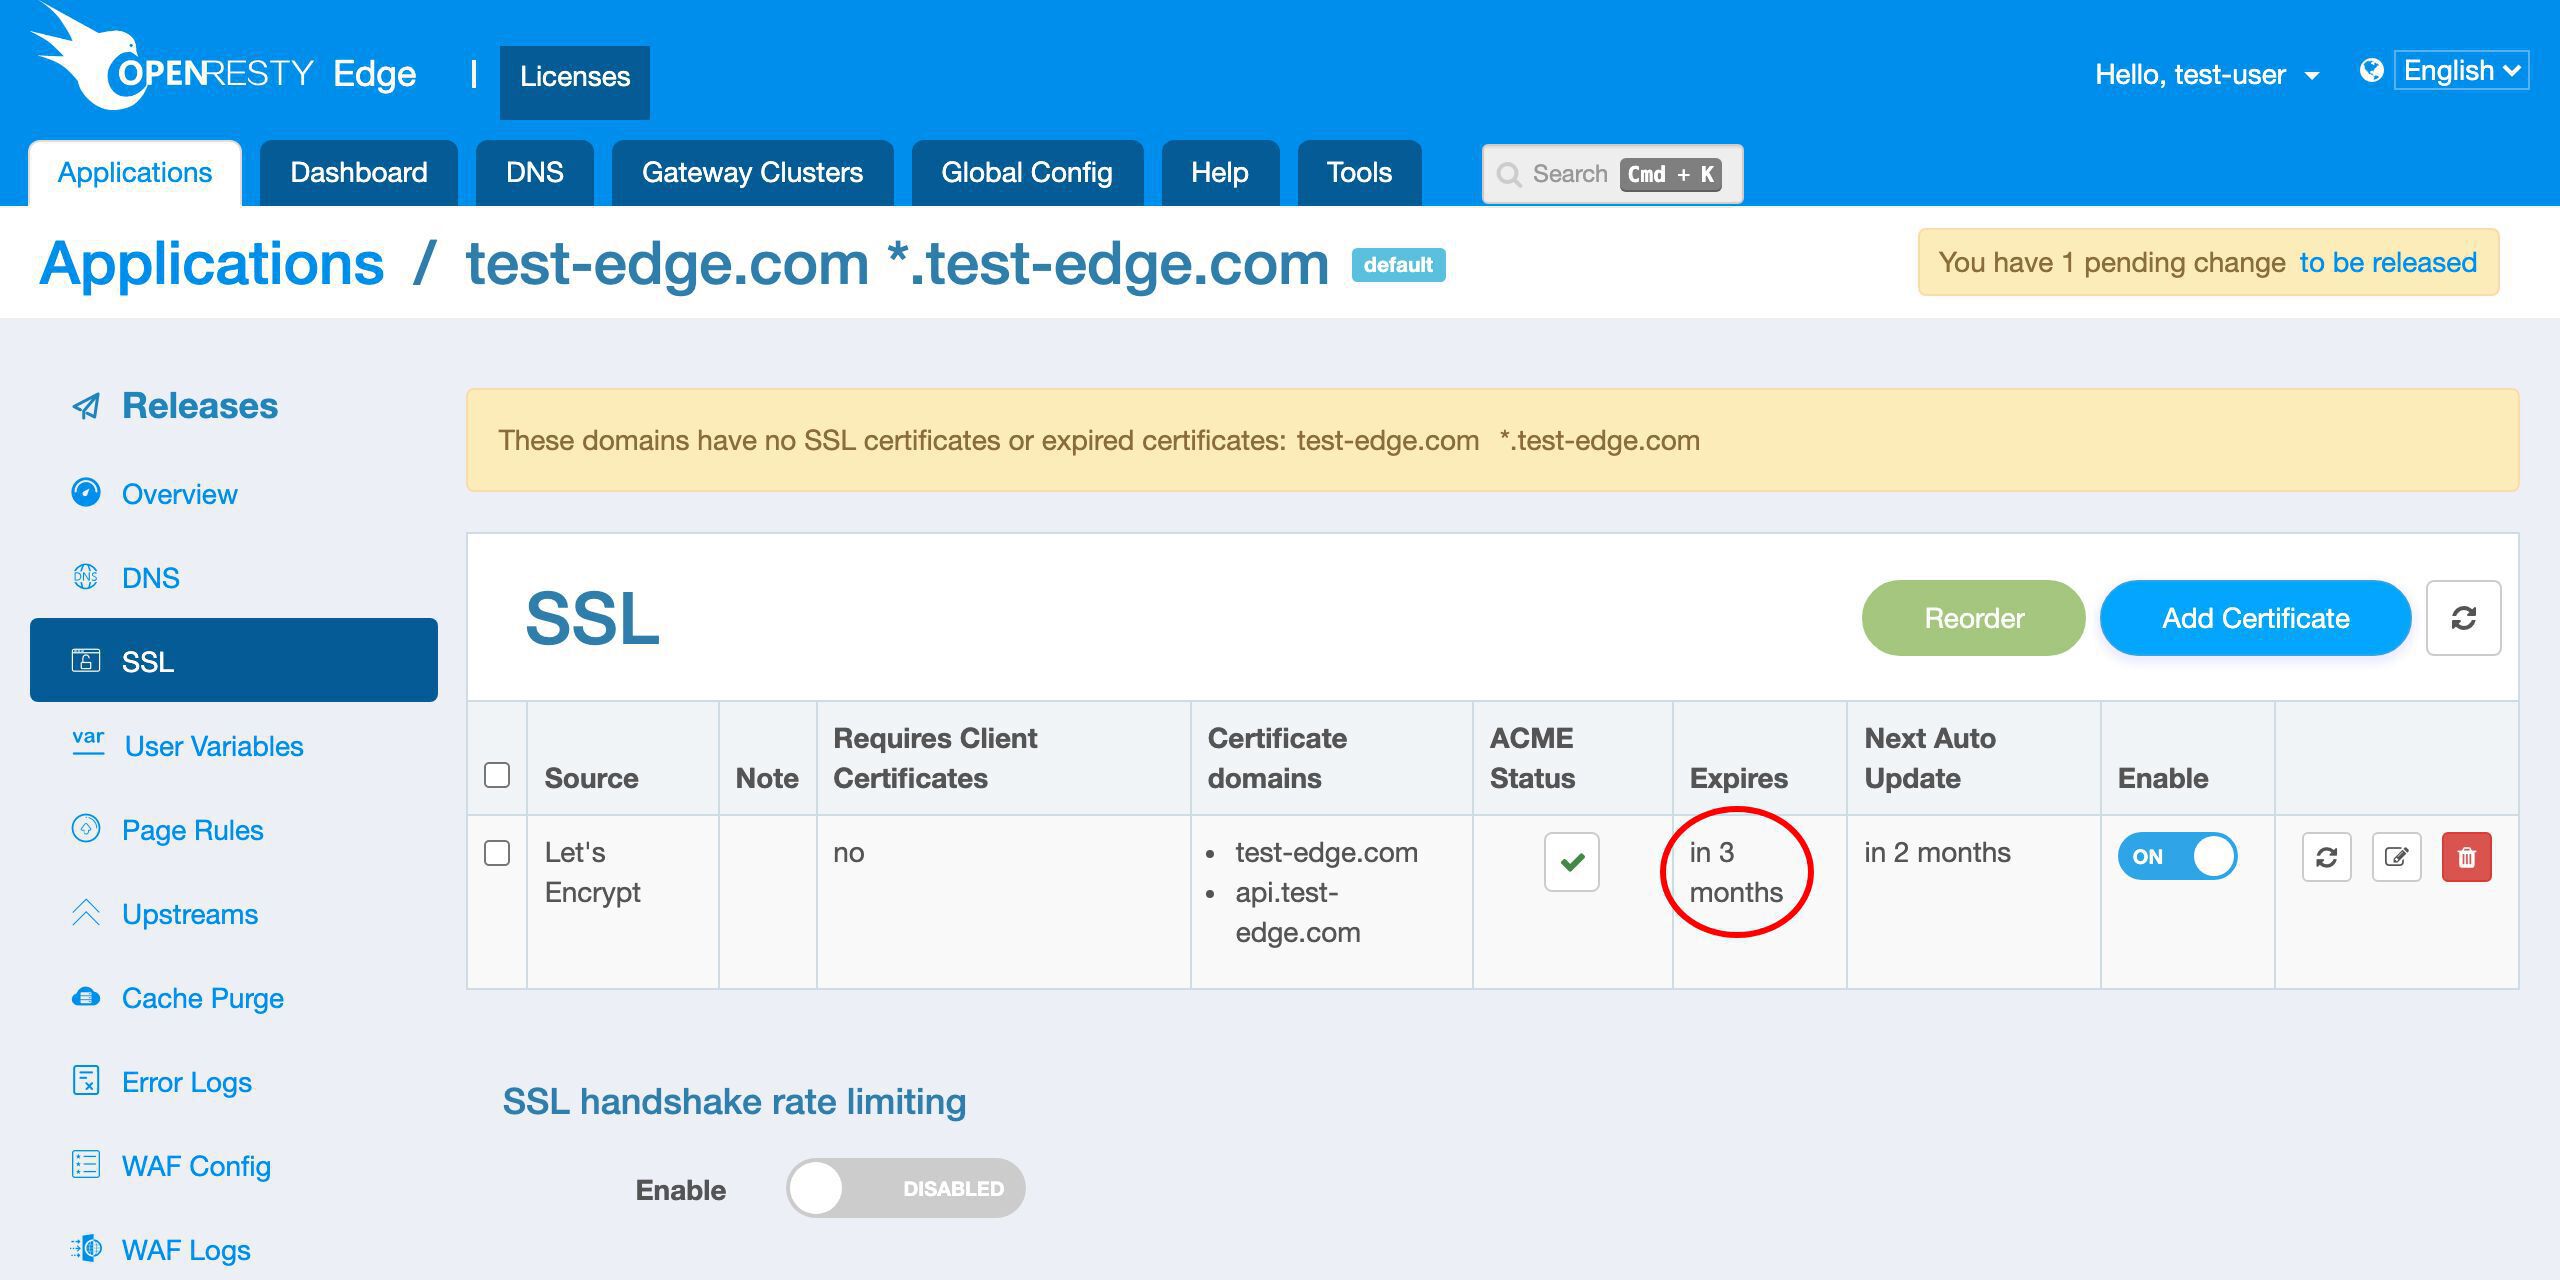
And OpenResty Edge will automatically update the certificate when it is about to expire in the future.
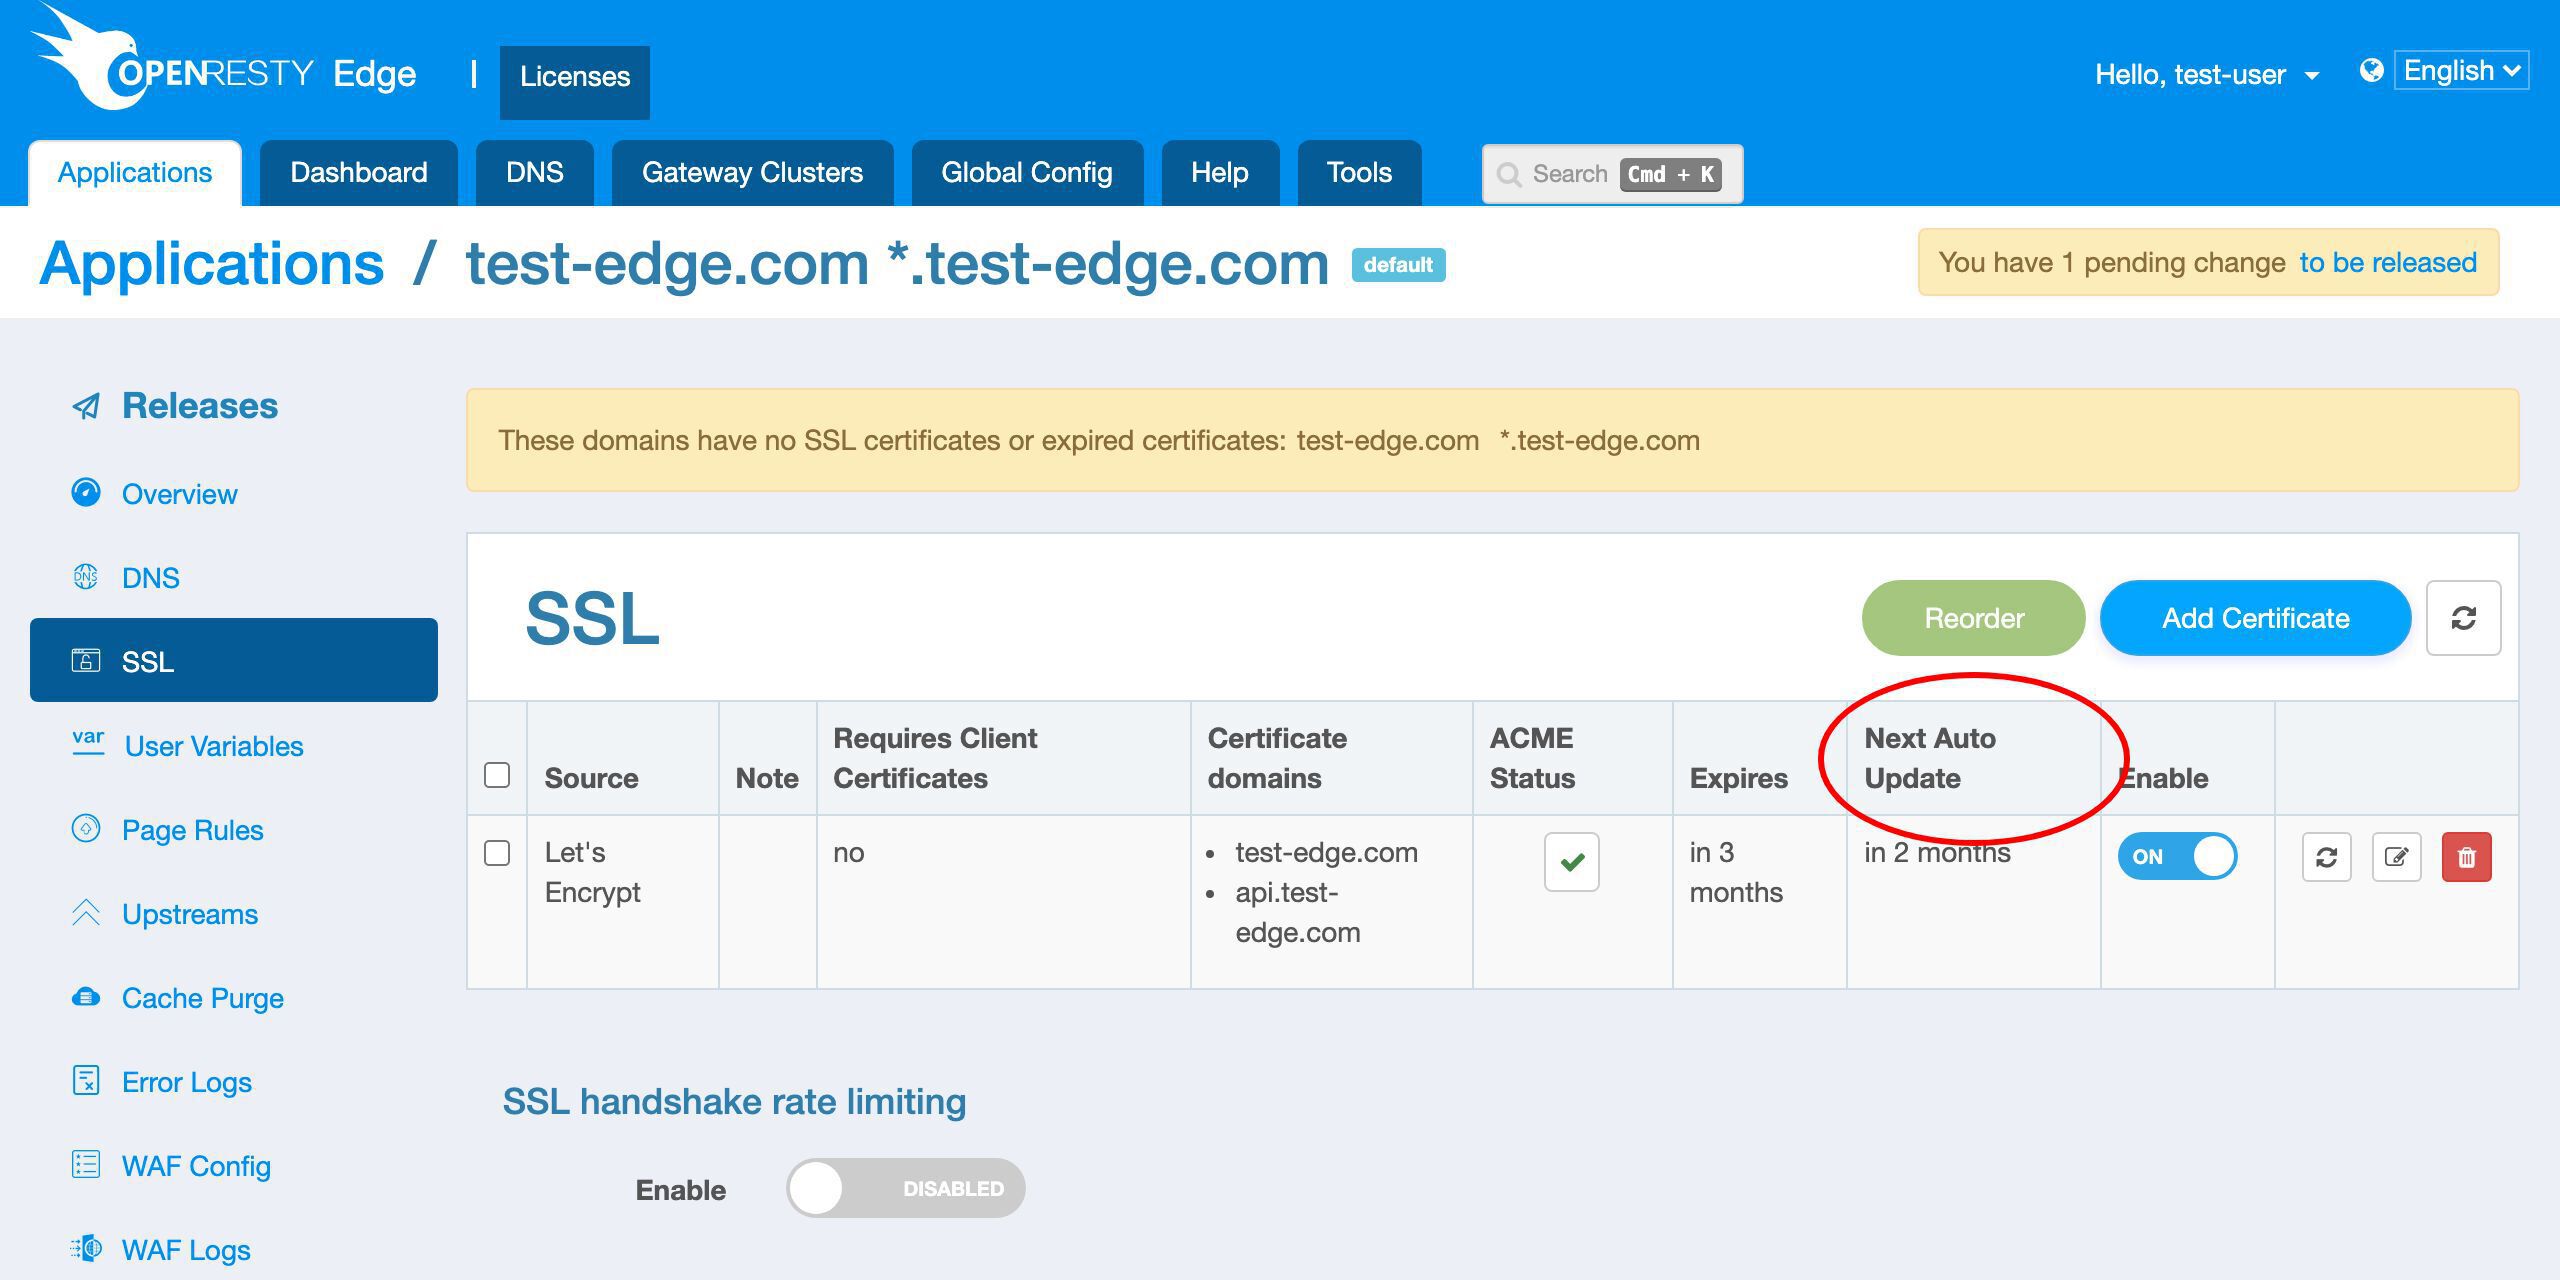
We can see the scheduled next update time will be in 2 months. That is, one month before it expires.
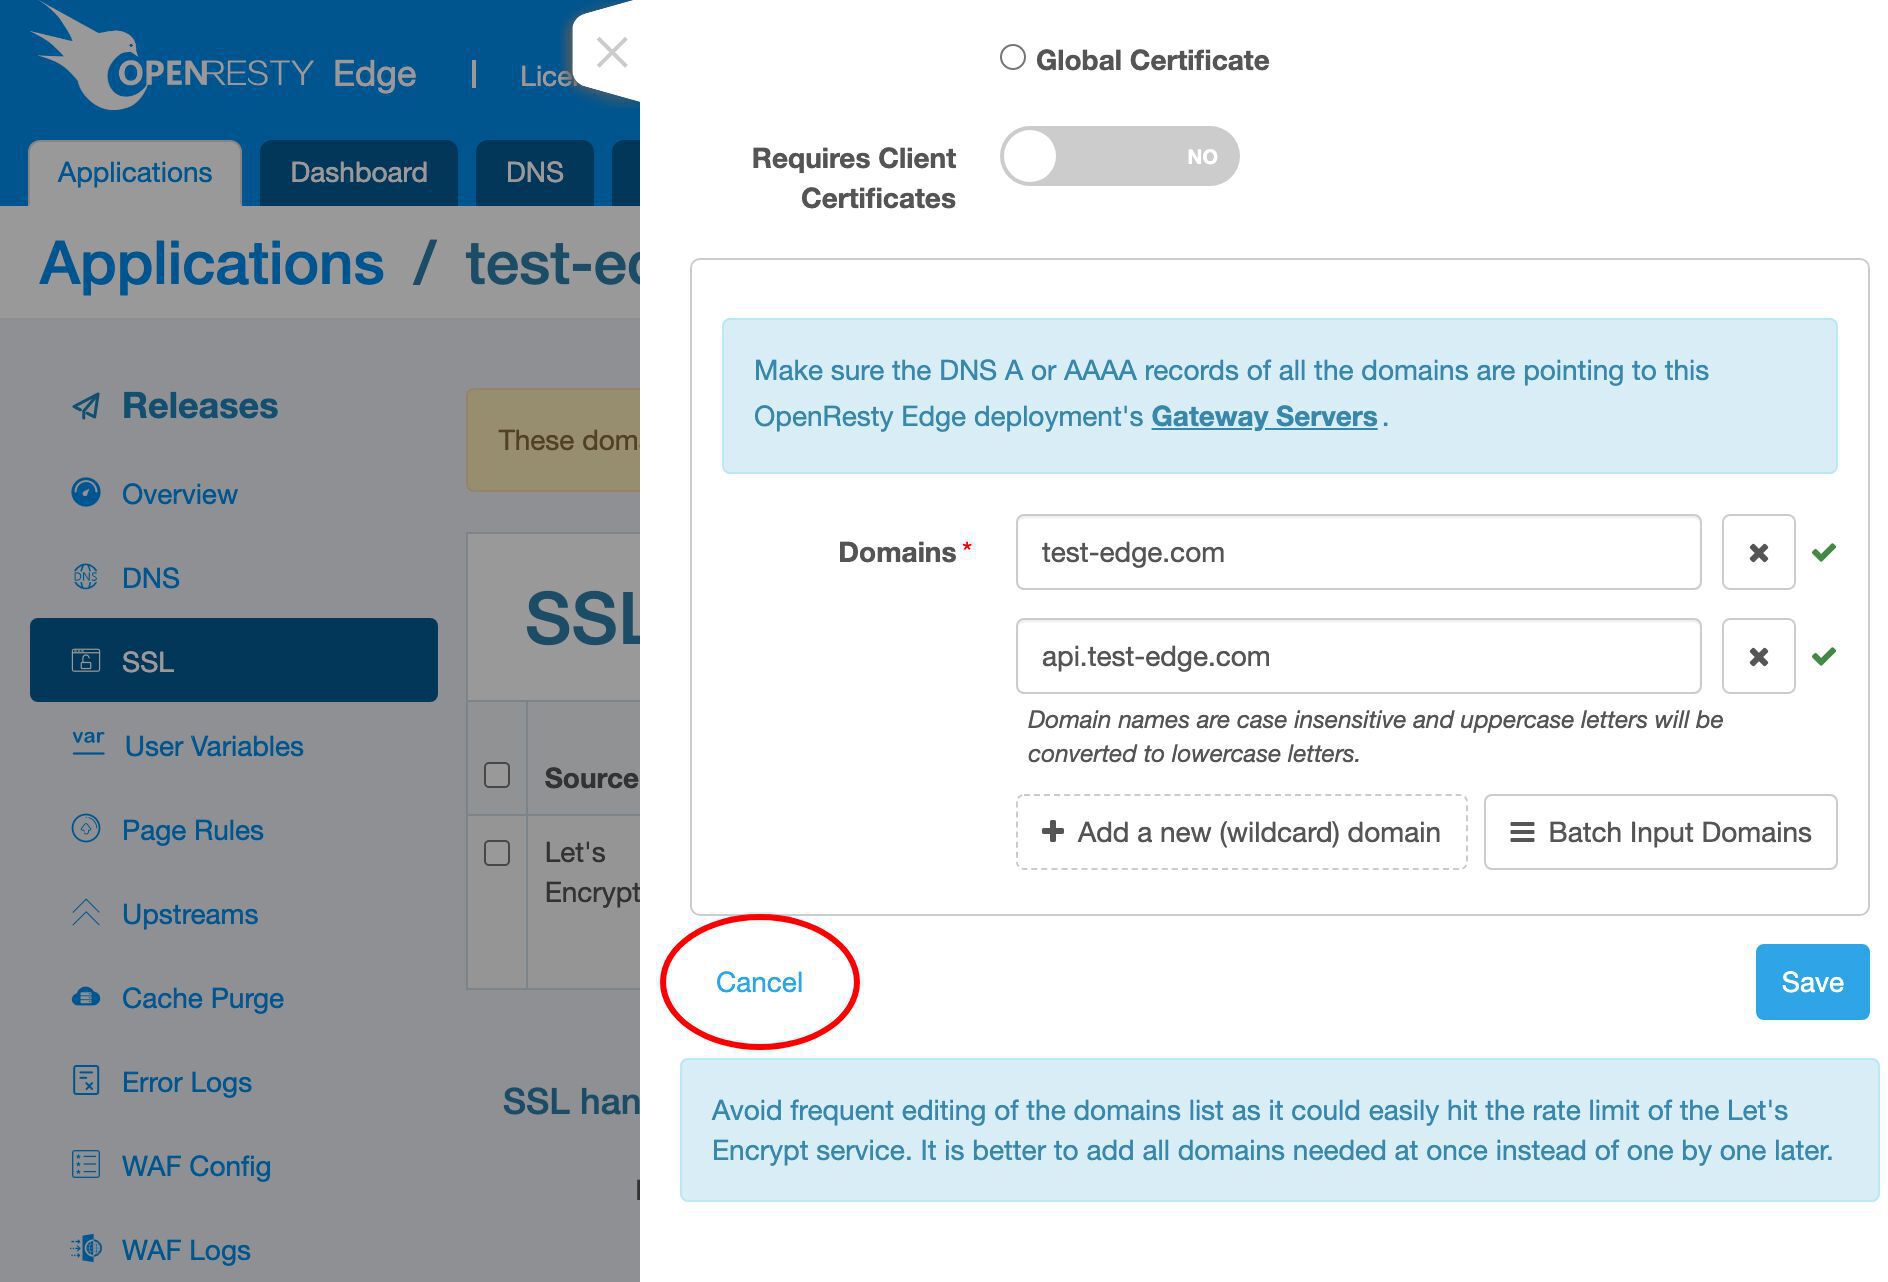
We can also edit an existing Let’s Encrypt certificate.

We don’t make any changes here.
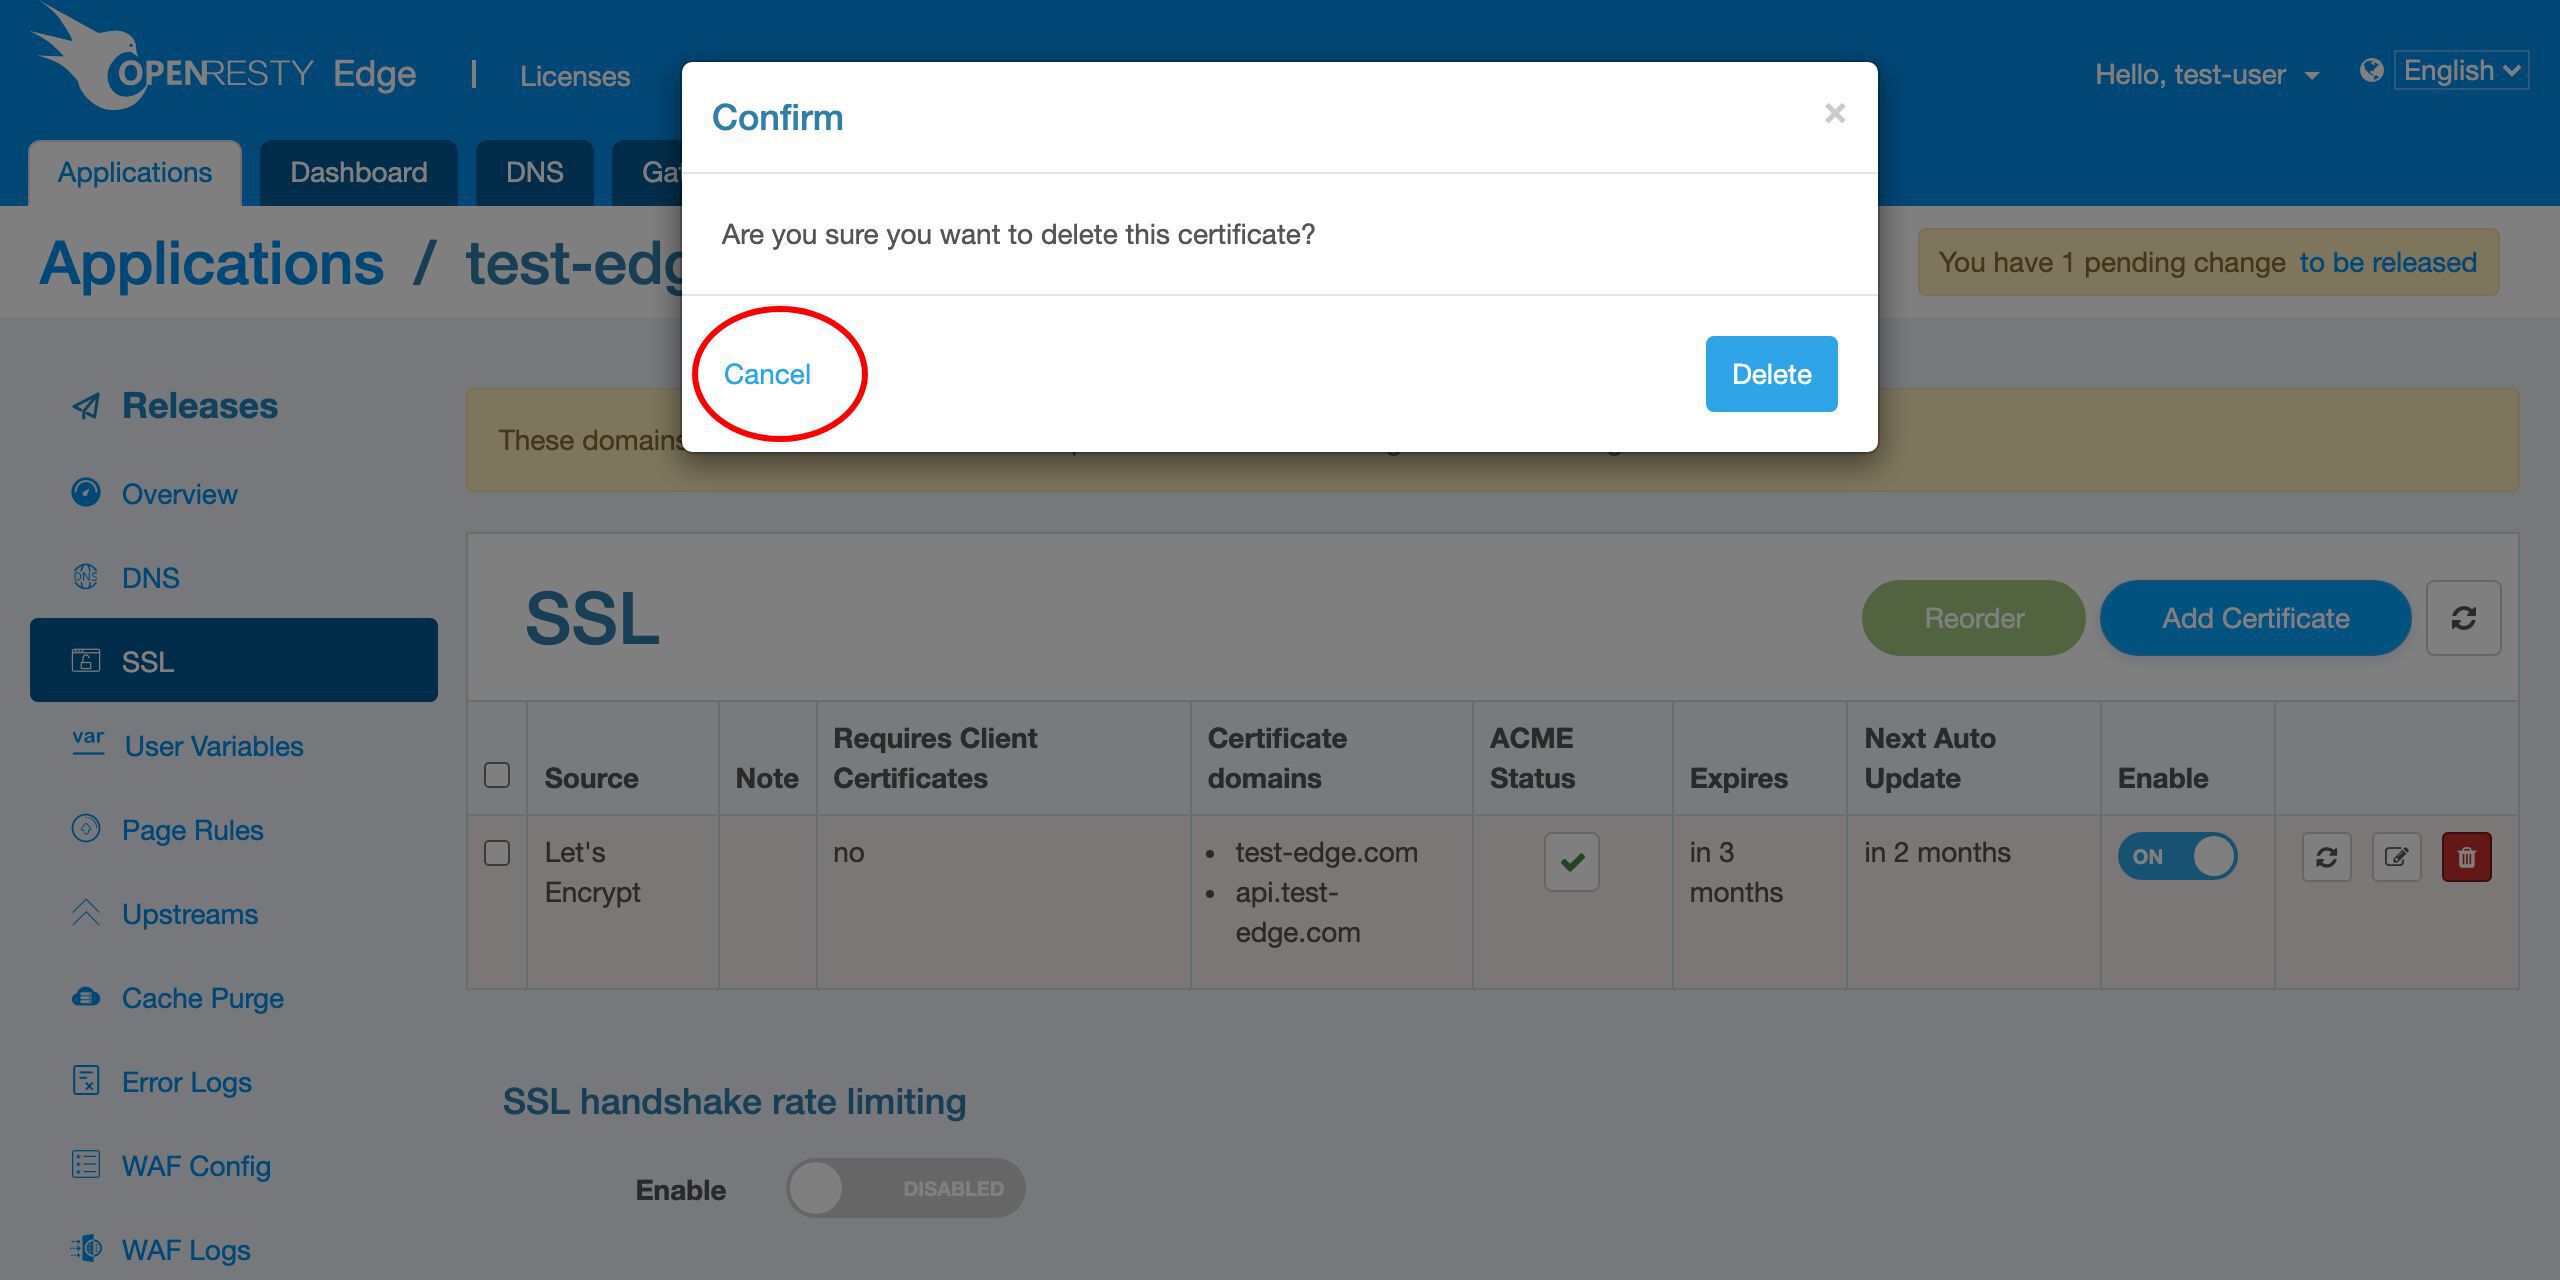
Or we can delete this certificate.
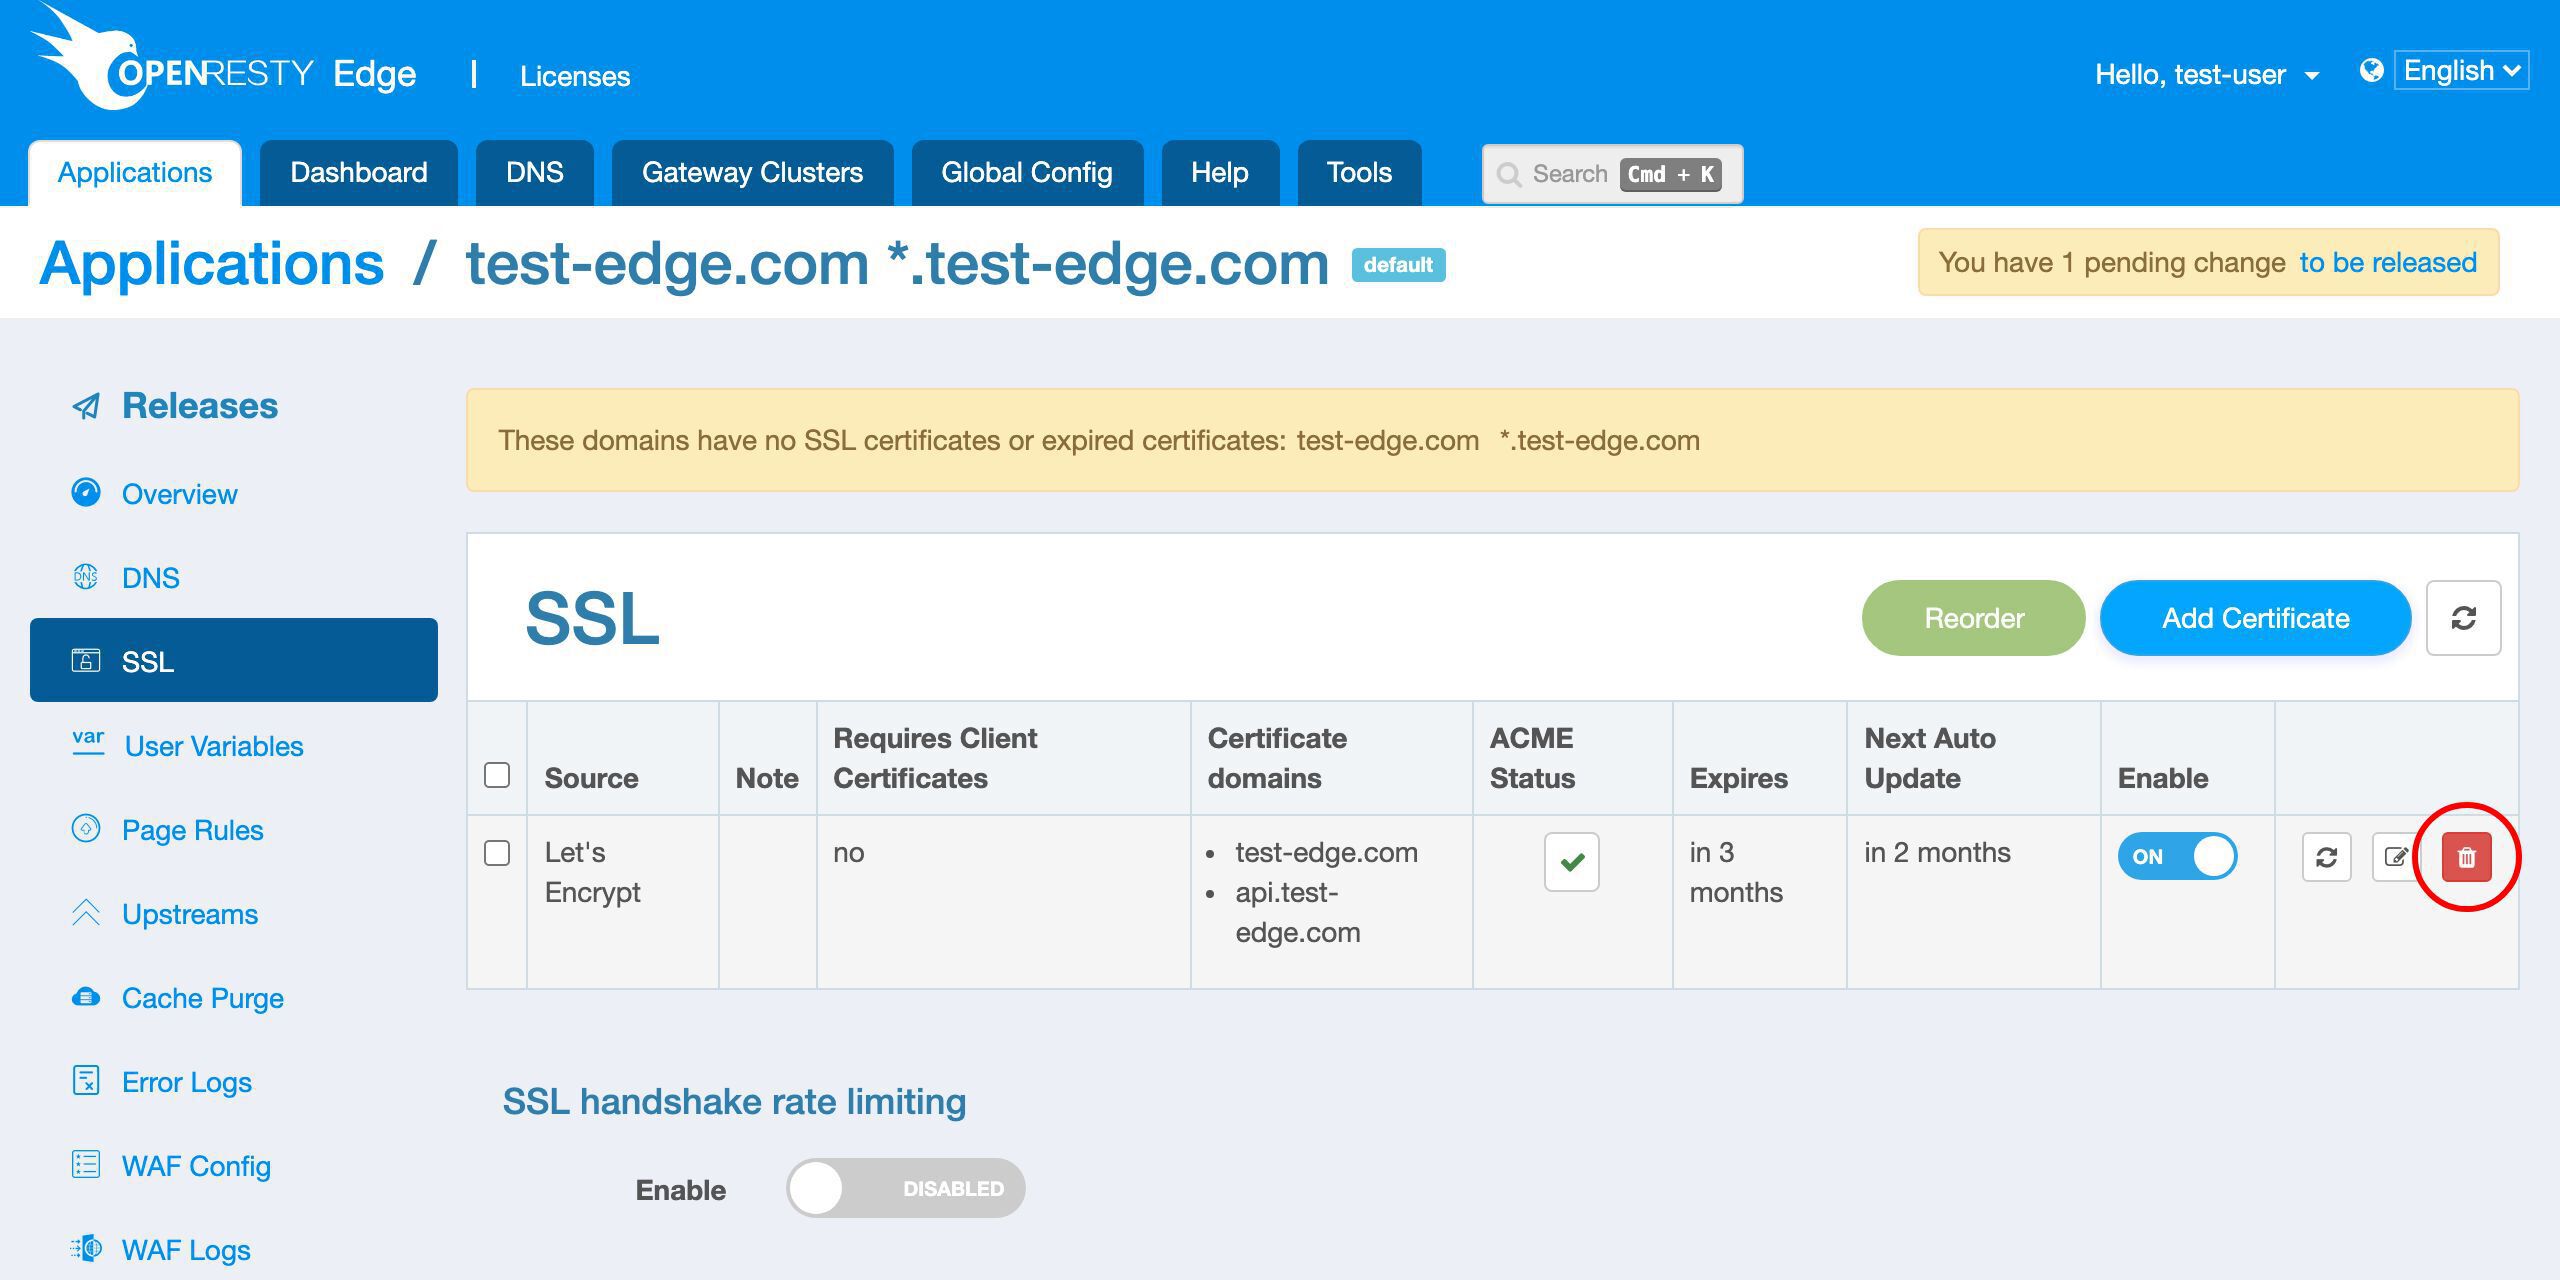
We don’t want to delete it now.
We can also disable a certificate without removing it.

It can then be re-enabled again.
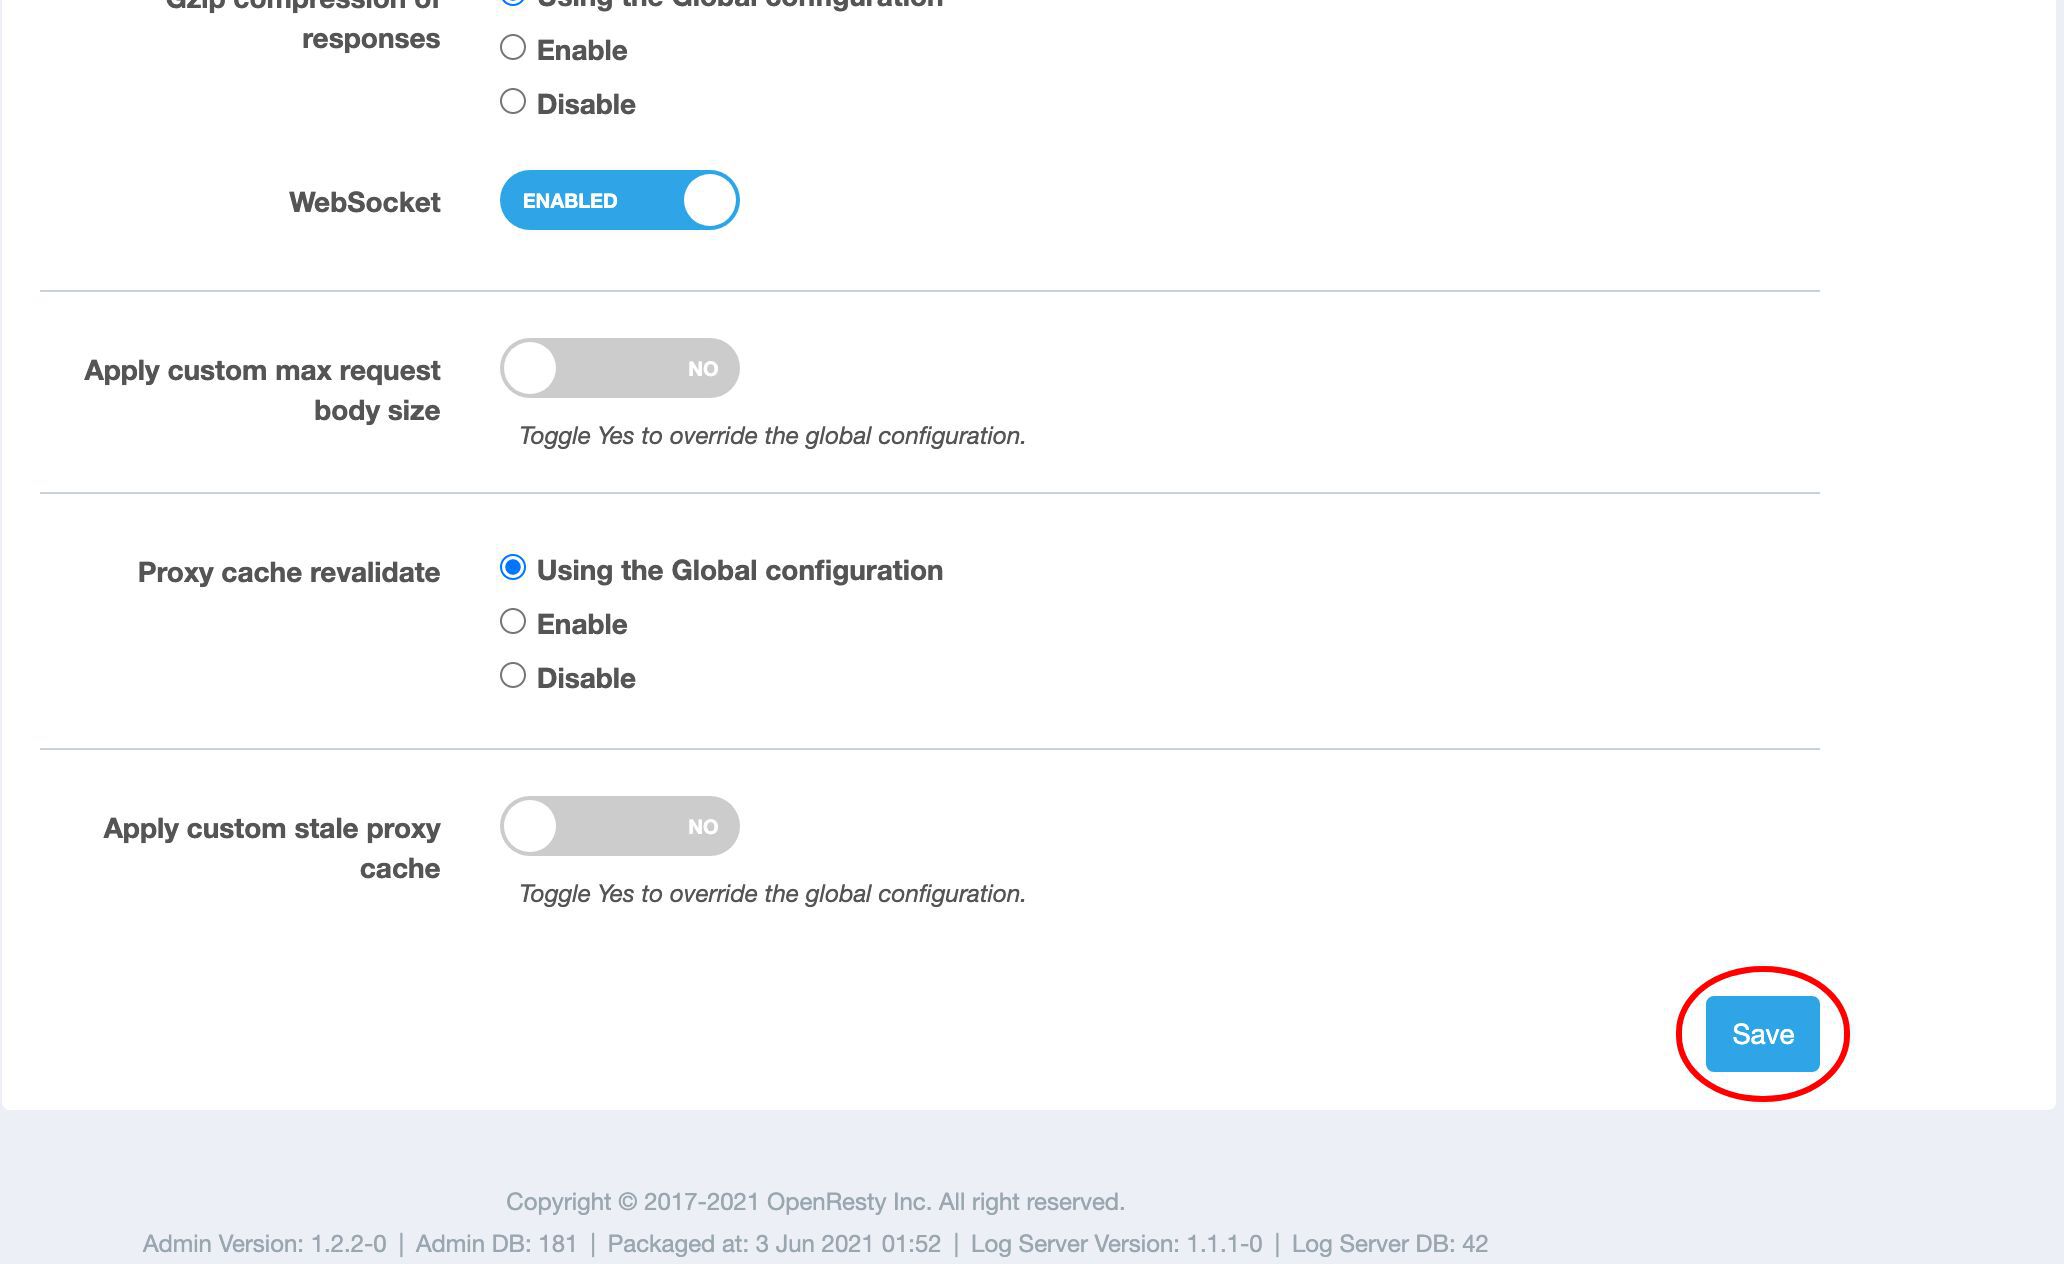
We need to make a new release to push out our new certificate, as always.
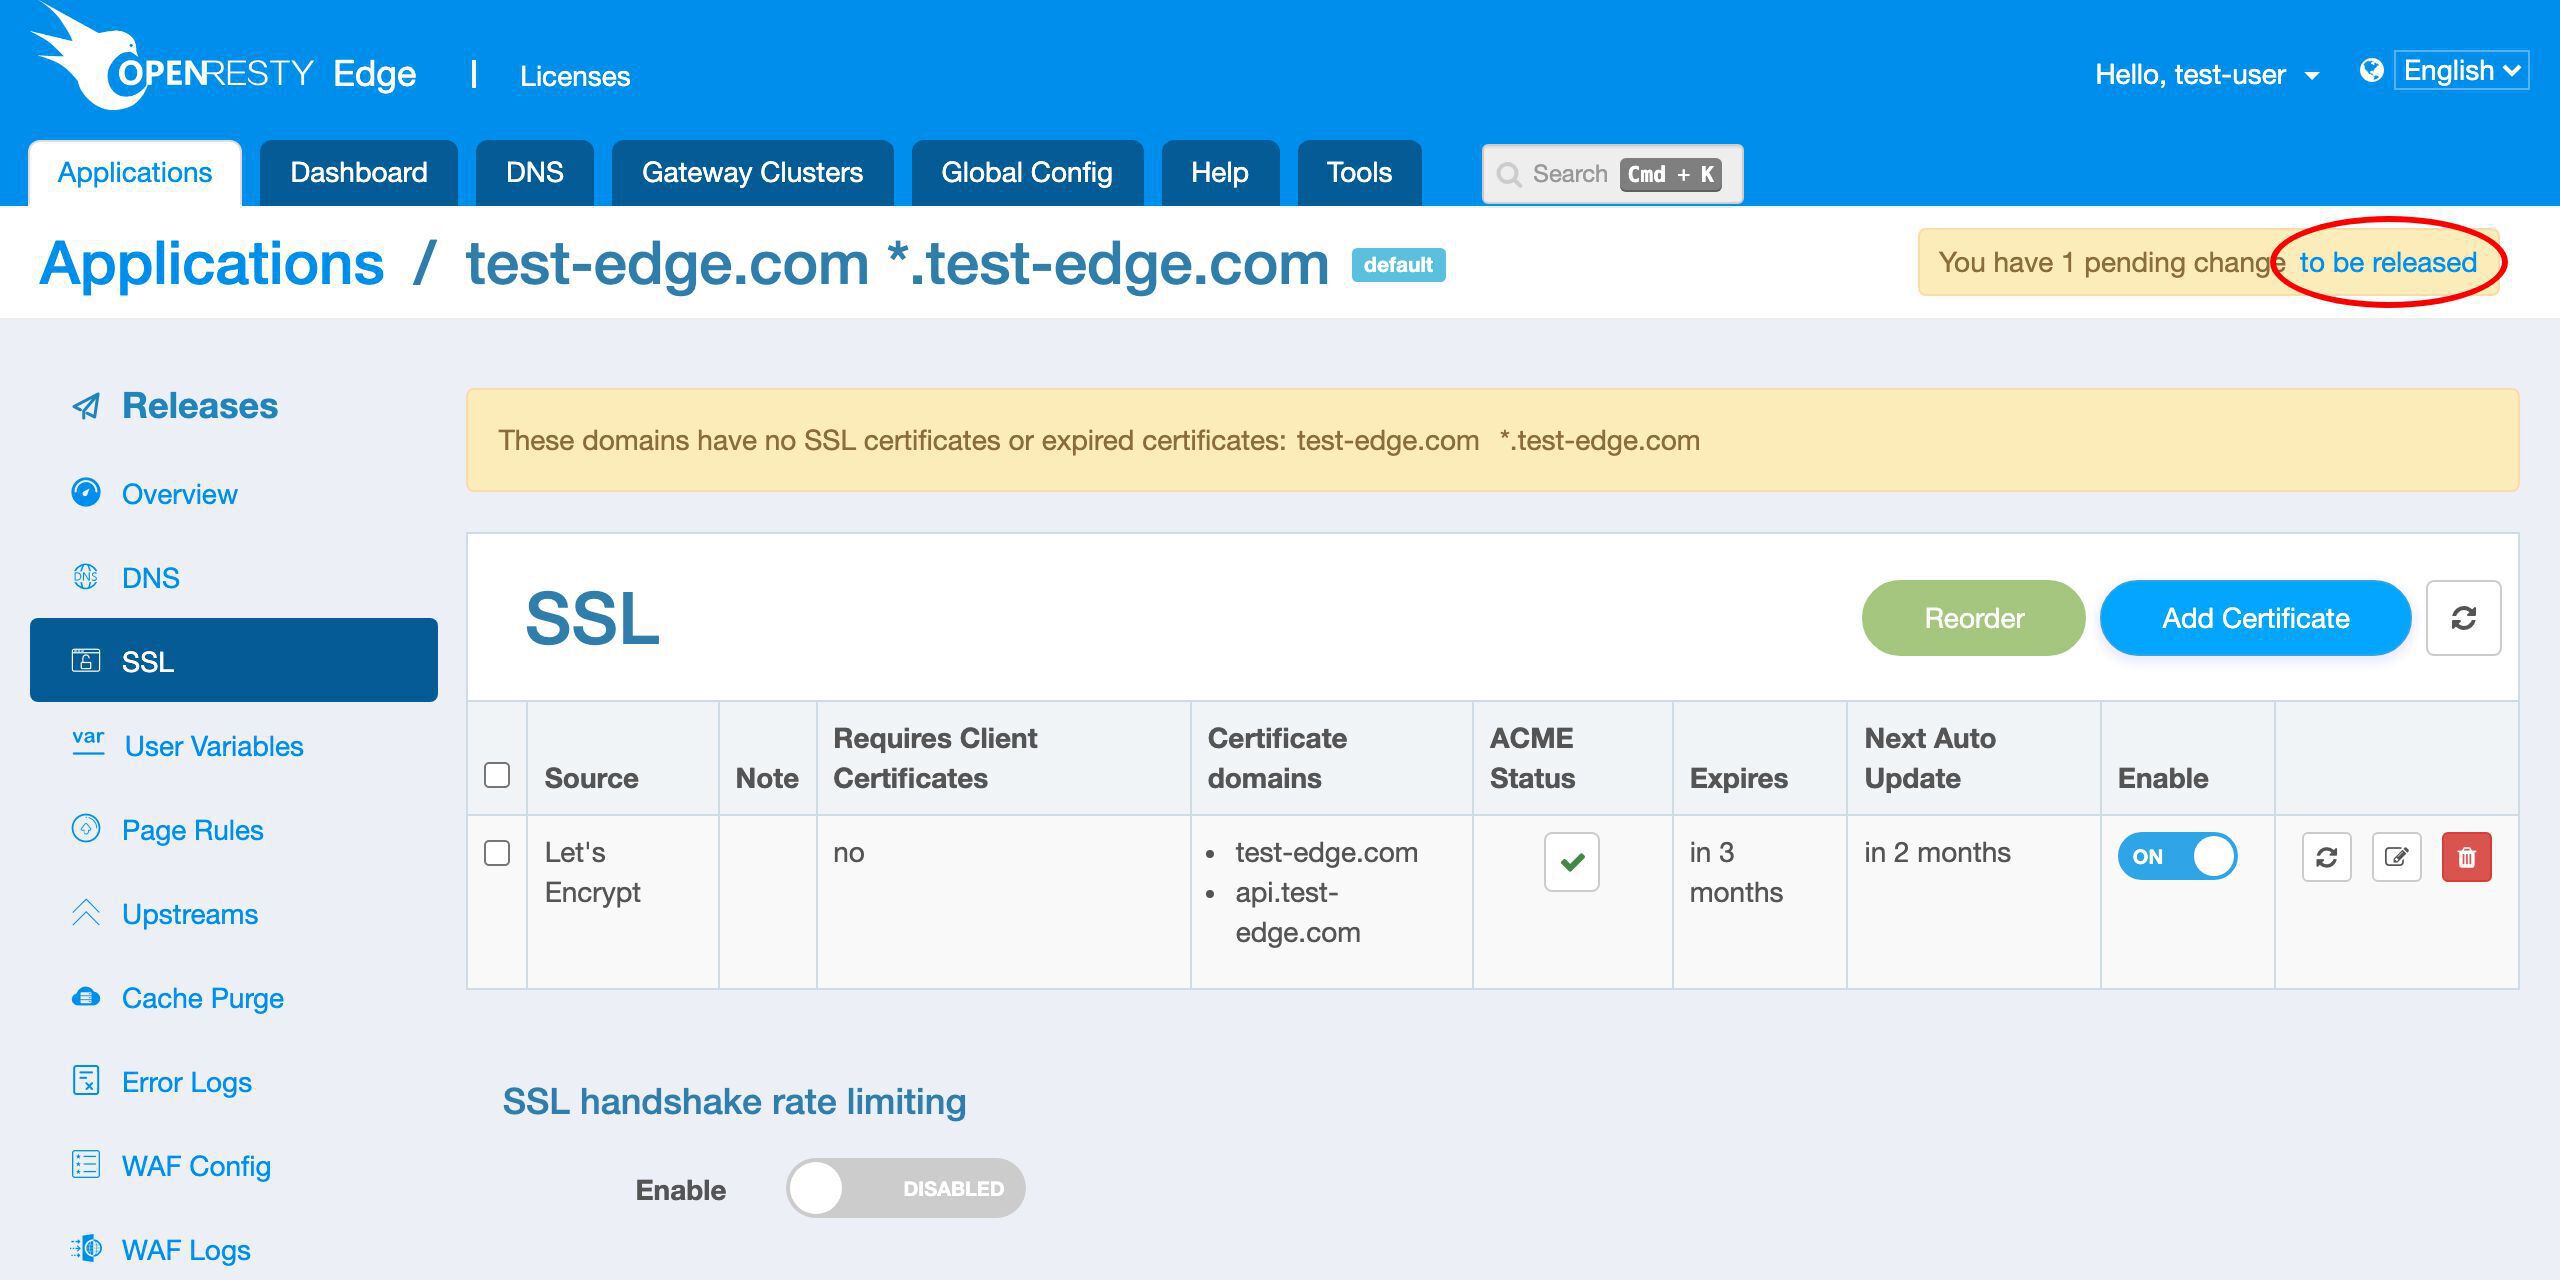
Click on this button.
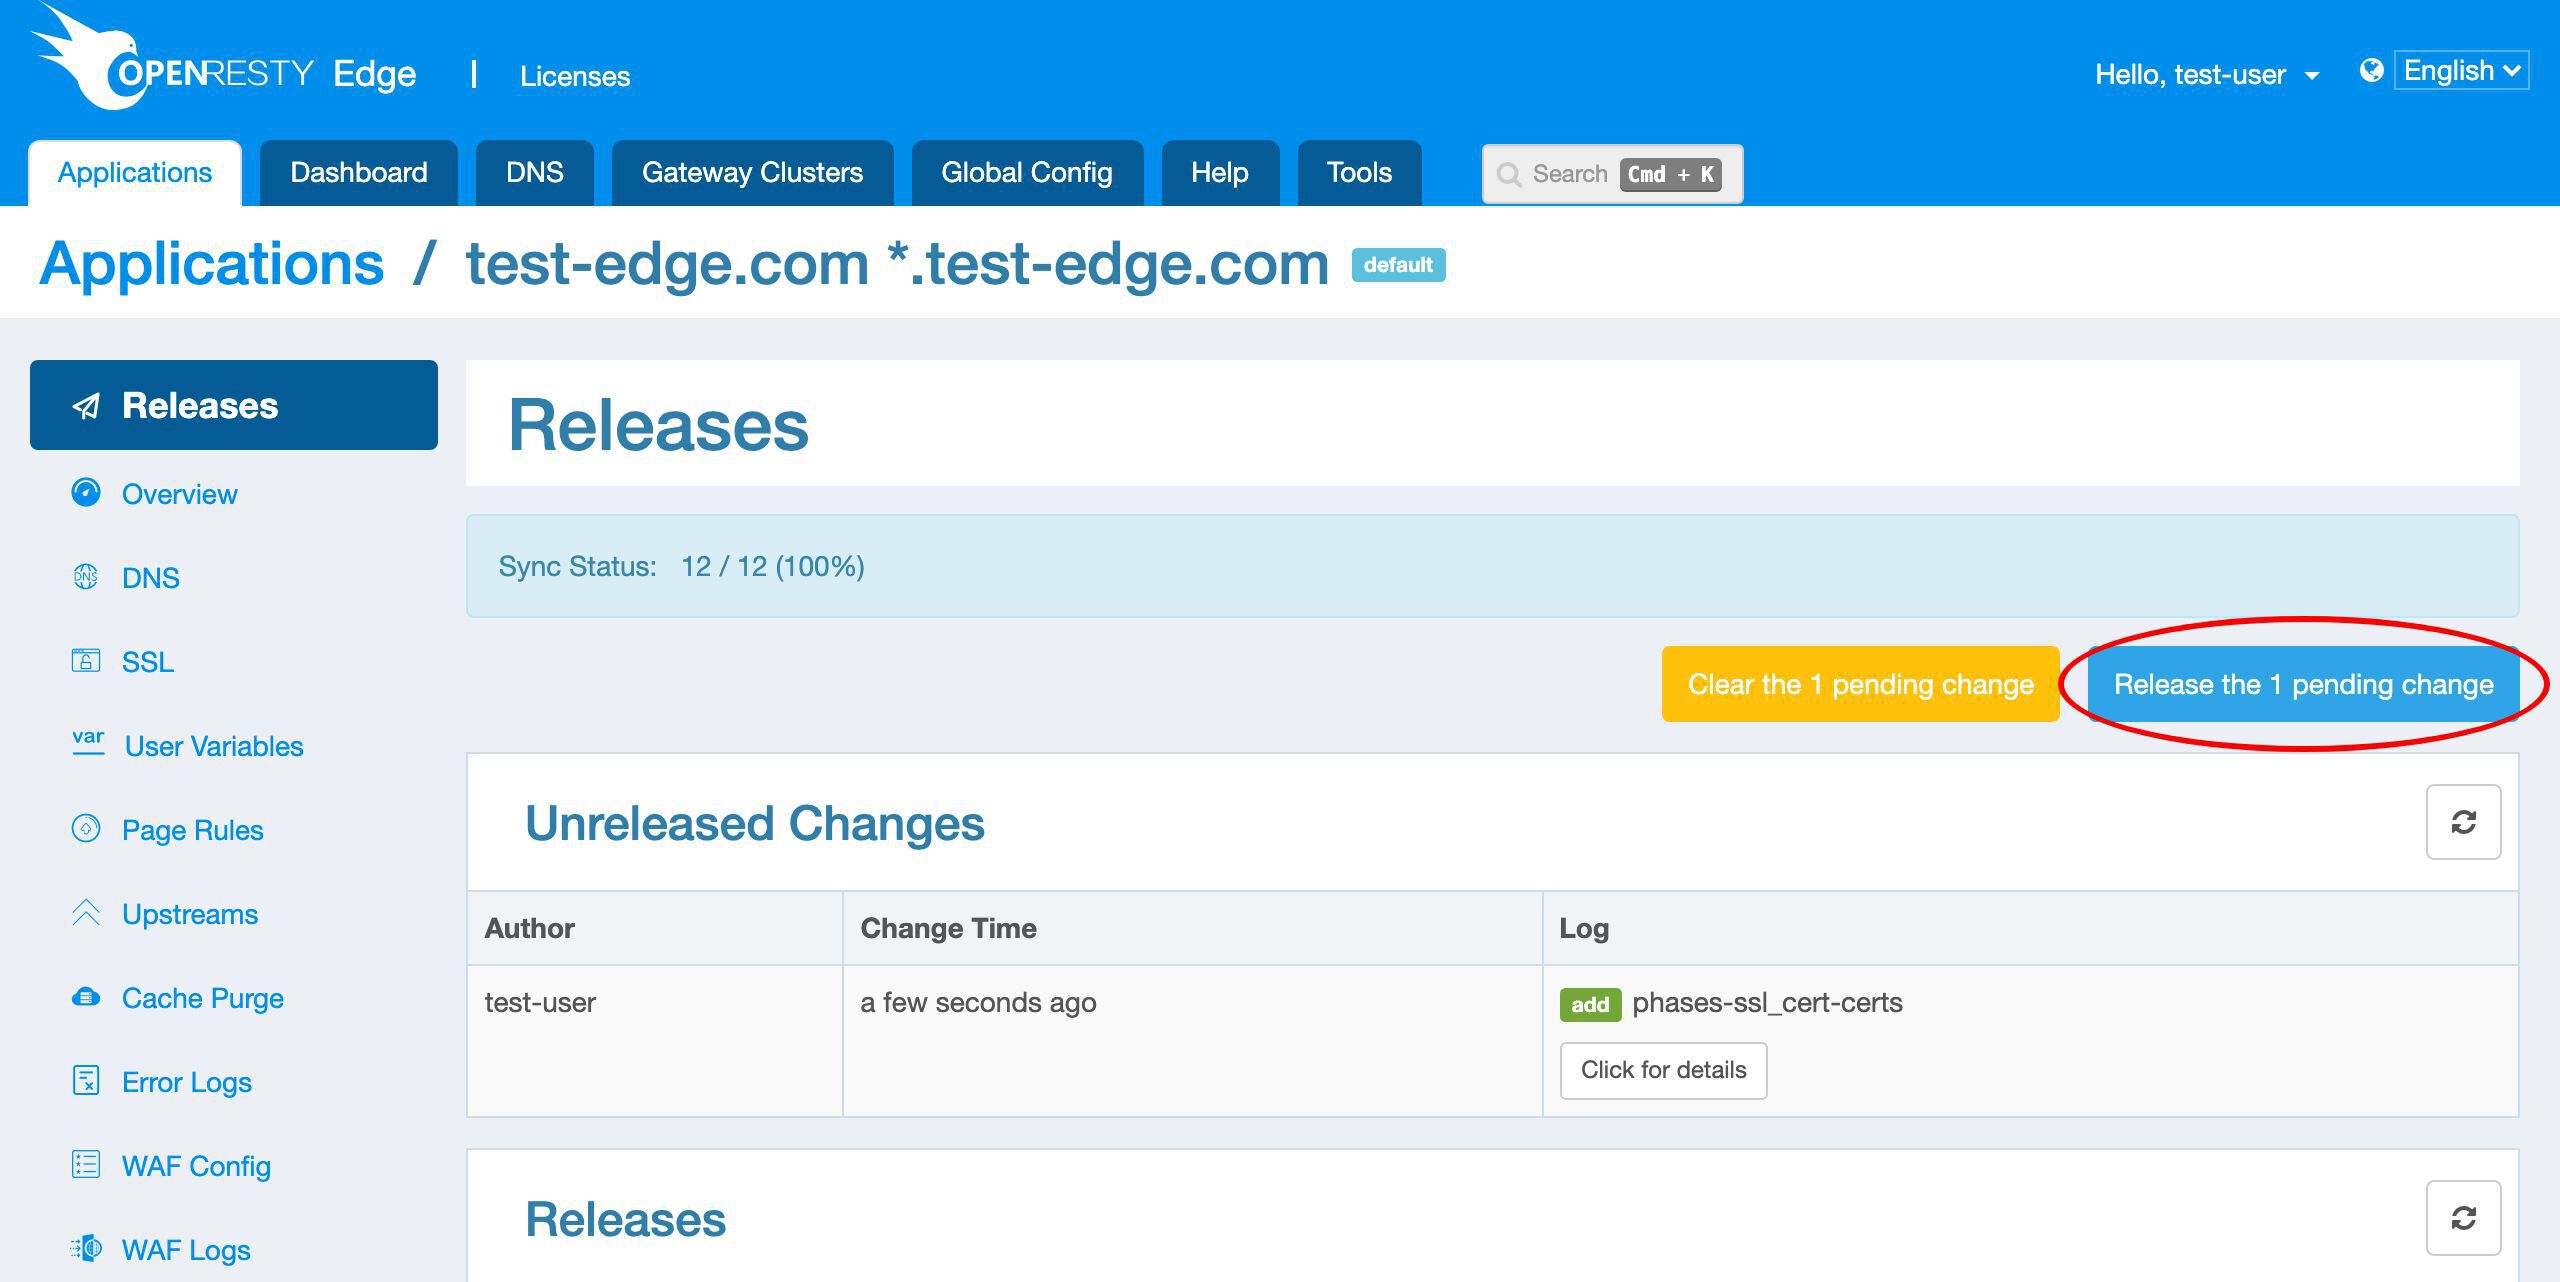
Ship it!
It is done now!
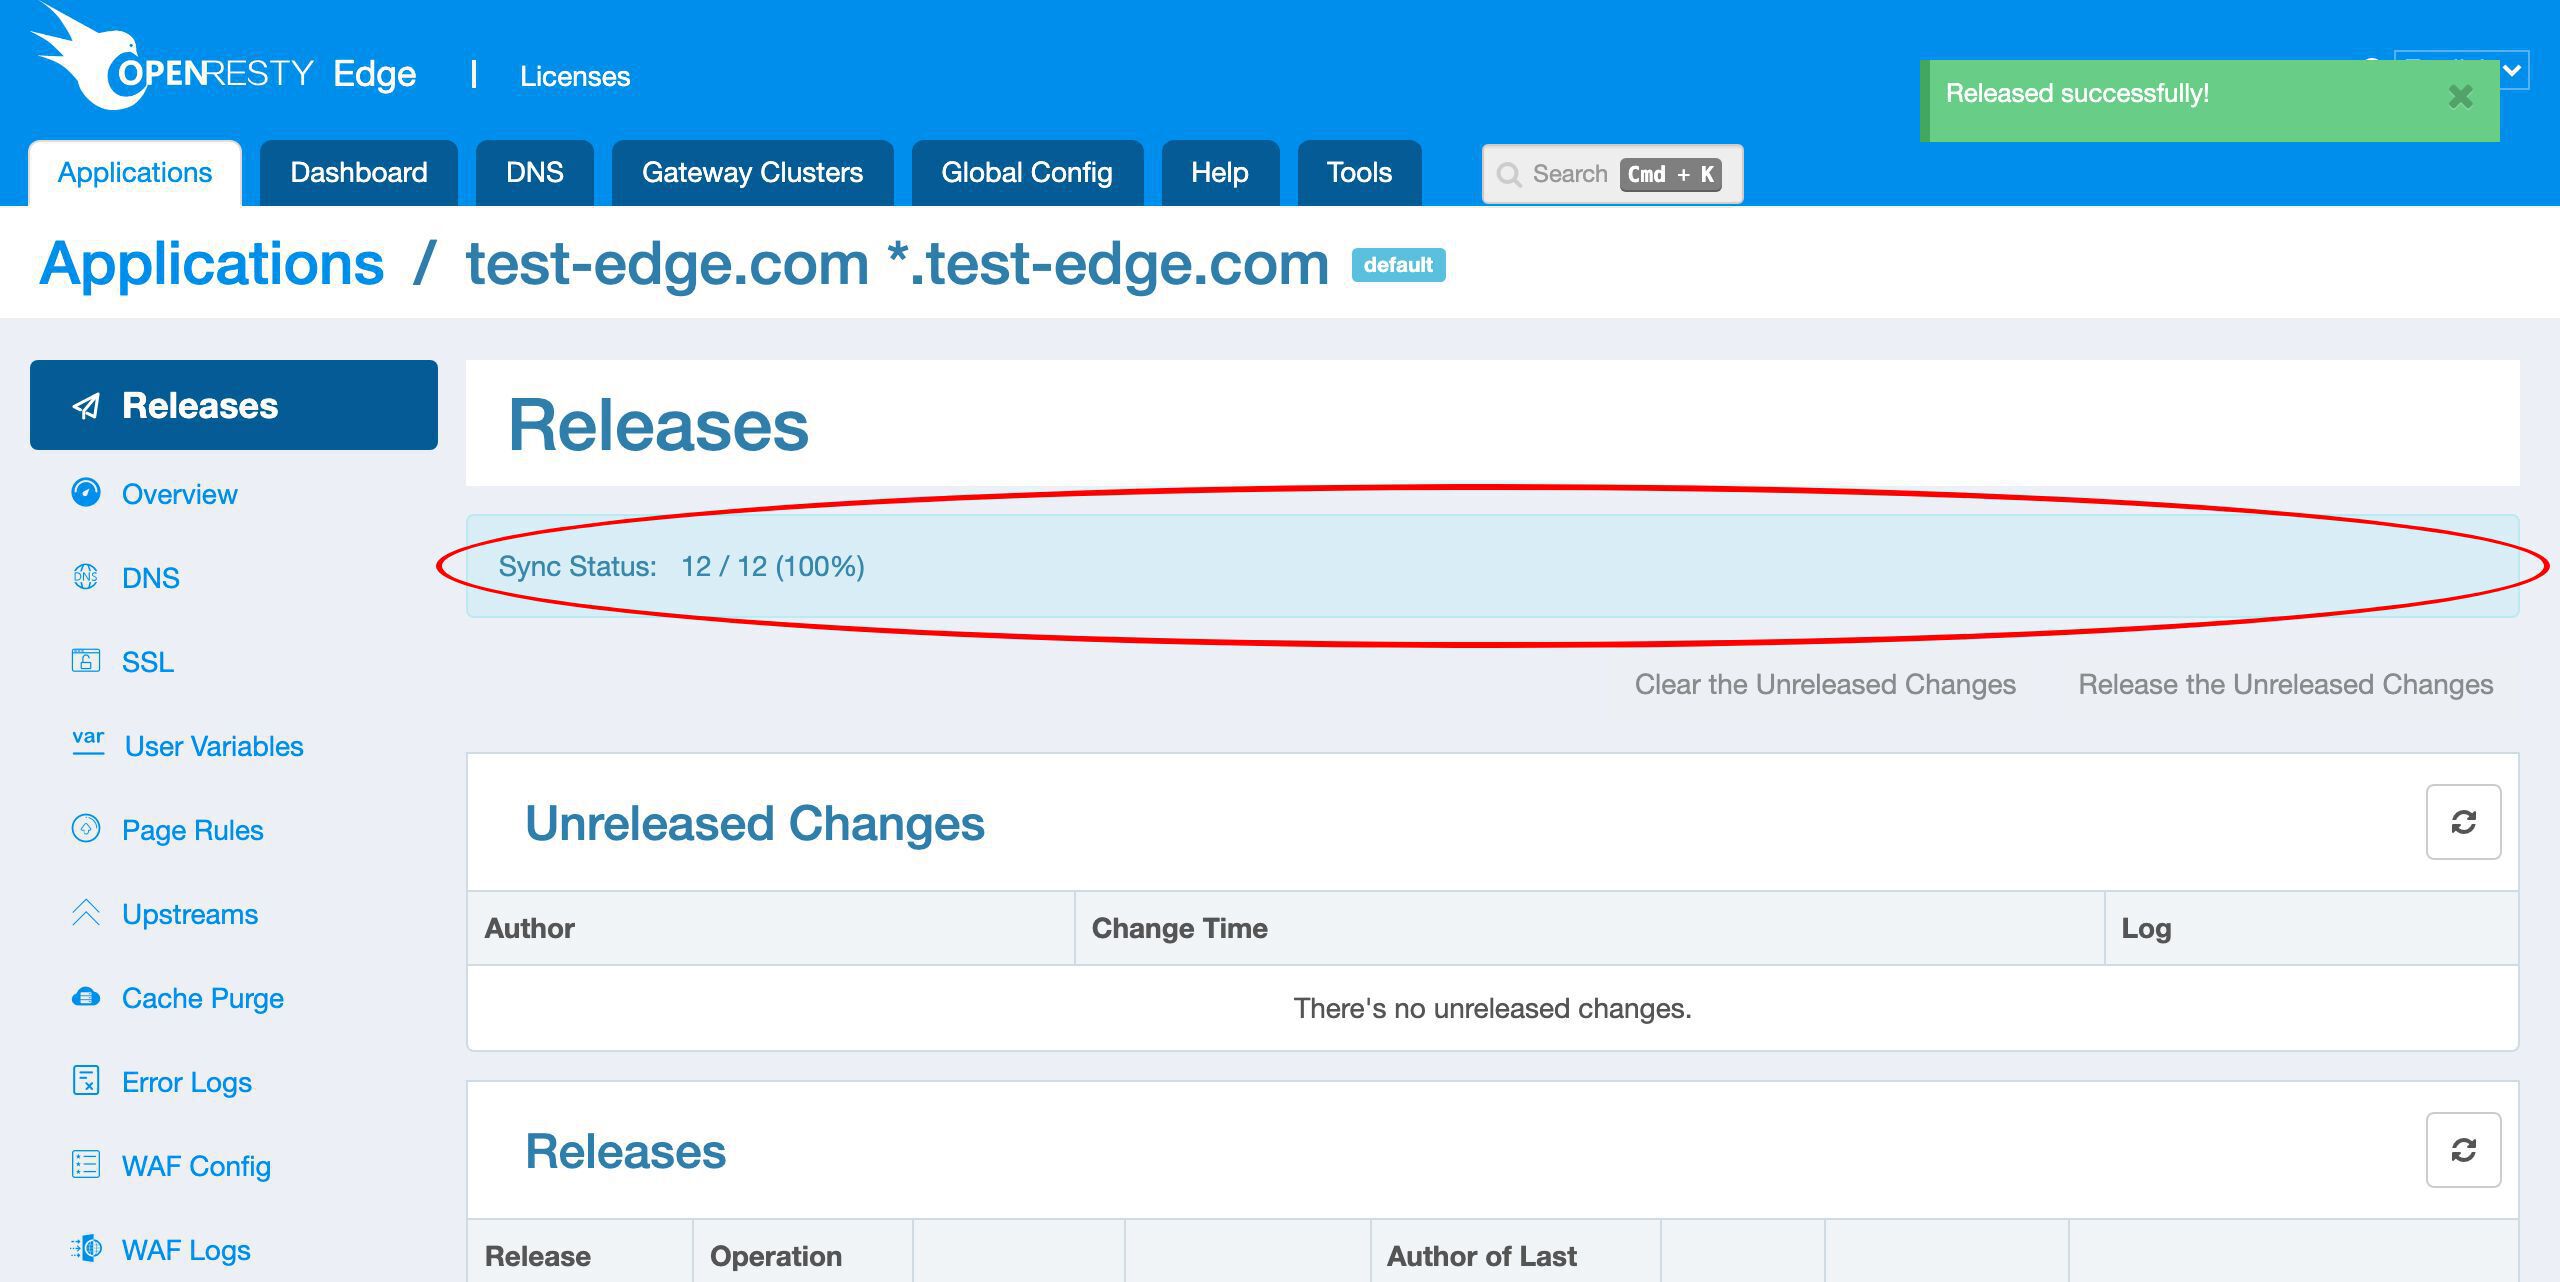
Now the new certificate has been pushed to all the gateway clusters and servers.
Our configuration changes do NOT require server reload, restart, or binary upgrade. So it’s very efficient and scalable.
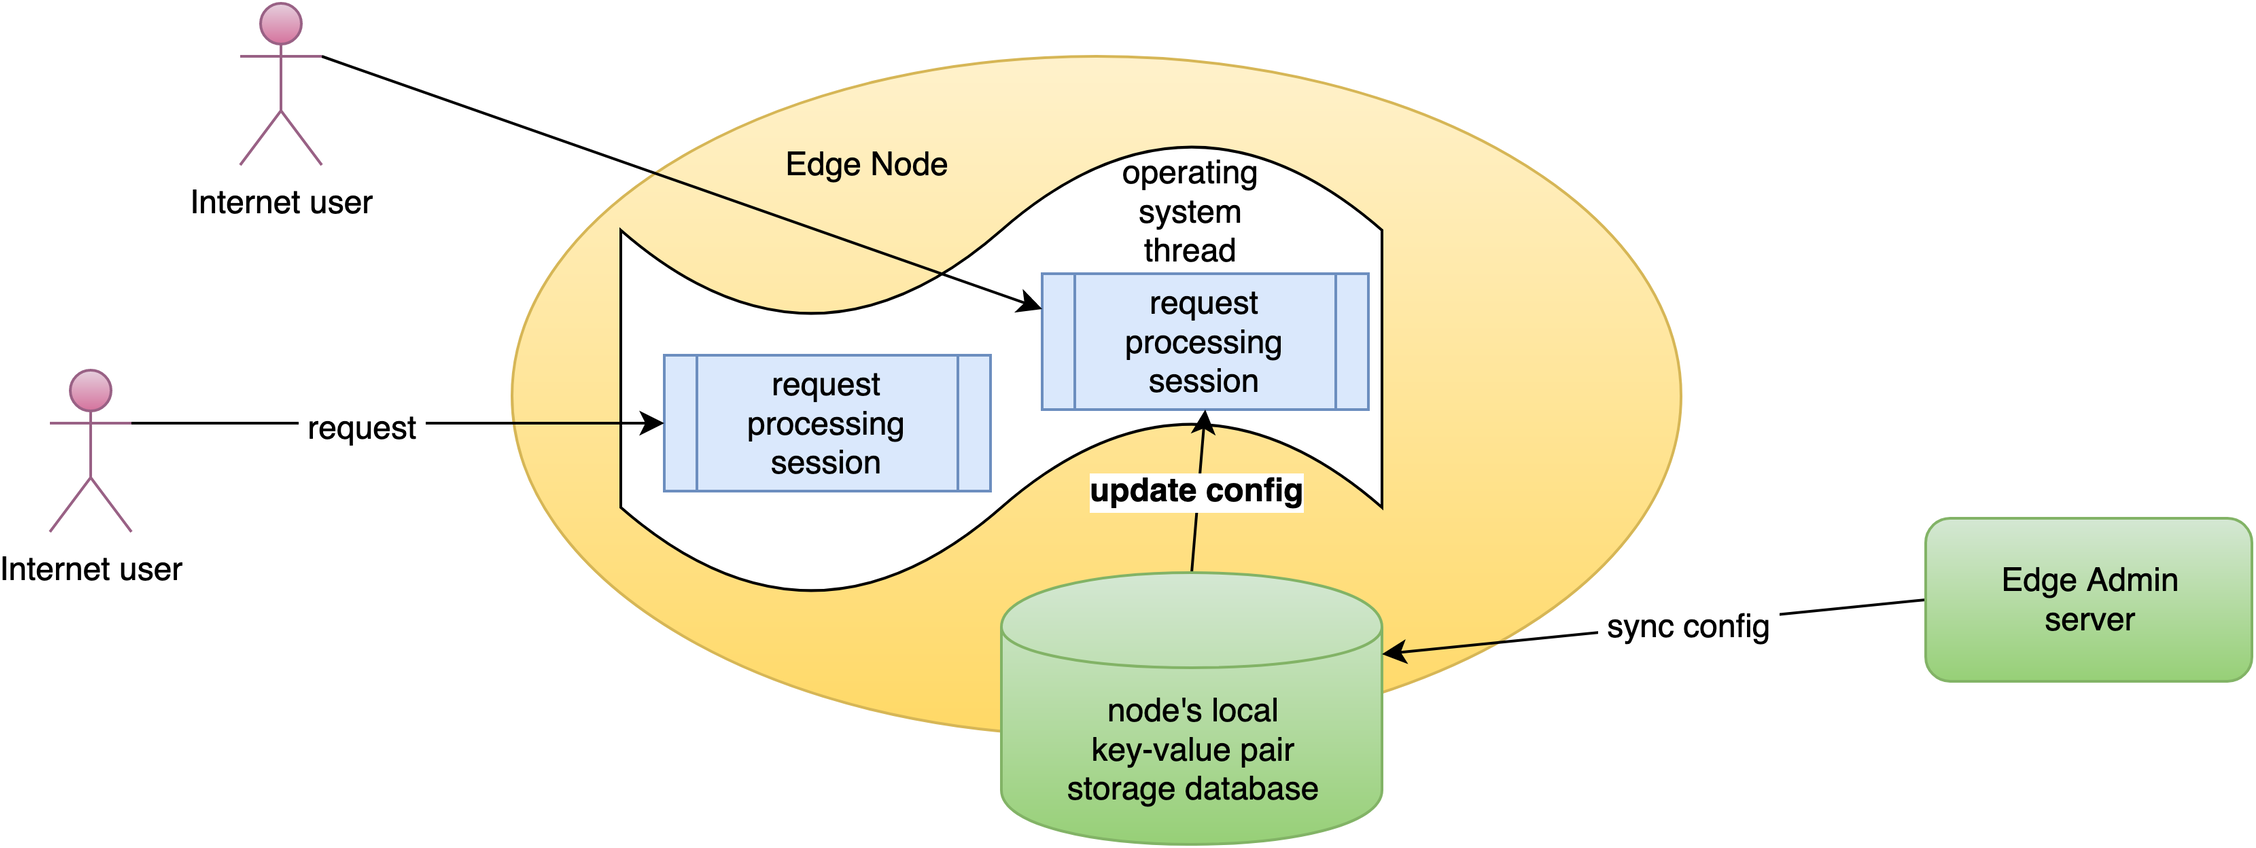
OpenResty Edge will then automatically update these certificates from Let’s Encrypt again before they expire.
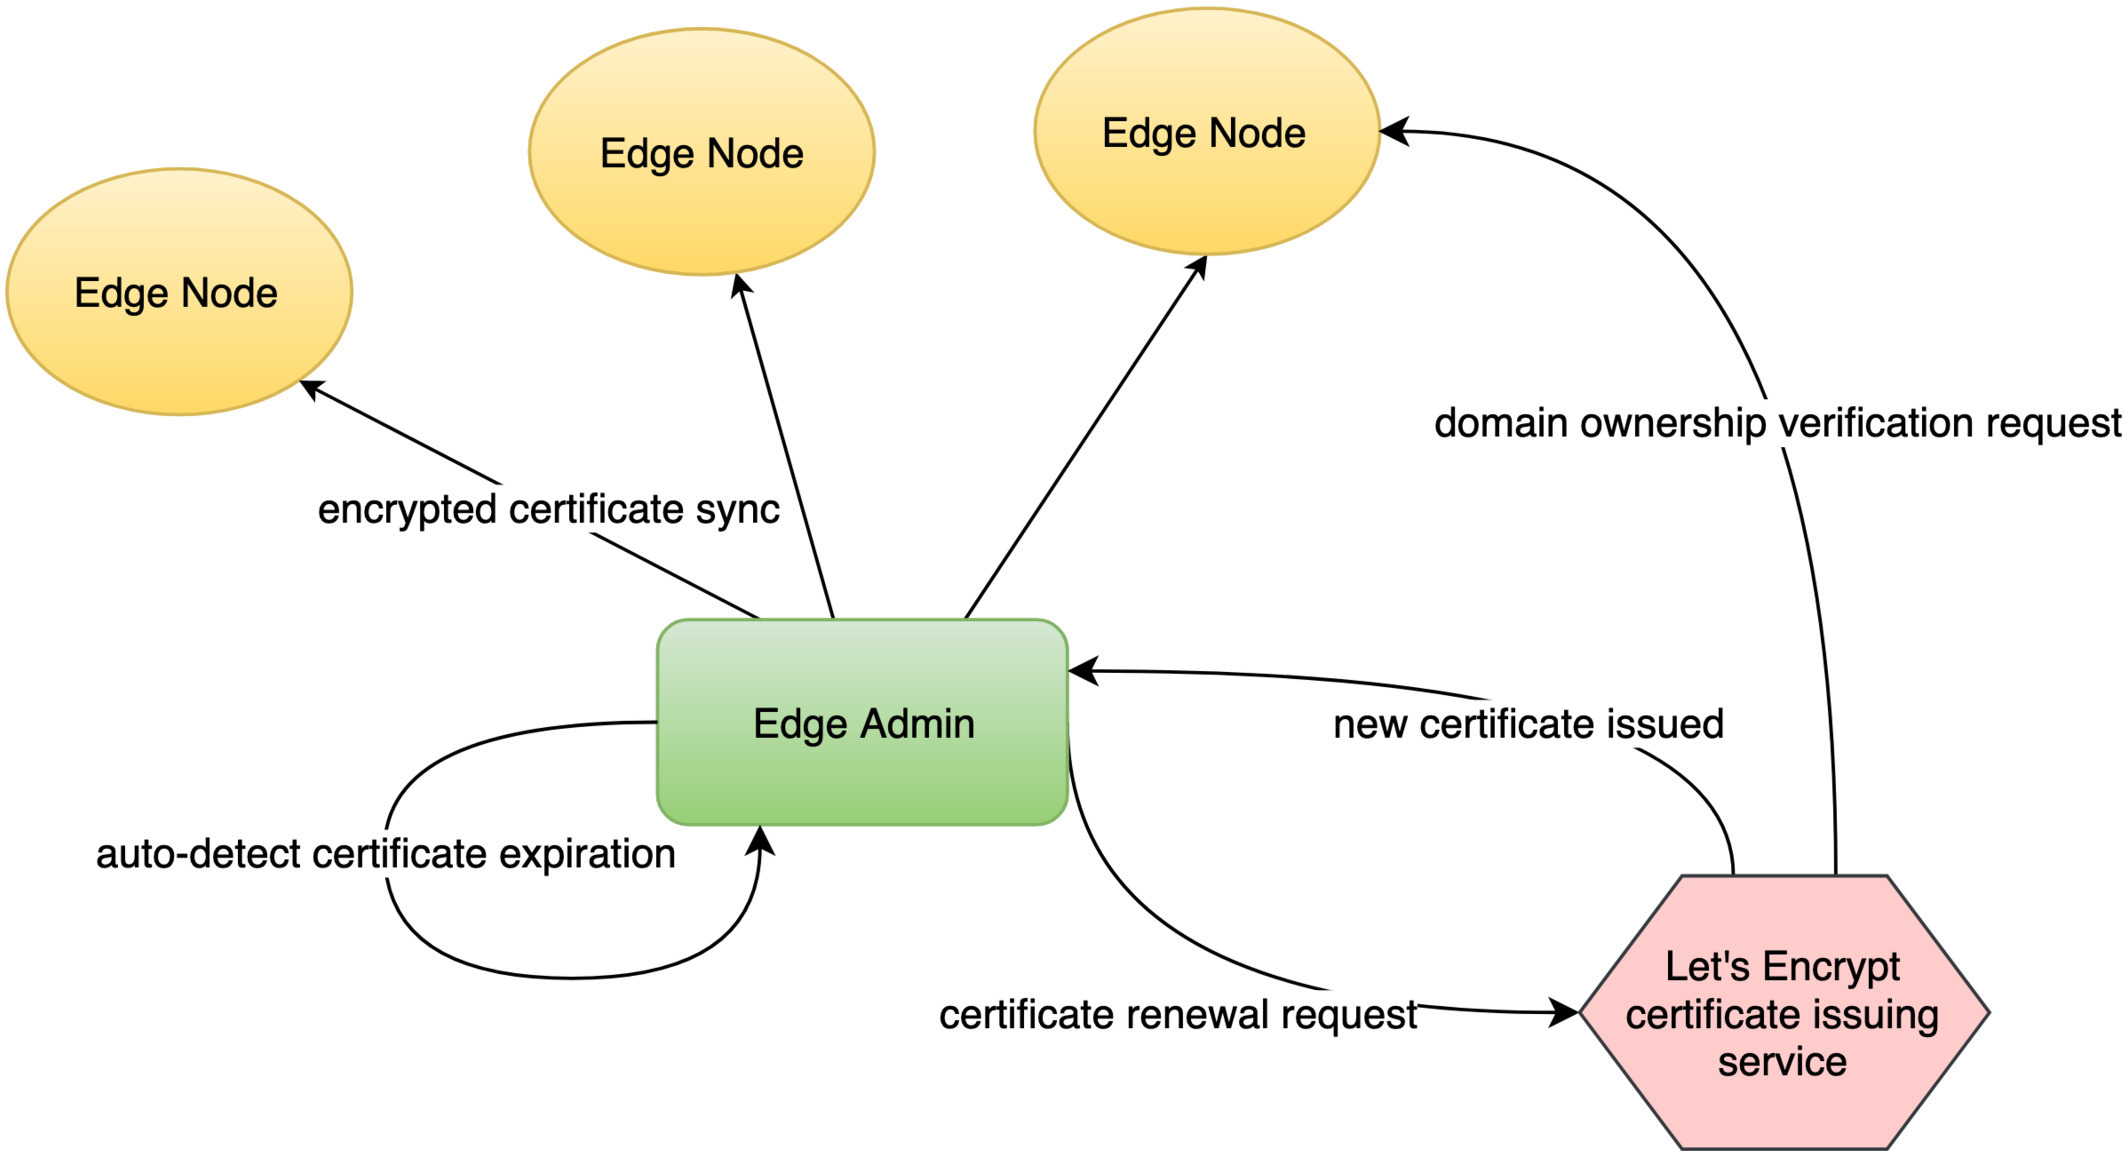
If for some reason, some certificates fail to update, the user will get global notifications like this.
Test
Let’s open a new browser tab to access the test-edge.com site via https.

It works!
Also test the api subdomain.
It works too!
We can also pick up a gateway cluster server to test our new certificate on the terminal.
We choose a gateway server here near San Francisco.
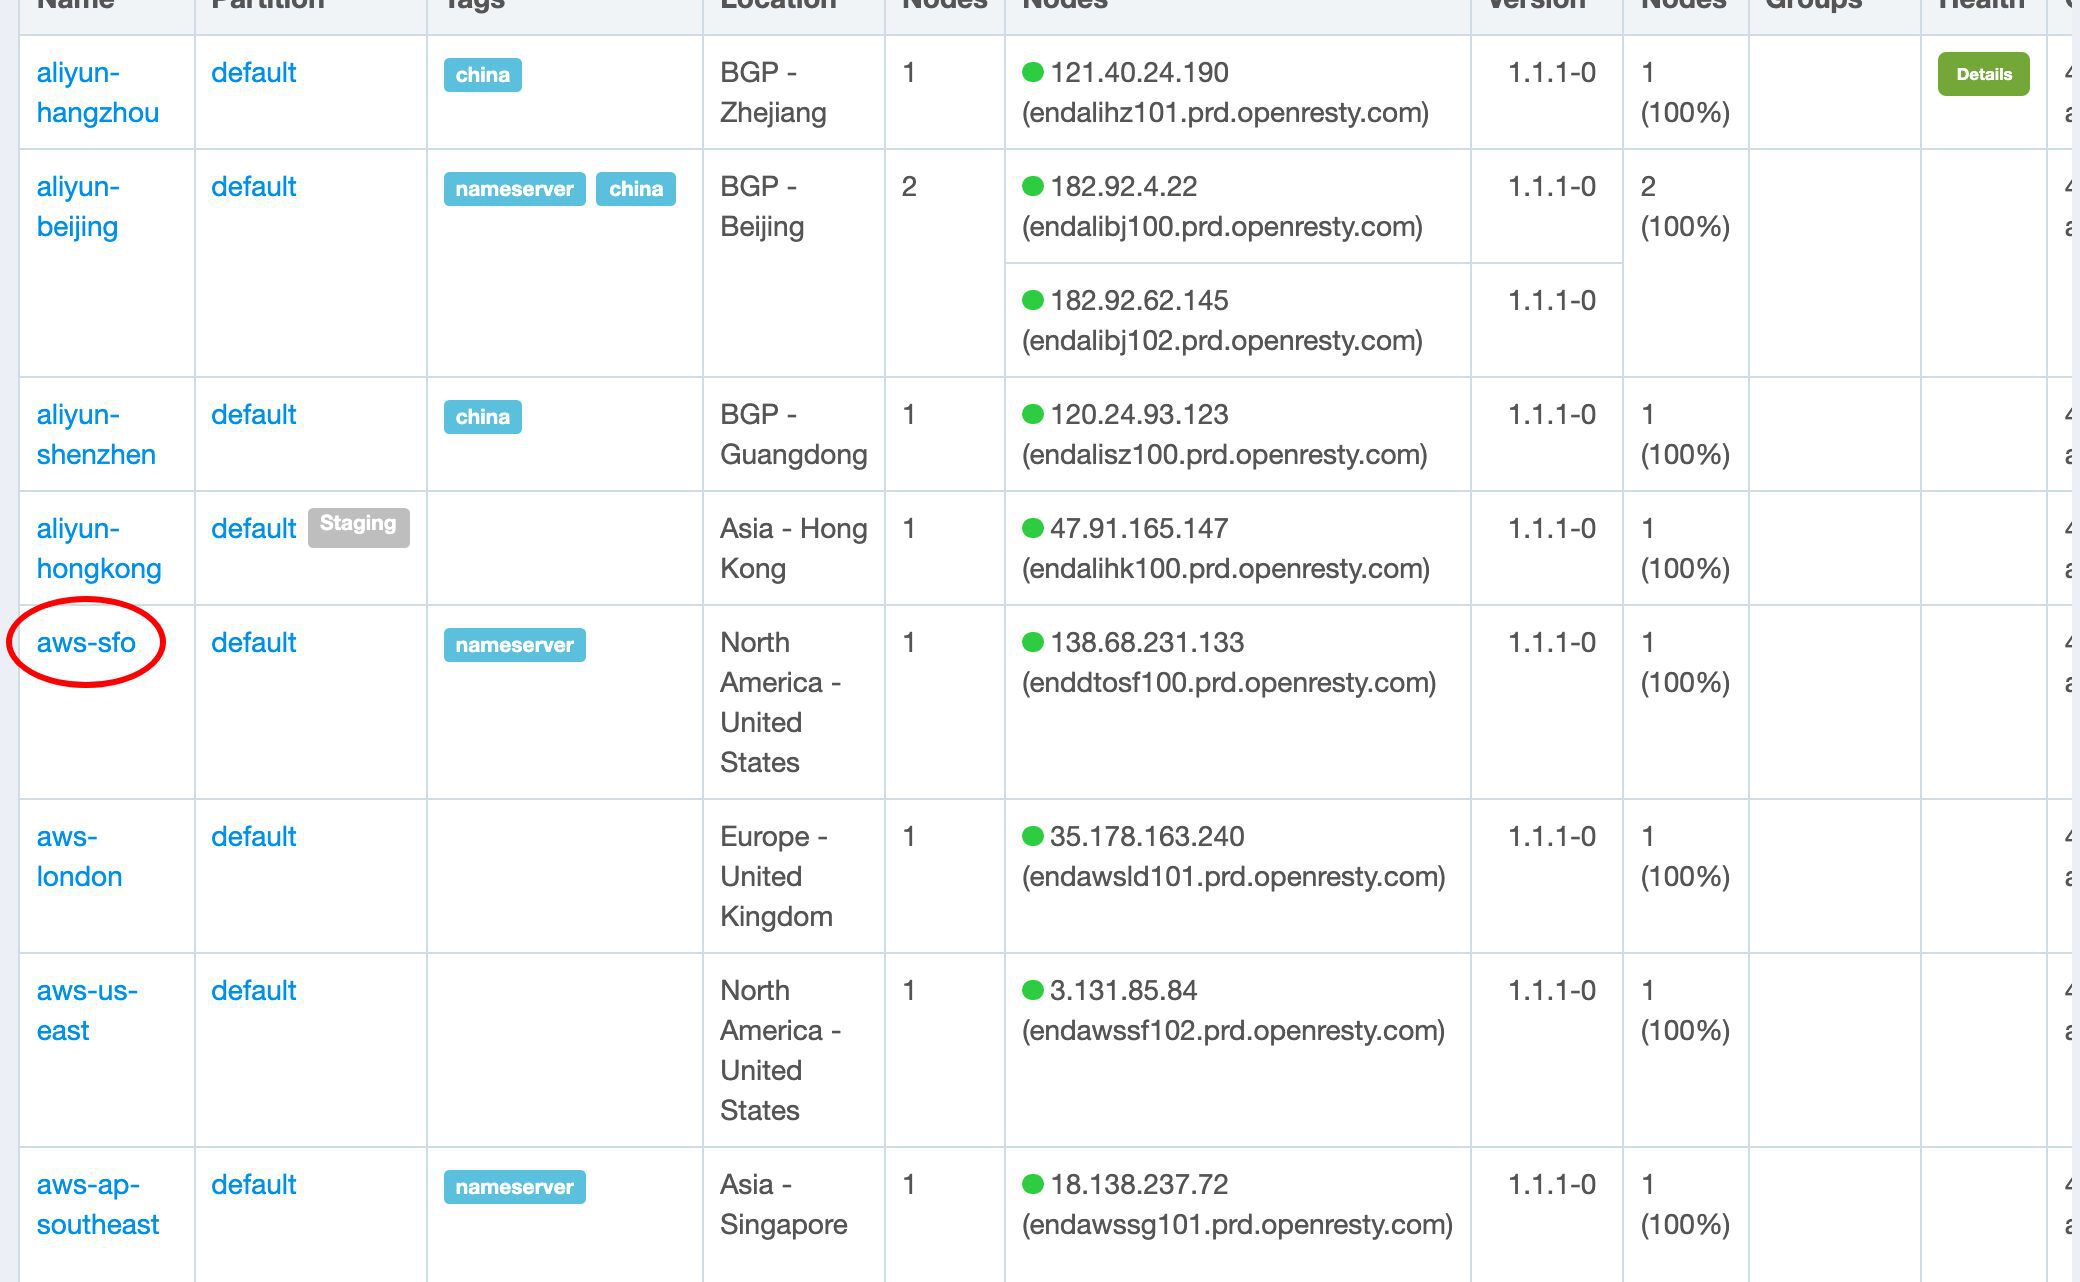
Copy its public IP address ending with 133.

On the terminal, we can send an HTTPS request to this gateway server.
curl -I --resolve 'test-edge.com:443:138.68.231.133' https://test-edge.com/
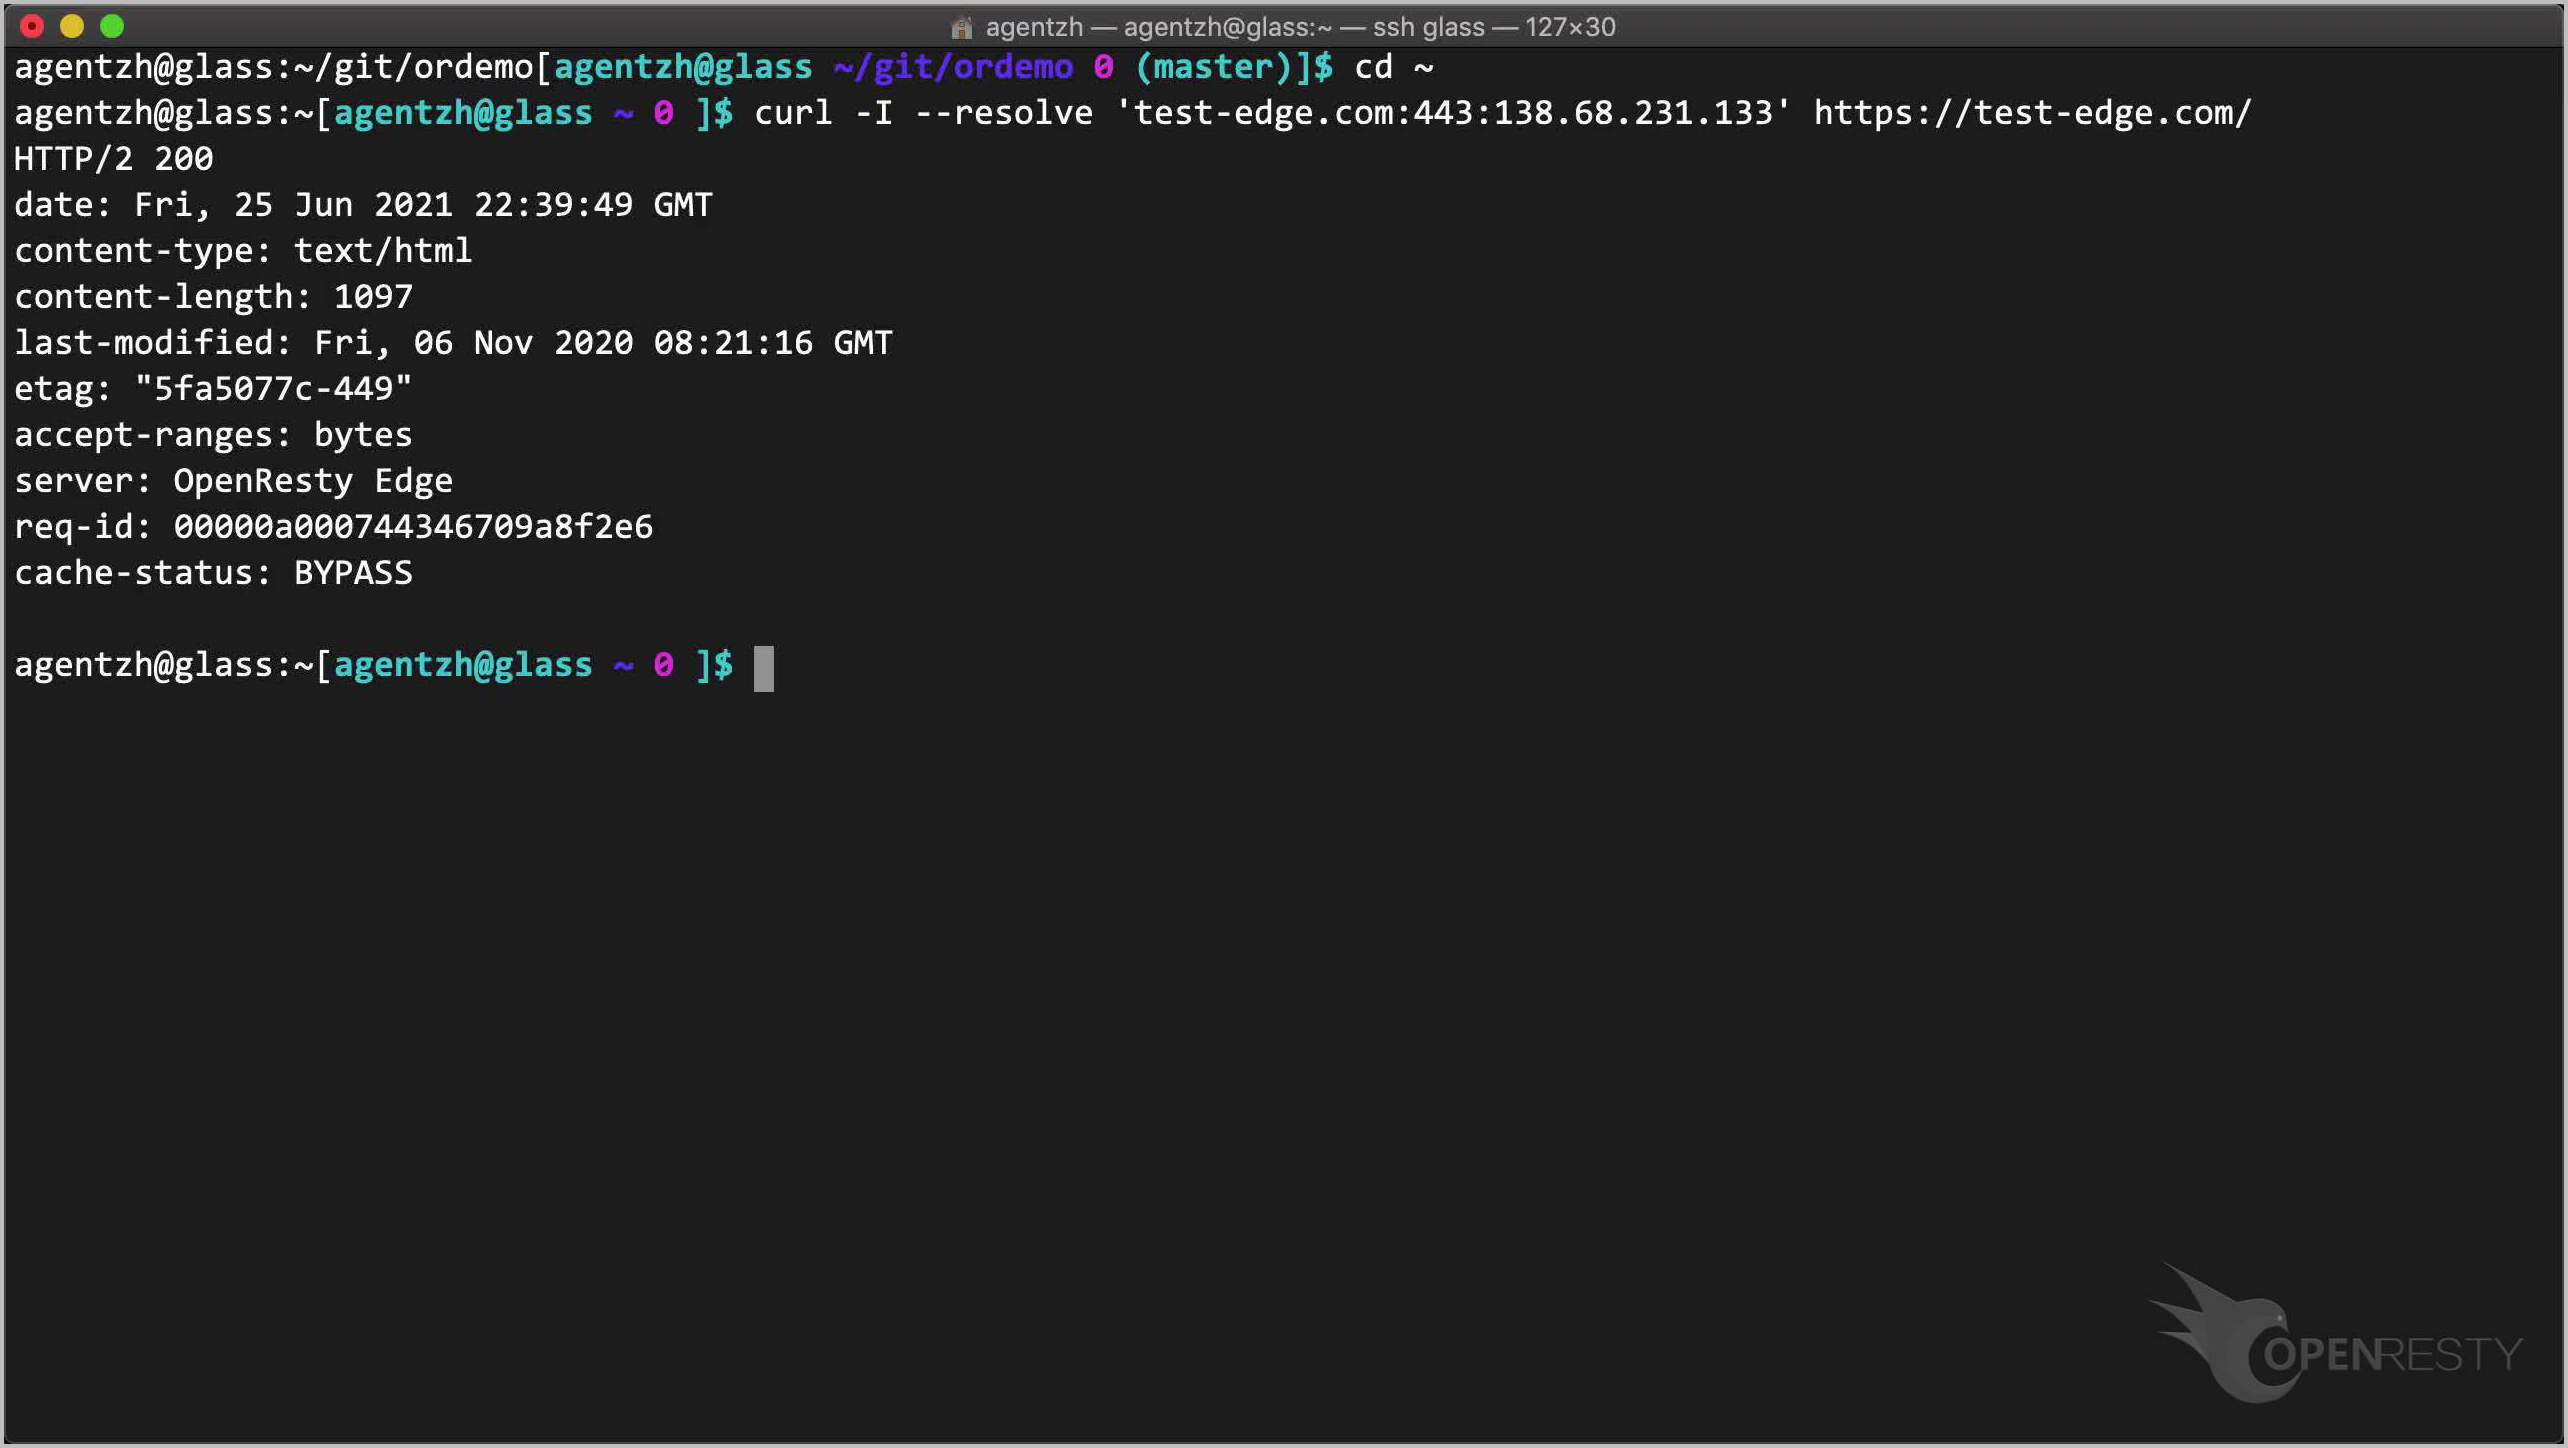
It works!
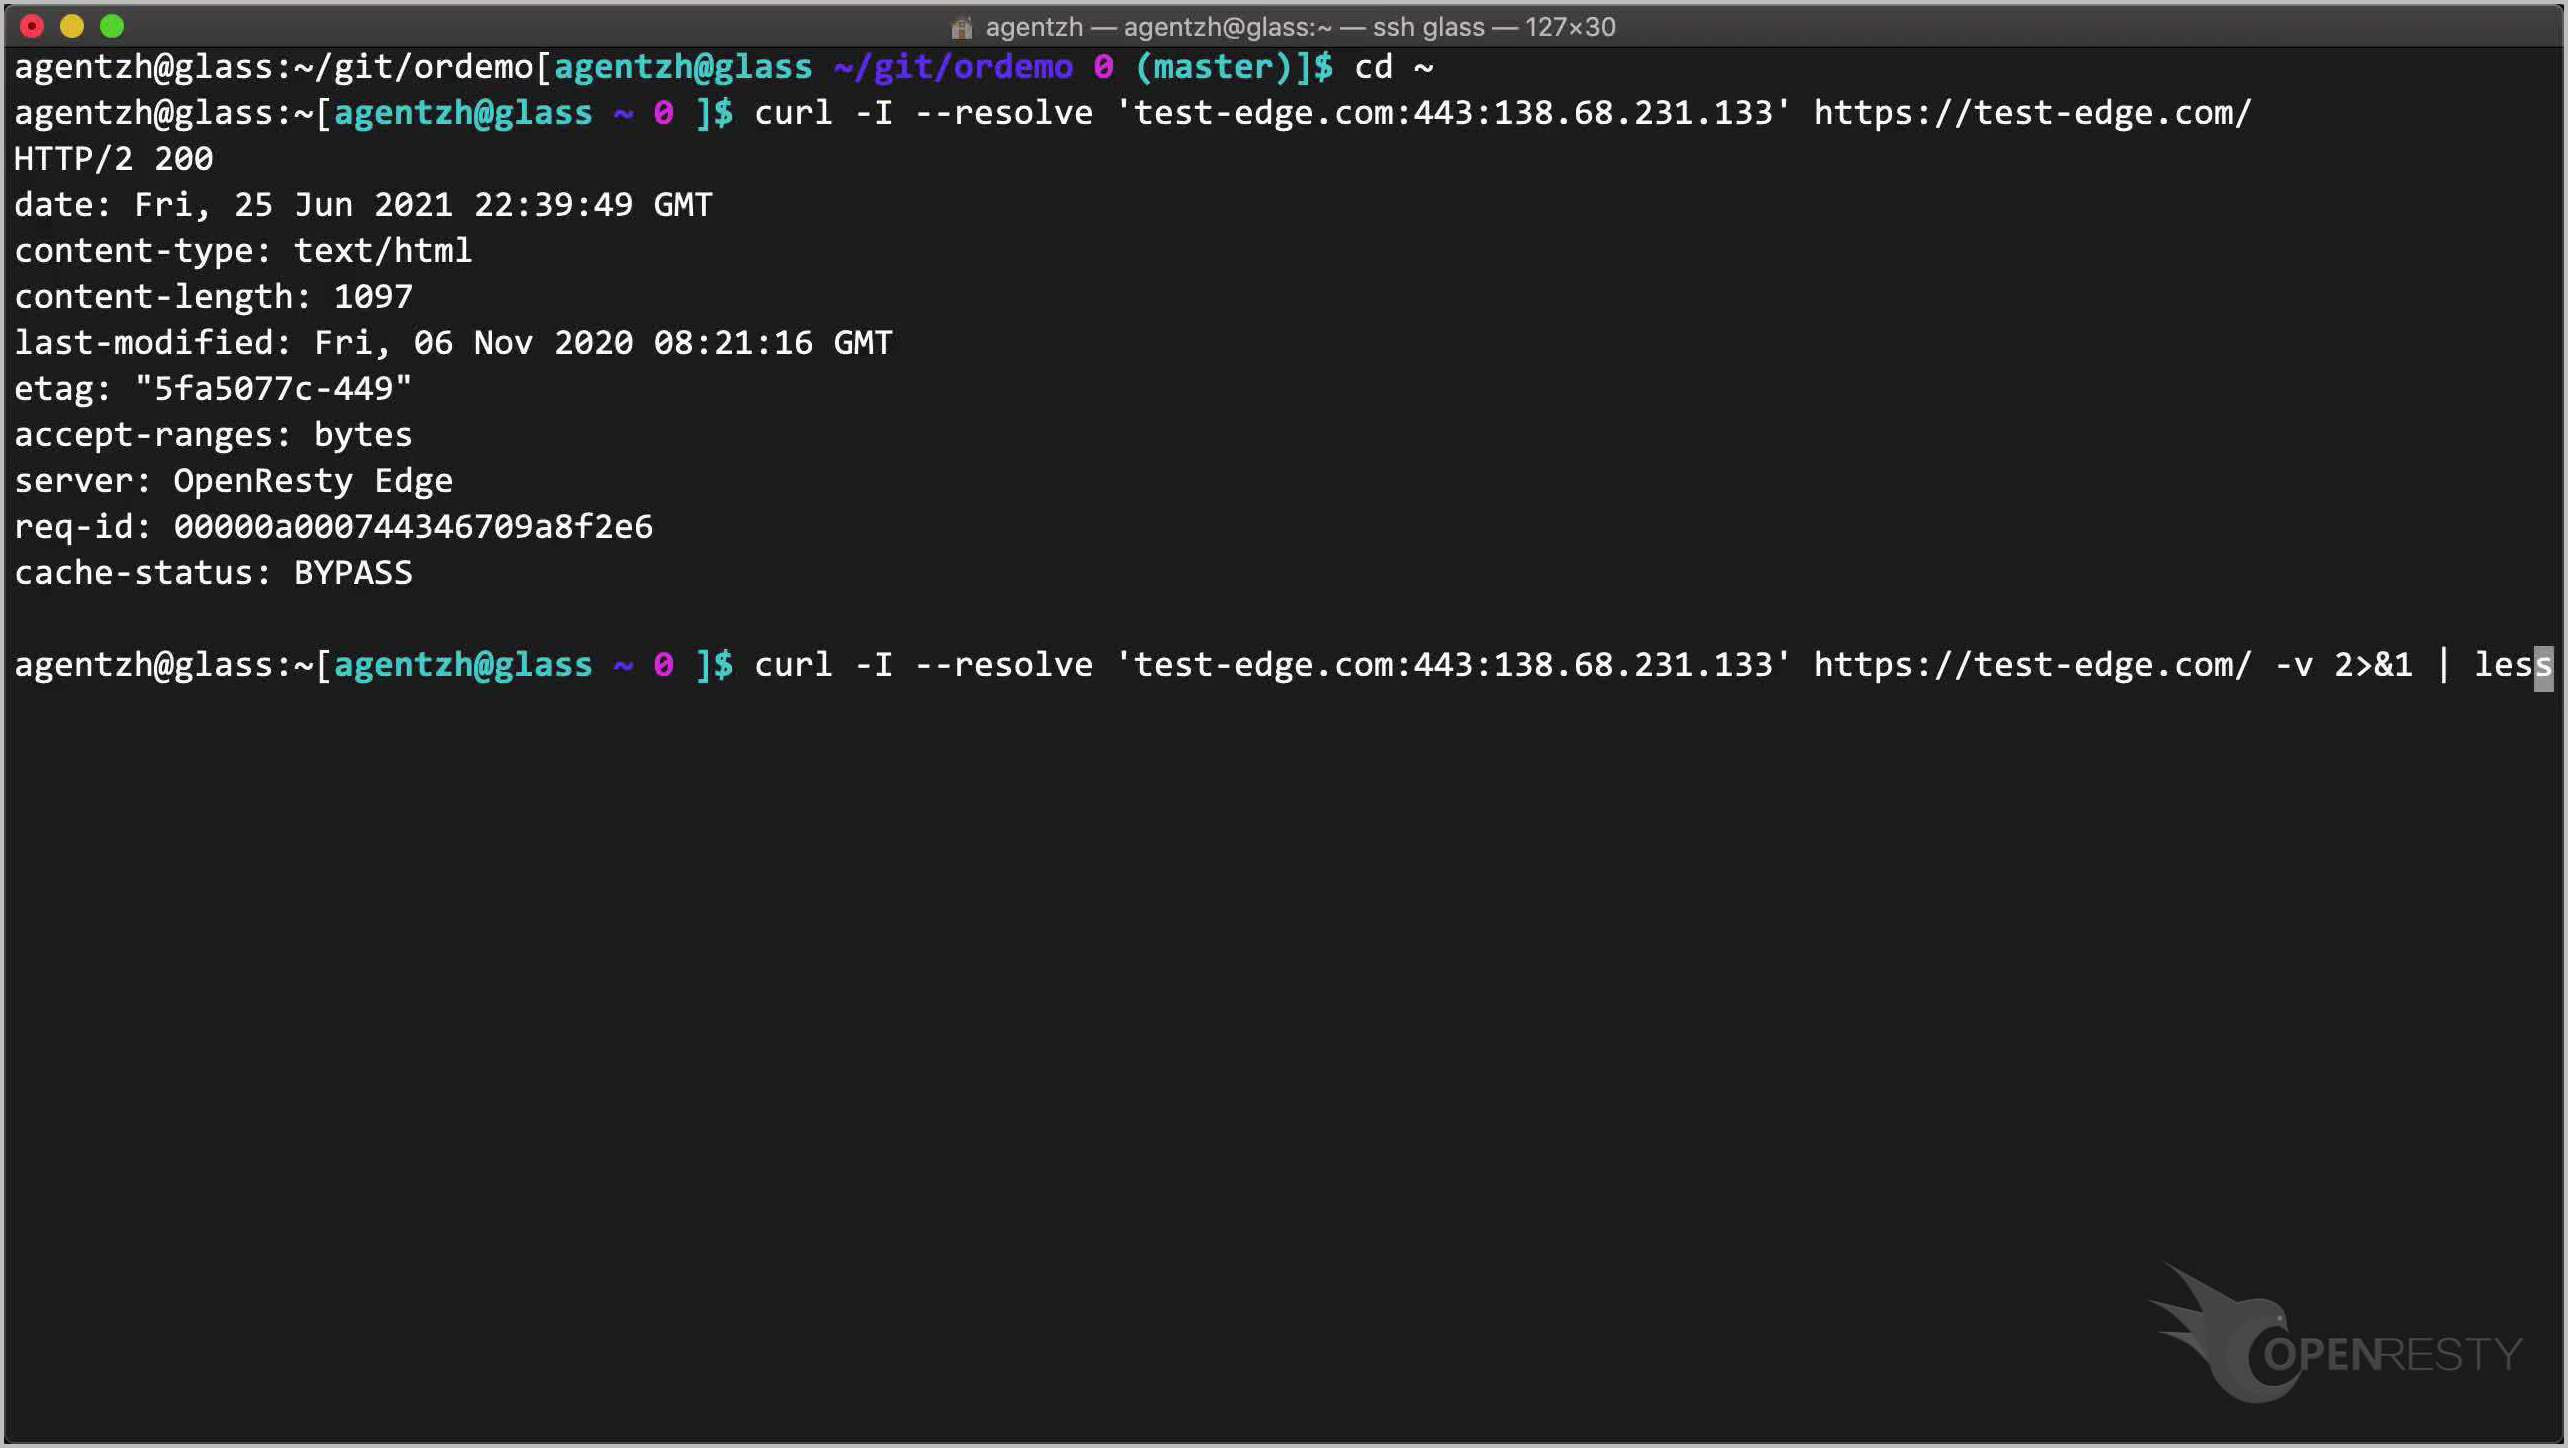
We can check more details like the certificate information by passing the -v option.
curl -I --resolve 'test-edge.com:443:138.68.231.133' https://test-edge.com/ -v
Run this command.
We can indeed see our server certificate here. We can also see the certificate is indeed issued by Let’s Encrypt.

What is OpenResty Edge
OpenResty Edge is our all-in-one gateway software for microservices and distributed traffic architectures. It combines traffic management, private CDN construction, API gateway, security, and more to help you easily build, manage, and protect modern applications. OpenResty Edge delivers industry-leading performance and scalability to meet the demanding needs of high concurrency, high load scenarios. It supports scheduling containerized application traffic such as K8s and manages massive domains, making it easy to meet the needs of large websites and complex applications.
If you like this tutorial, please subscribe to this blog site and/or our YouTube channel. Thank you!
About The Author
Yichun Zhang (Github handle: agentzh), is the original creator of the OpenResty® open-source project and the CEO of OpenResty Inc..
Yichun is one of the earliest advocates and leaders of “open-source technology”. He worked at many internationally renowned tech companies, such as Cloudflare, Yahoo!. He is a pioneer of “edge computing”, “dynamic tracing” and “machine coding”, with over 22 years of programming and 16 years of open source experience. Yichun is well-known in the open-source space as the project leader of OpenResty®, adopted by more than 40 million global website domains.
OpenResty Inc., the enterprise software start-up founded by Yichun in 2017, has customers from some of the biggest companies in the world. Its flagship product, OpenResty XRay, is a non-invasive profiling and troubleshooting tool that significantly enhances and utilizes dynamic tracing technology. And its OpenResty Edge product is a powerful distributed traffic management and private CDN software product.
As an avid open-source contributor, Yichun has contributed more than a million lines of code to numerous open-source projects, including Linux kernel, Nginx, LuaJIT, GDB, SystemTap, LLVM, Perl, etc. He has also authored more than 60 open-source software libraries.
Related Articles
OpenResty XRay May 27, 2021

OpenResty XRay Jun 29, 2021

OpenResty XRay Oct 15, 2025

OpenResty XRay Oct 19, 2021

OpenResty XRay Sep 16, 2021