Configure DNS Records in OpenResty Edge
OpenResty Edge can serve as authoritative DNS servers directly. This tutorial shows how to configure DNS records and DNS geo-sensitive dispatch rules in OpenResty Edge.
Adding DNS records
Let’s go to the OpenResty Edge’s Admin web console. This is our sample deployment of the console. Every user has her own deployment.
Go to the DNS management page.
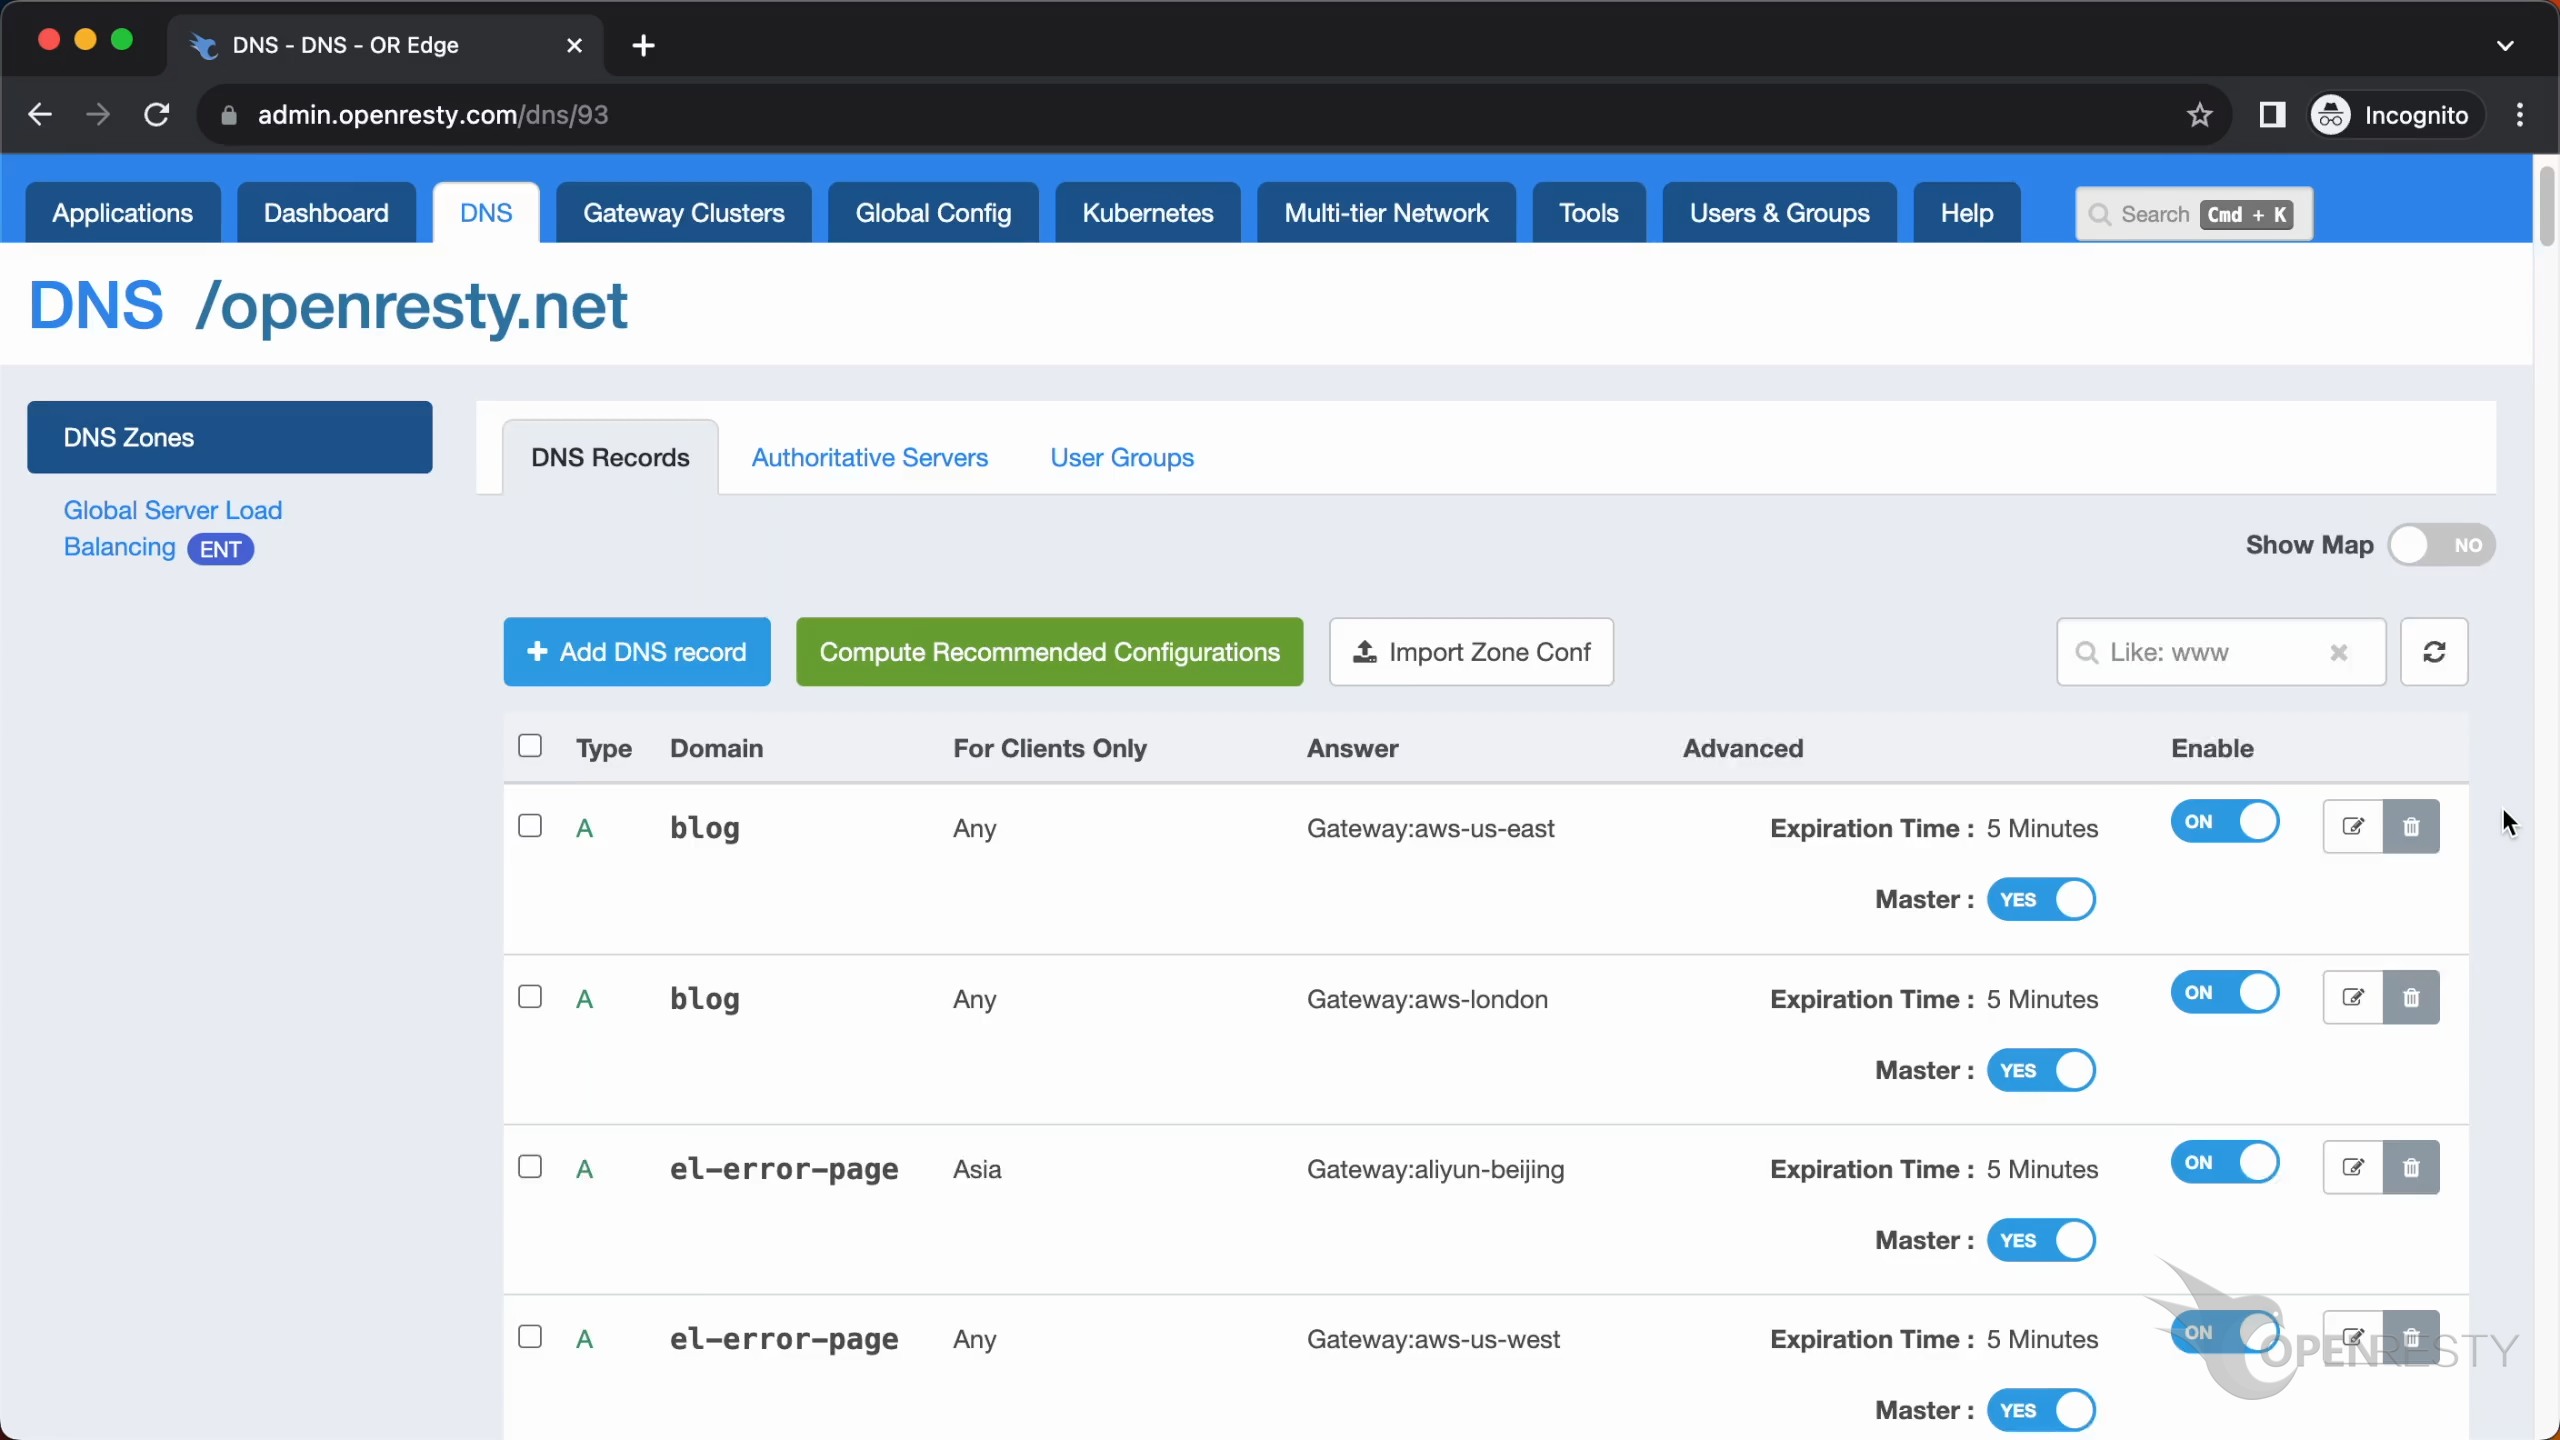
Click on “openresty.net” to see how a DNS application works and how it is configured.
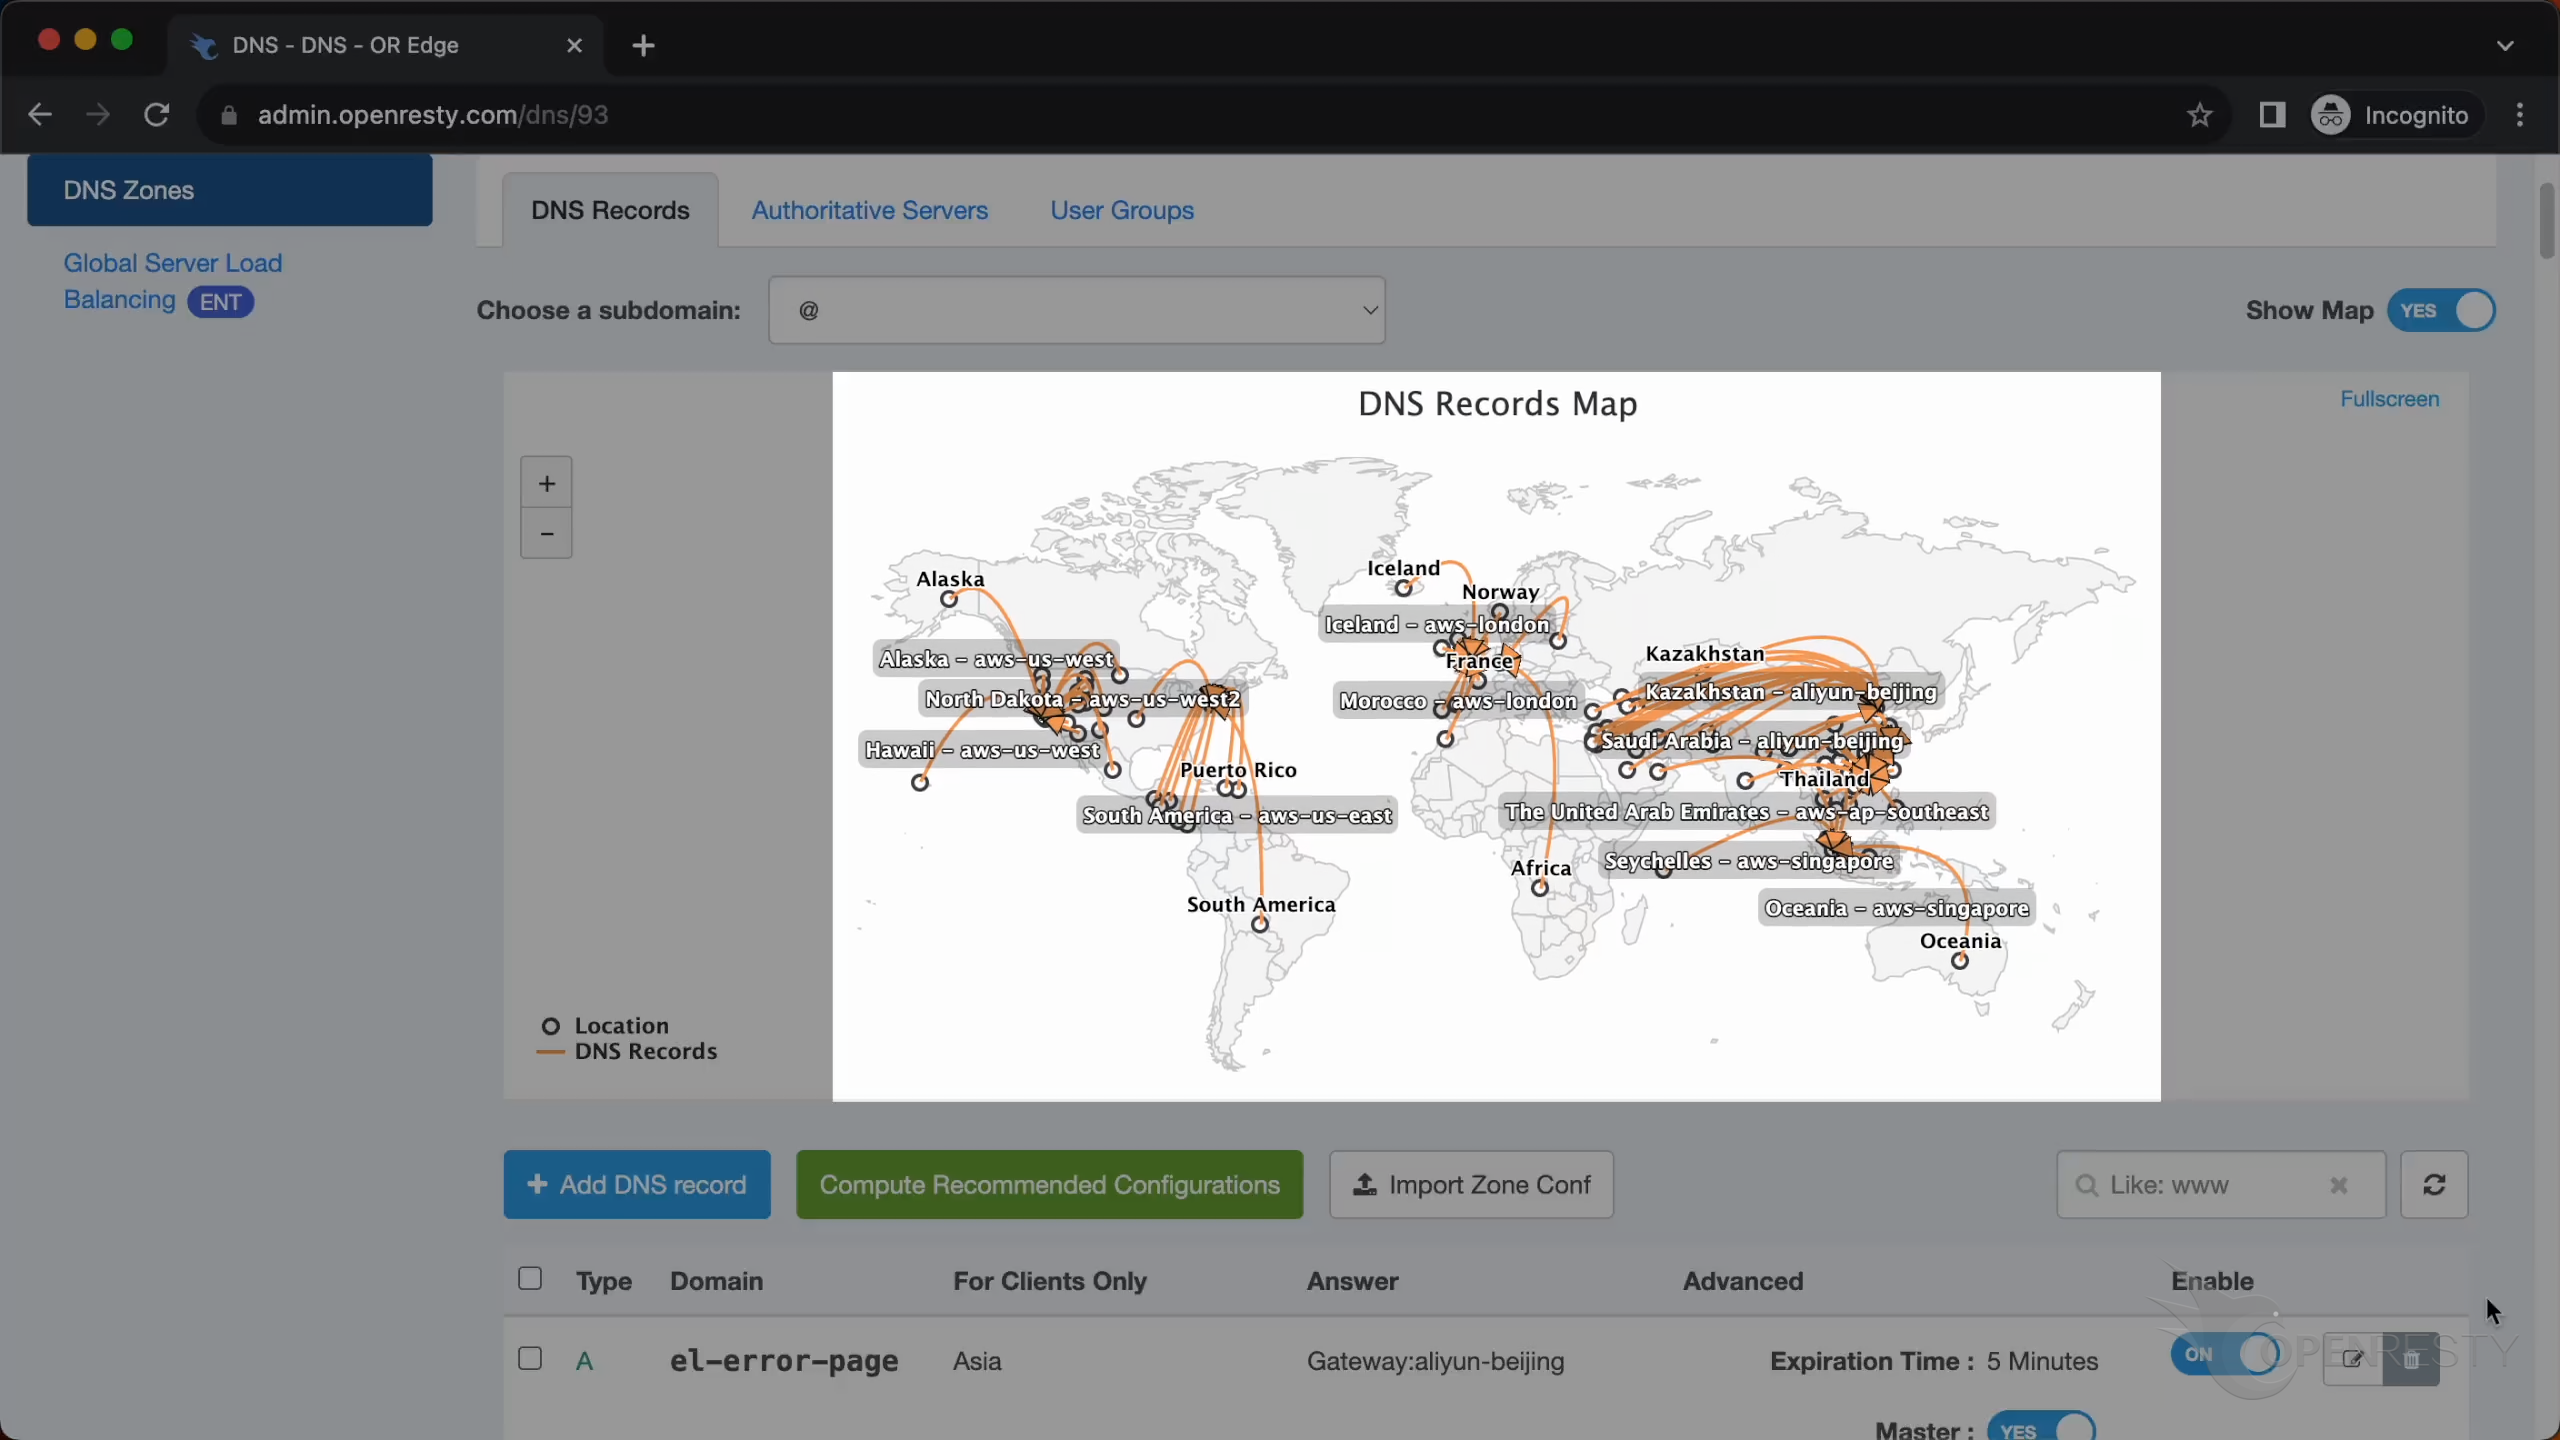
First, you can see the DNS record mapping chart, which clearly shows the DNS resolution status in different regions.
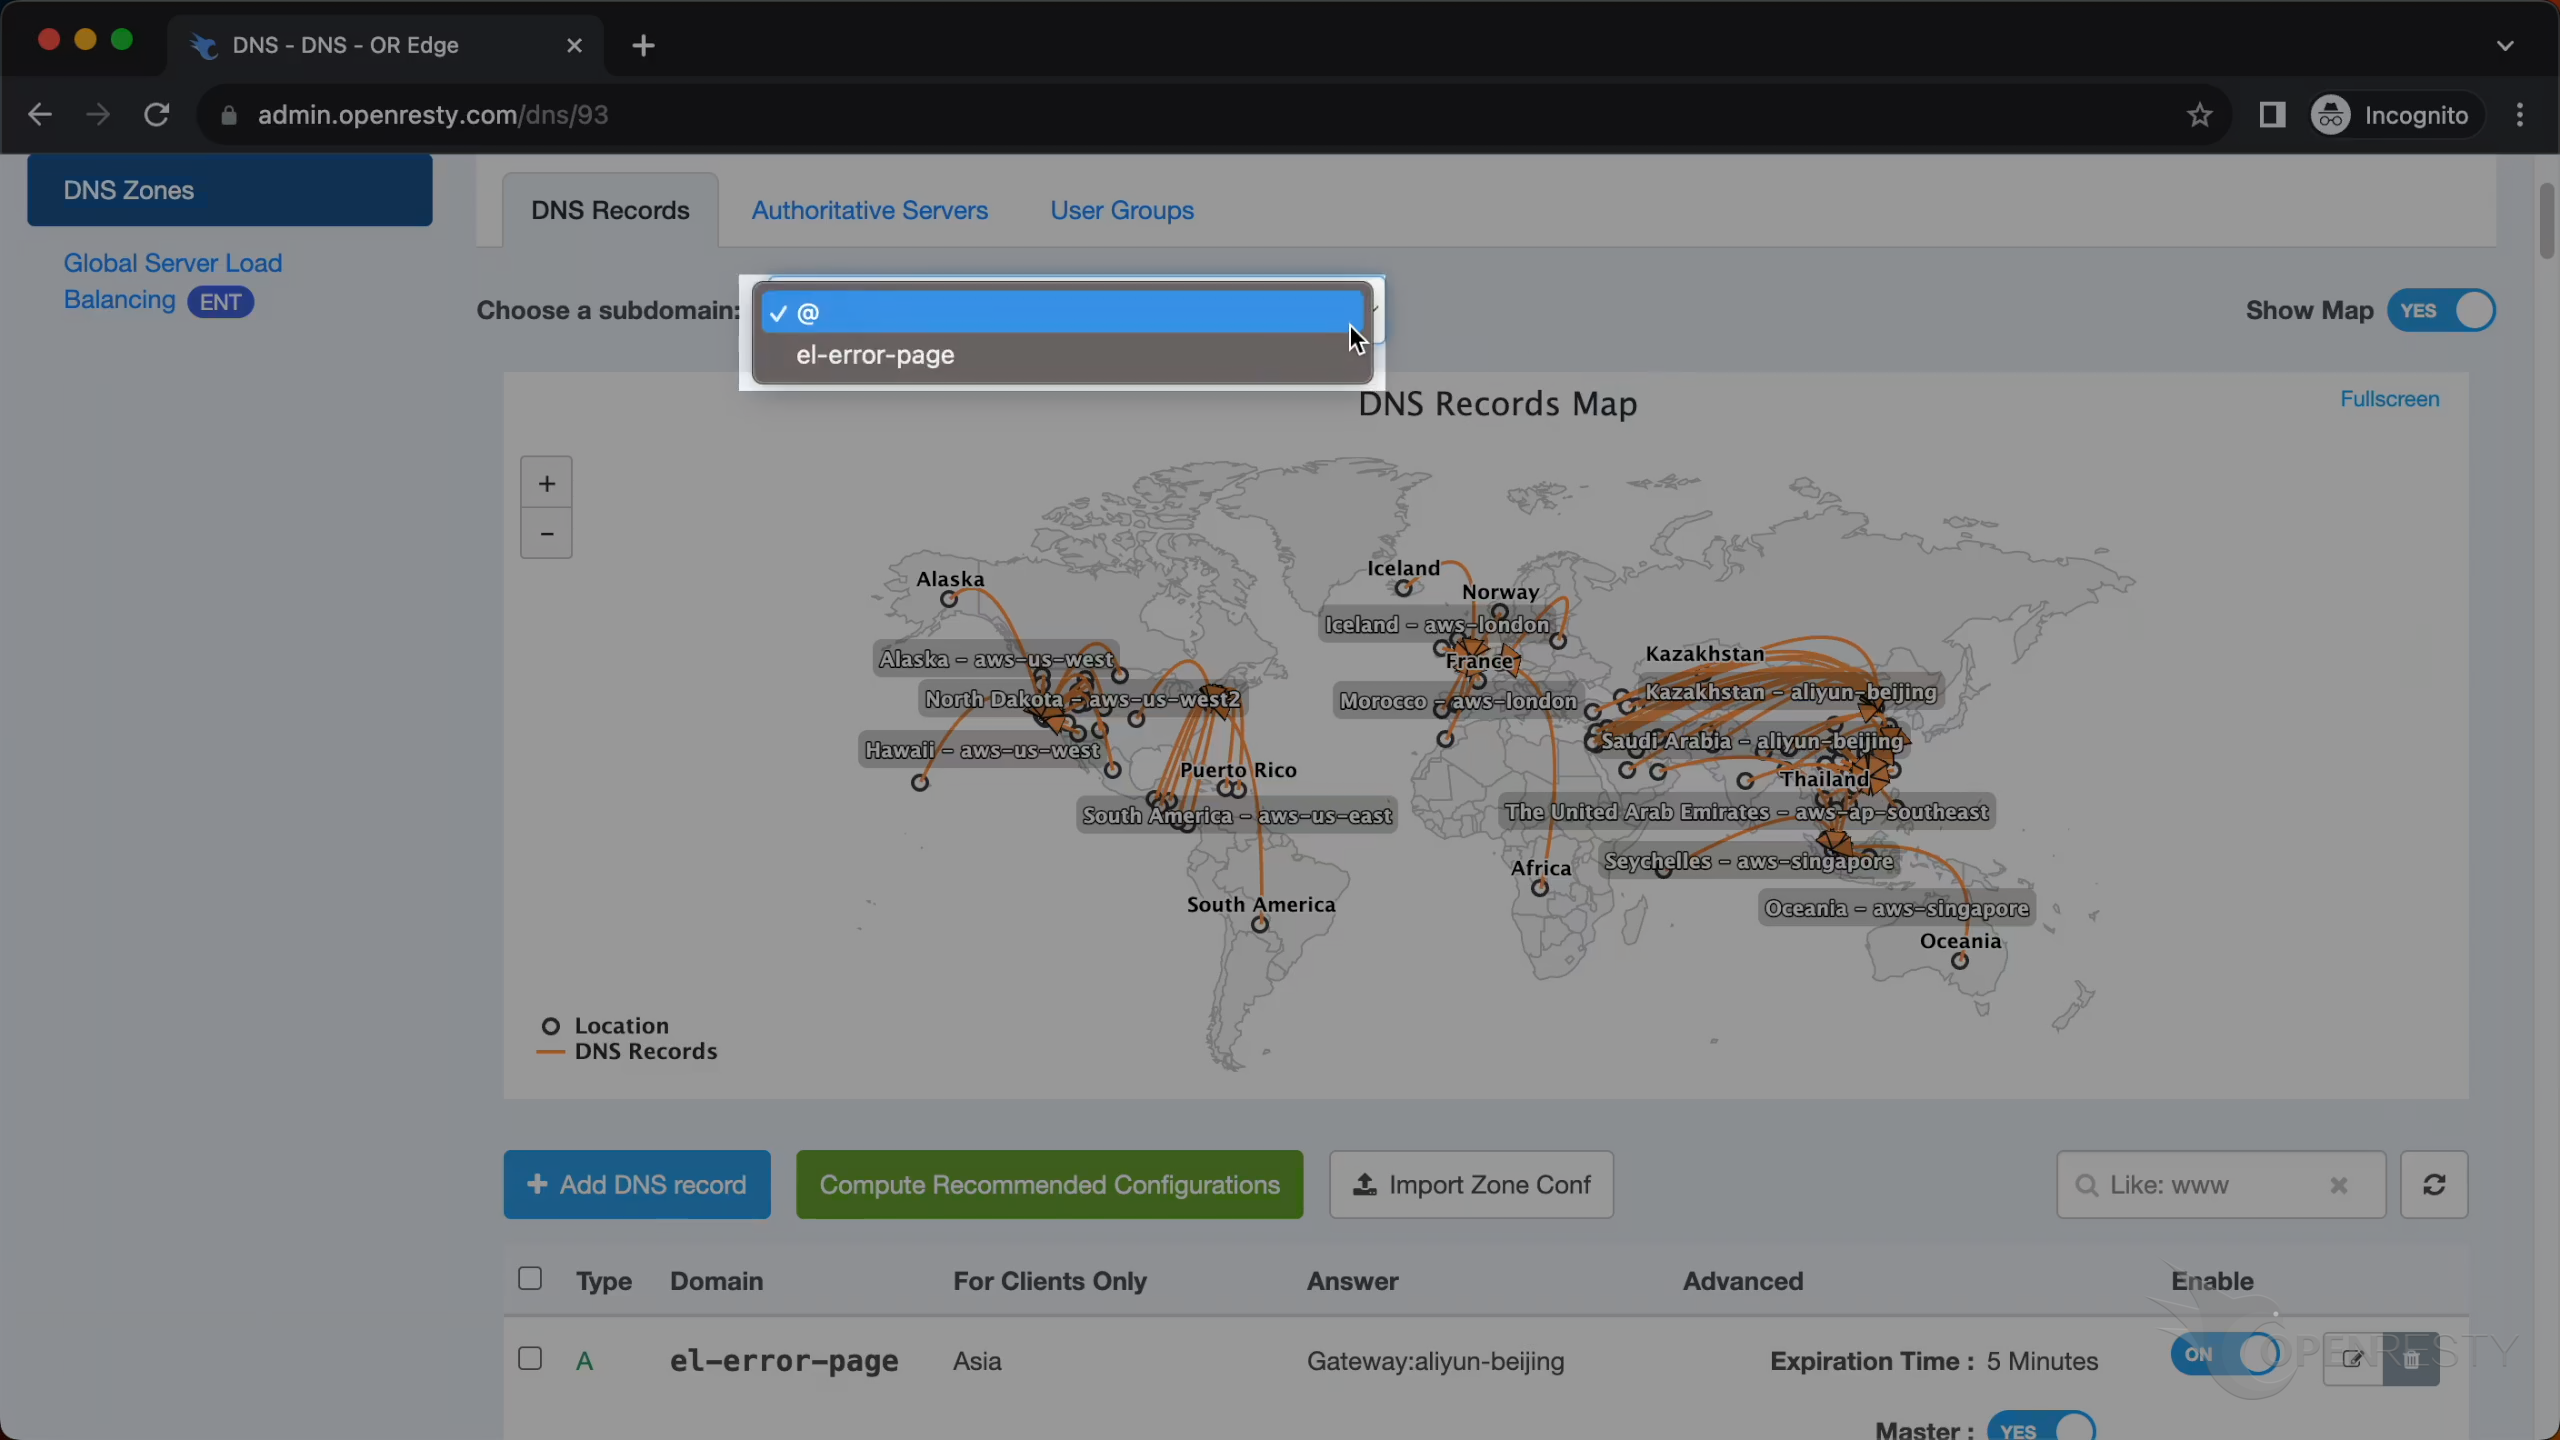
You can choose different subdomains here.
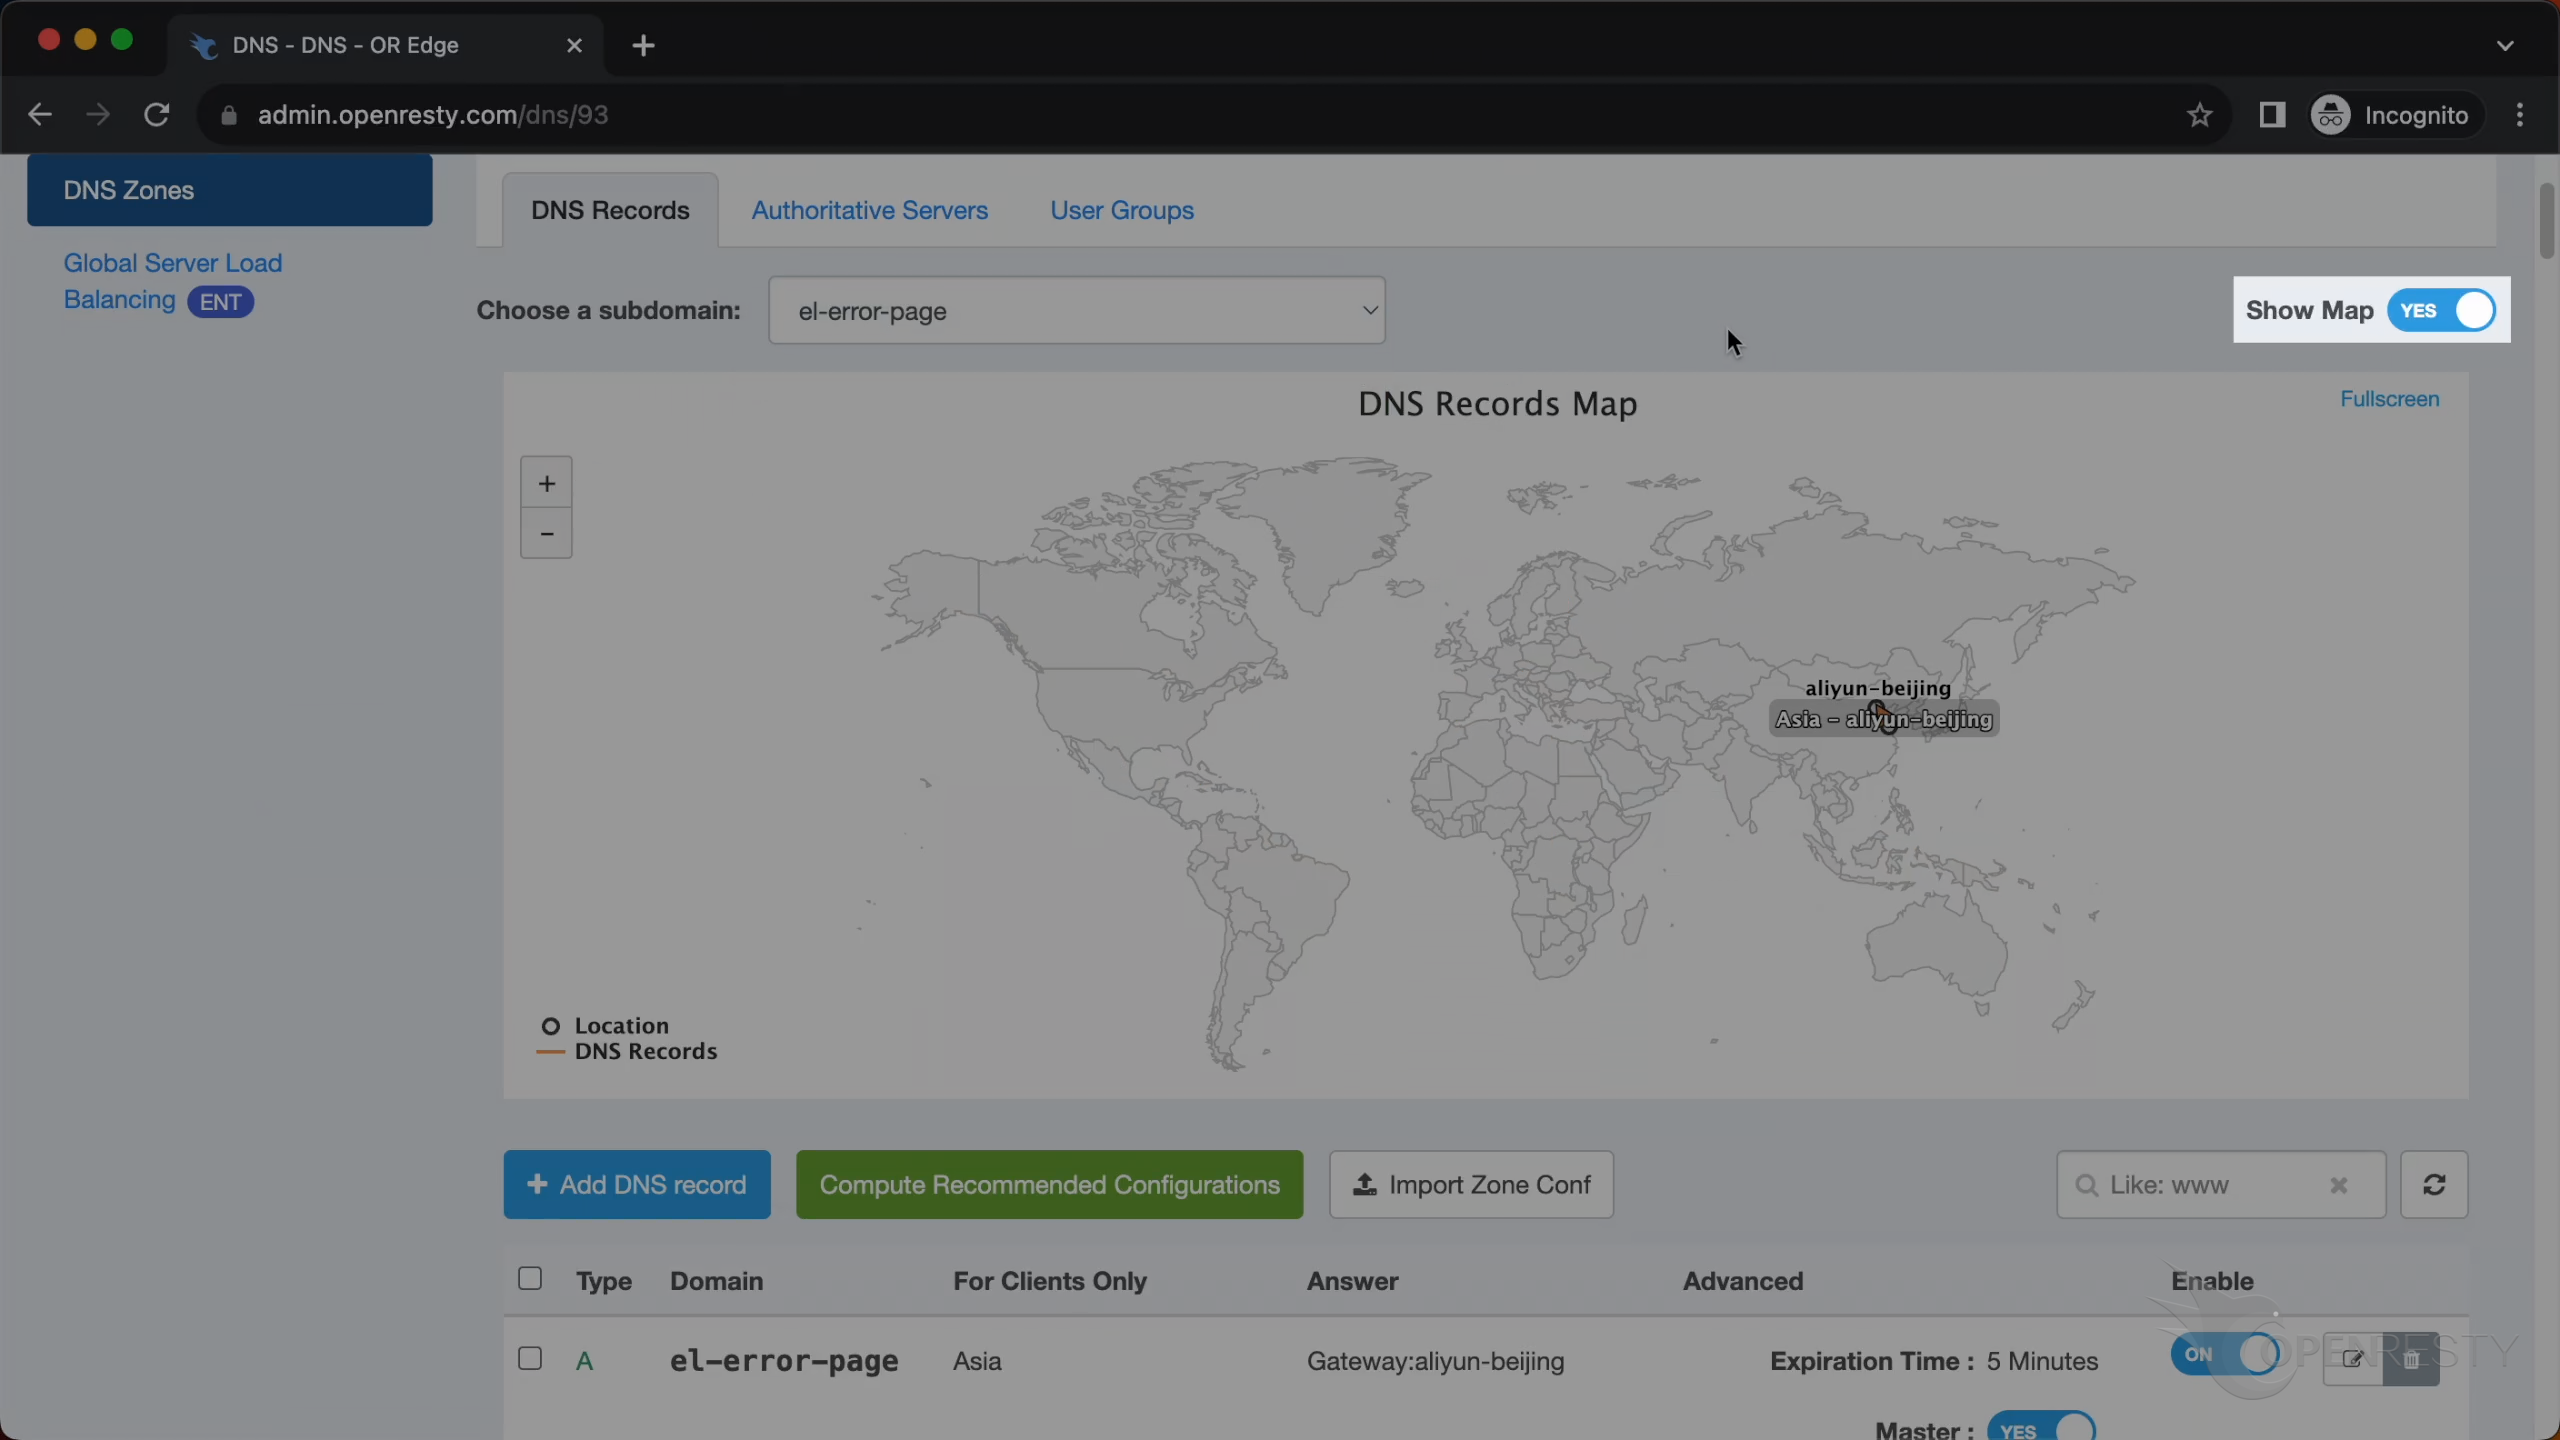
You can use this switch to toggle the mapping chart on or off.
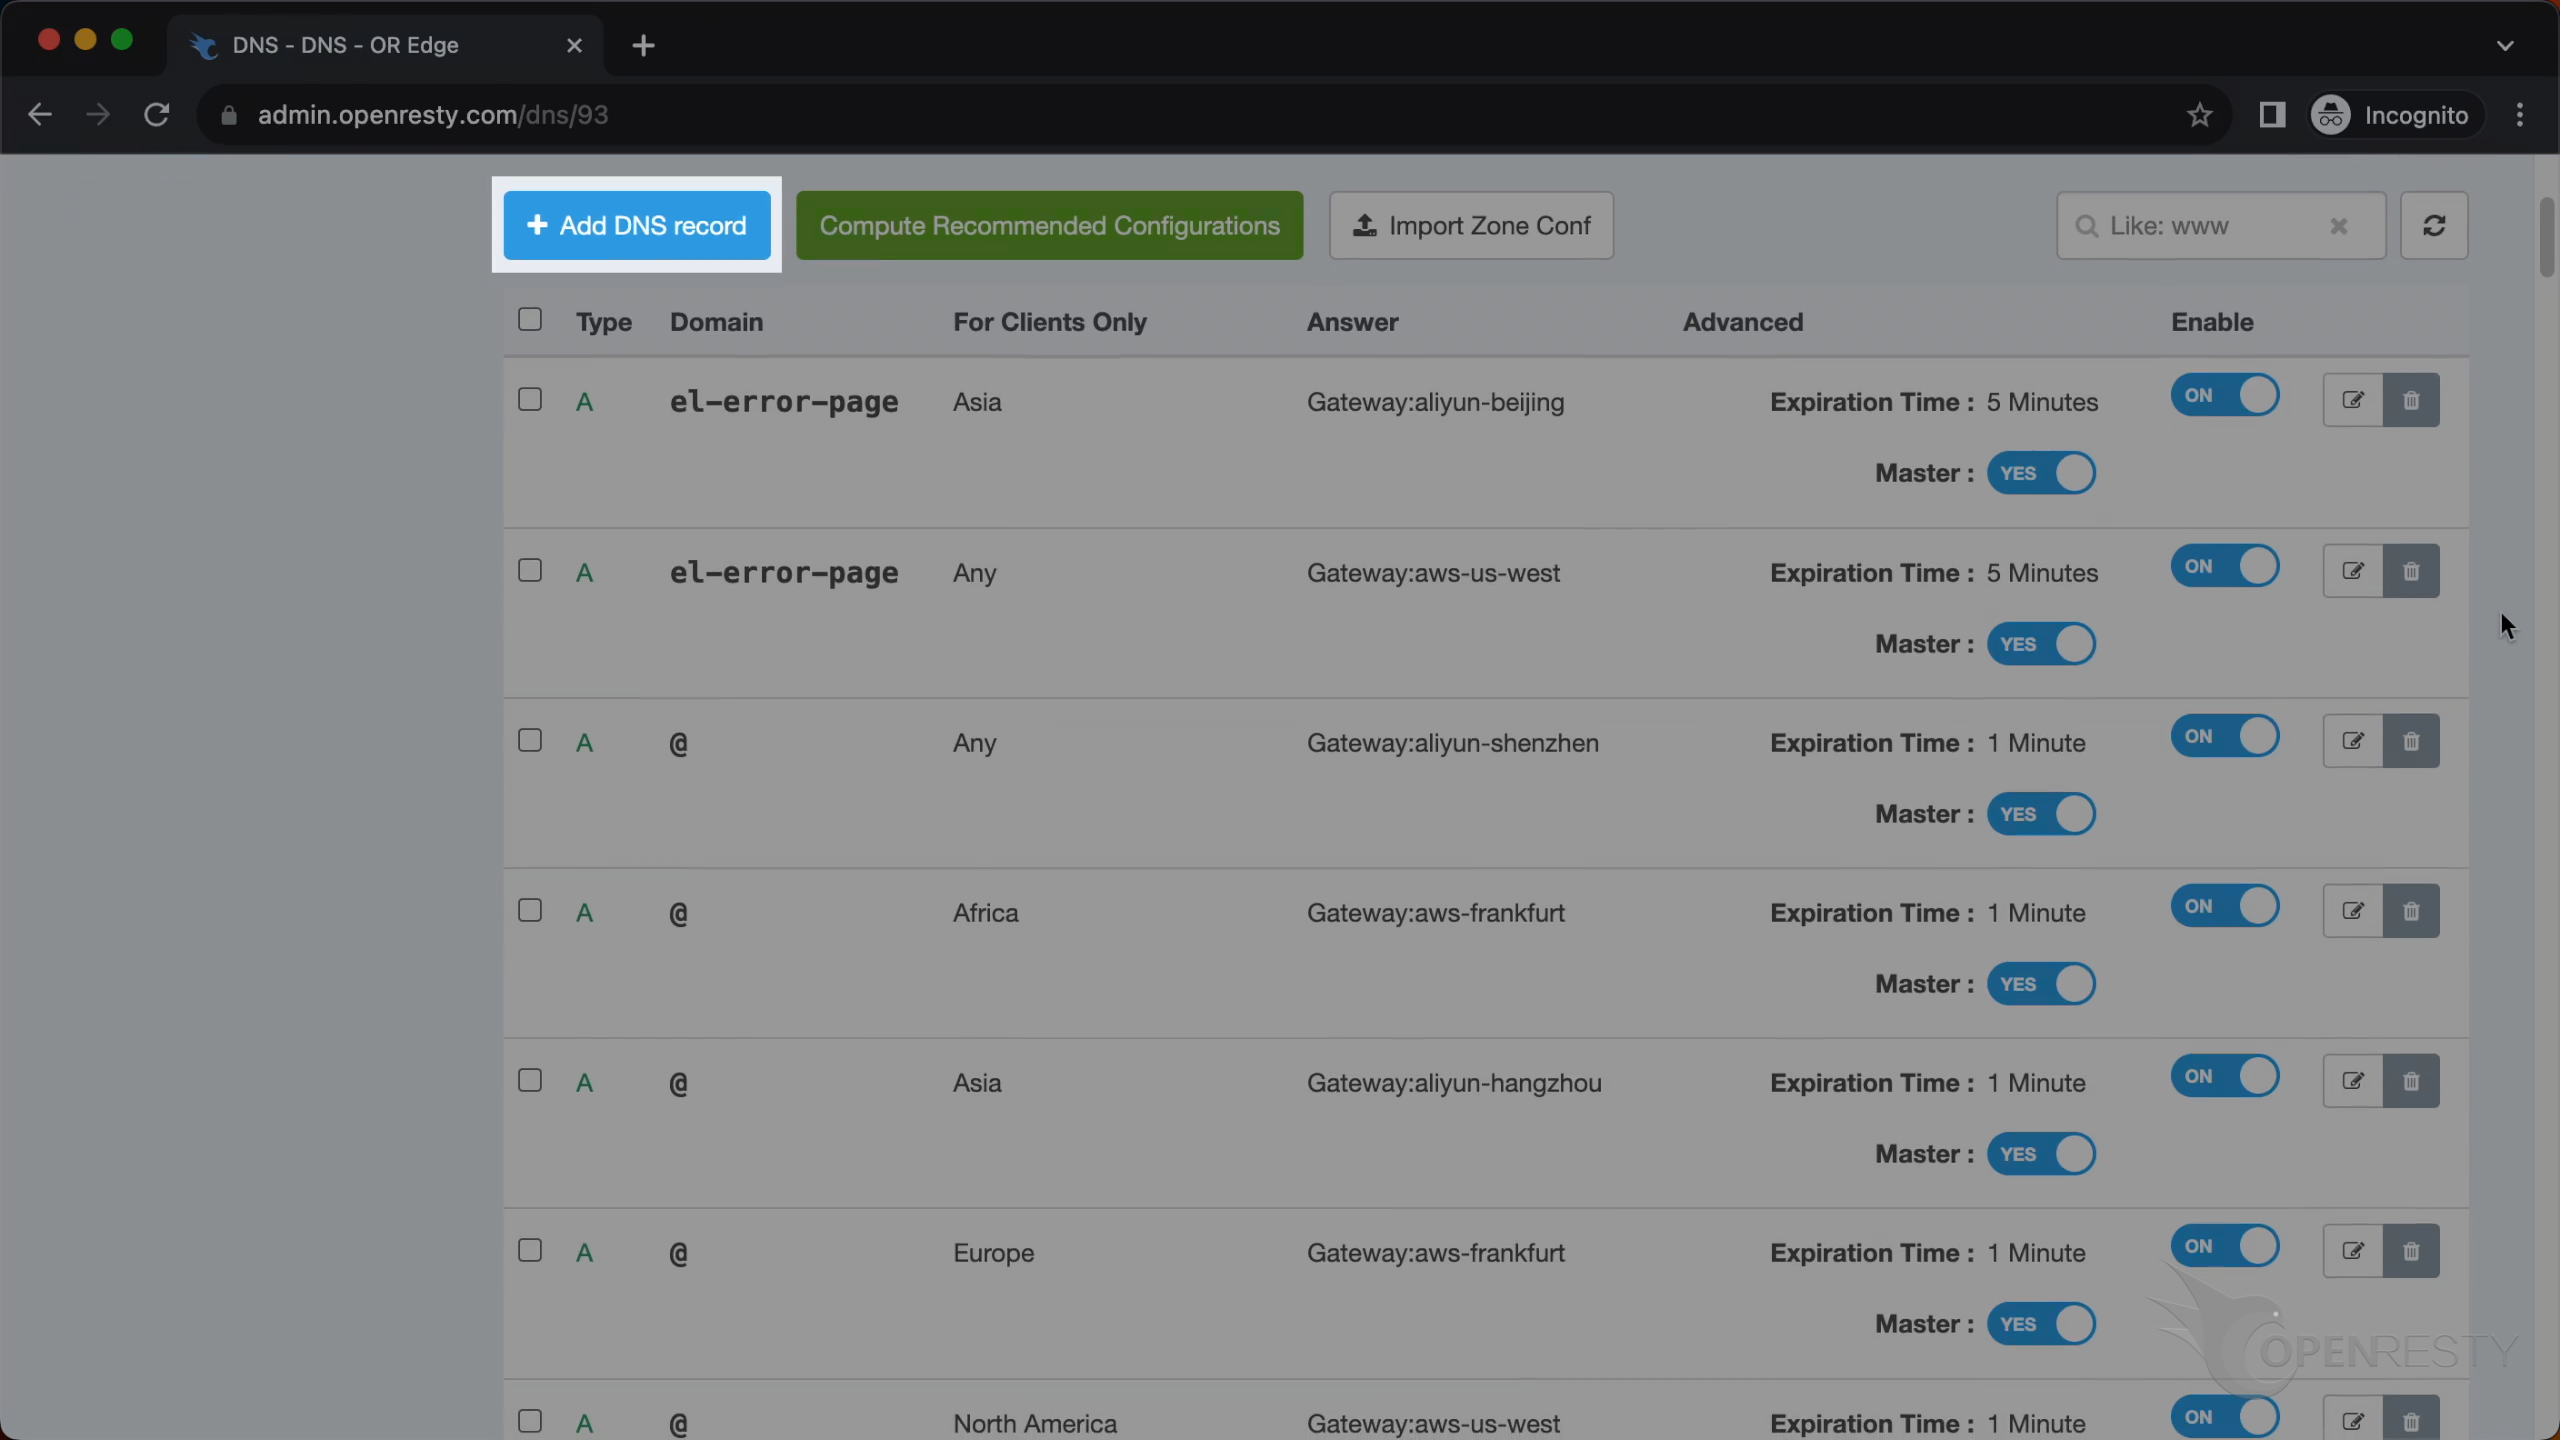
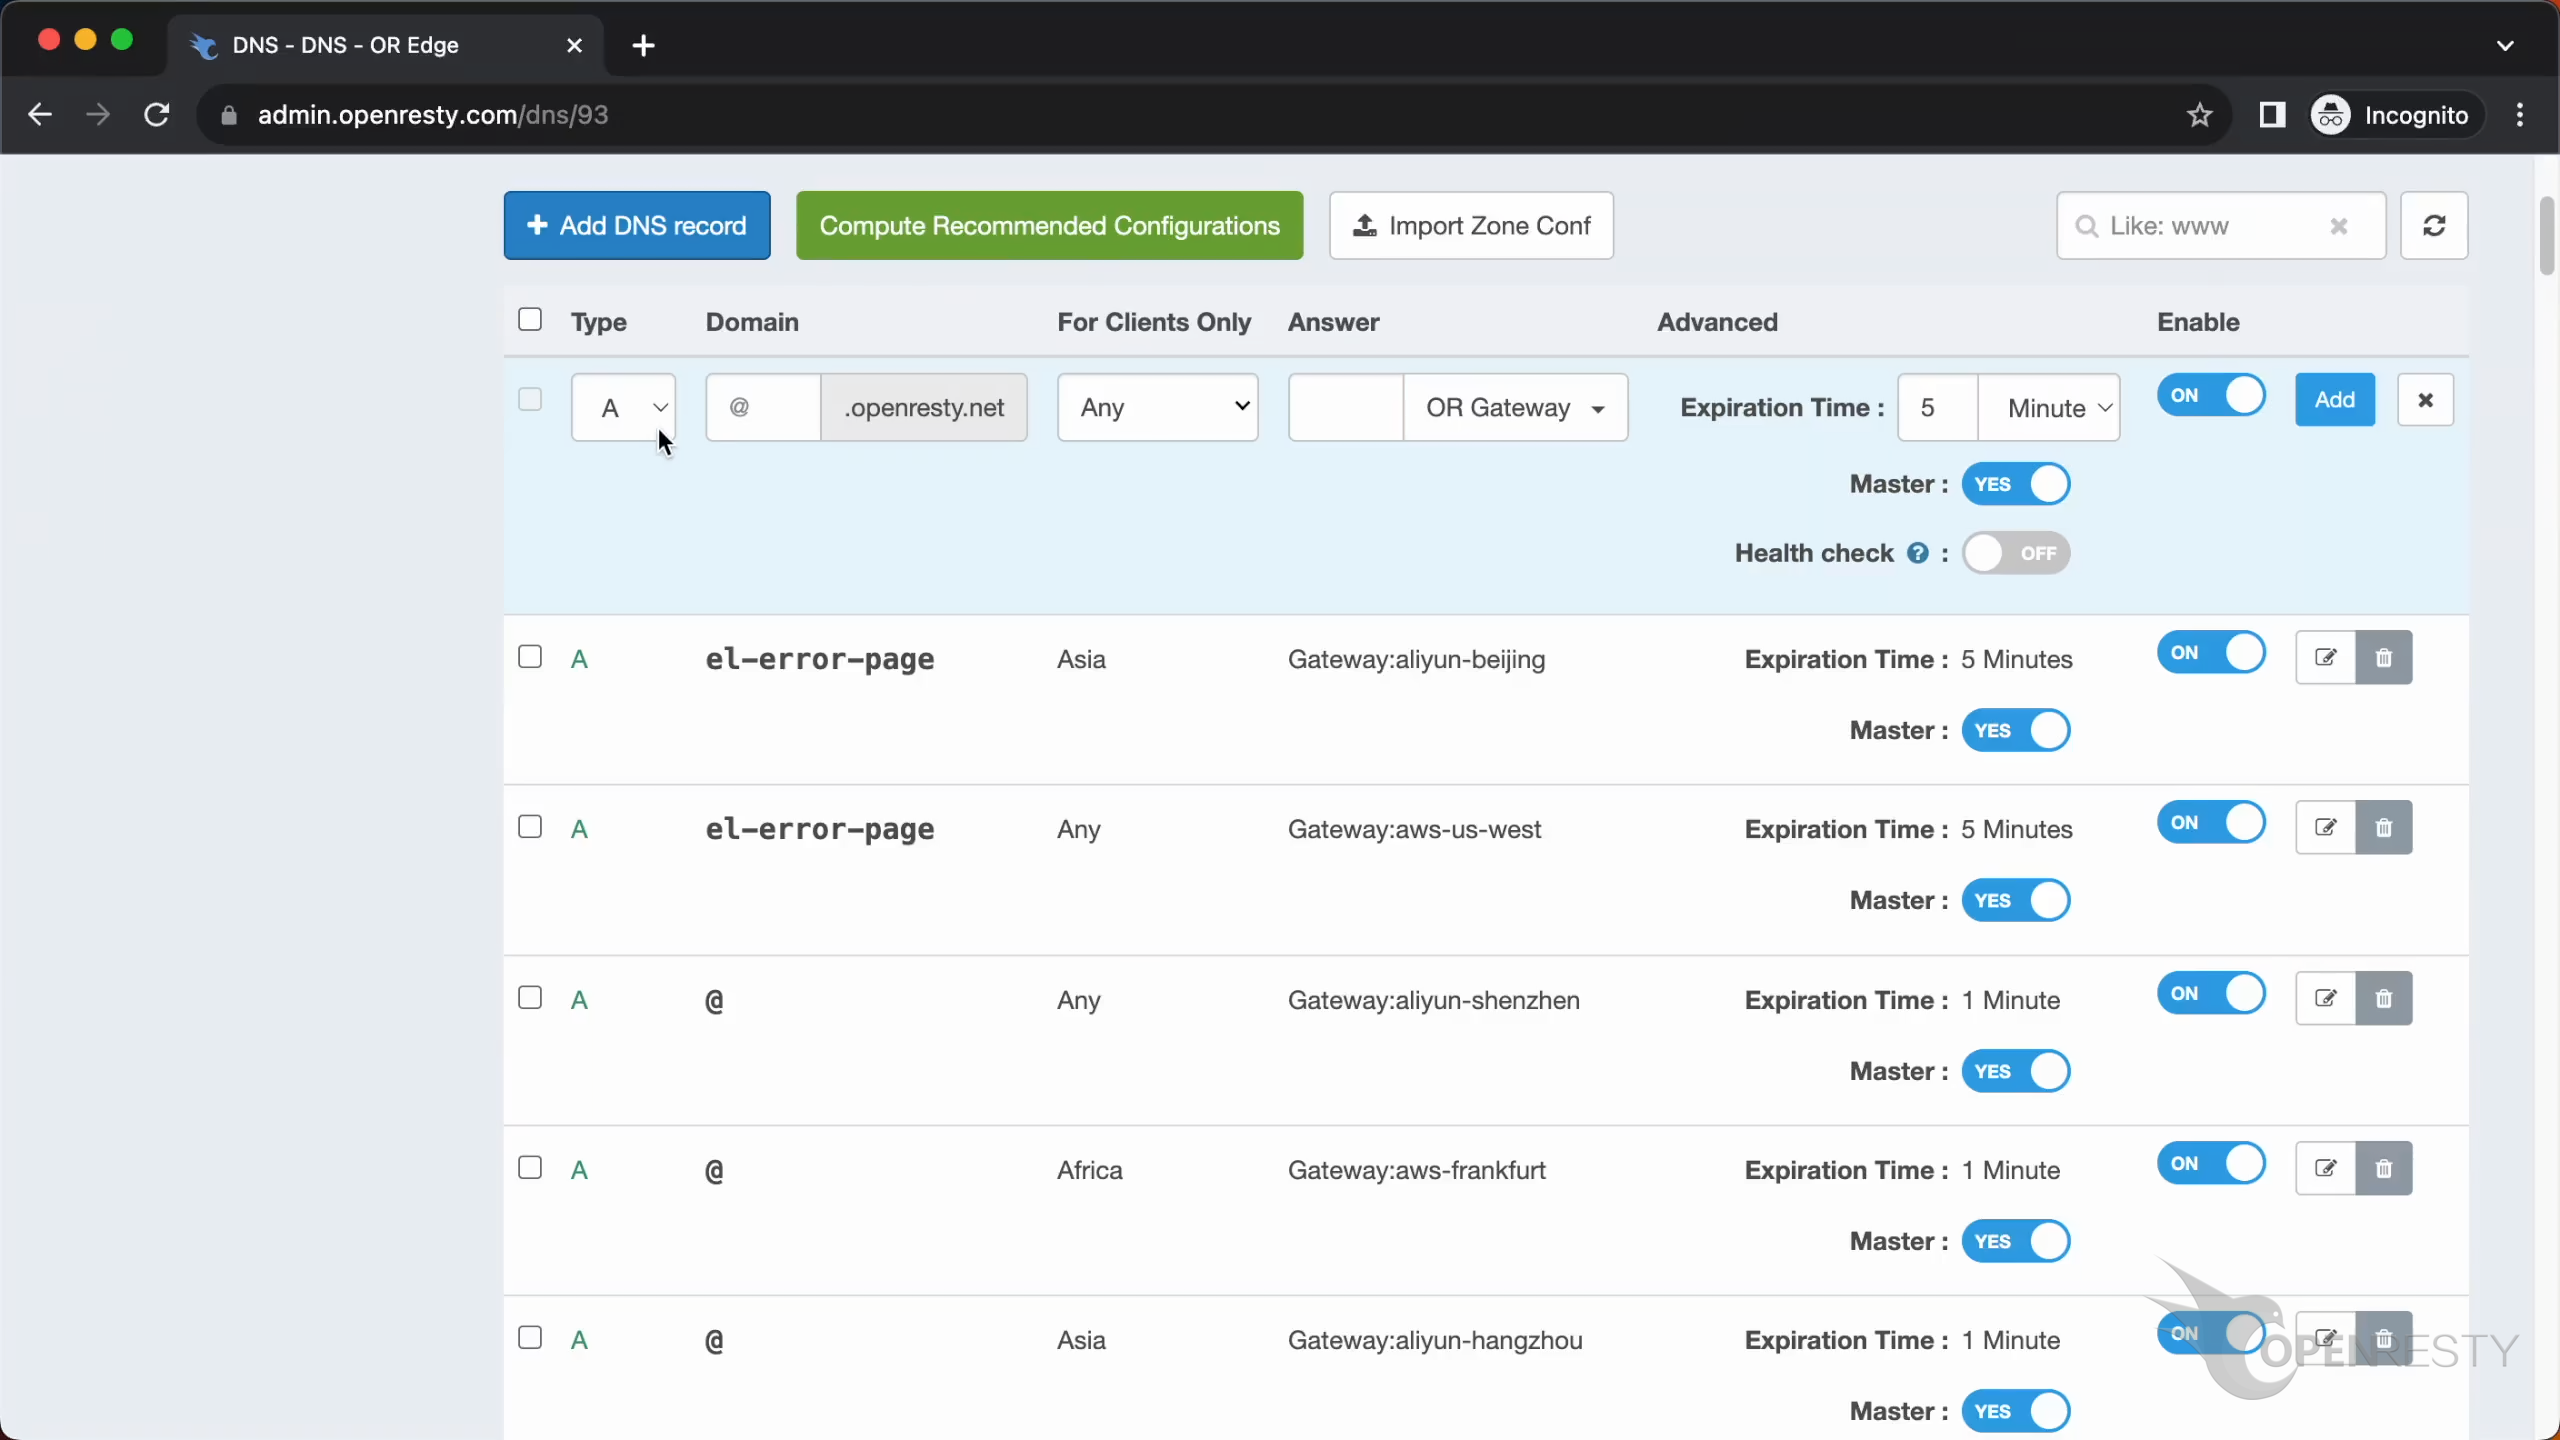
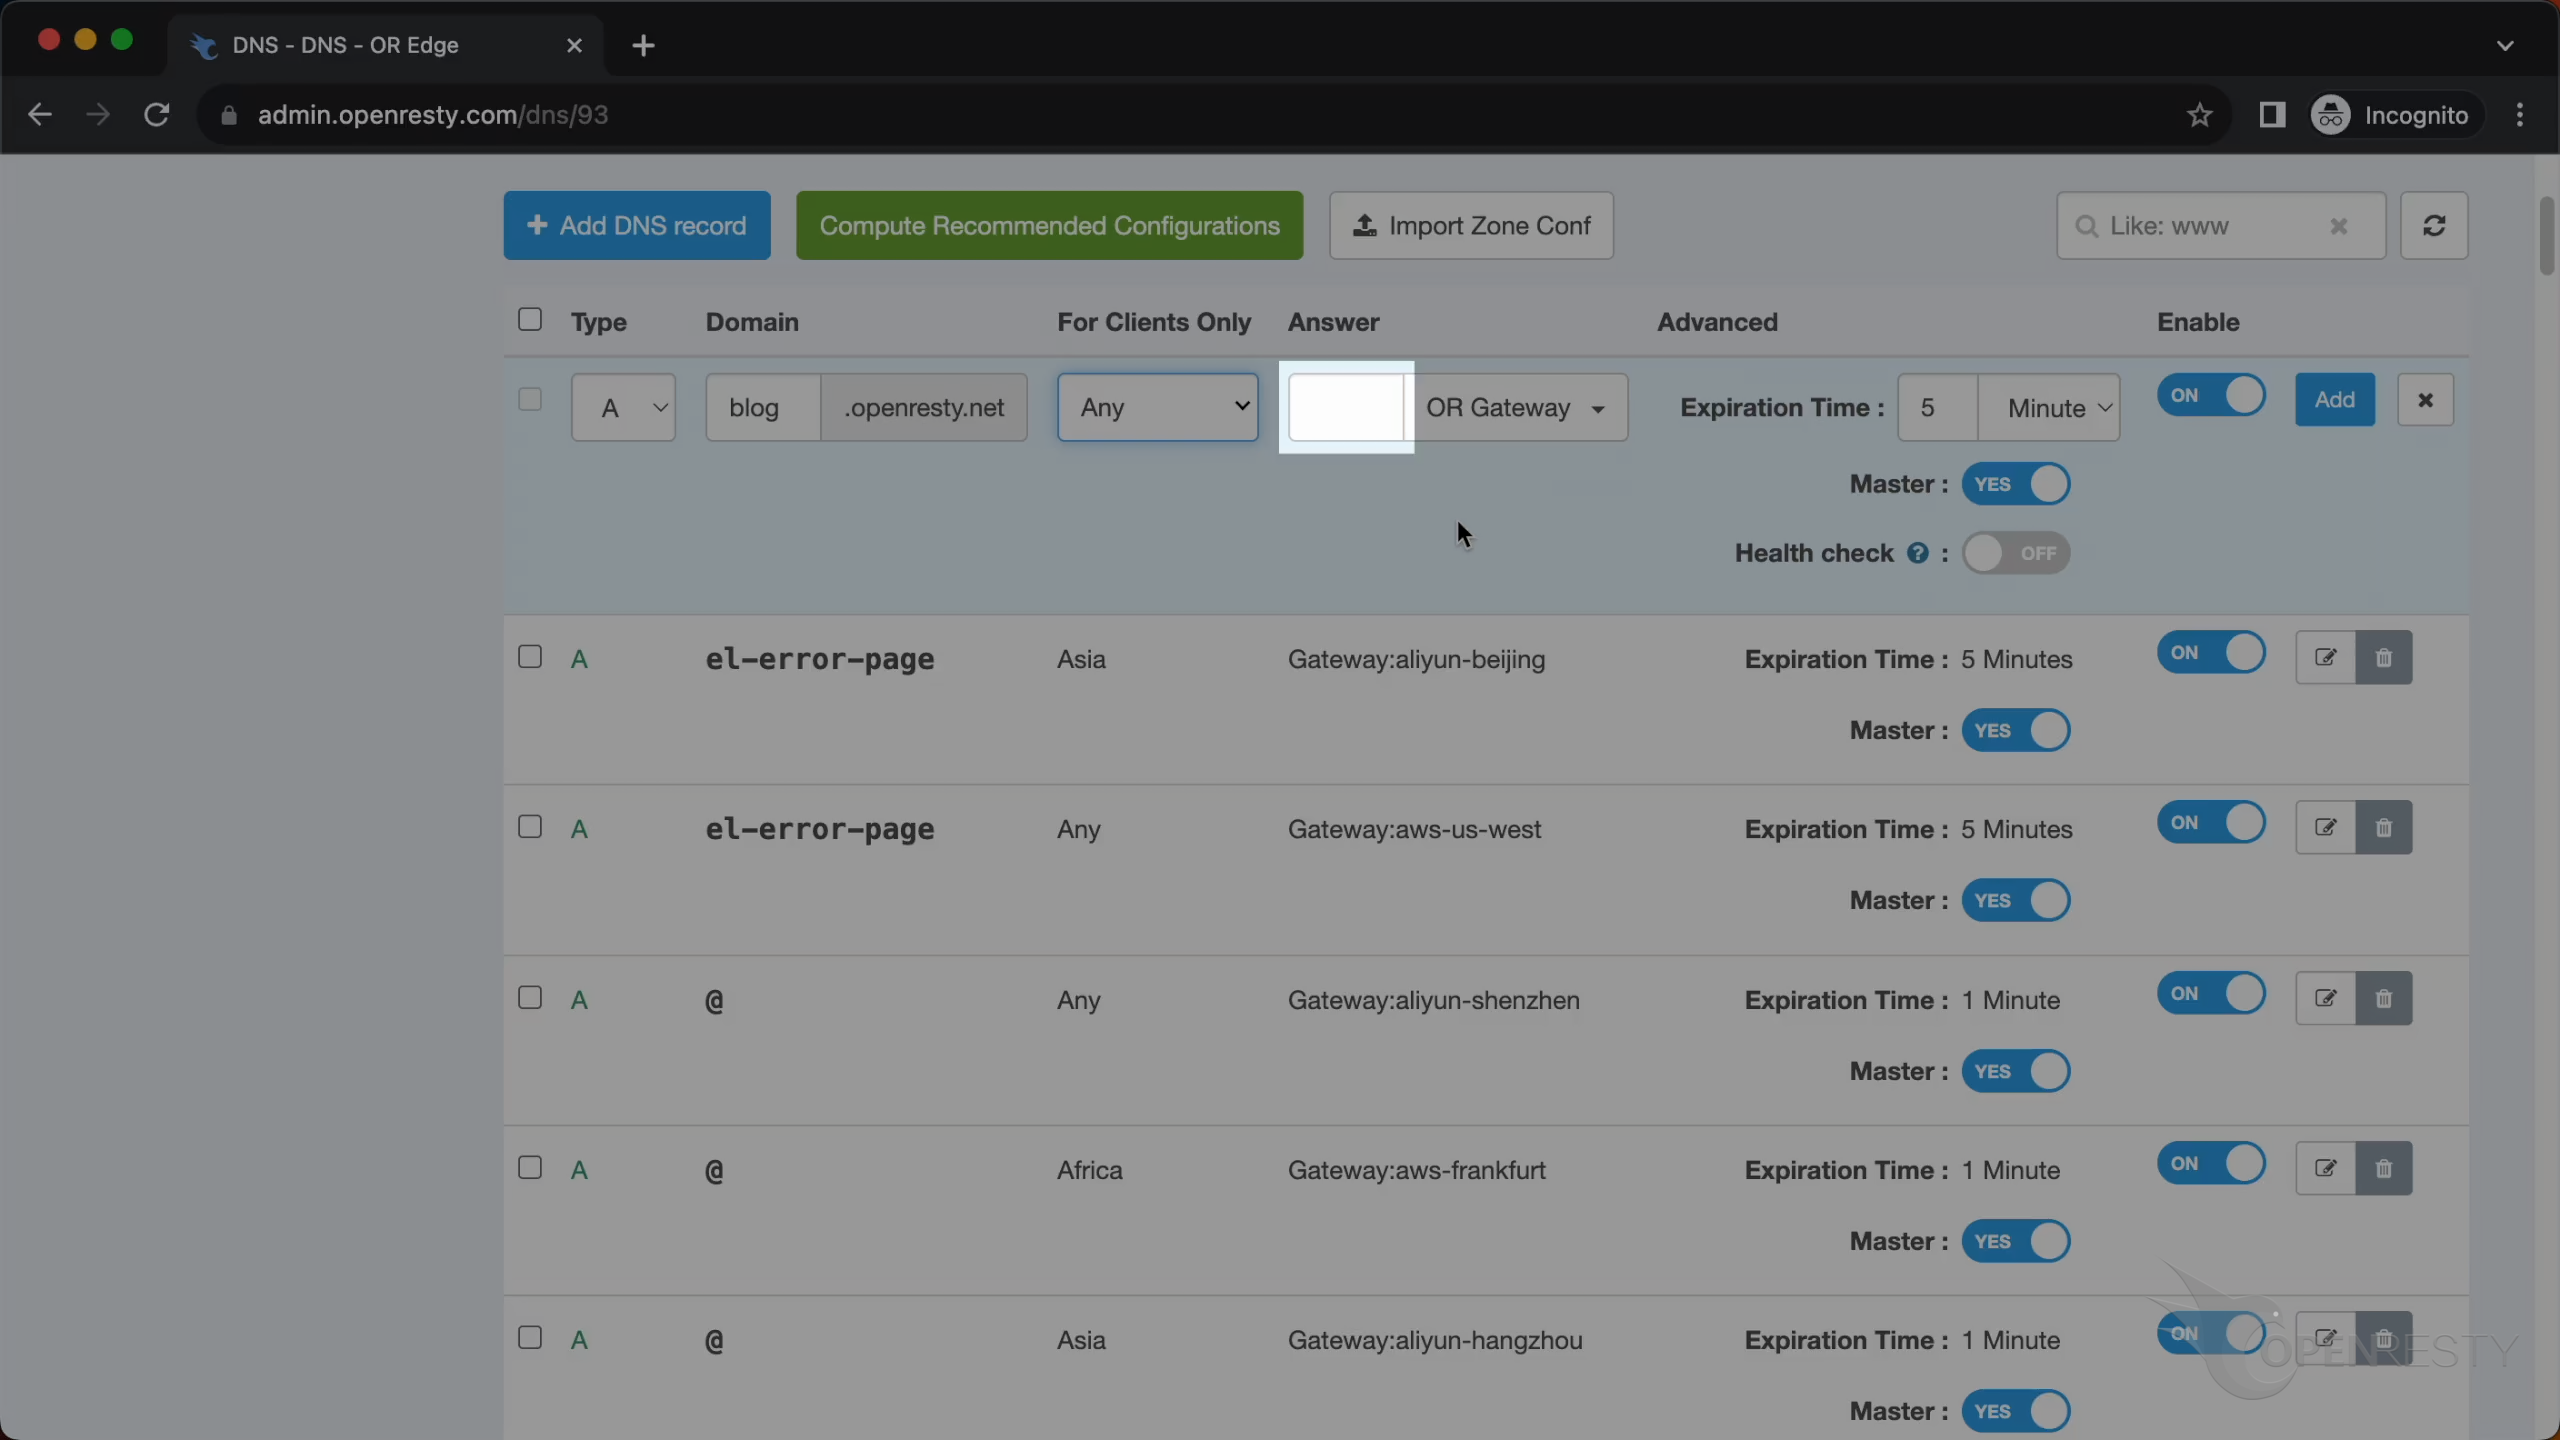
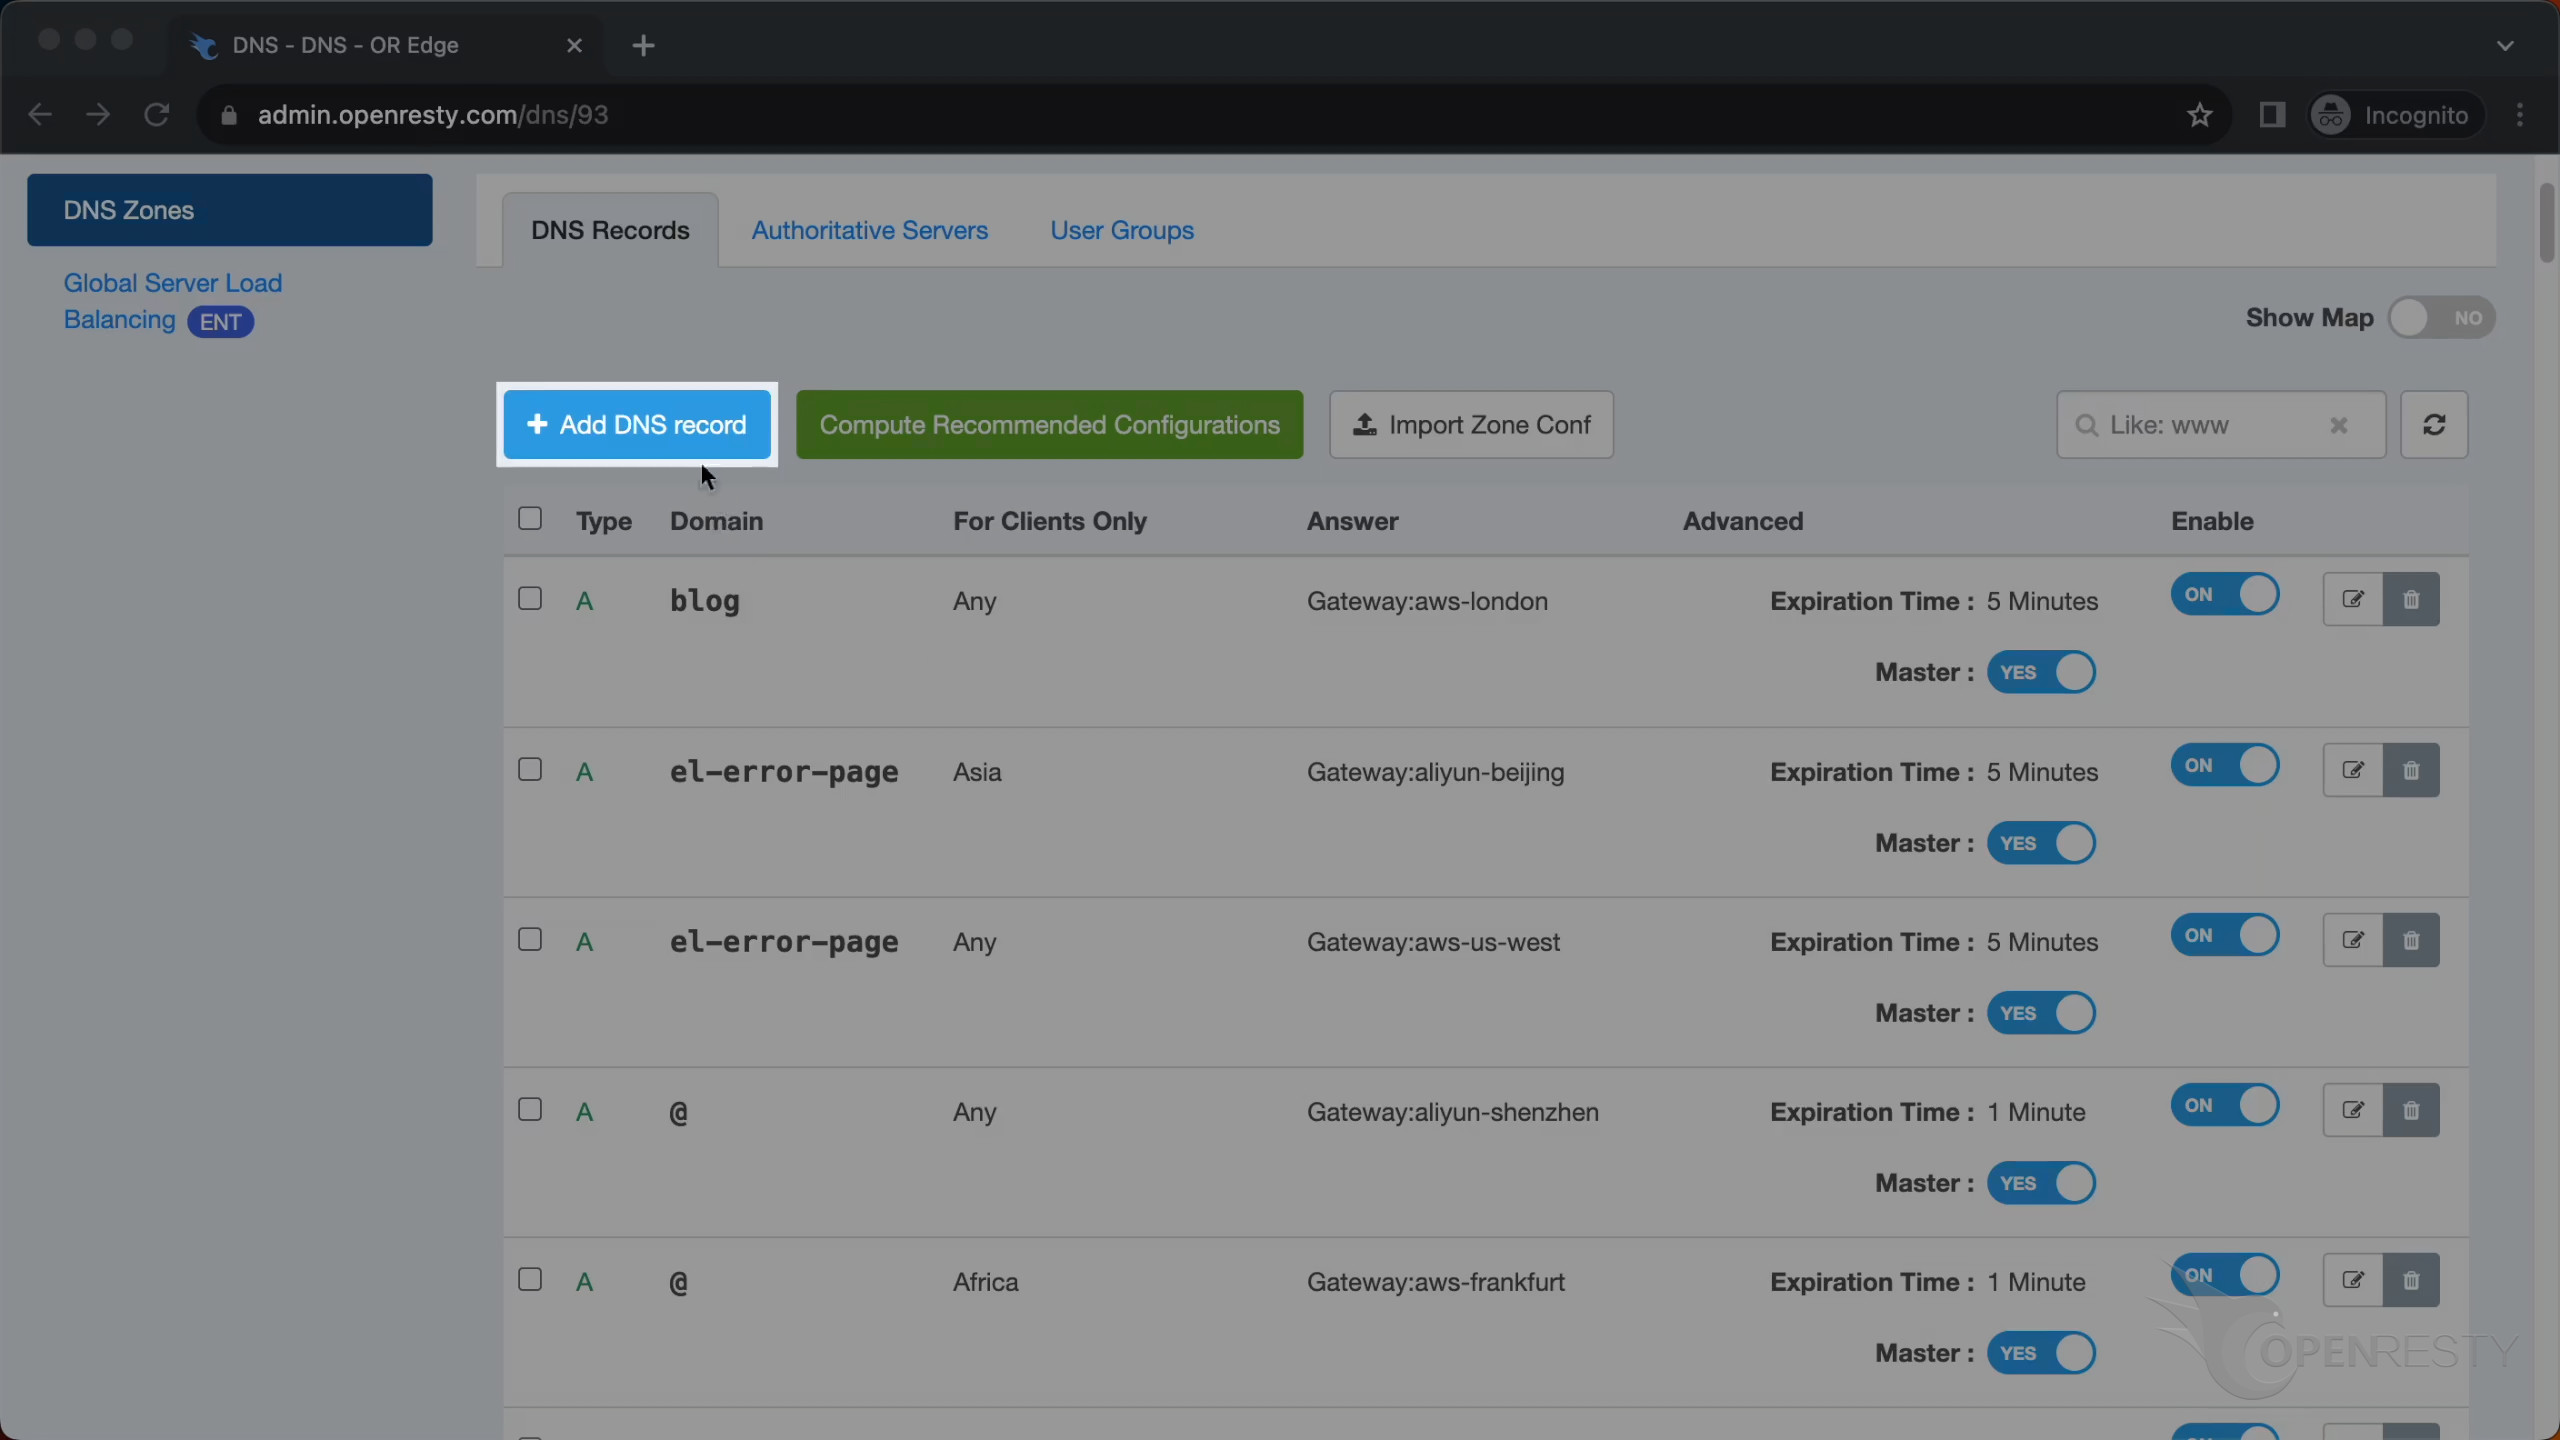
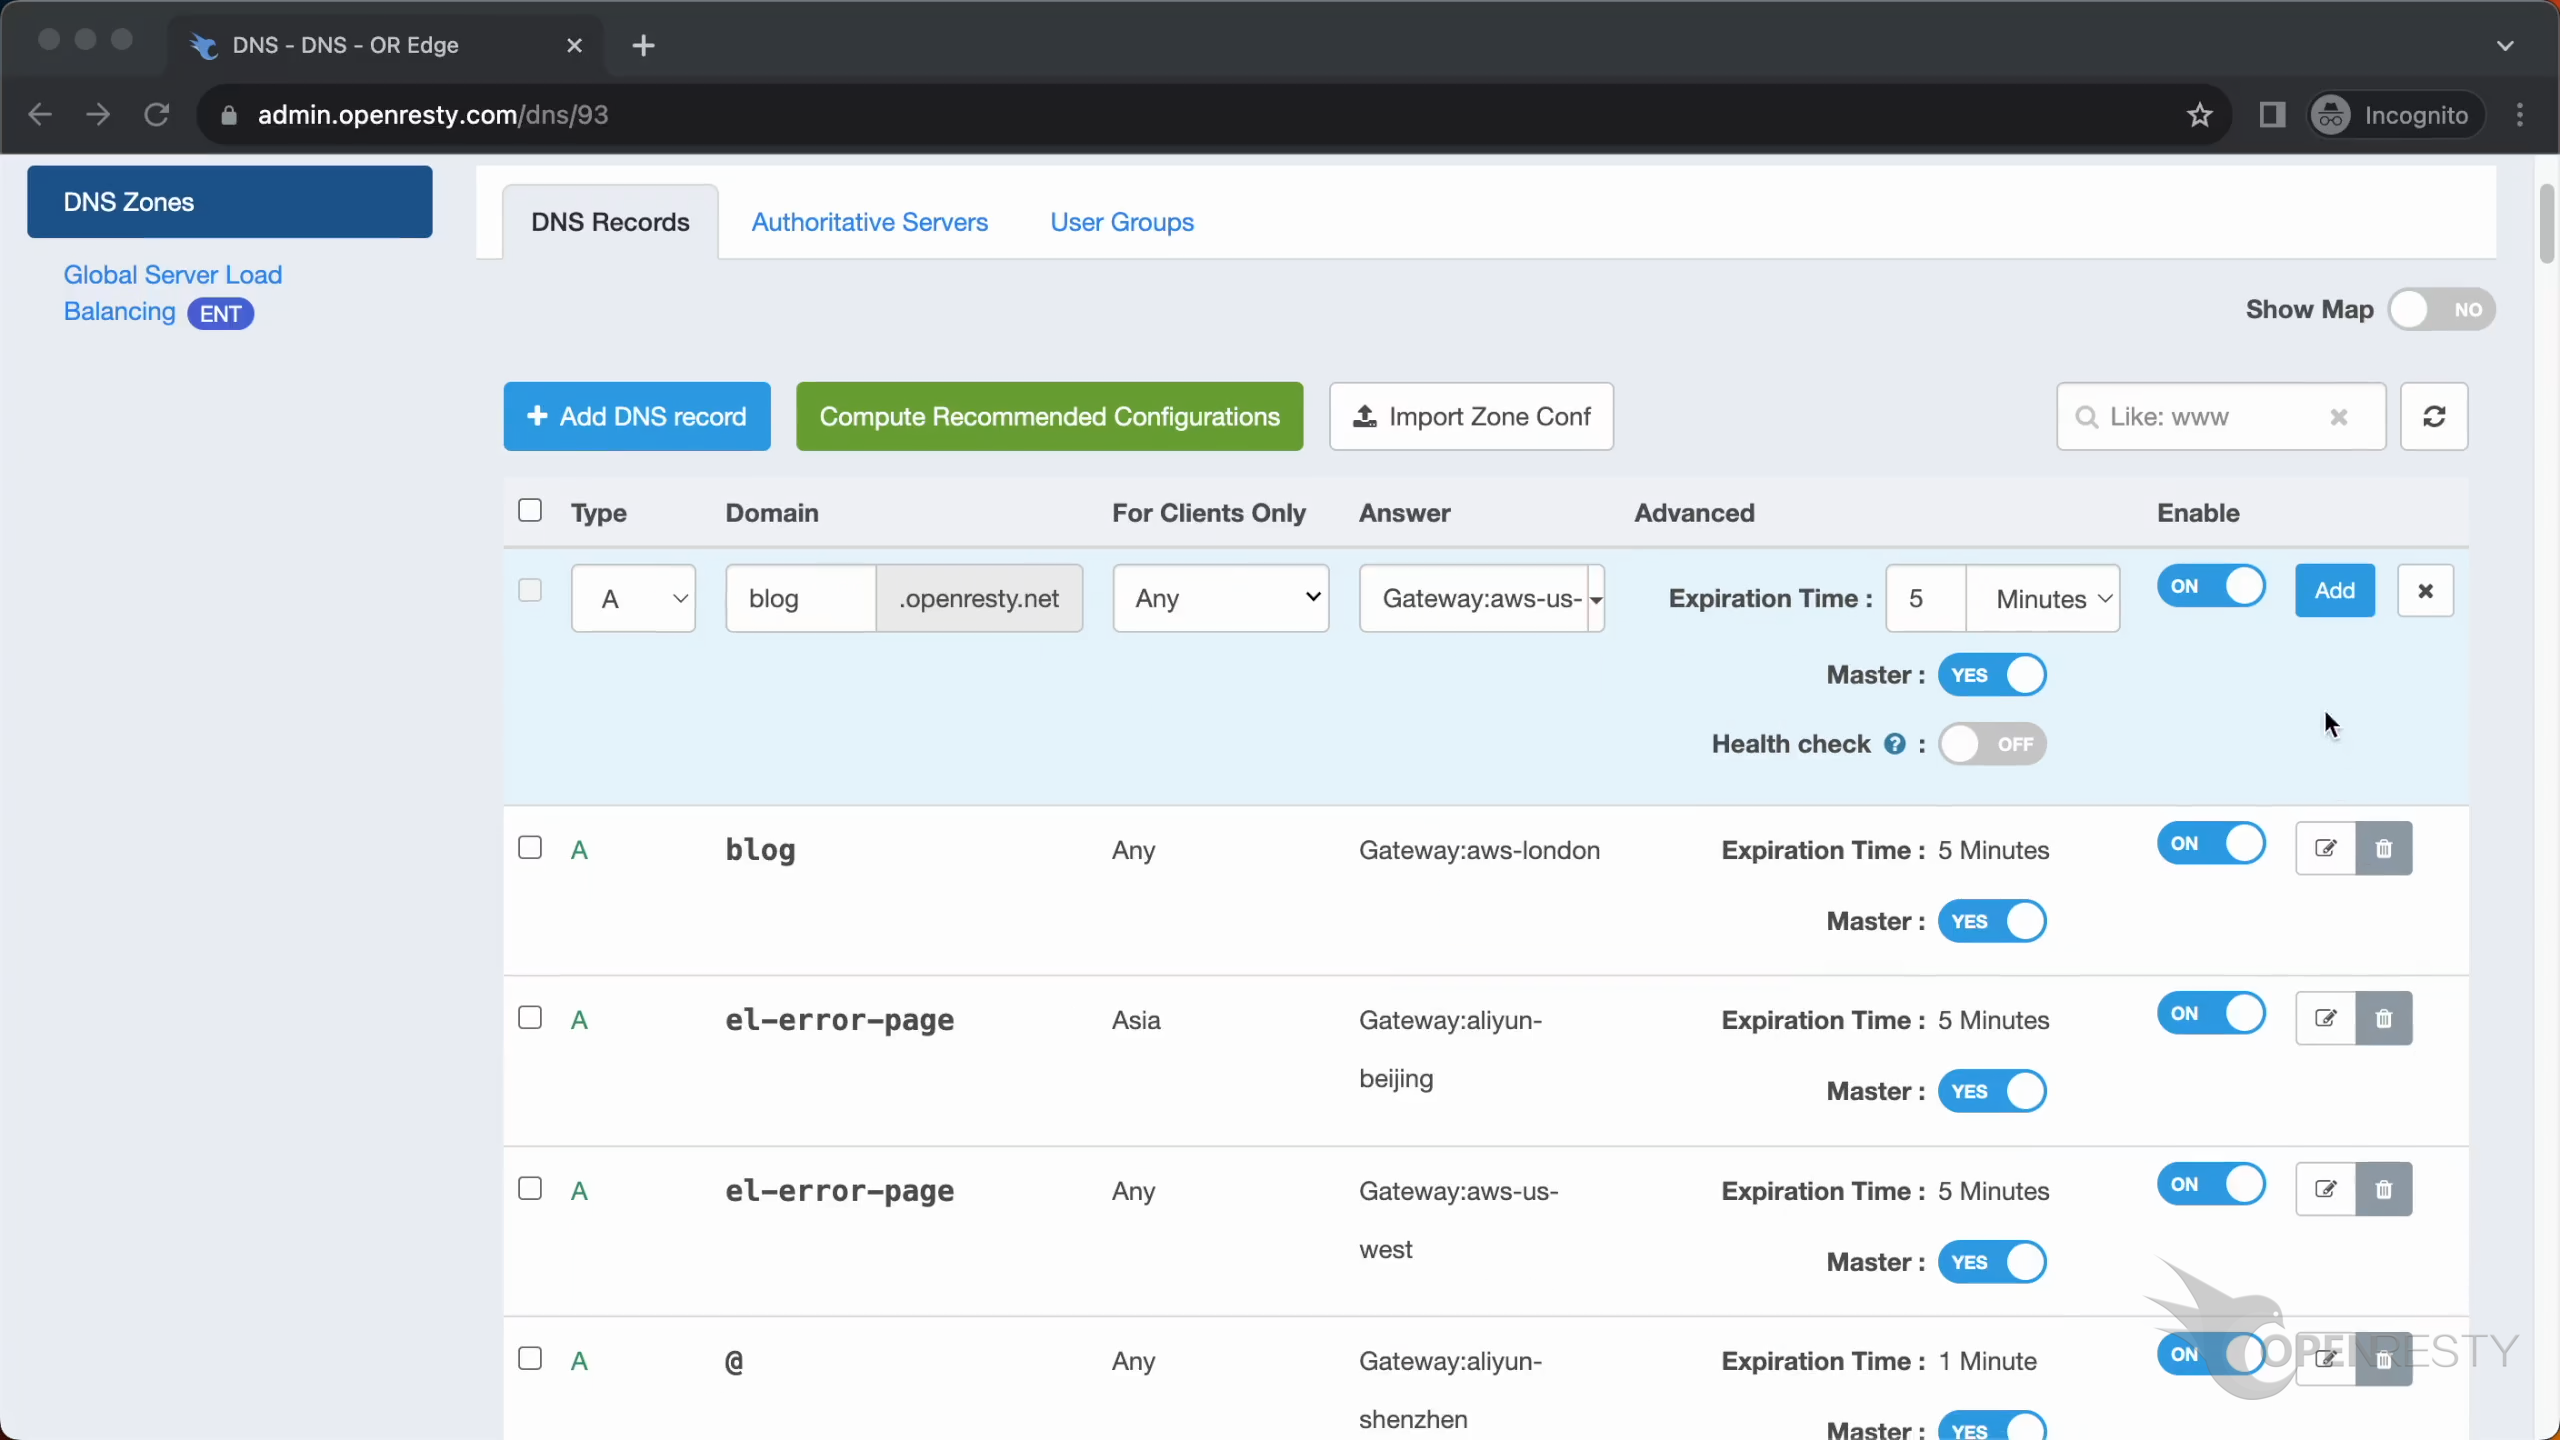
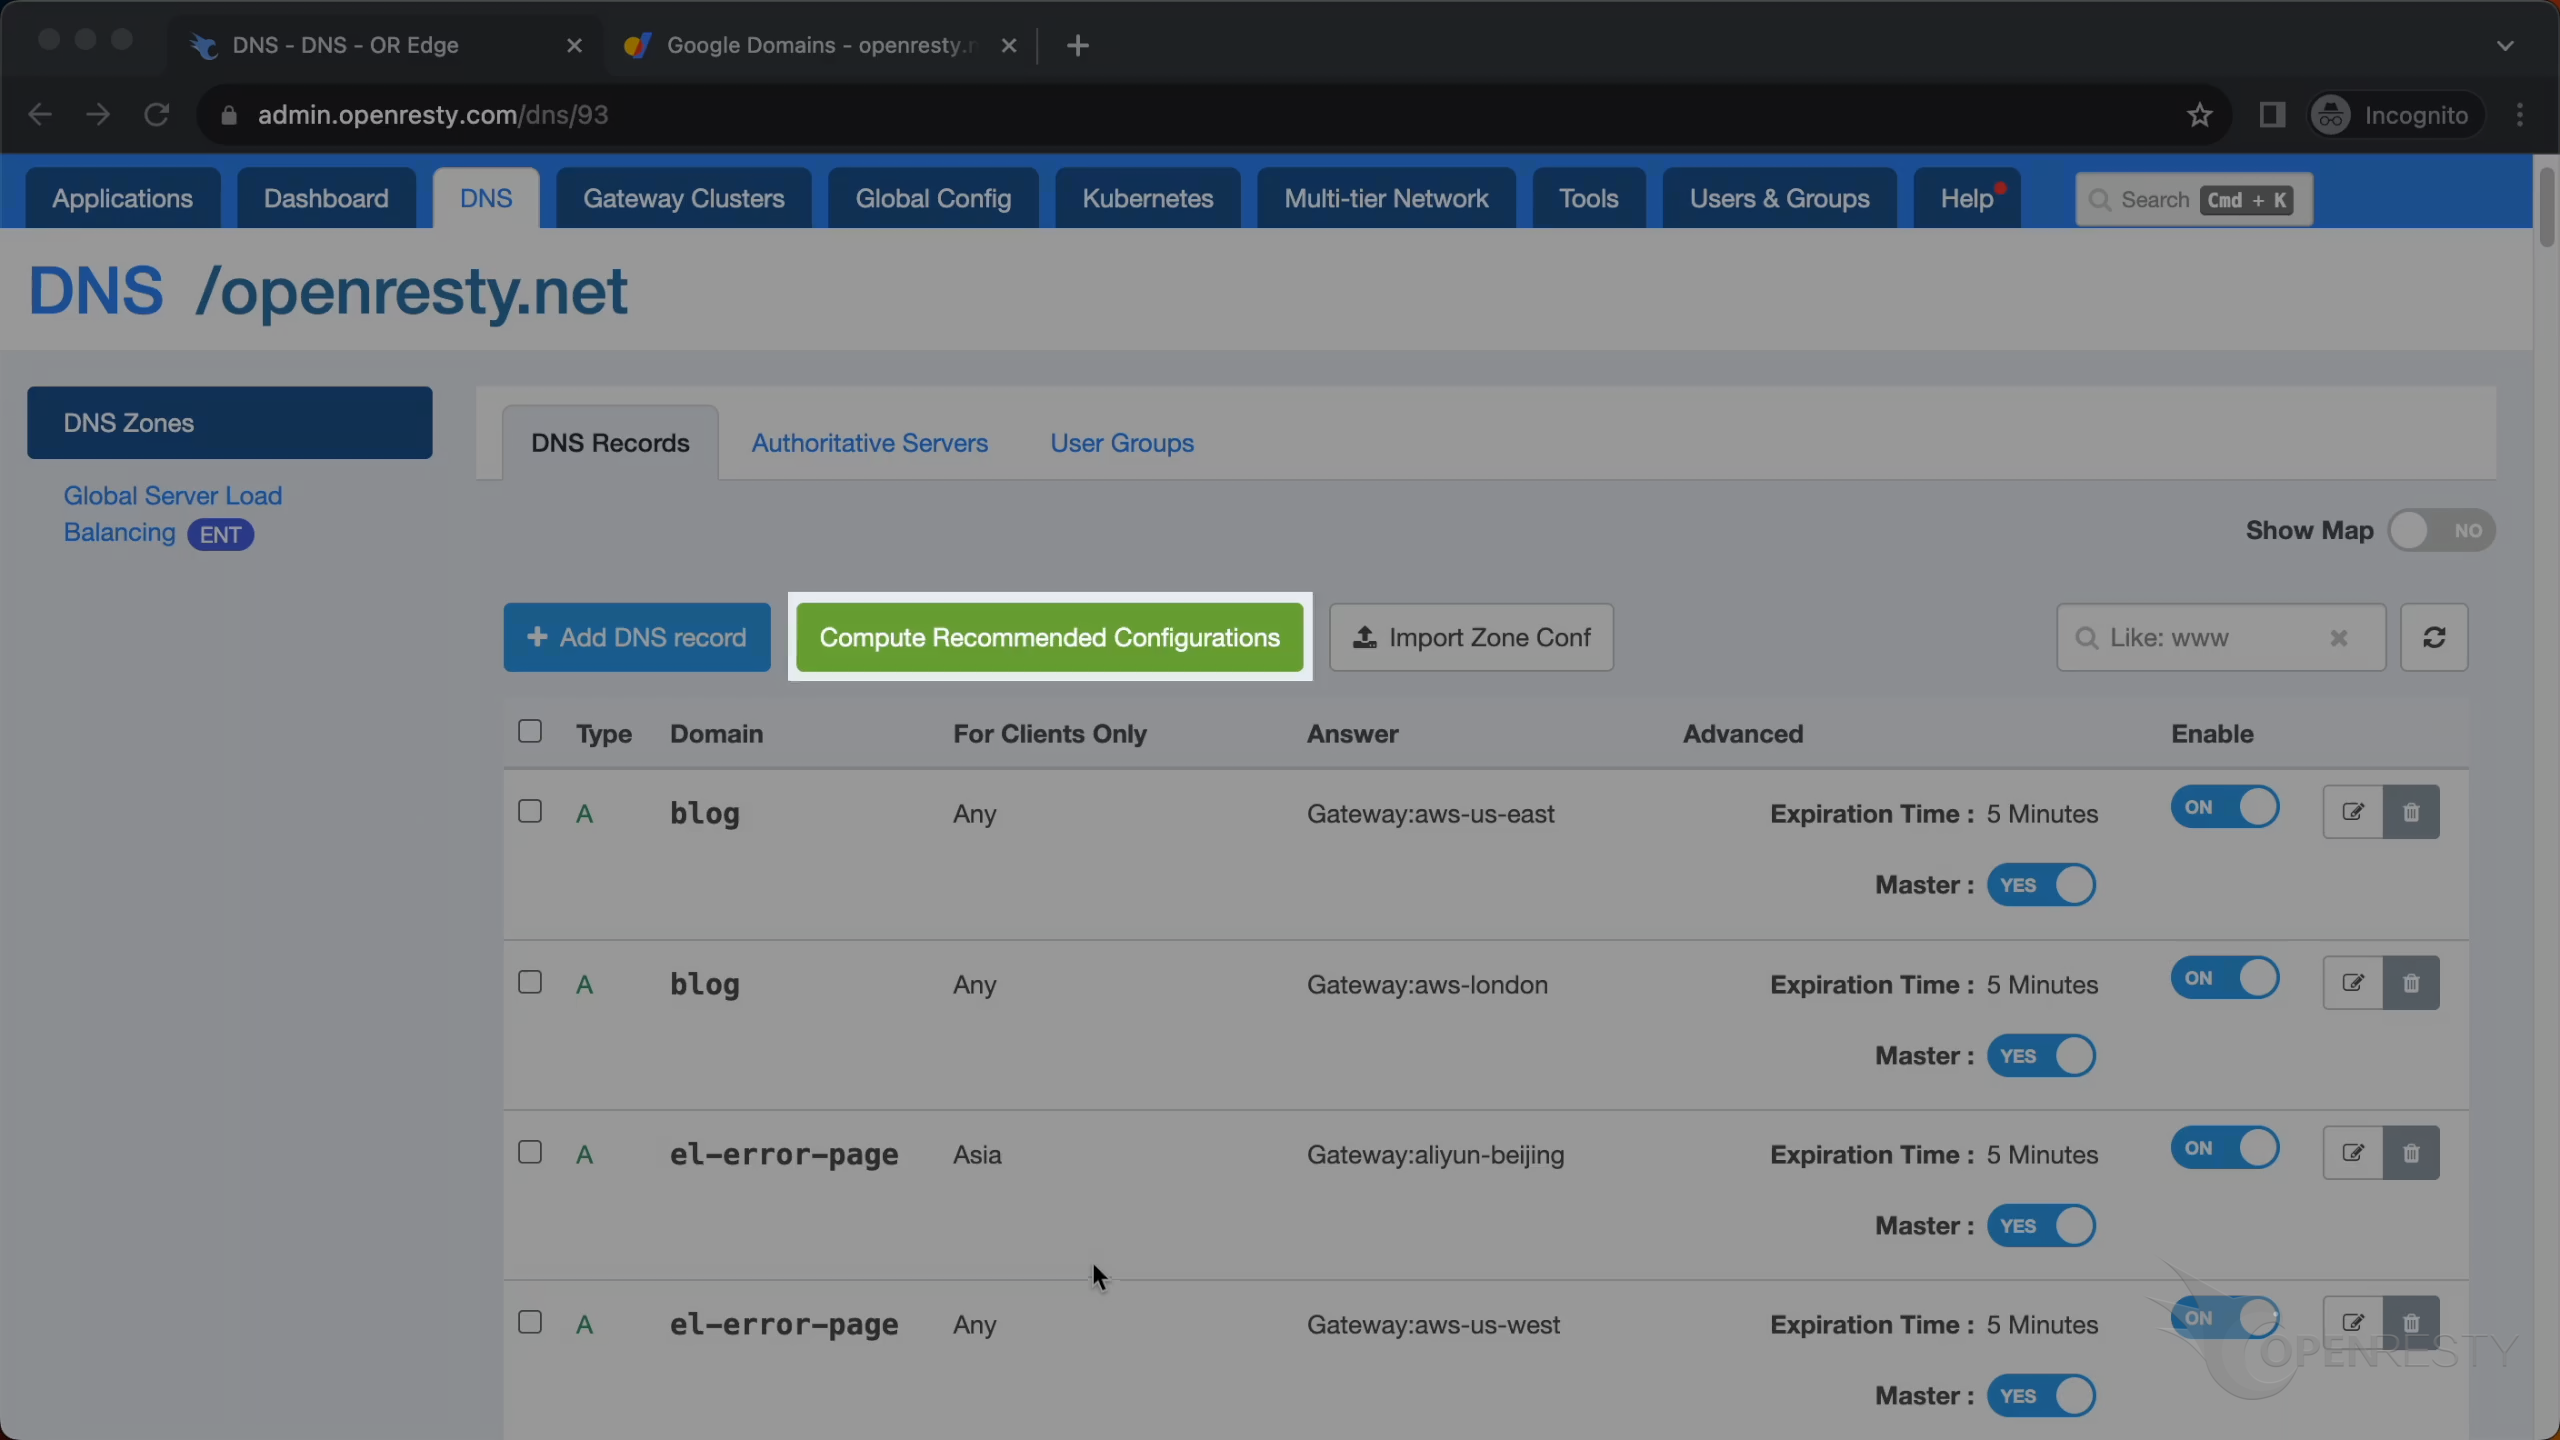
After clicking the “Add DNS record” button, a new record shows up in the list.
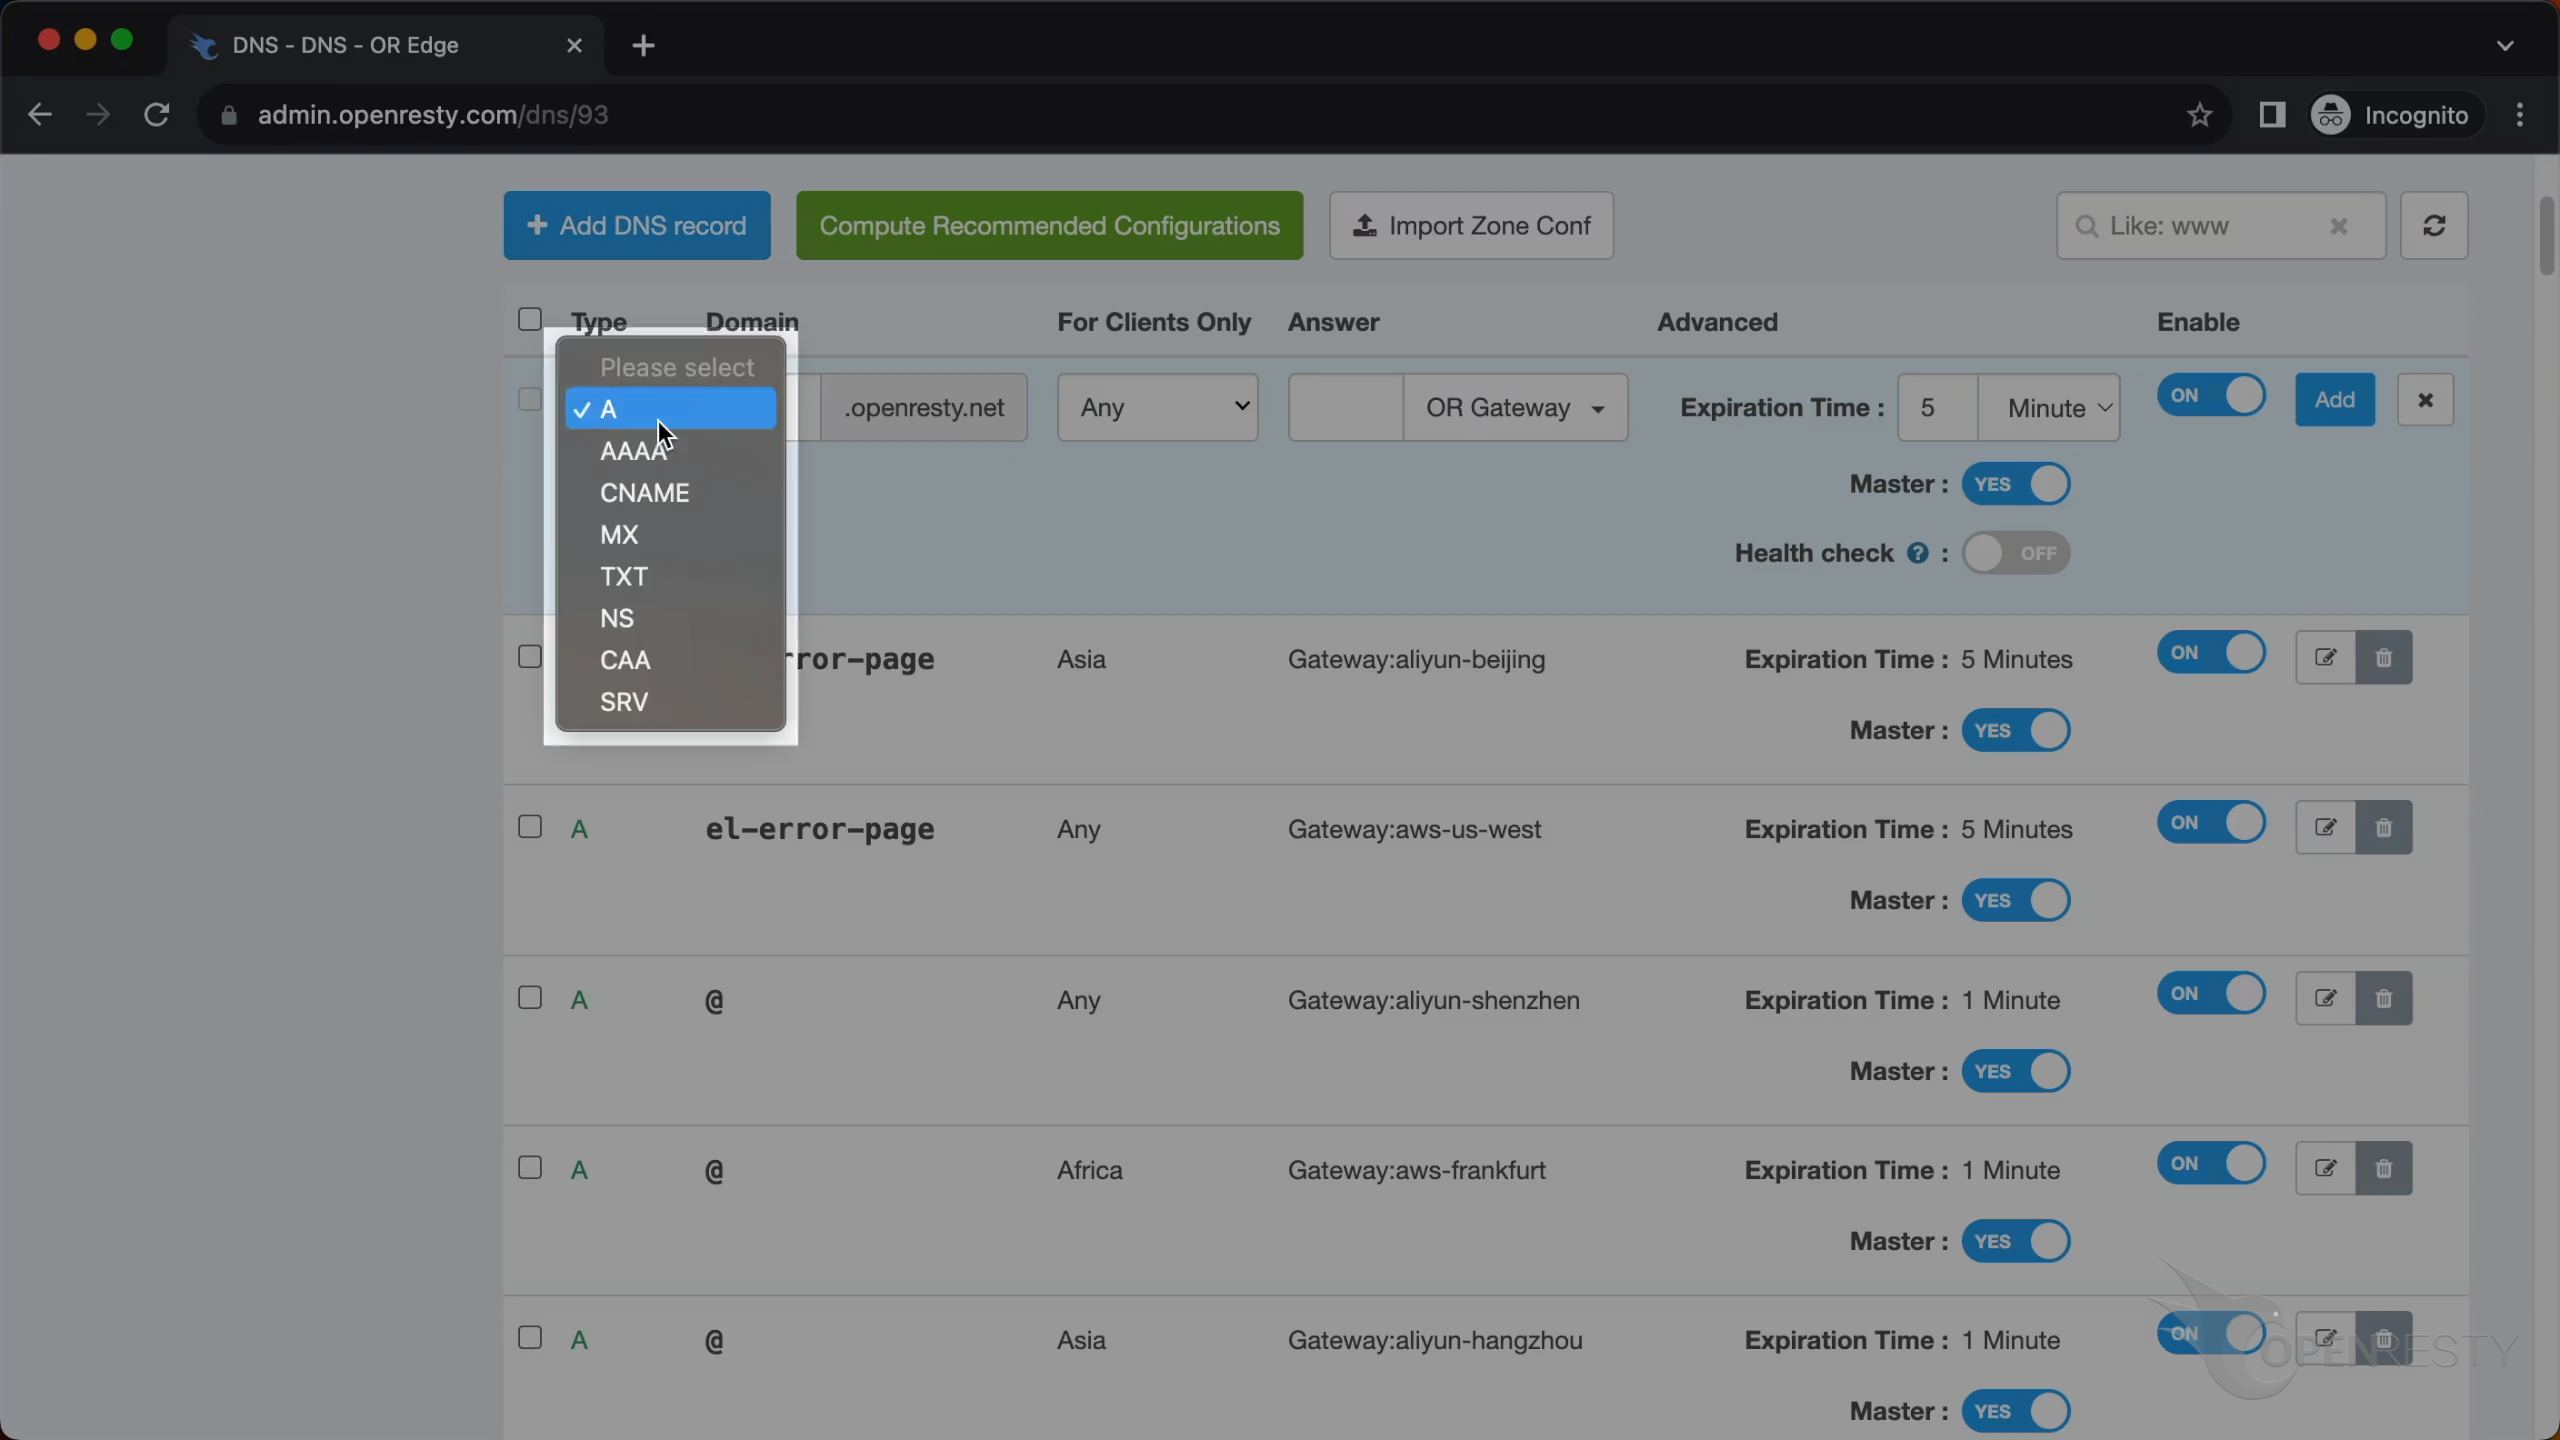
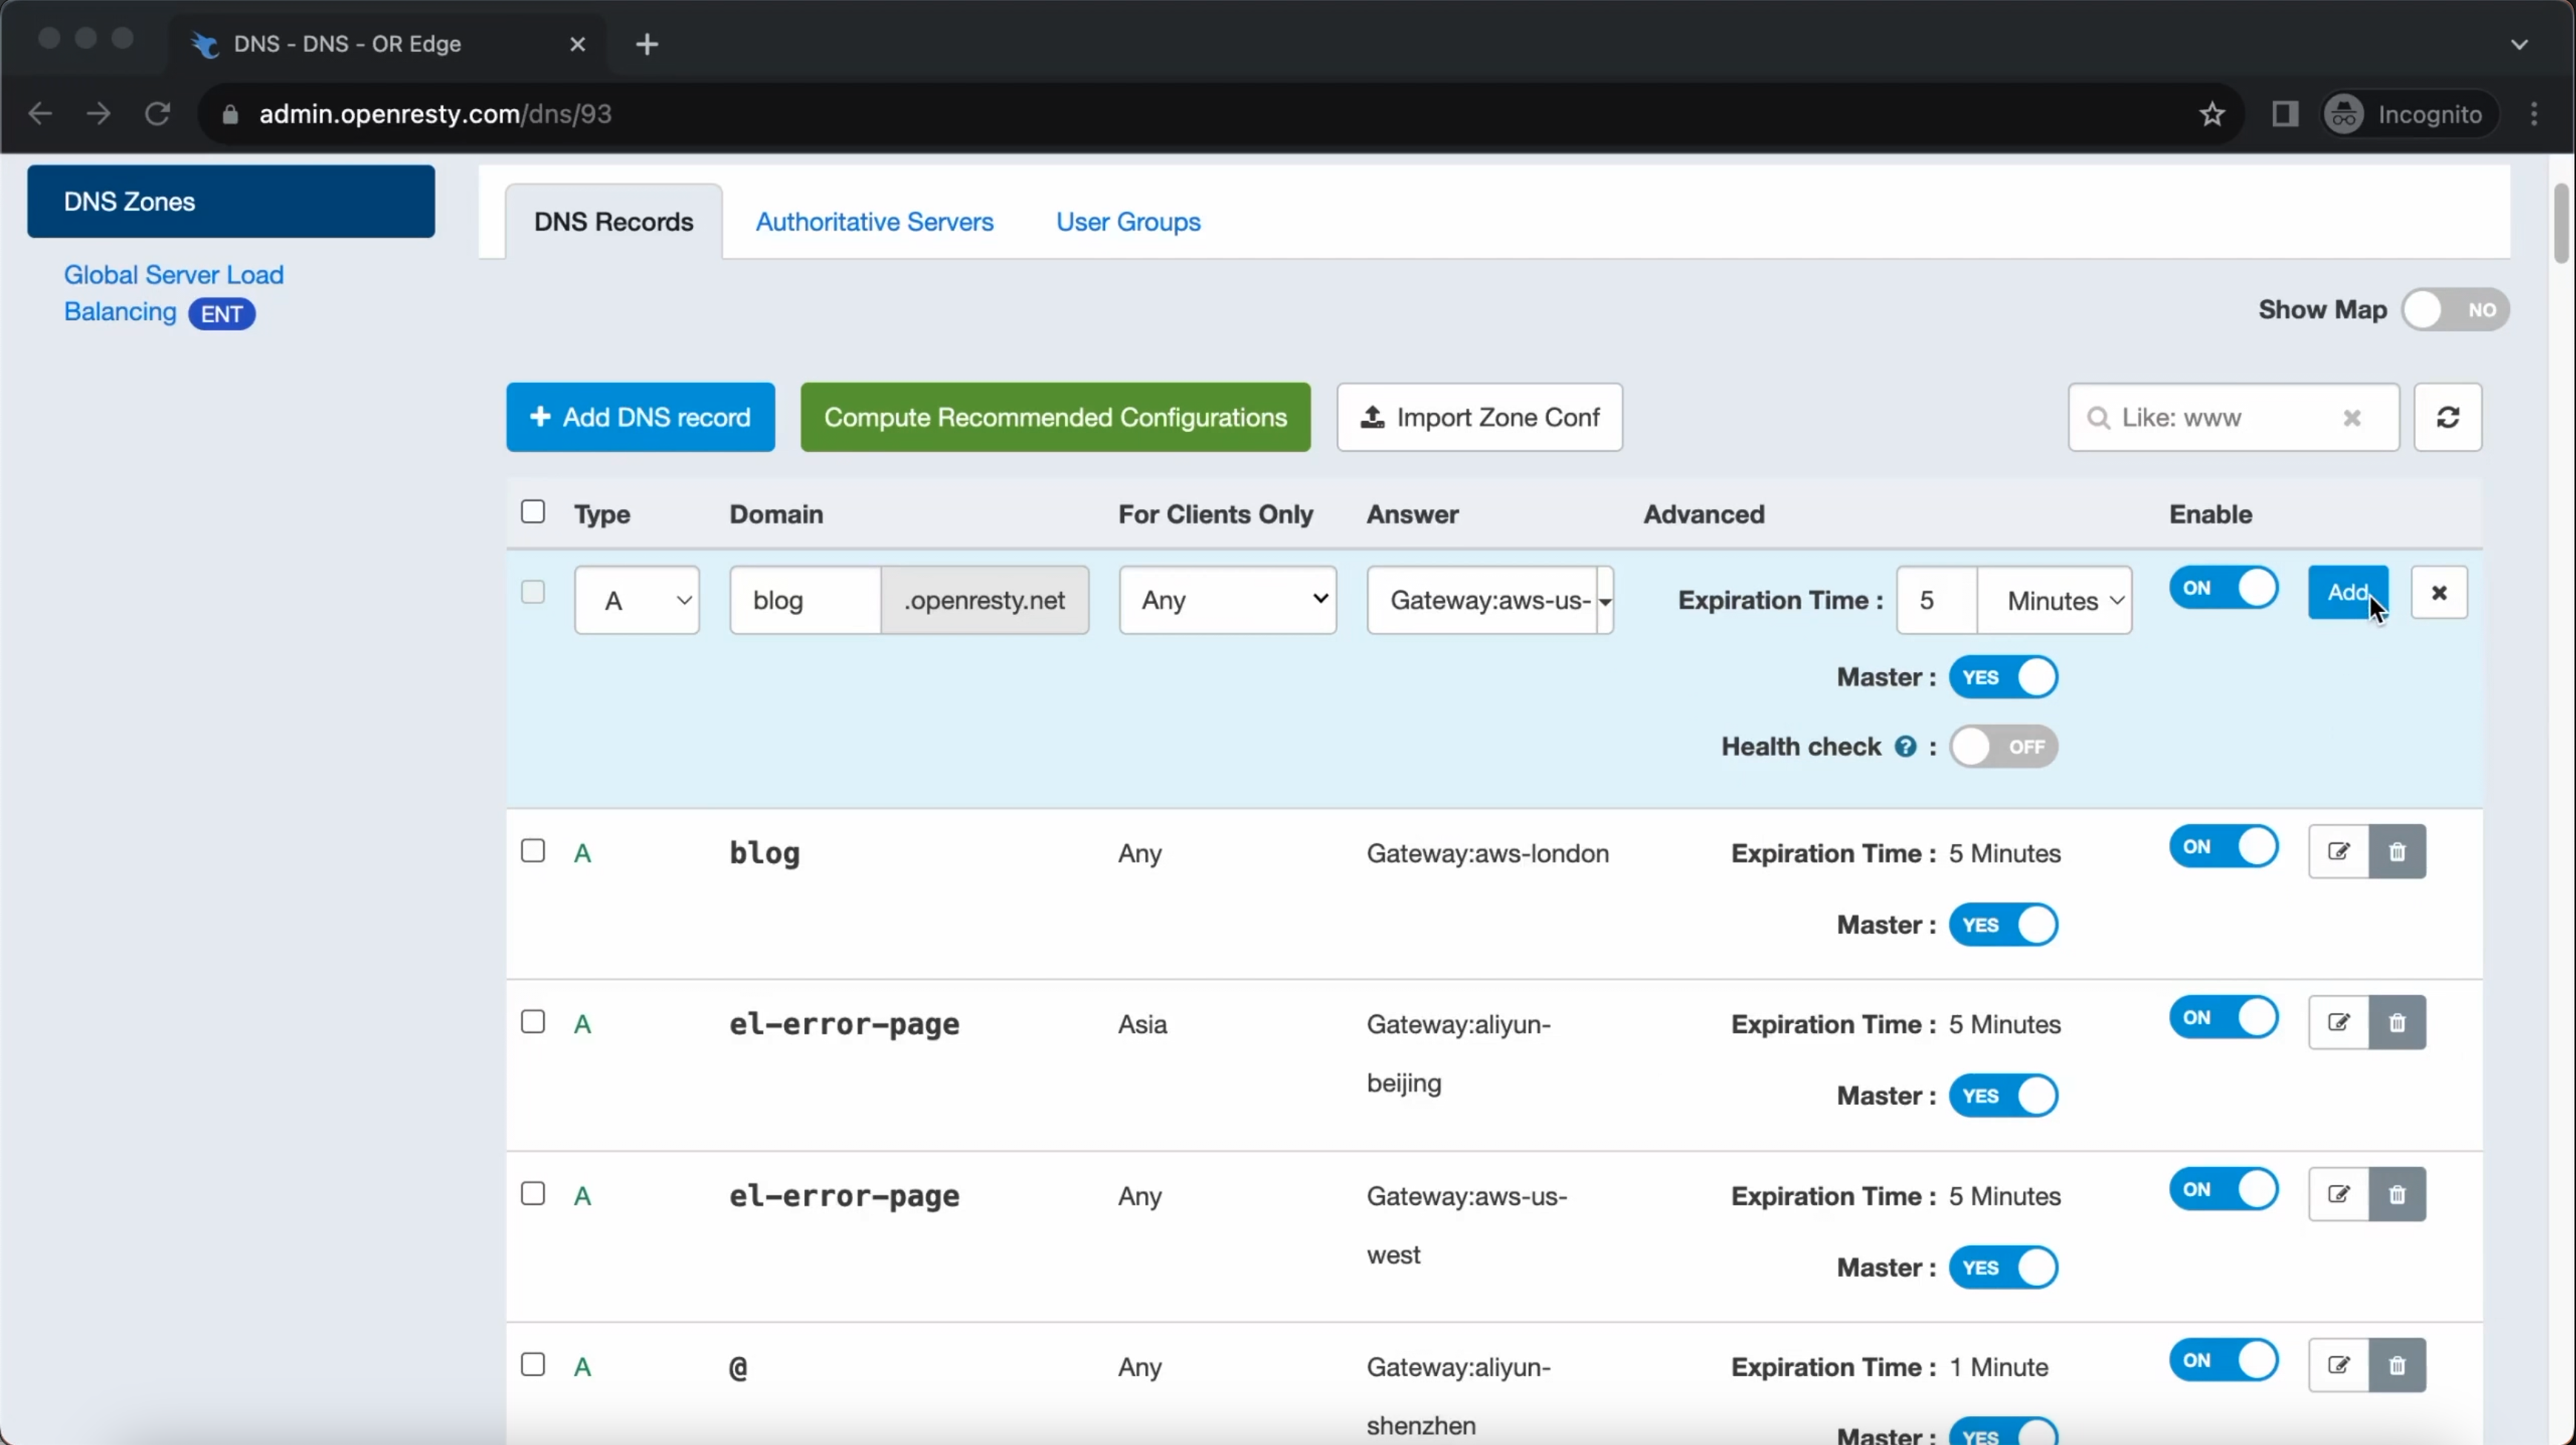
You can select the type of the record.
And enter the subdomain of the record, such as “blog”.
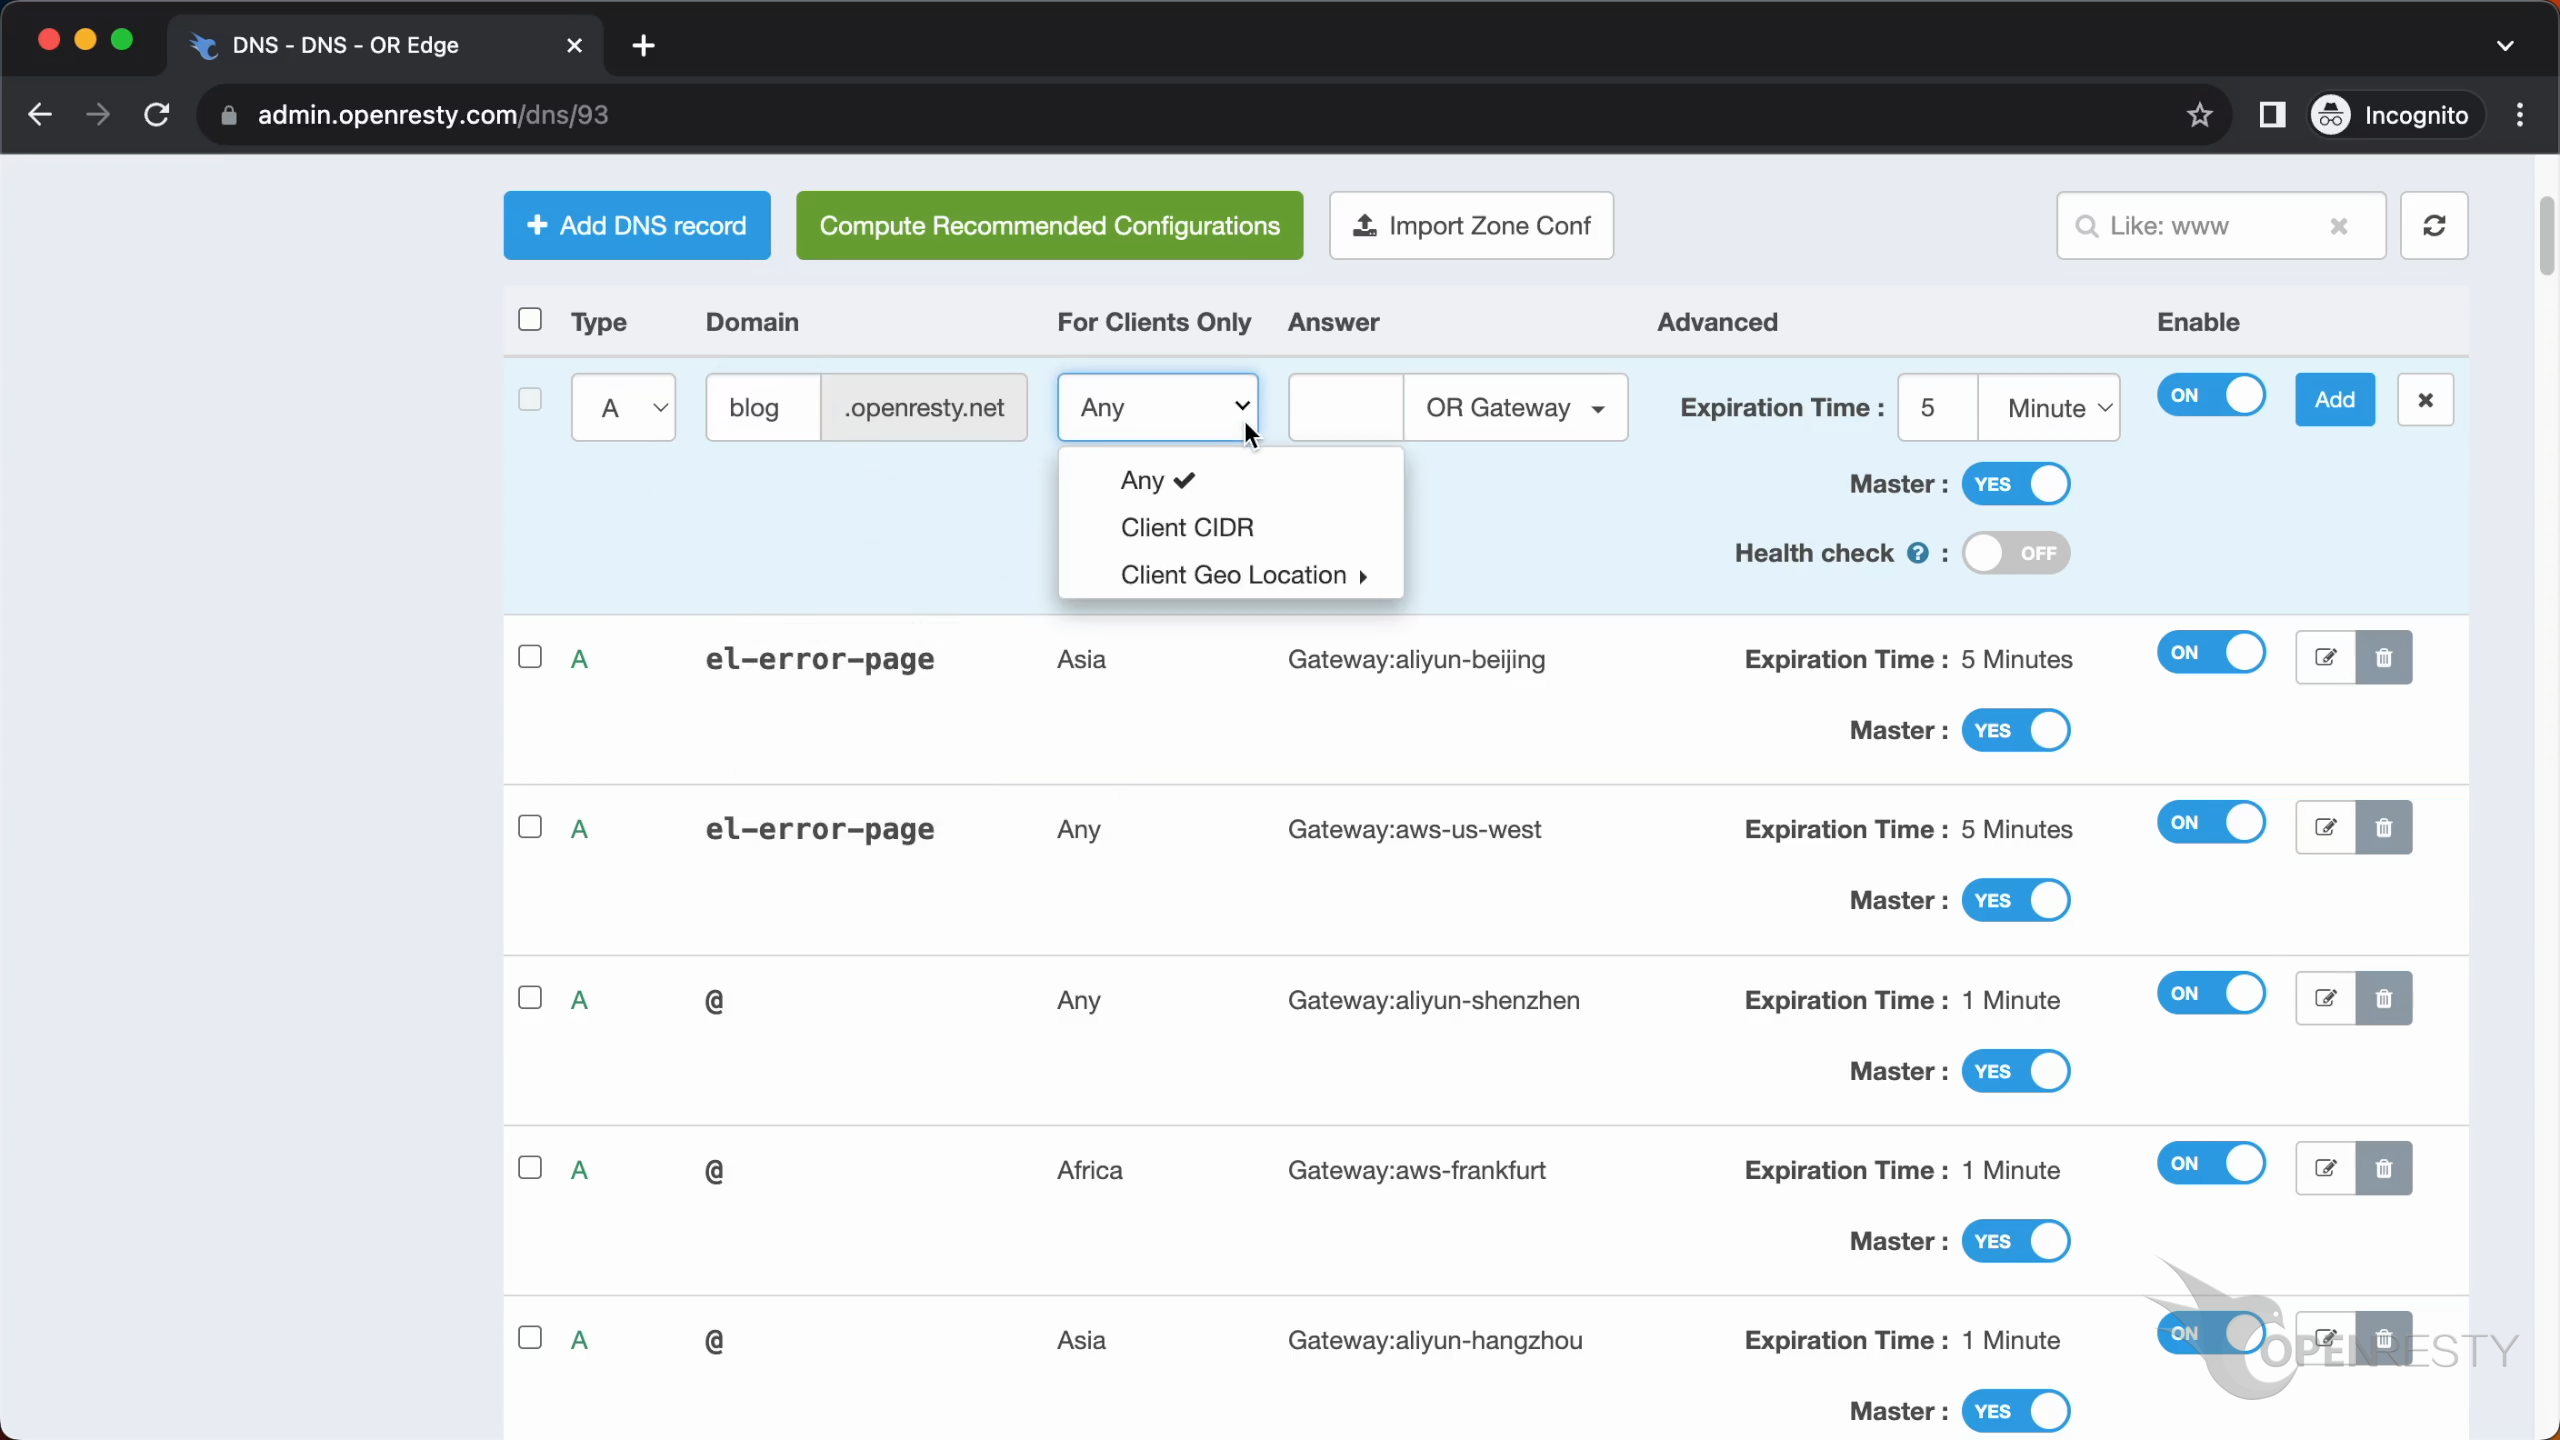
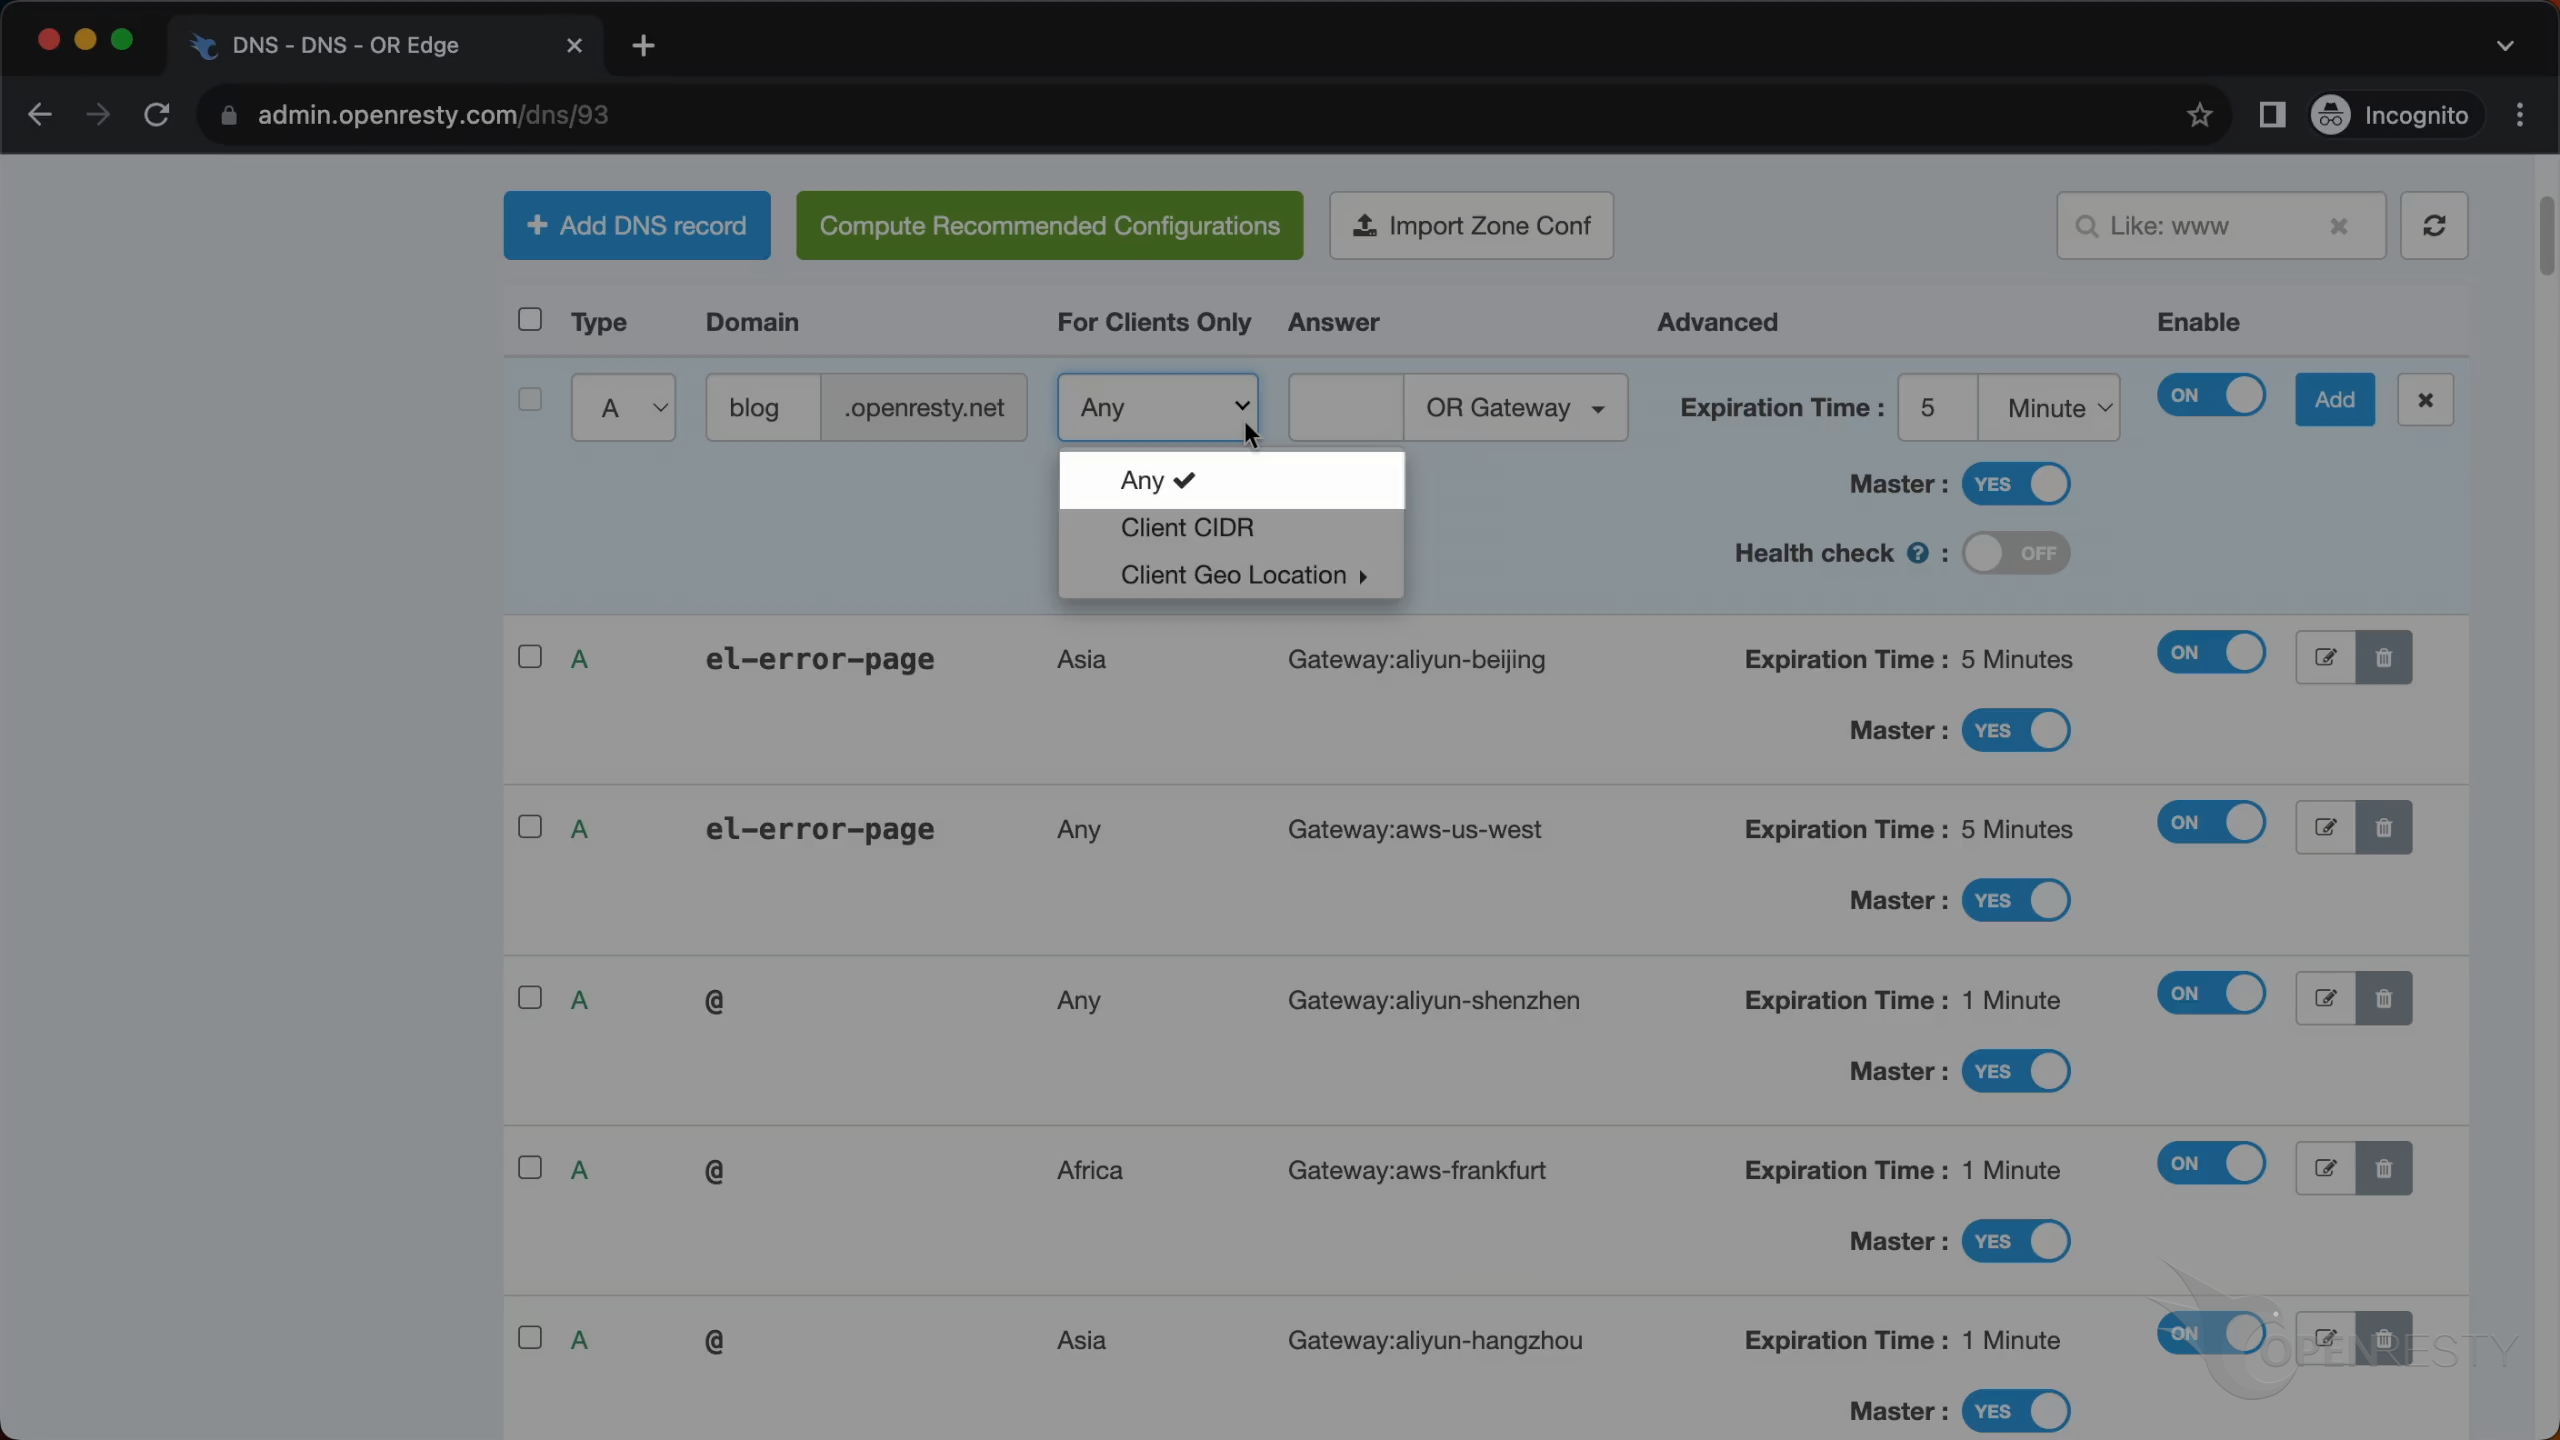
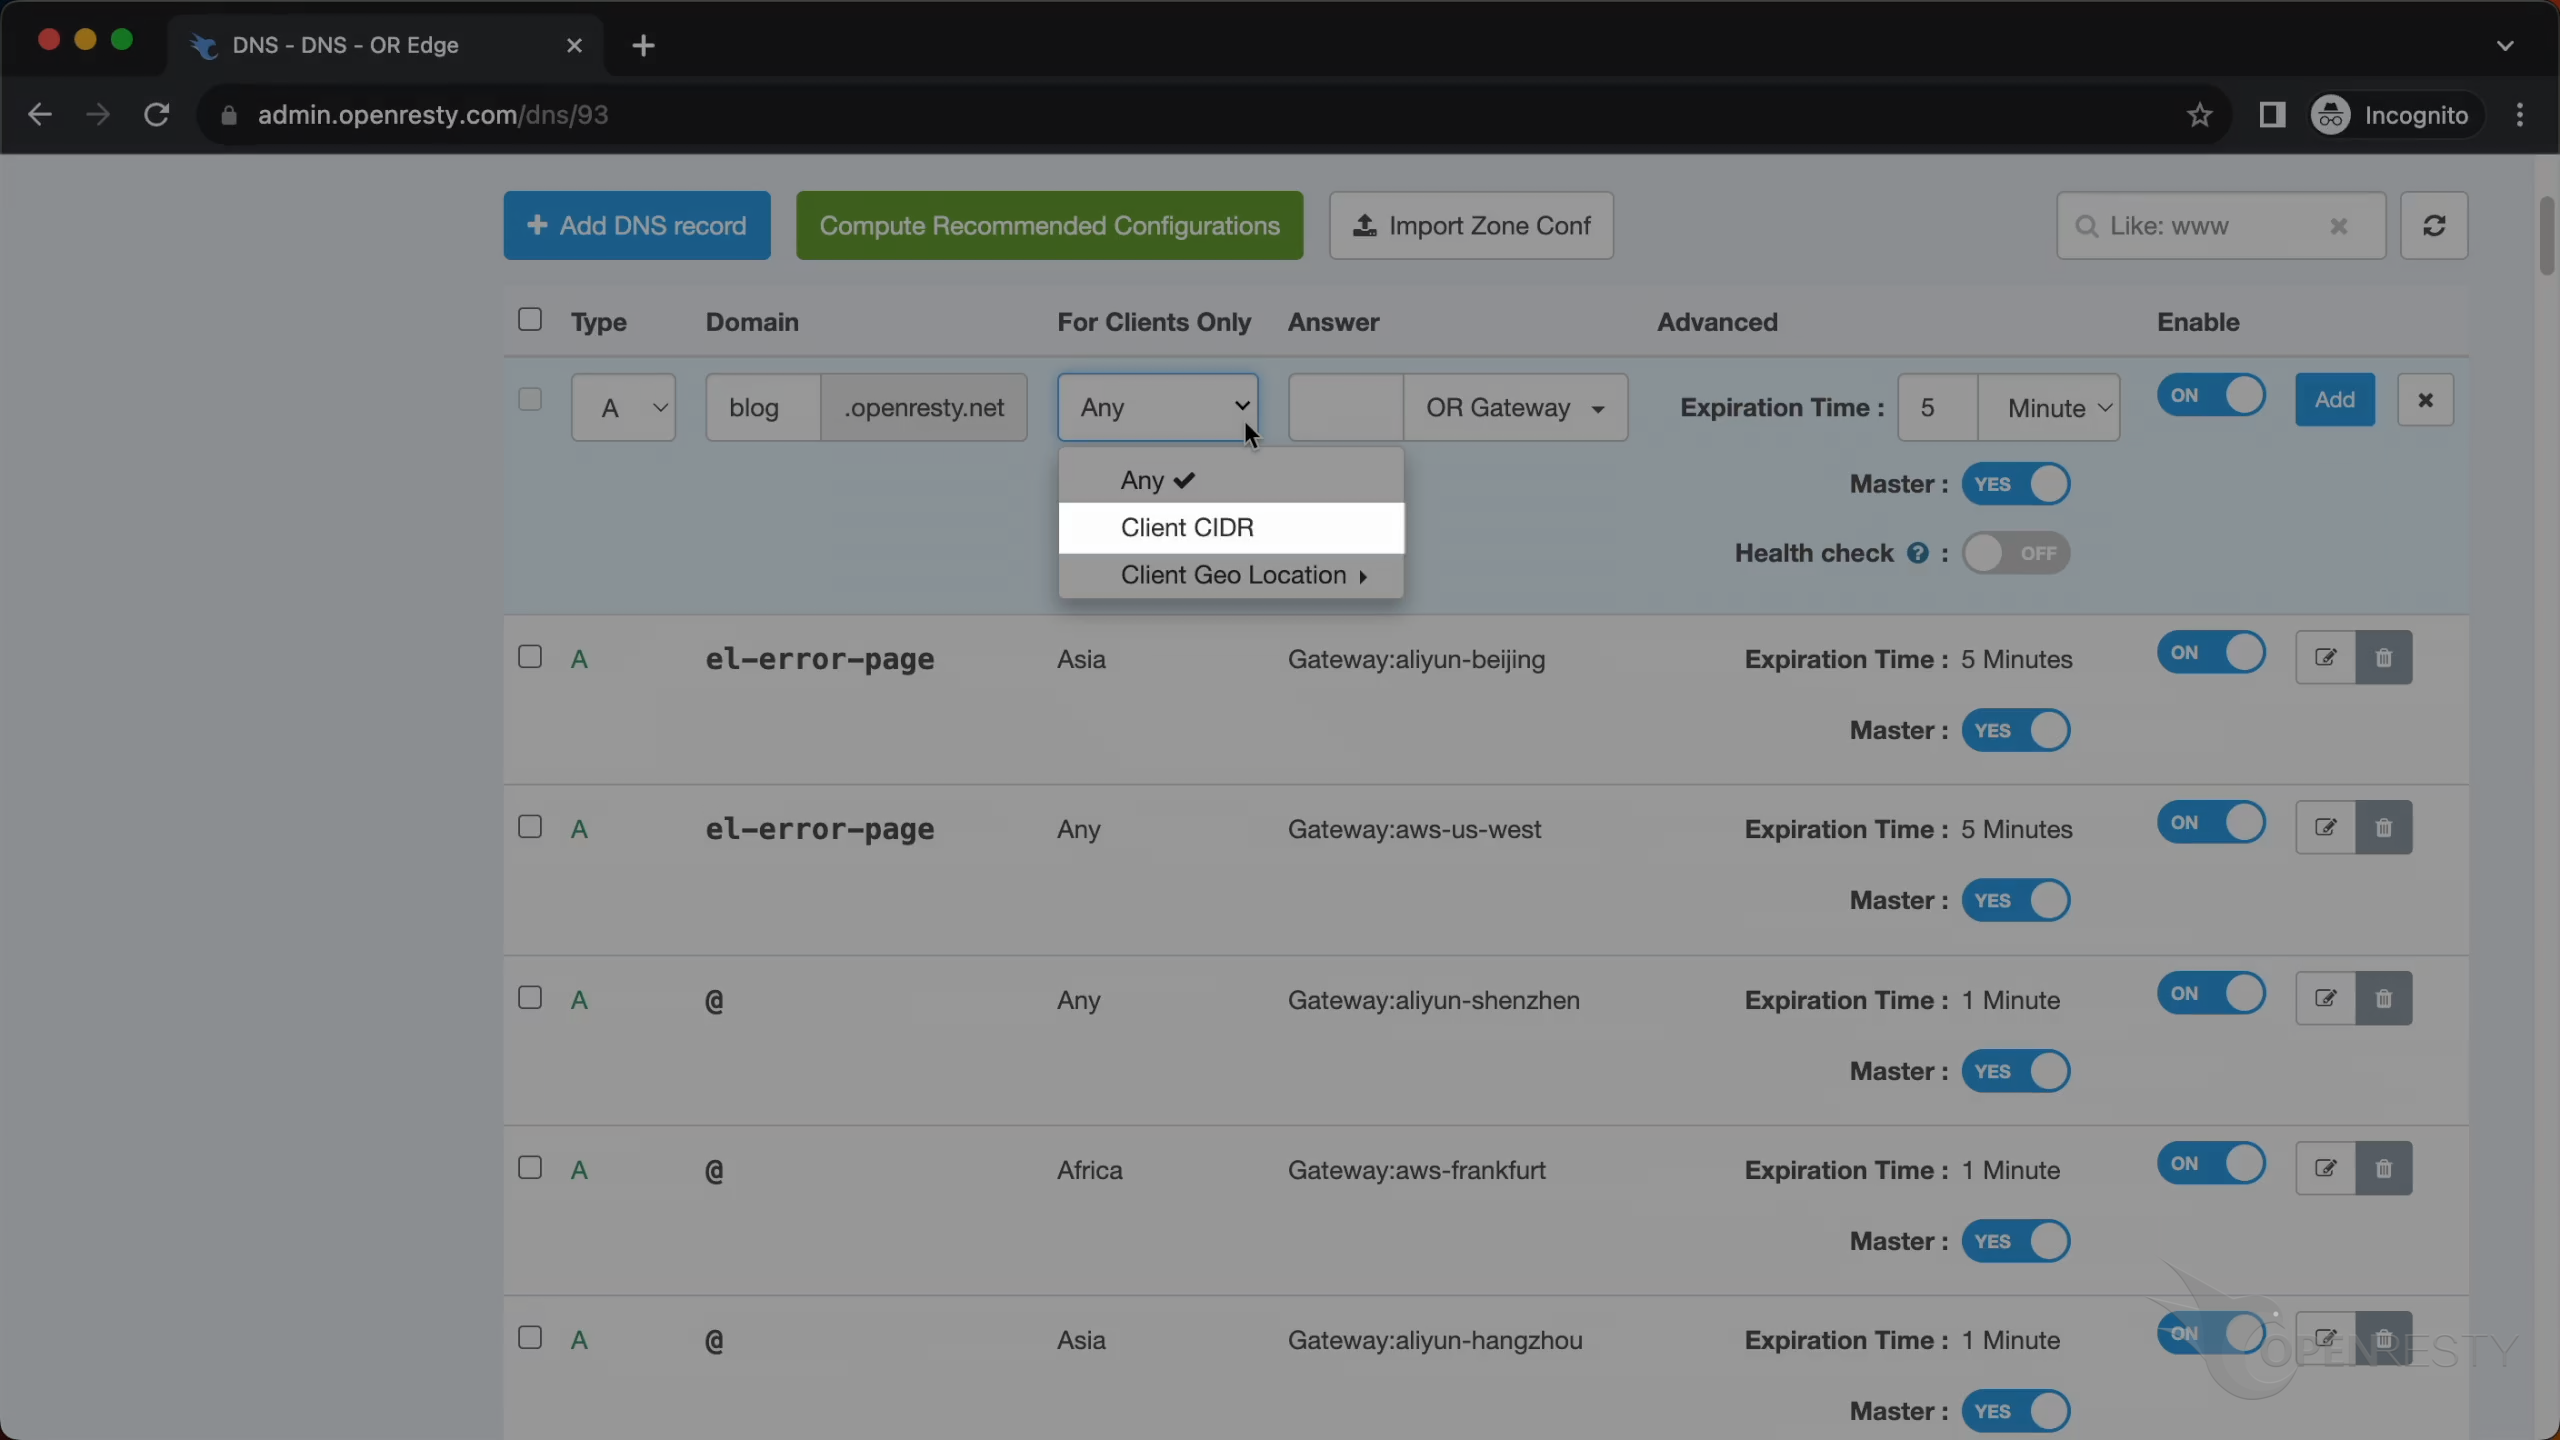
You can restrict the client addresses that can resolve this record.
“Any” means do not restrict.
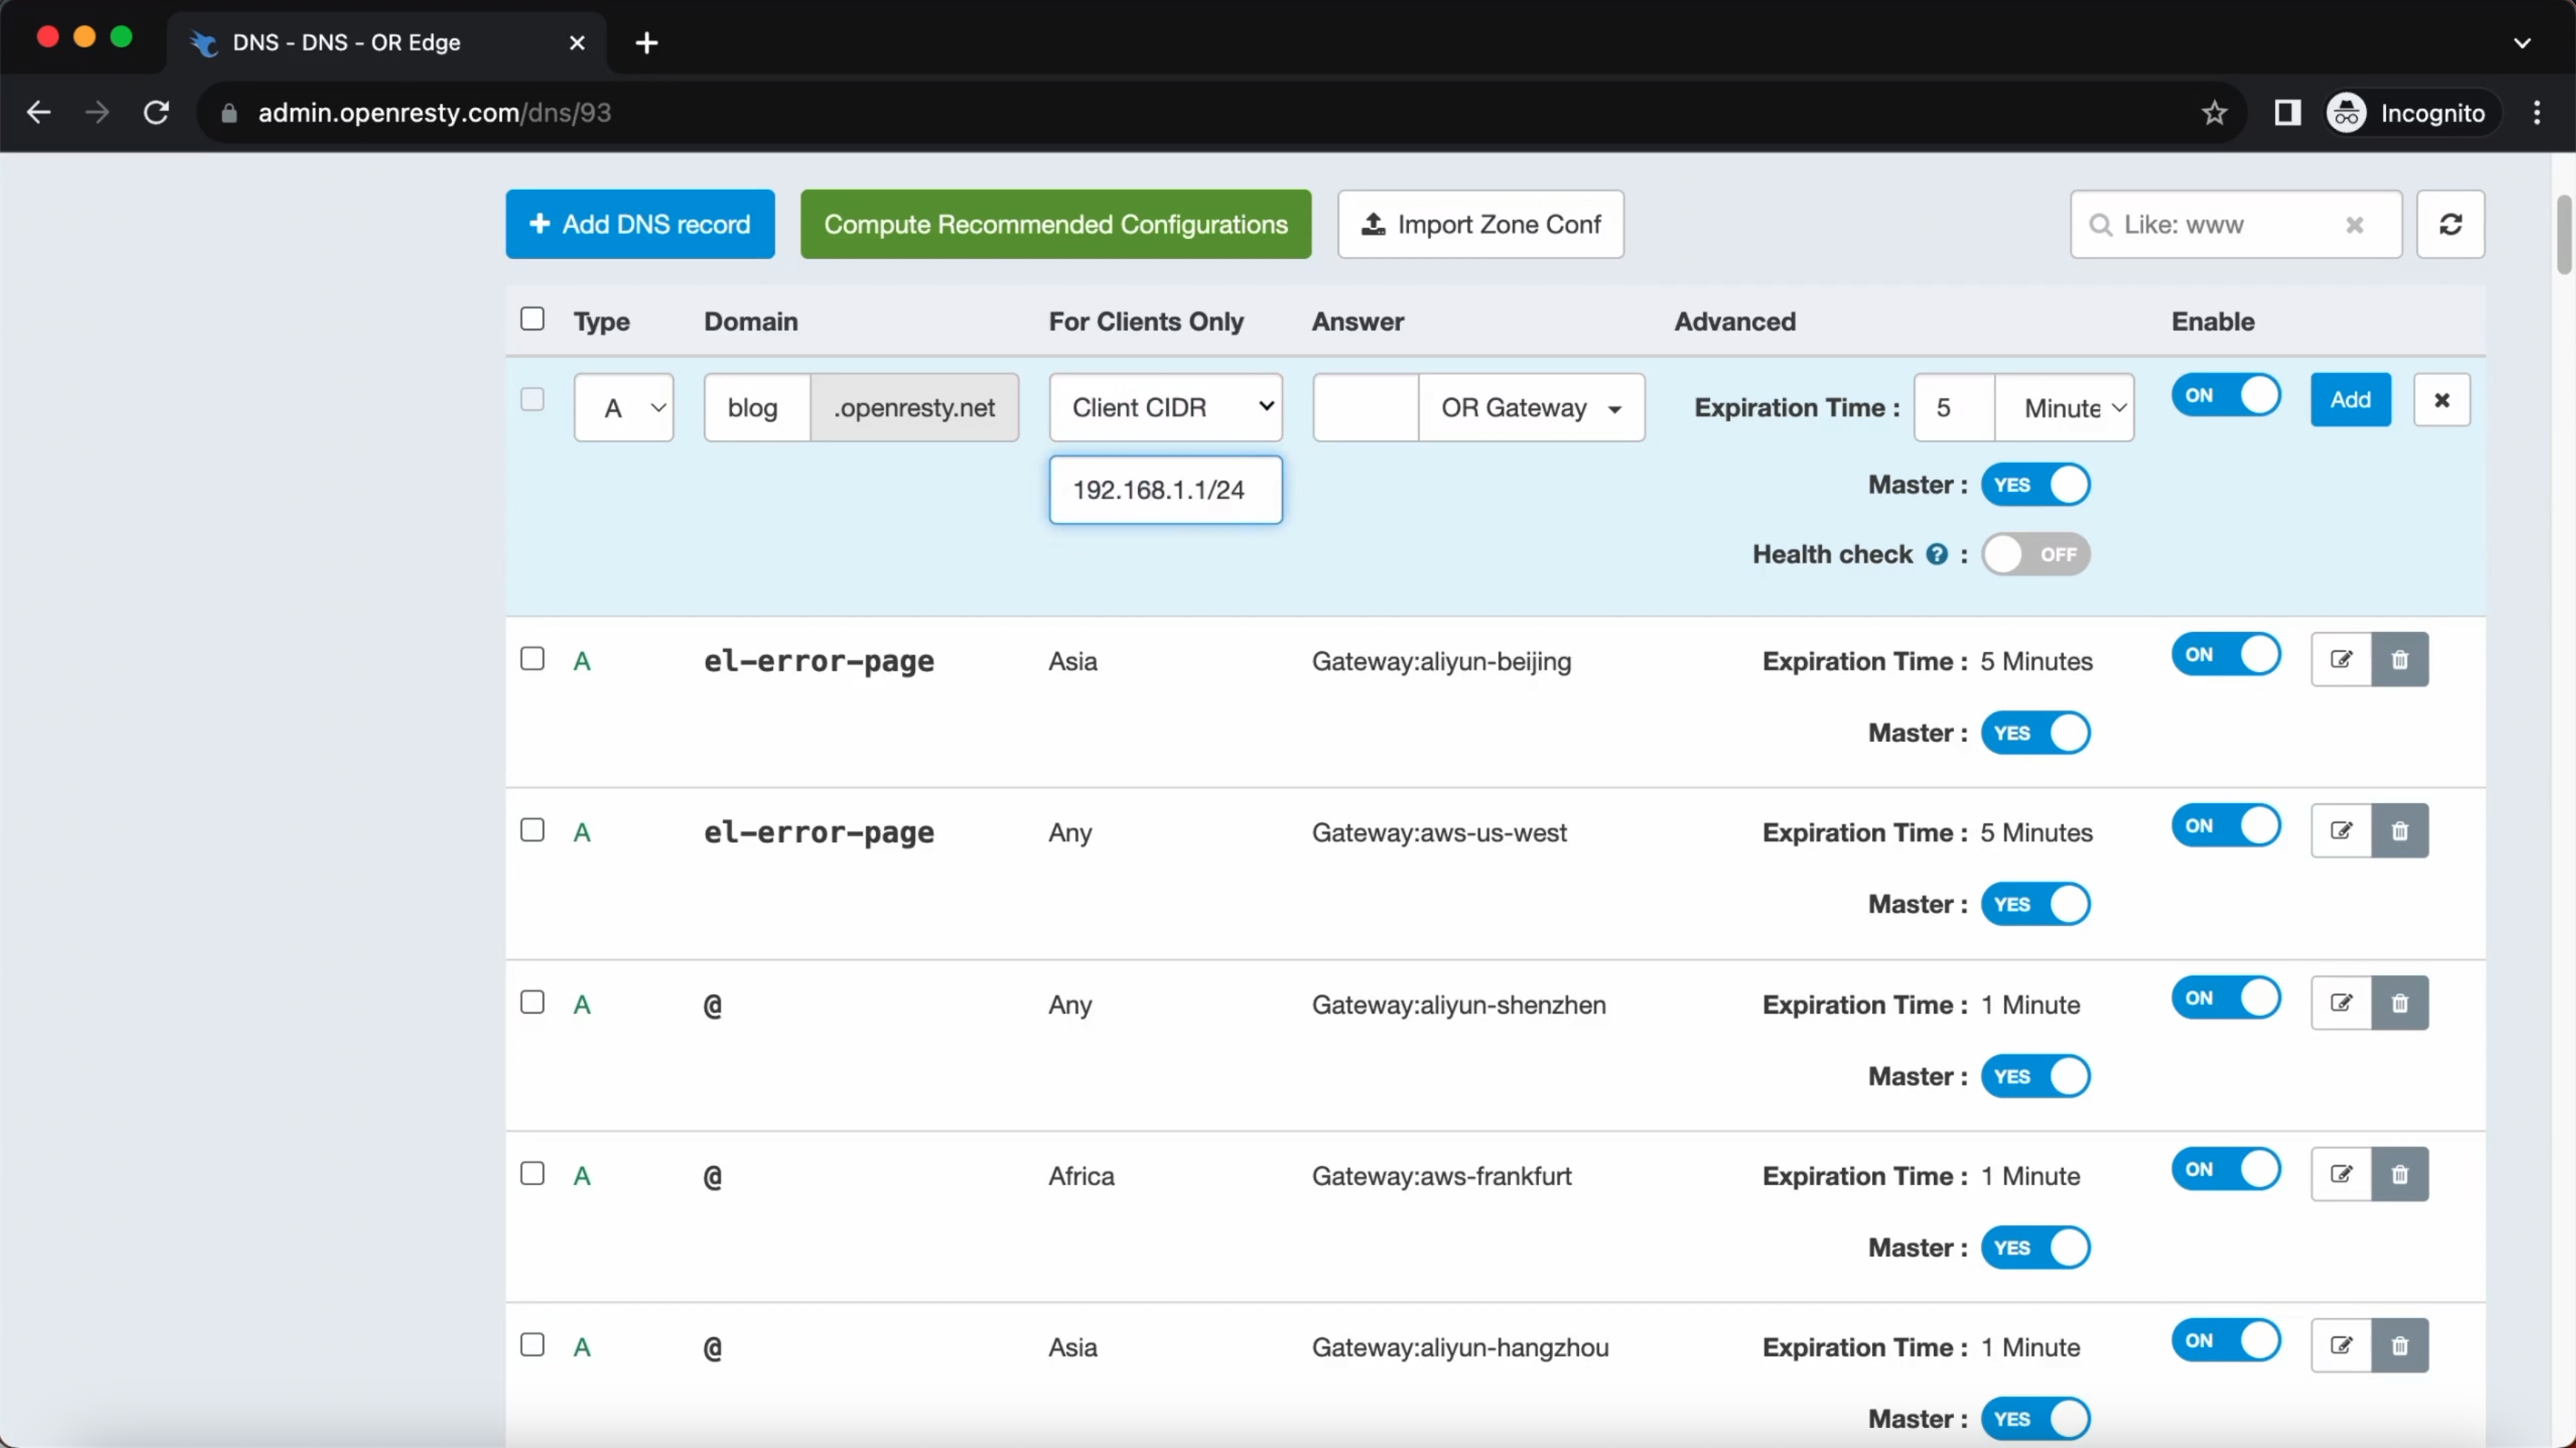
Restrict by CIDR.
For example 192.168.1.1/24.
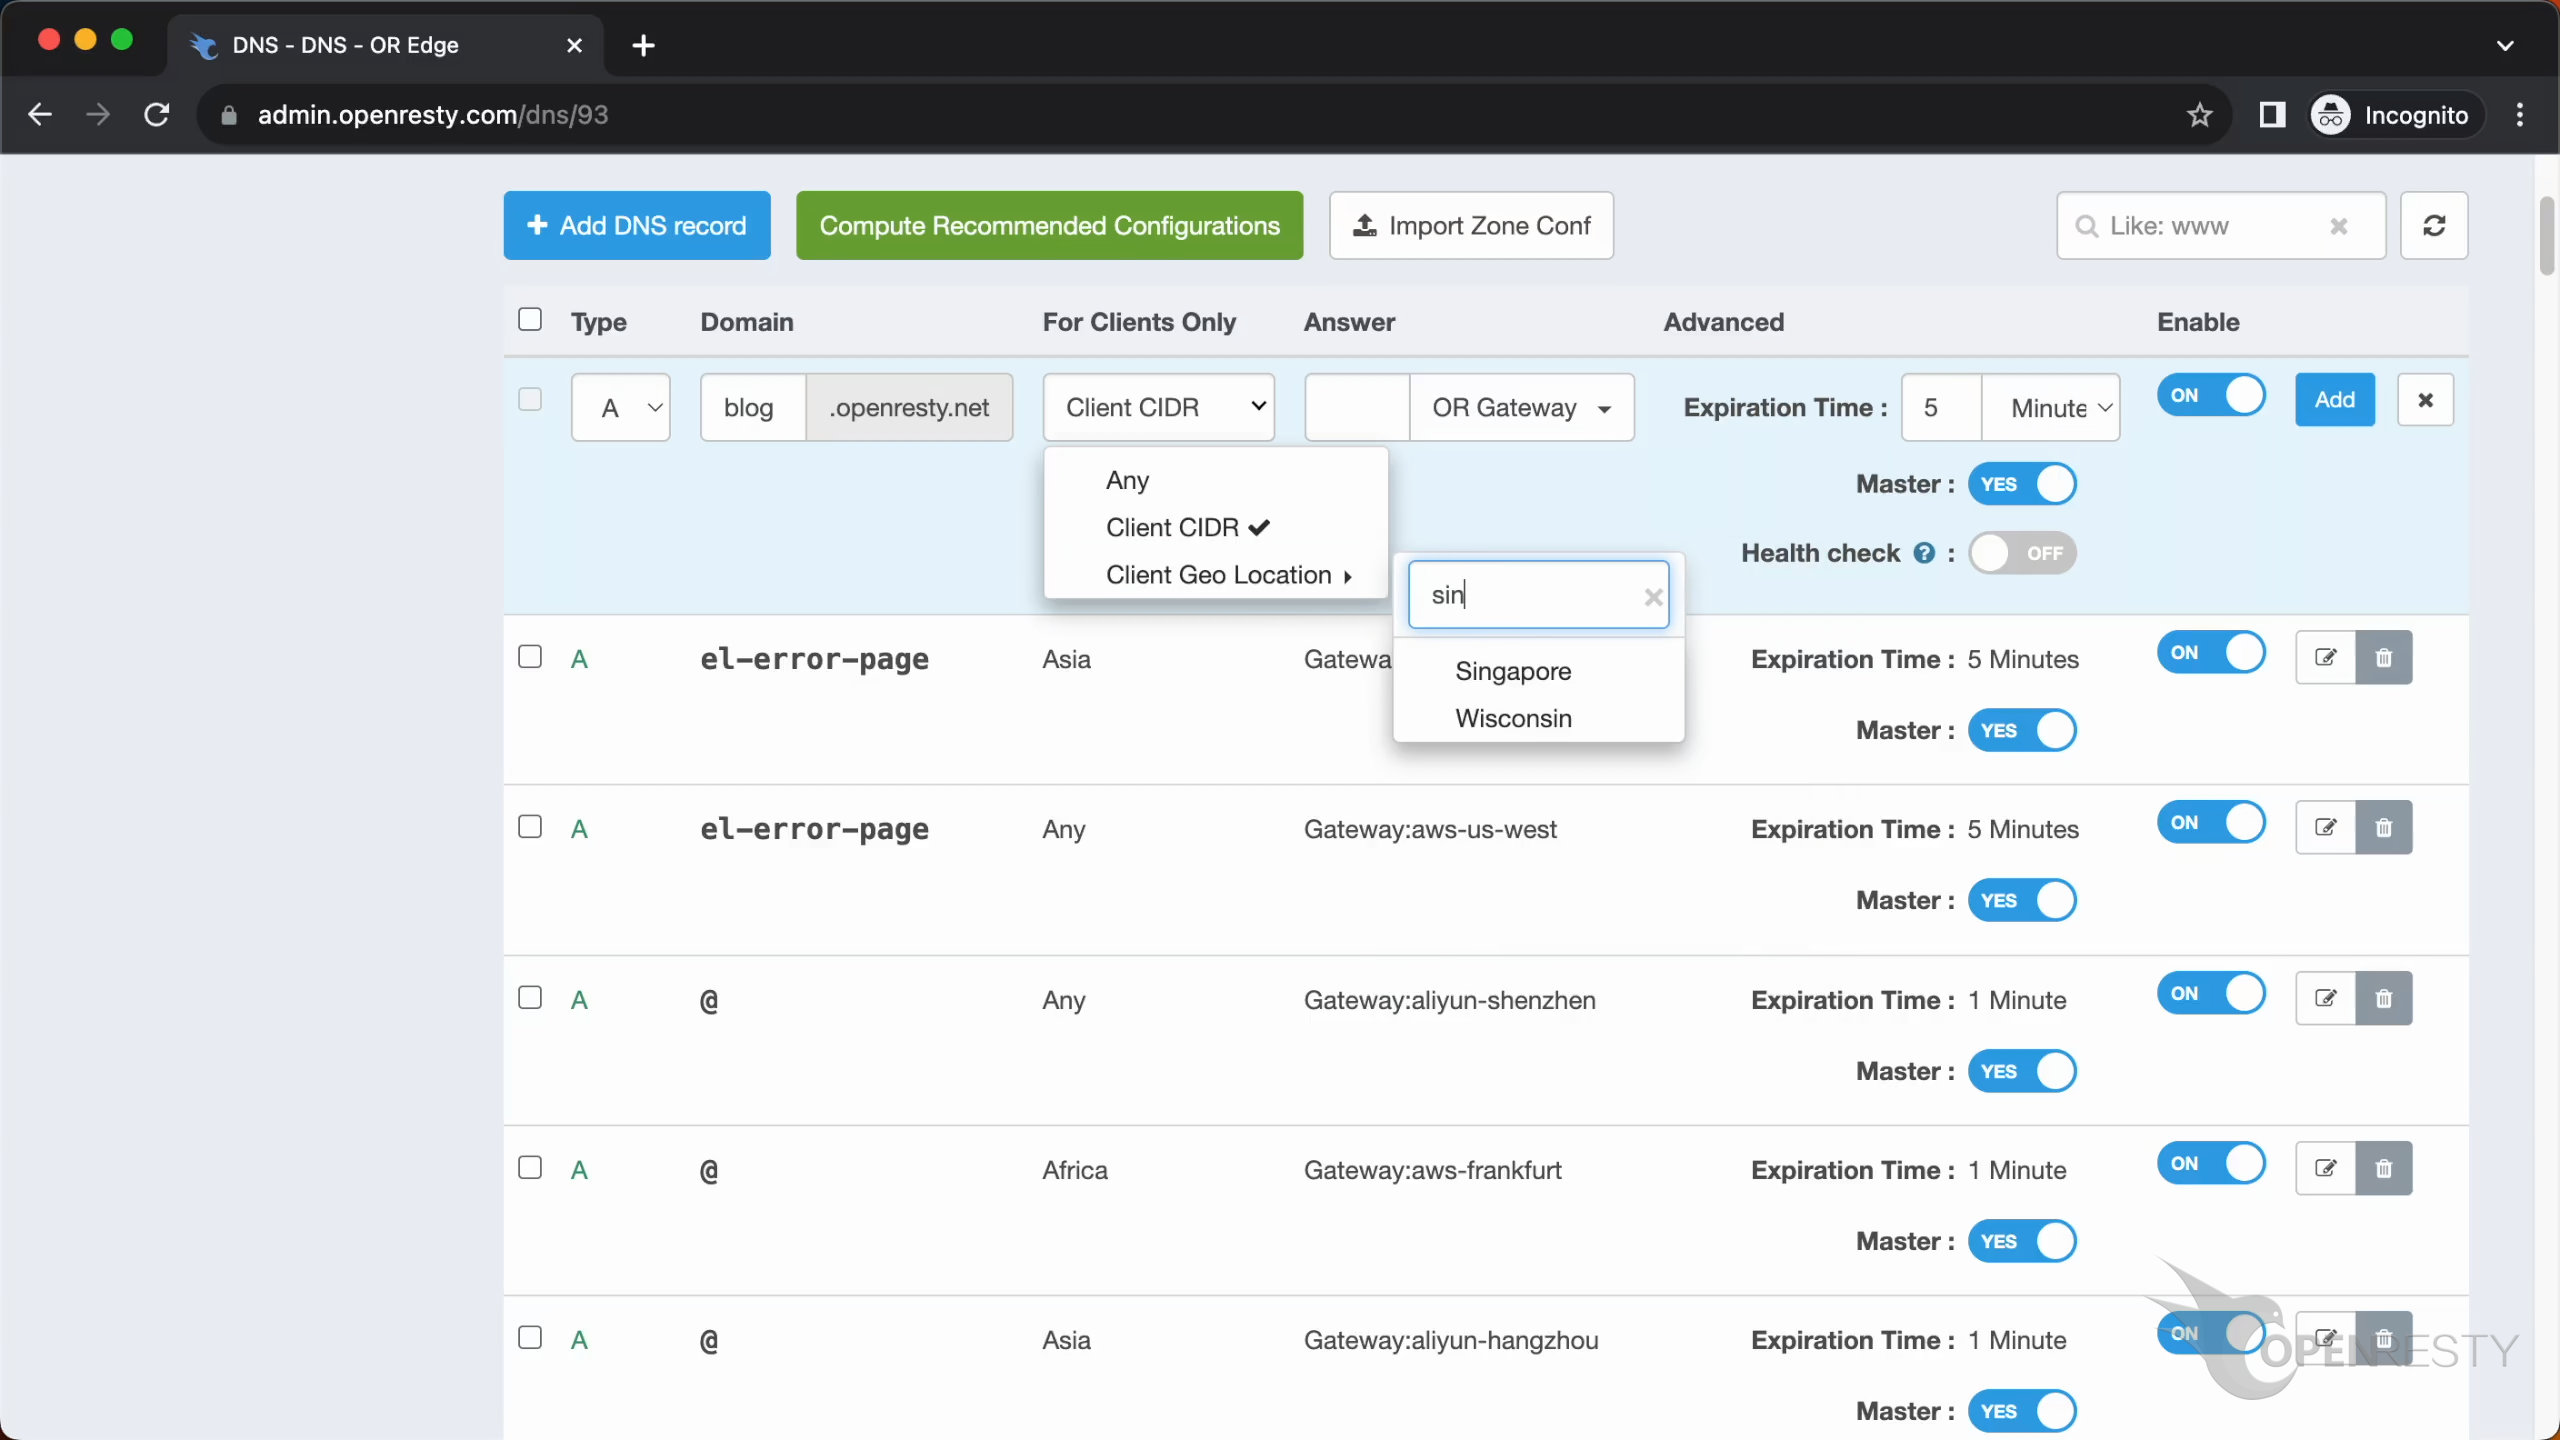
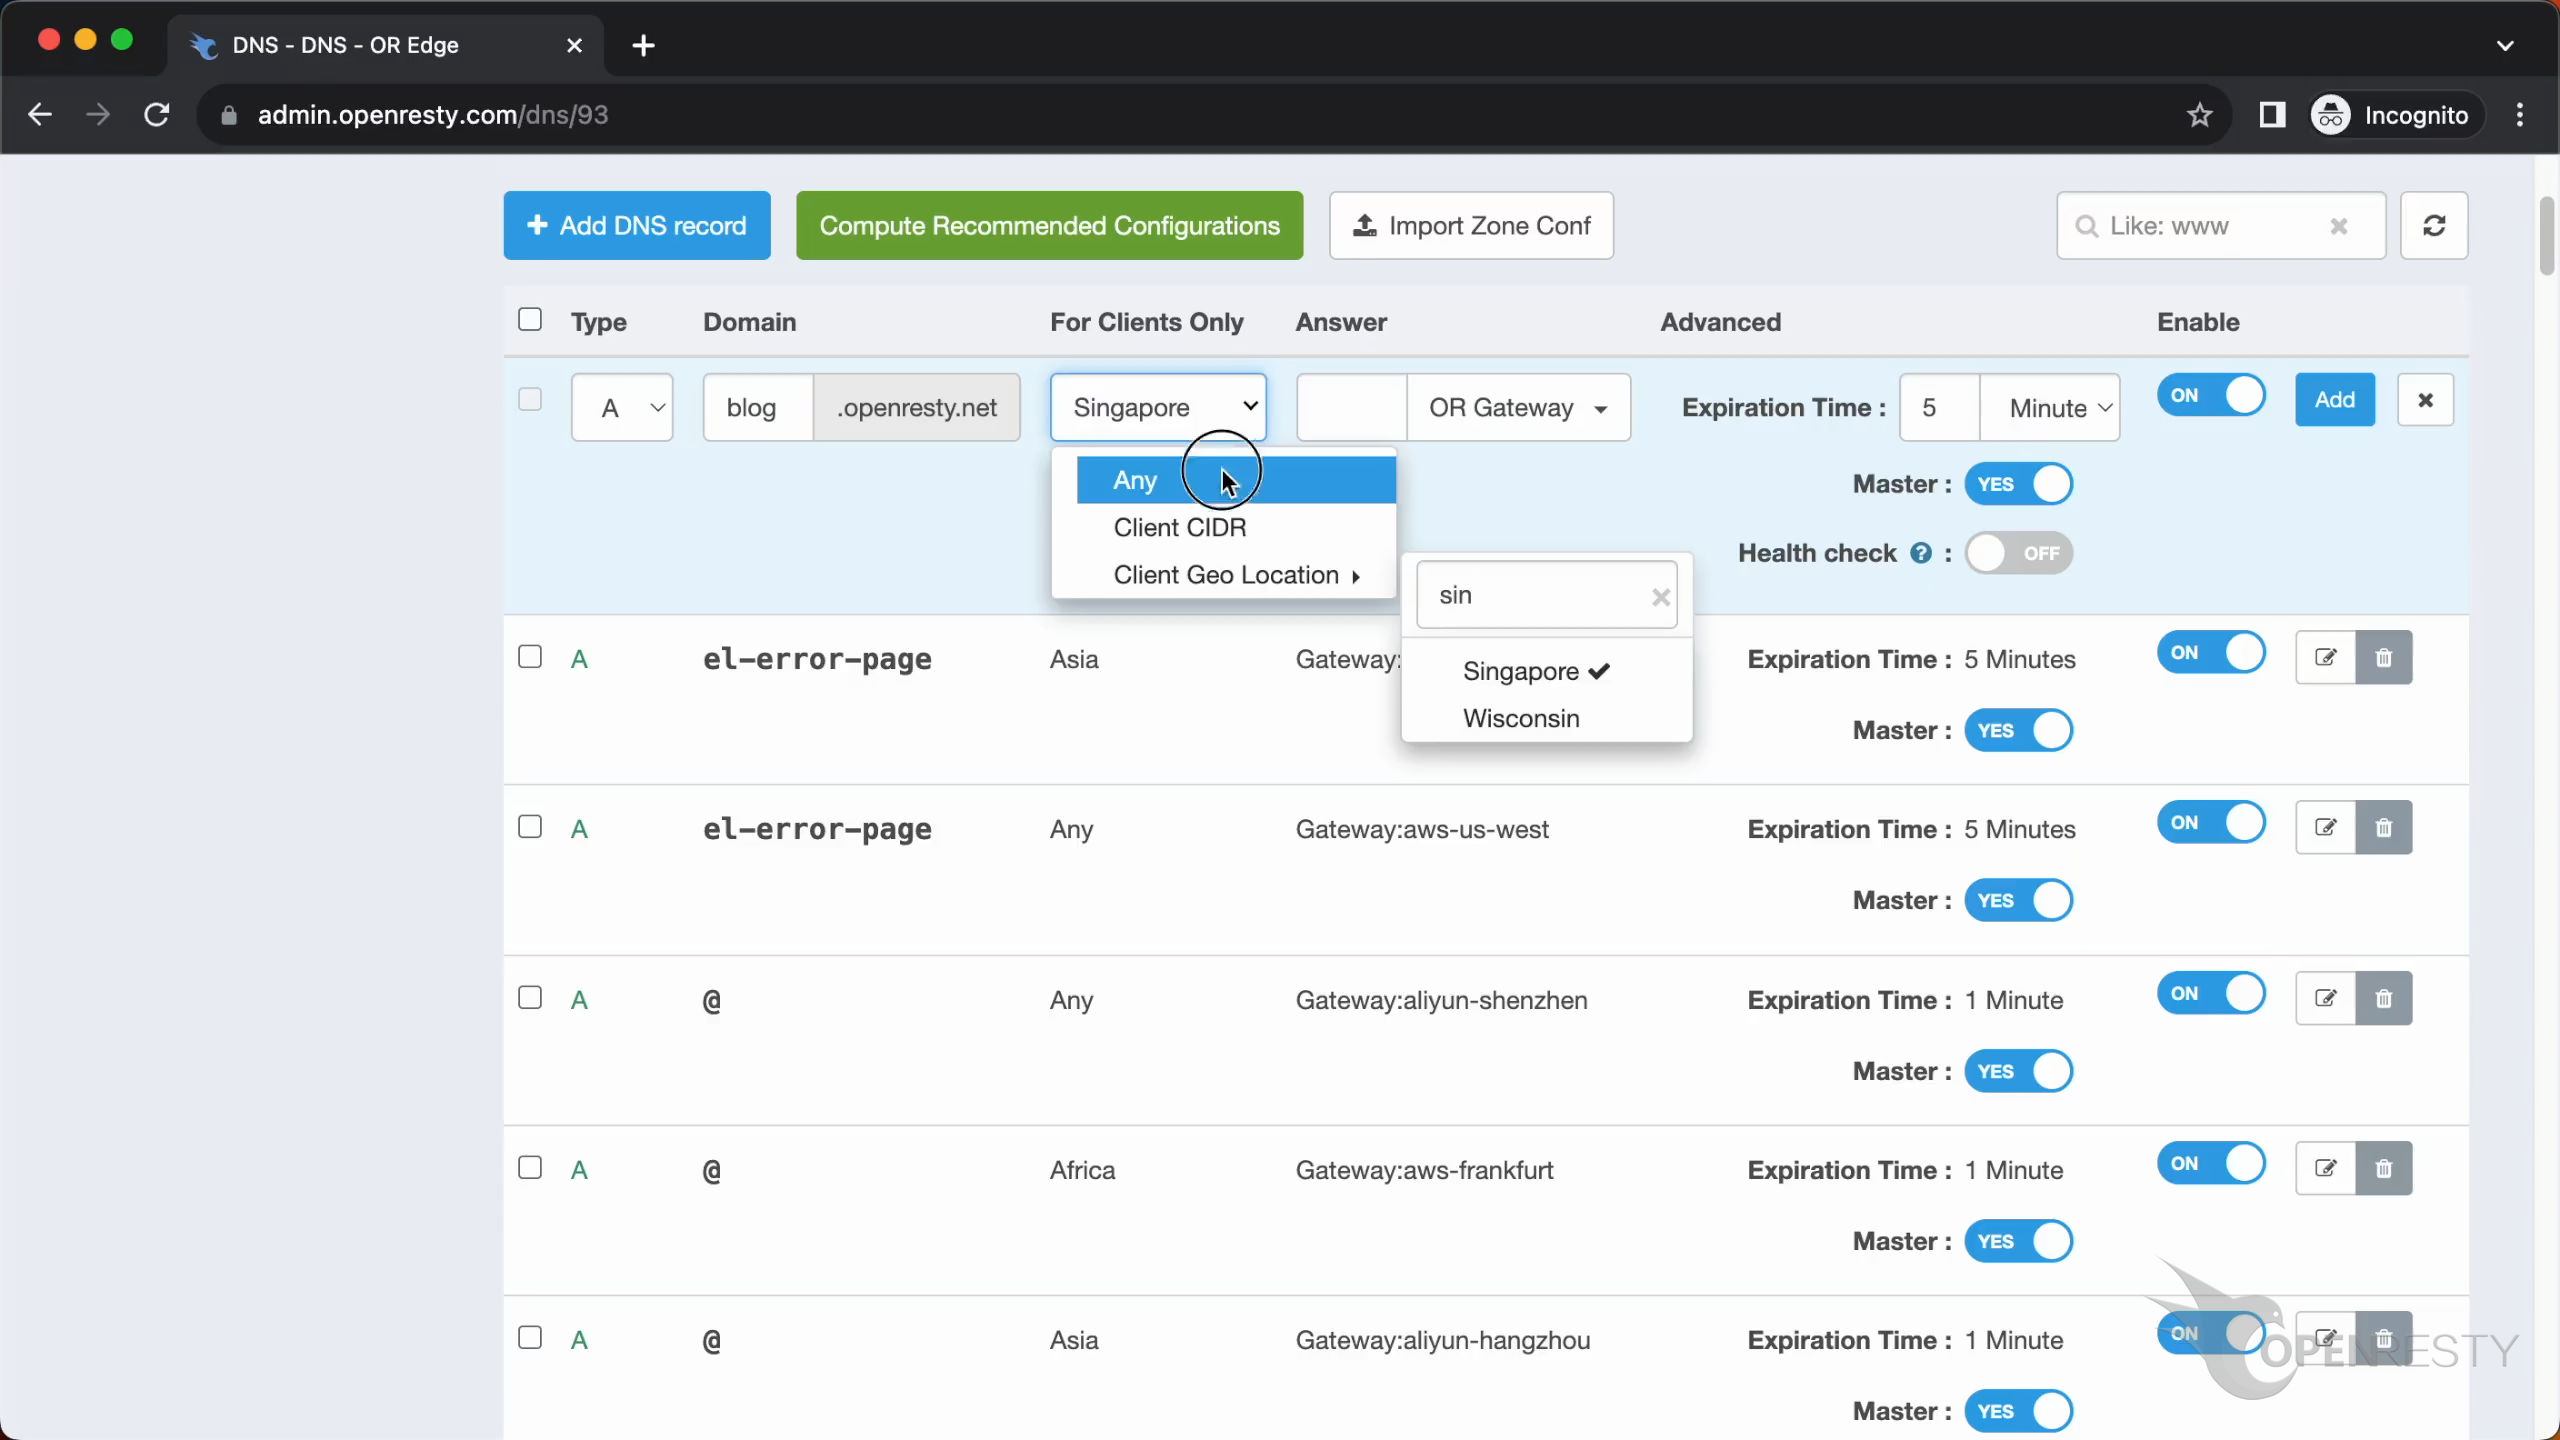
You can also choose the region here, Such as “Singapore”.
We do not have any restrictions this time.
Here is the resolution result, you can enter the IP address directly.
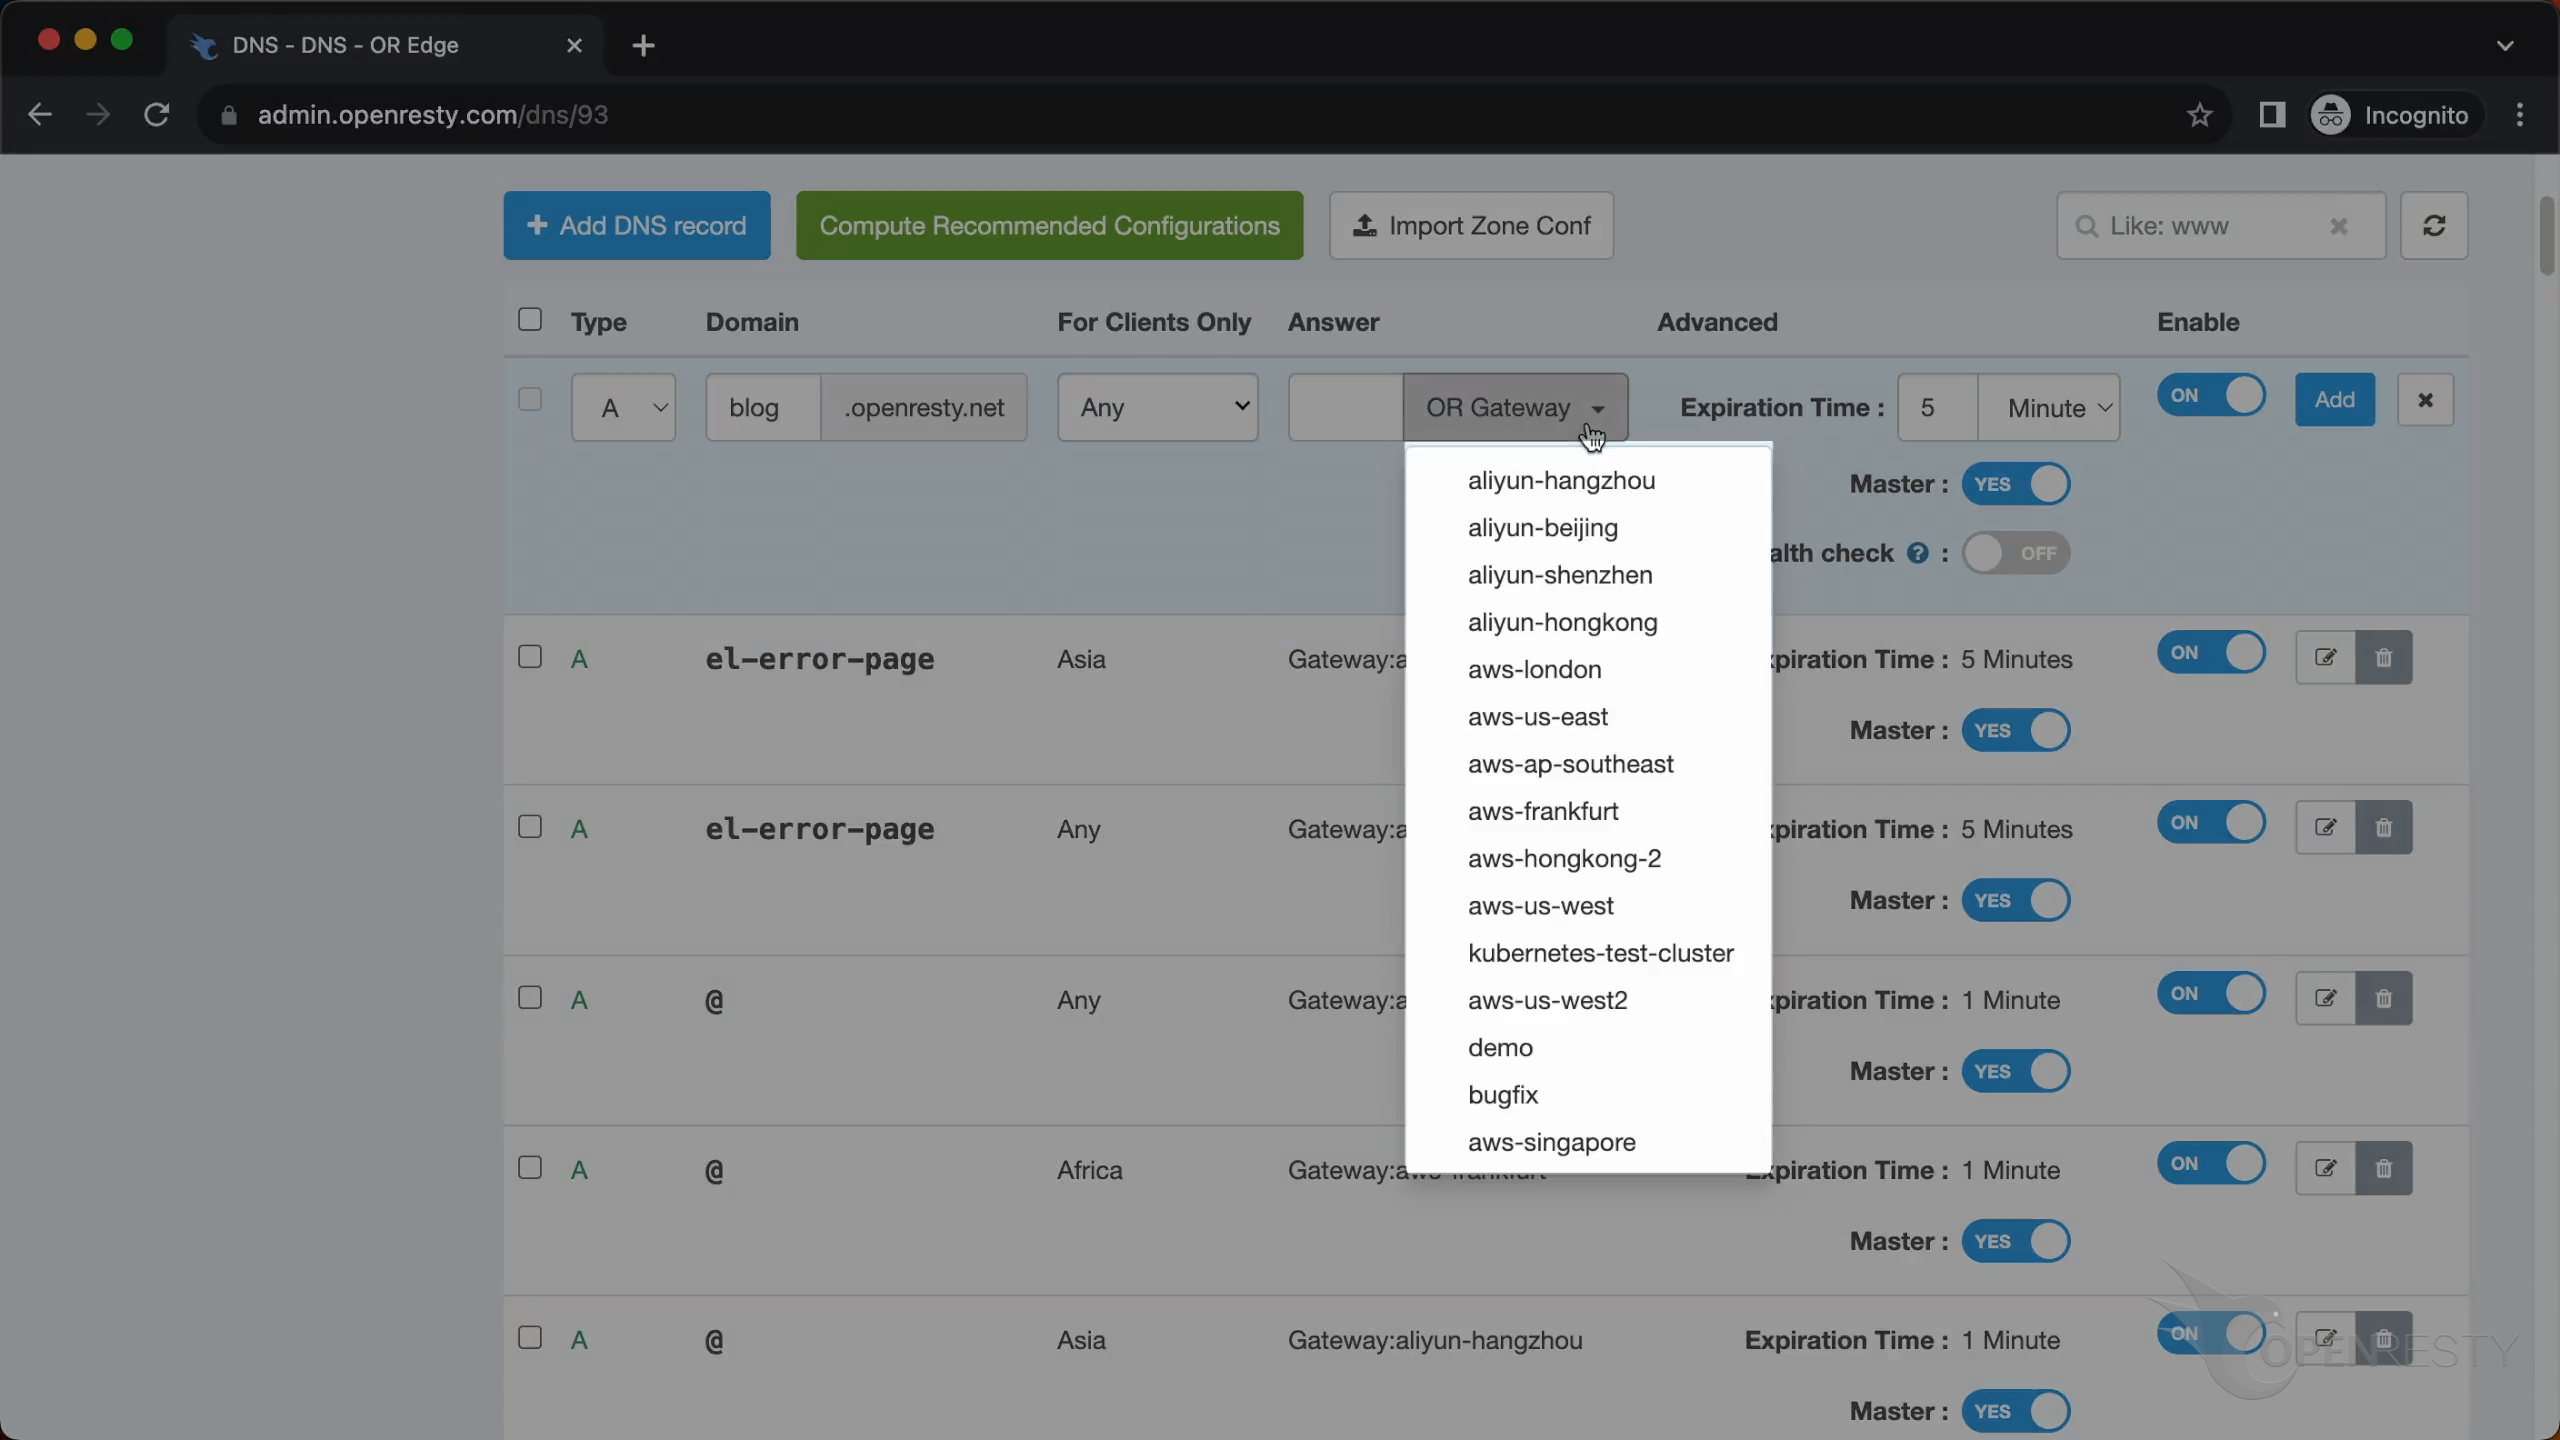
You can also choose one of the Edge’s gateway clusters.
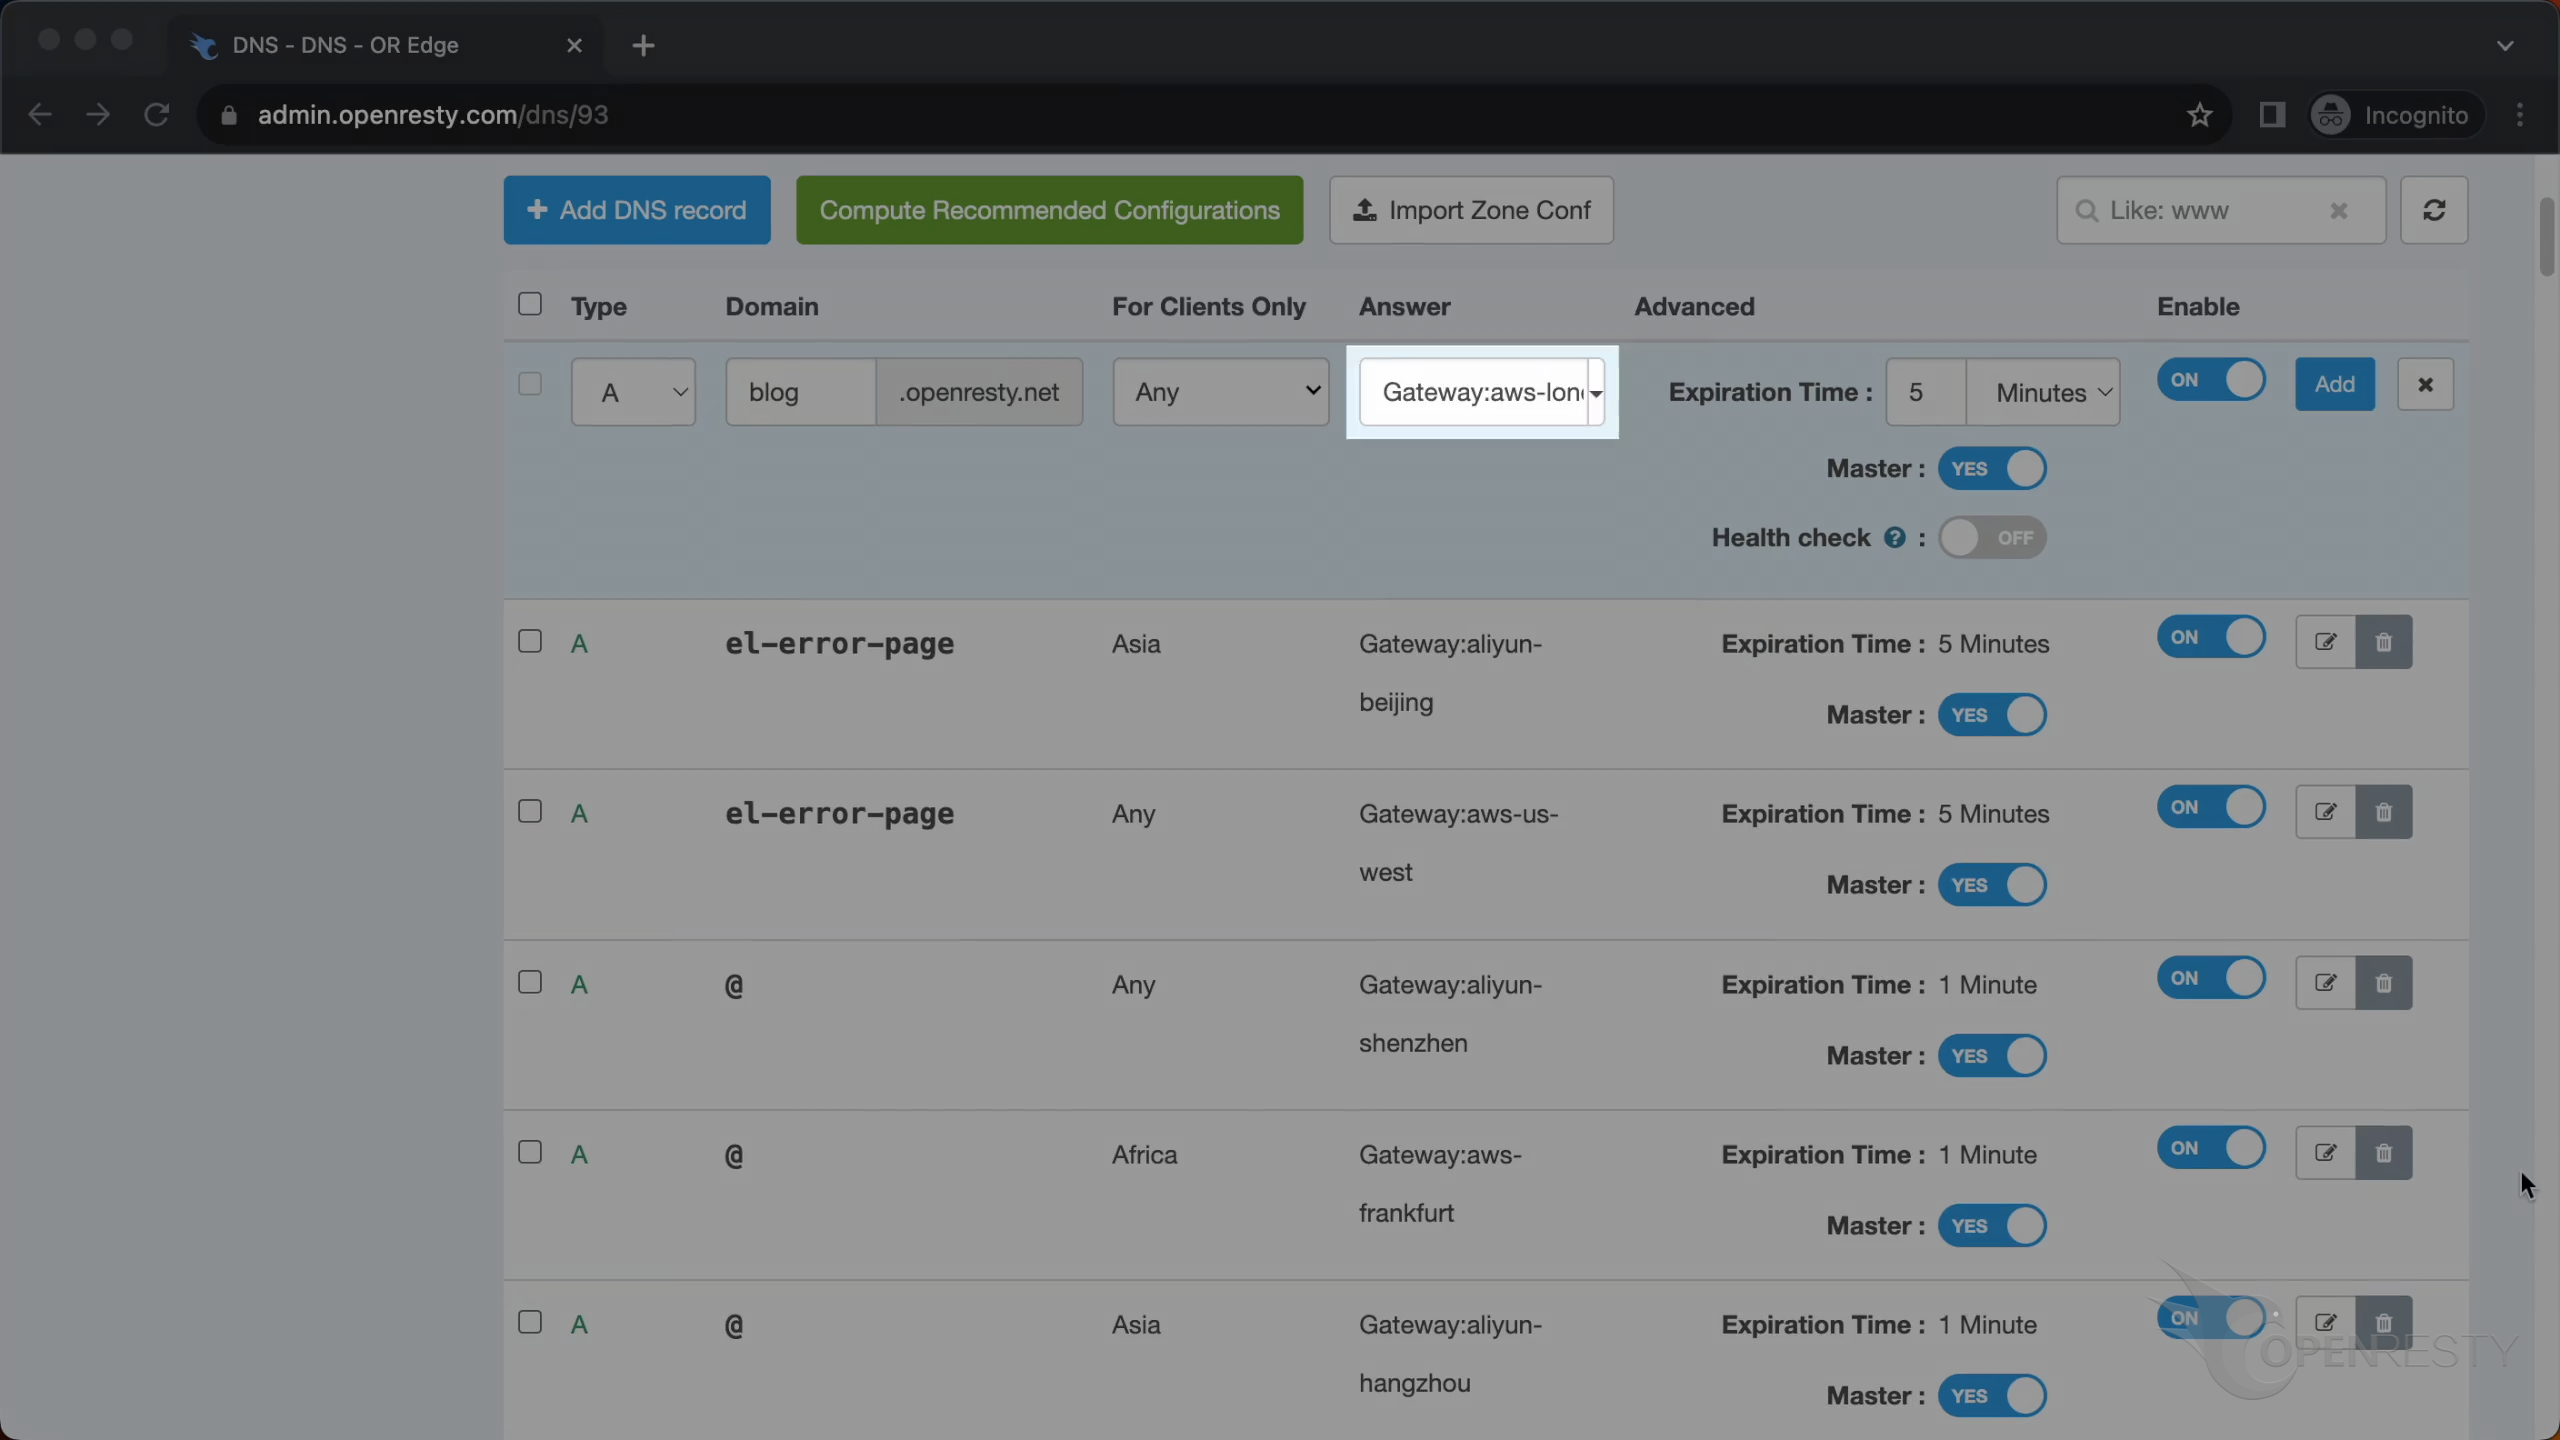
For example “aws-london”.
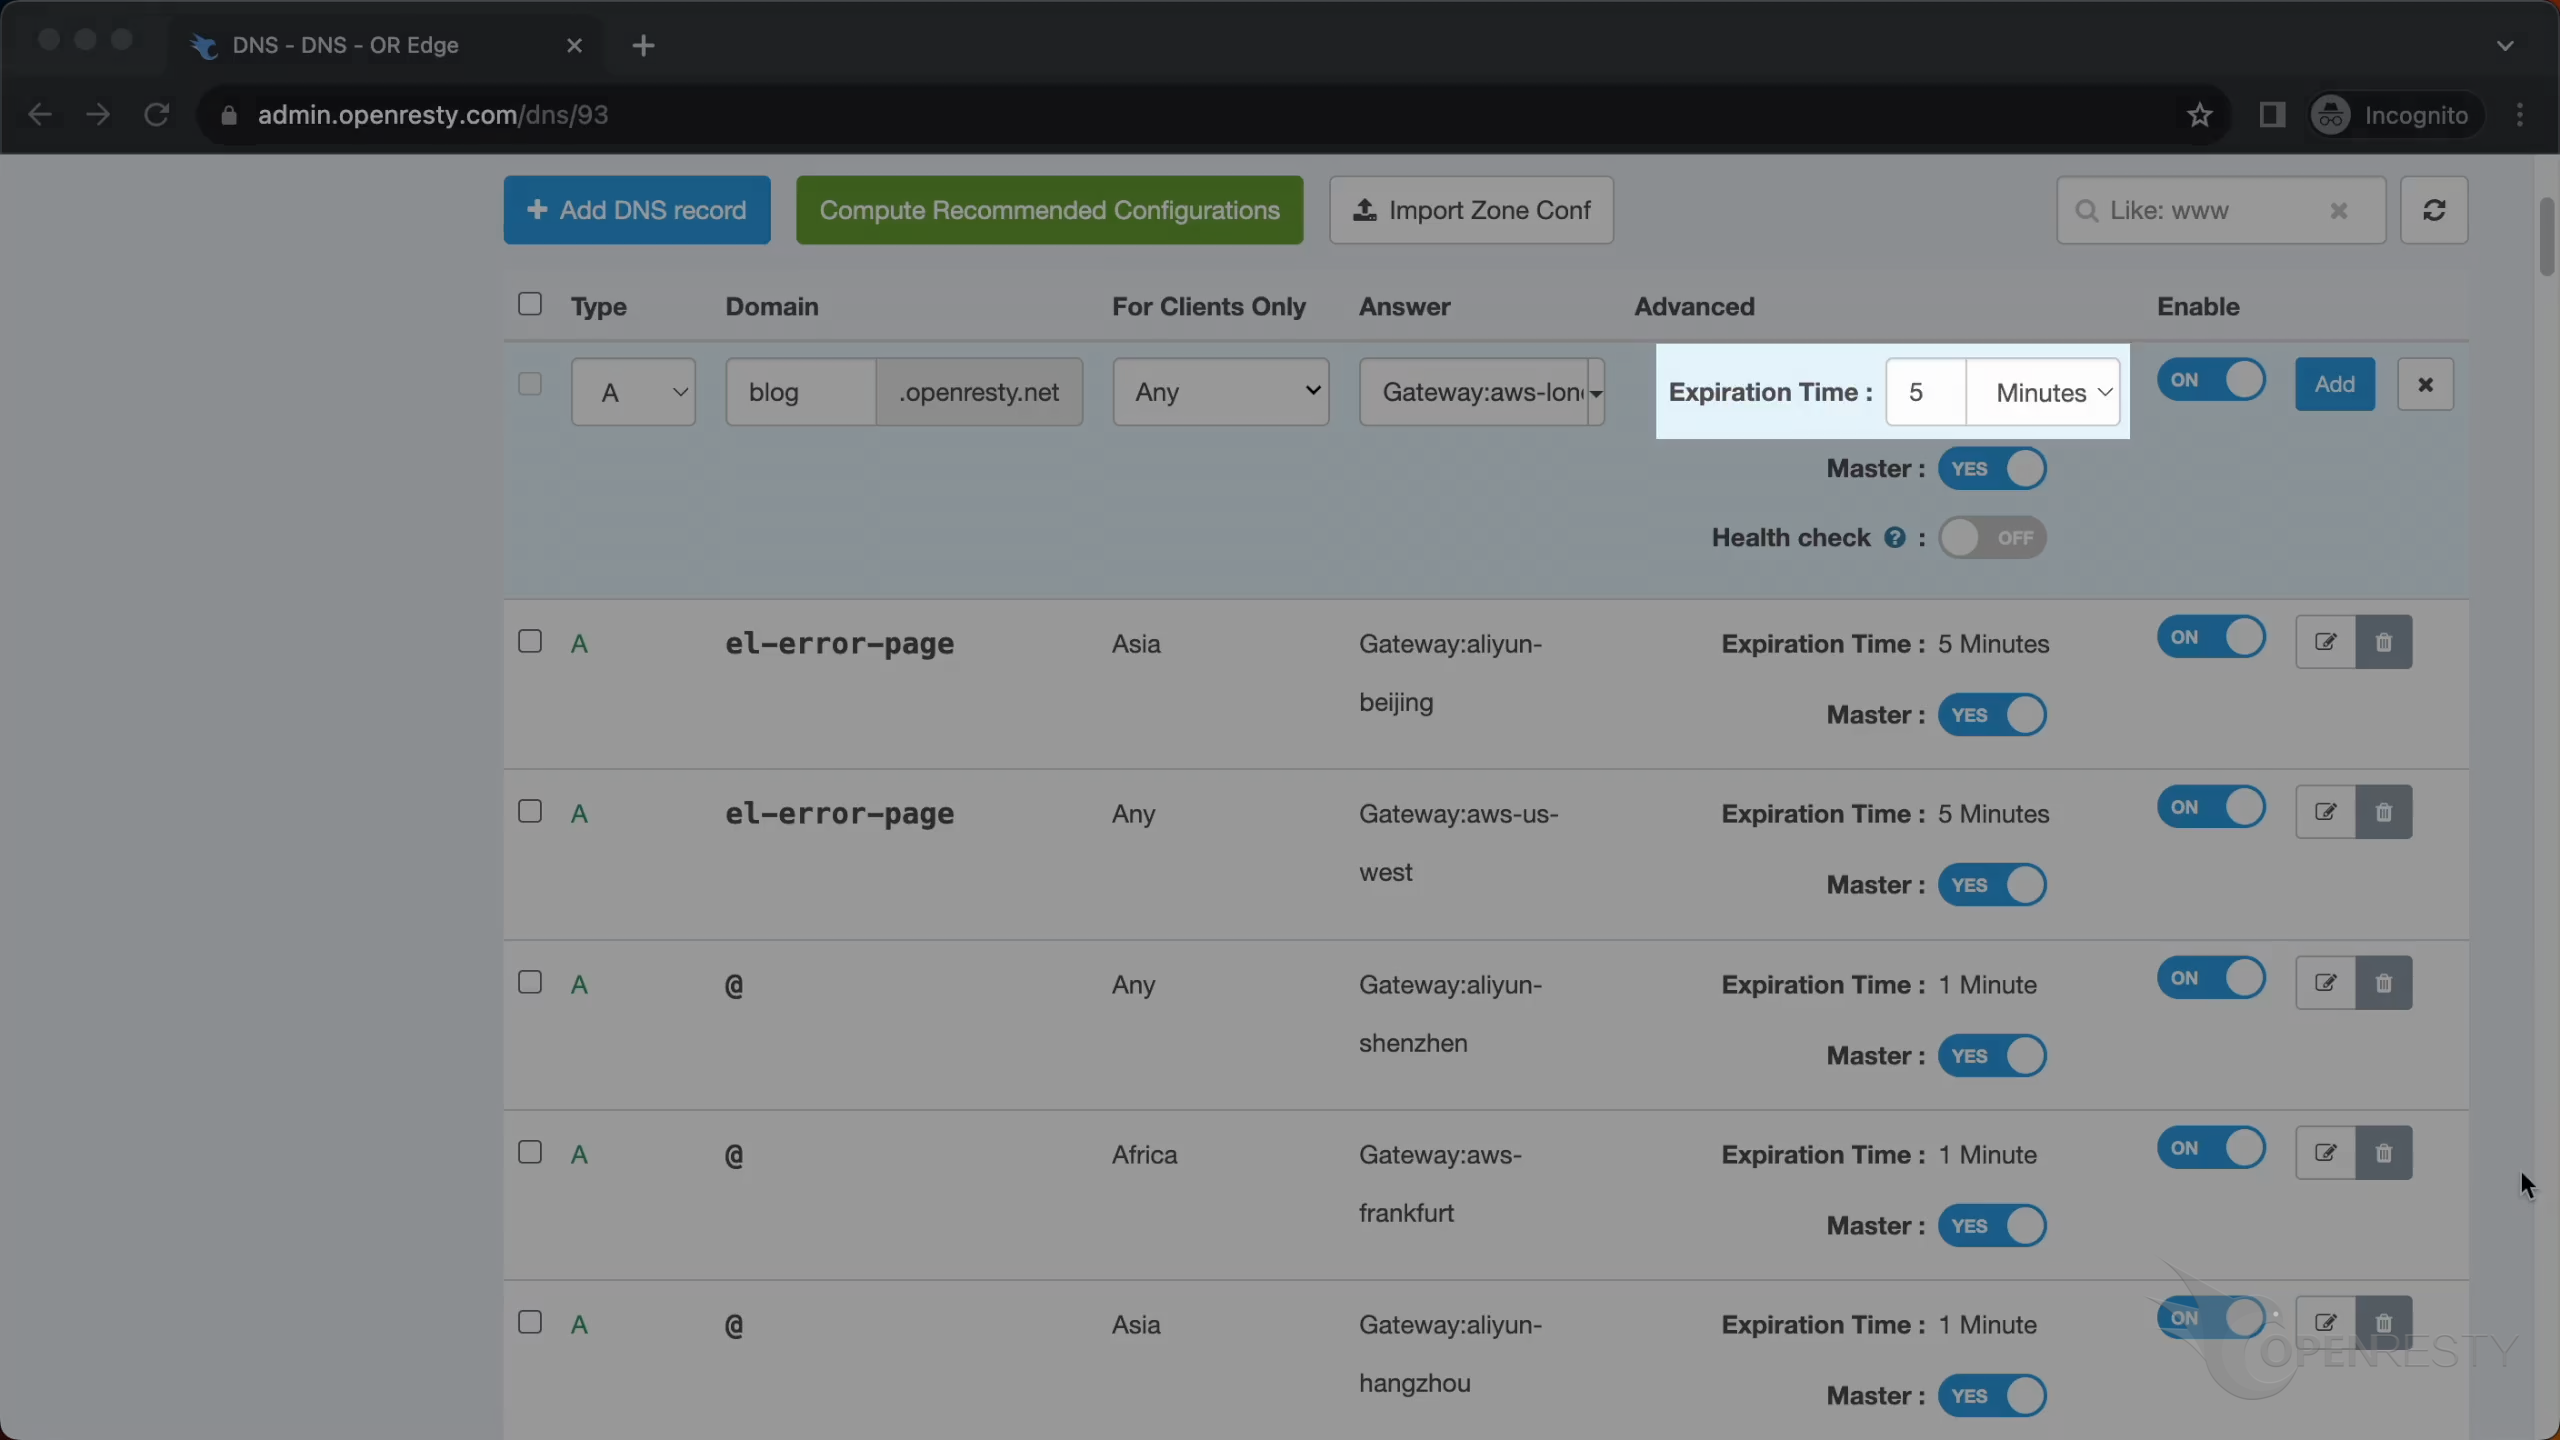
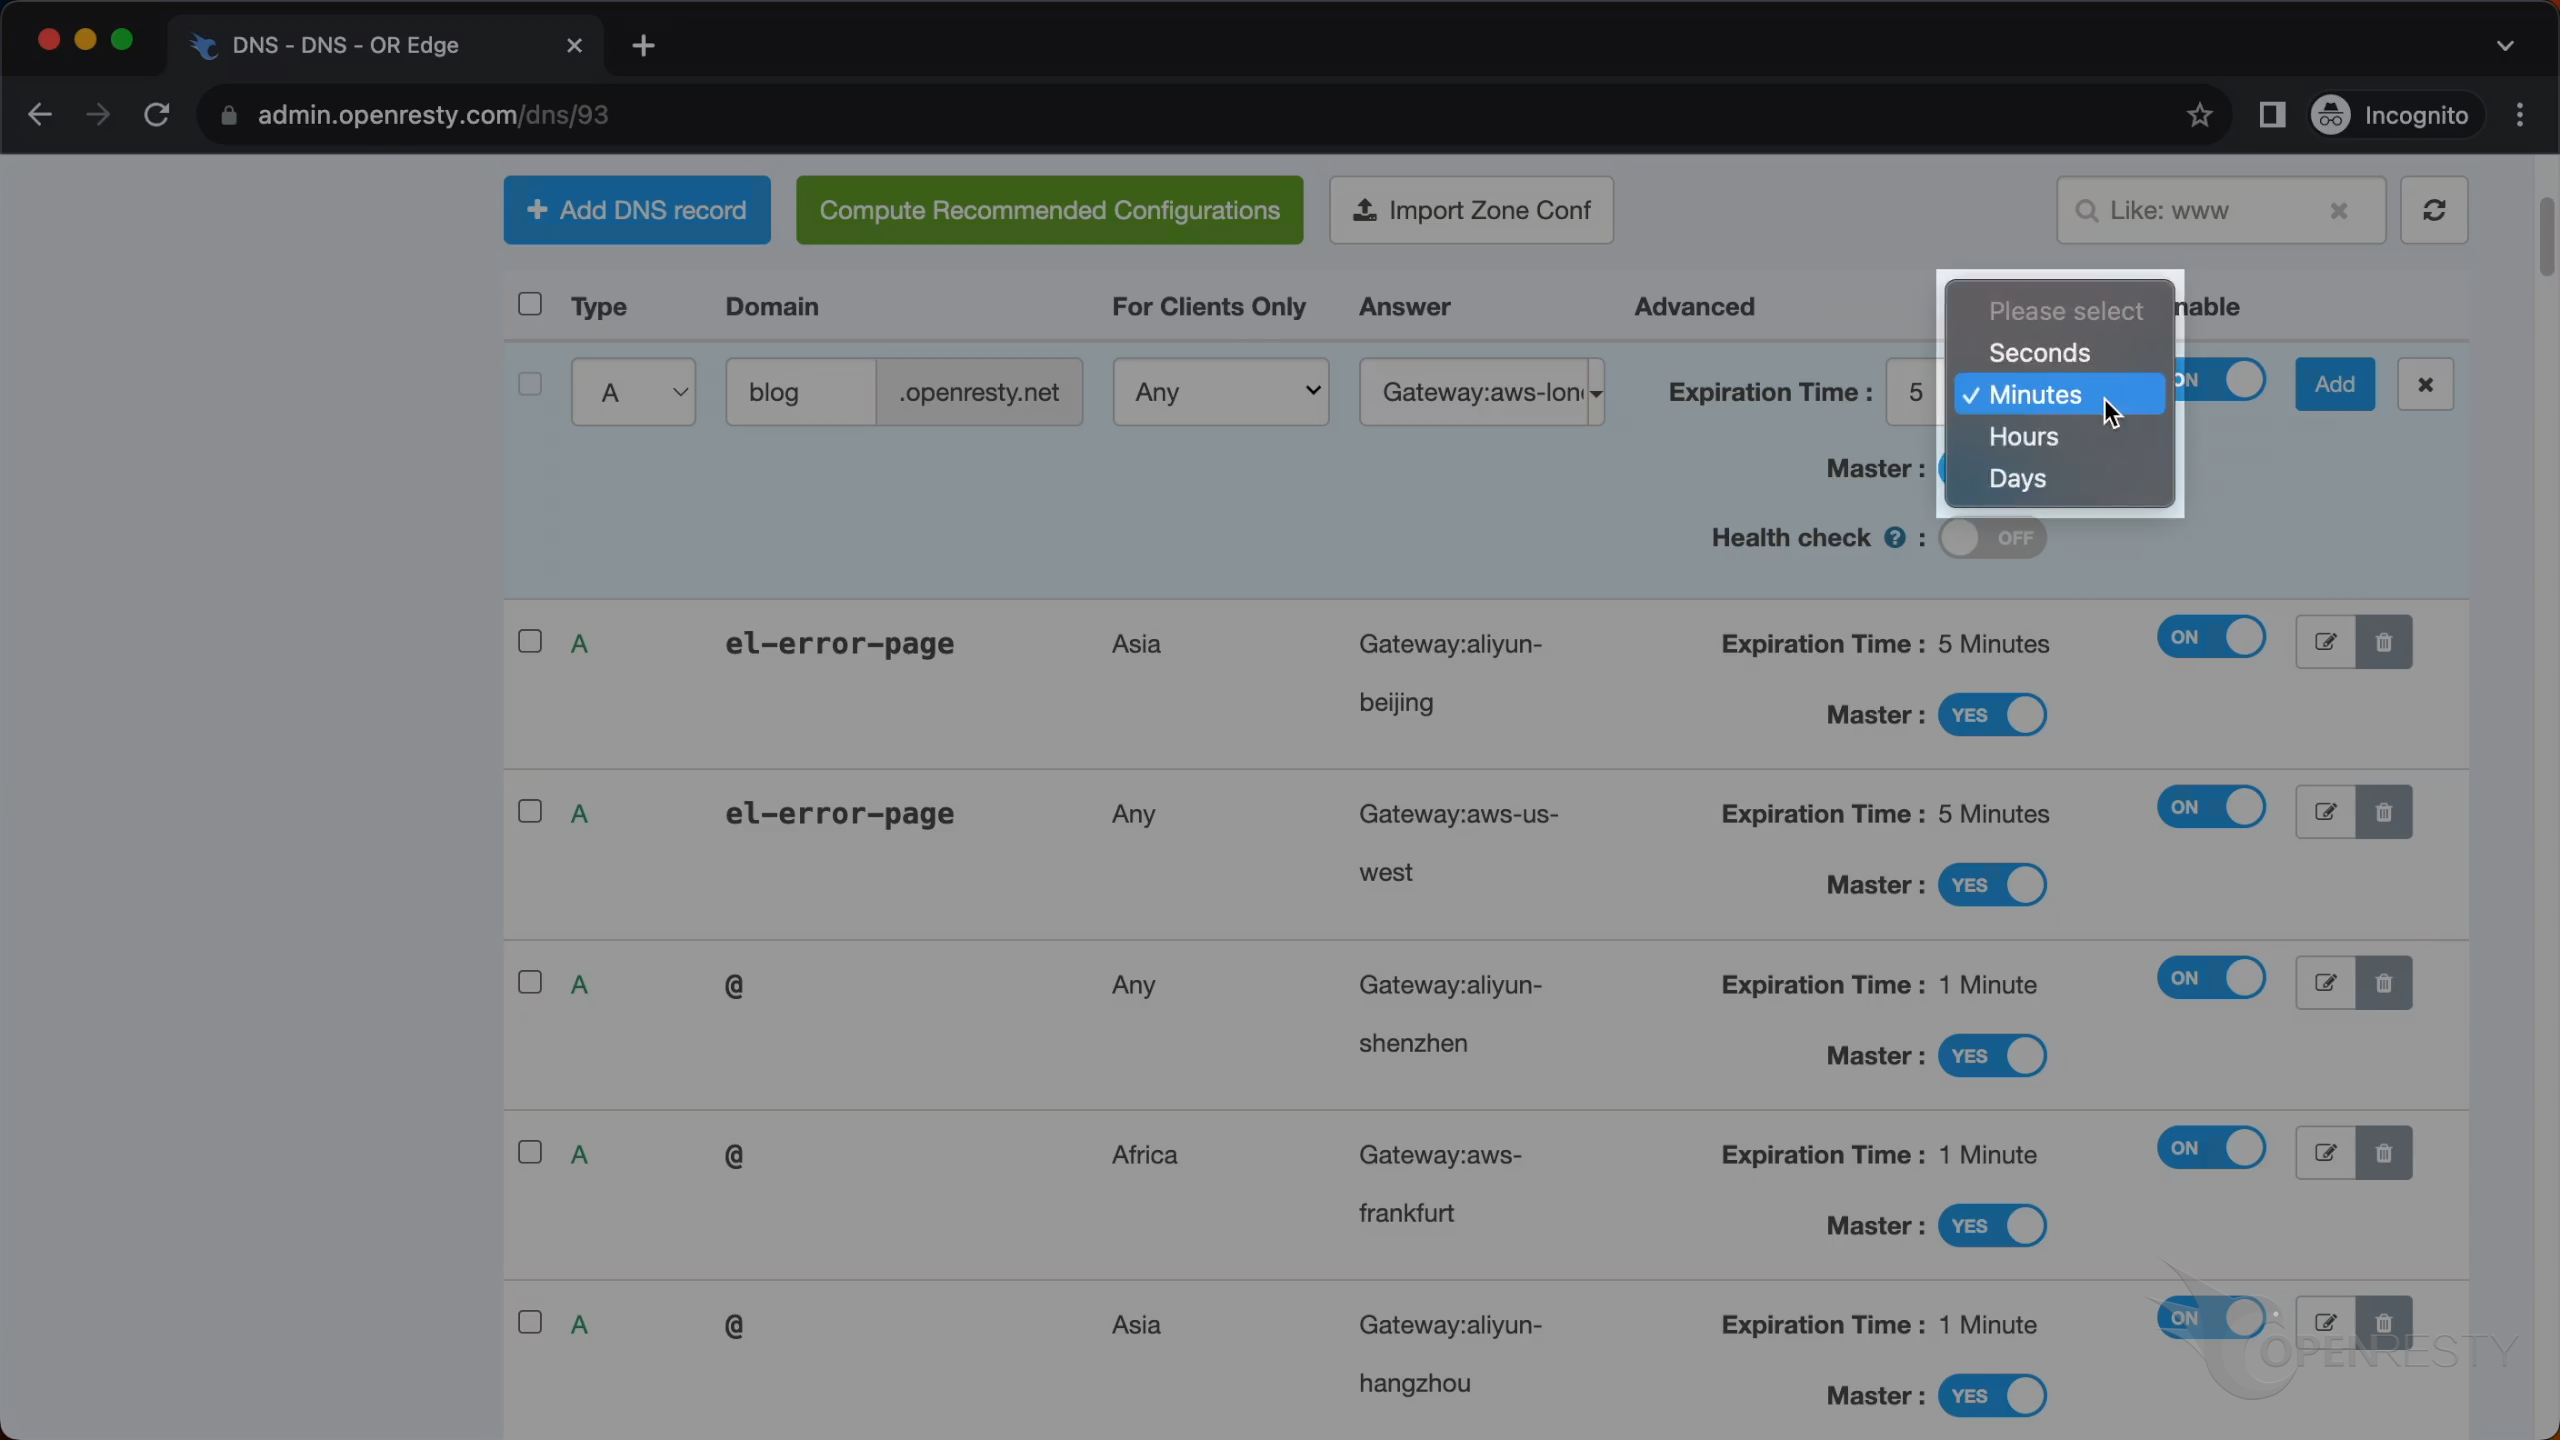
This is the expiration time of the record.
You can select different time units for it.
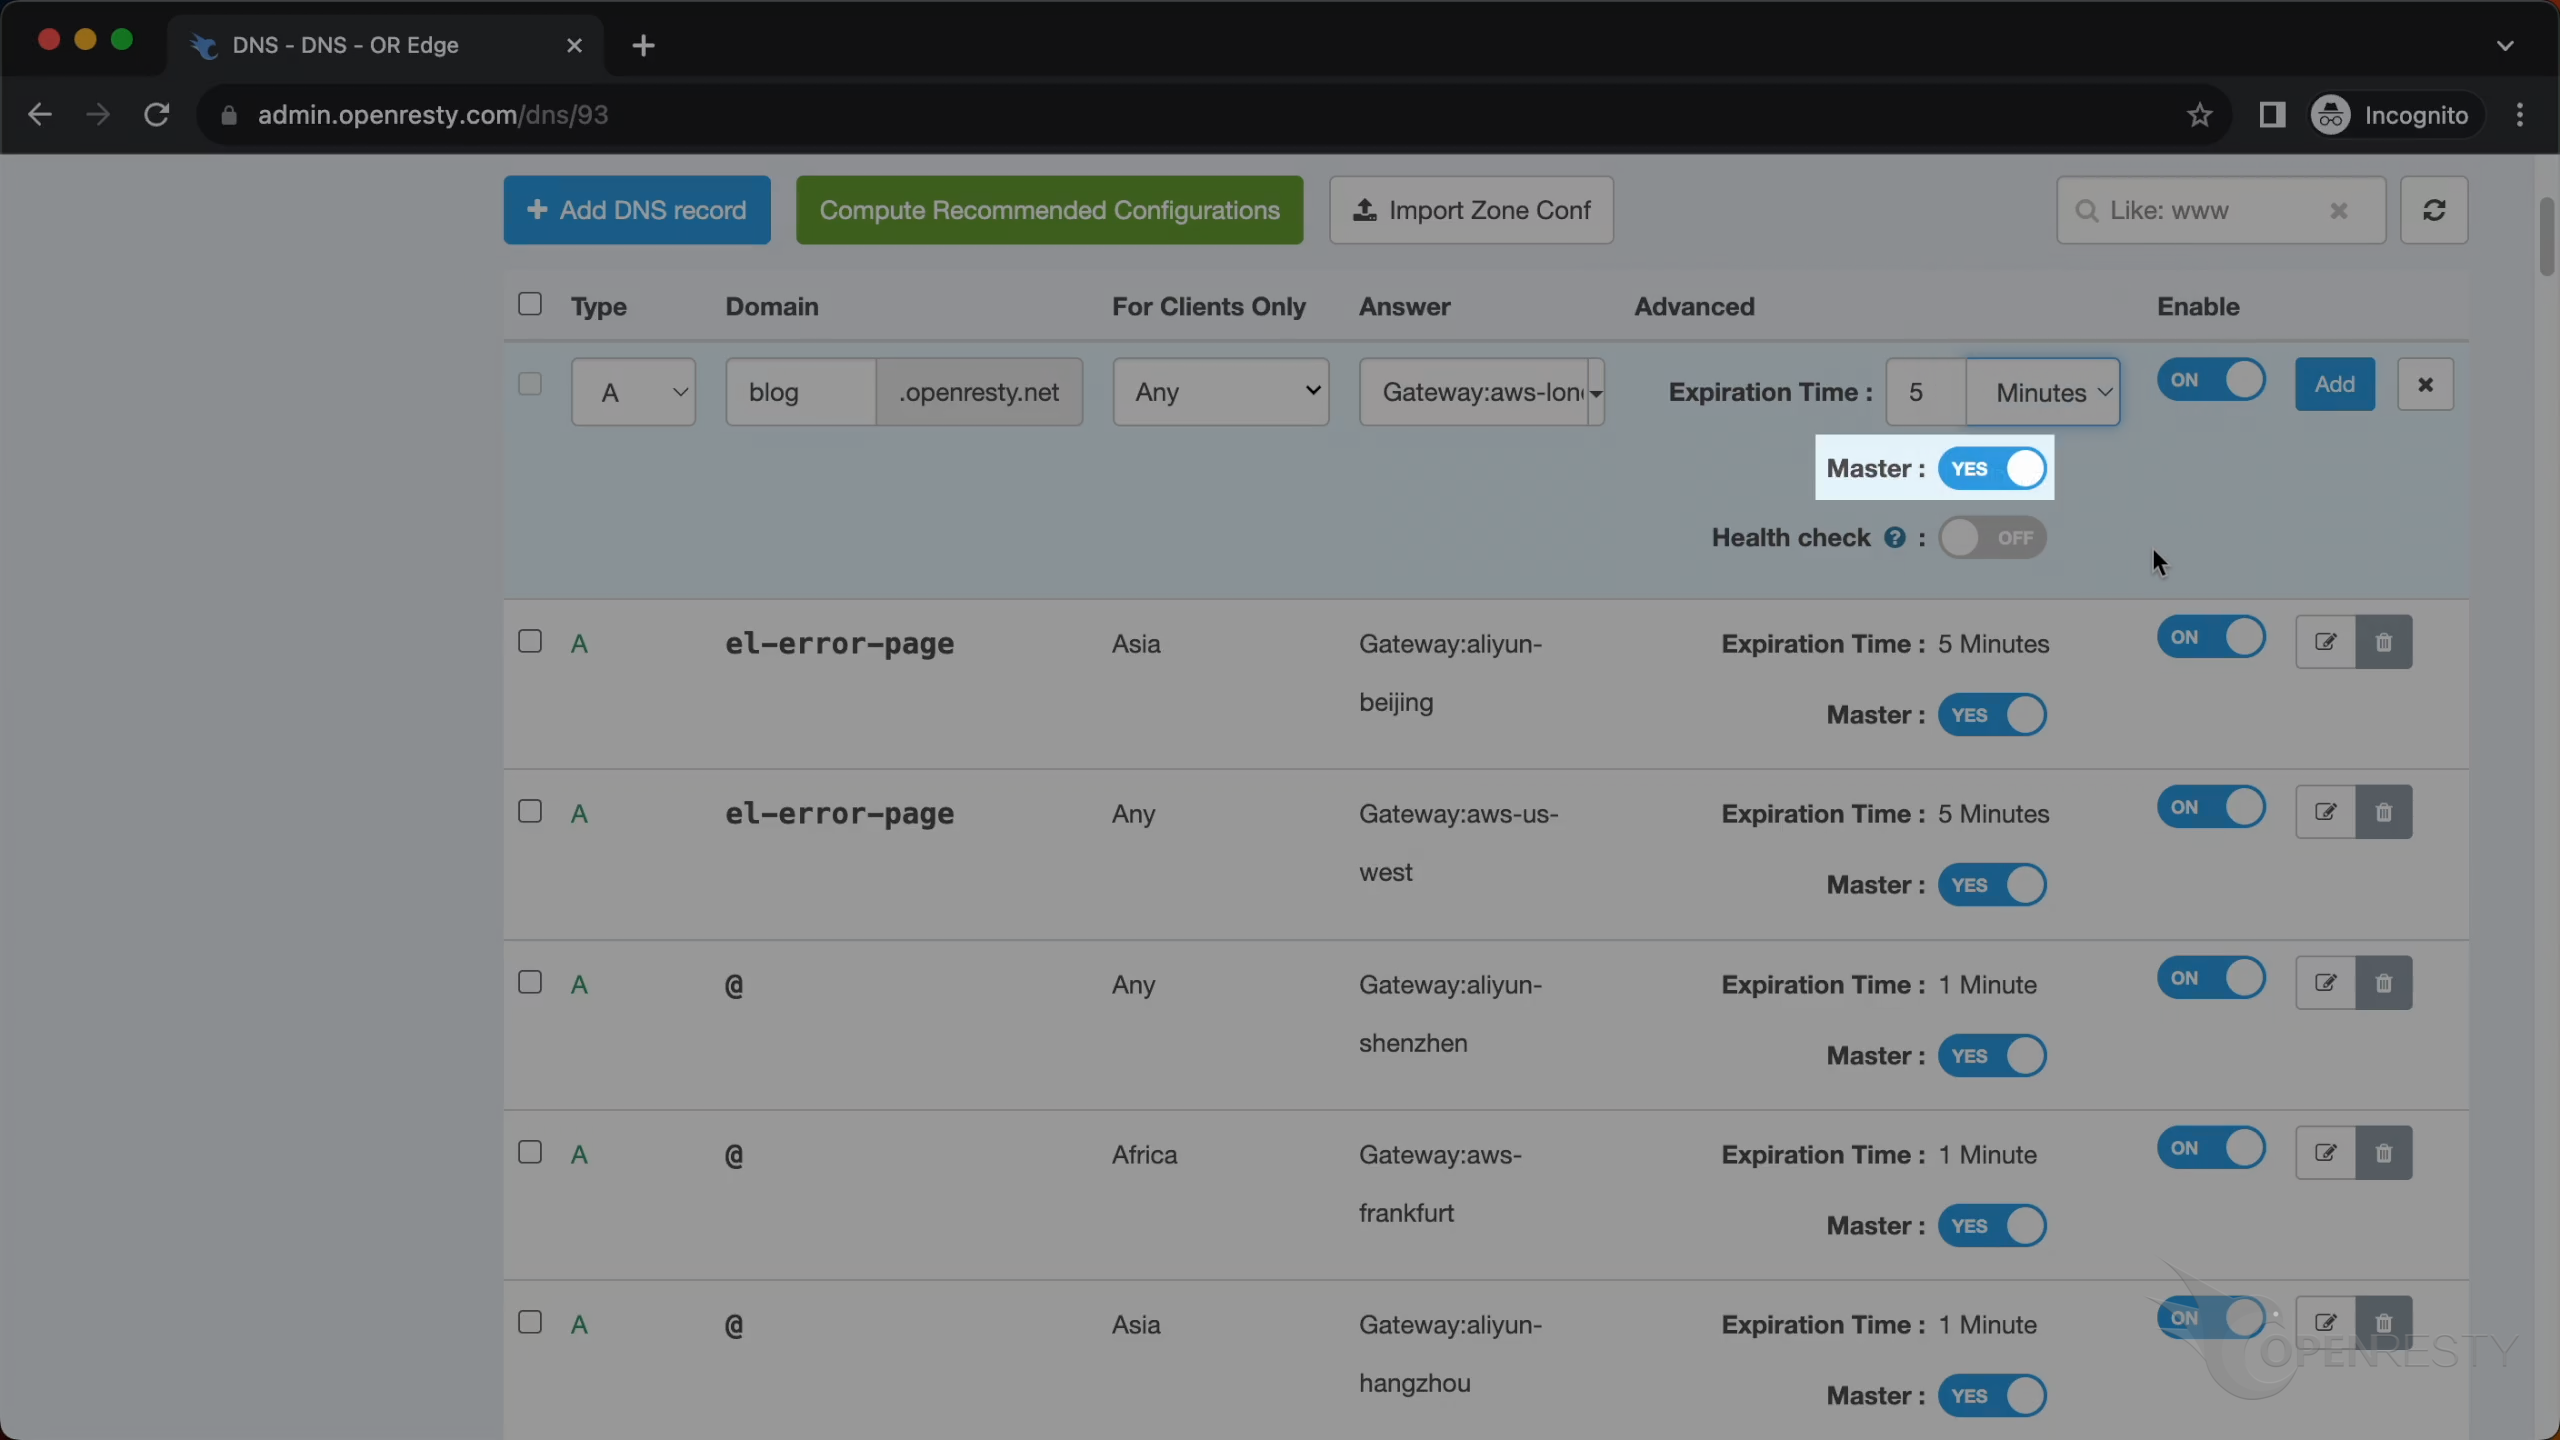
Here you can switch between primary and backup records. The backup record will be used if the primary record is missing or fails the health check.
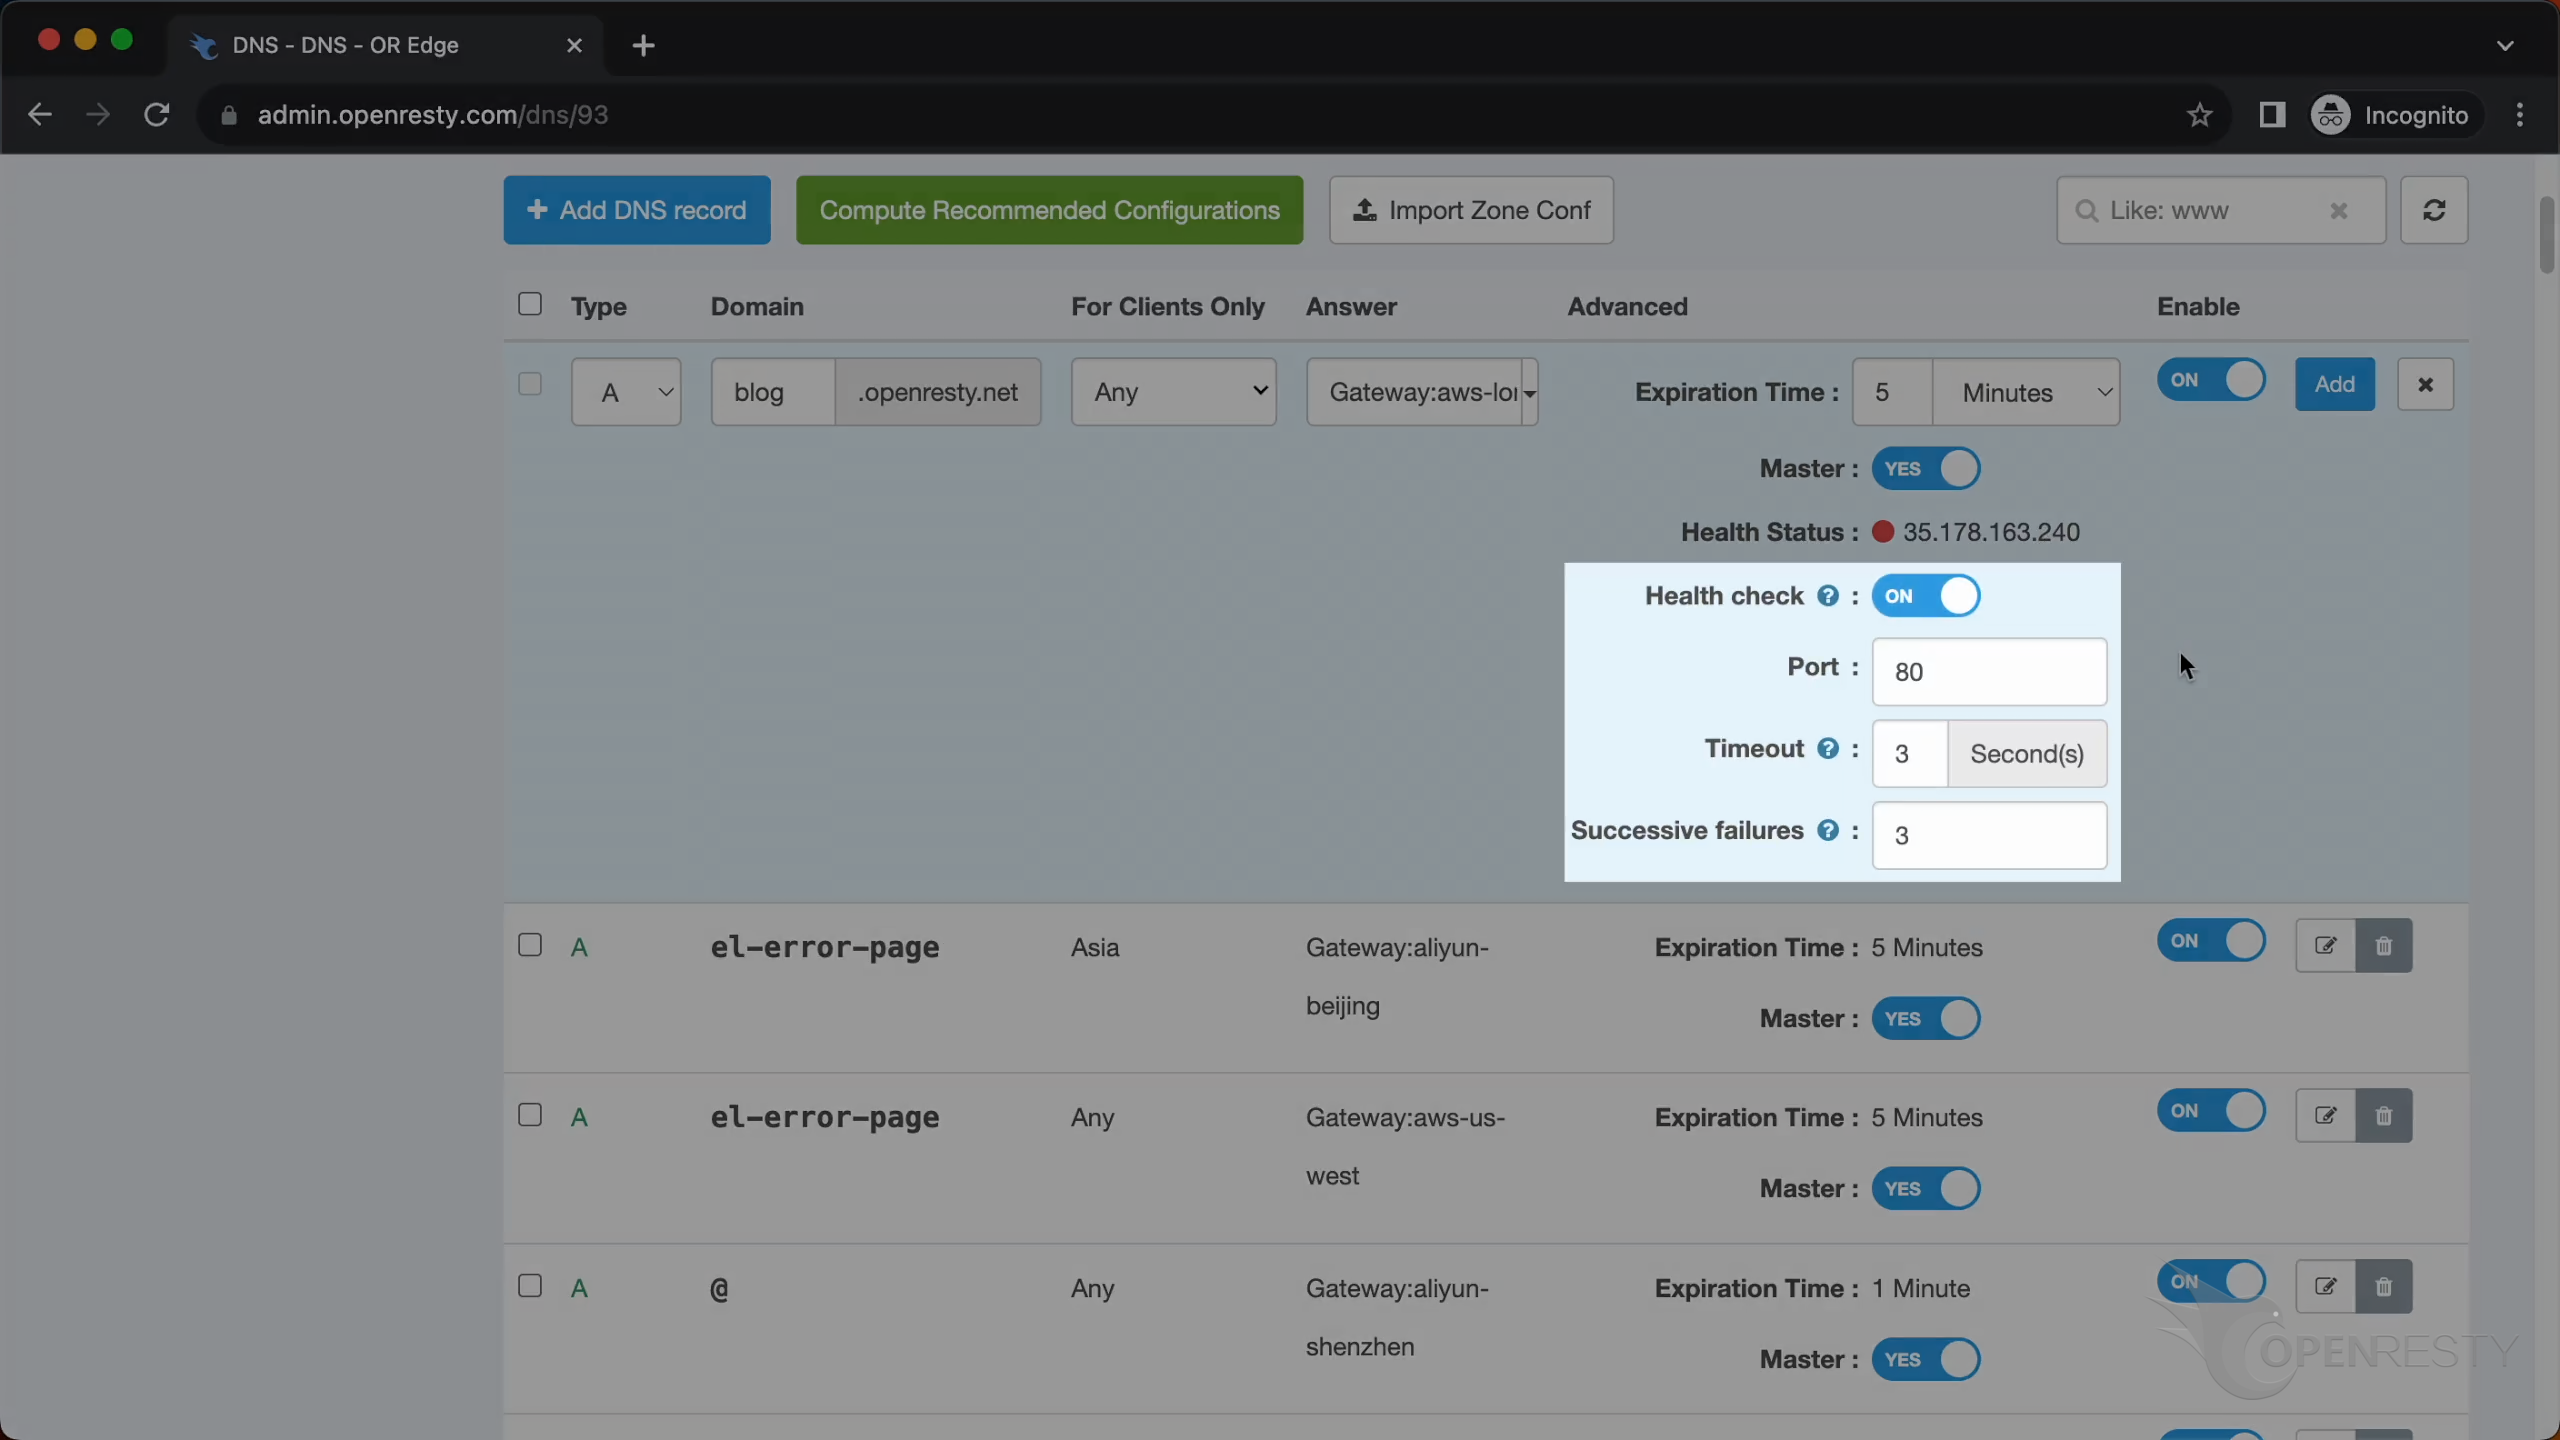
OpenResty Edge also performs a health check on DNS records, which ensures that only available results are returned.
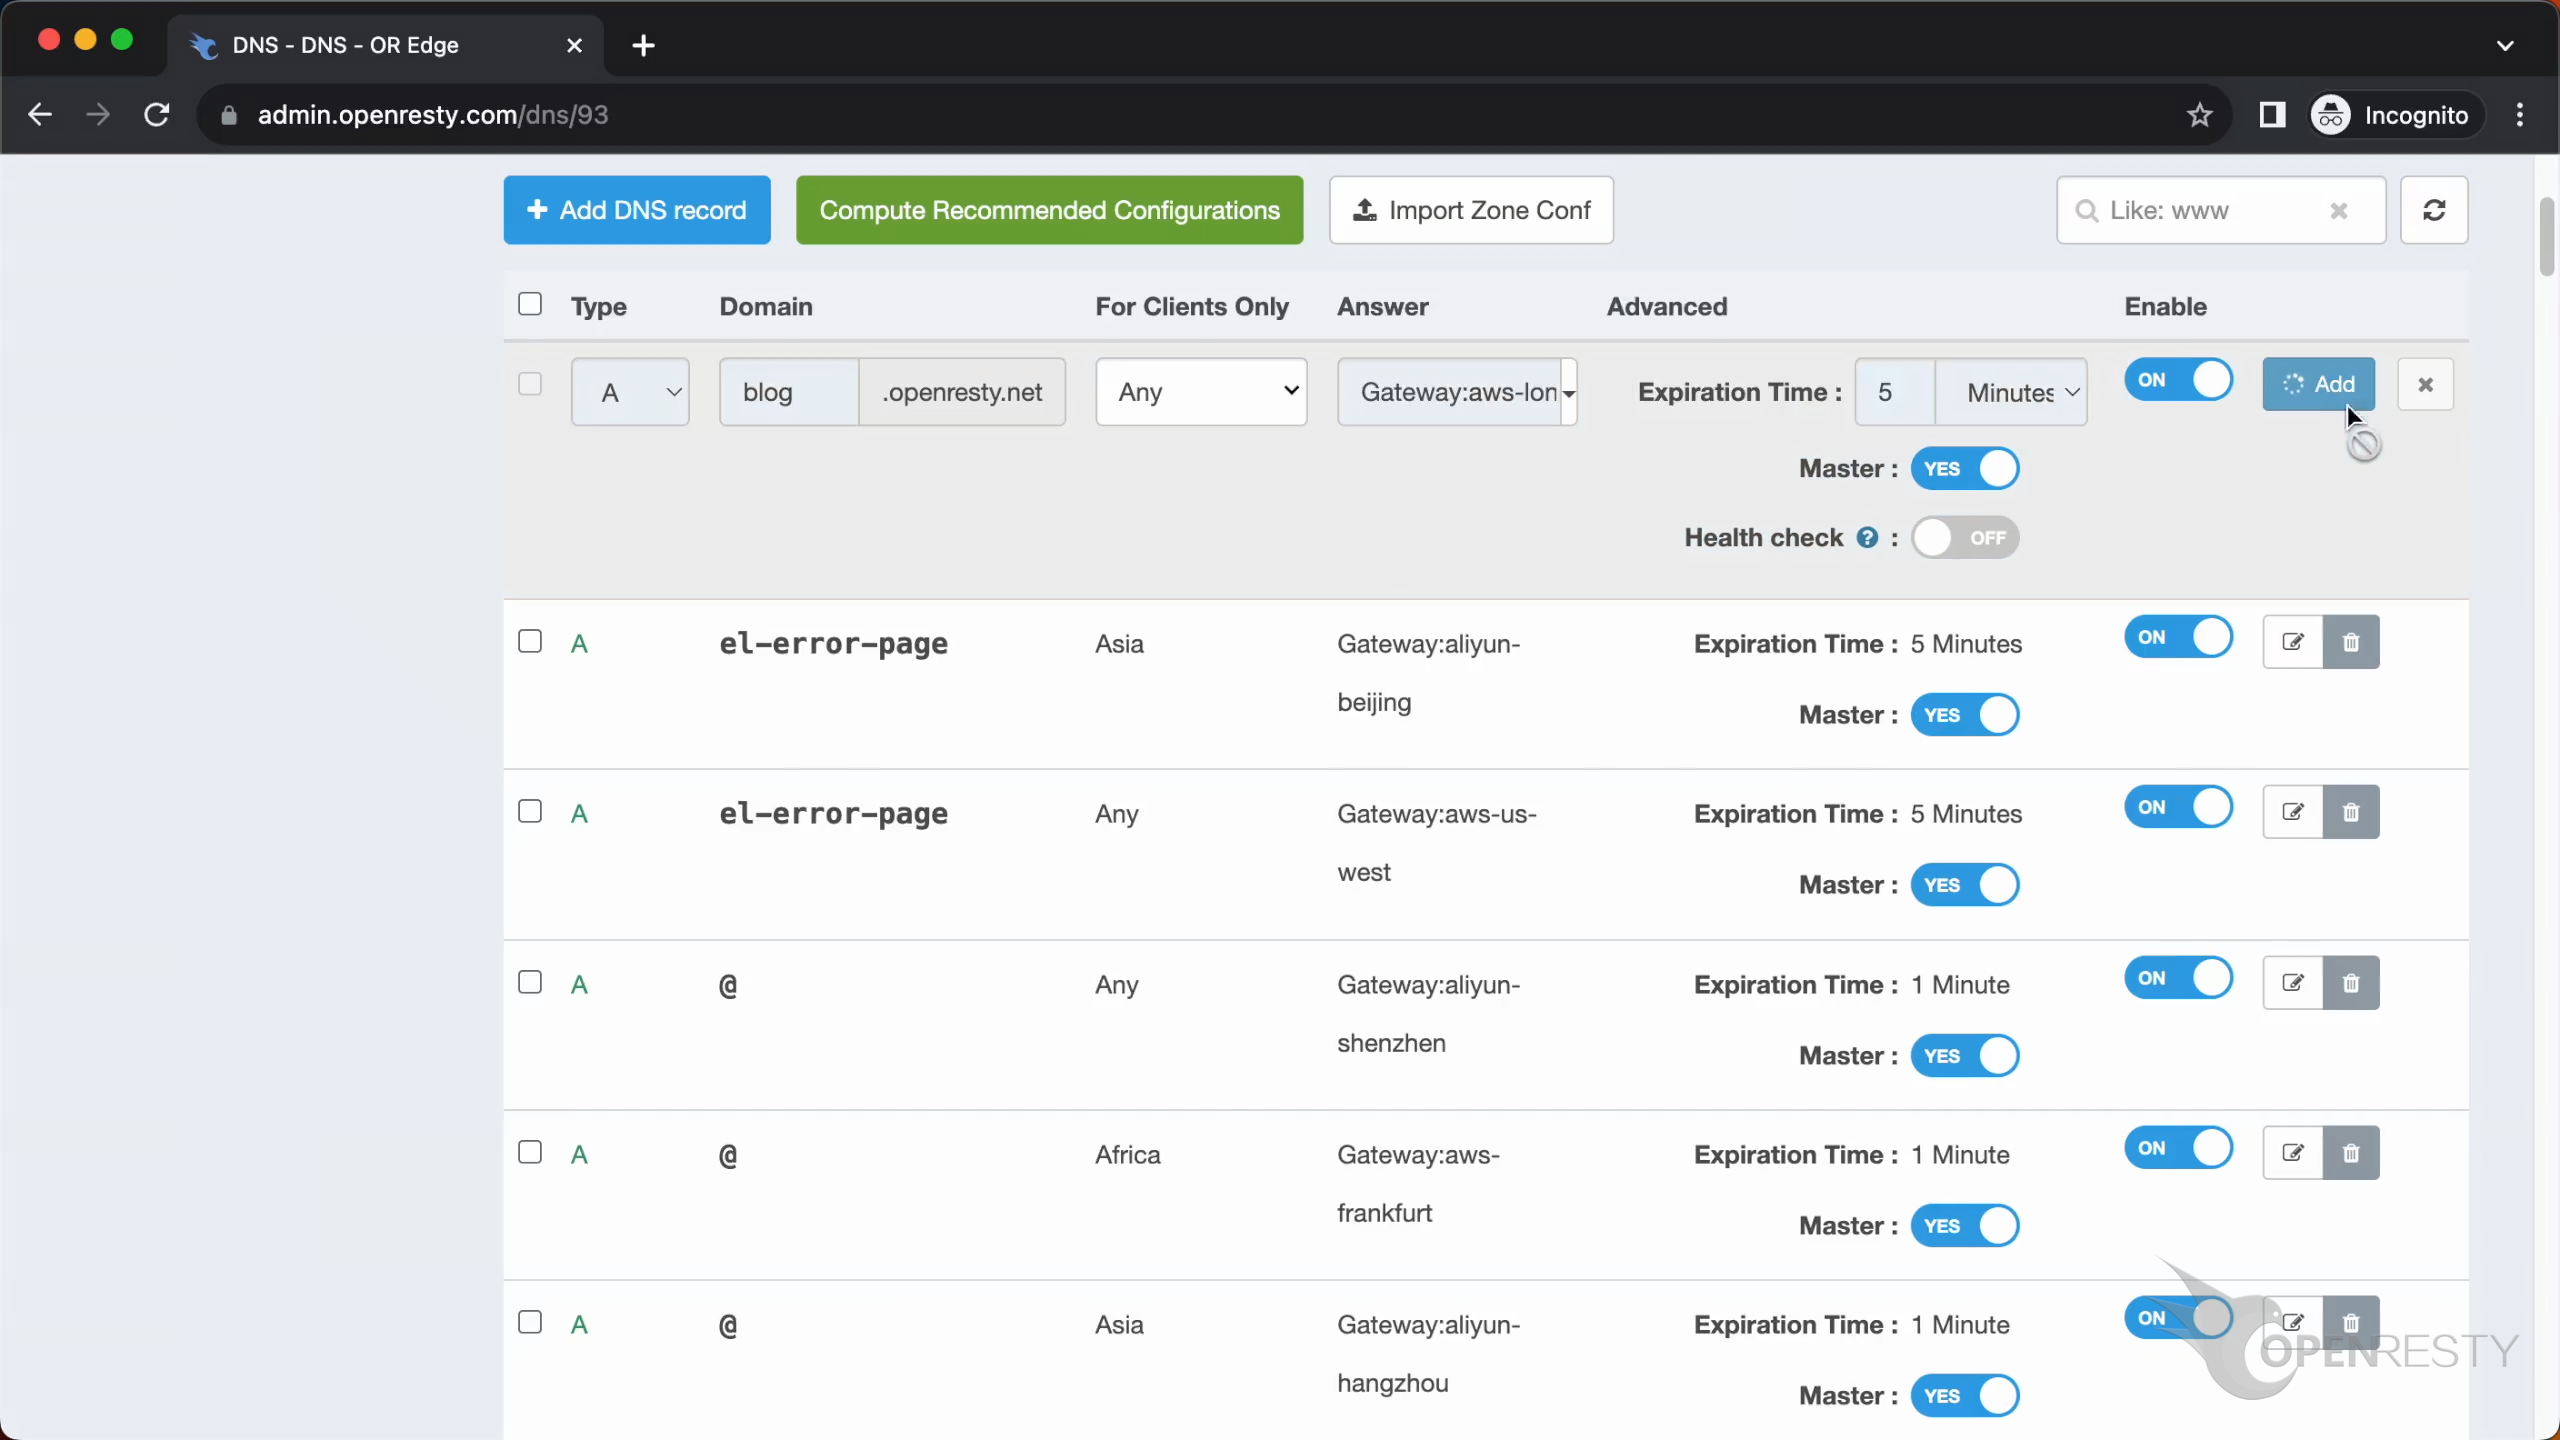
After you finish the configuration, click the button “Add”.
Testing DNS records
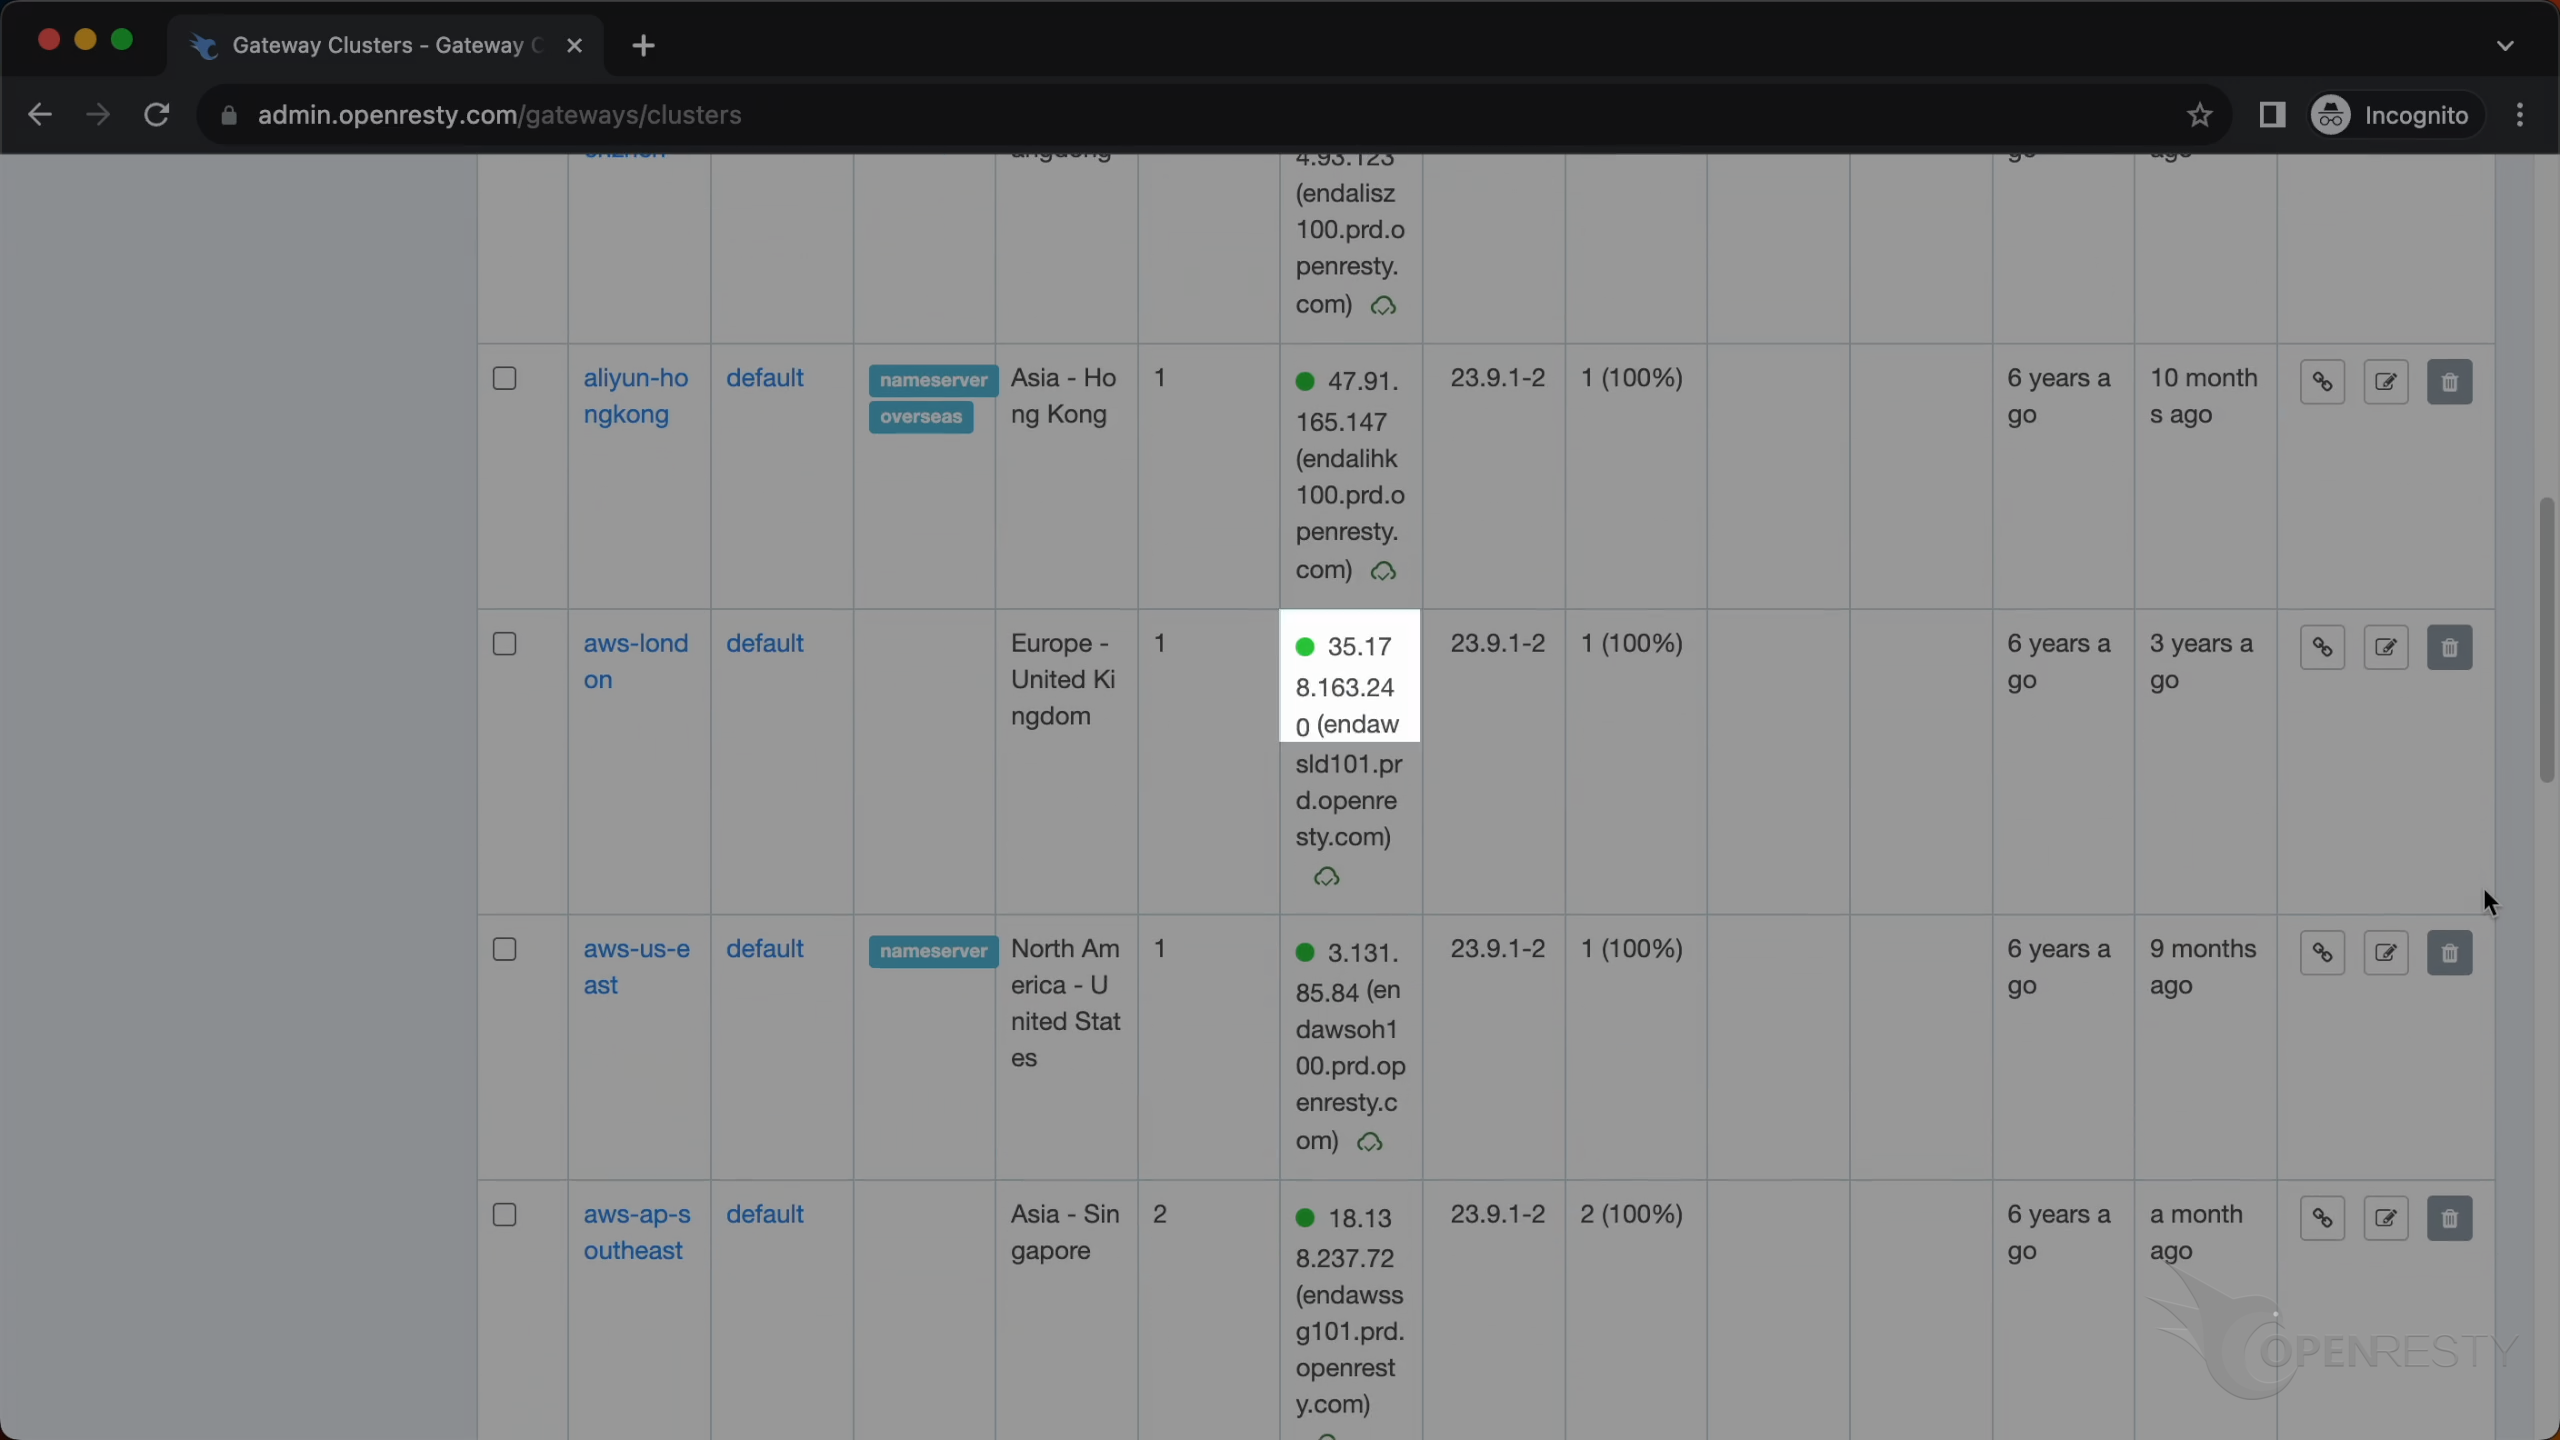
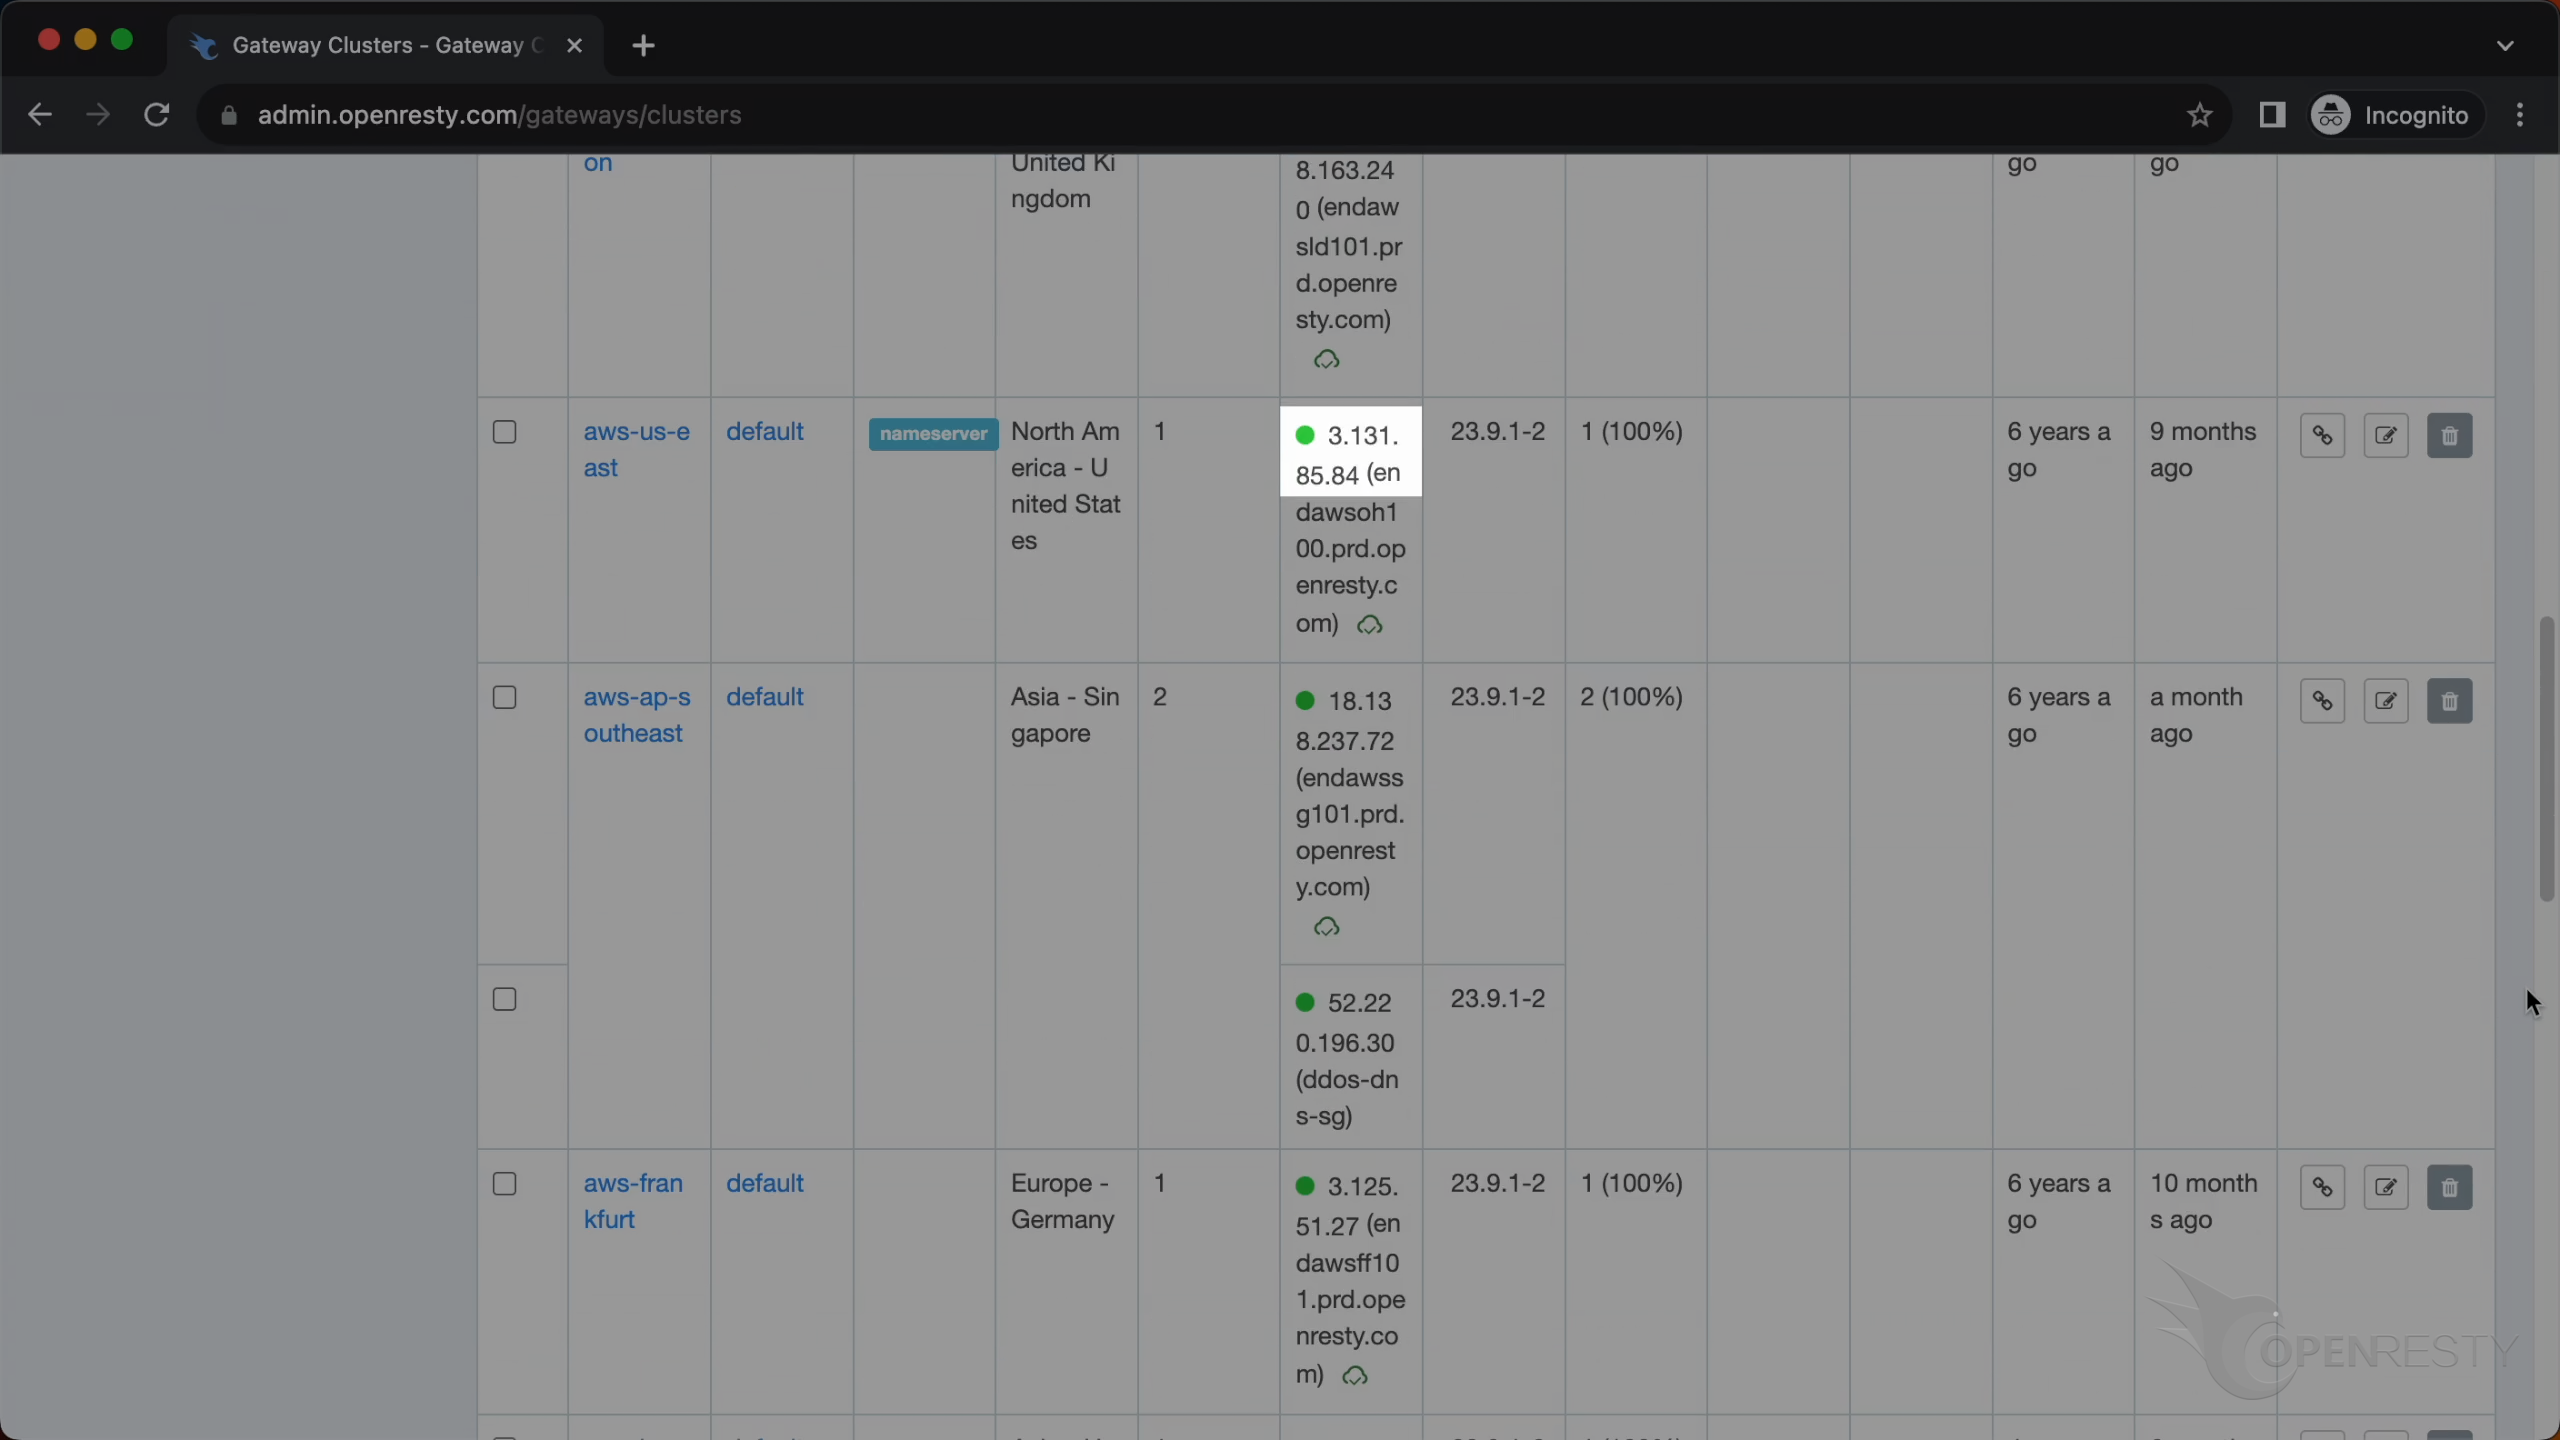
Now let’s check the IP address of the gateway node in the DNS record that we just configured.
As you see the IP ends with .240.
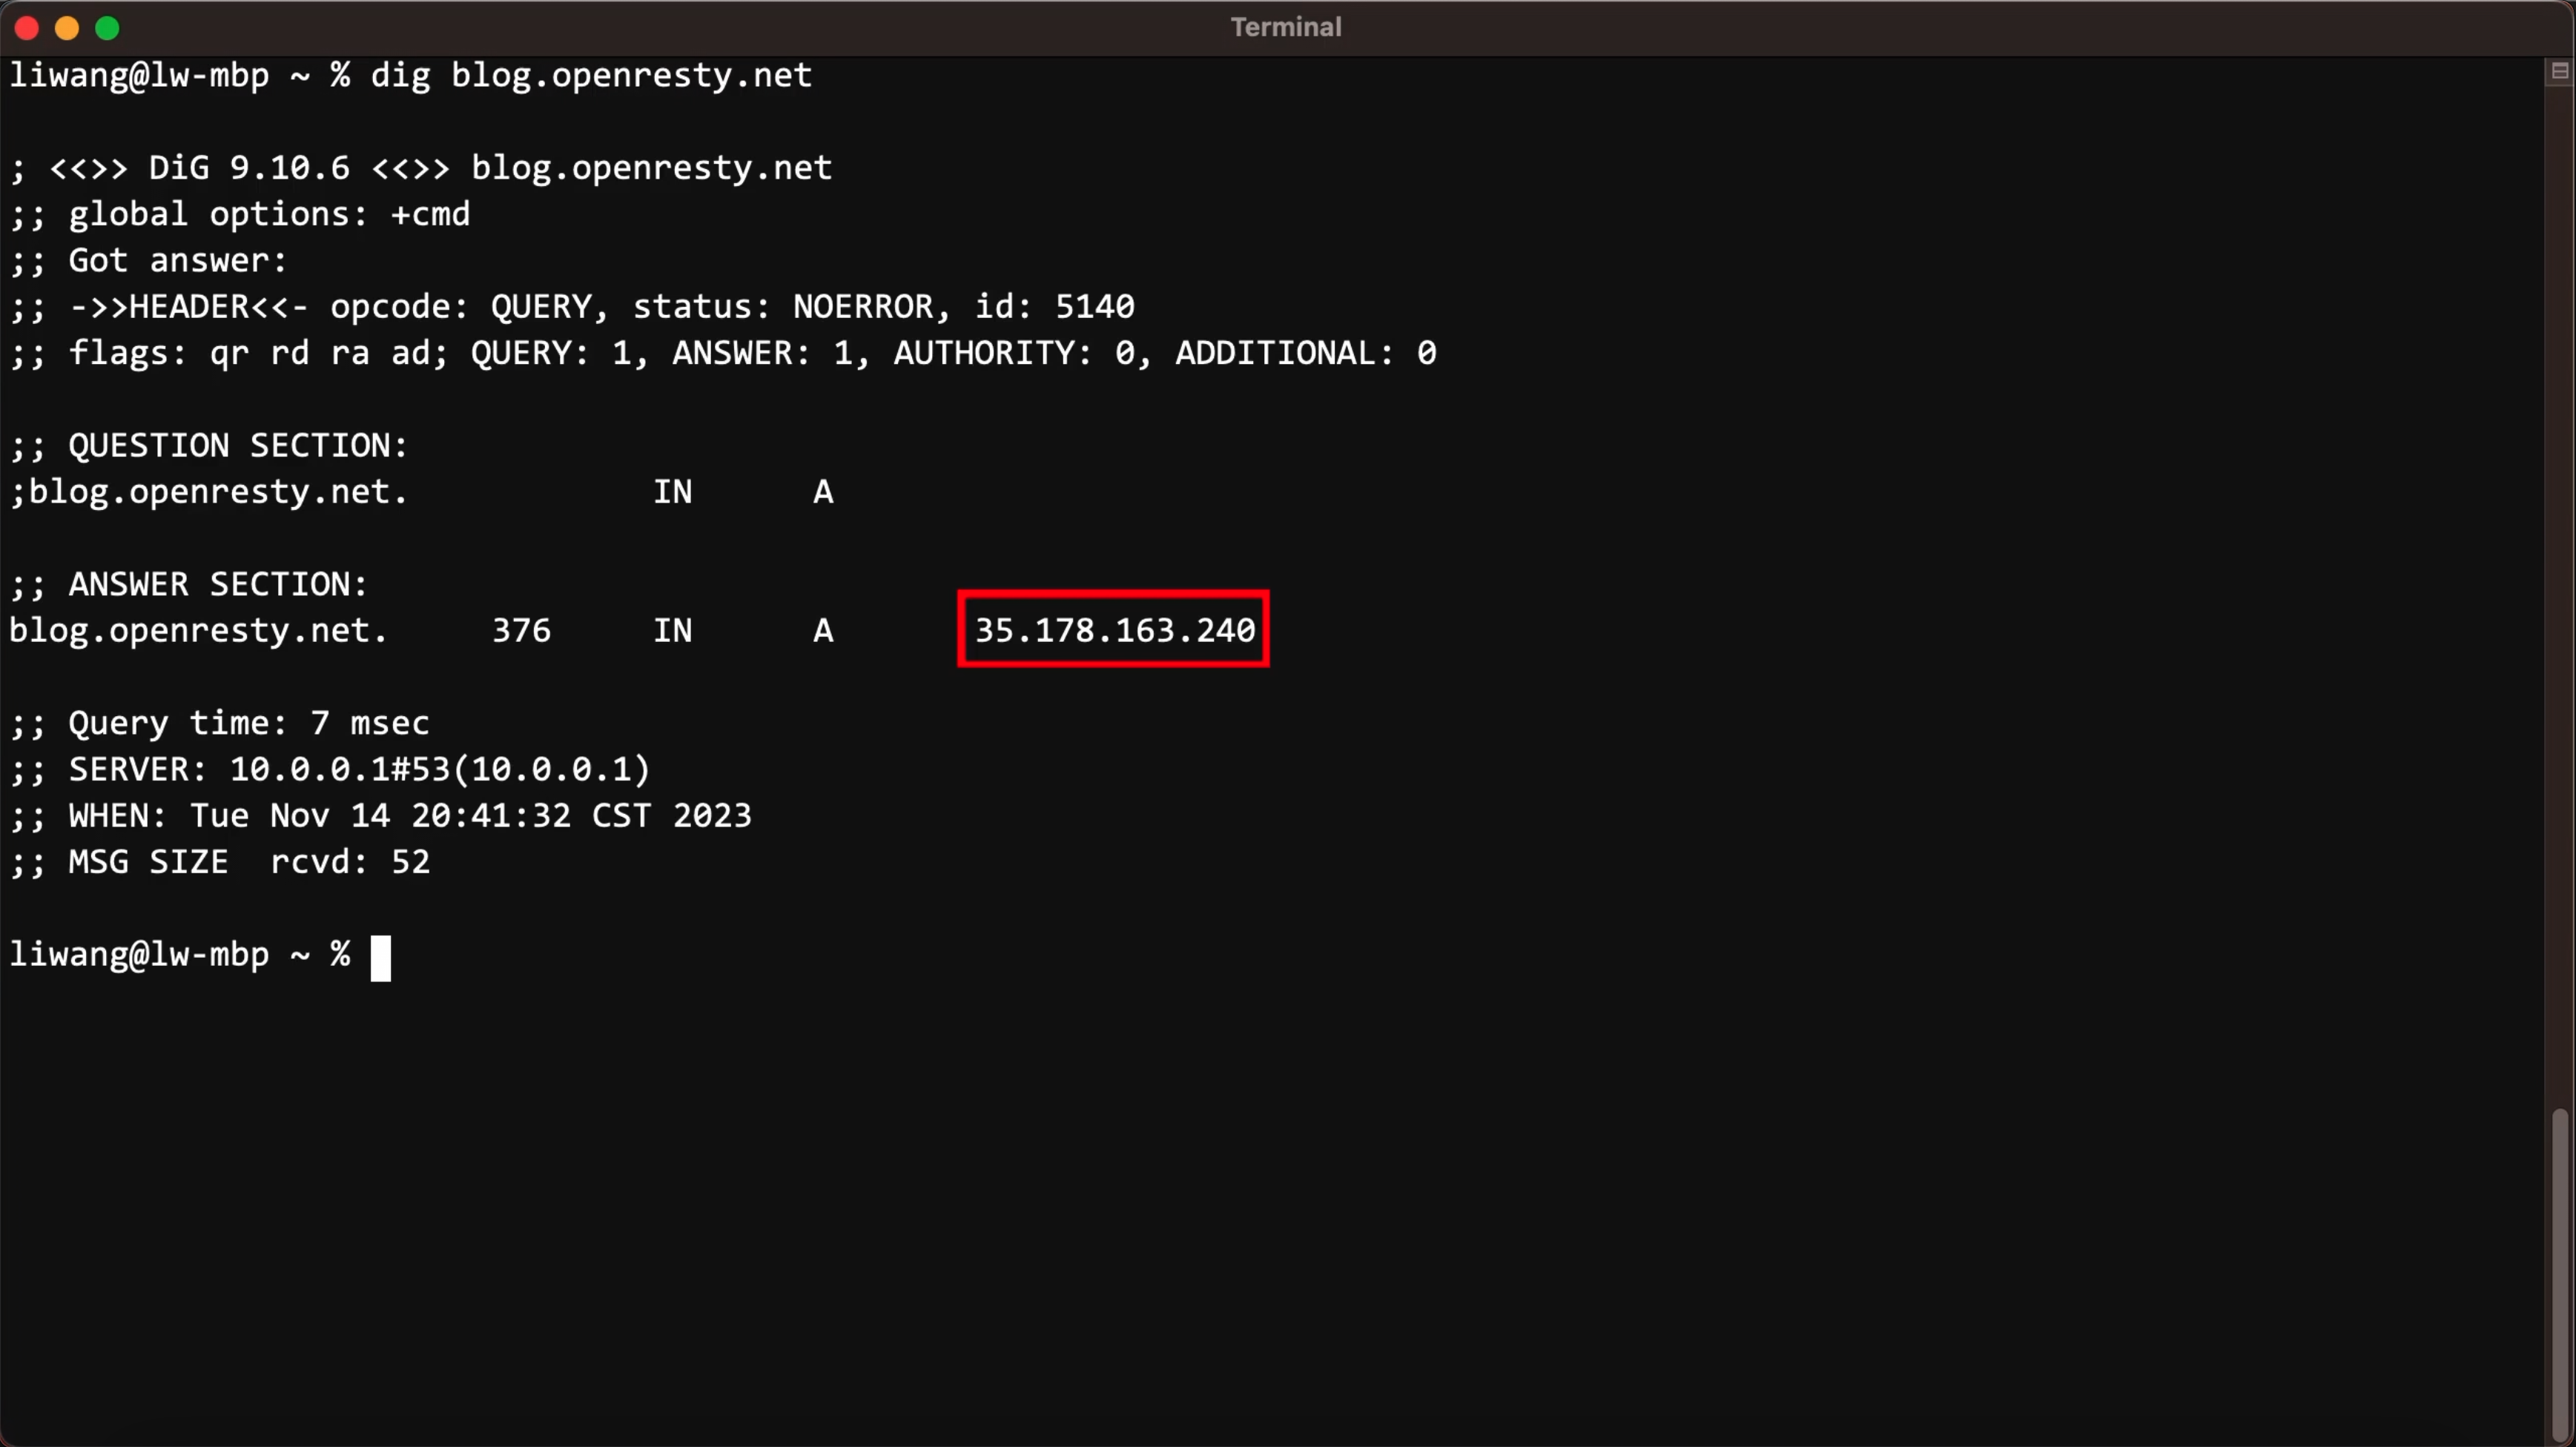
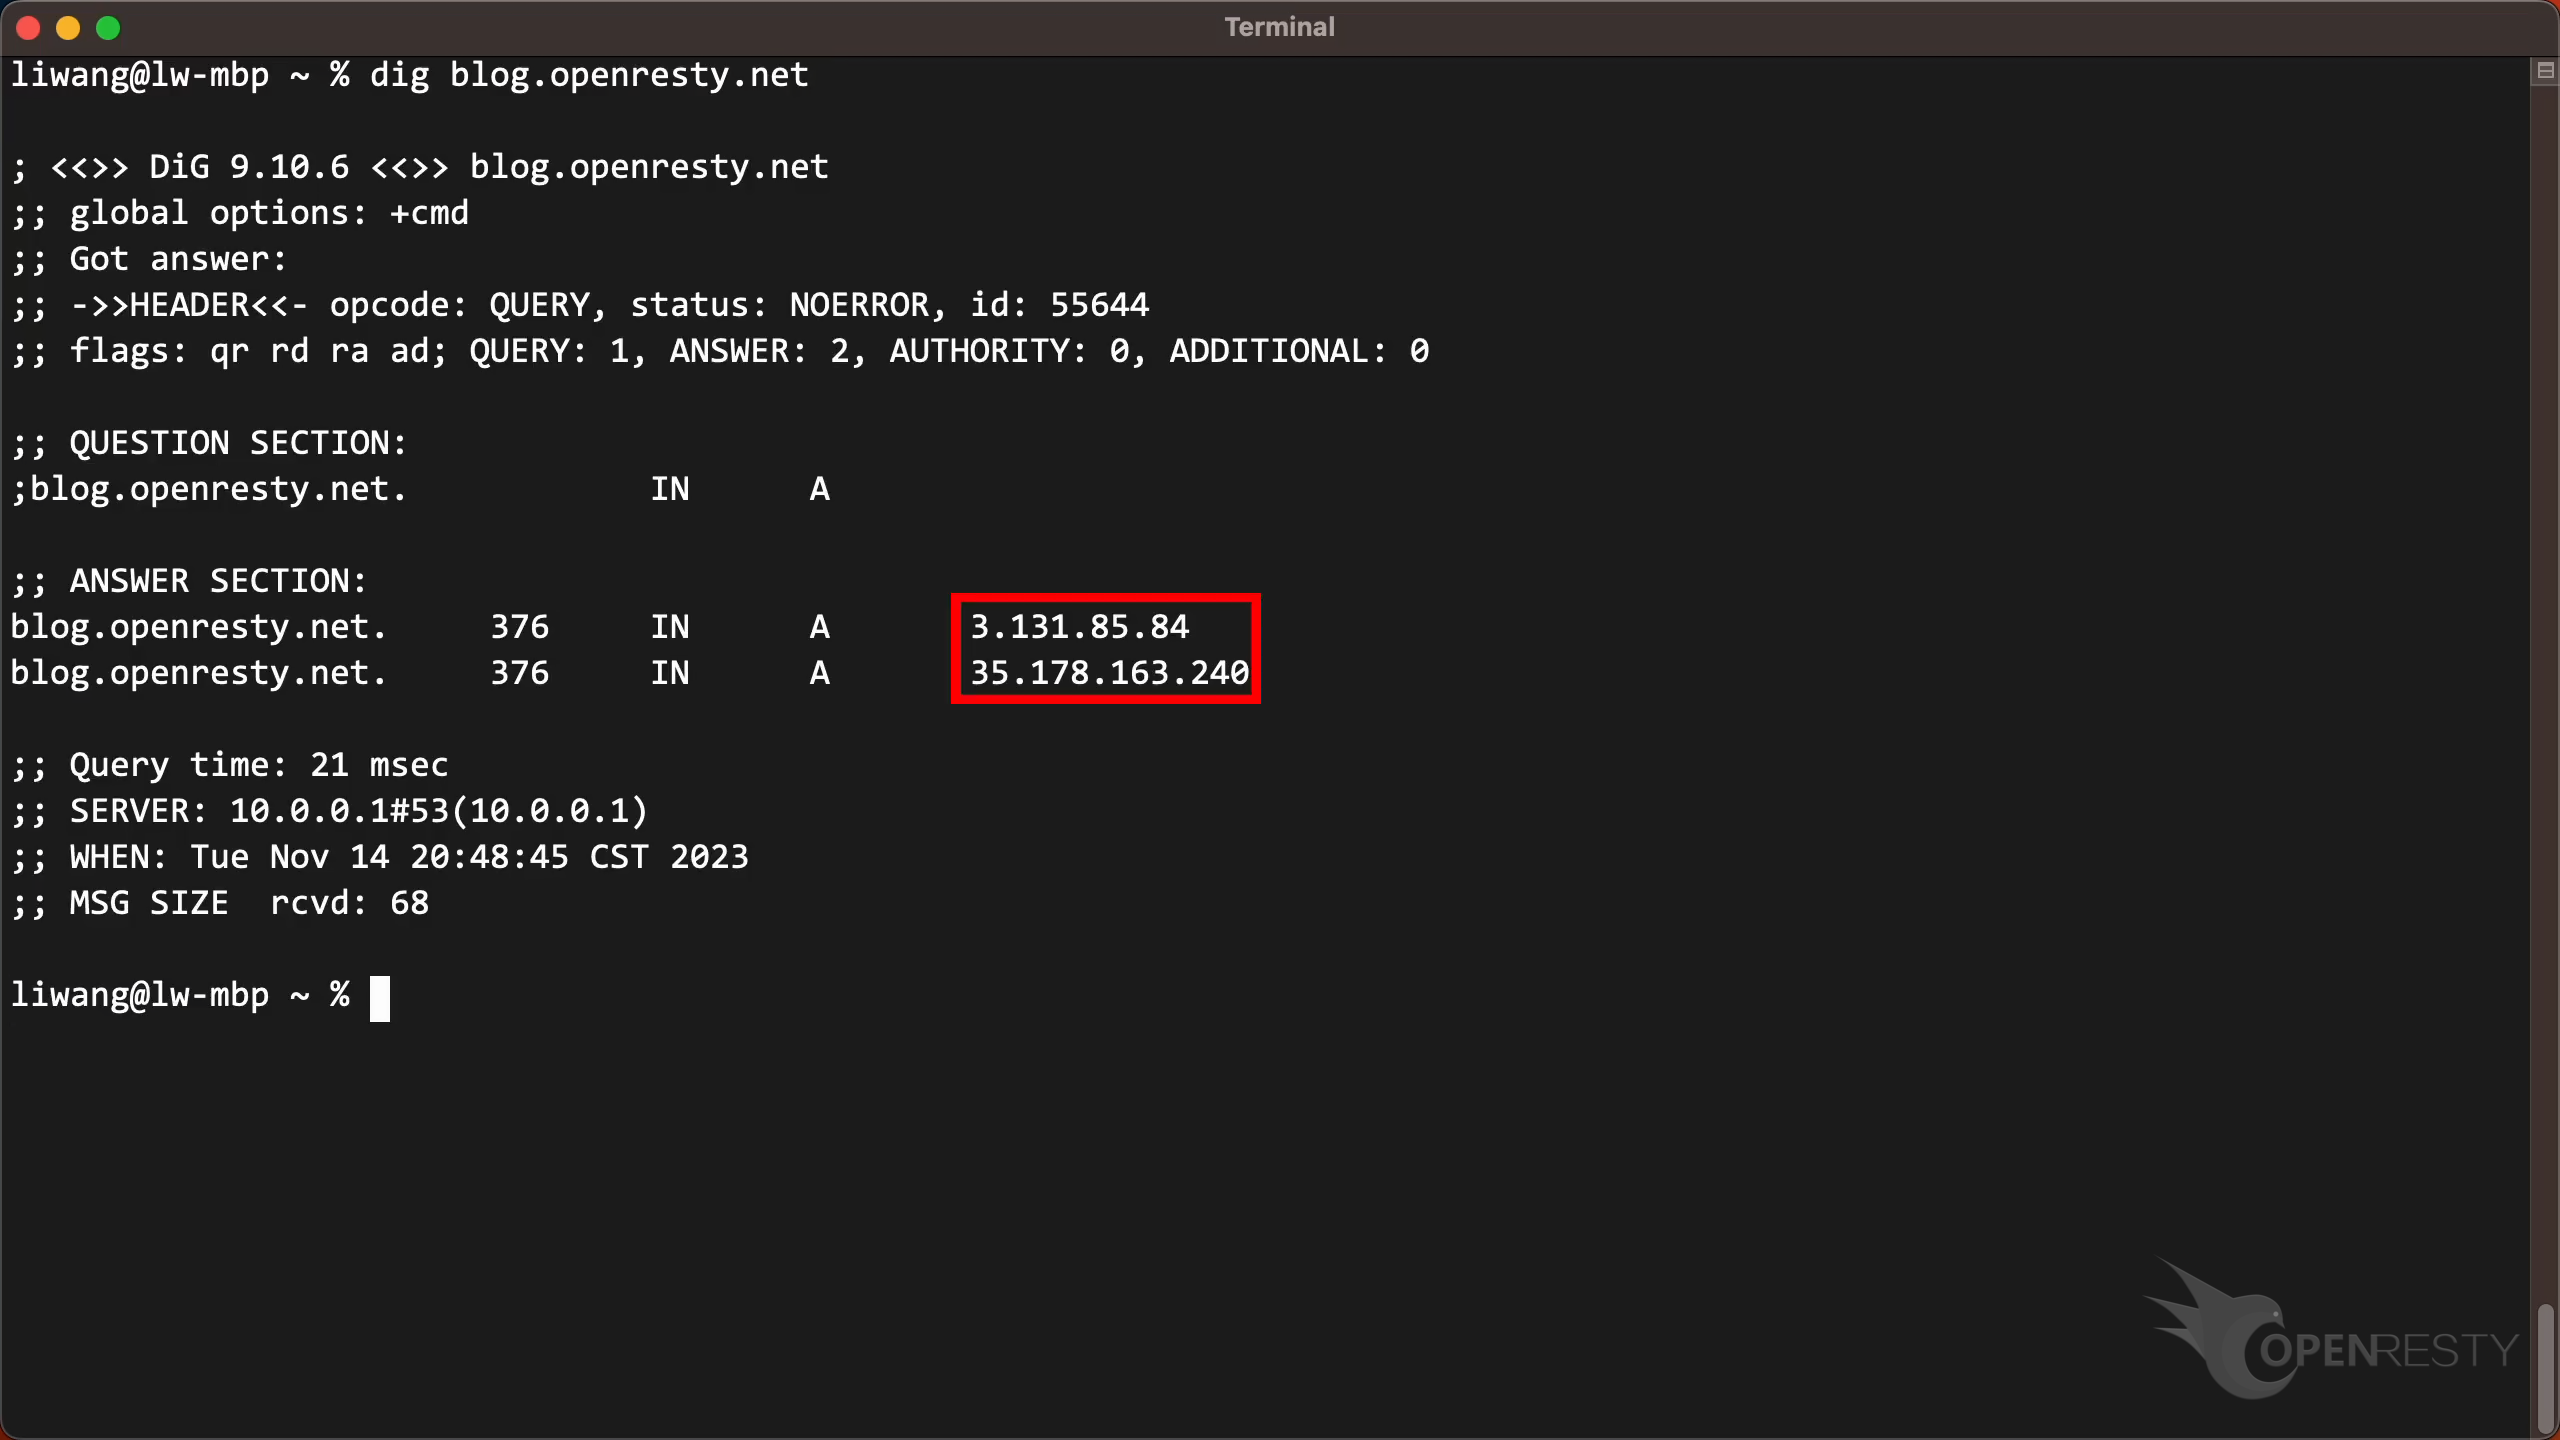
Now use the “dig” command to do the DNS lookups.
The result shows that the IP of the gateway node matches the one in the gateway cluster that we chose.
To get multiple results, you can add multiple DNS records.
Click the button “Add” again.
Enter the domain name “blog”.
Select another gateway cluster “aws-us-east”.
Click to add this record.
The domain “blog.openresty.net” has two DNS records now.
Now go to the page “Gateway Cluster” and check the IP of “aws-us-east”.
The IP ends with .84.
Use the “dig” command to do the query again.
The result confirms the expected outcome.
You don’t need to create all DNS records manually. This button allows you to create a DNS plan based on the geographic location automatically.
Configuring Authoritative DNS Servers
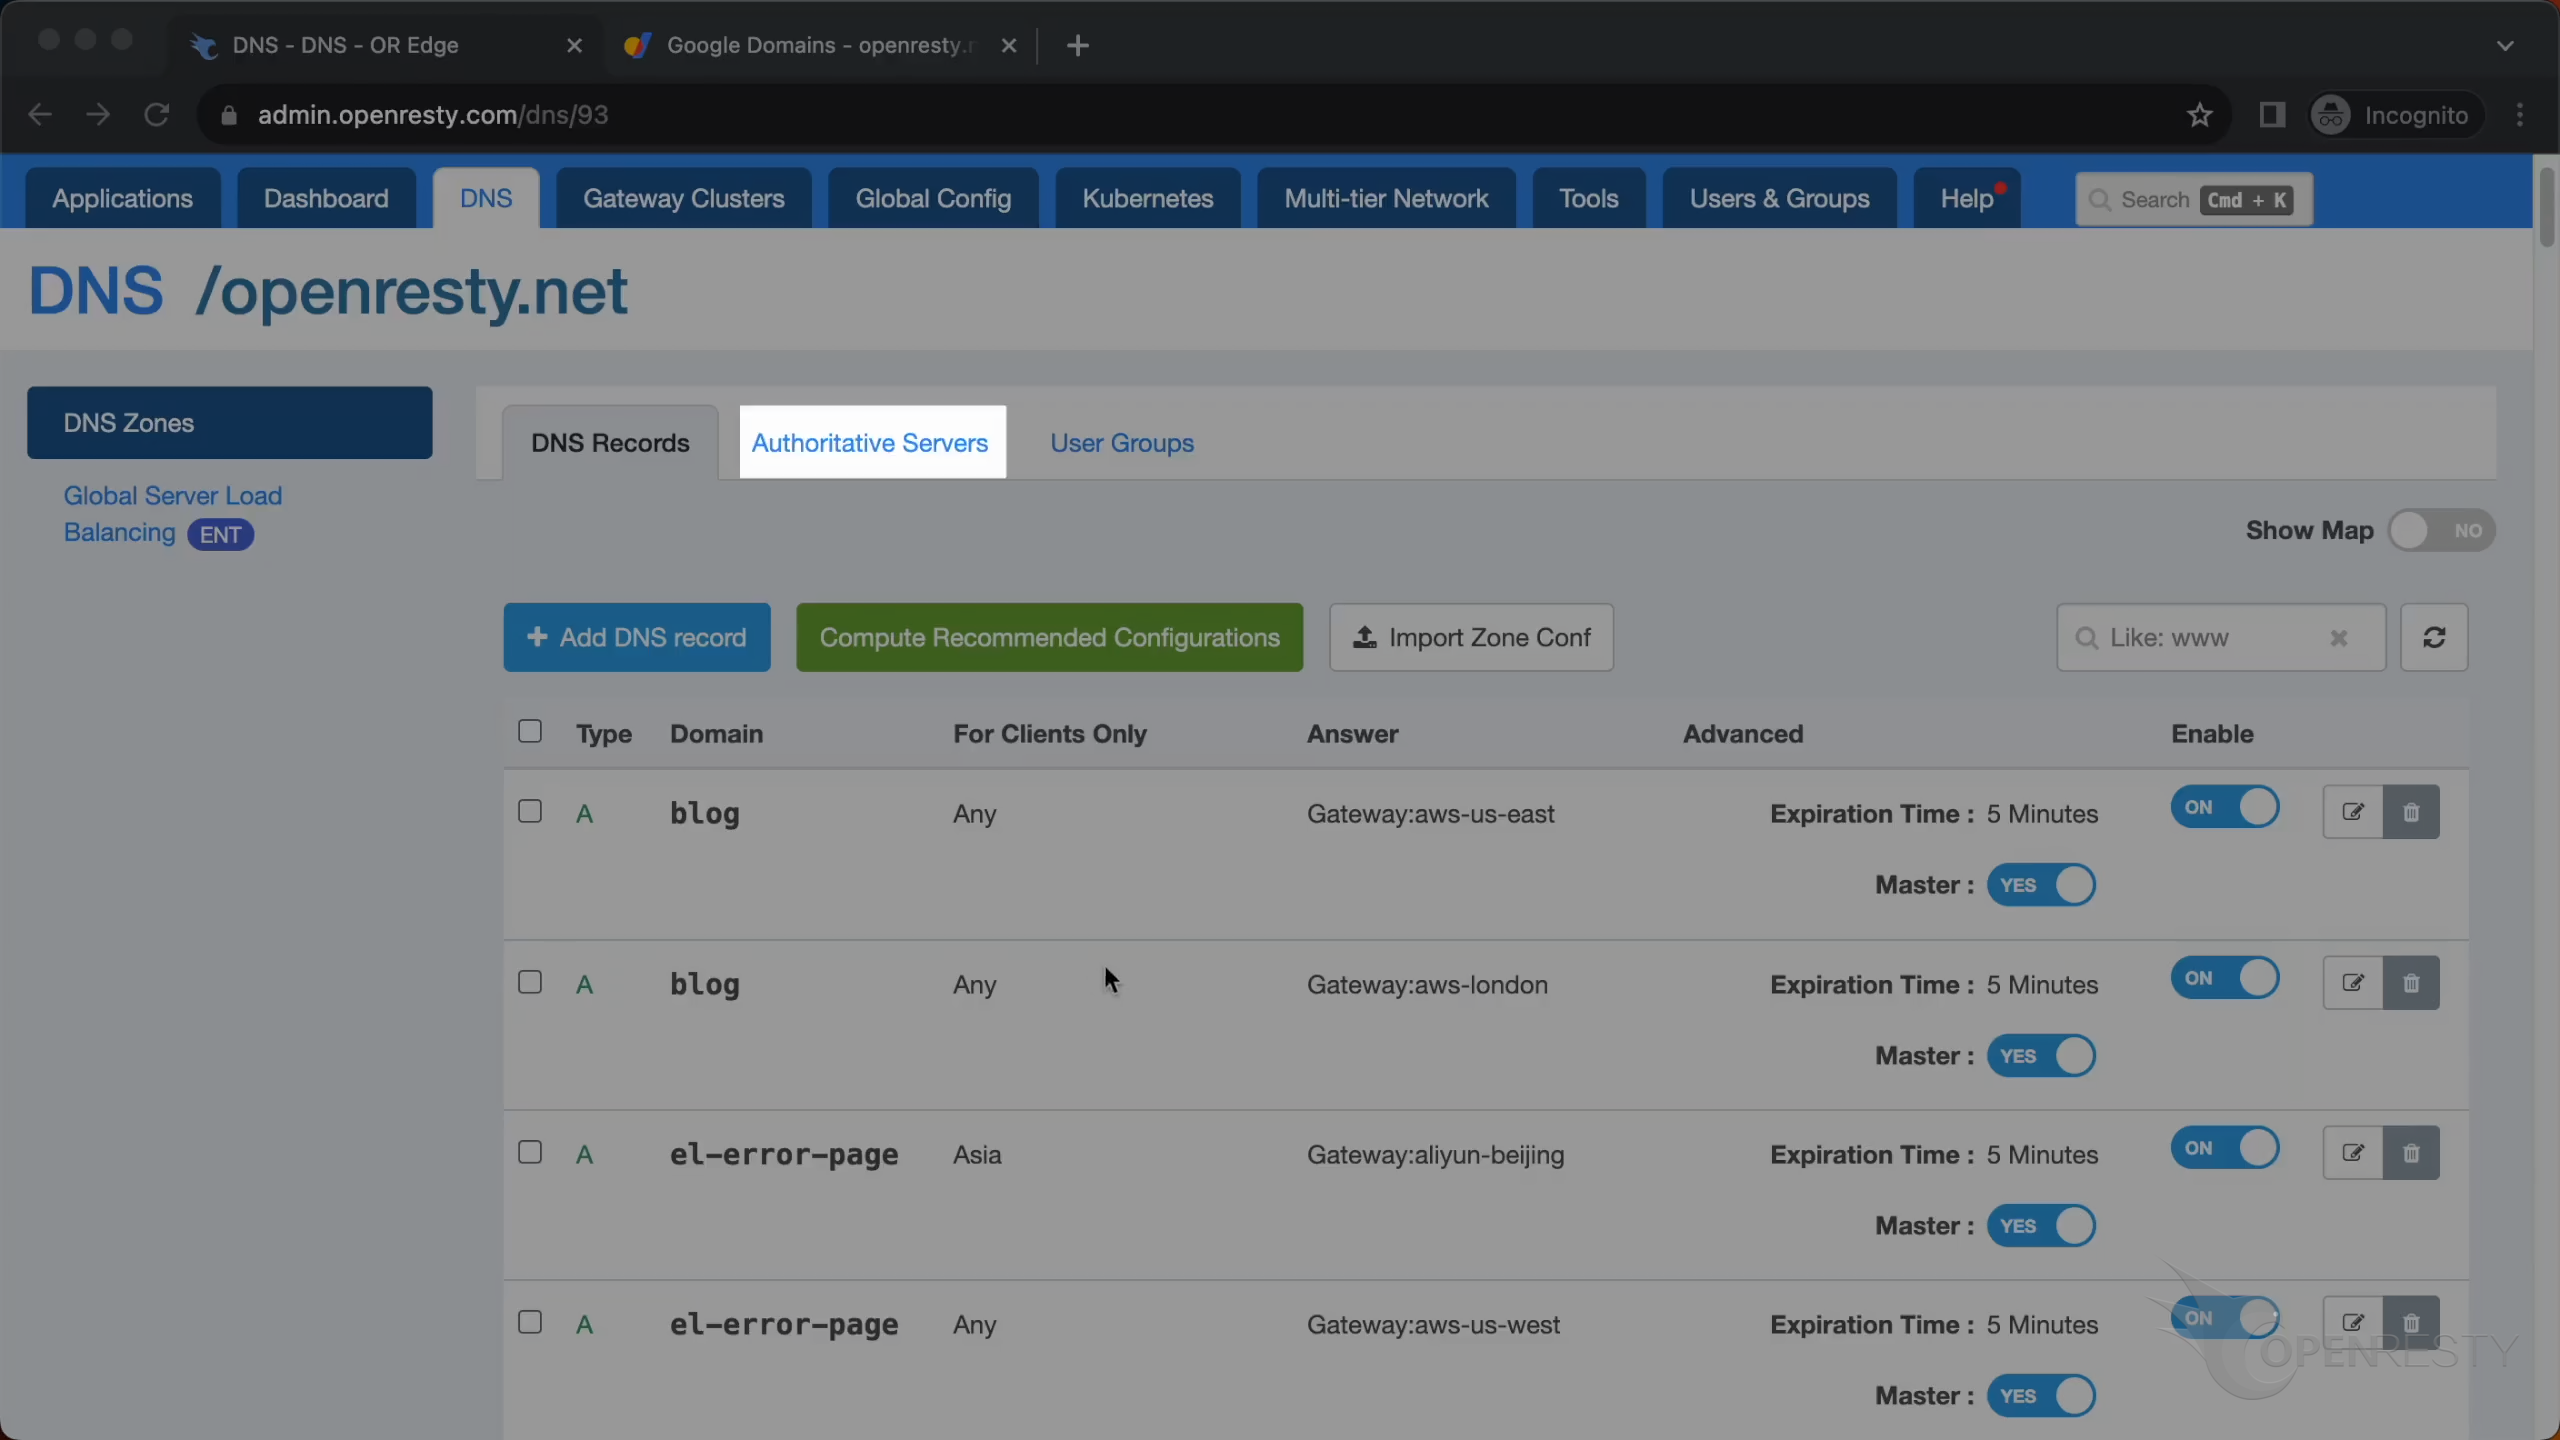
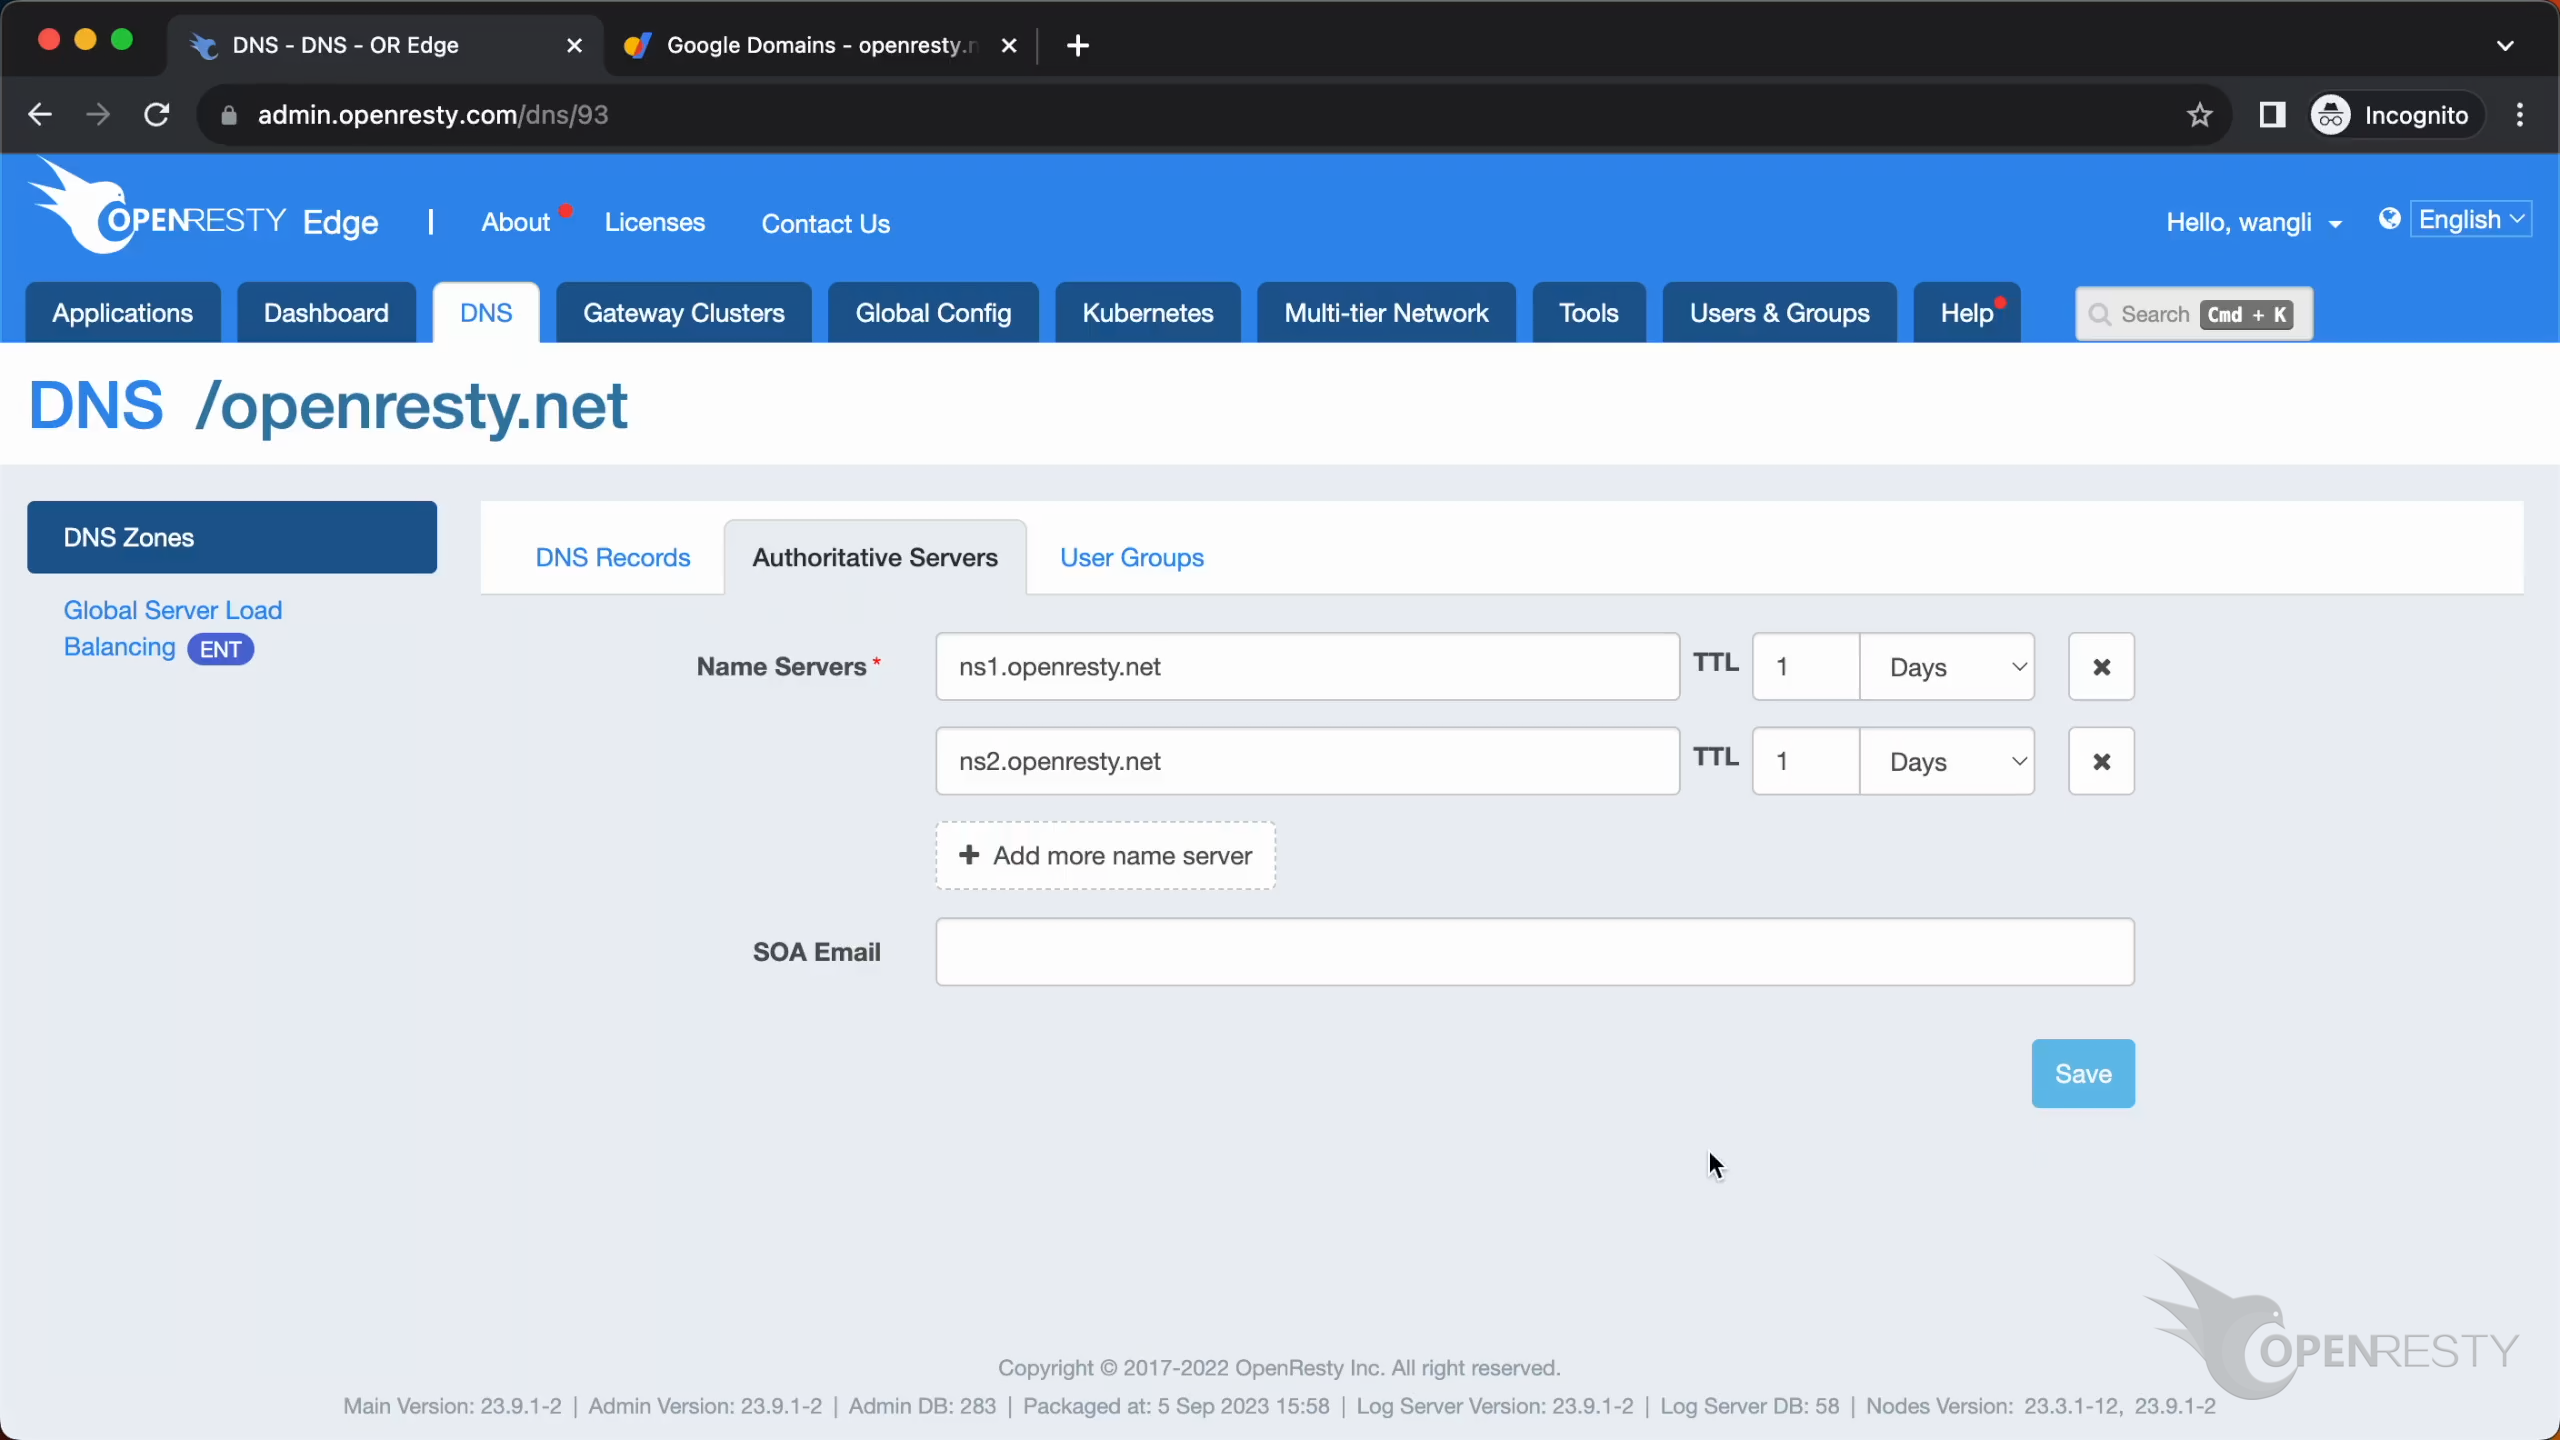
Now, let’s continue the DNS configuration. Select the tab “Authoritative DNS Servers”.
Here we can configure the result of SOA.
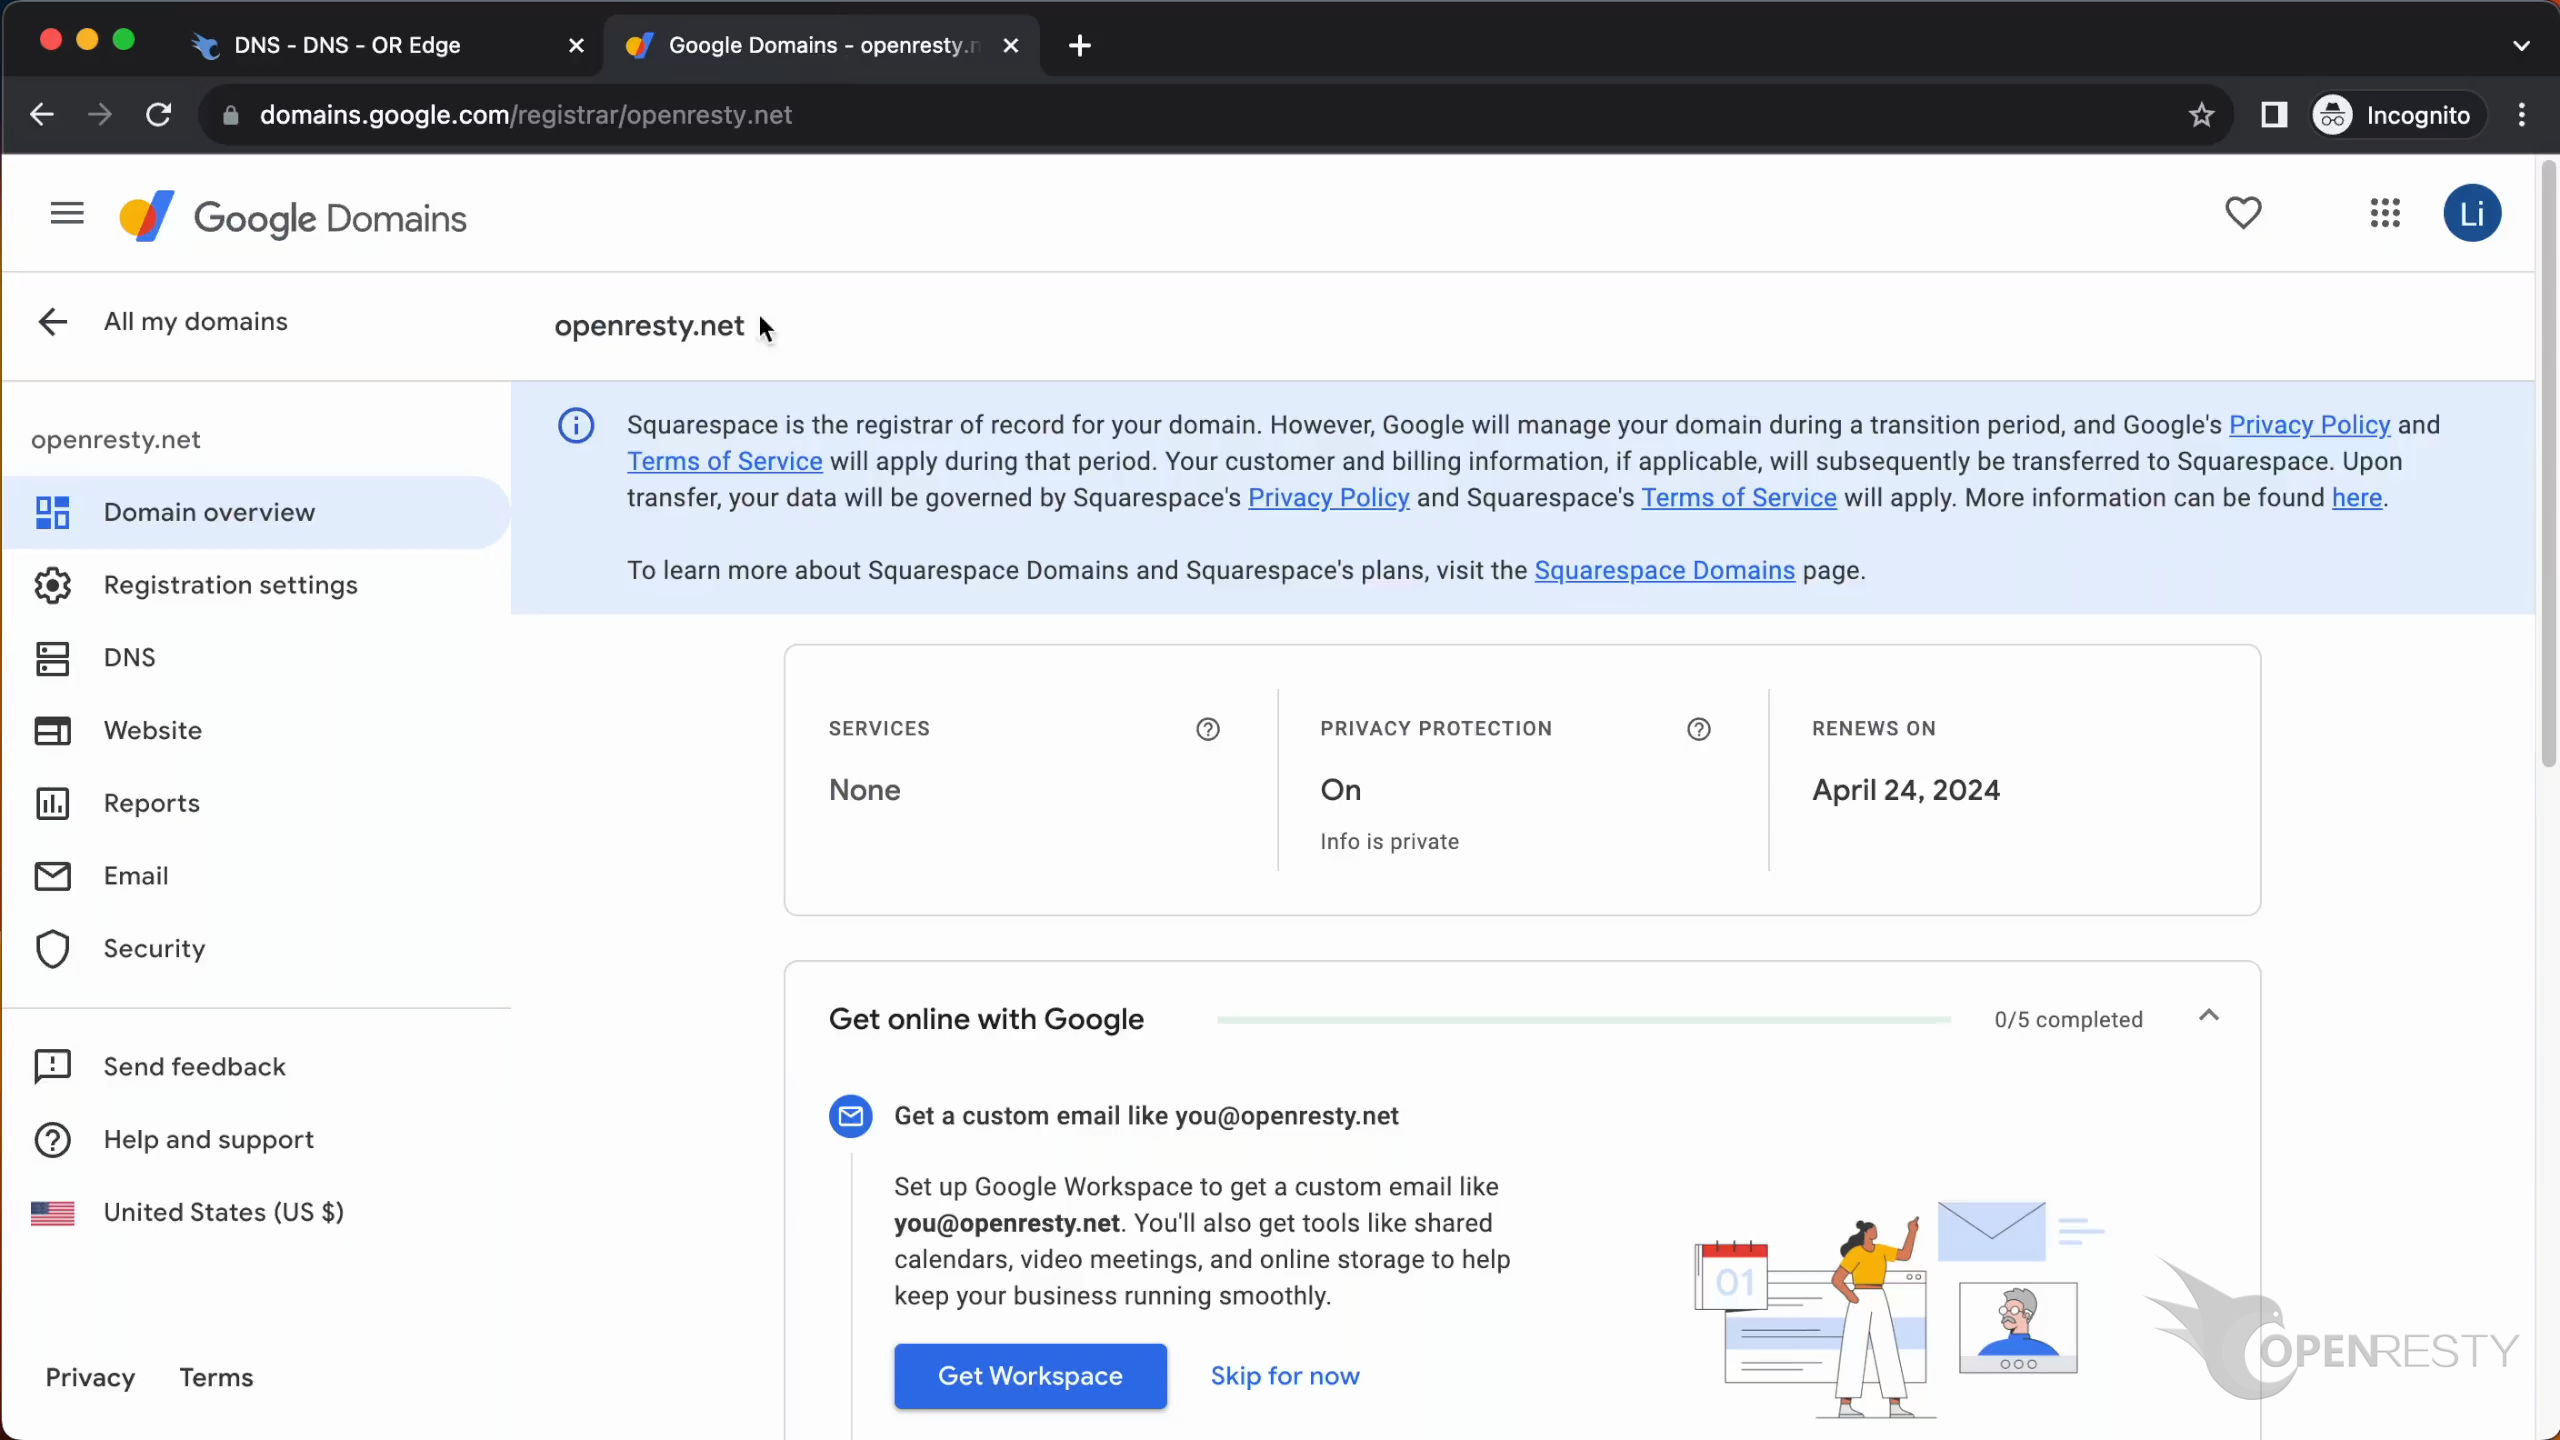
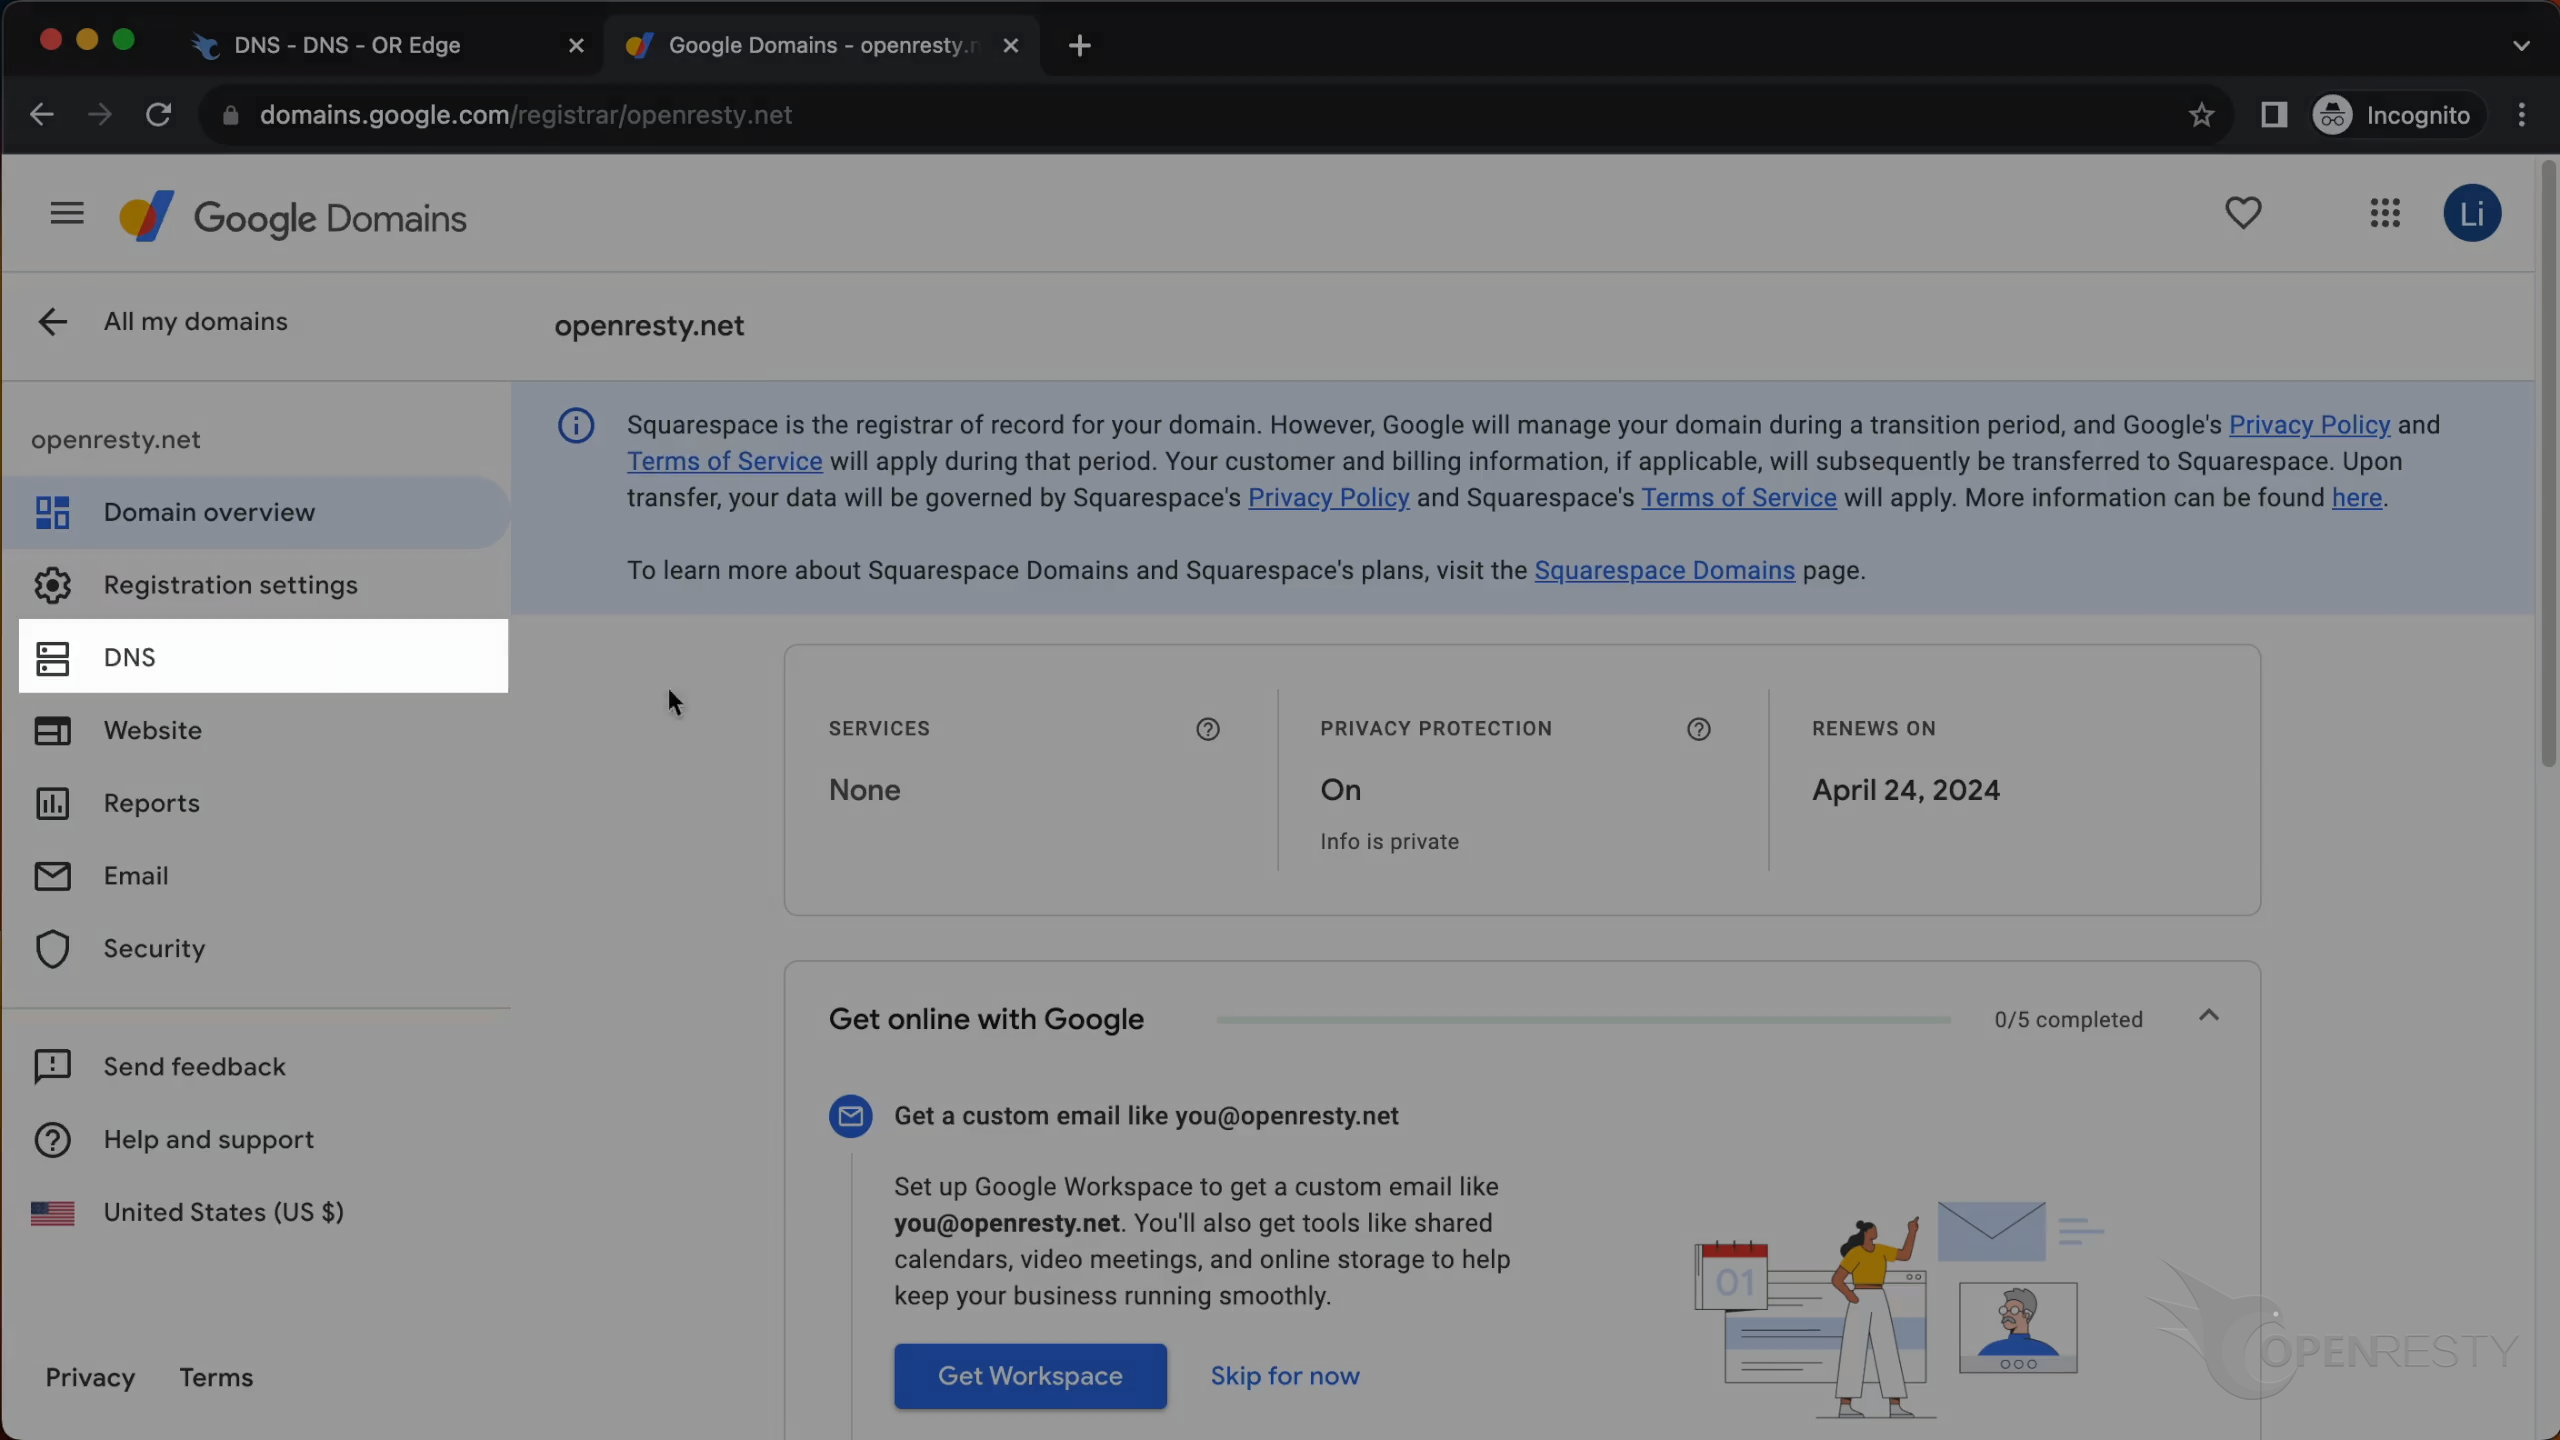
We will use Google Domains as an example to show how to resolve the DNS domain name server to Edge.
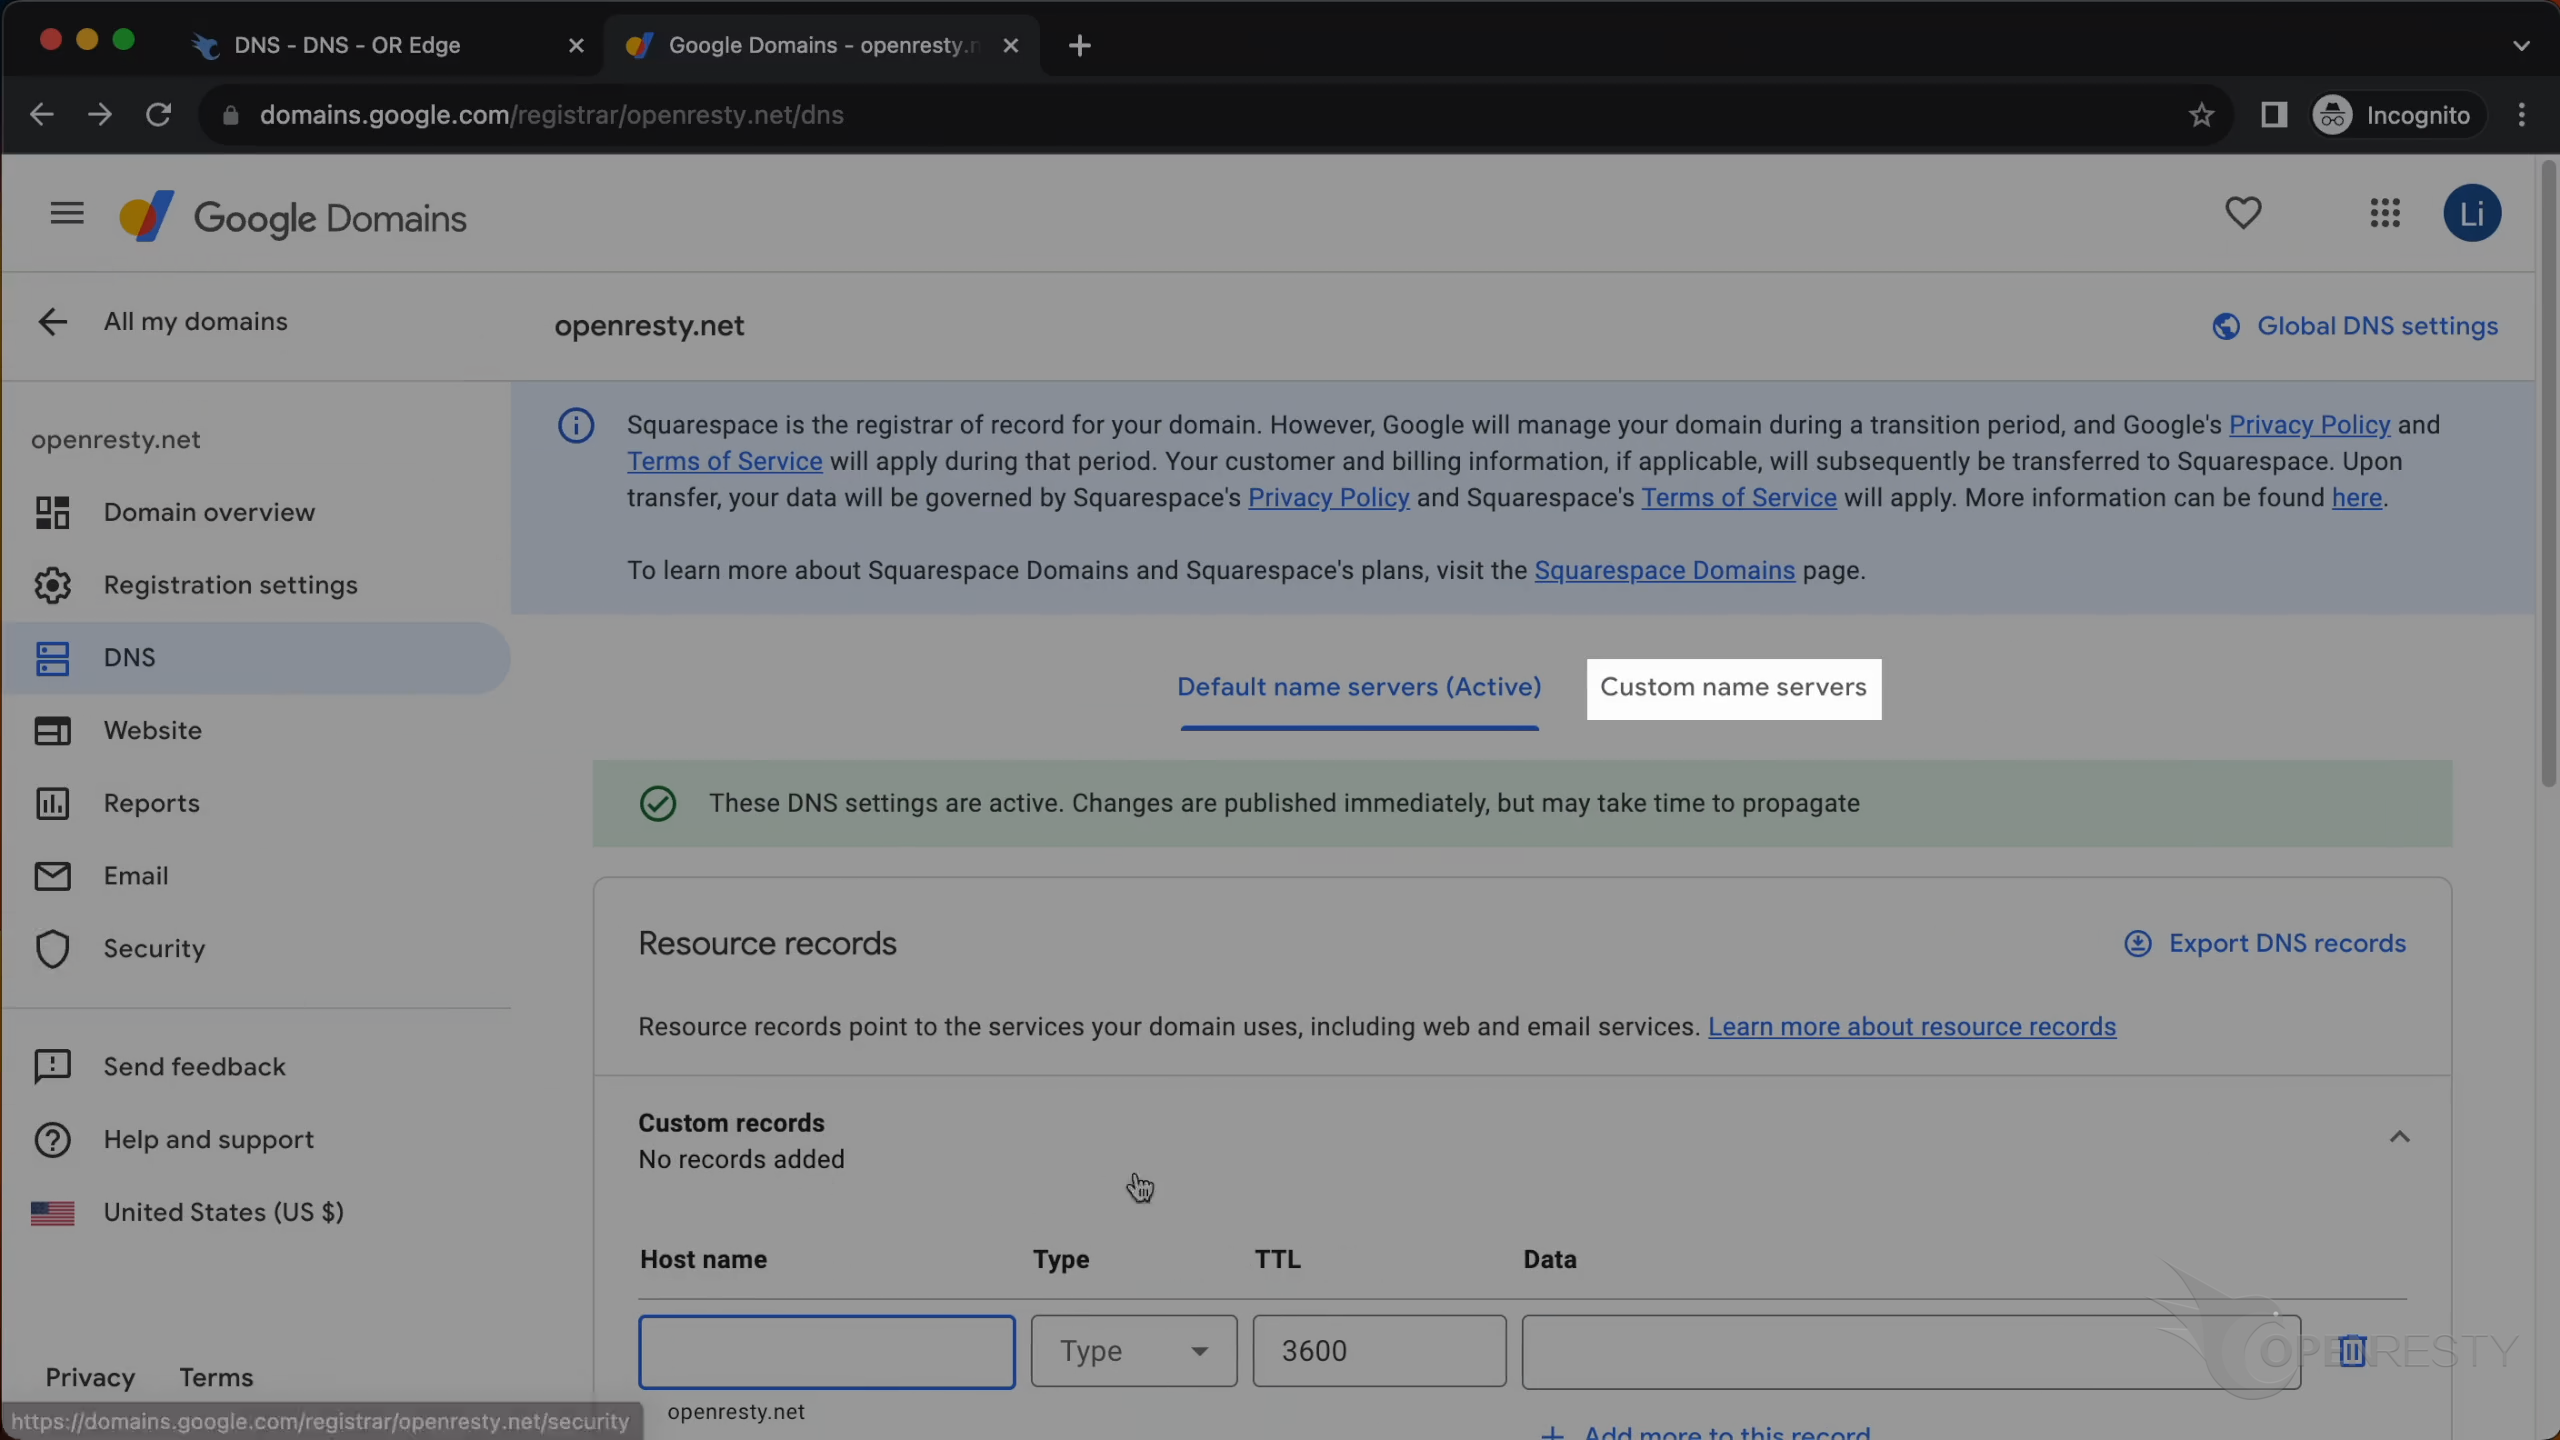
Select the tab “DNS”.
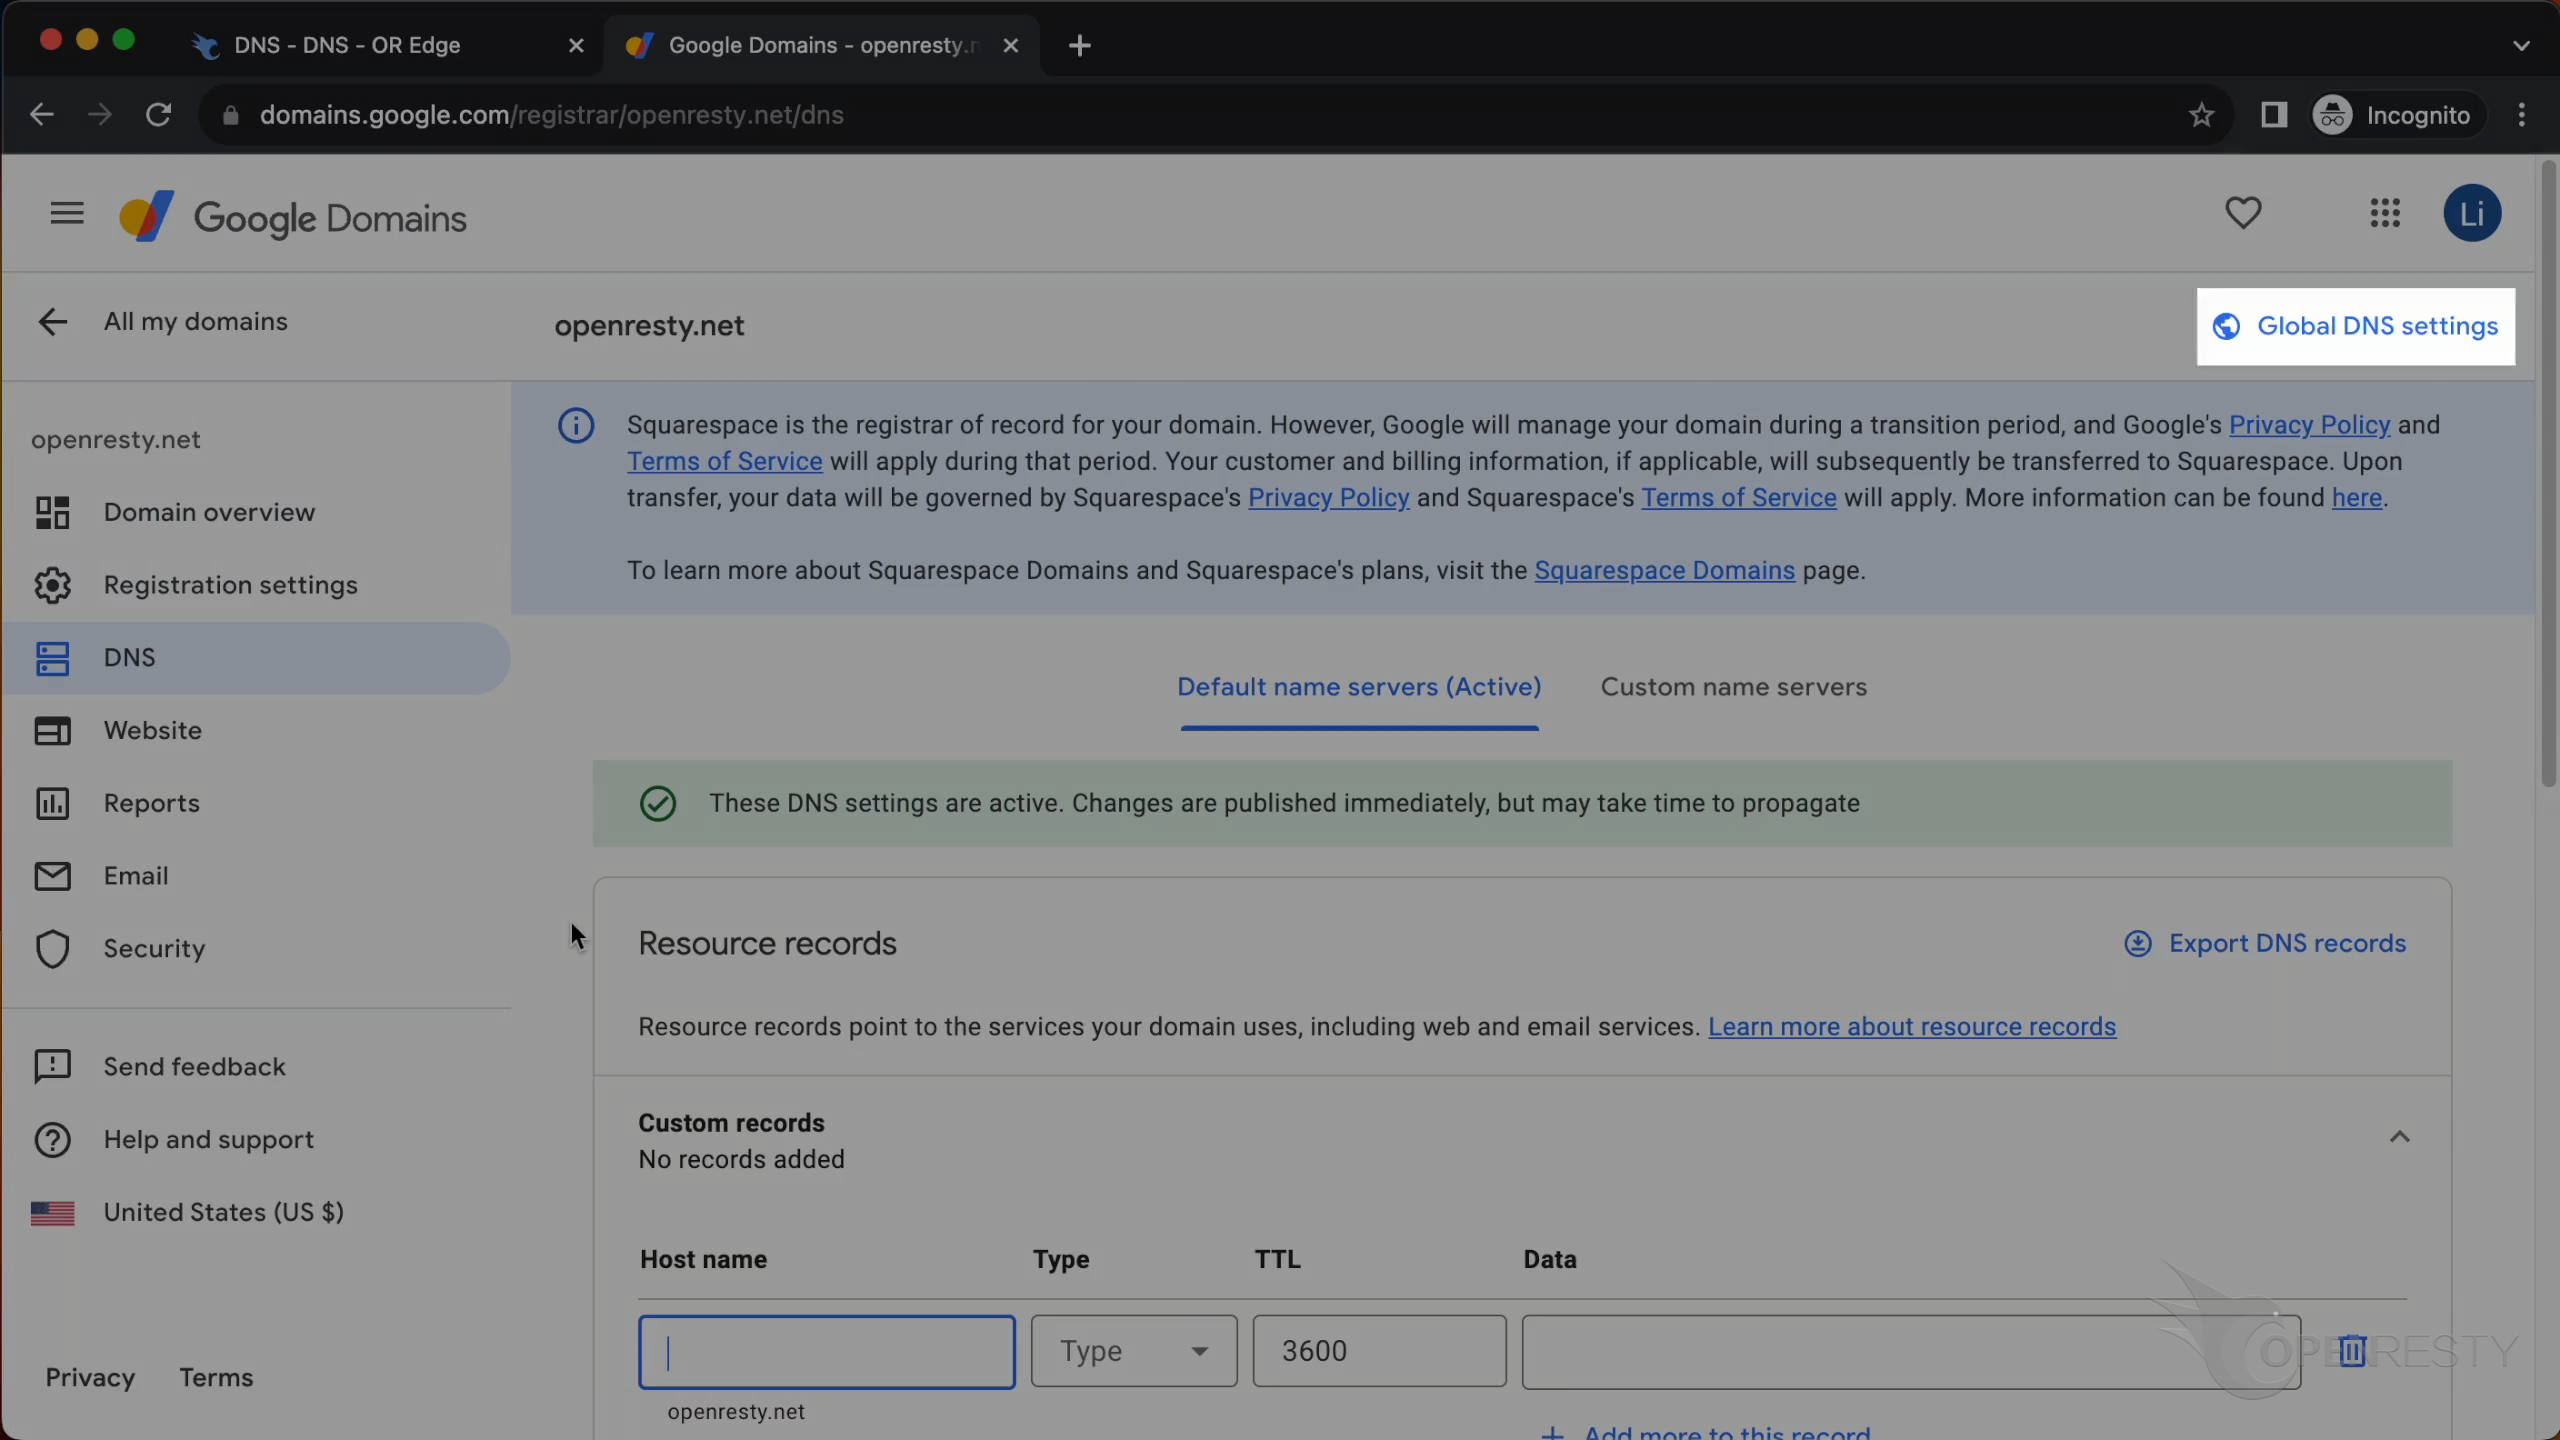
Select “Global DNS settings”.
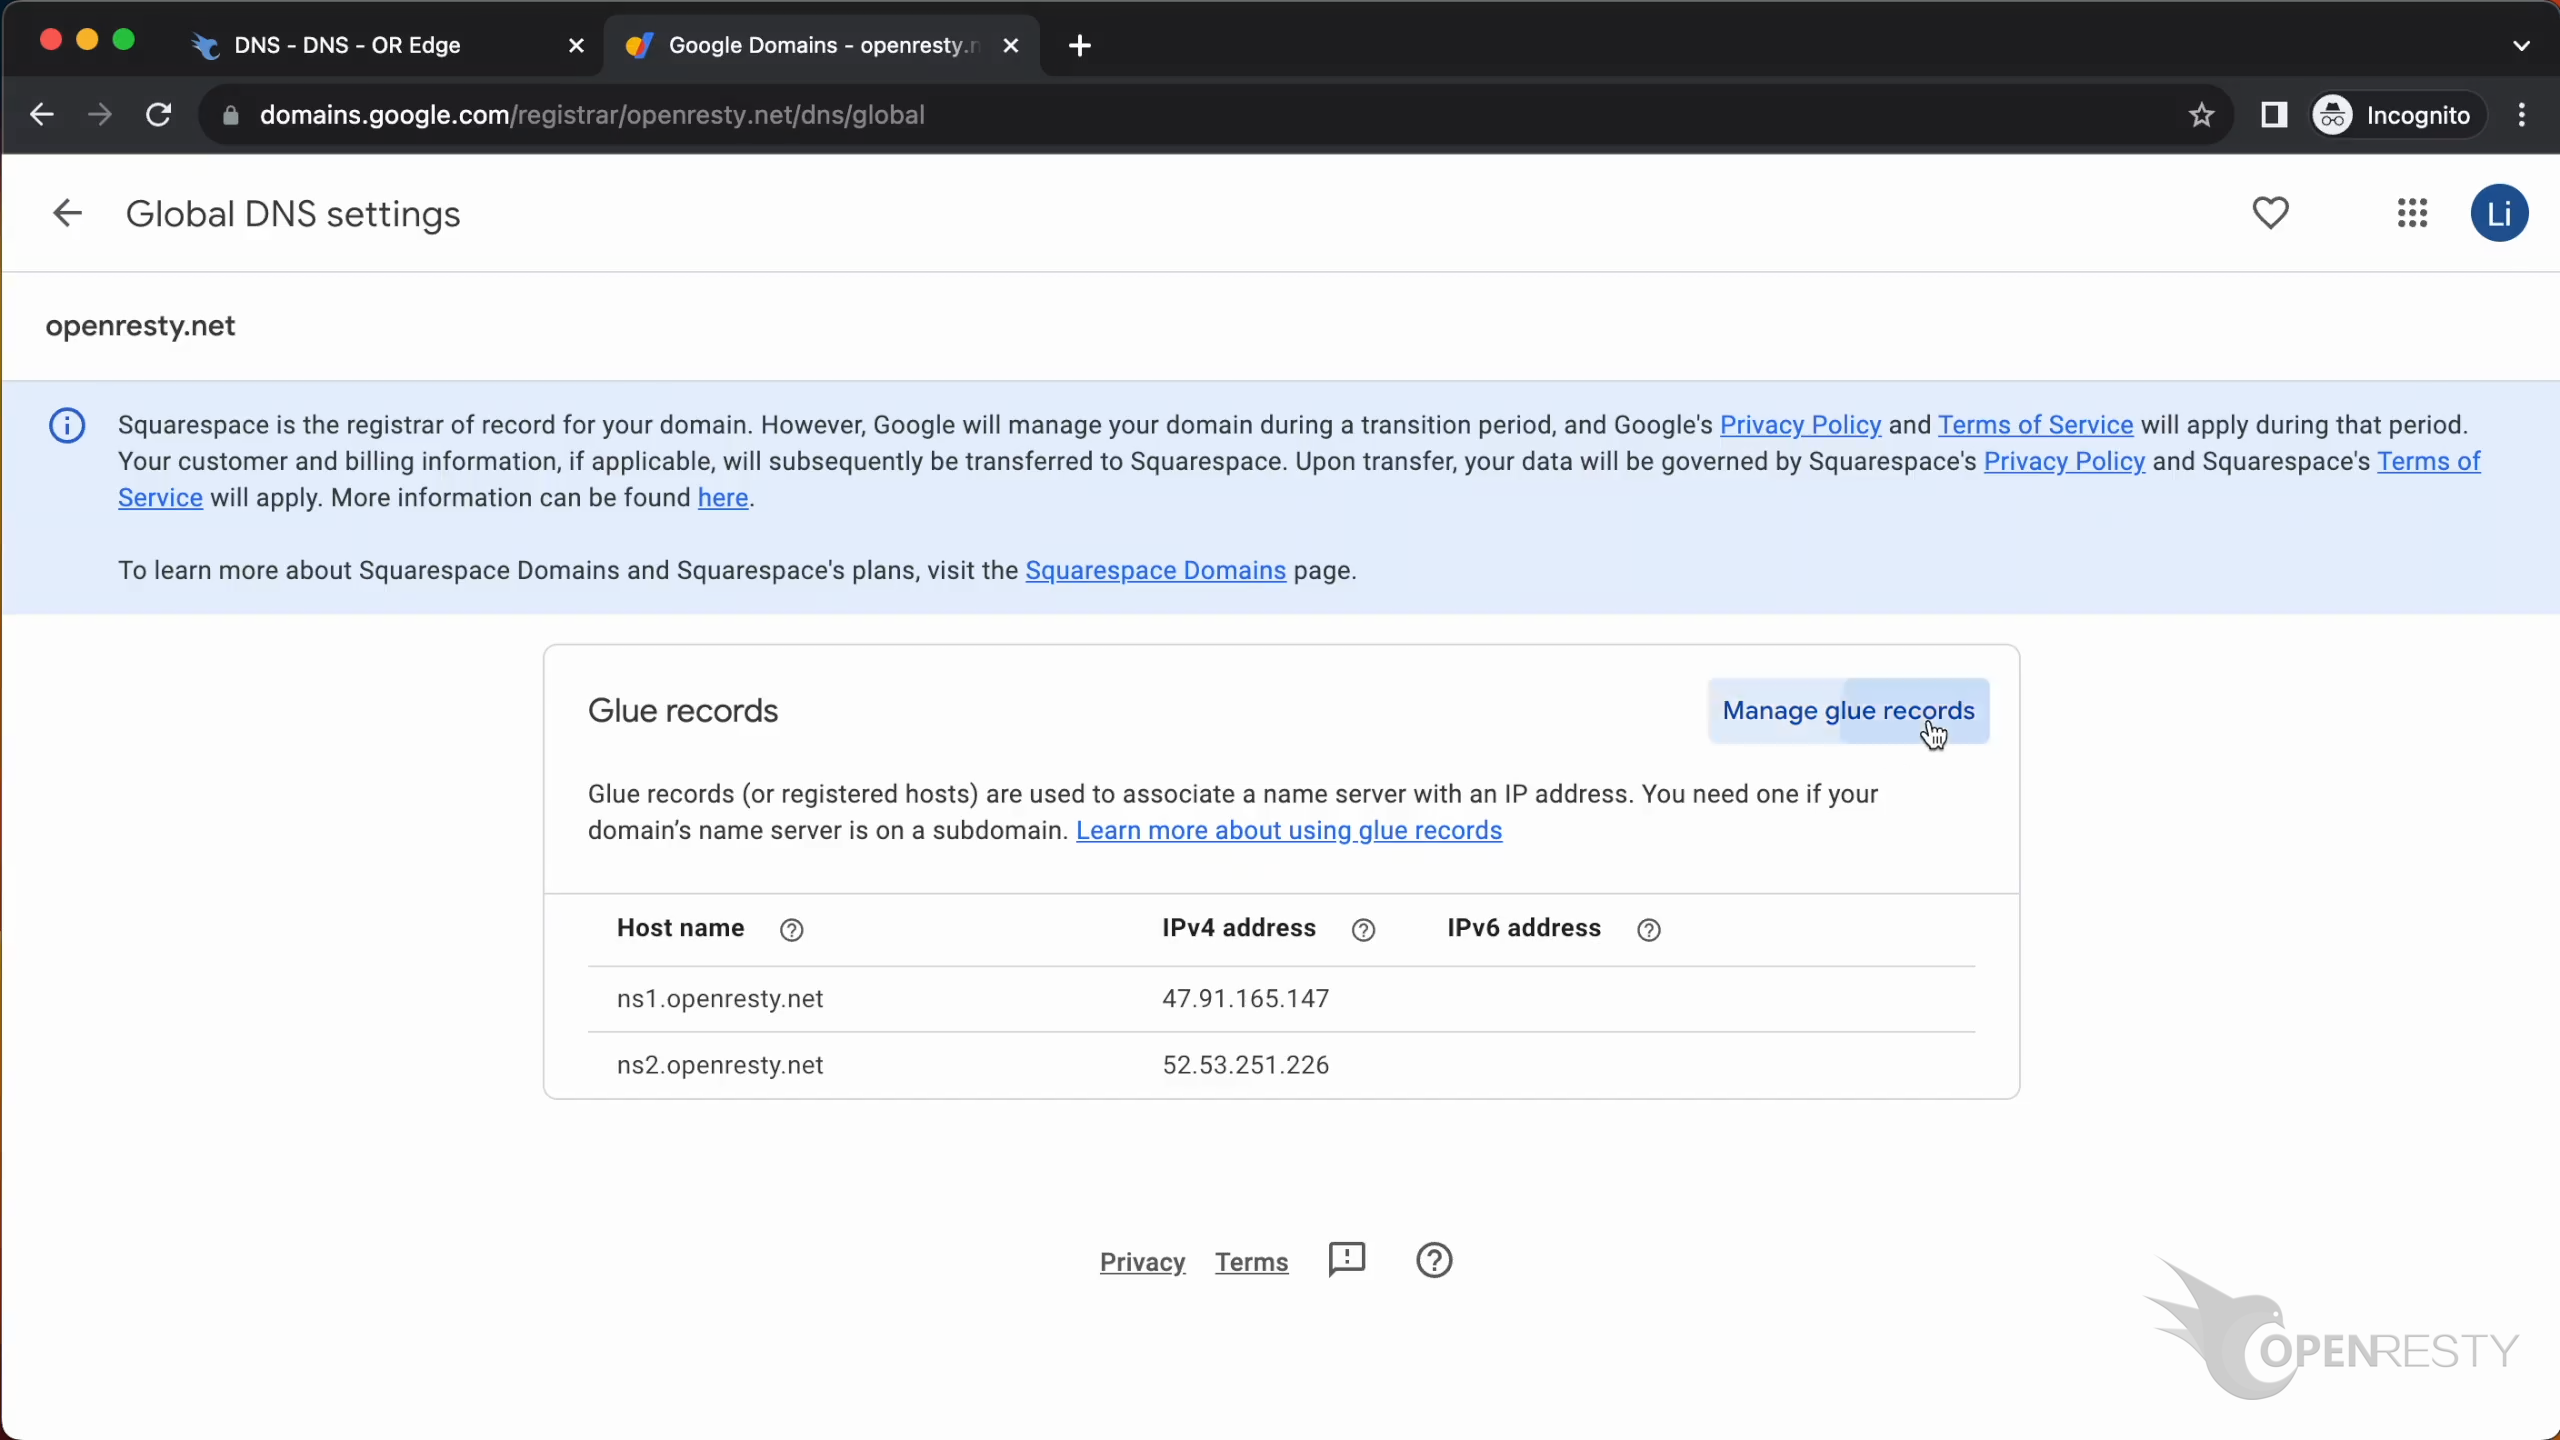
Add glue record, enter the domain name and Edge Node IP.
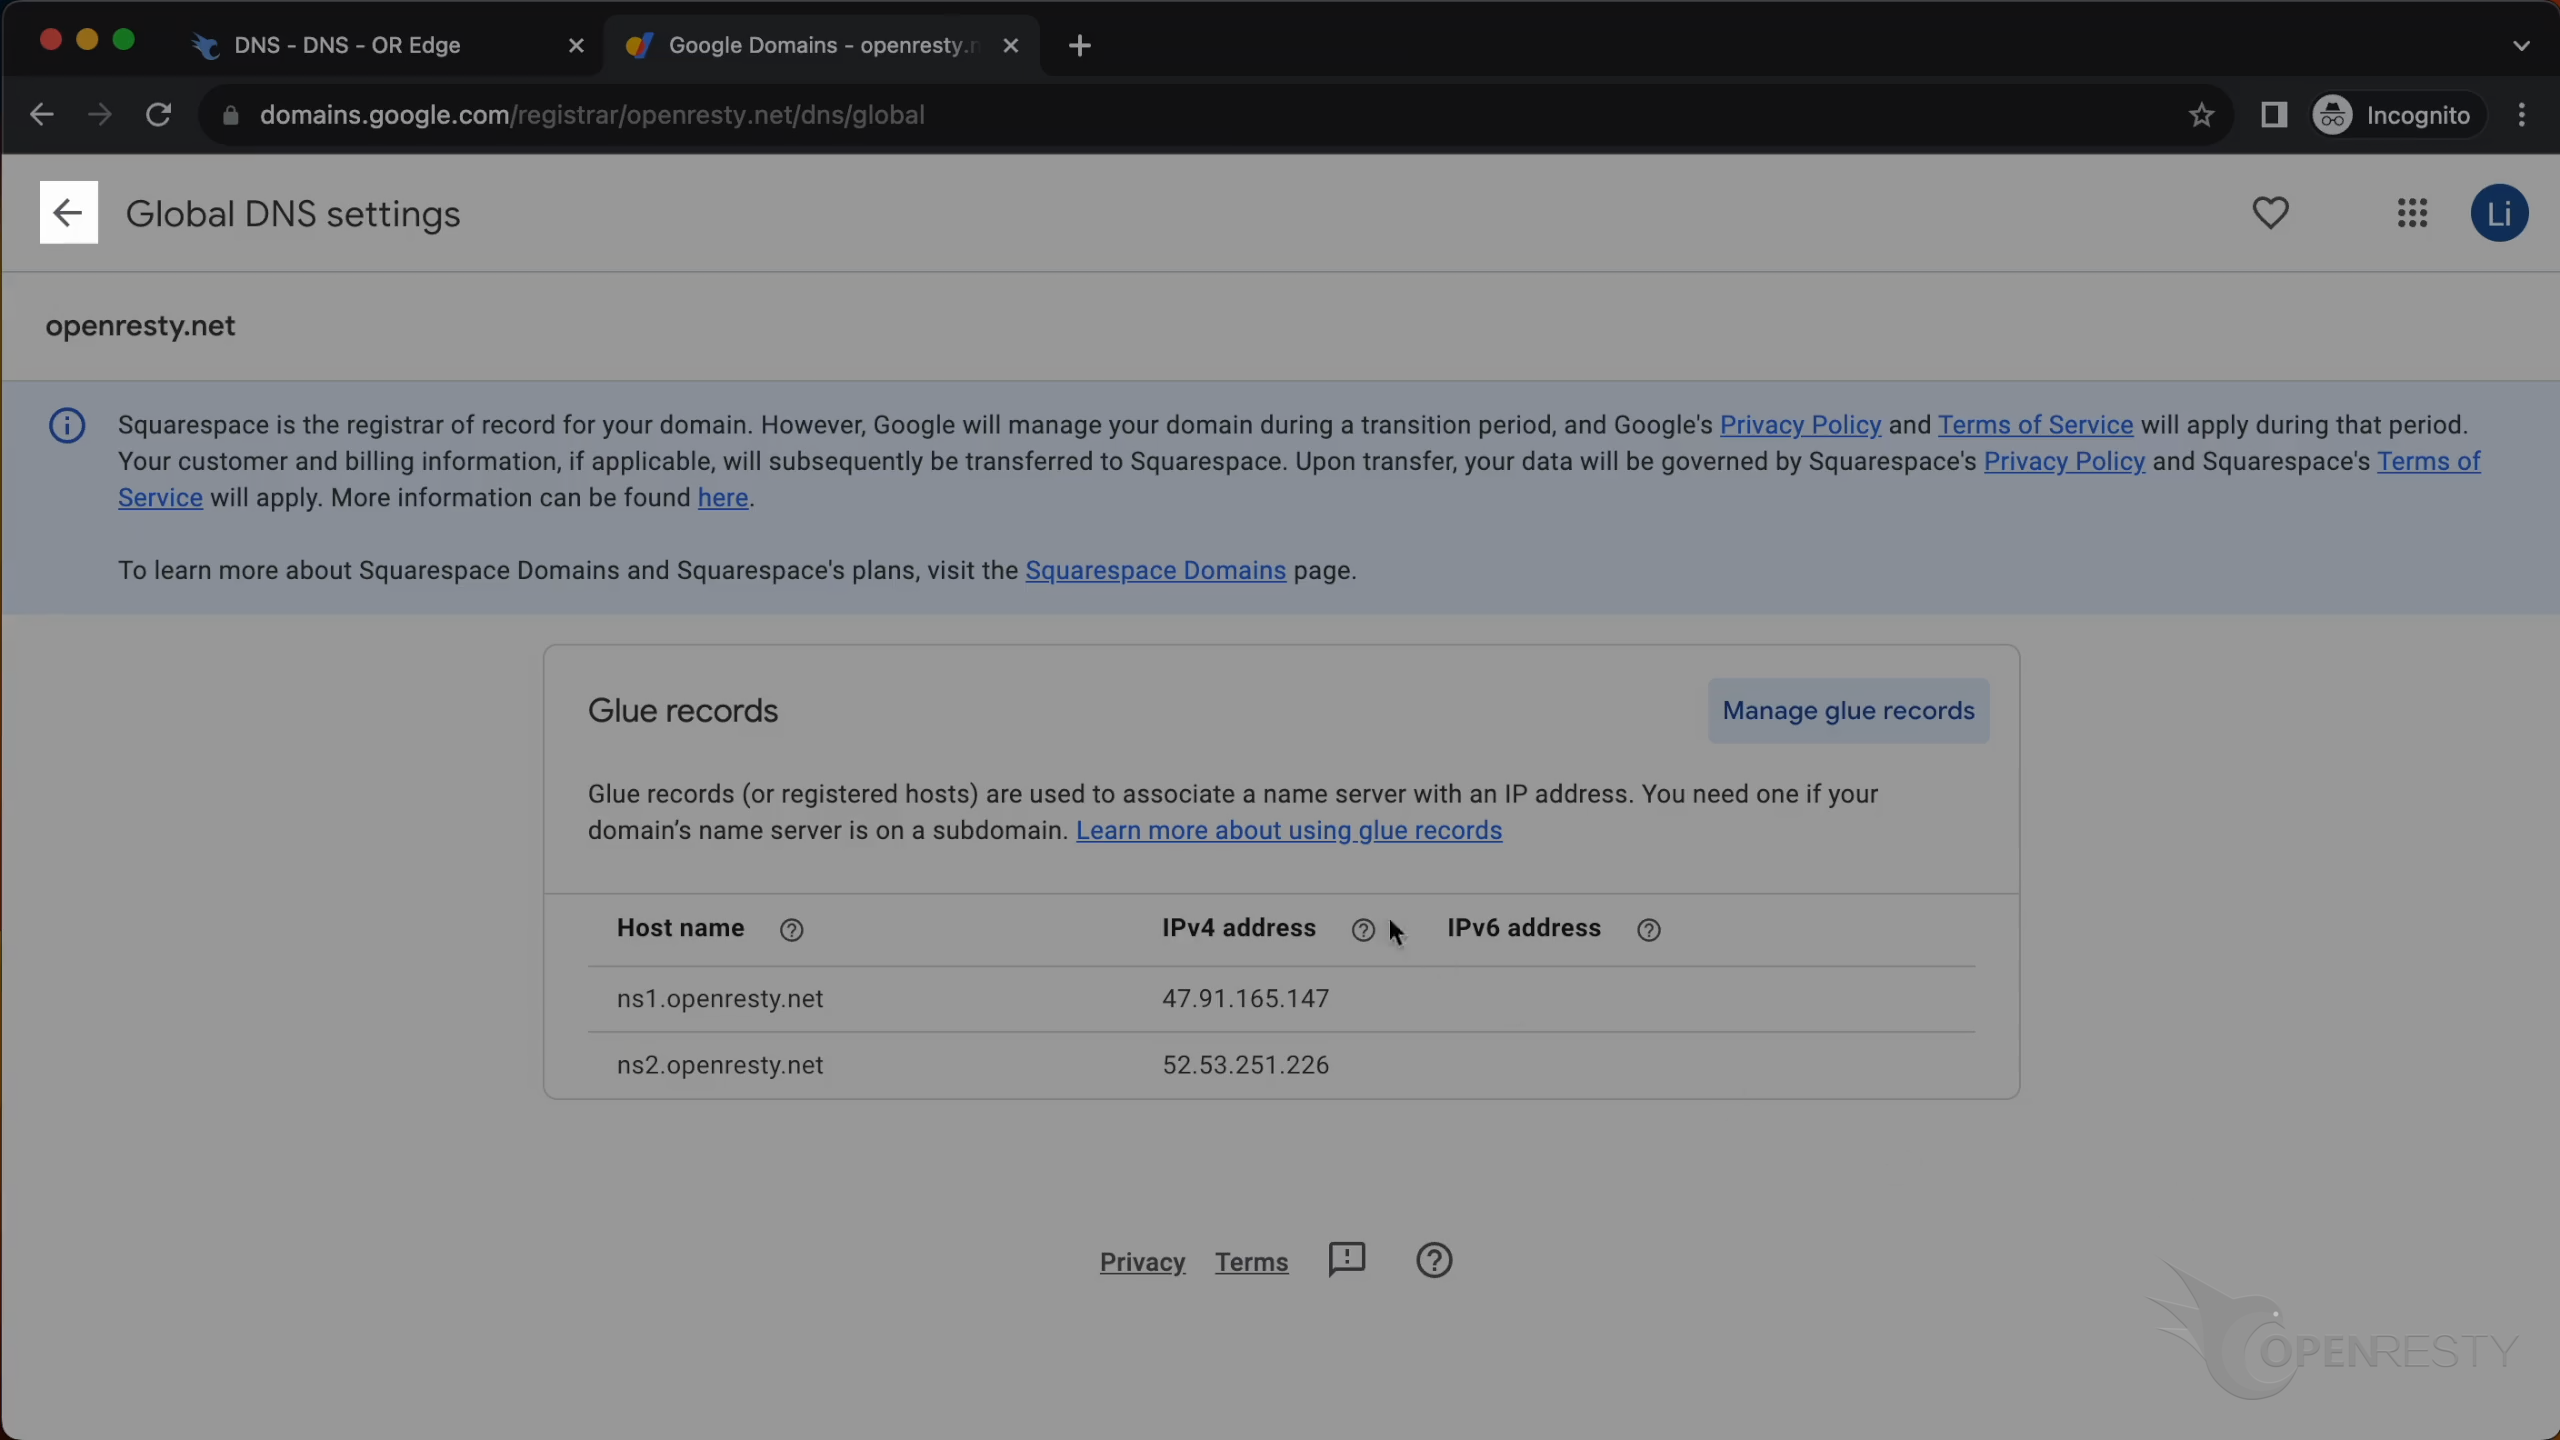
Go back to the previous page.
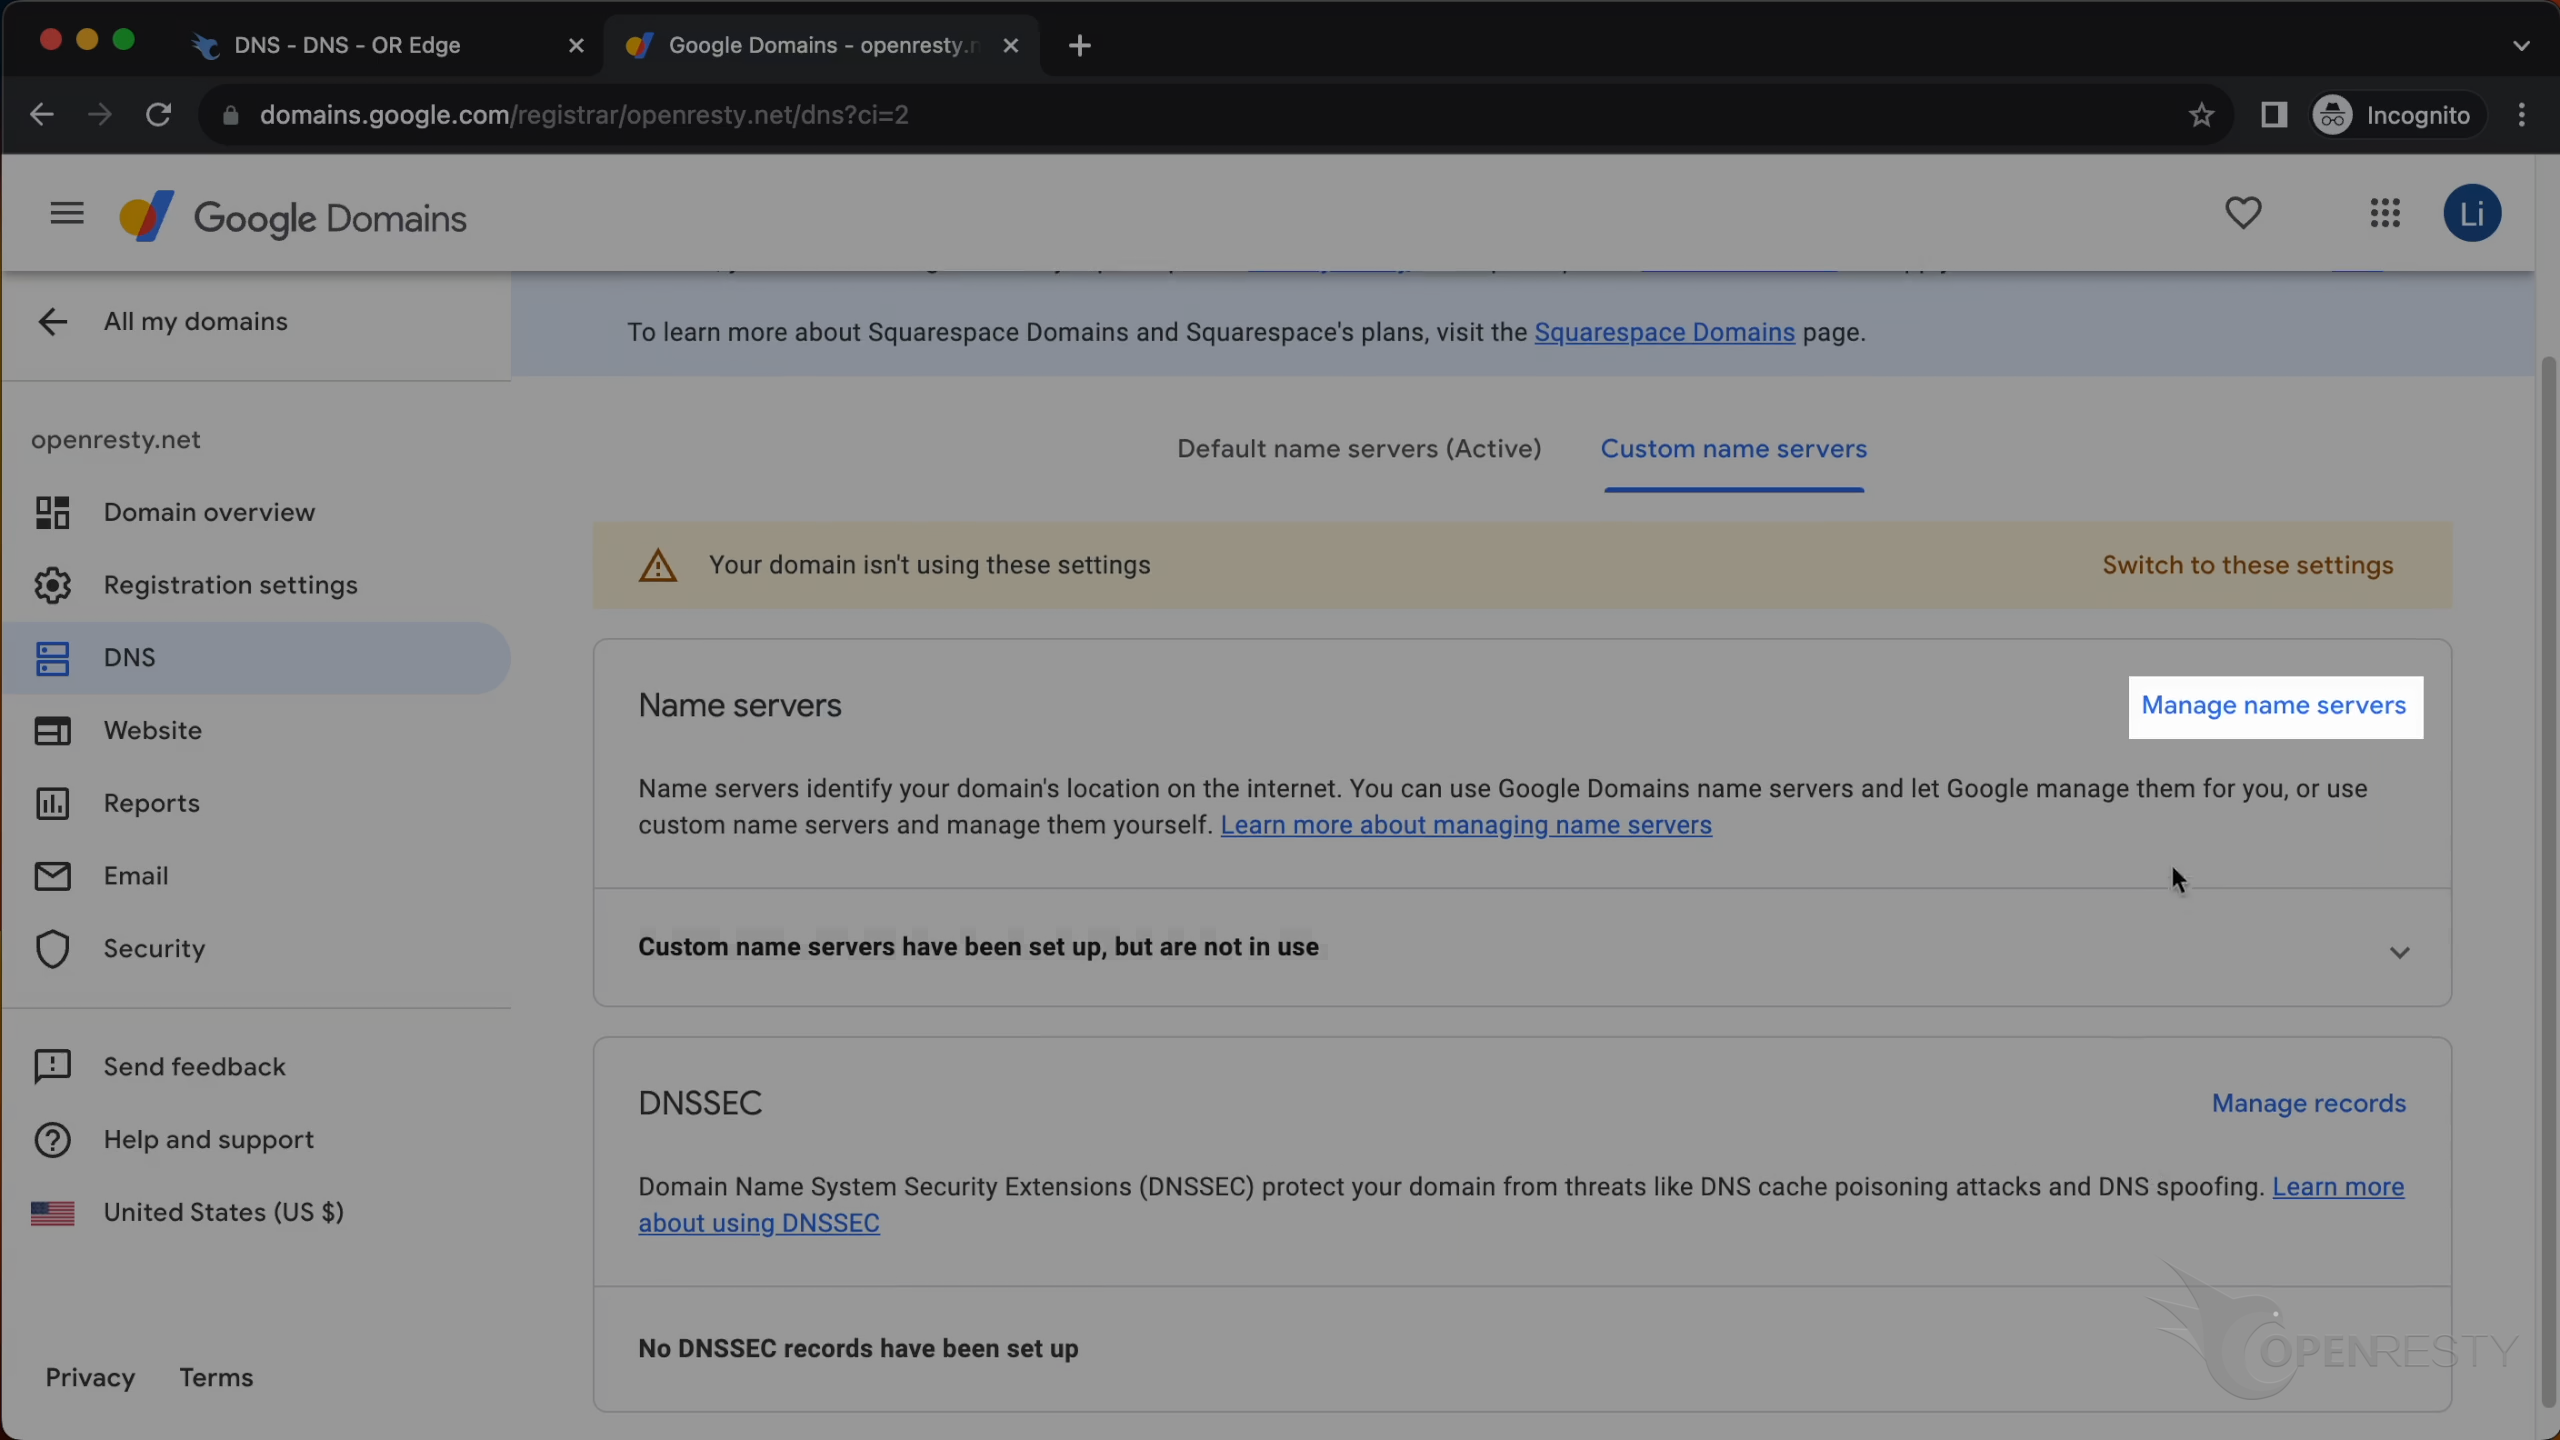
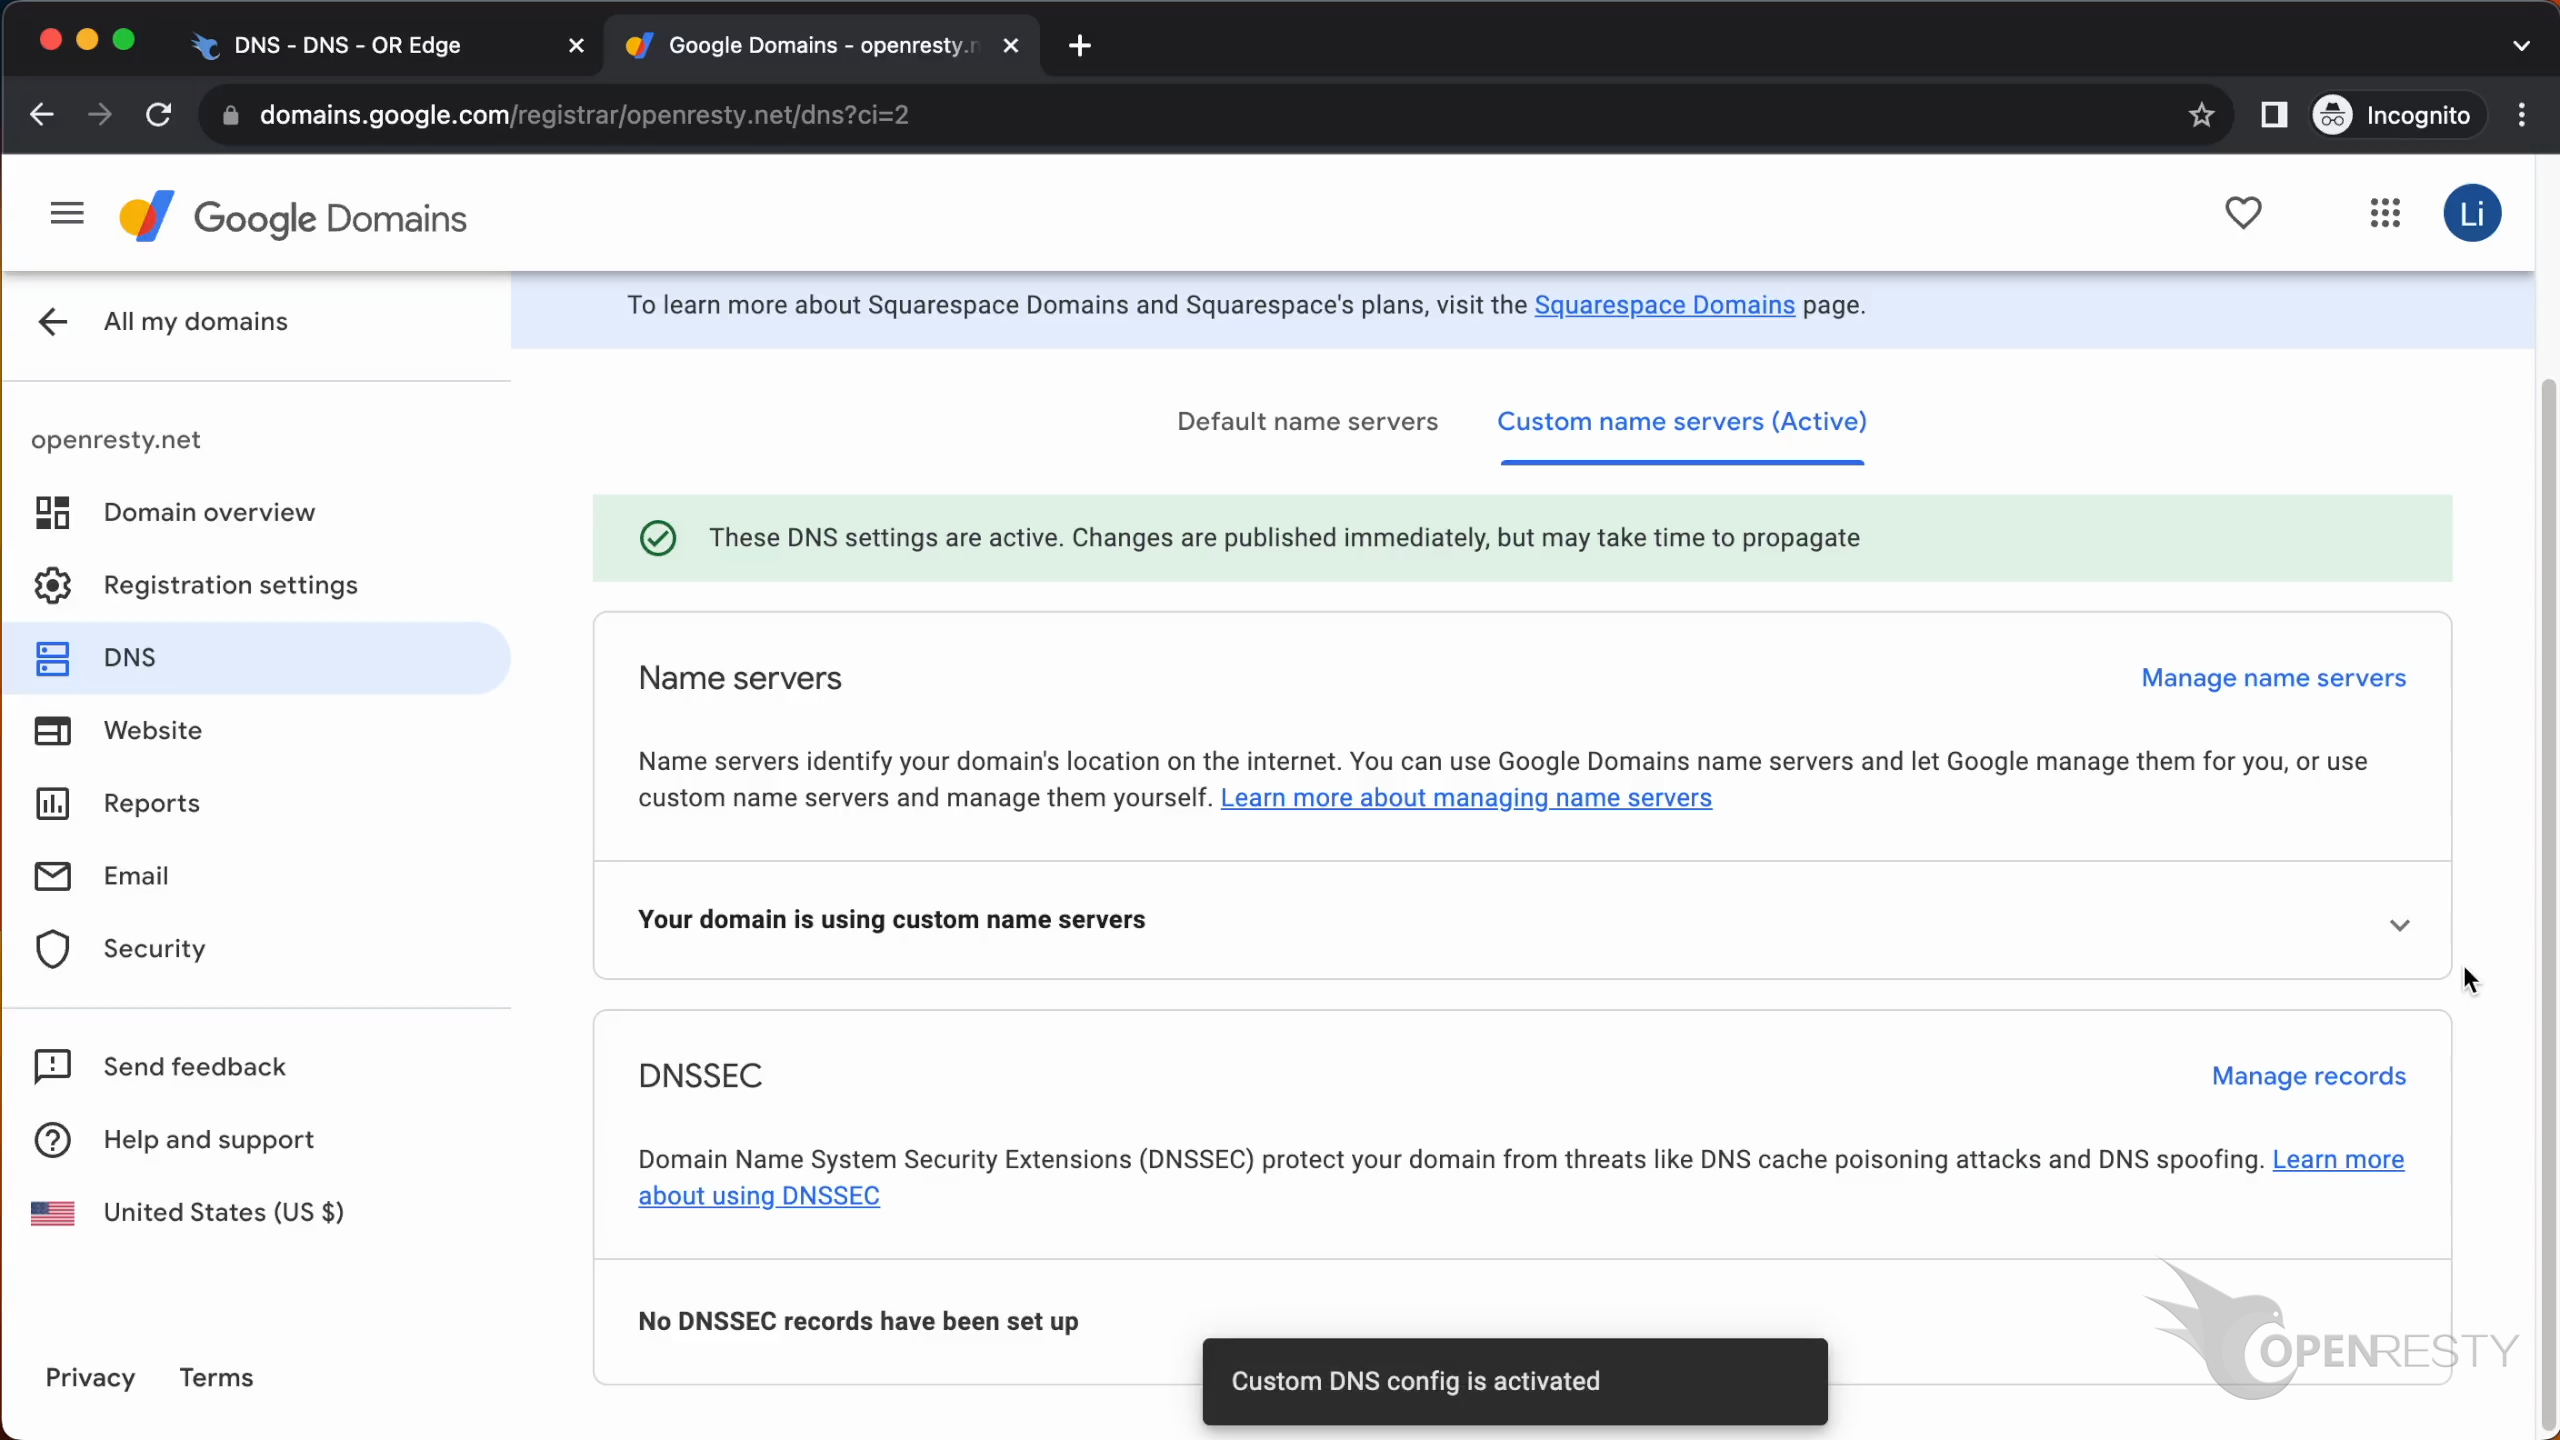
Then select “Custom name servers”.
Click to manage name servers.
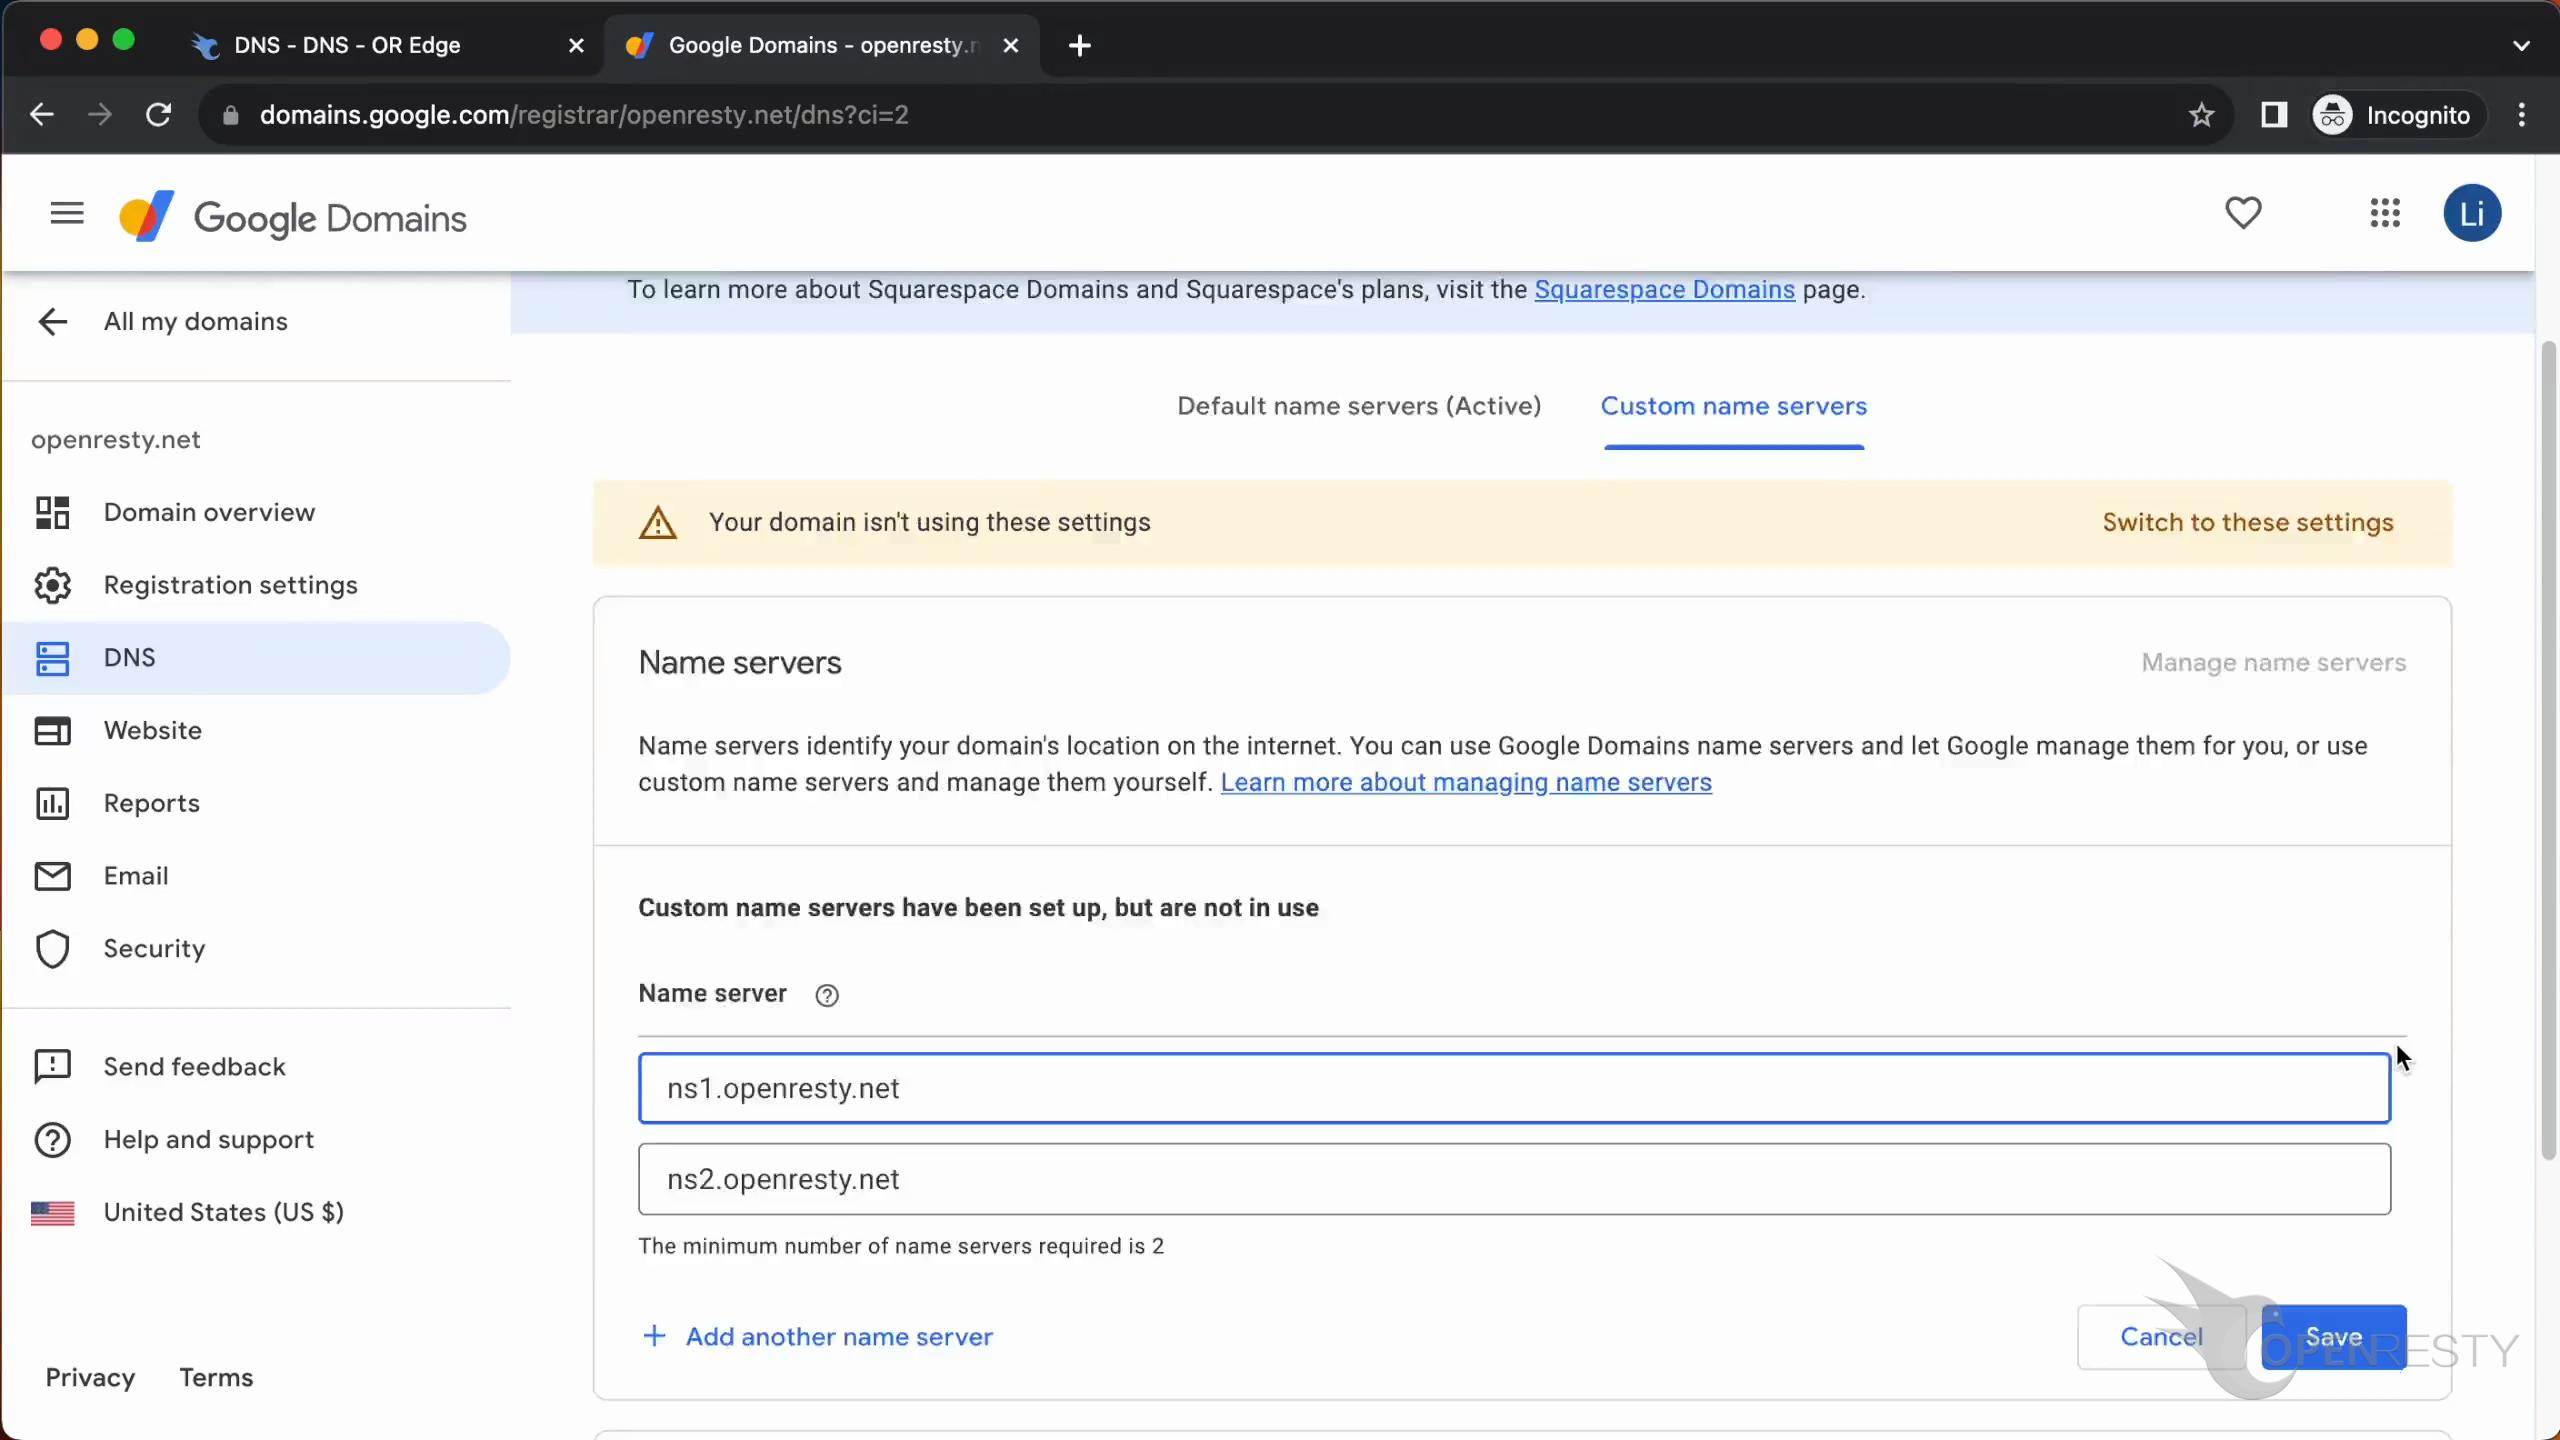
Enter the domain names that we configured in the “Global DNS Settings”.
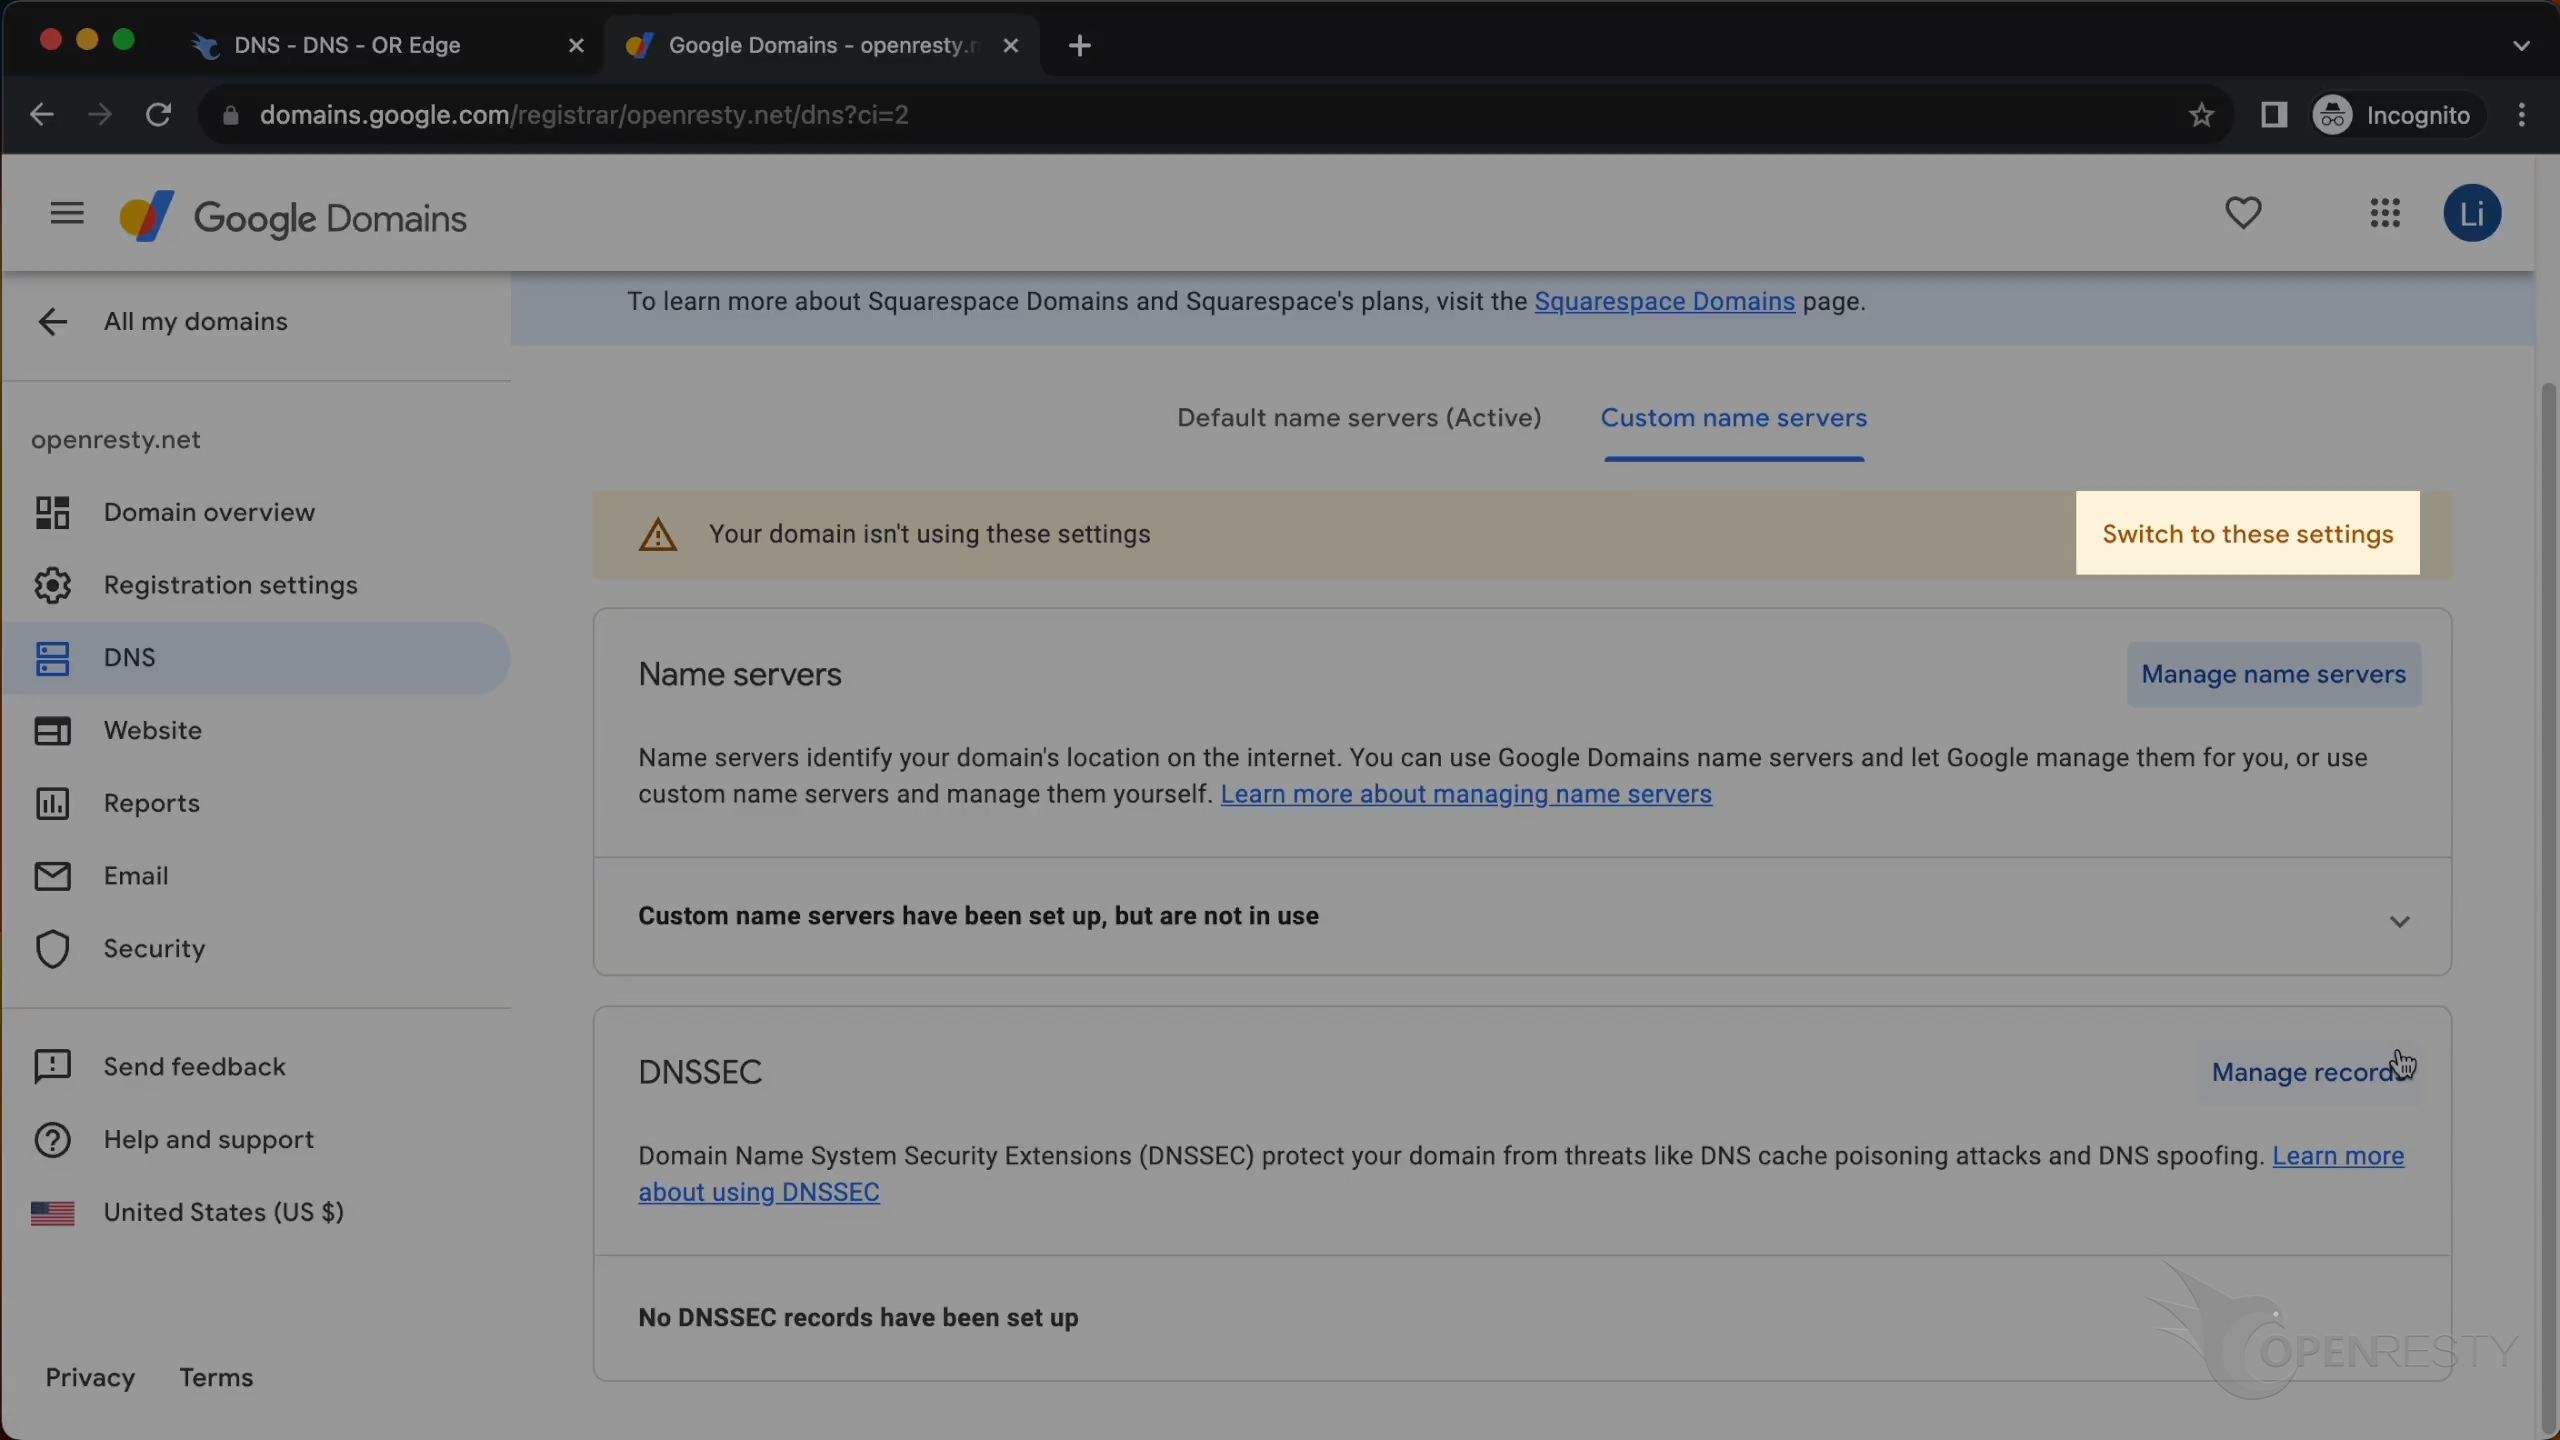
Click this button to switch to “Custom Domain Name Server”.
You have successfully configured Google Domains.
Let’s go back to Edge Admin and continue with the DNS configuration.
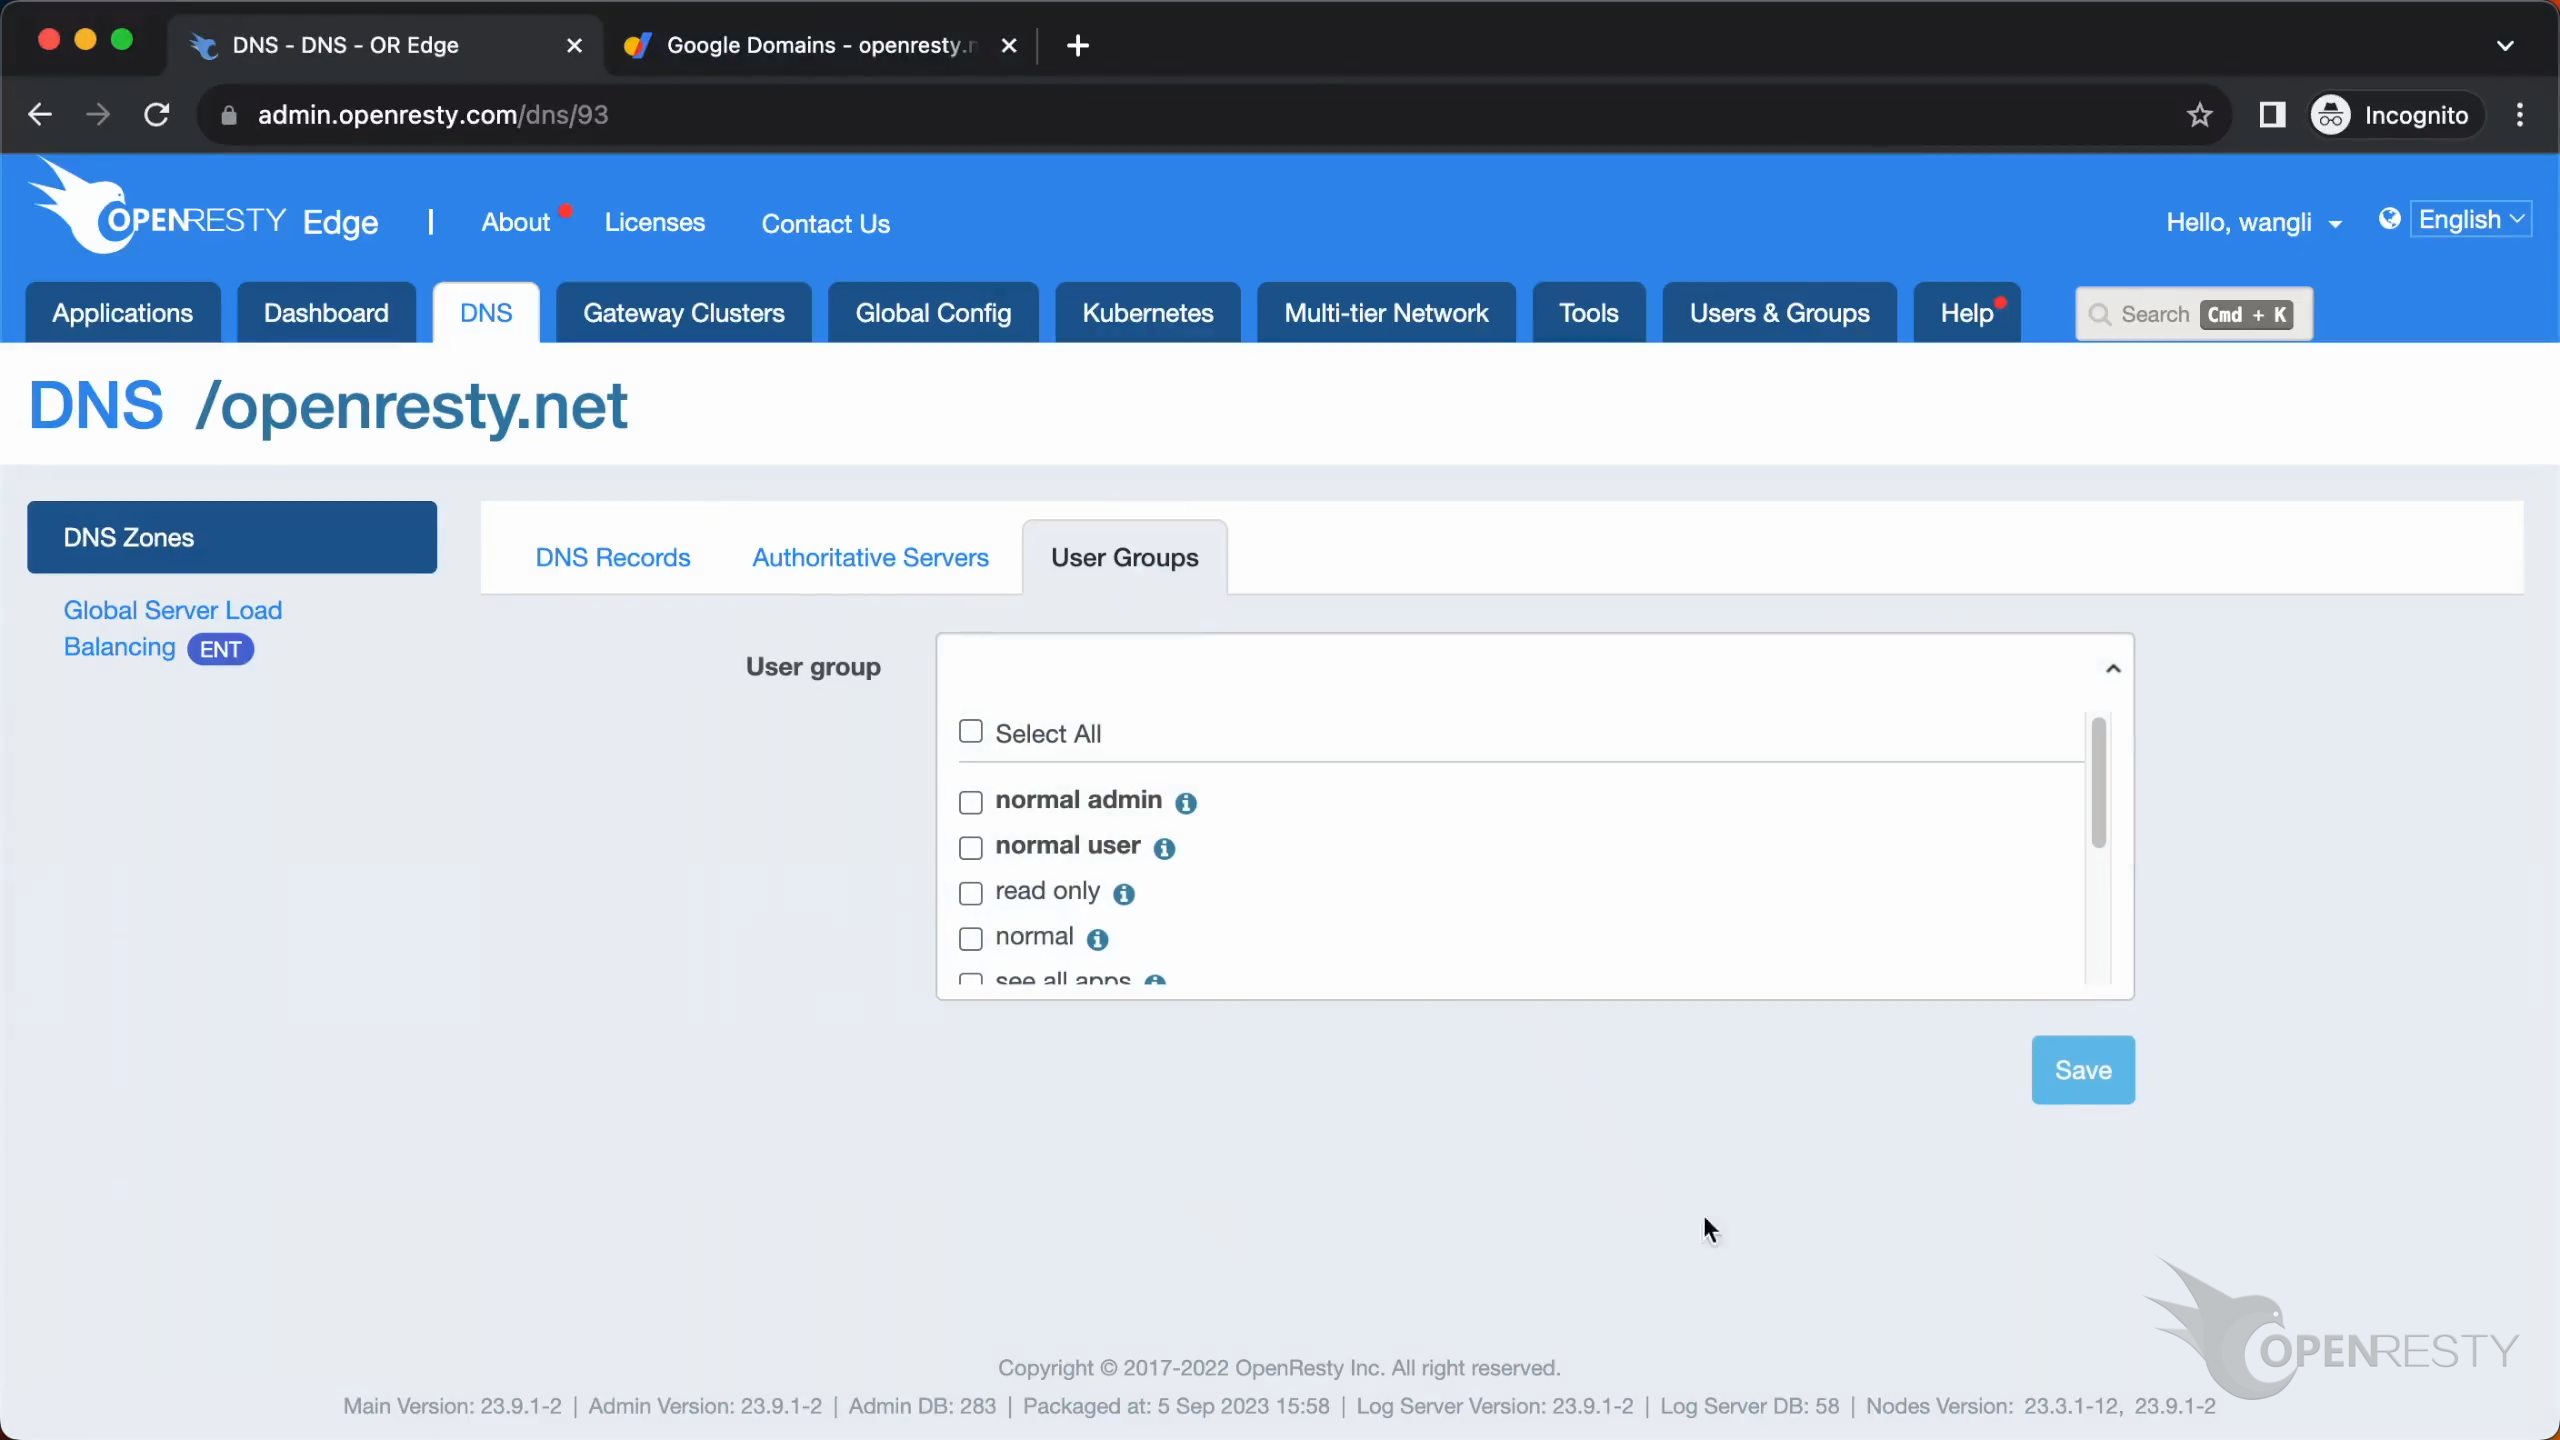
The tab “User Group” is used for access control.
What is OpenResty Edge
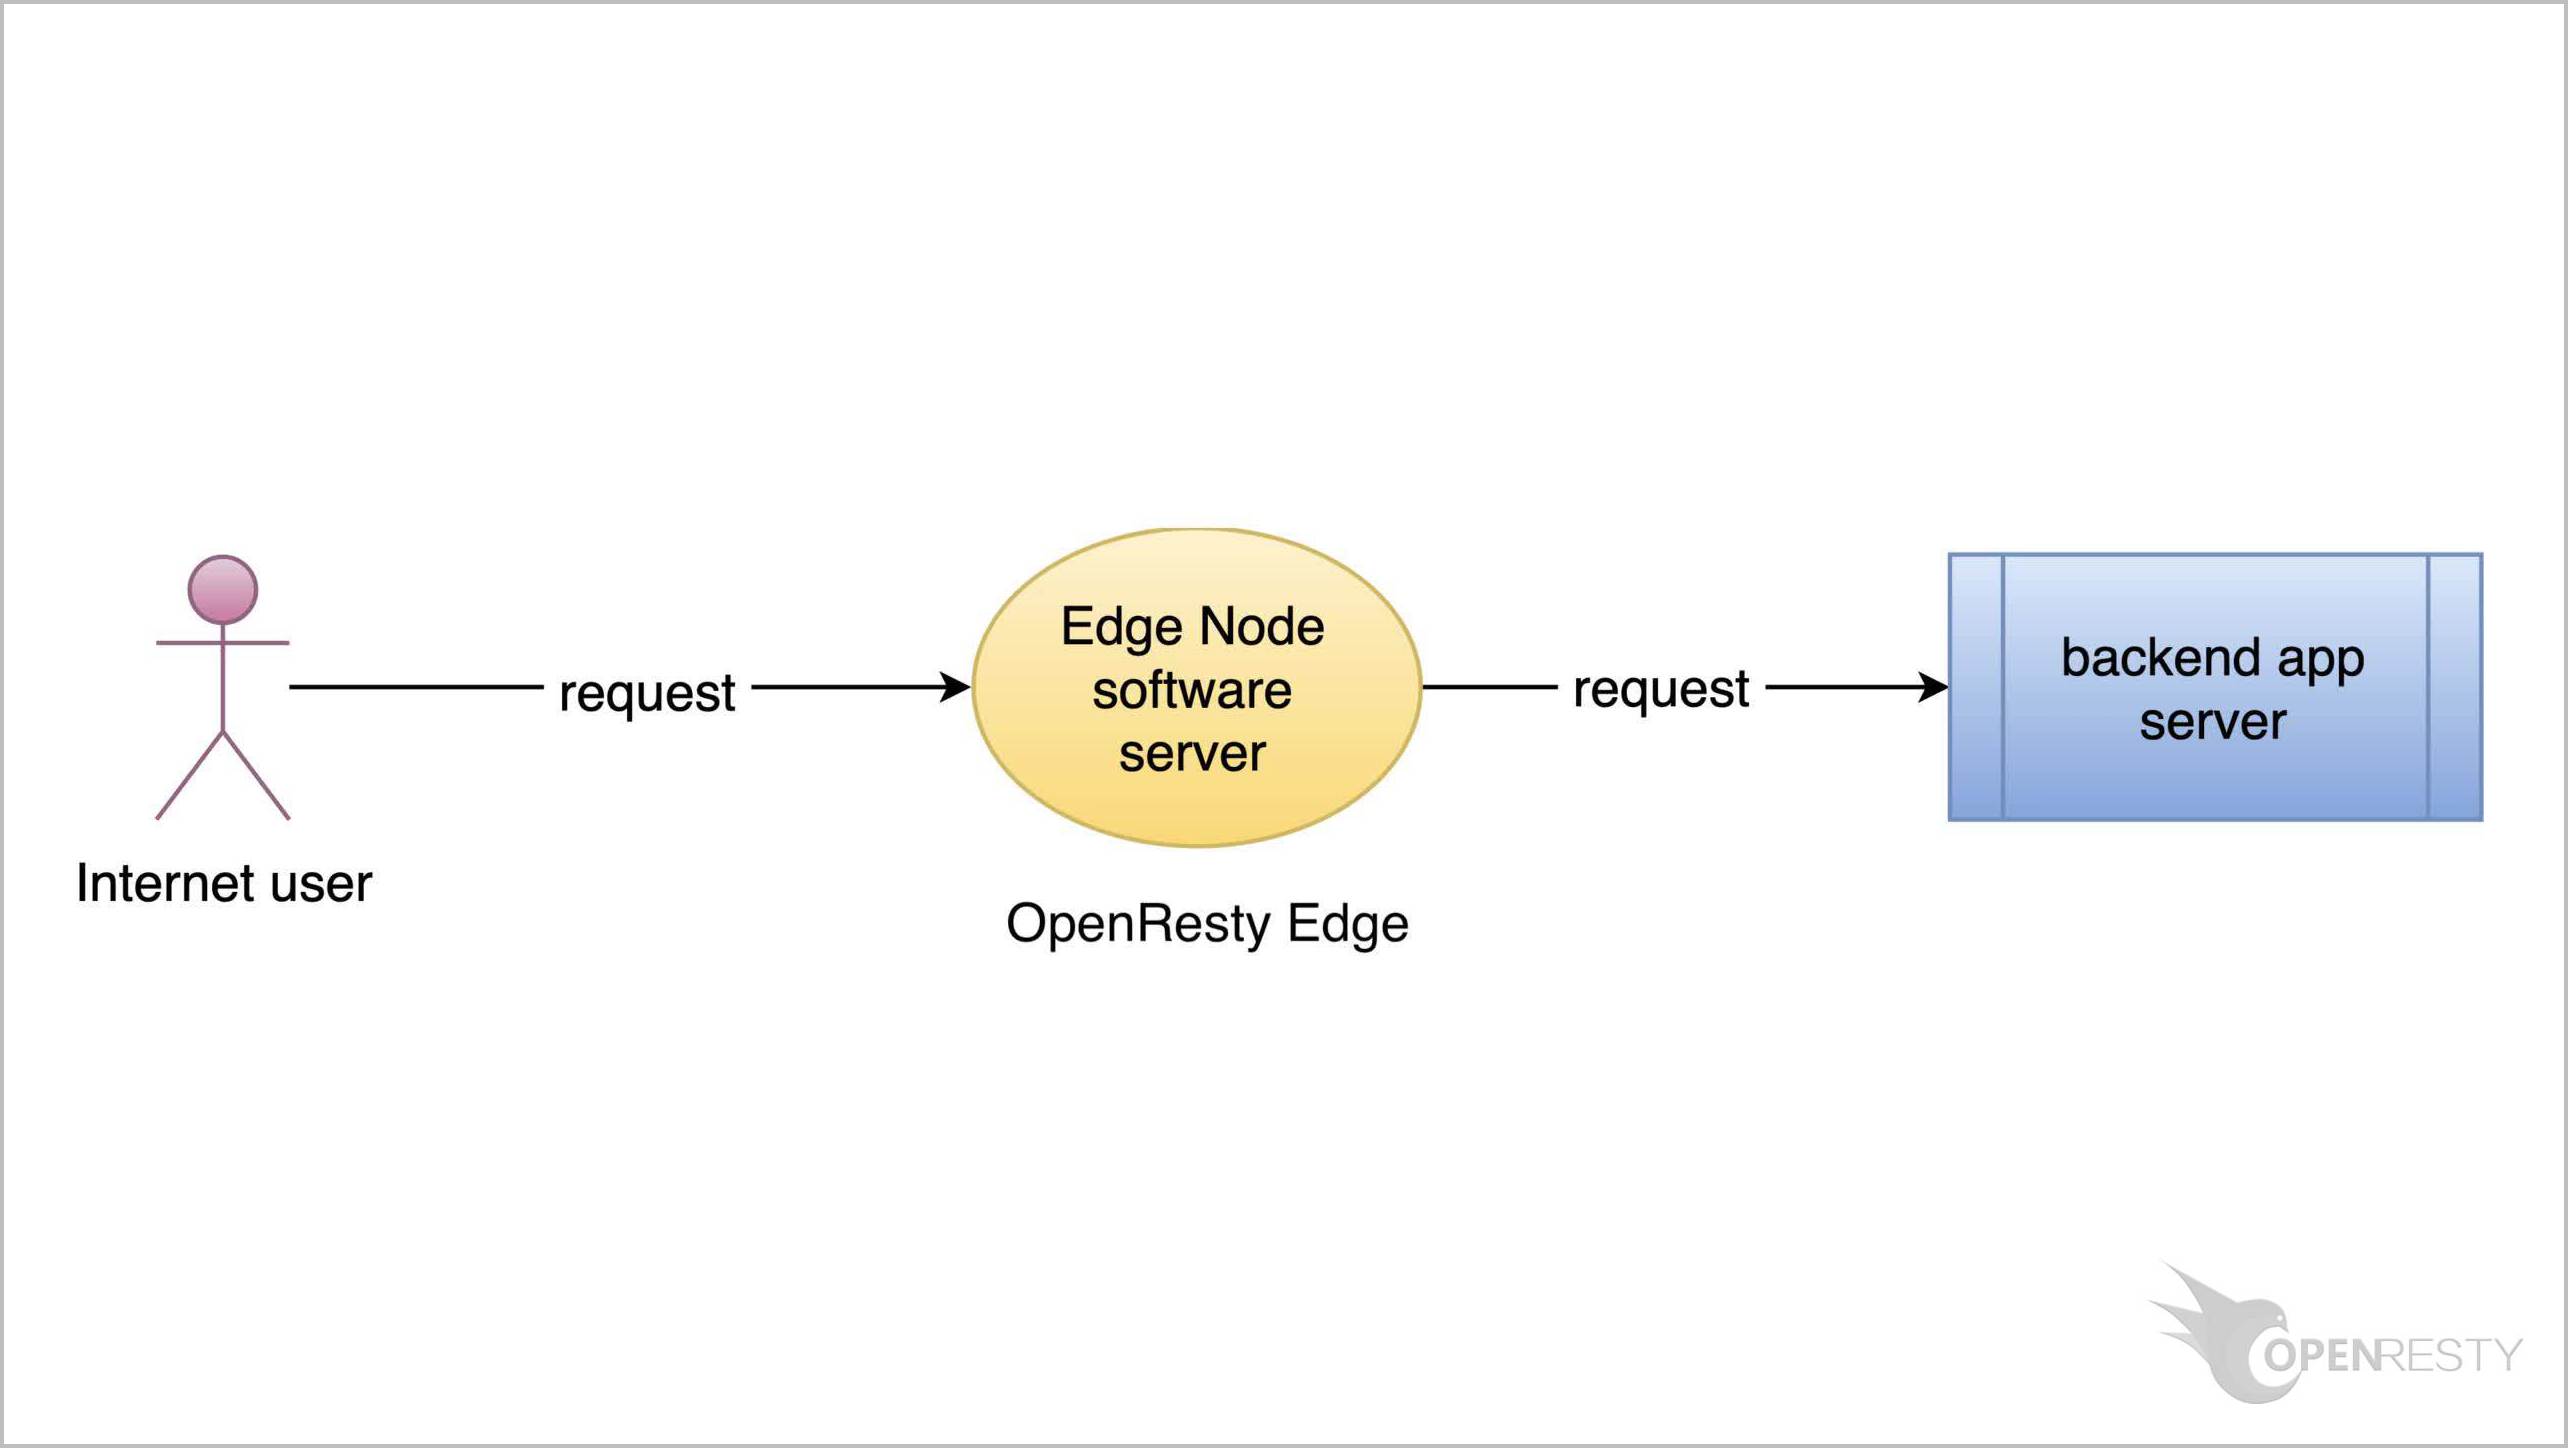
OpenResty Edge is our all-in-one gateway software for microservices and distributed traffic architectures. It combines traffic management, private CDN construction, API gateway, security, and more to help you easily build, manage, and protect modern applications. OpenResty Edge delivers industry-leading performance and scalability to meet the demanding needs of high concurrency, high load scenarios. It supports scheduling containerized application traffic such as K8s and manages massive domains, making it easy to meet the needs of large websites and complex applications.
If you like this tutorial, please subscribe to this blog site and/or our YouTube channel. Thank you!
About The Author
Yichun Zhang (Github handle: agentzh), is the original creator of the OpenResty® open-source project and the CEO of OpenResty Inc..
Yichun is one of the earliest advocates and leaders of “open-source technology”. He worked at many internationally renowned tech companies, such as Cloudflare, Yahoo!. He is a pioneer of “edge computing”, “dynamic tracing” and “machine coding”, with over 22 years of programming and 16 years of open source experience. Yichun is well-known in the open-source space as the project leader of OpenResty®, adopted by more than 40 million global website domains.
OpenResty Inc., the enterprise software start-up founded by Yichun in 2017, has customers from some of the biggest companies in the world. Its flagship product, OpenResty XRay, is a non-invasive profiling and troubleshooting tool that significantly enhances and utilizes dynamic tracing technology. And its OpenResty Edge product is a powerful distributed traffic management and private CDN software product.
As an avid open-source contributor, Yichun has contributed more than a million lines of code to numerous open-source projects, including Linux kernel, Nginx, LuaJIT, GDB, SystemTap, LLVM, Perl, etc. He has also authored more than 60 open-source software libraries.


