
Control Access to DNS Applications in OpenResty Edge's Admin Console
Quick answer: In OpenResty Edge’s Admin console you grant a user read-only access to a DNS application by putting them in a user group that has read permission, and then authorizing that group on the specific DNS application. Permissions are assigned to user groups rather than to individual users, and by default a normal user cannot see the DNS section at all. The full procedure is:
- Sign in as a super user.
- Create a user group — for example
test-dns-access— and edit its permissions to enable read for both the DNS section and the DNS Records page. - Open the target DNS application, go to its User Groups tab, and grant the new group access to this application.
- Create a user (or add an existing one) into that group. When they sign in they can open the DNS application and read its records and authoritative servers, but the add, edit, and delete buttons are hidden.
The screenshots below walk through each of these steps in the console.
Let’s go to the console first. This is our sample deployment of the console. Every user would have their own deployment.
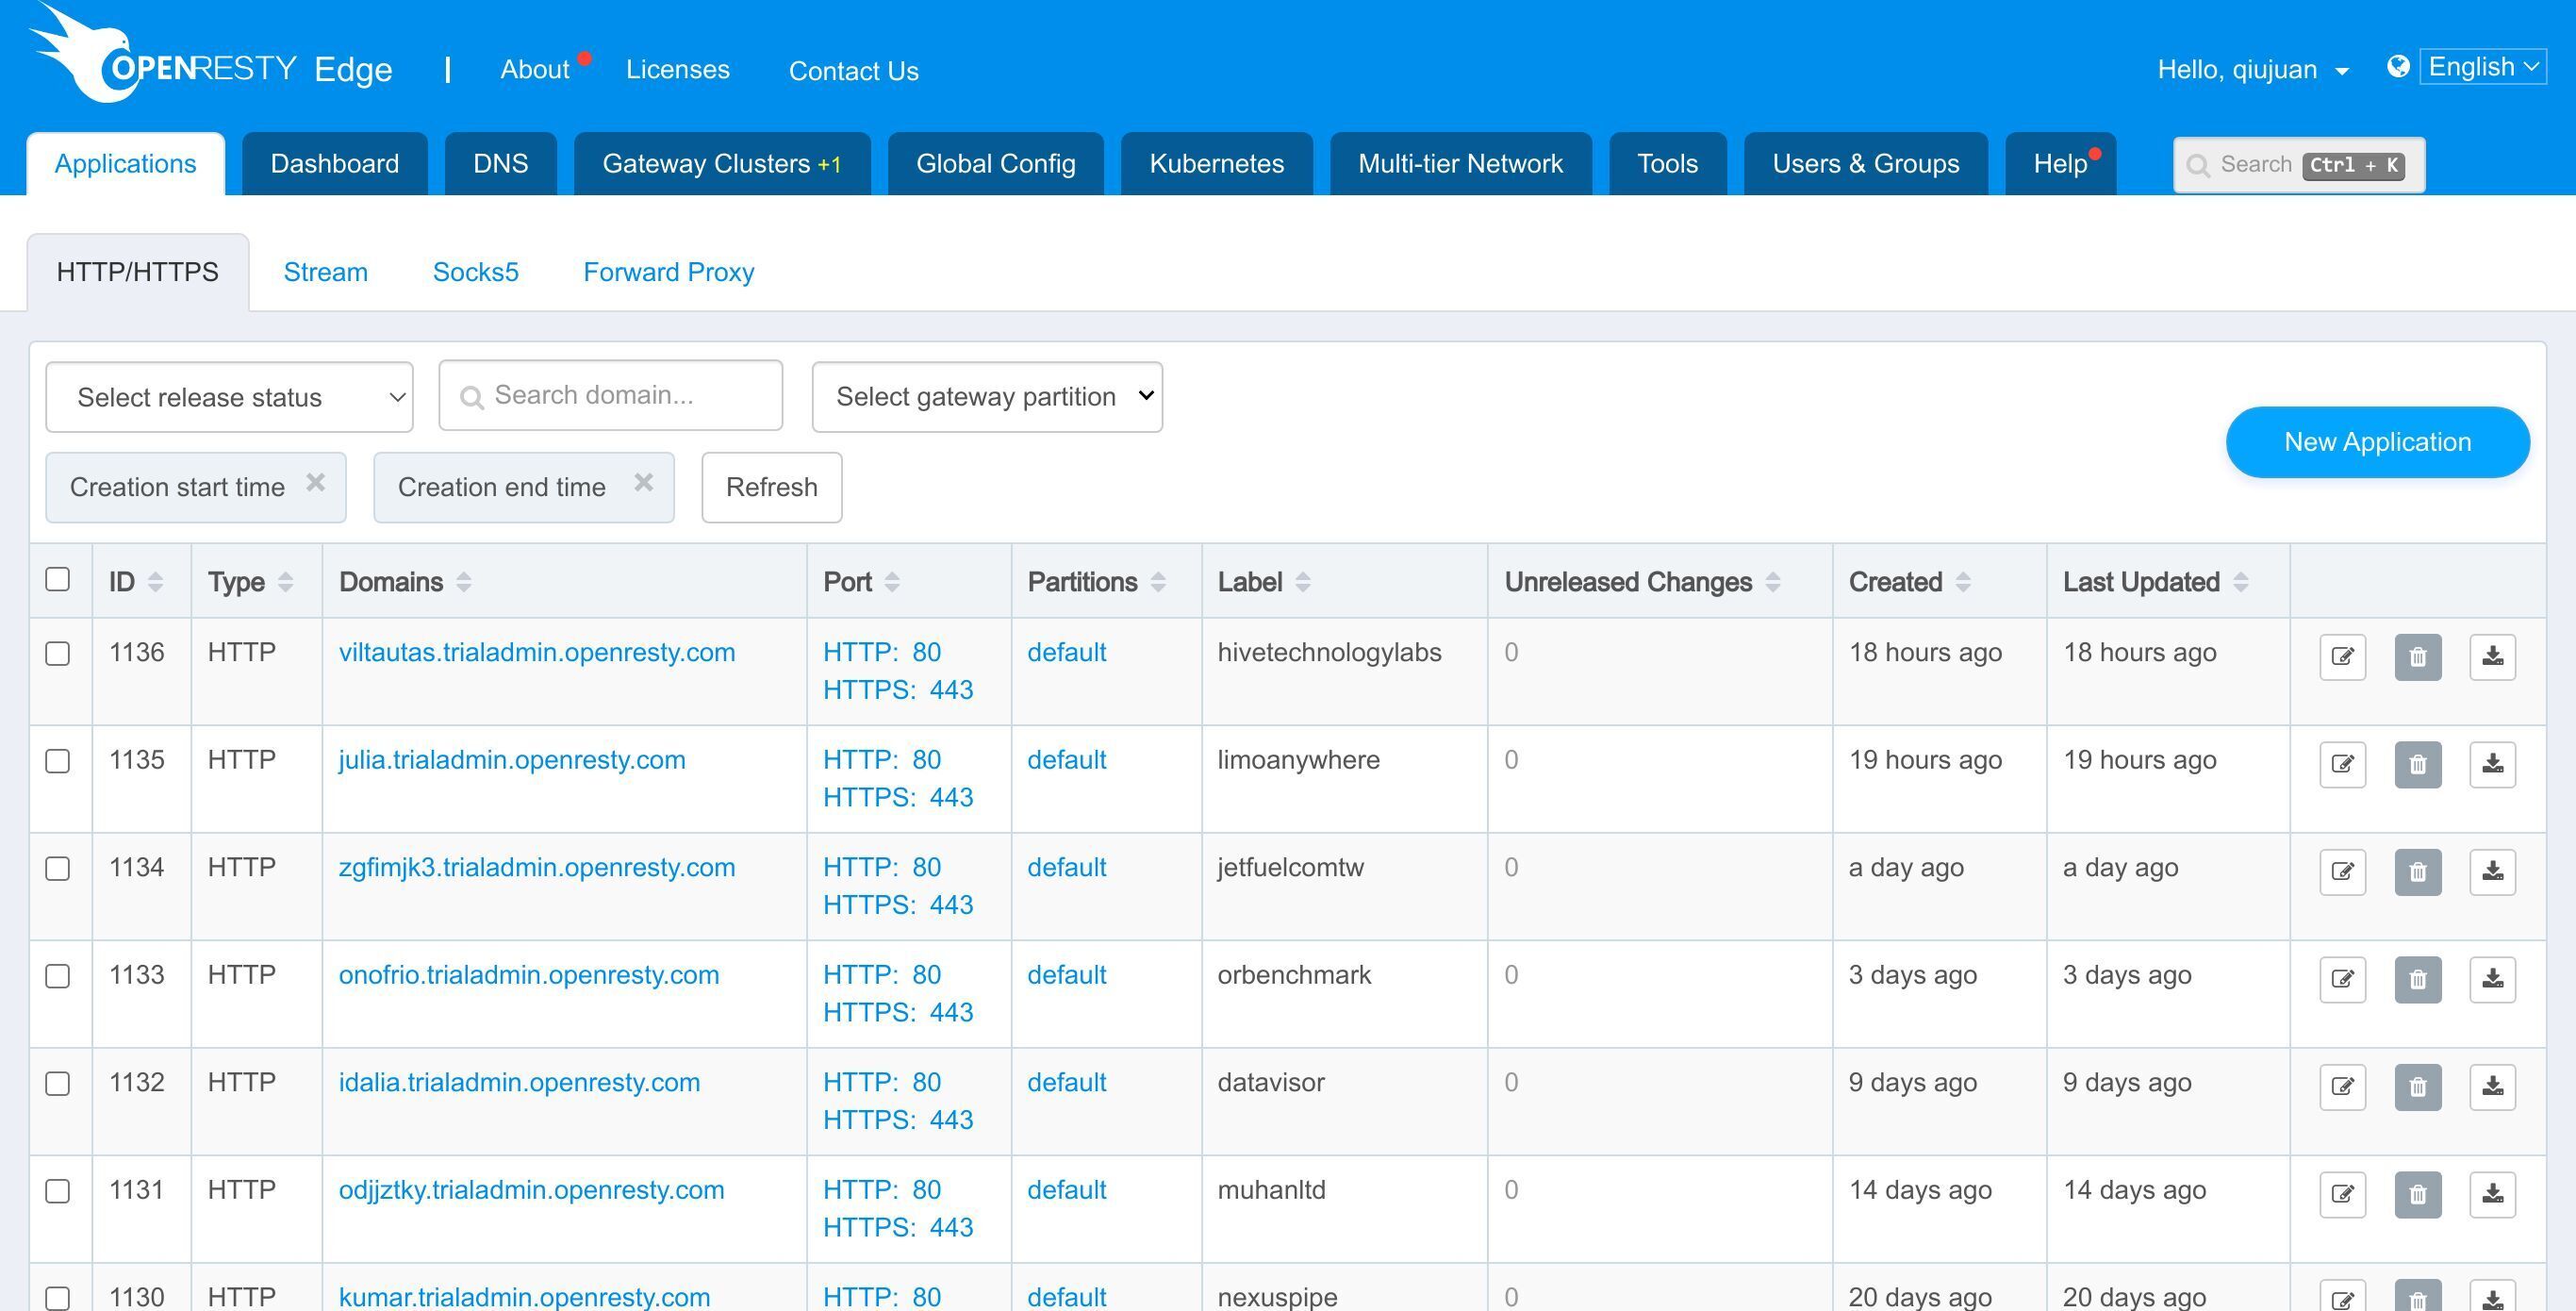
Check DNS page permissions as a super user
First, we go to the DNS page. Since we currently sign in as a super user, we can check the page with all the permissions.
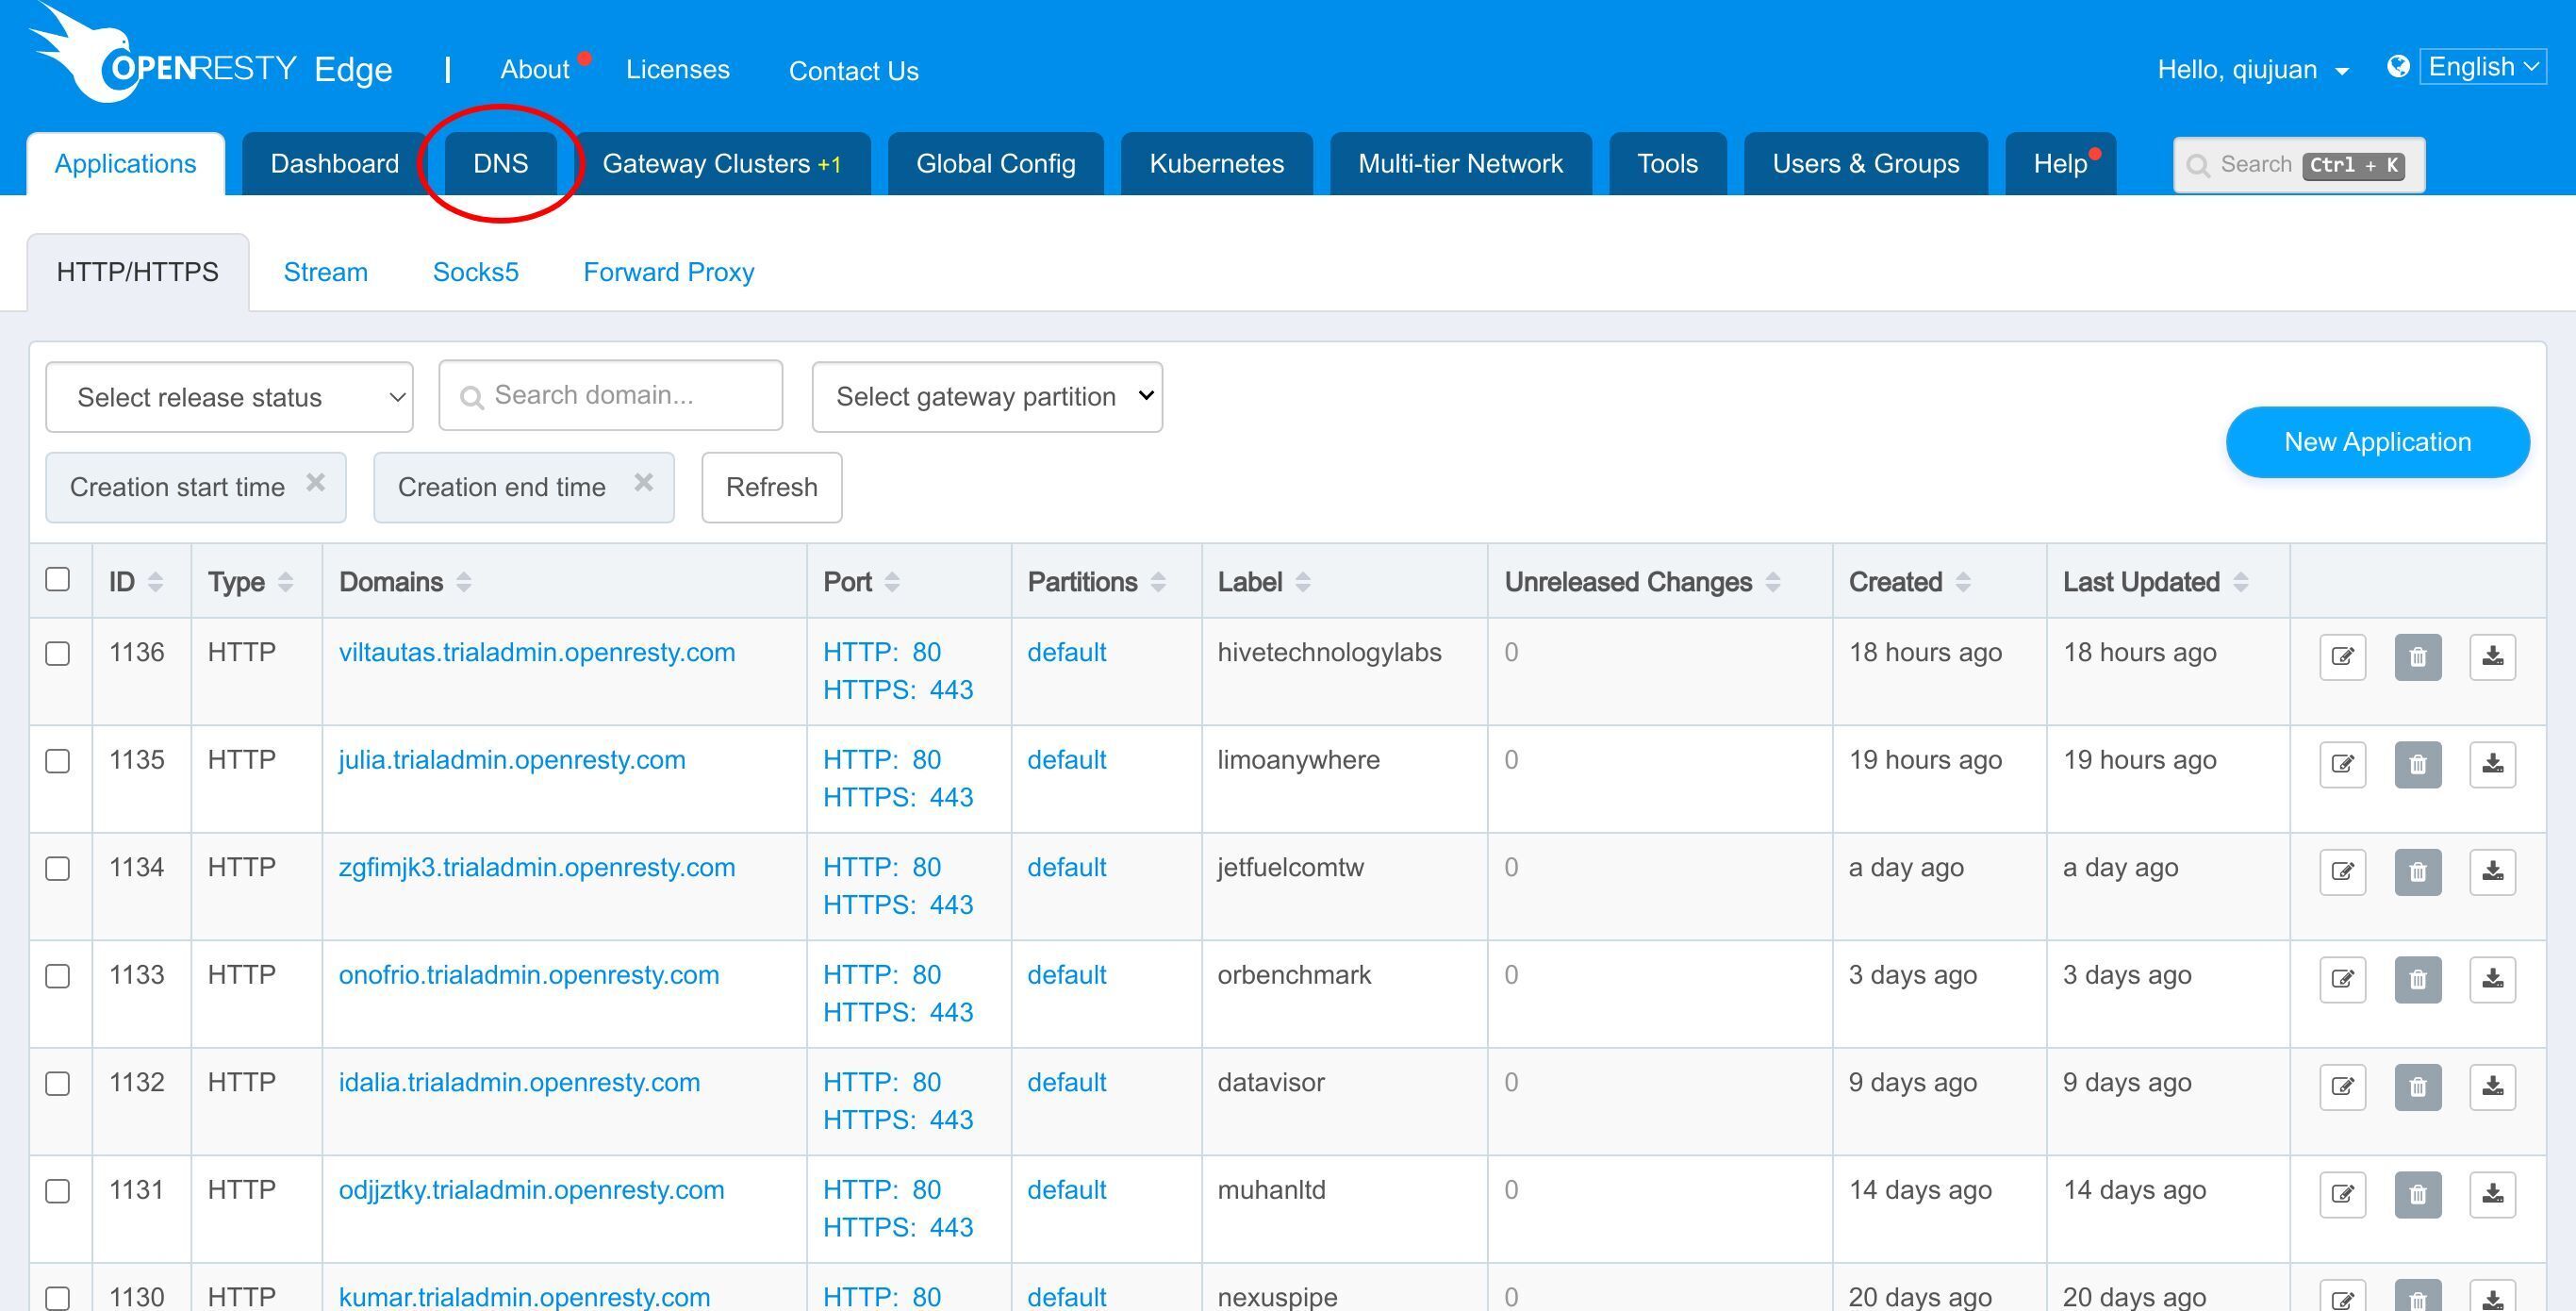
Search our sample application, test-dns.com
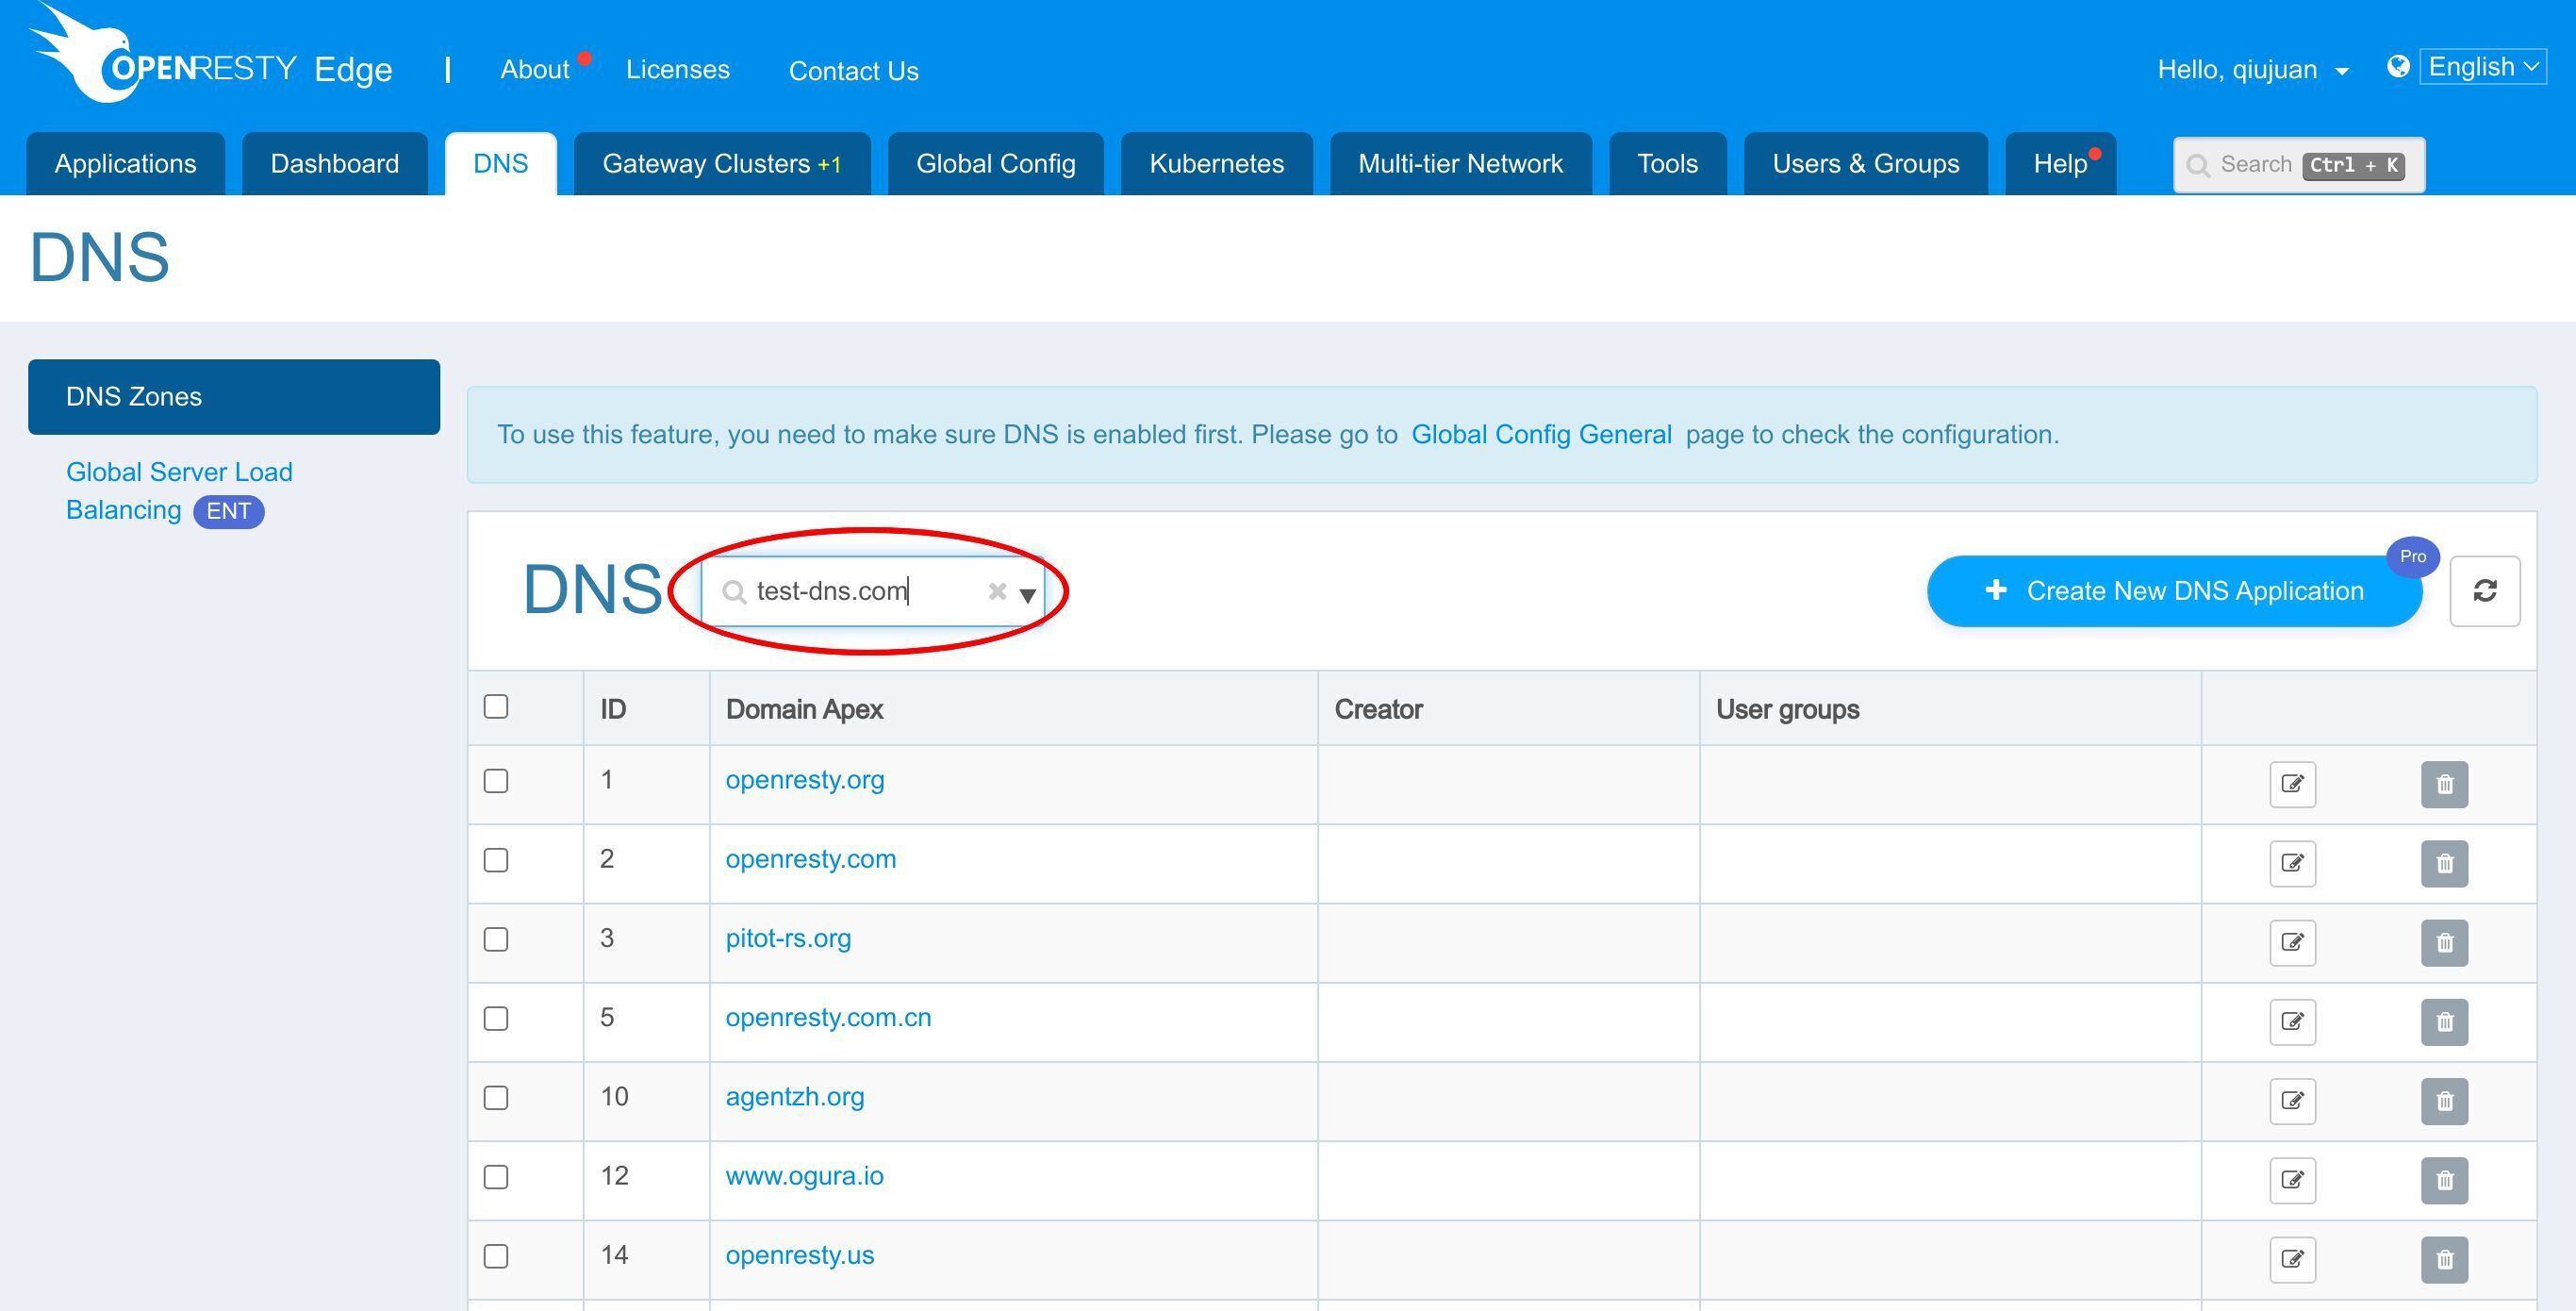
Enter it.
As a super user, I have the write permission, so I can add DNS records,
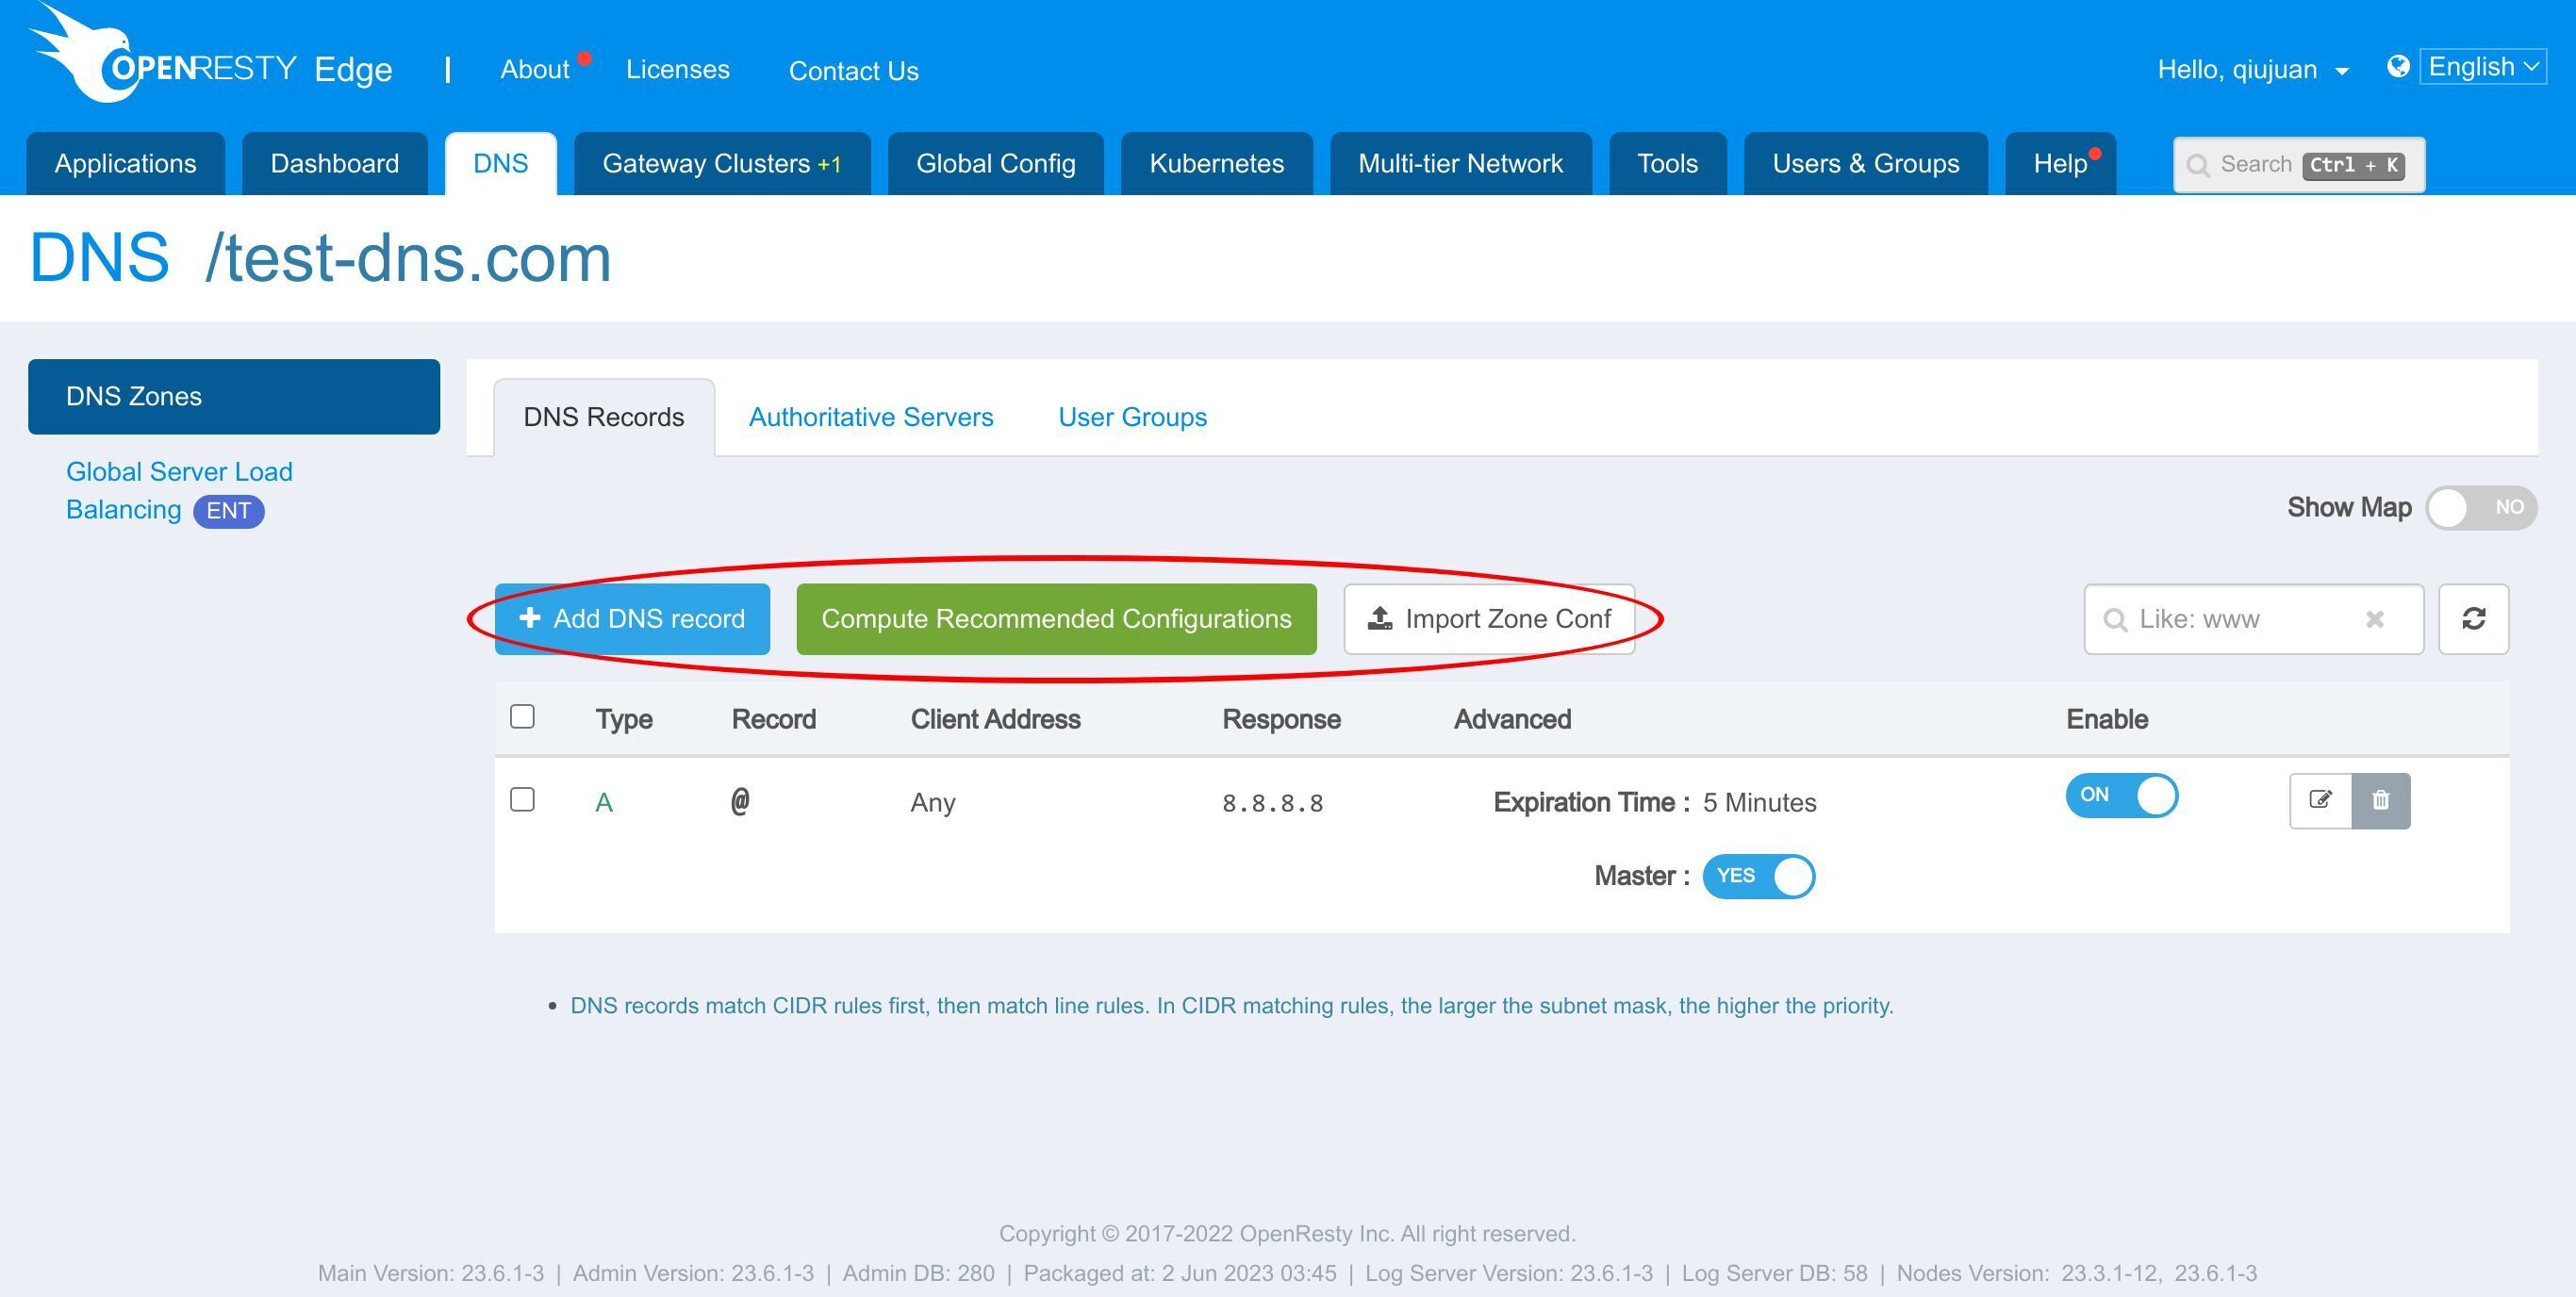
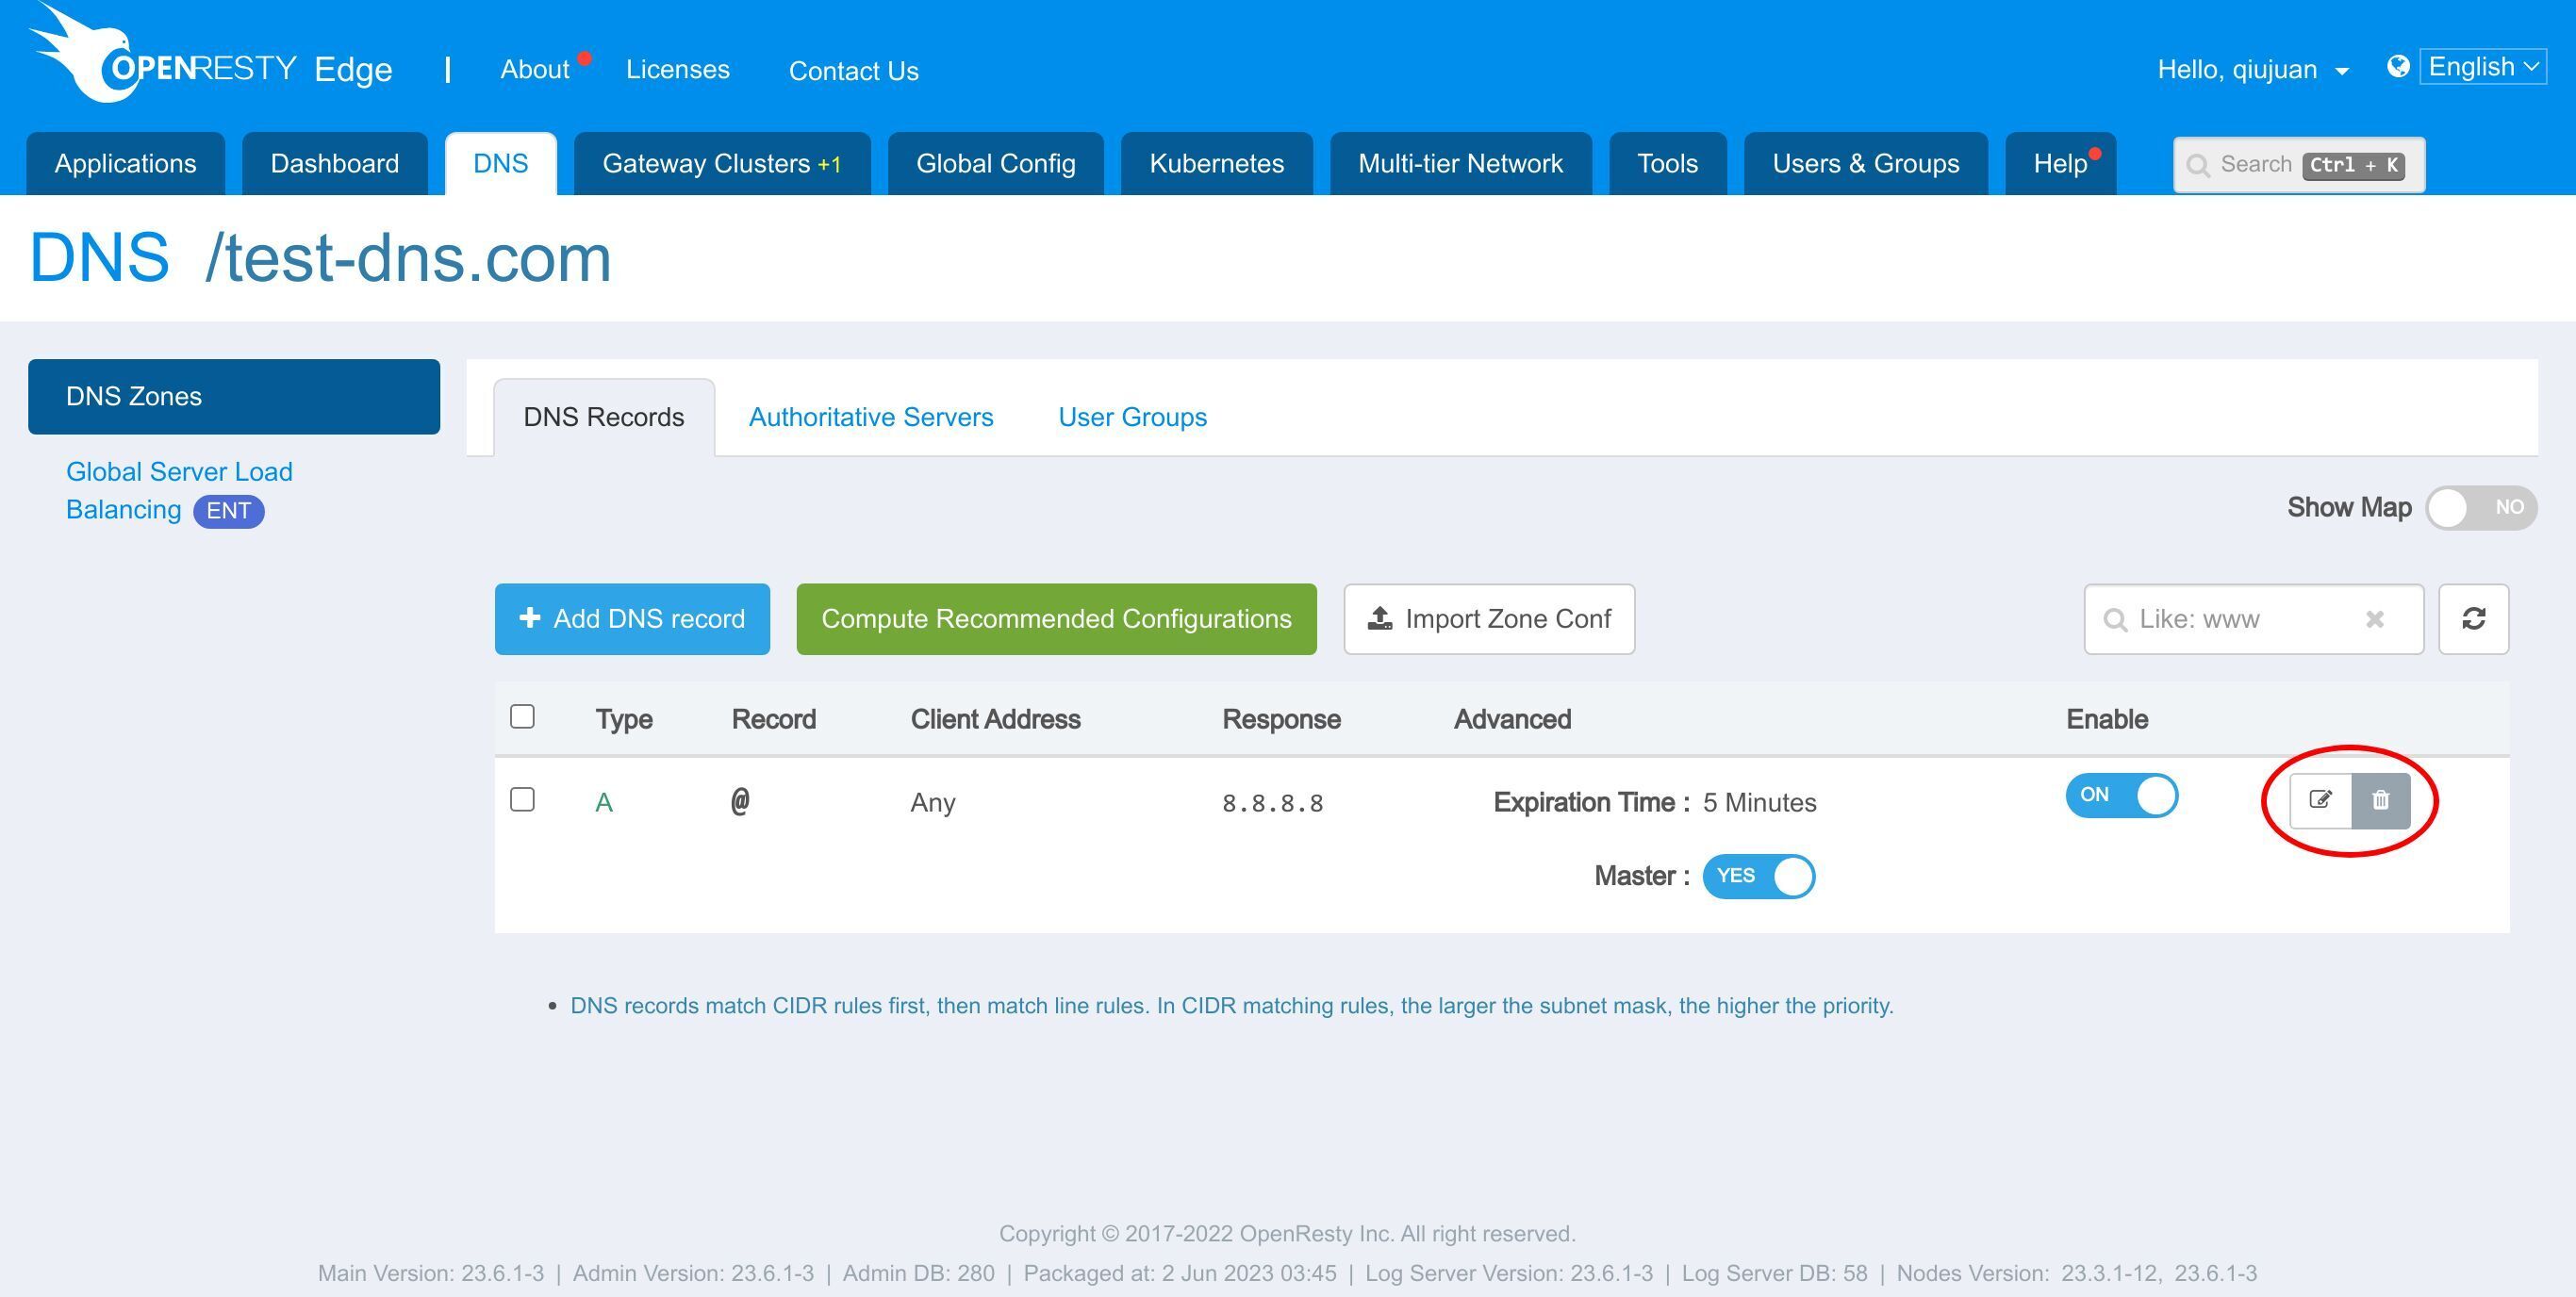
or edit or delete the existing records.
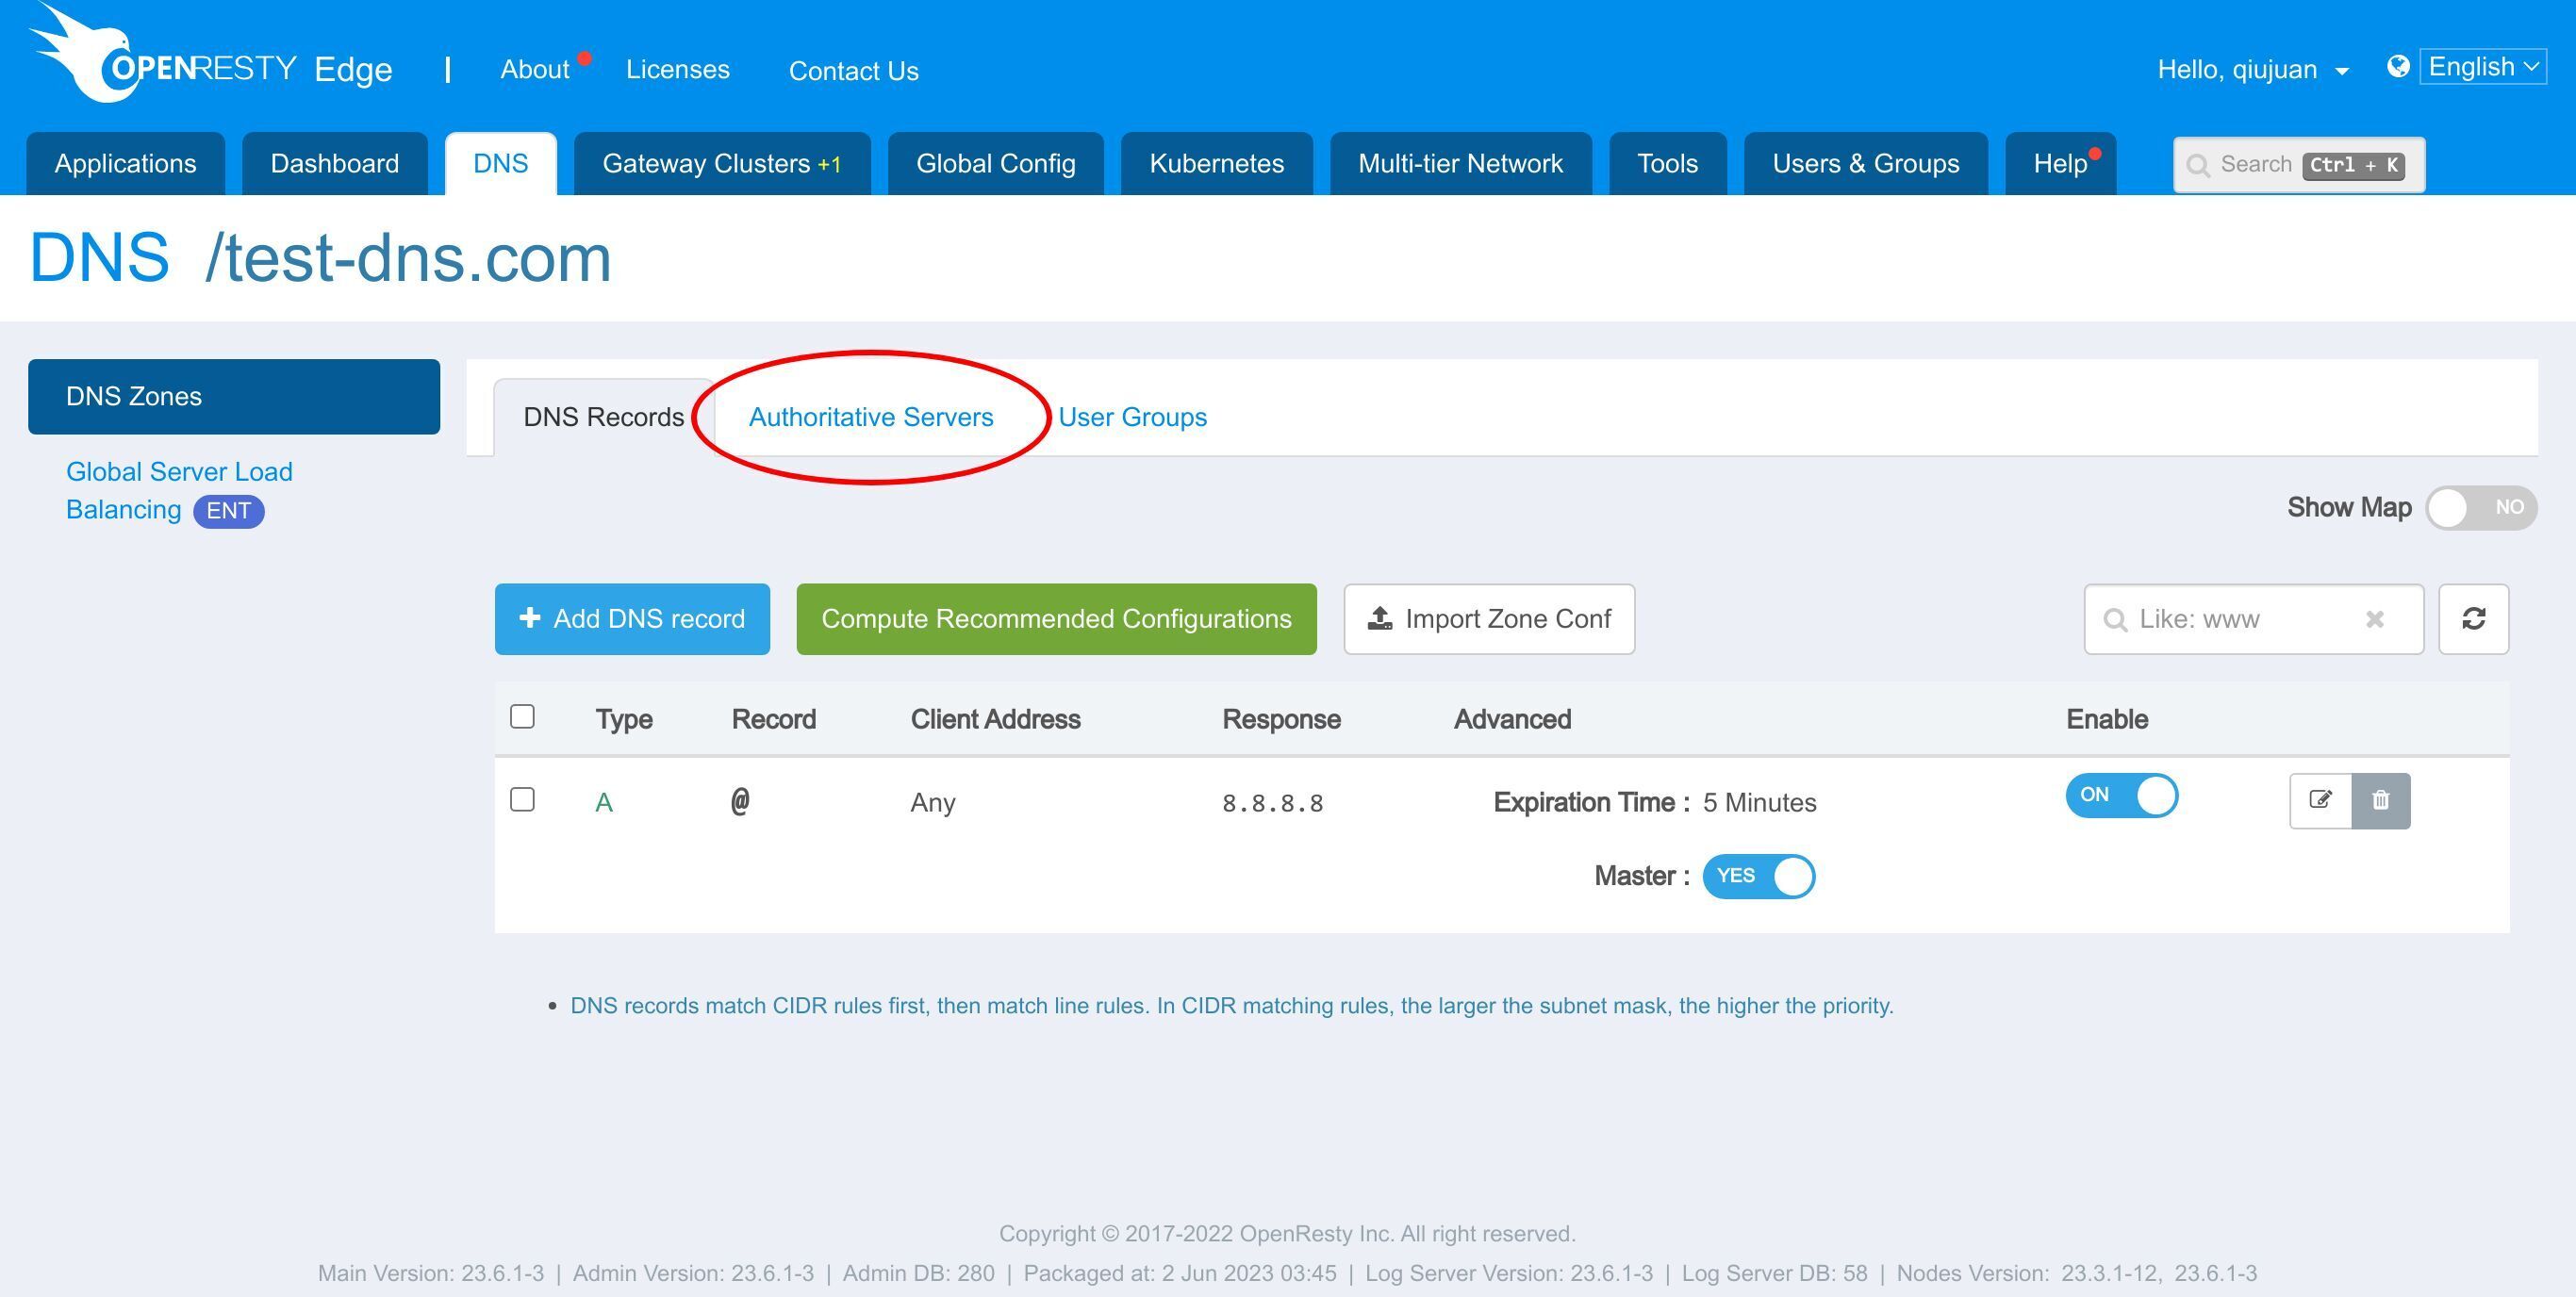
Except for DNS records, I can also edit the name servers
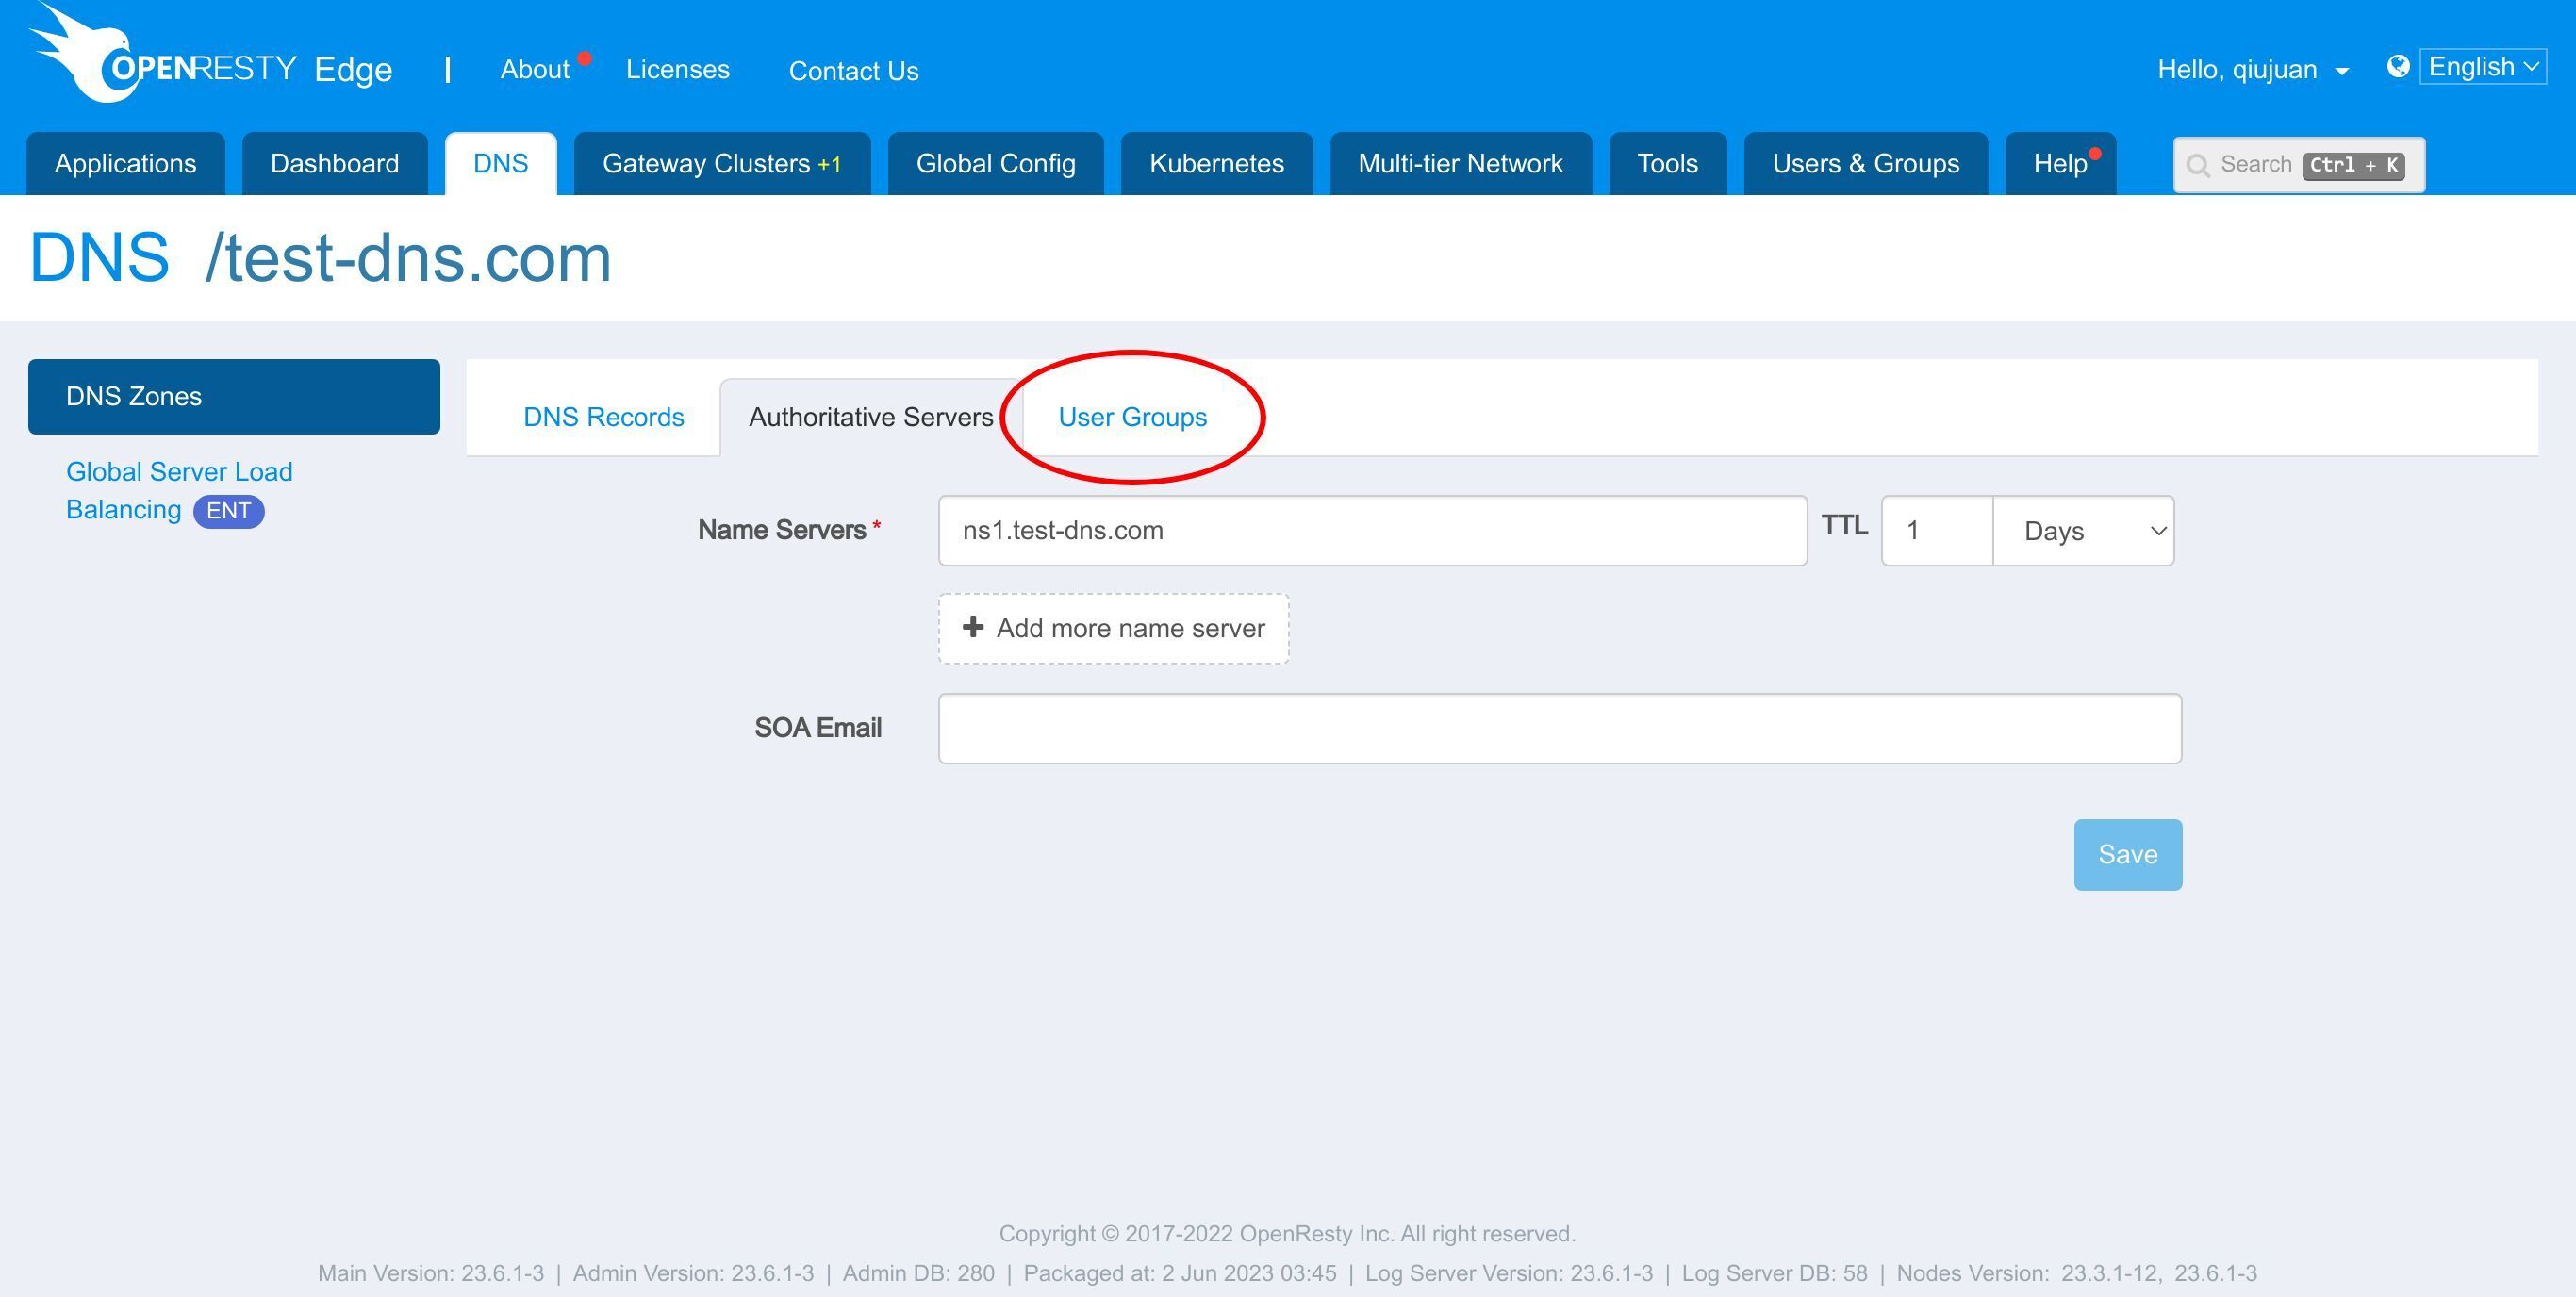
or control user groups which have the permission for this DNS application.
We cover configuring records in detail in How to Configure DNS Records in OpenResty Edge.
Create a user group with only read permission for this DNS application
Next, let’s create an example user group with only read permission for this DNS application. And a normal user putting into this group. Notice that by default, the DNS section is not available for a normal user.
Goto “Users & Groups” section first.
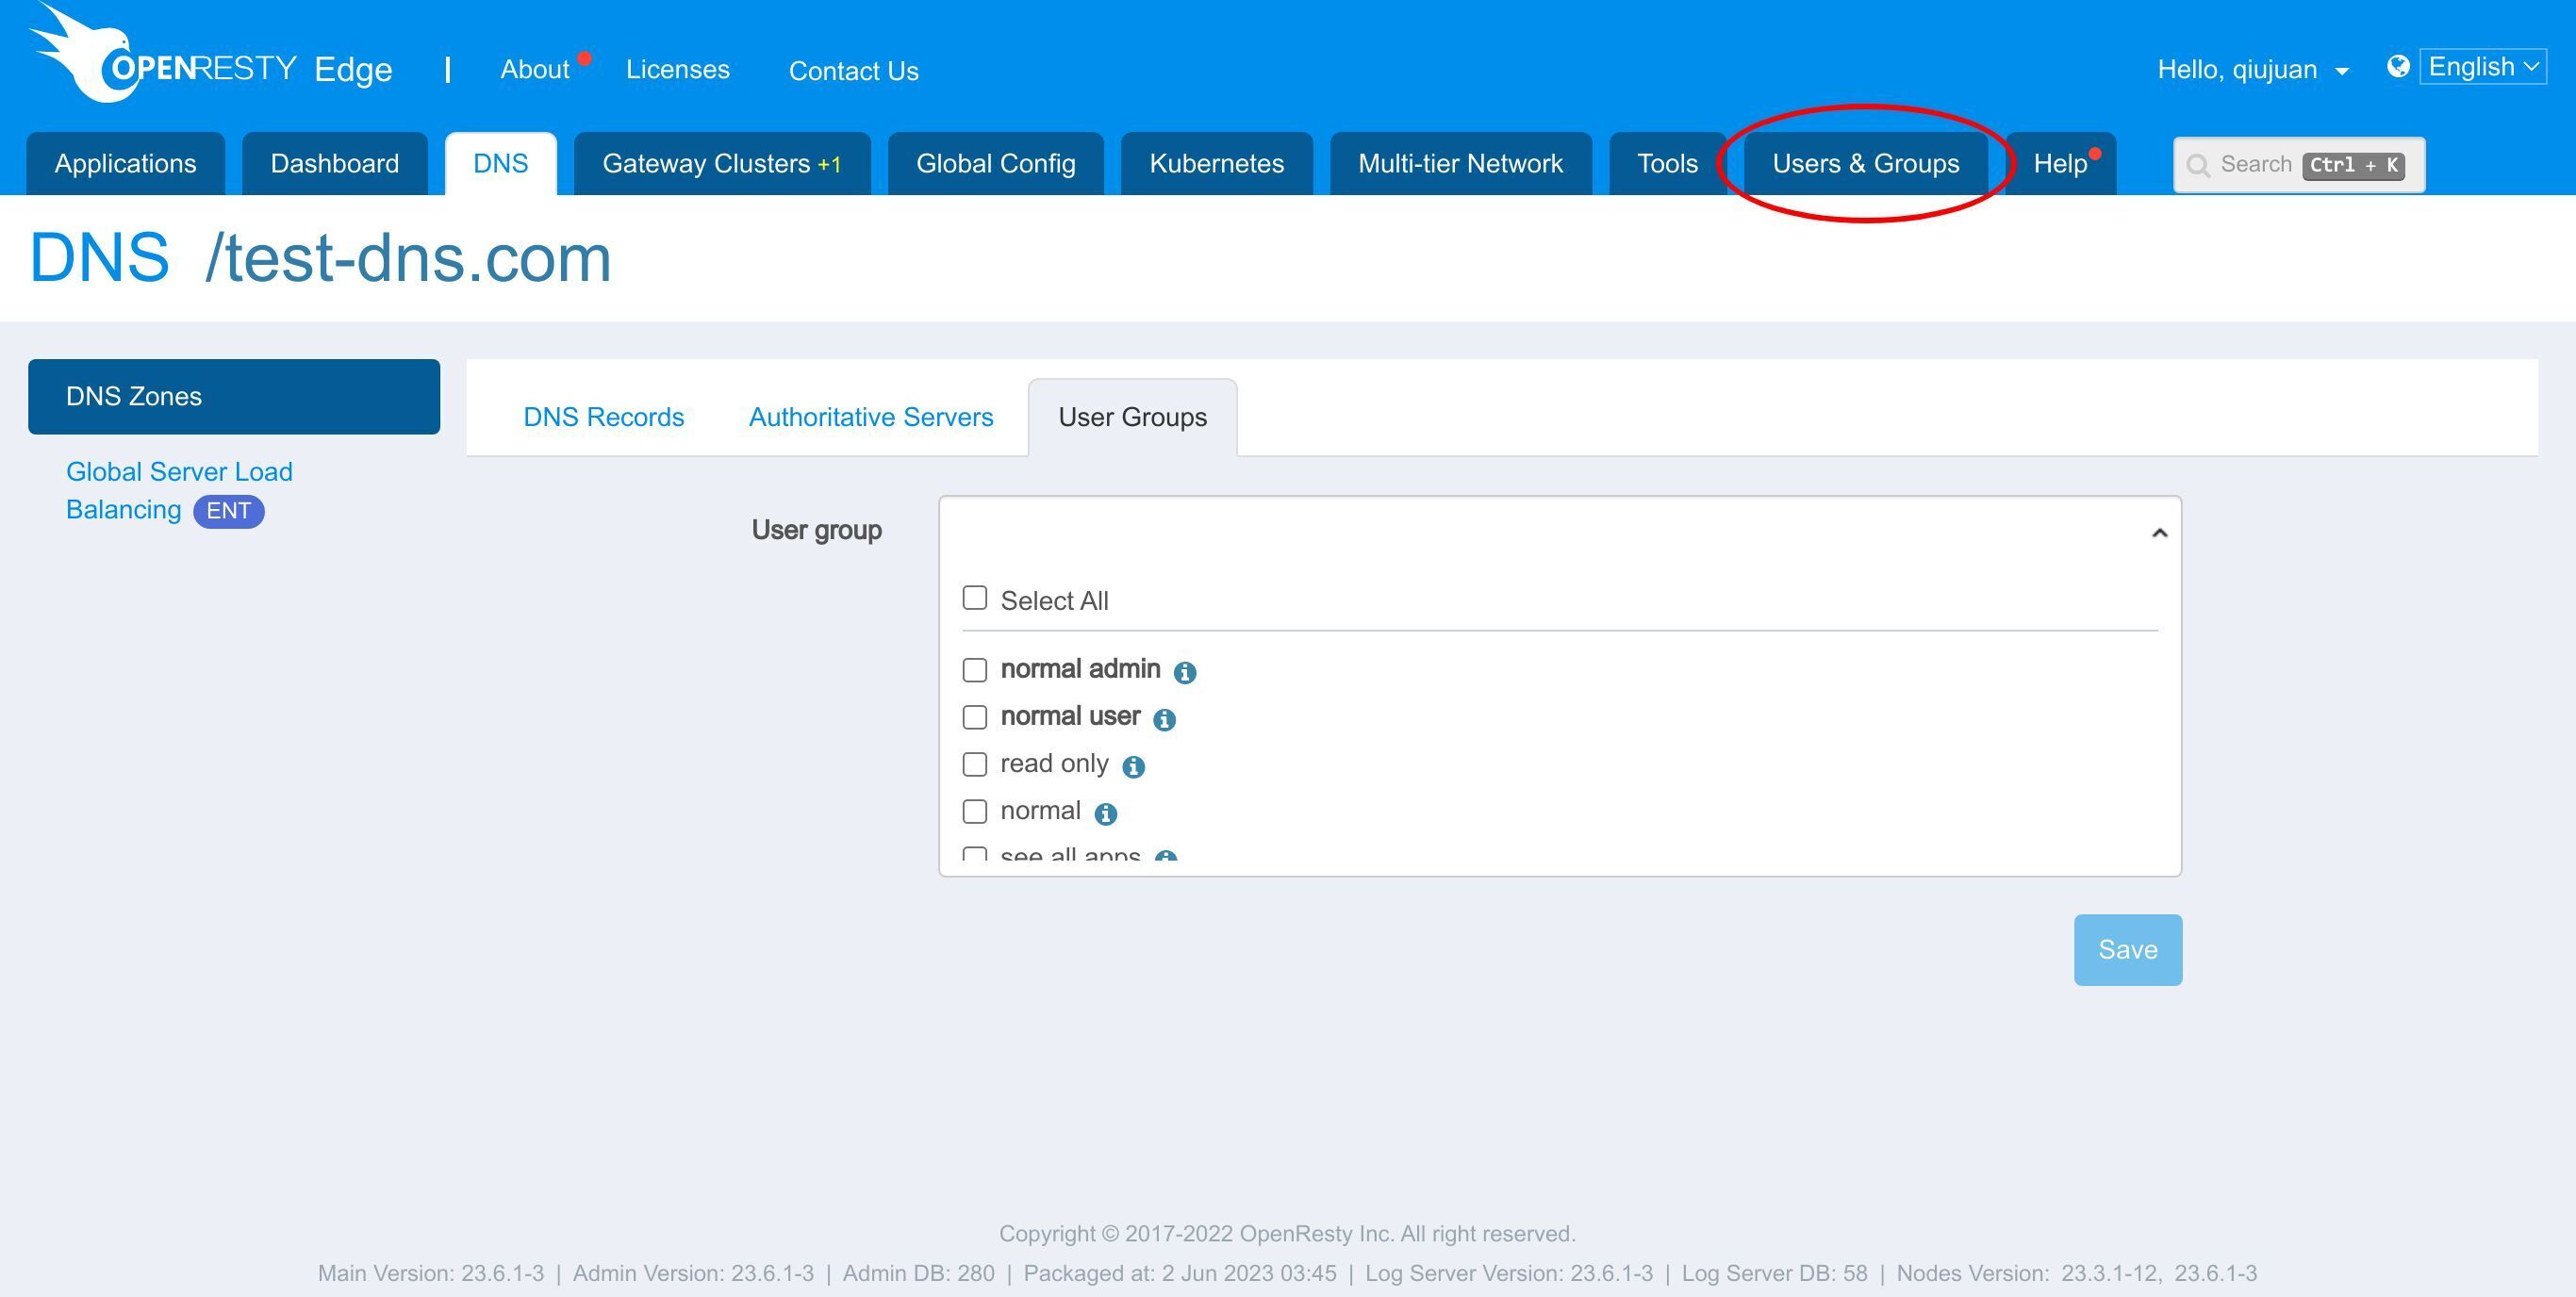
Then go to the “User Groups” page.
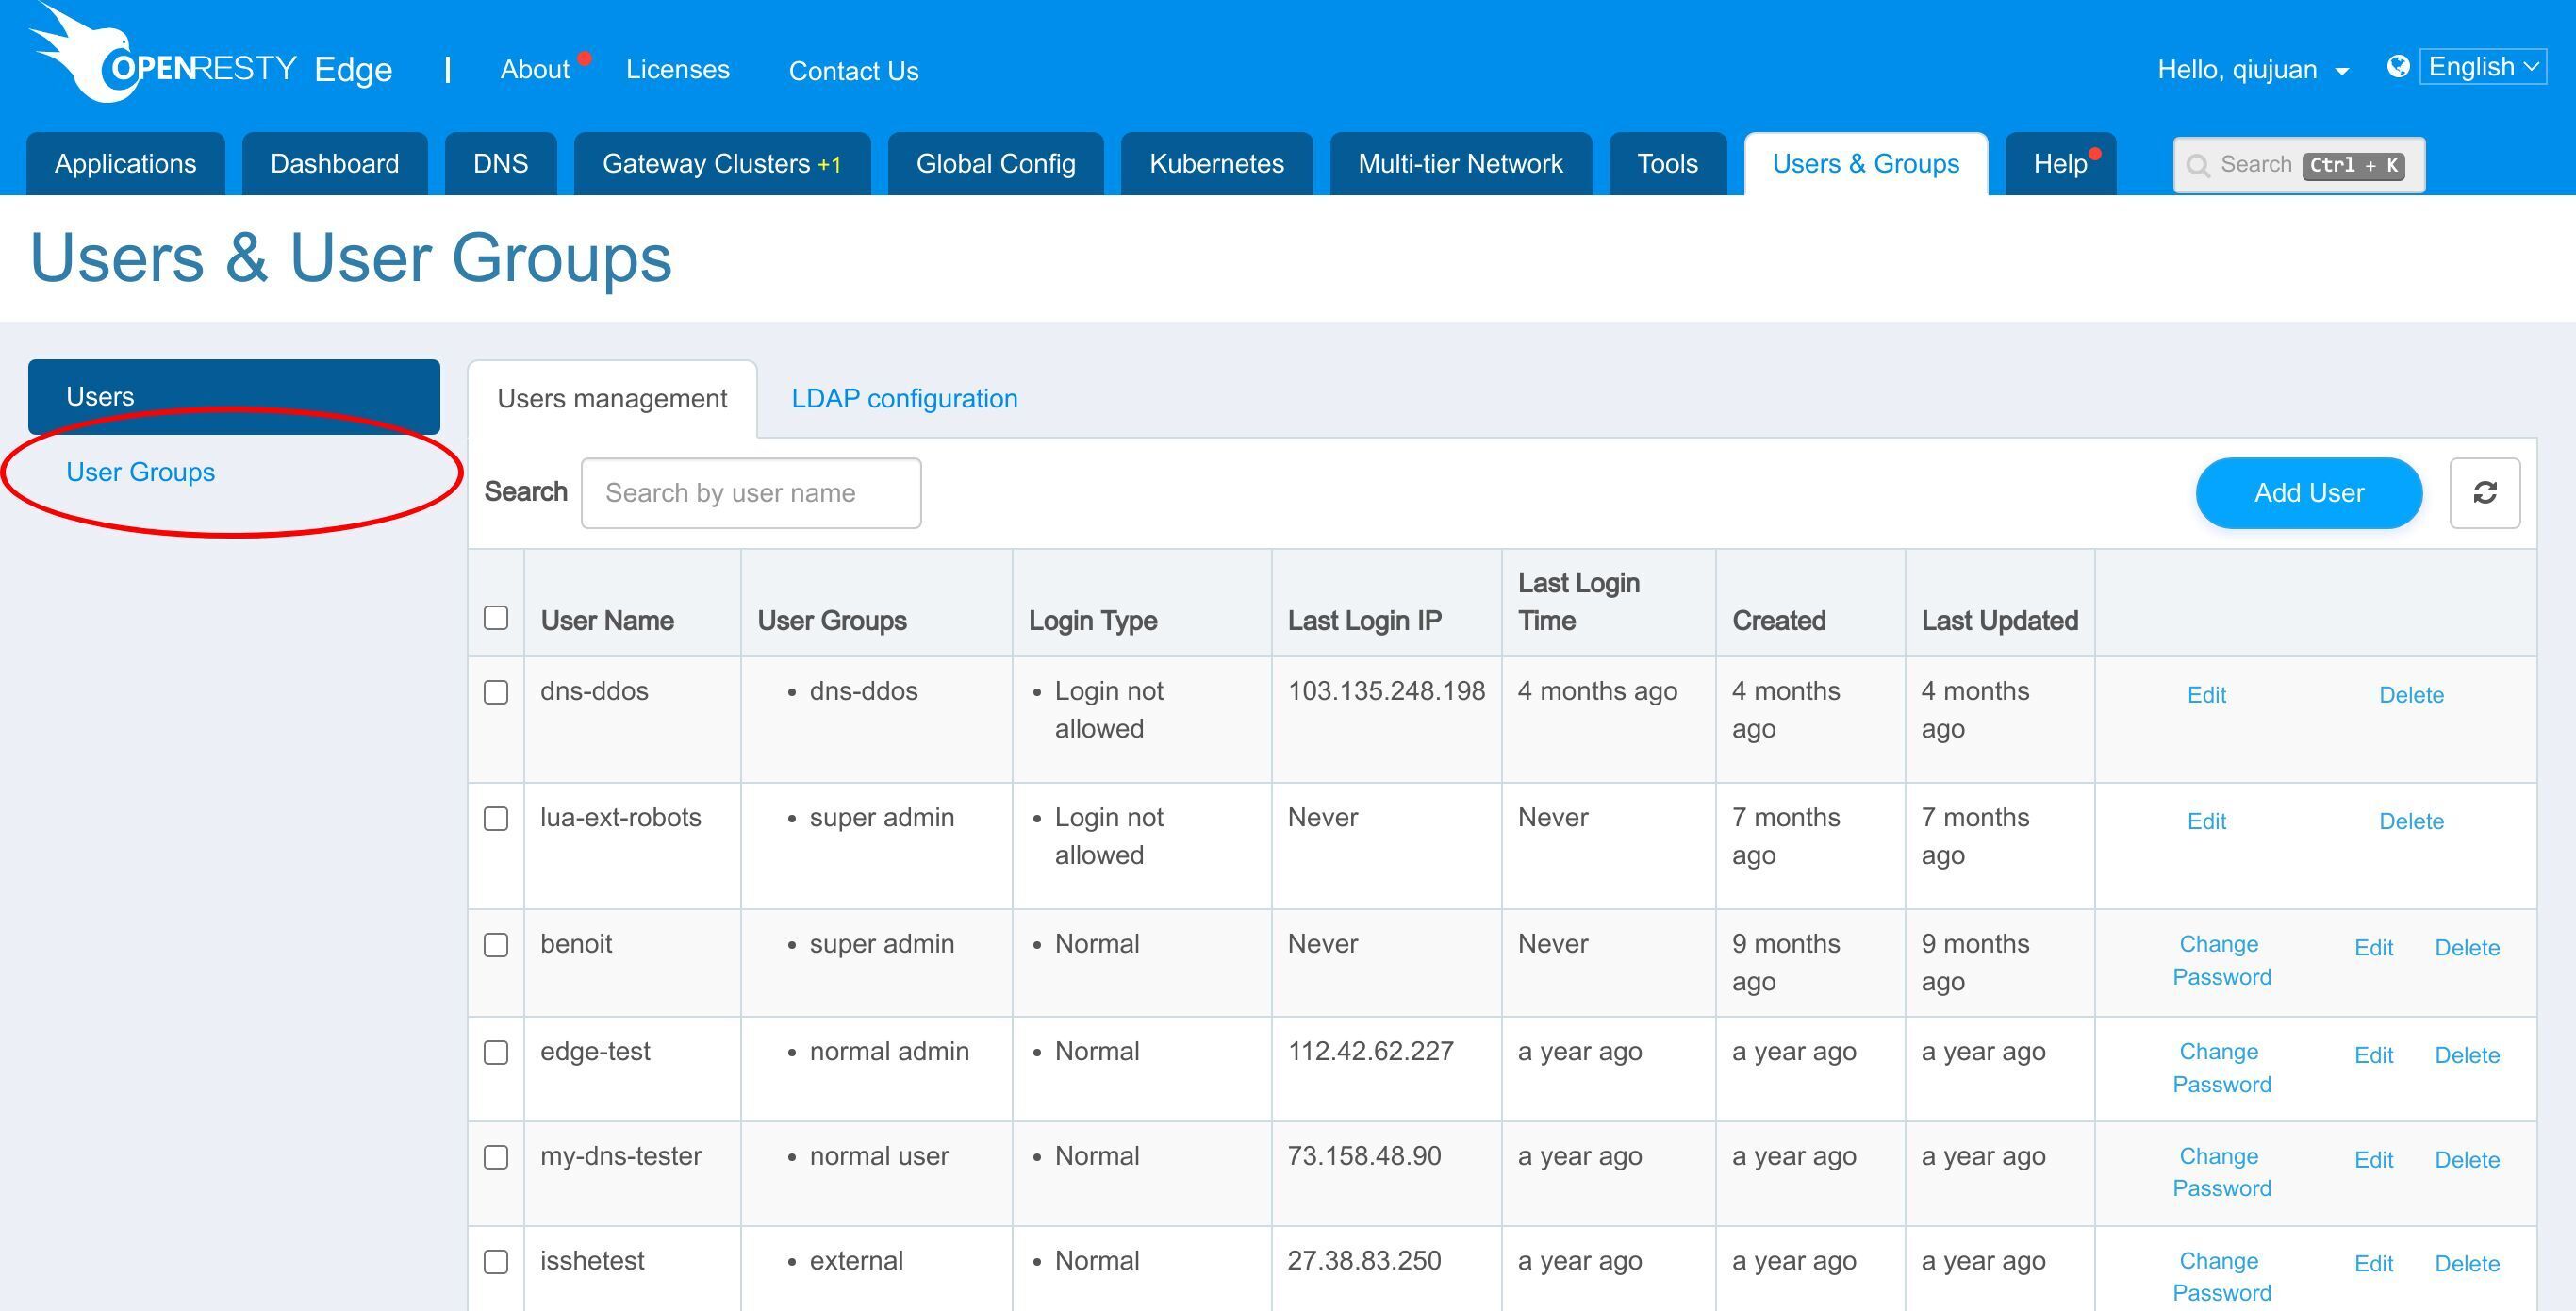
Here is the list of some groups our sample deployment is using. We introduce user group related features in User Management and Access Control in OpenResty Edge.
Click here to create a new group.
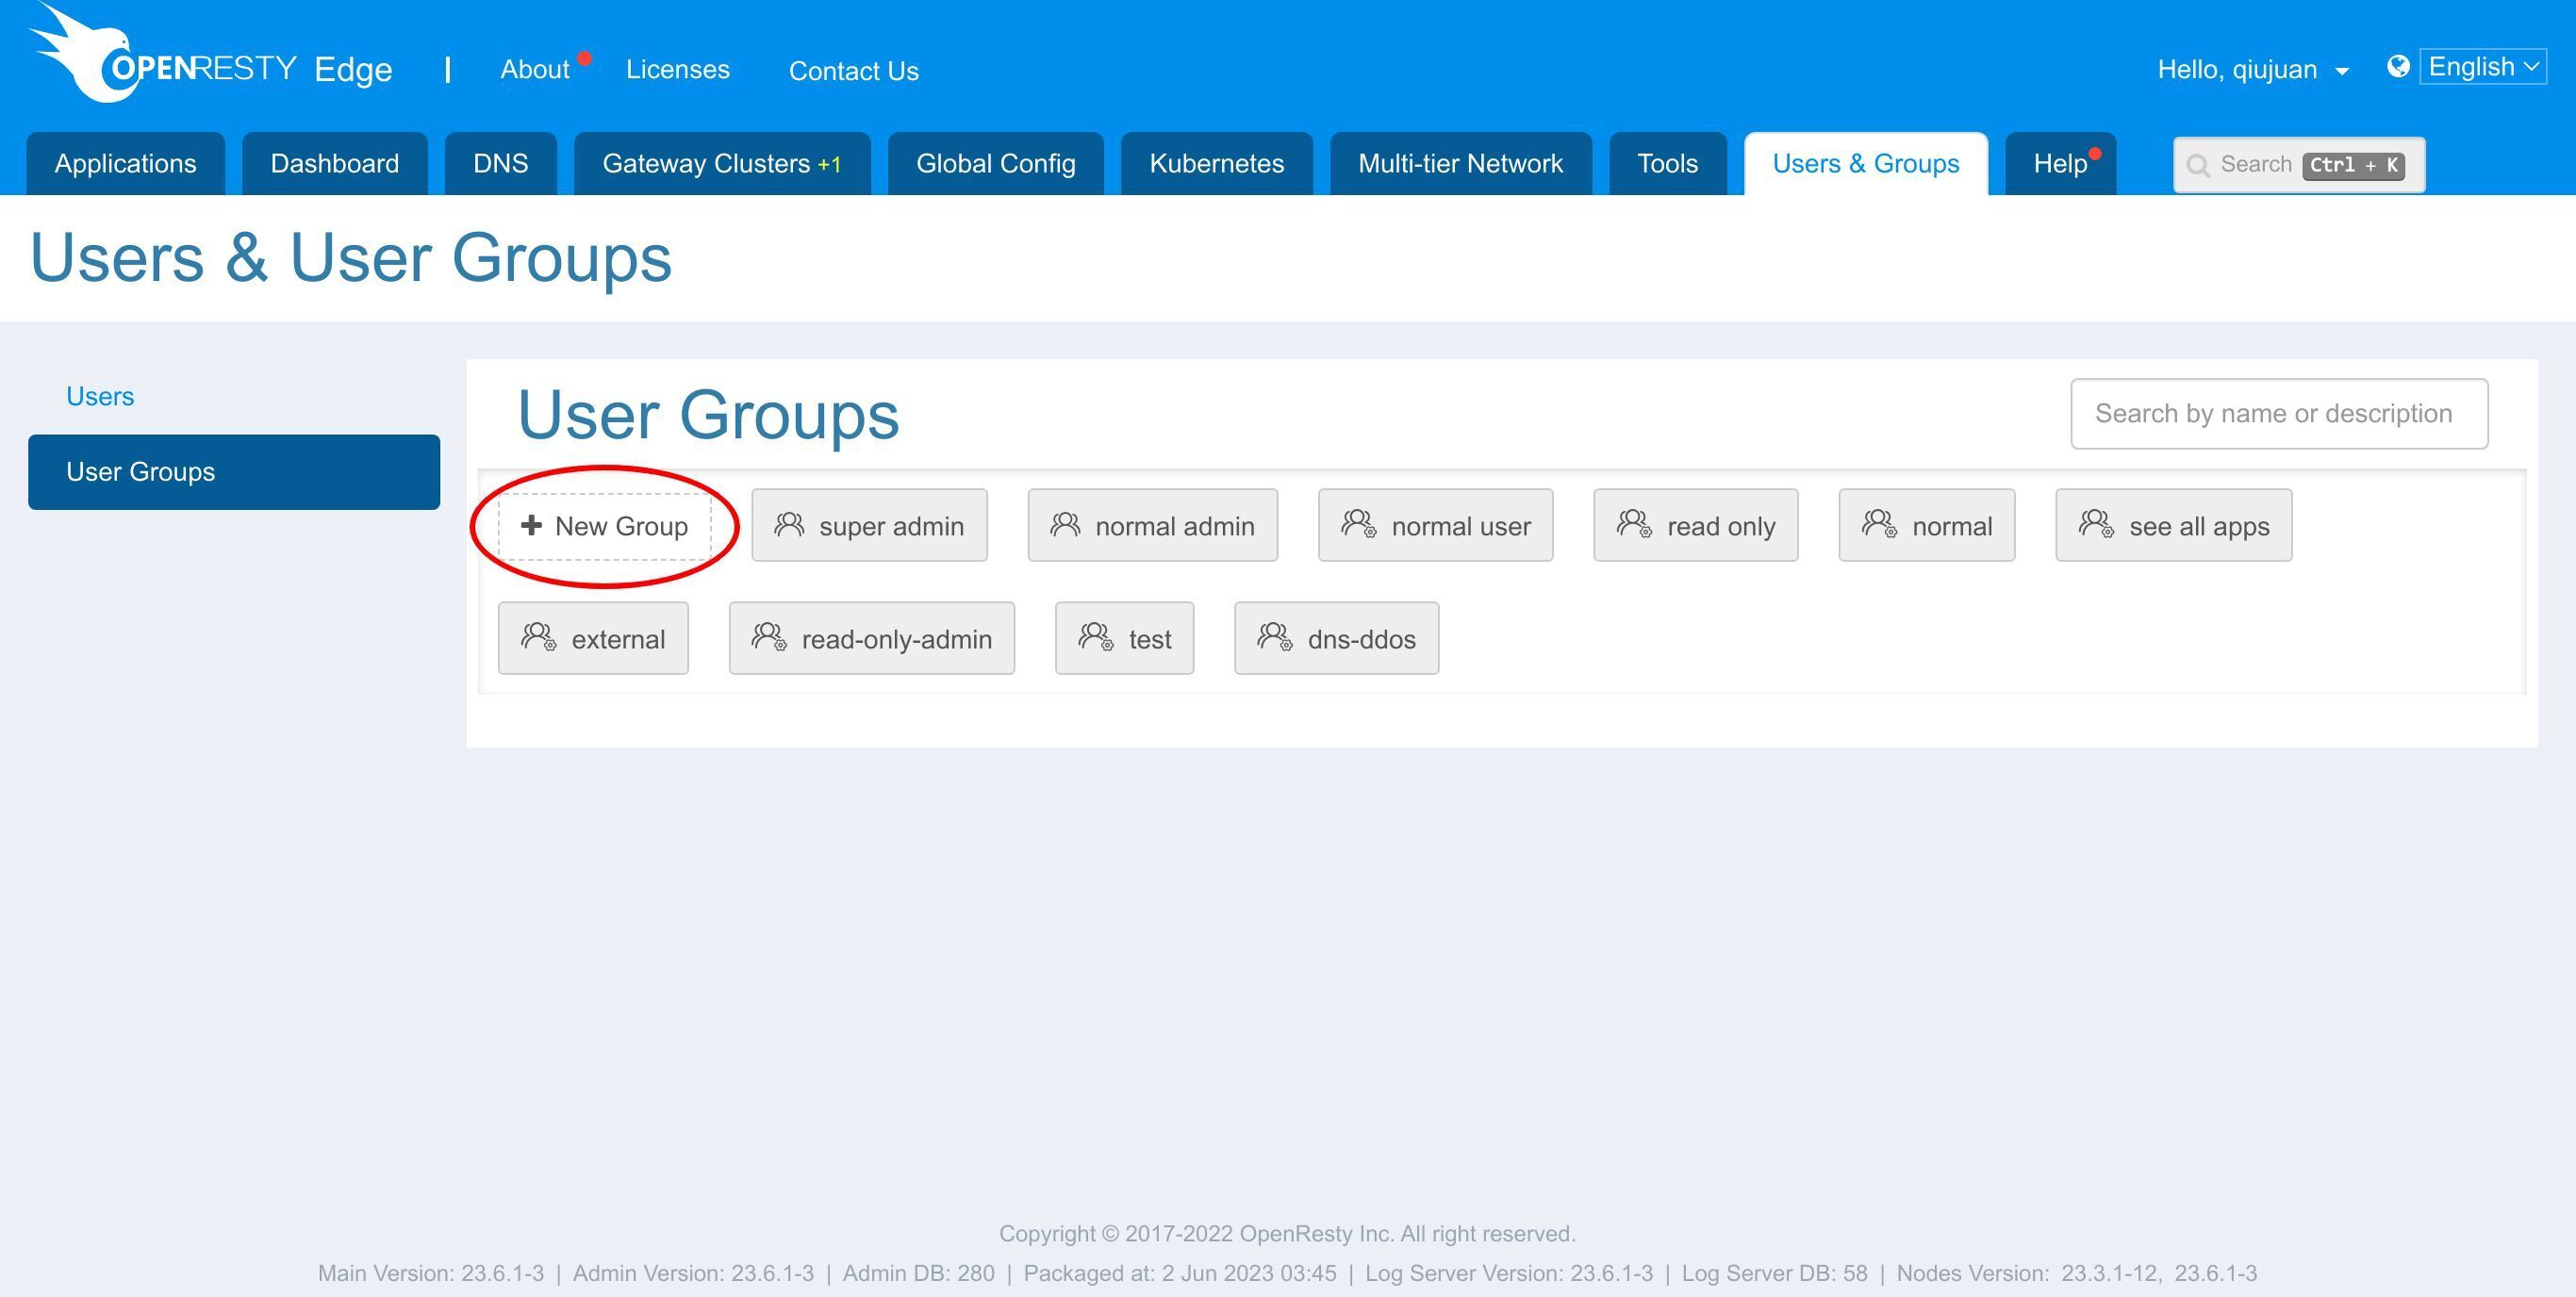
We name the new group as test-dns-access.
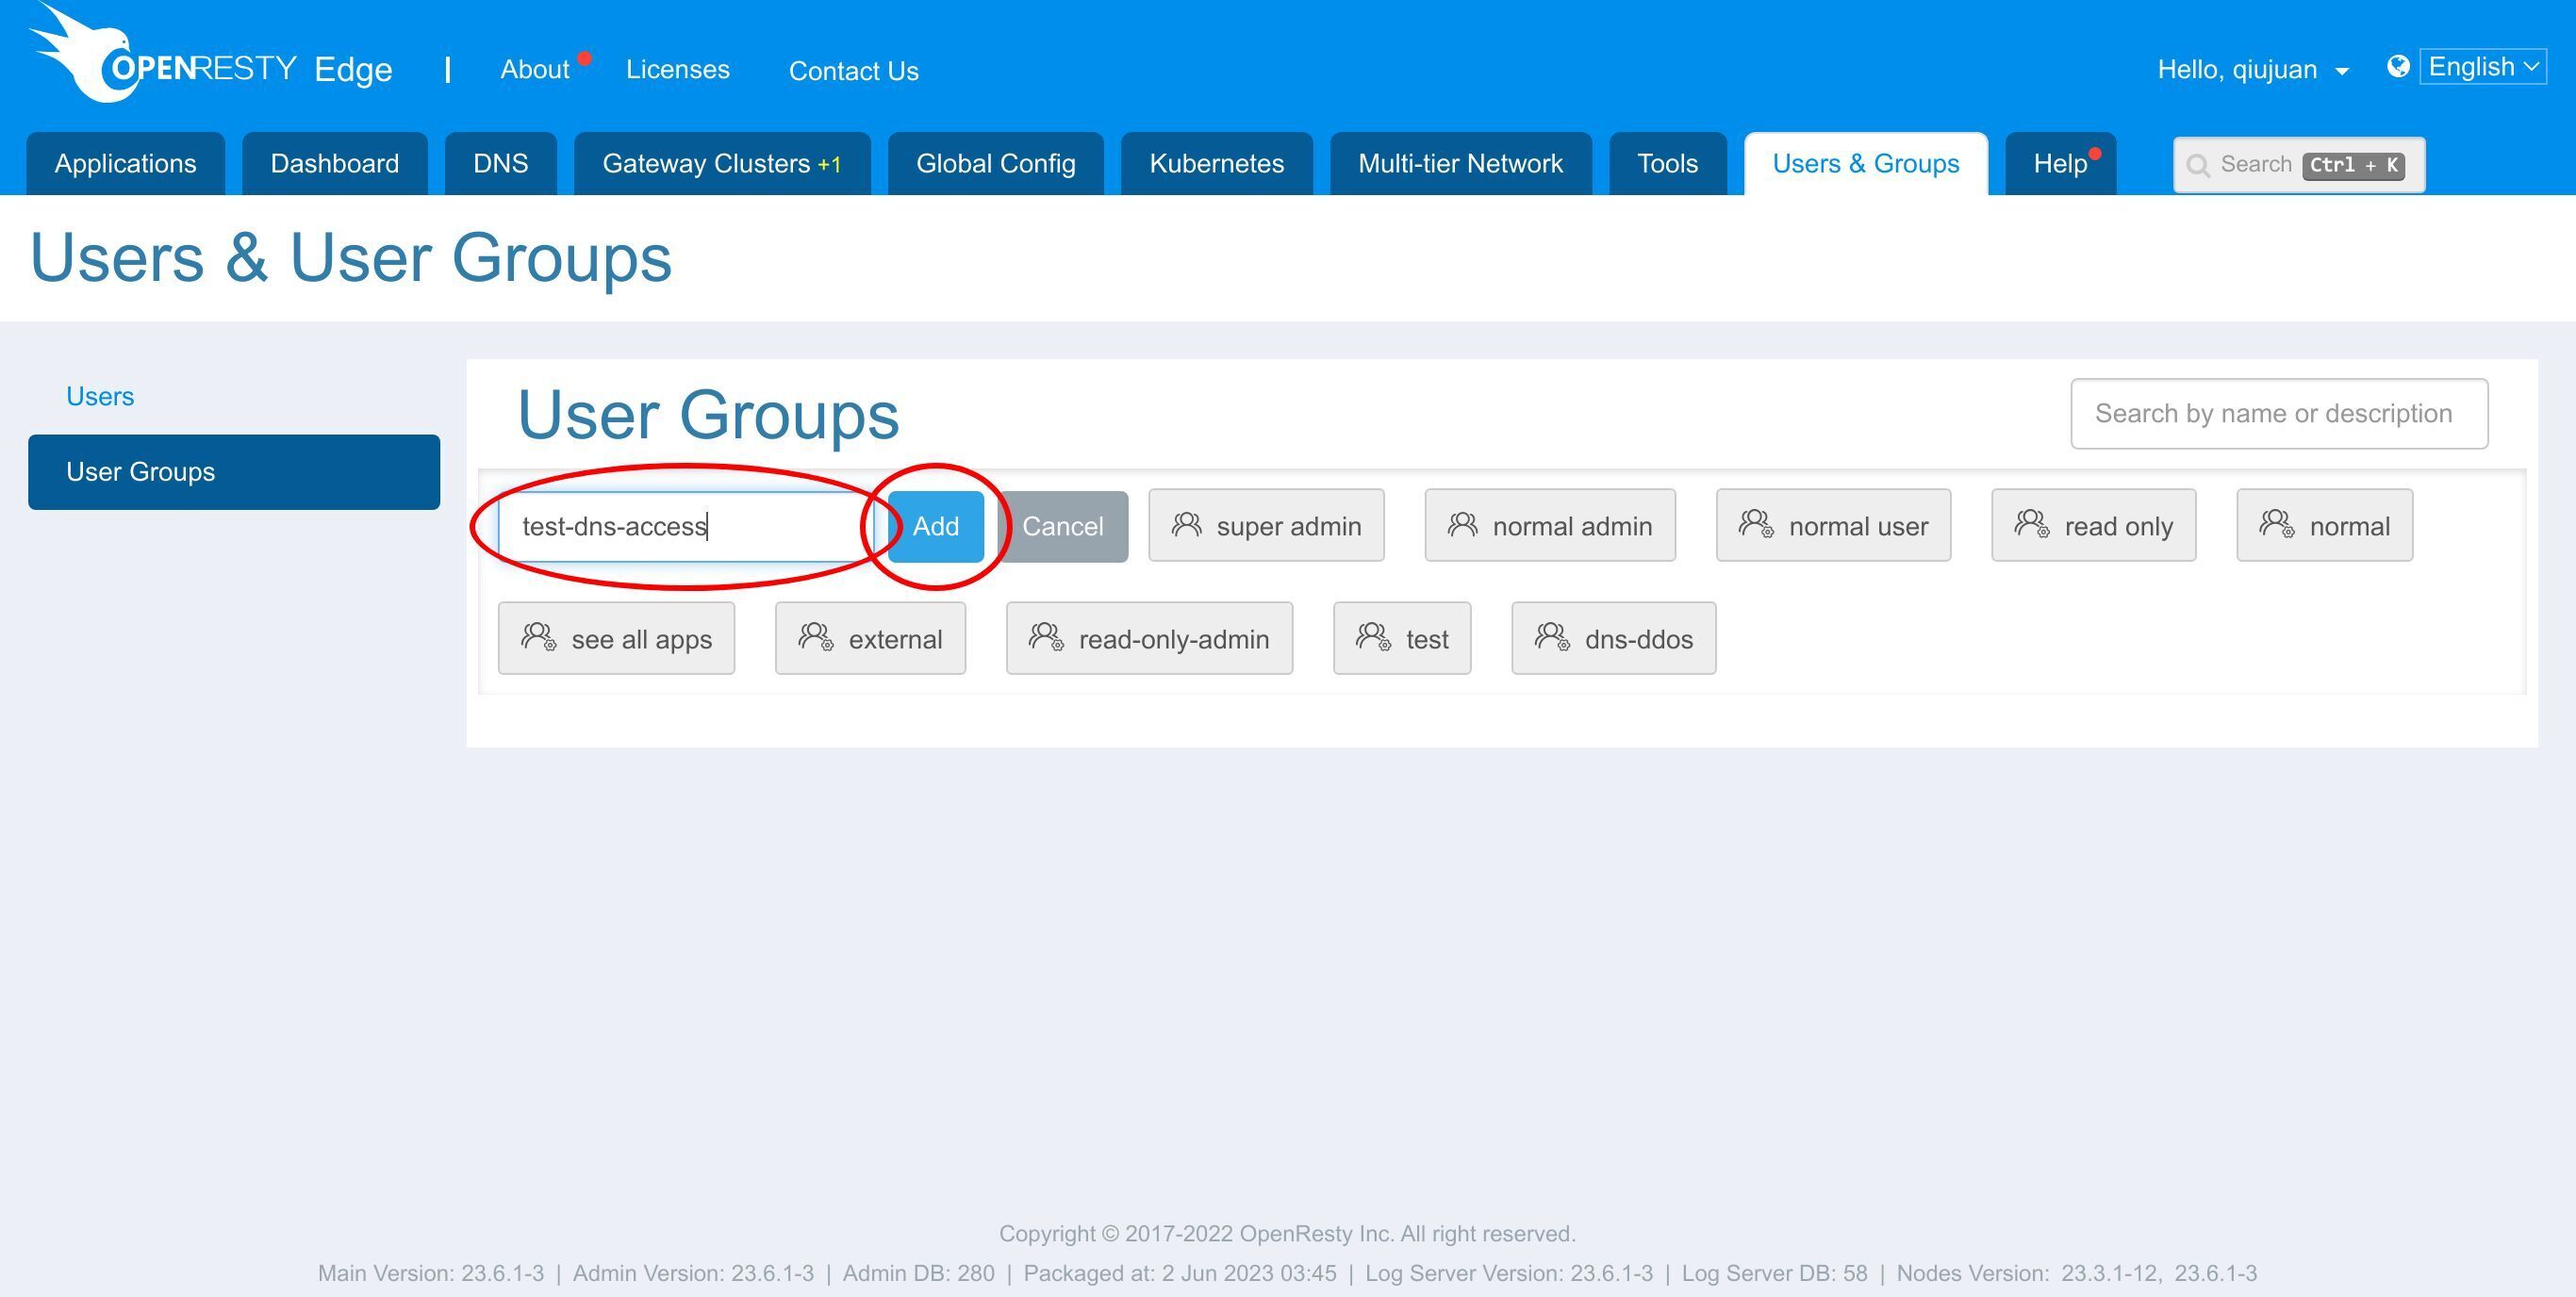
The group is created.
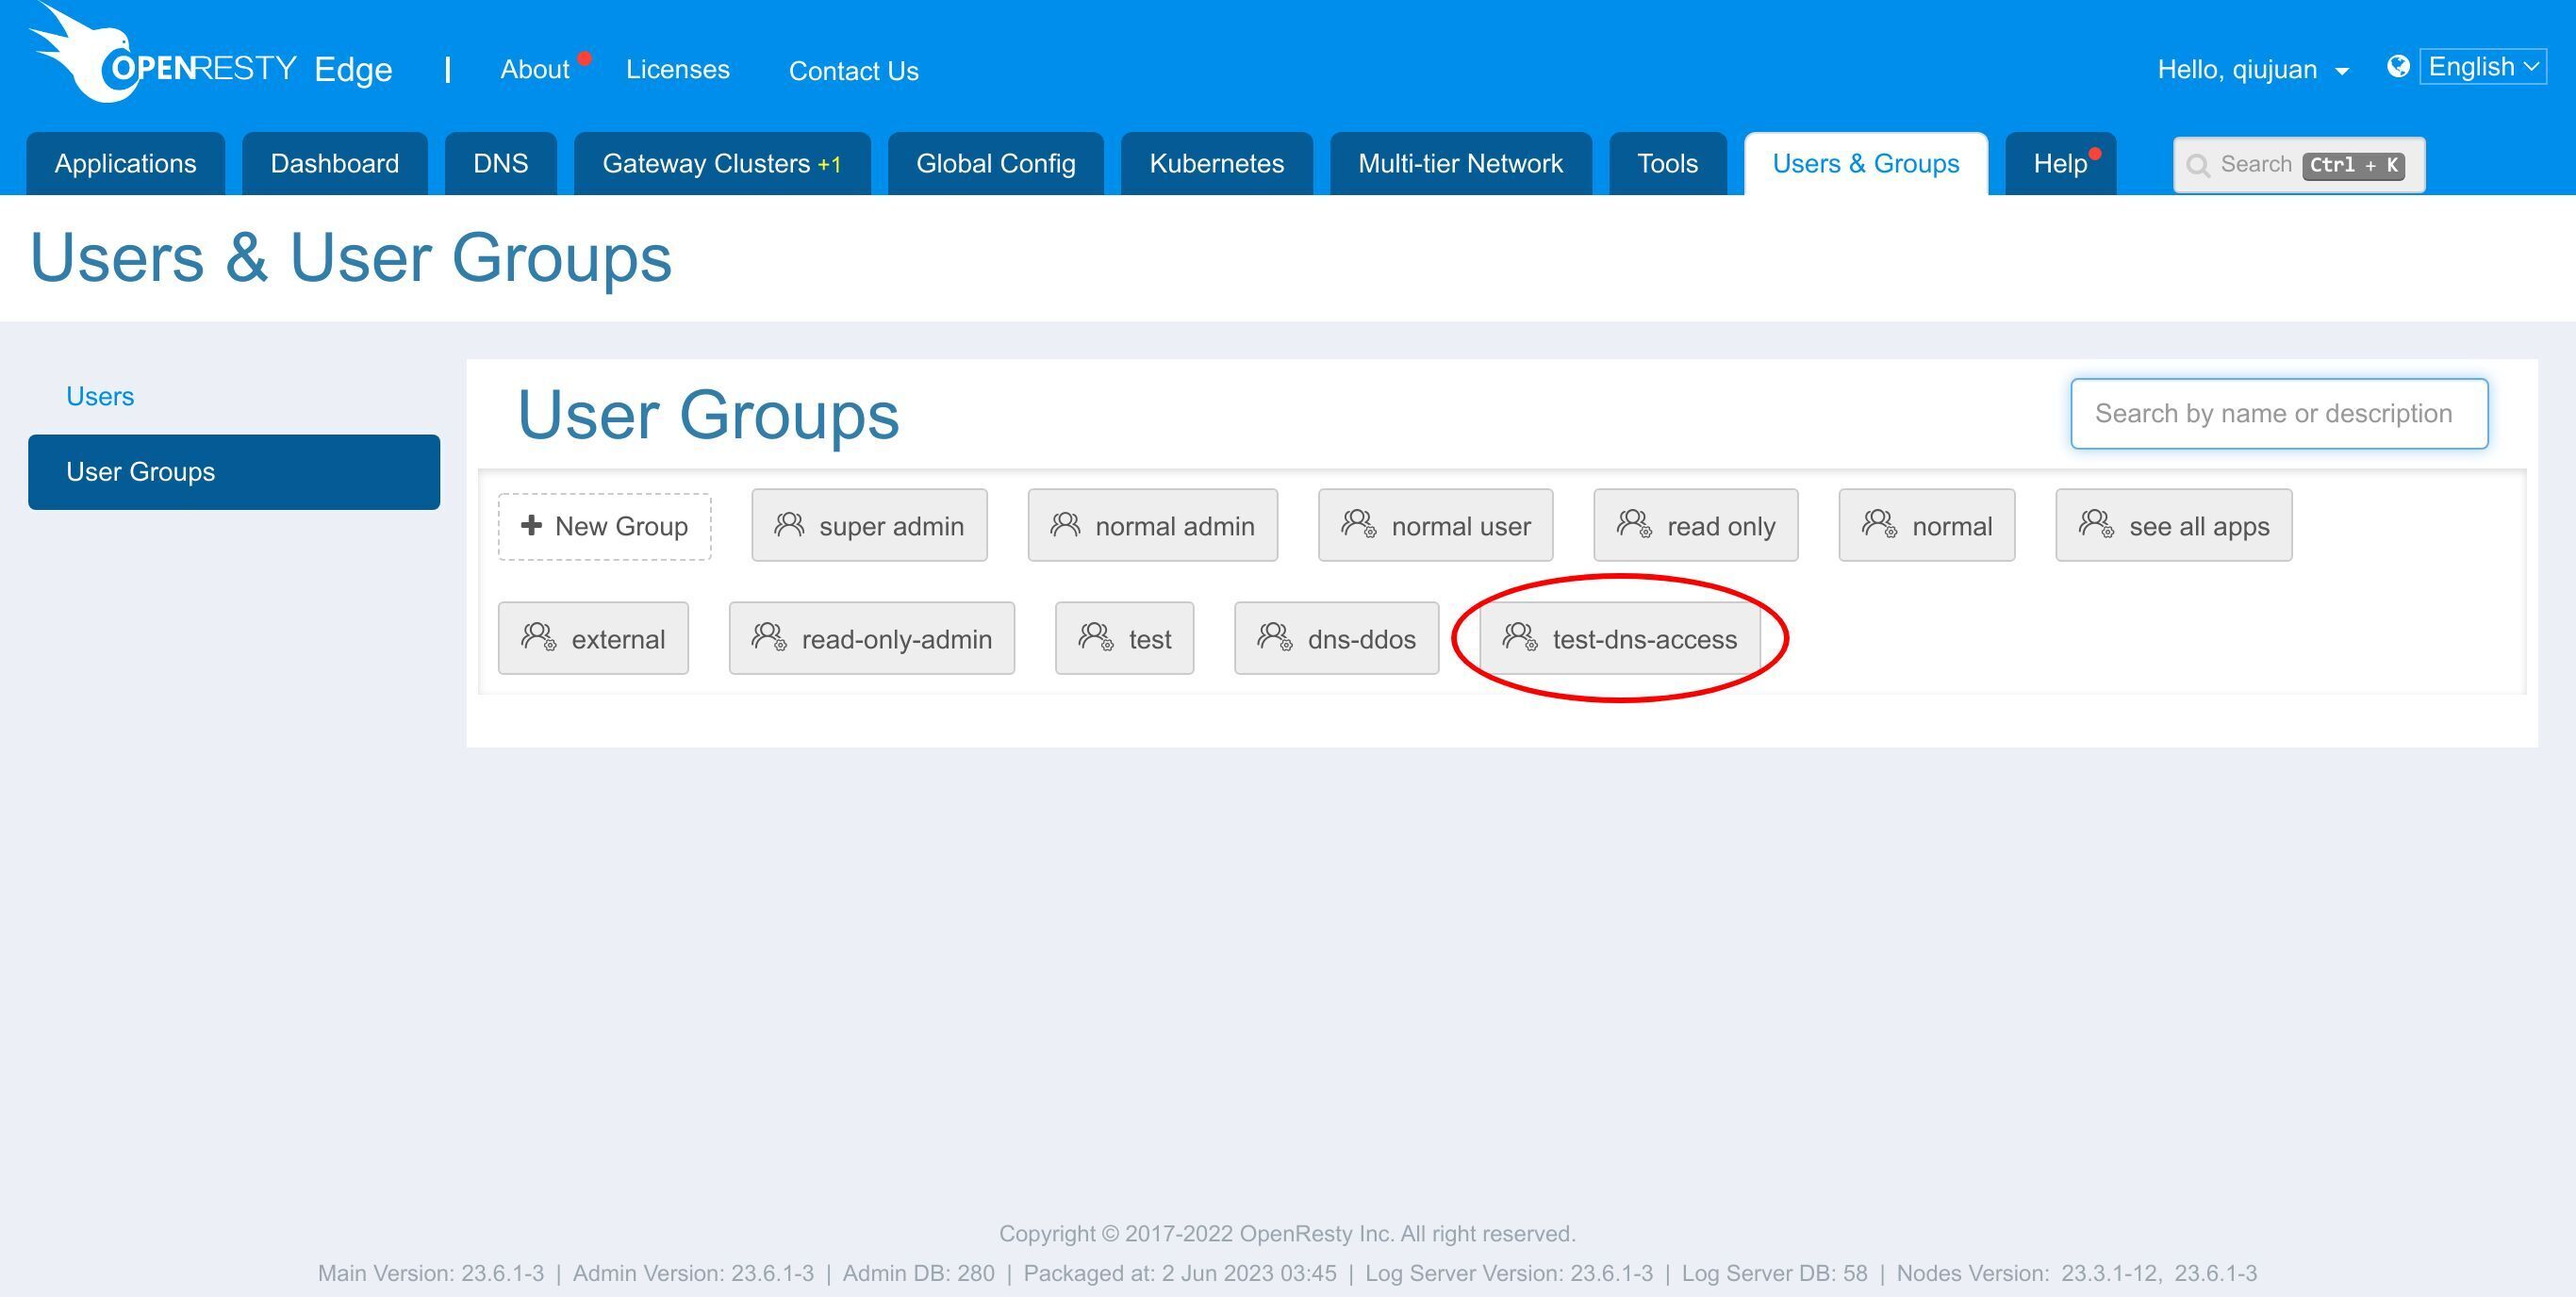
And here is the list of permission details, which shows the permission for each page or section.
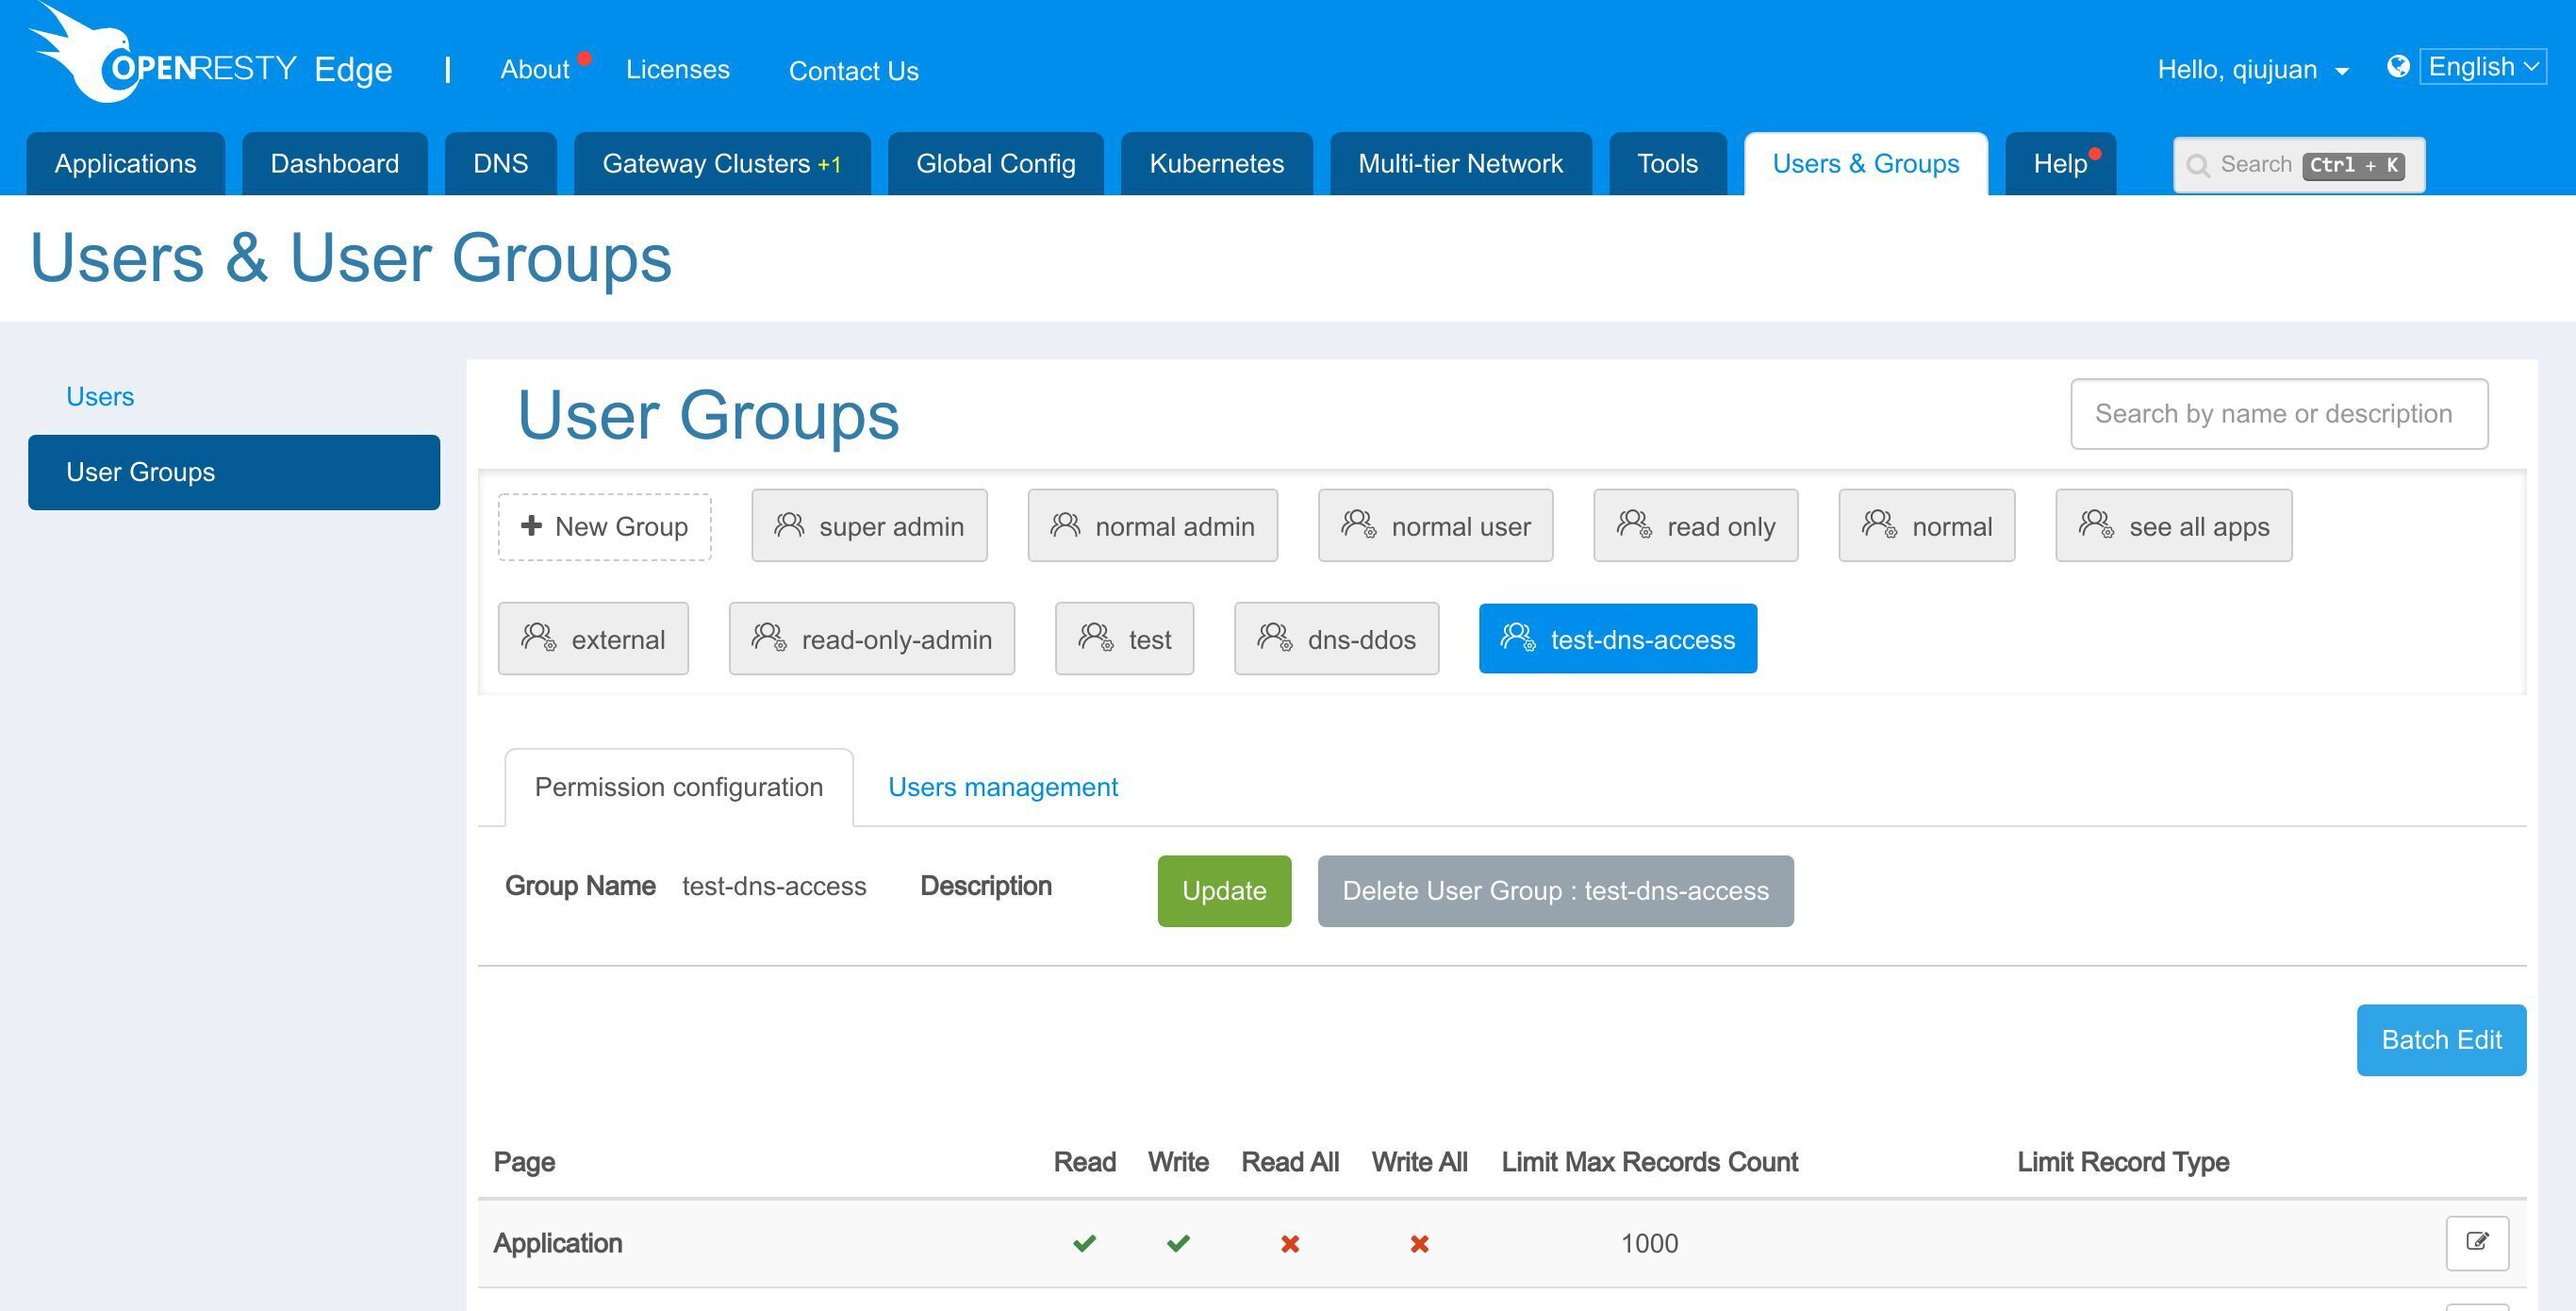
We can see that by default, the DNS section and DNS records page is not available for this group.
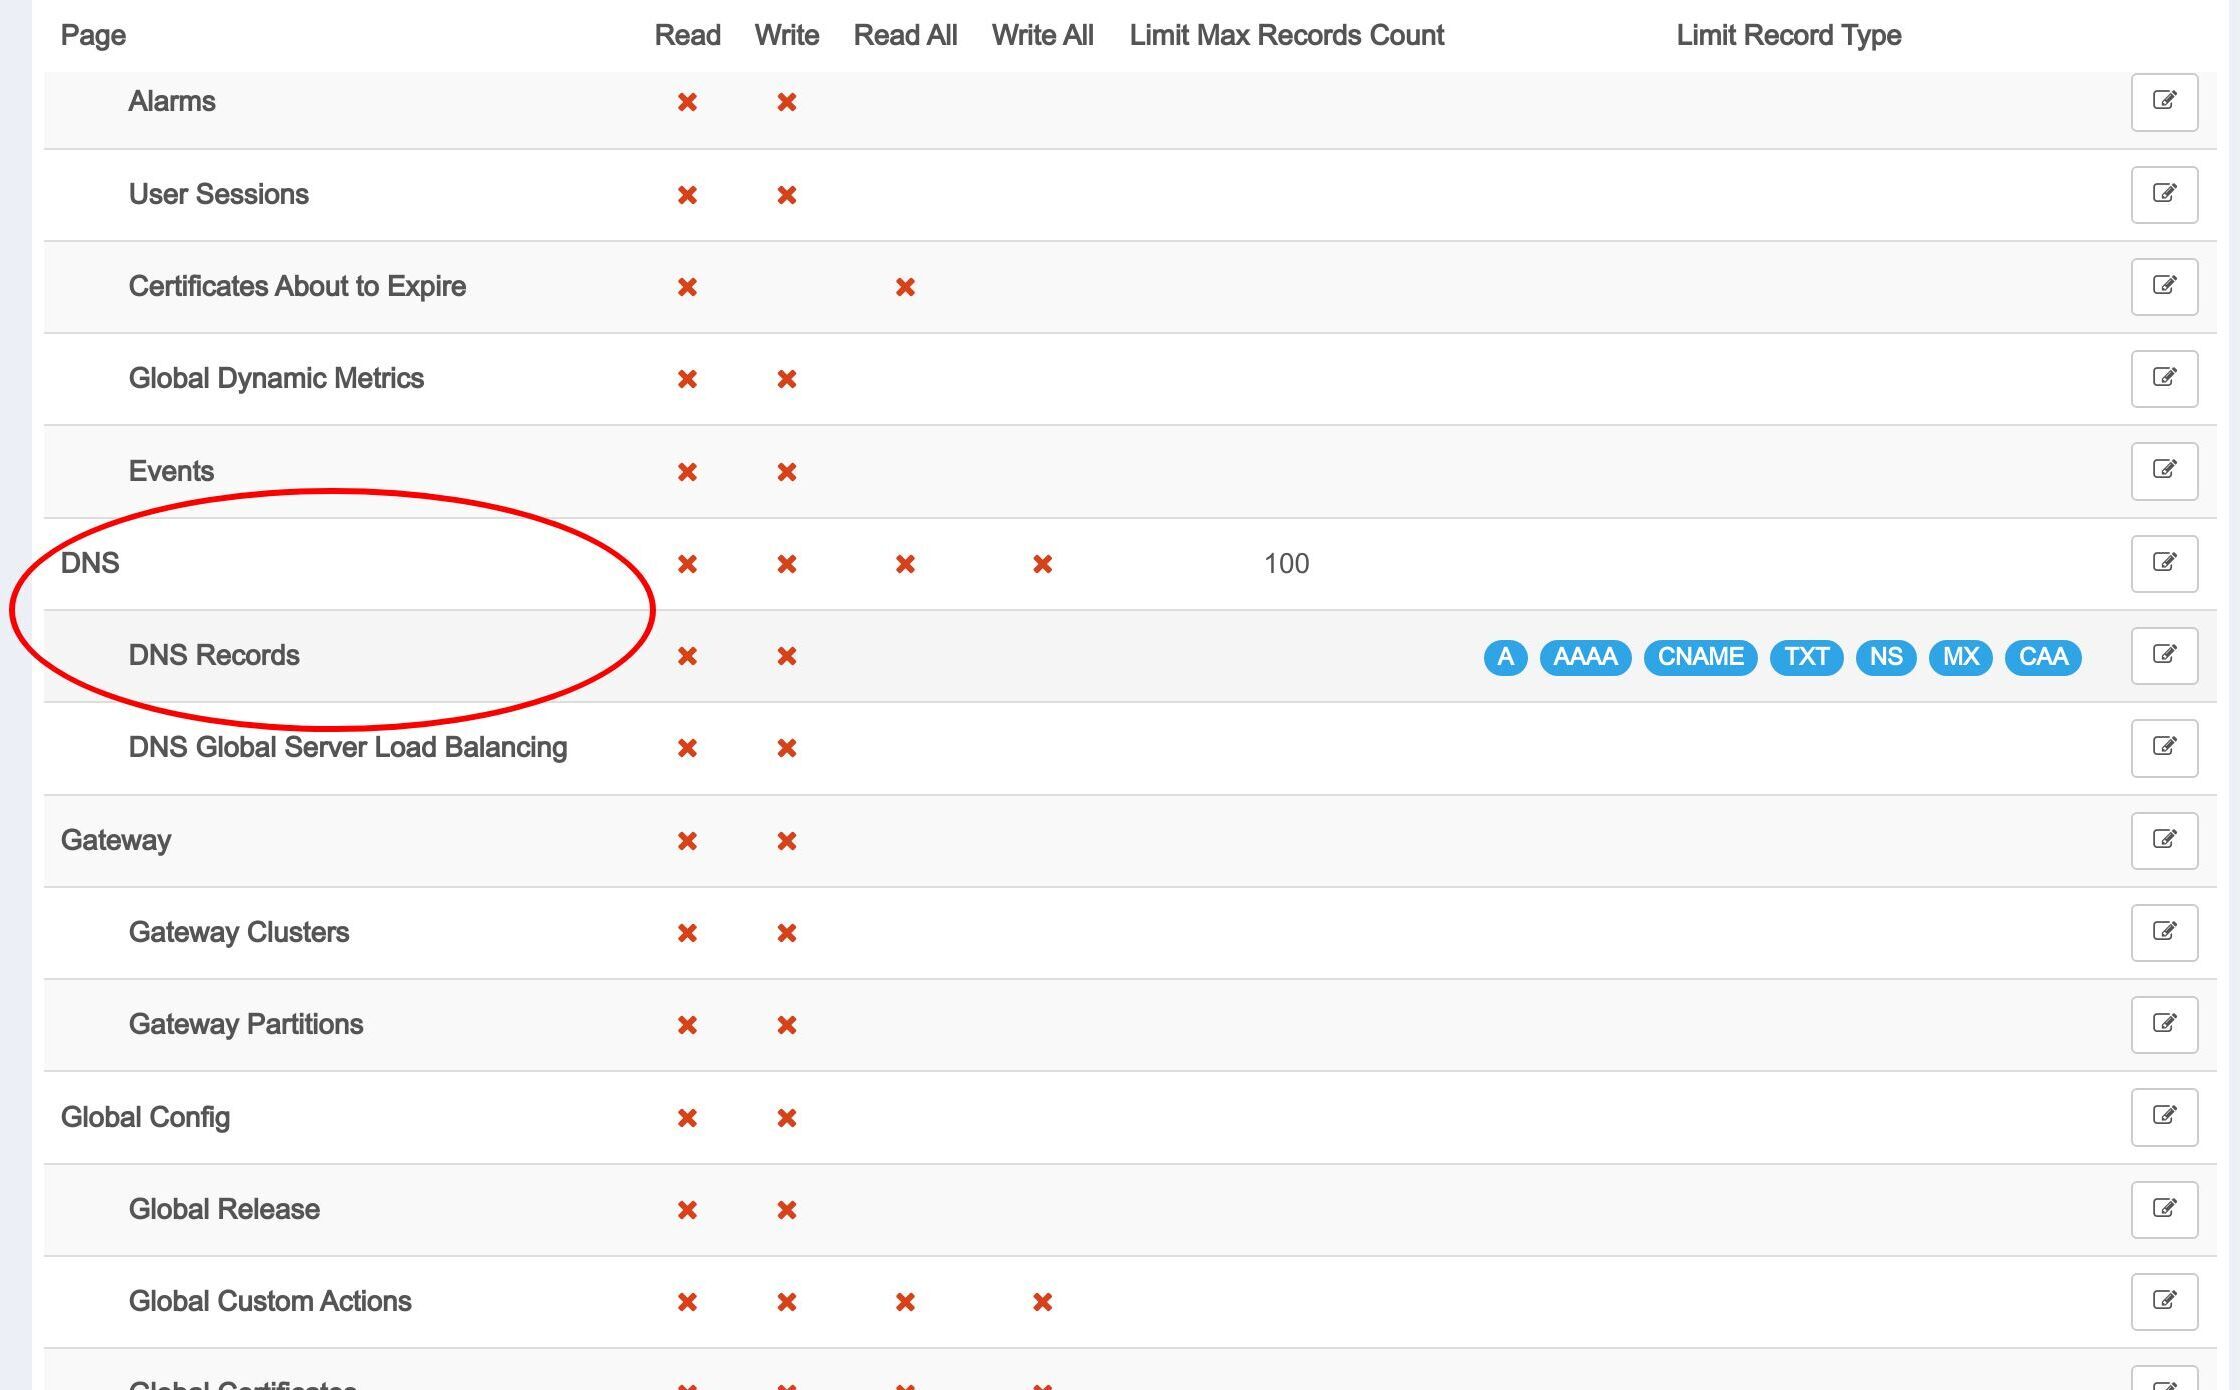
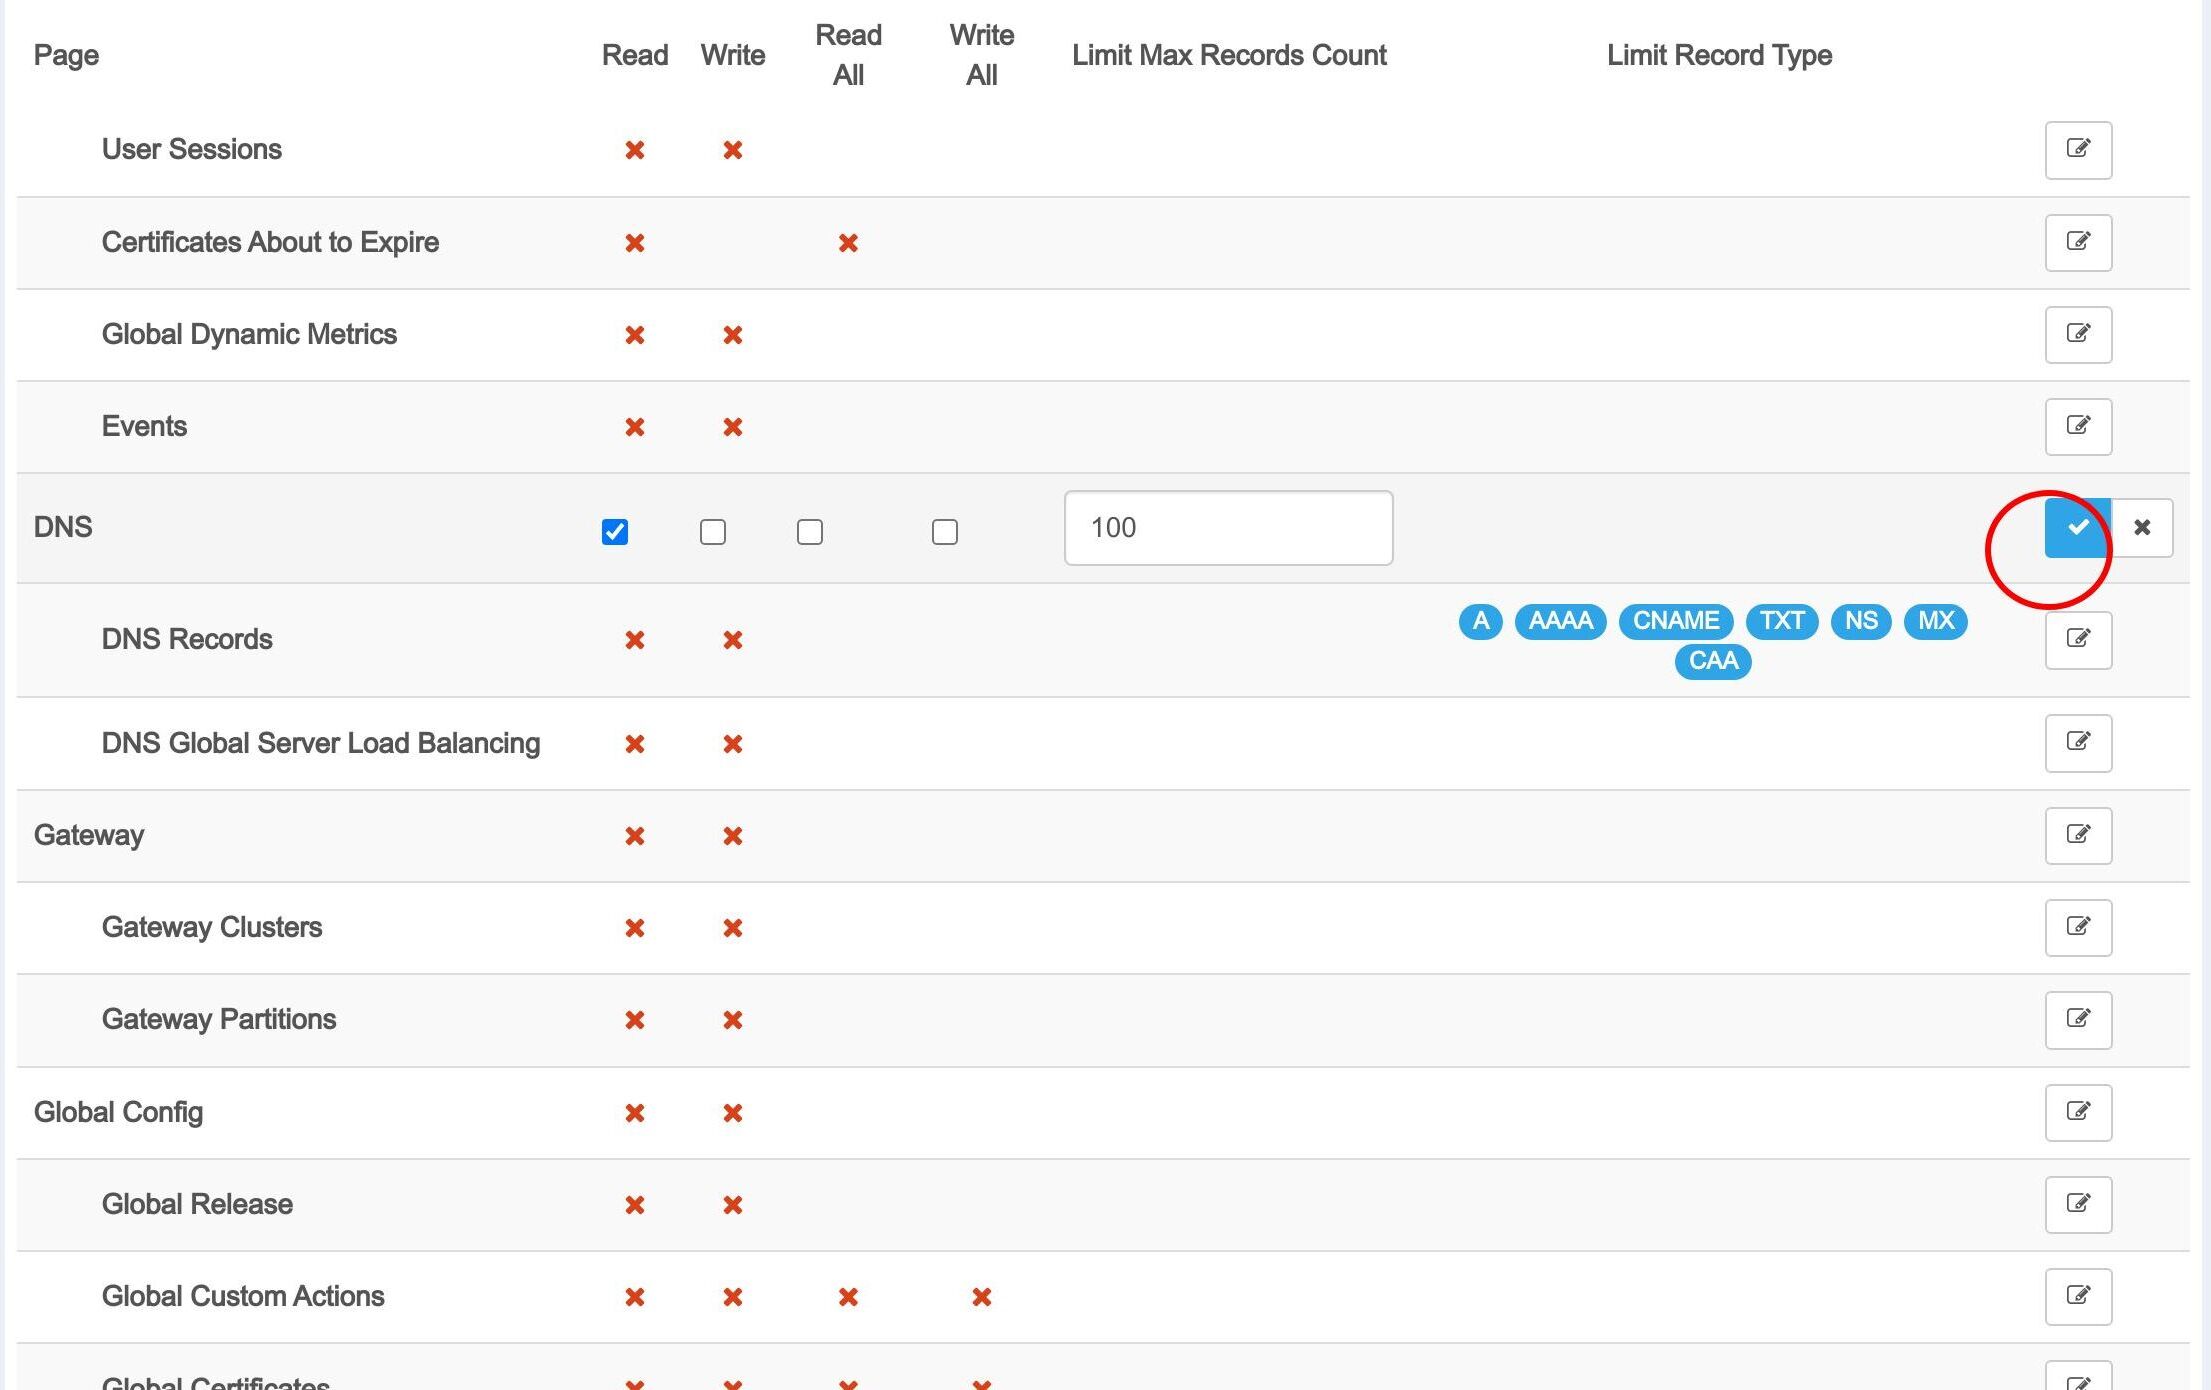
So we edit the permission to give the read permission.
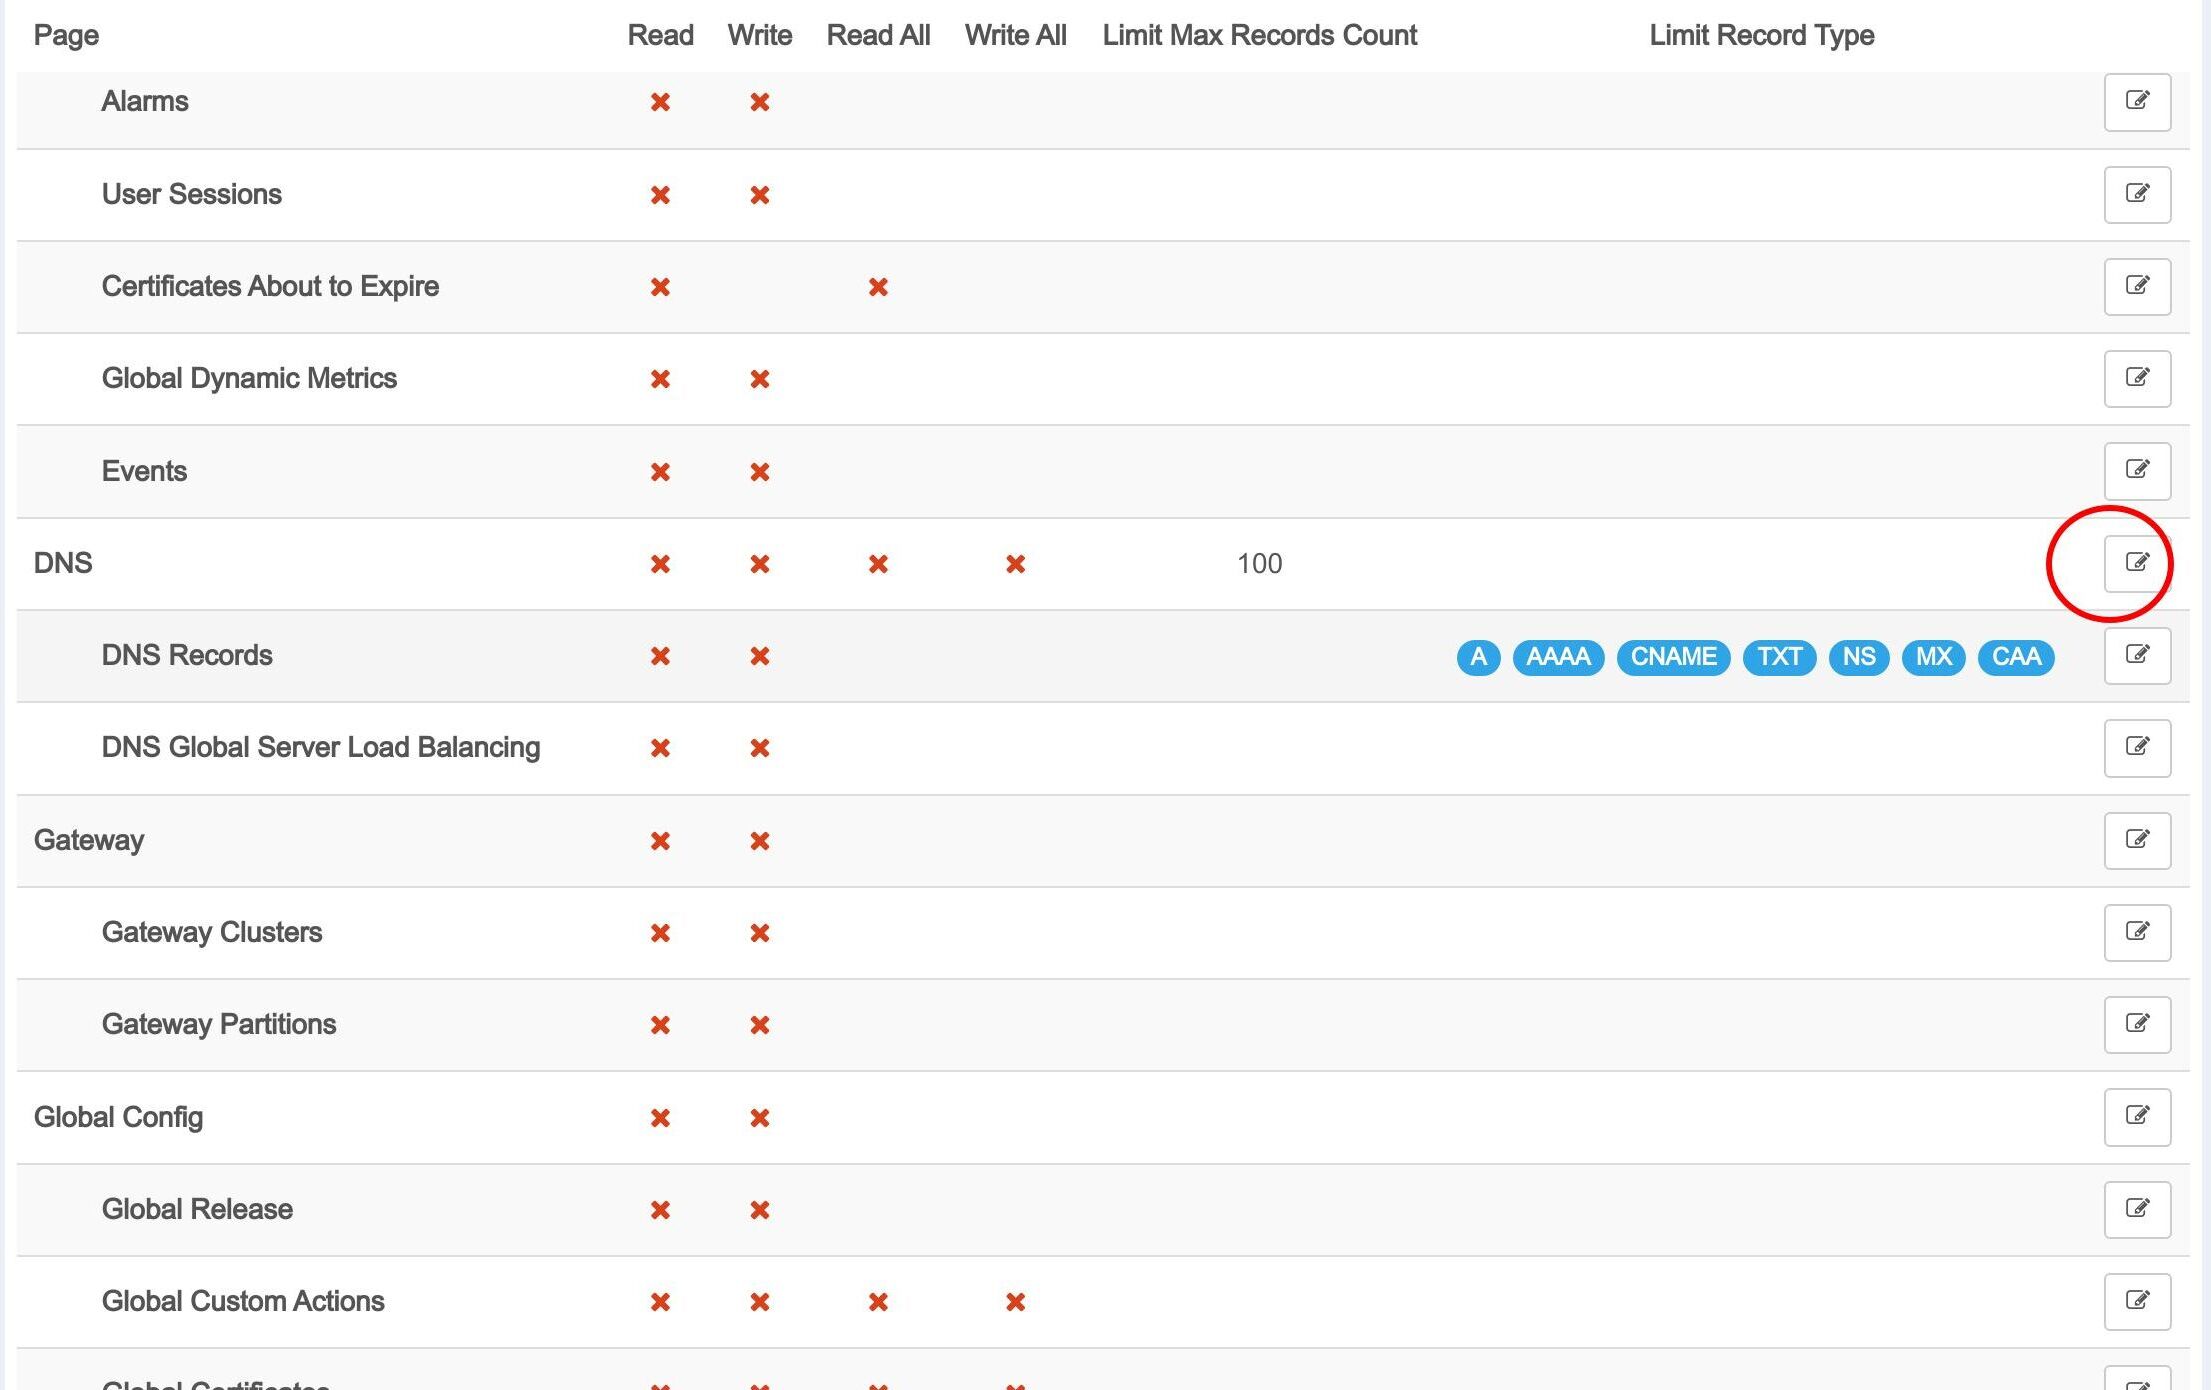
Check this to enable read permission.
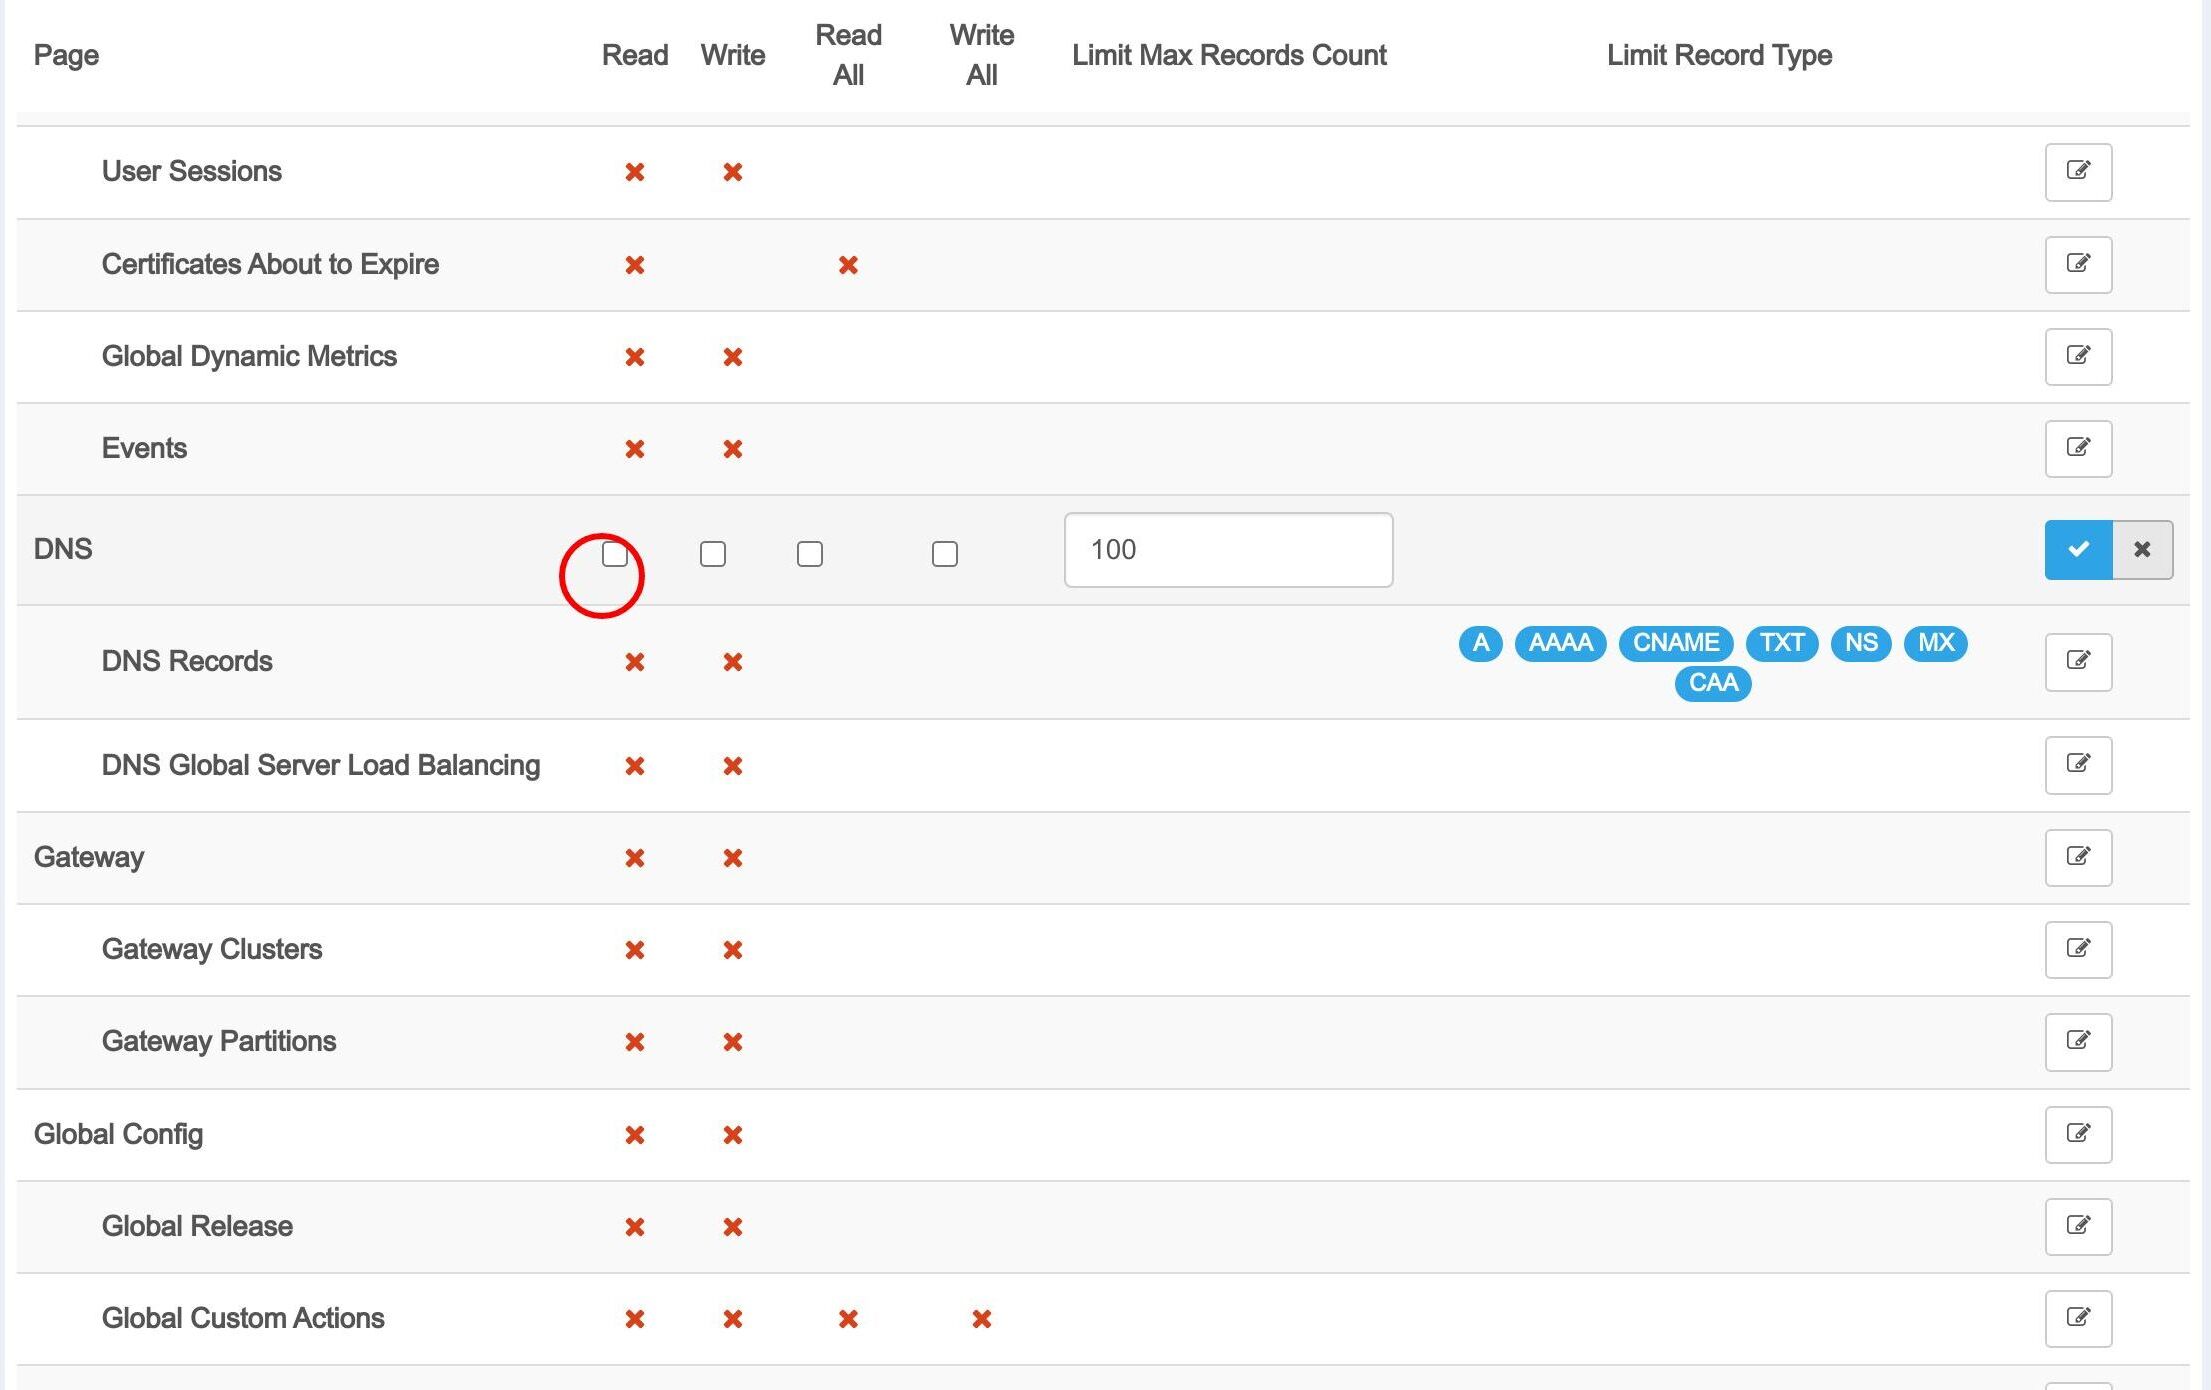
Save it.
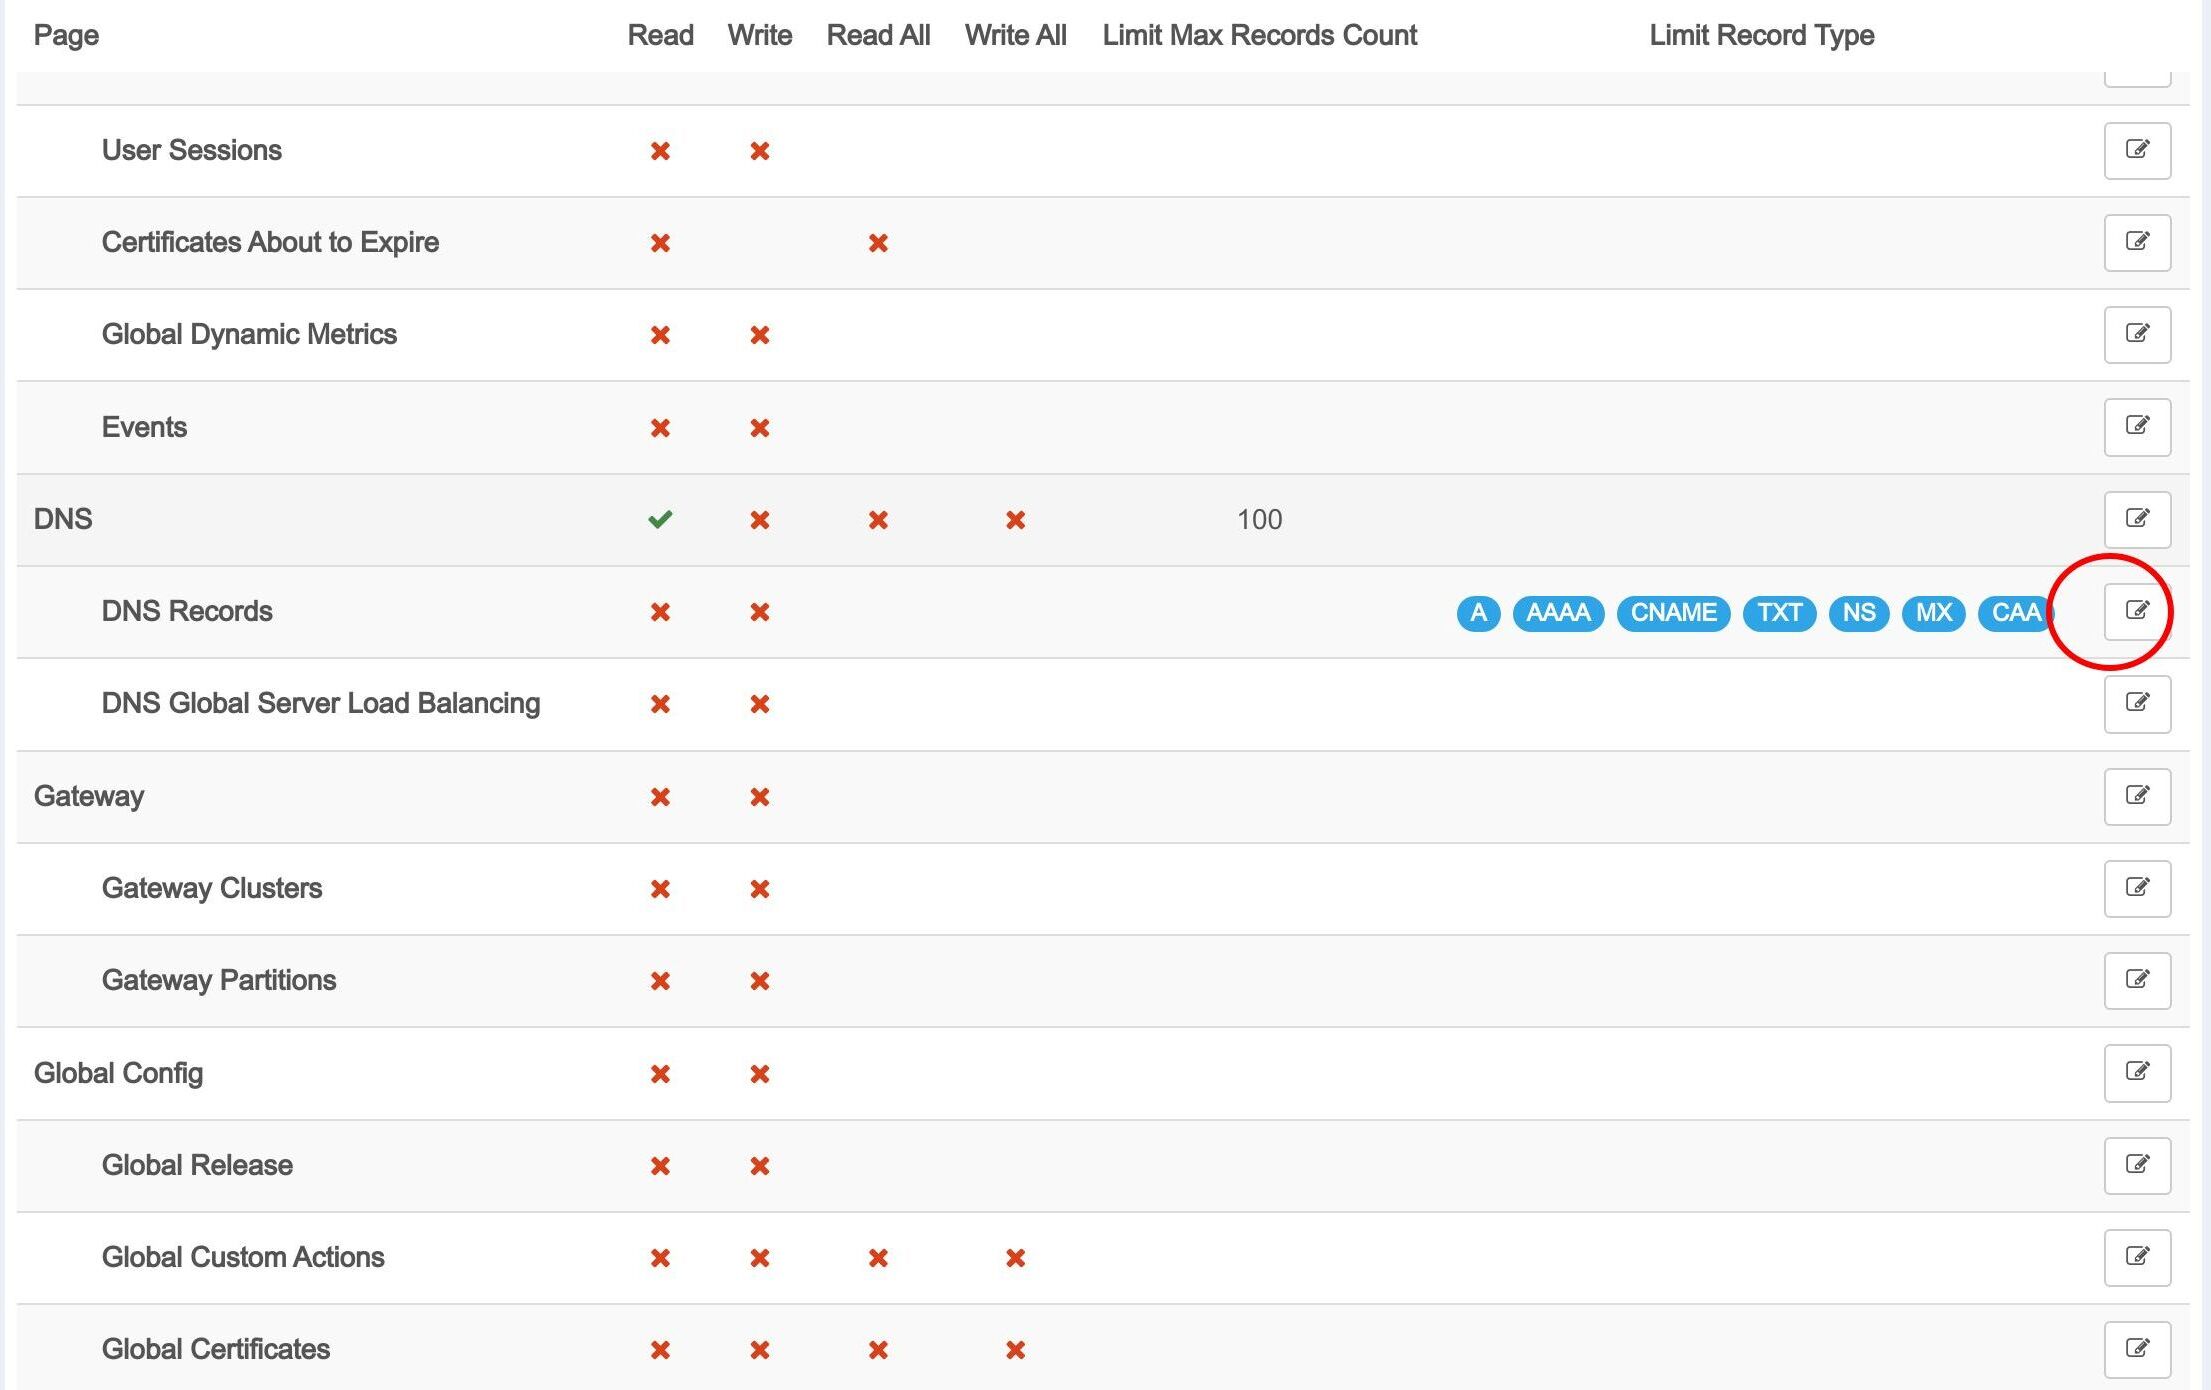
Also give the read permission for DNS record.
Check this to enable read for DNS Records.
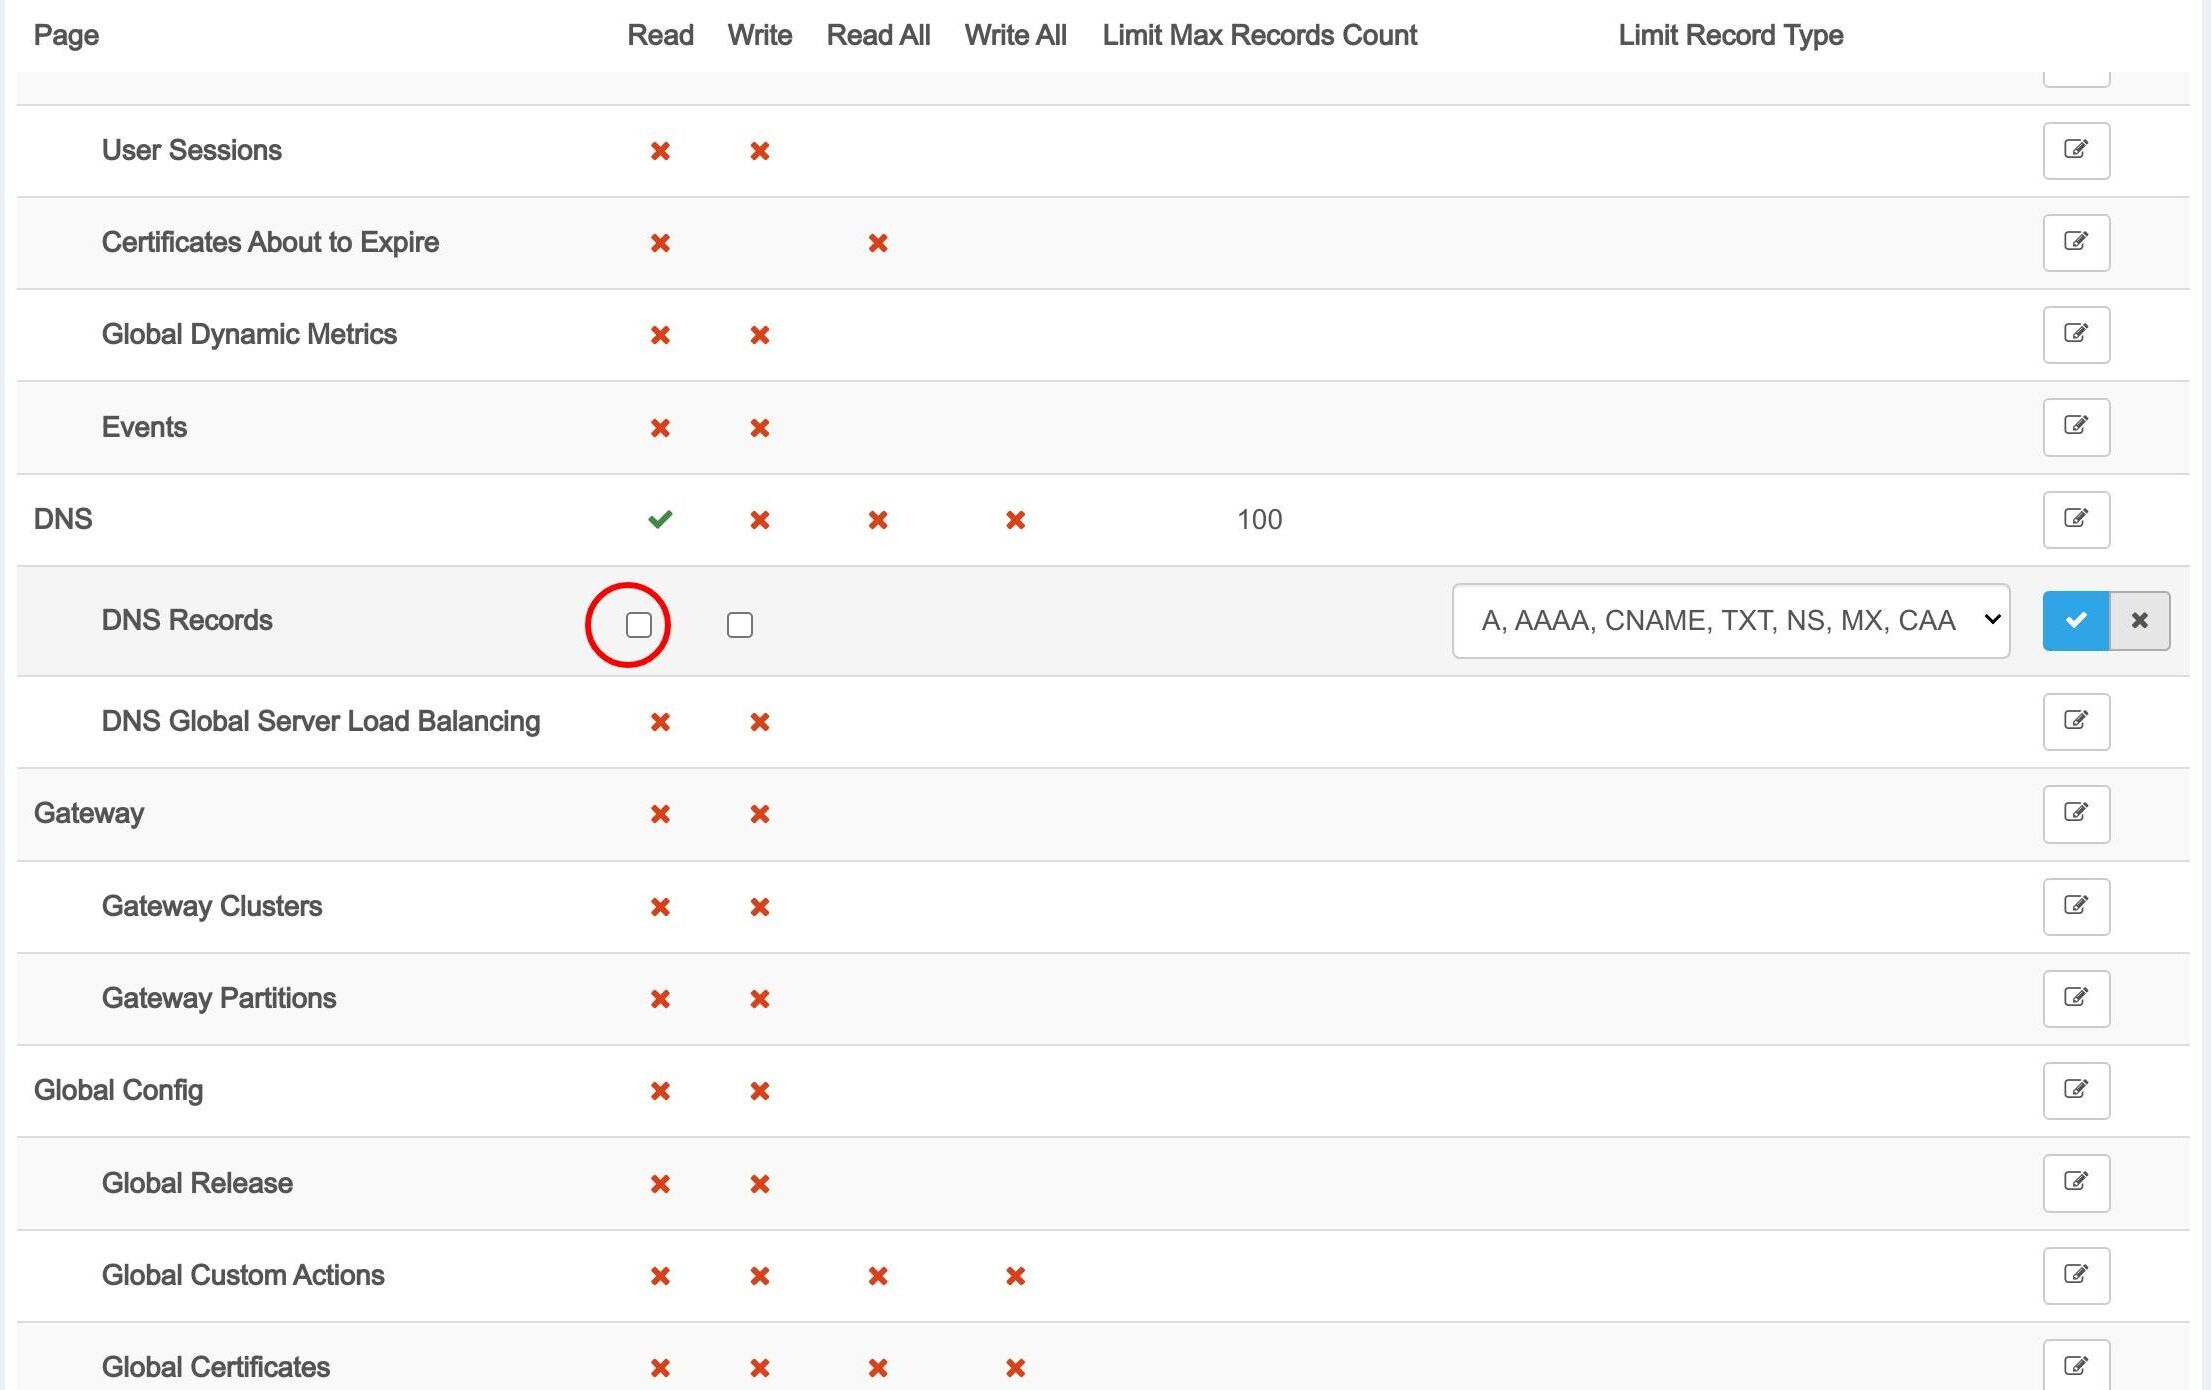
Again to save it.
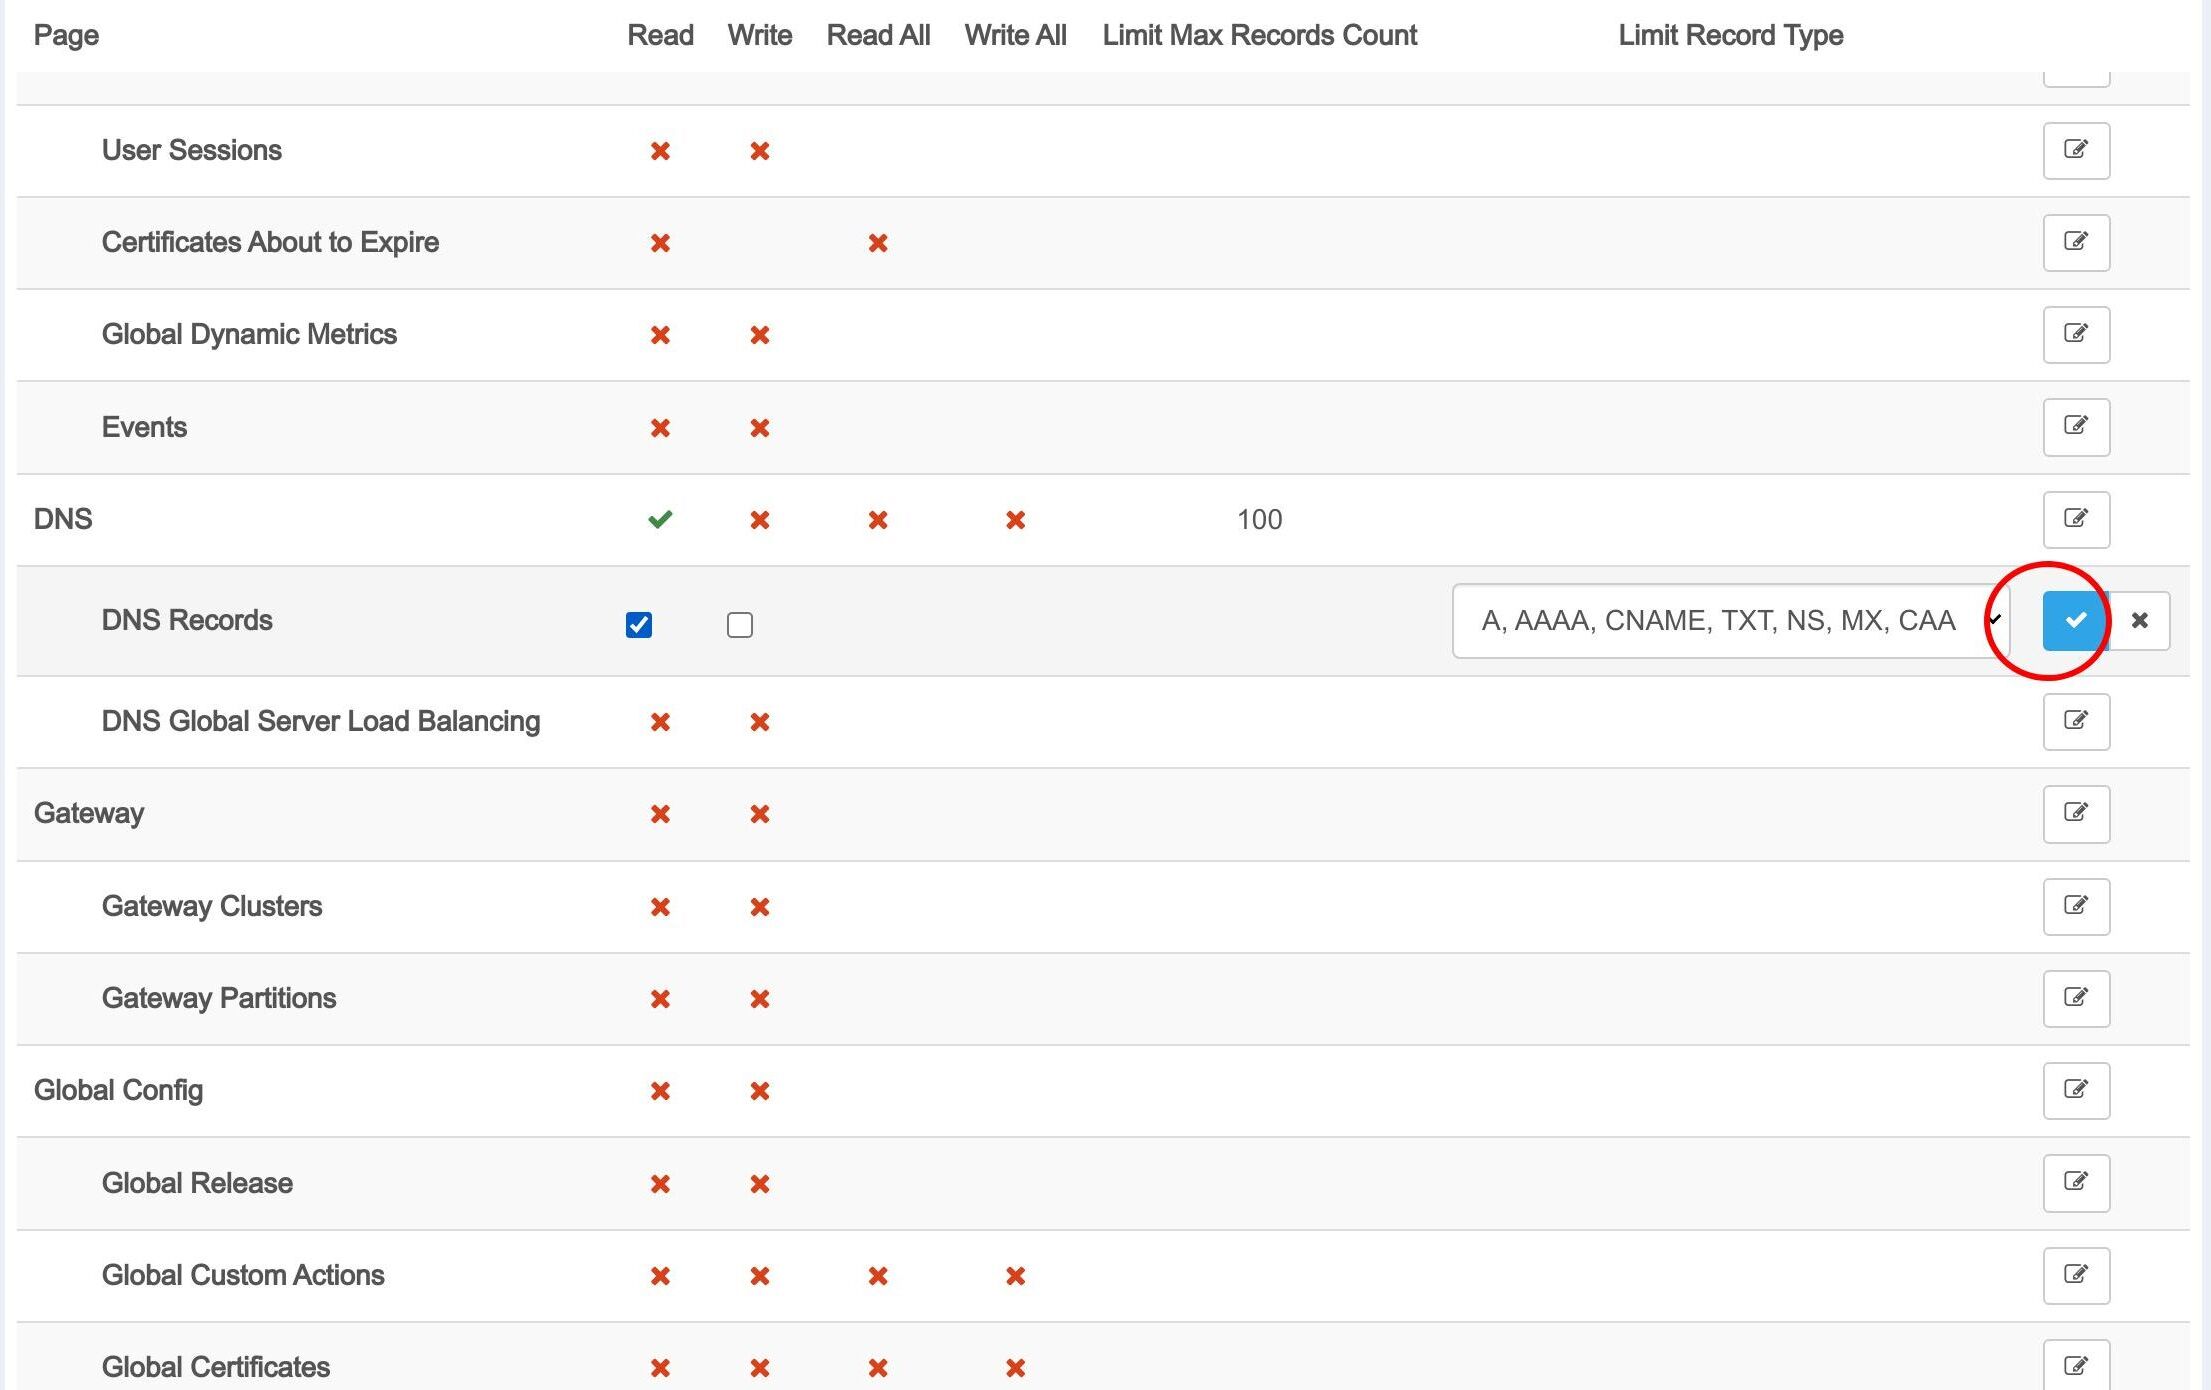
The user group is ready. Then we go to our sample DNS application and grant the permission to this user group.
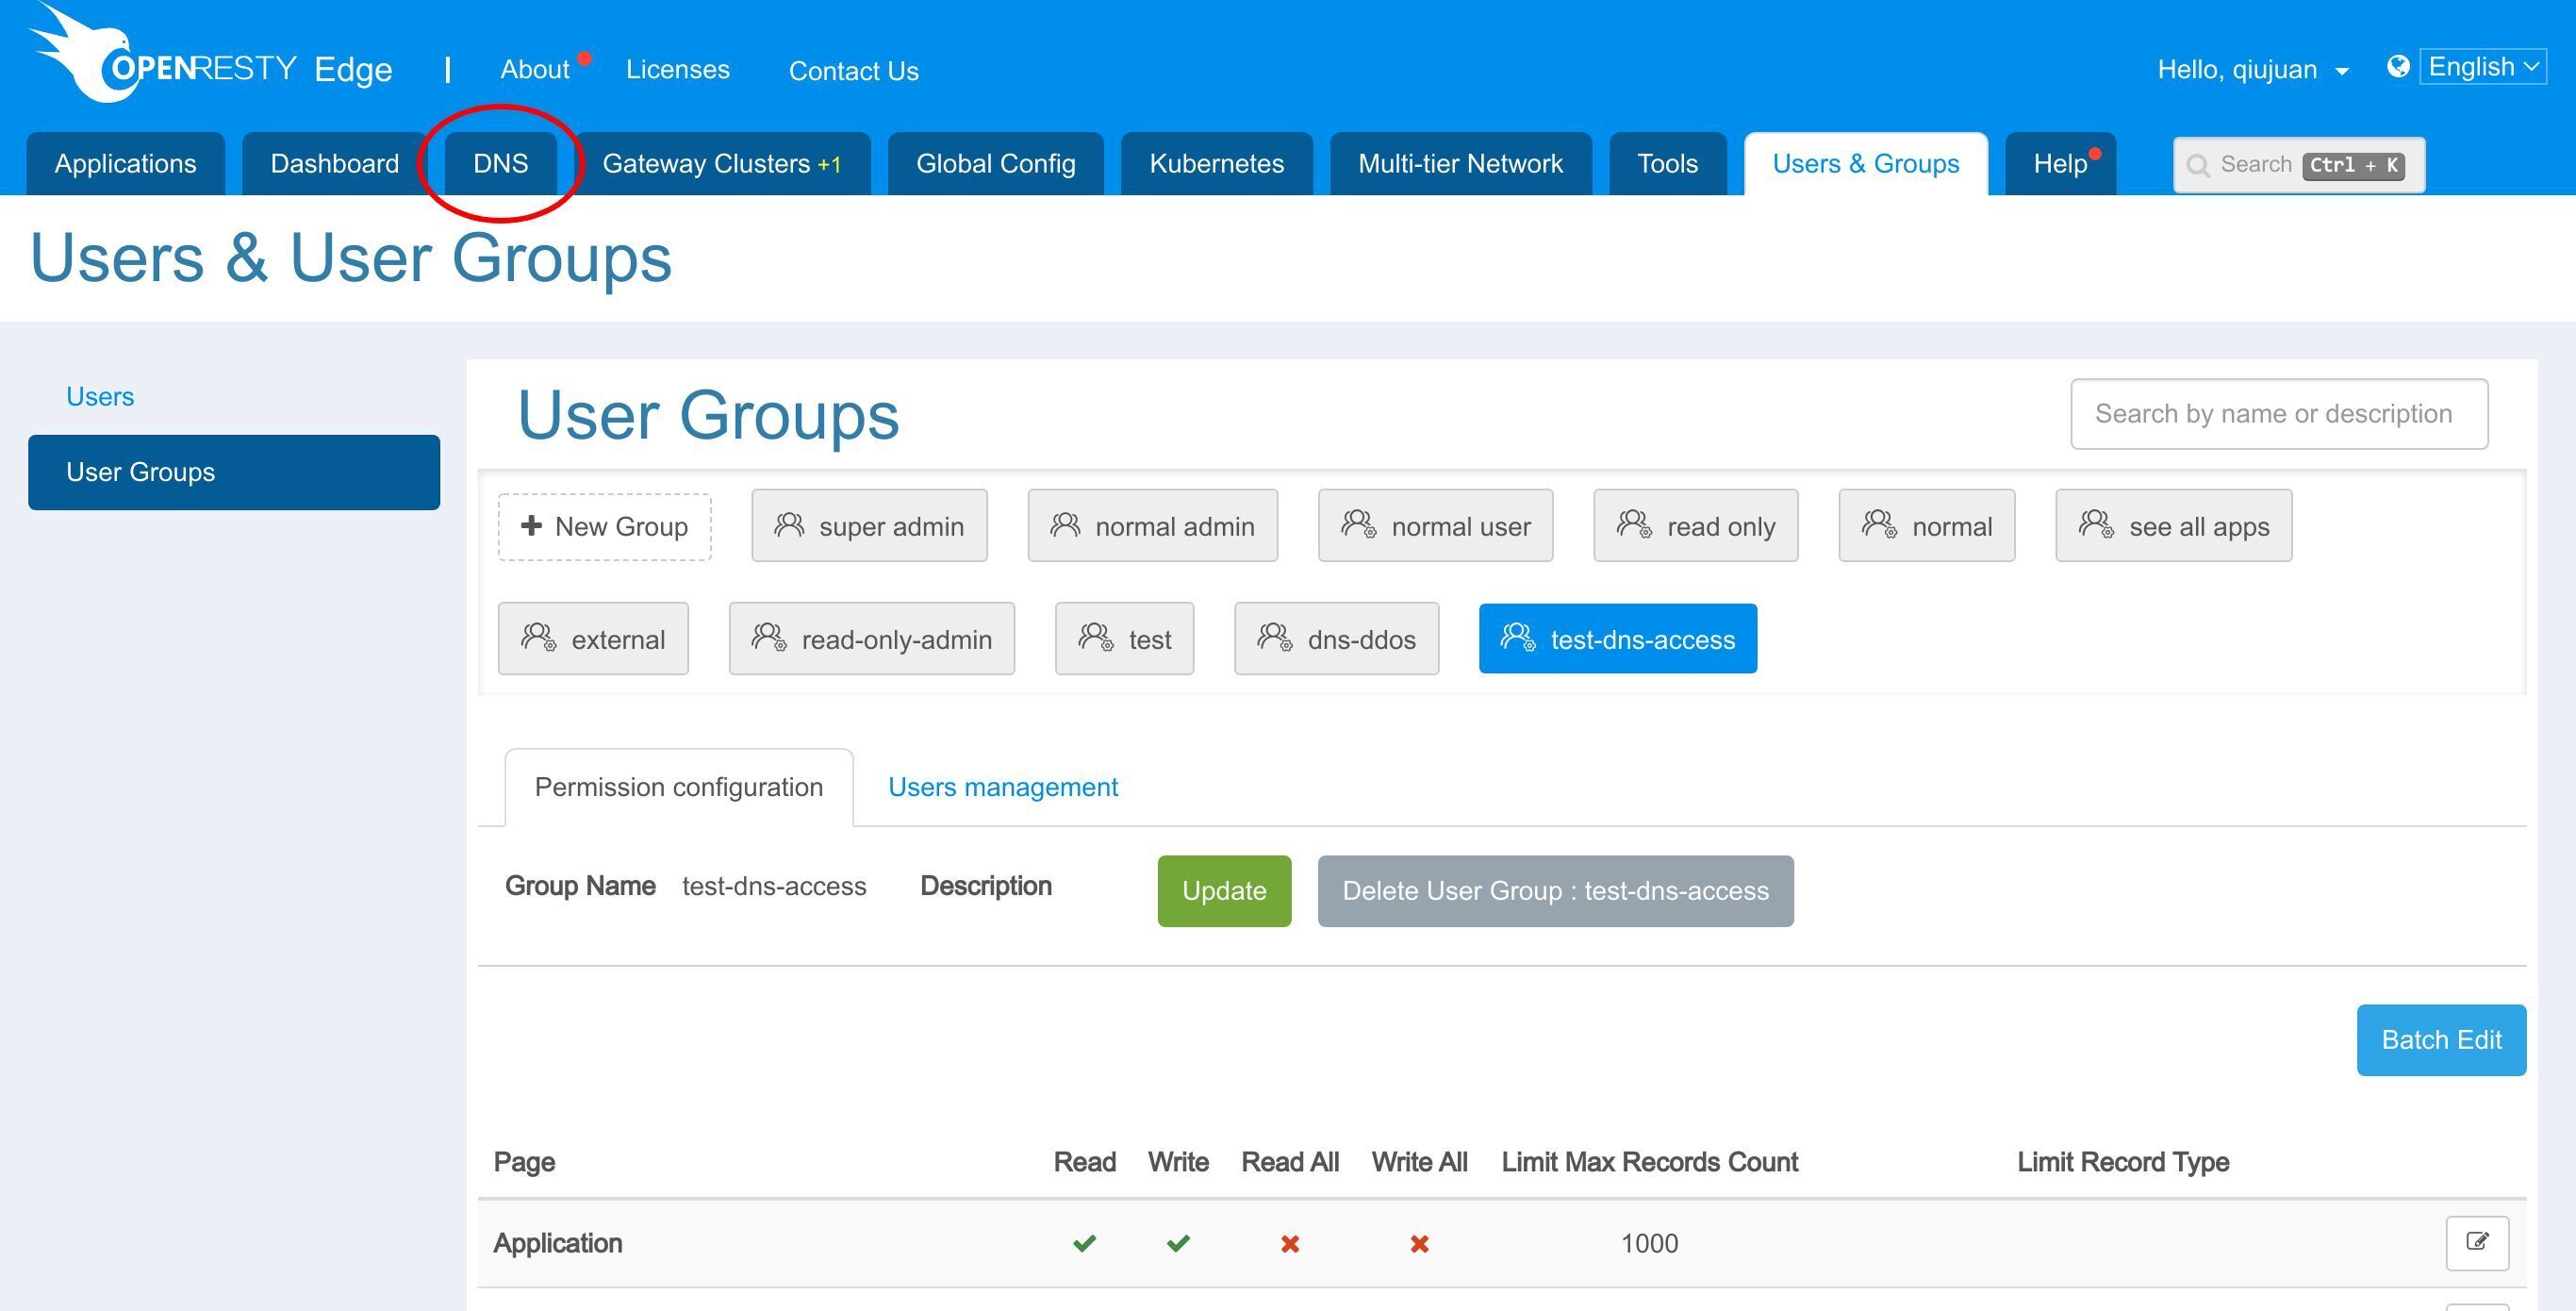
Again search for the application
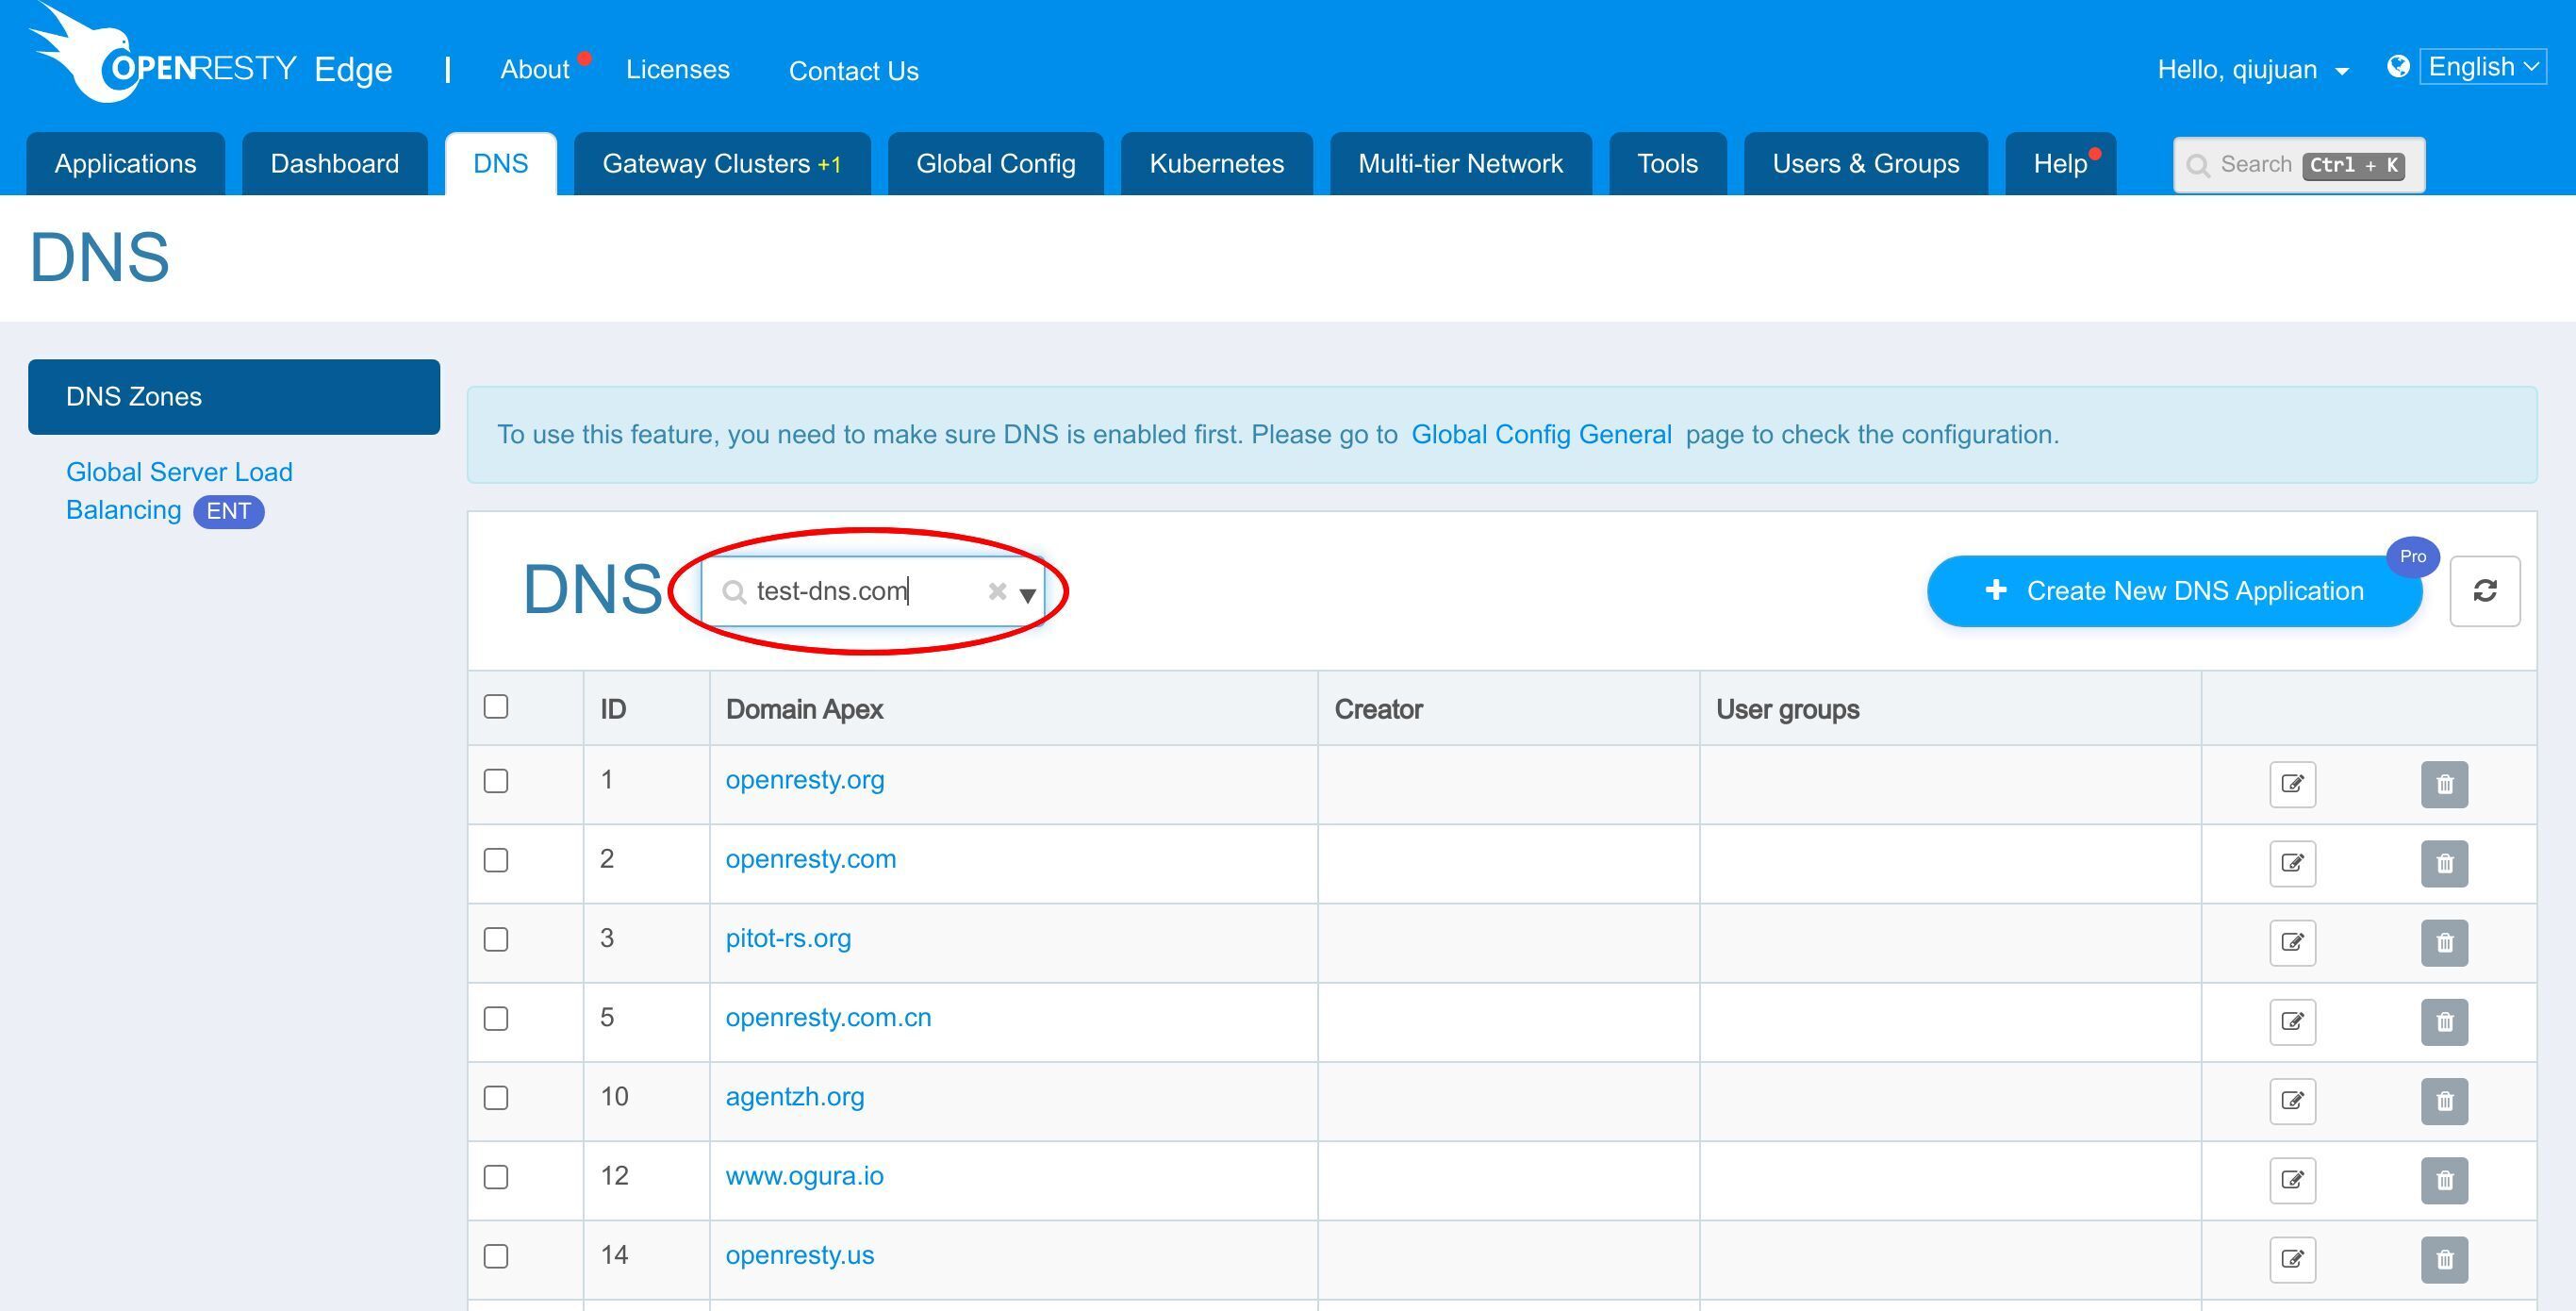
Enter it.
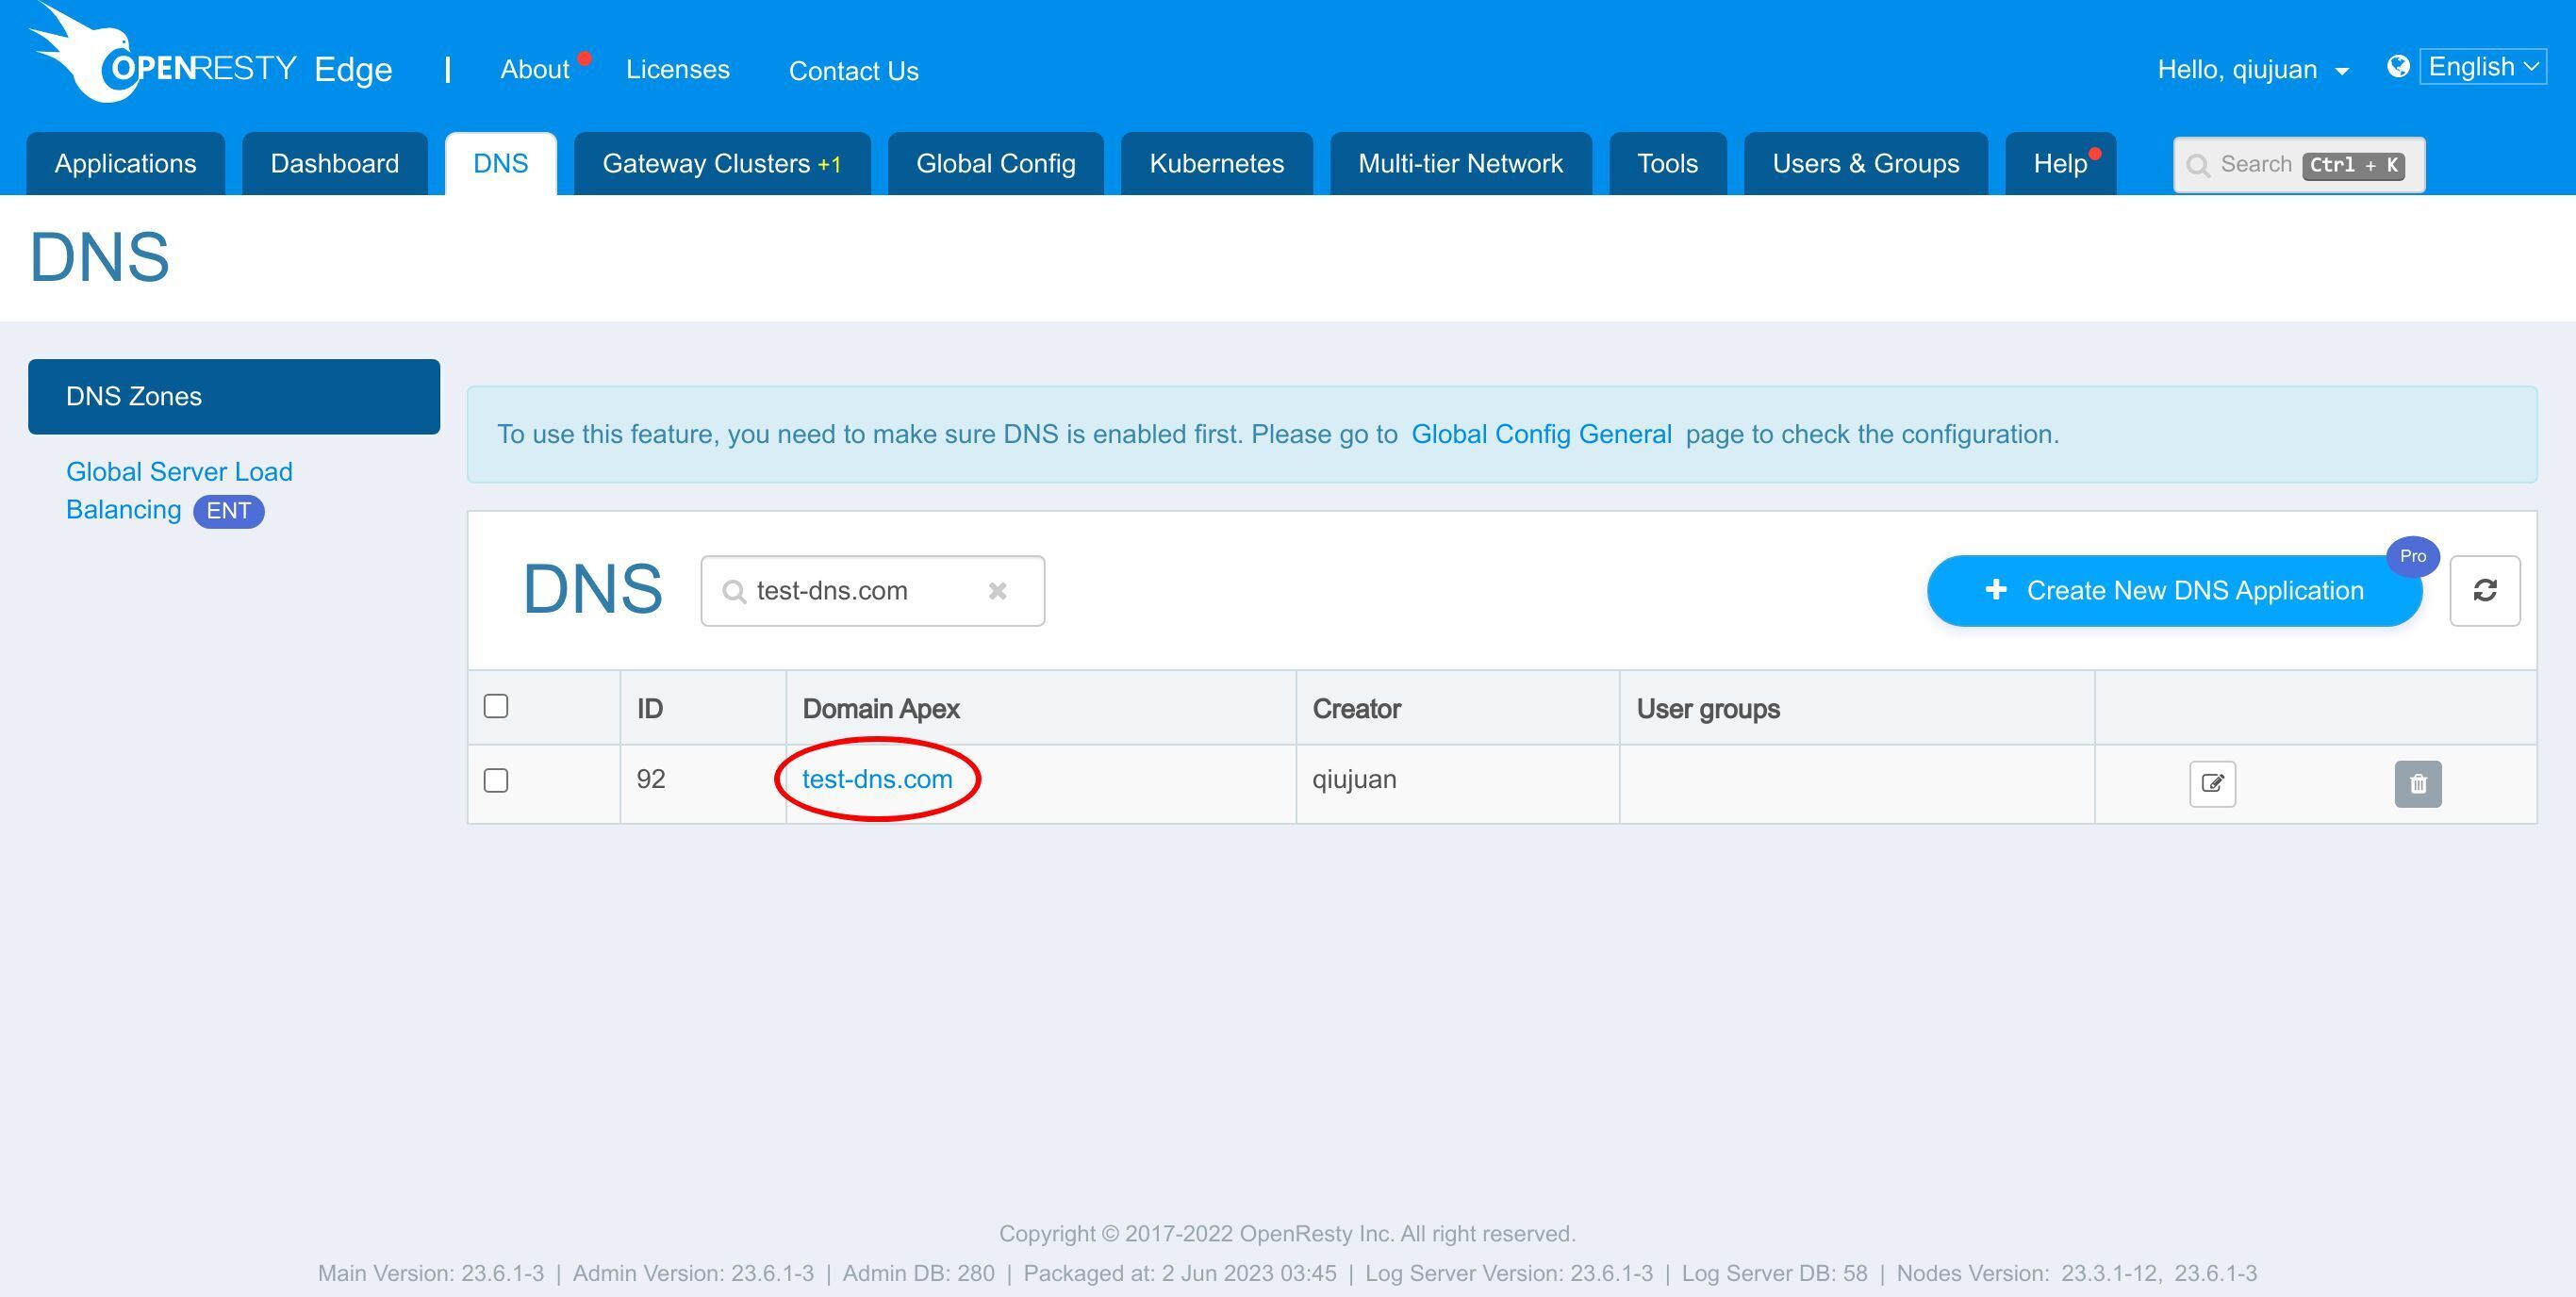
Goto “User Groups” tab.
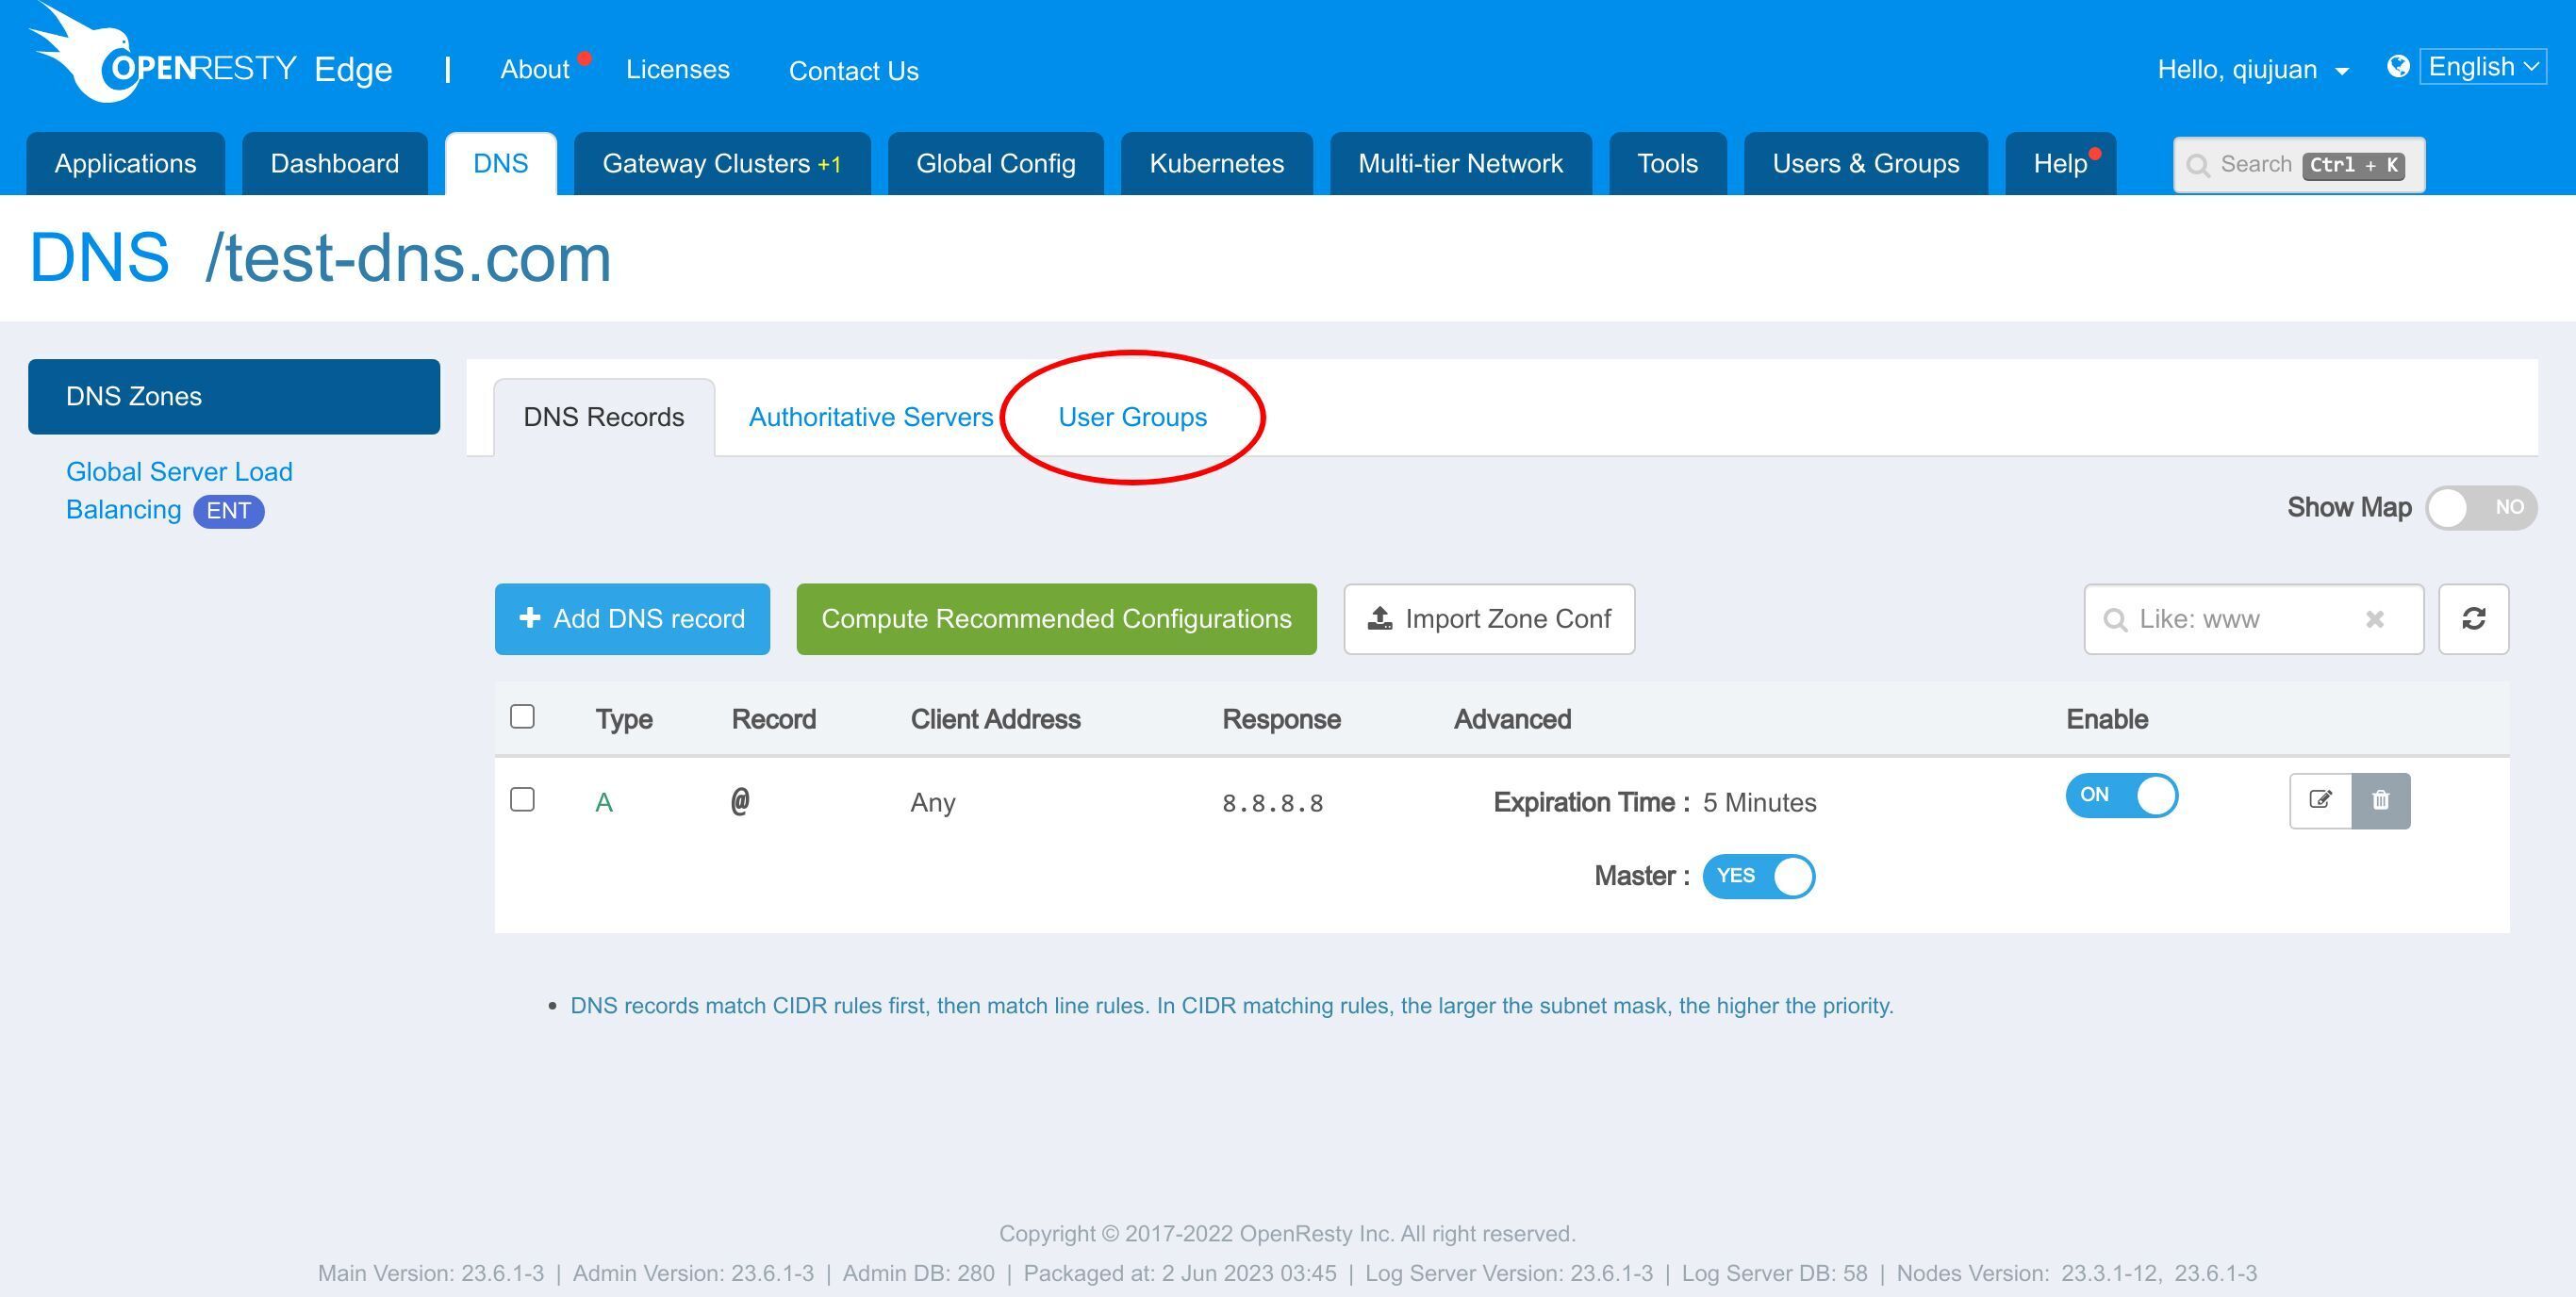
Choose “test-dns-access” group to give permission to this group.
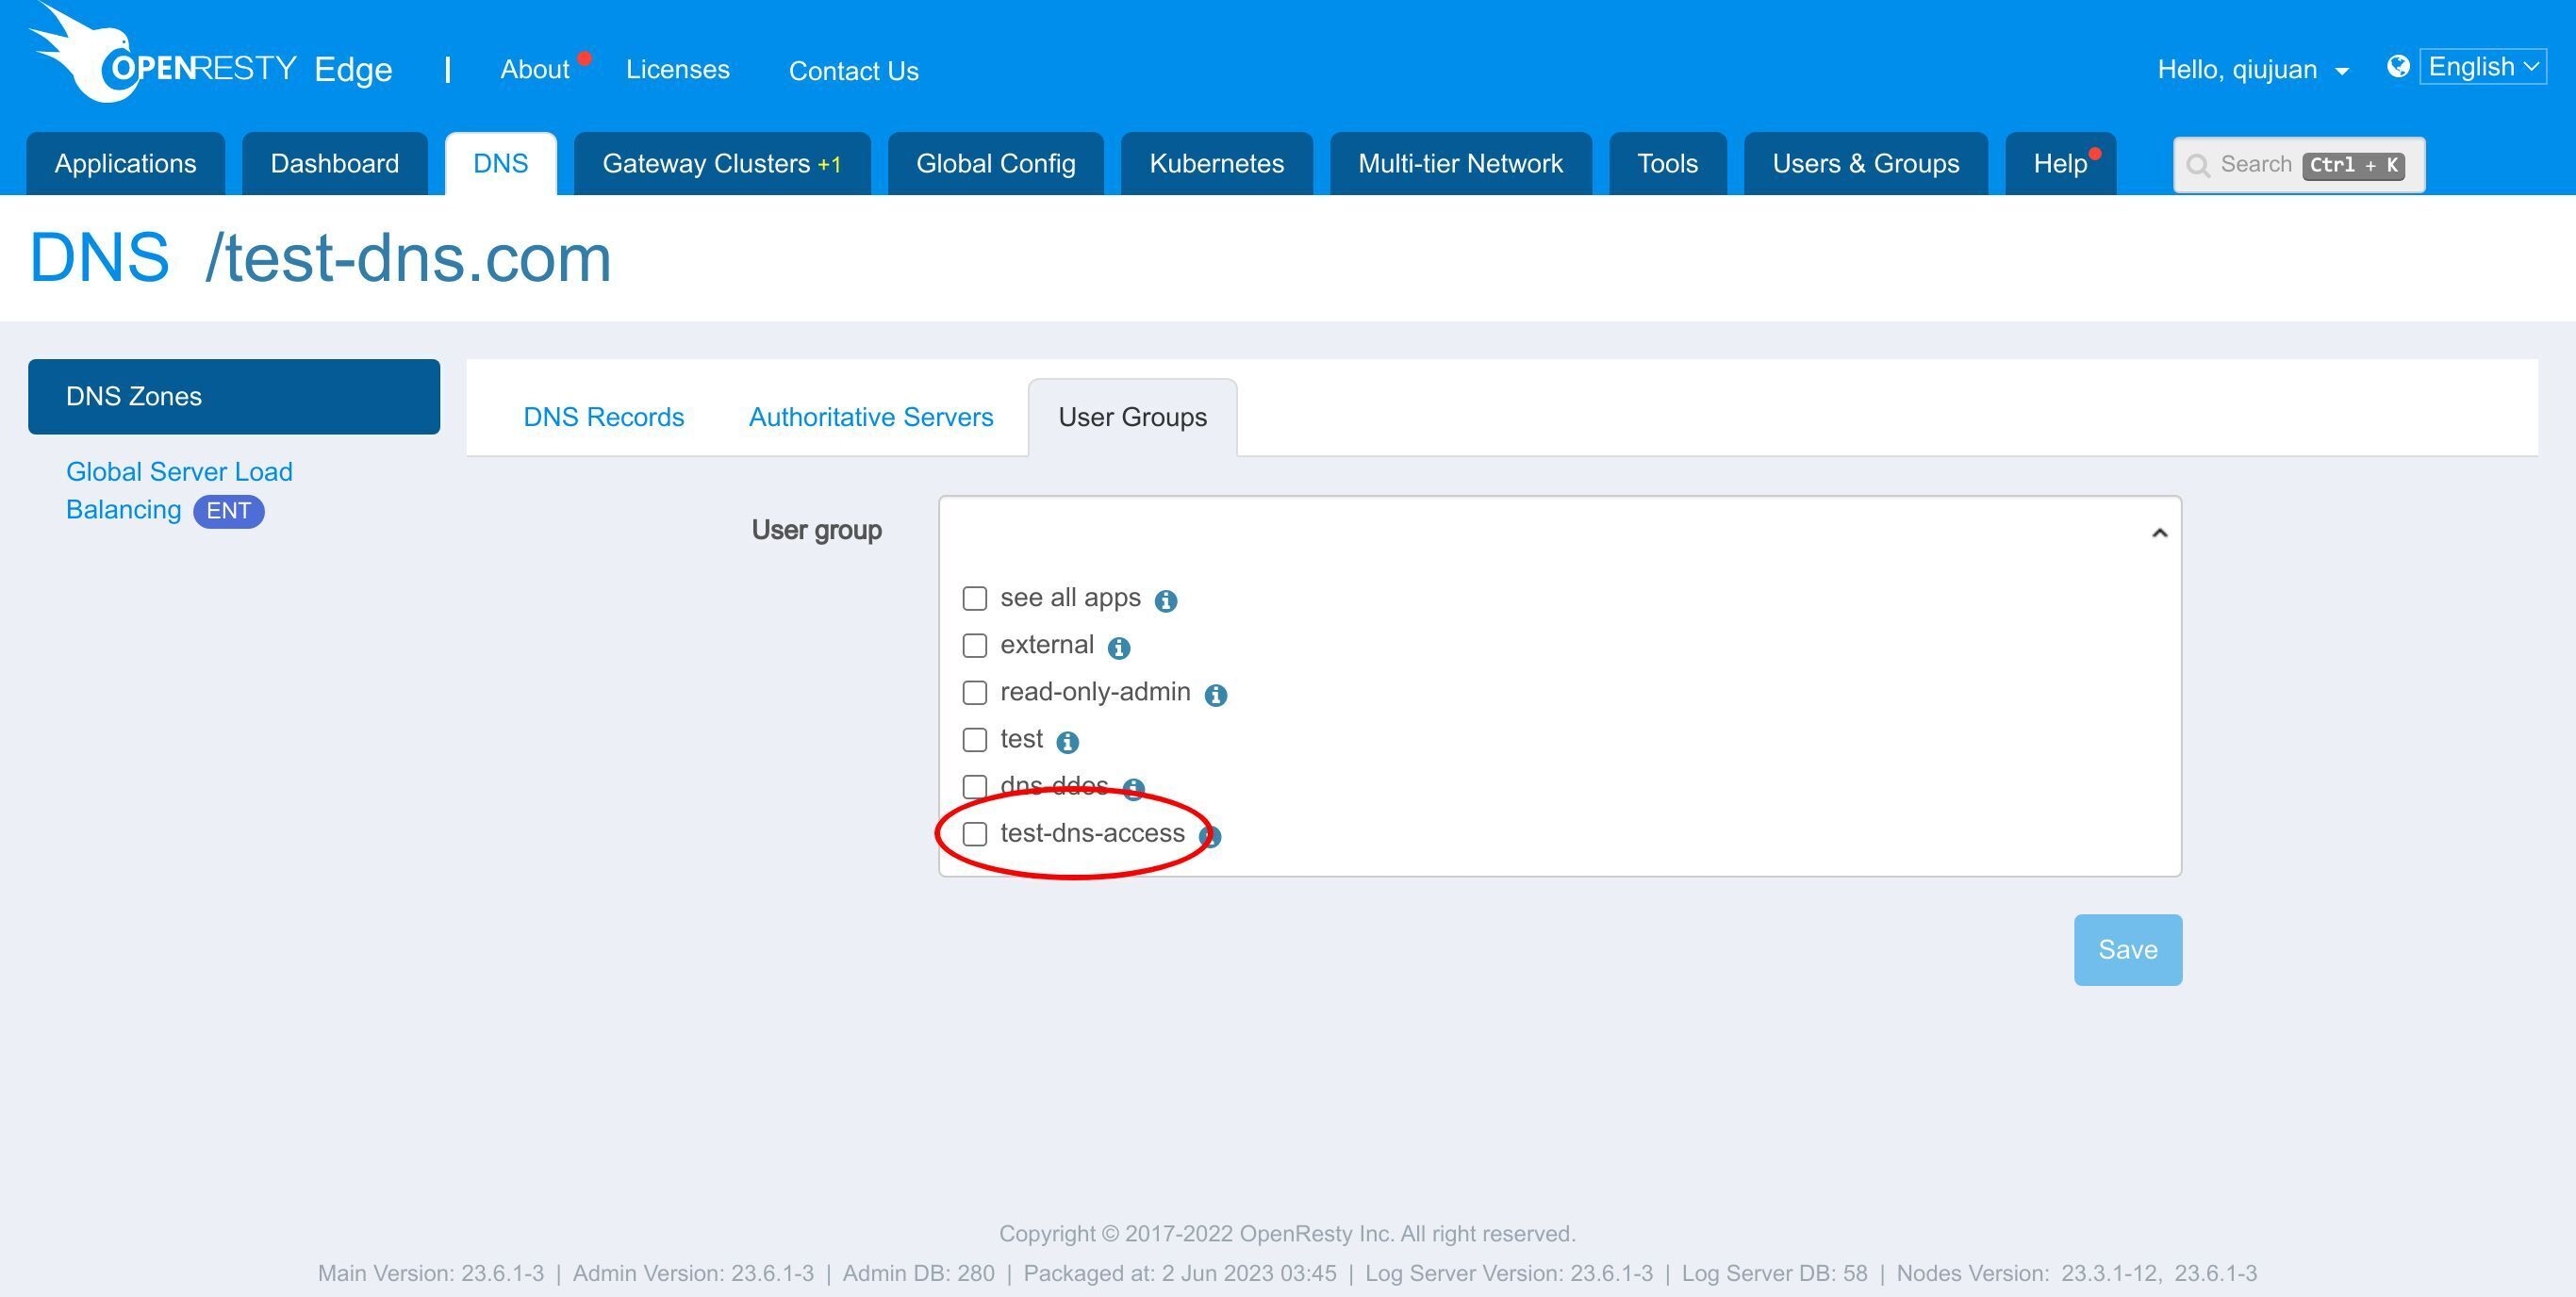
Save it.
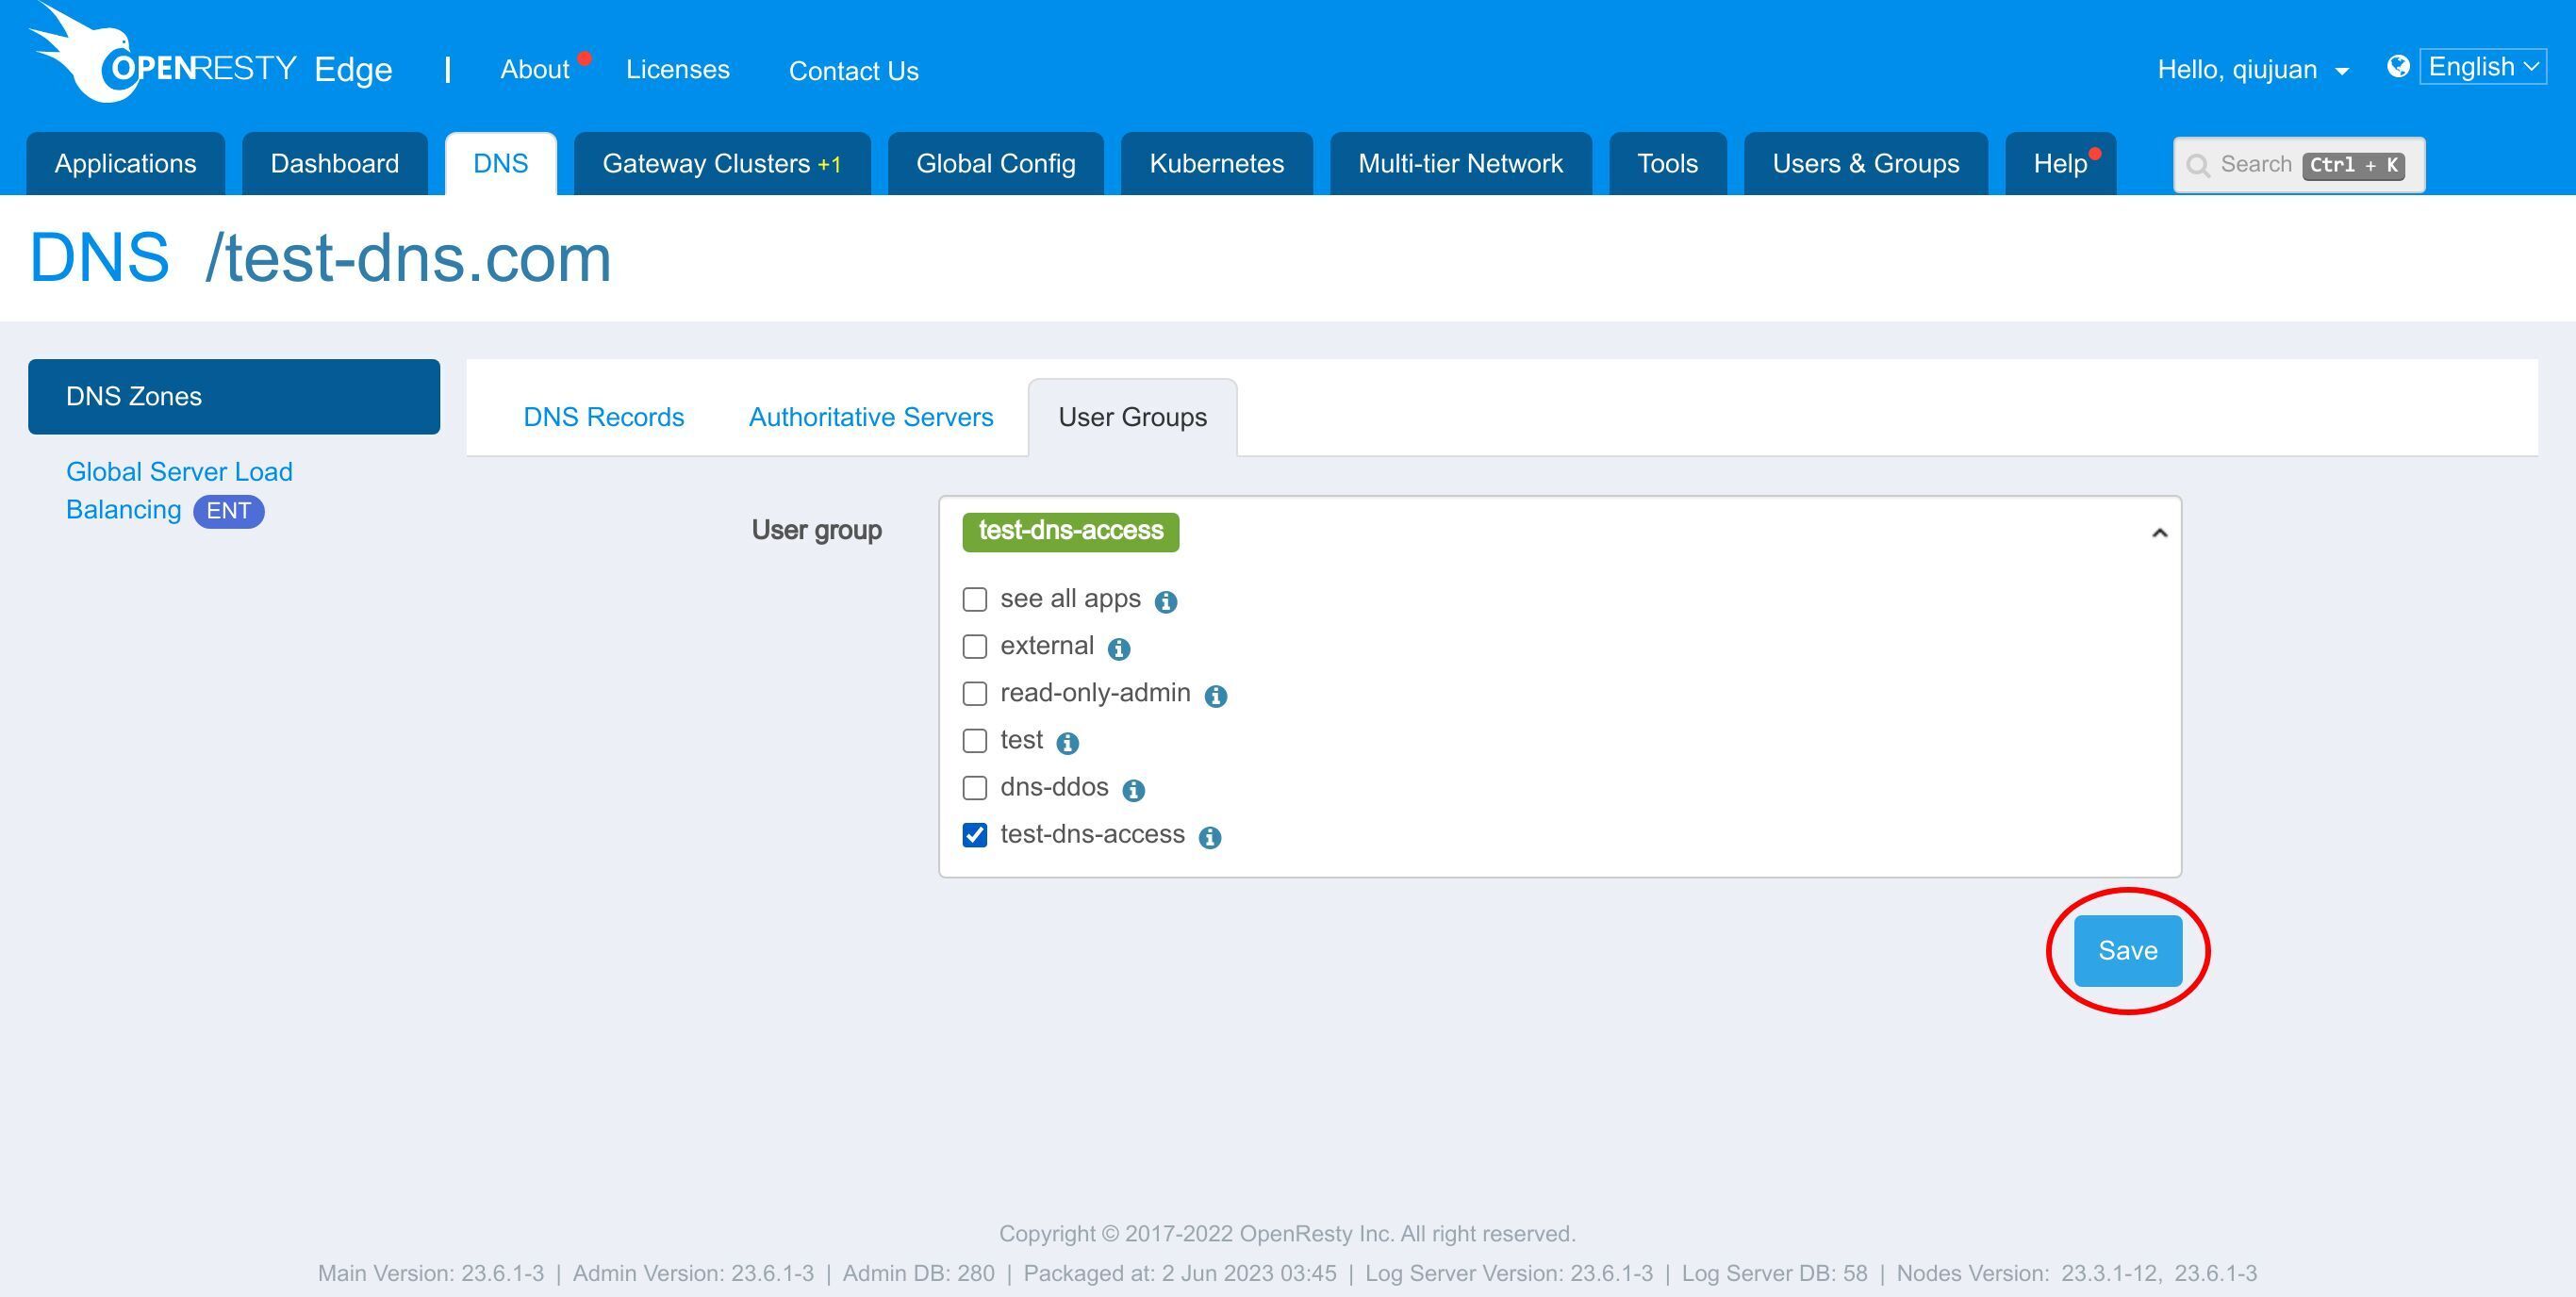
Create a tester account
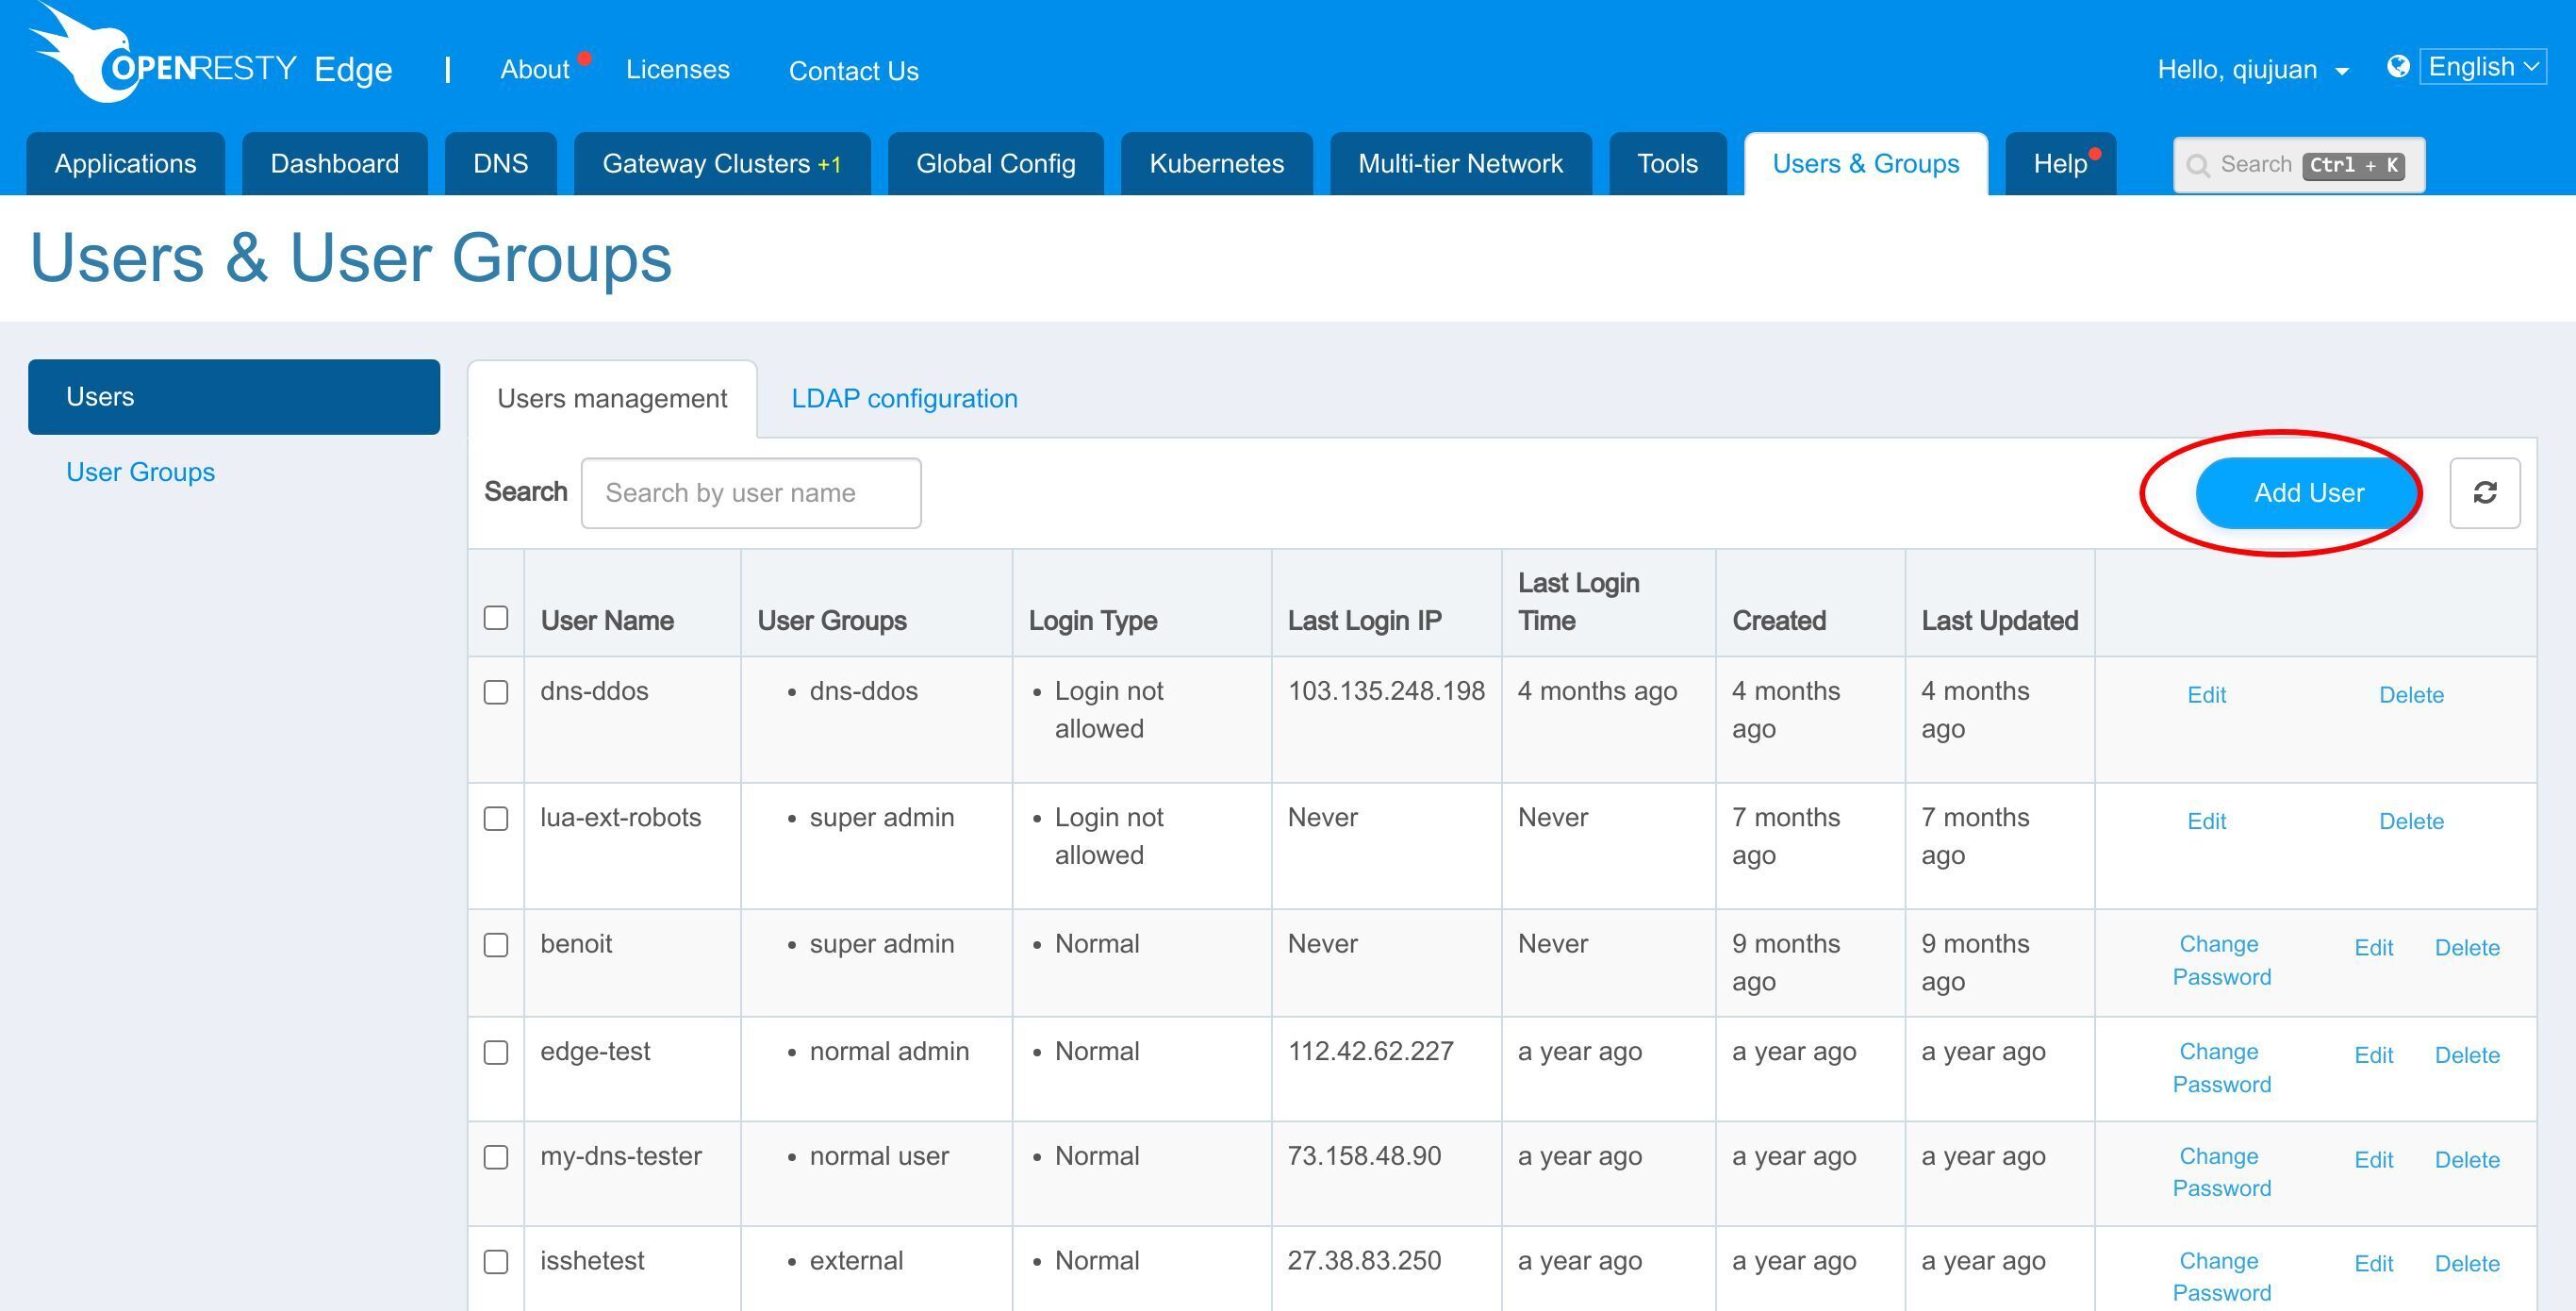
Then we go to Users page to create a tester account and put it under this test-dns-access group. Then this tester account will be able to see our example DNS application but with read-only permission.
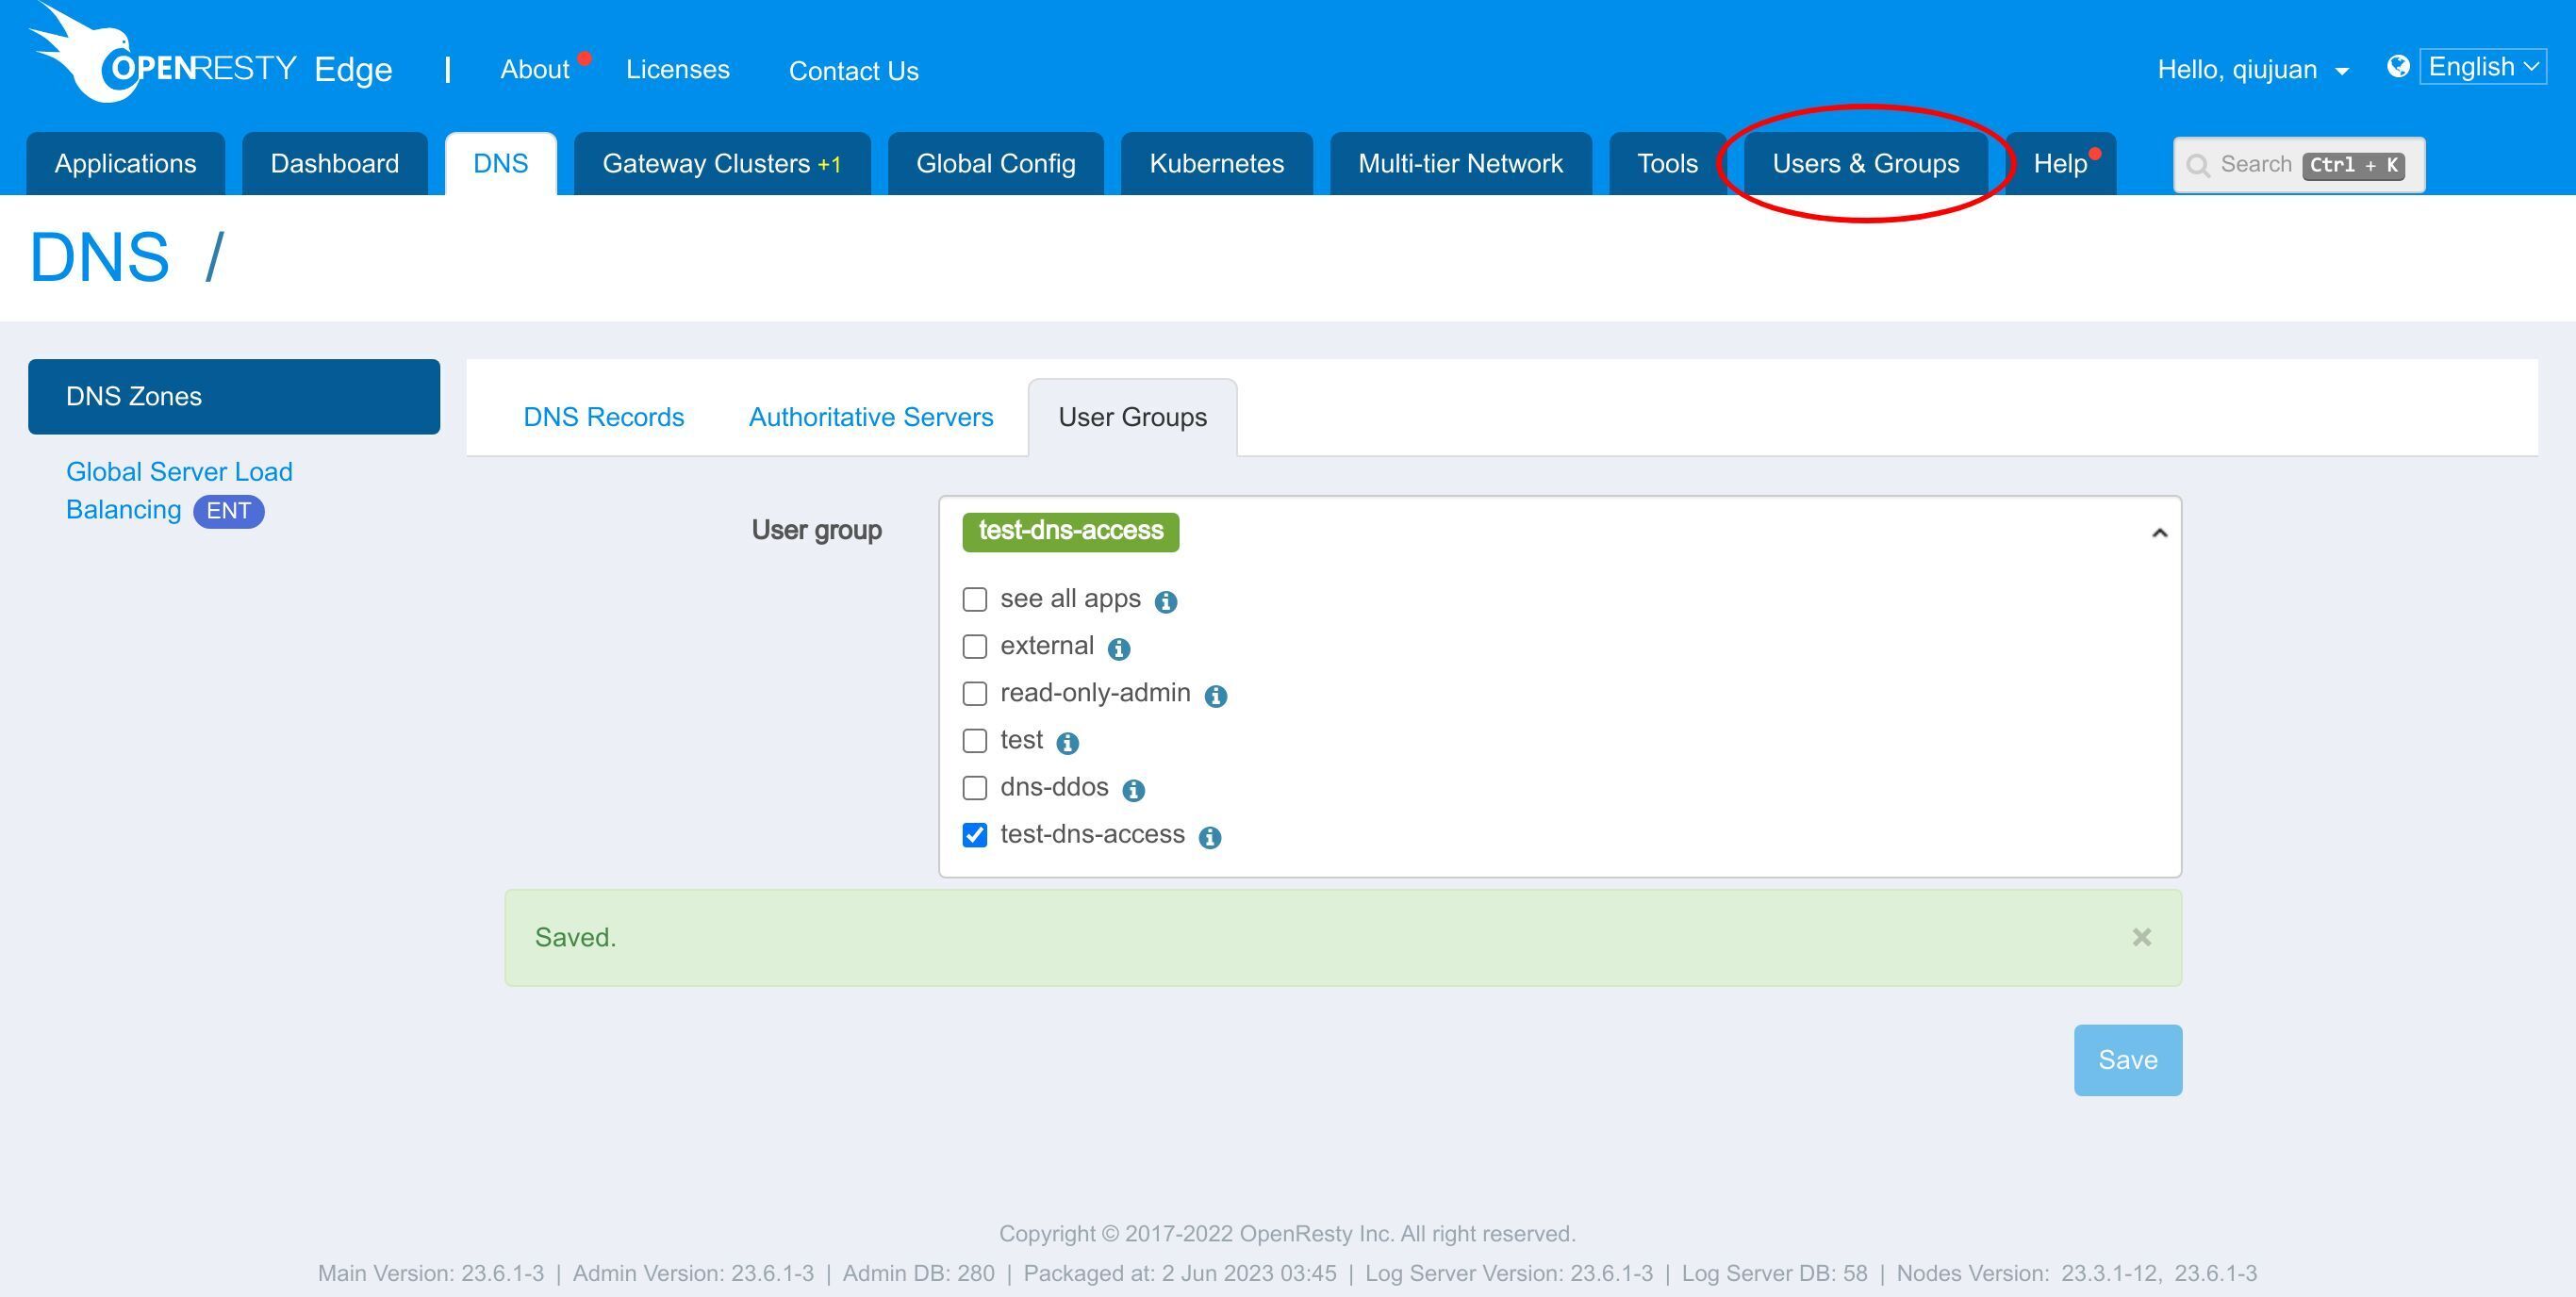
Click this button to add a new user.
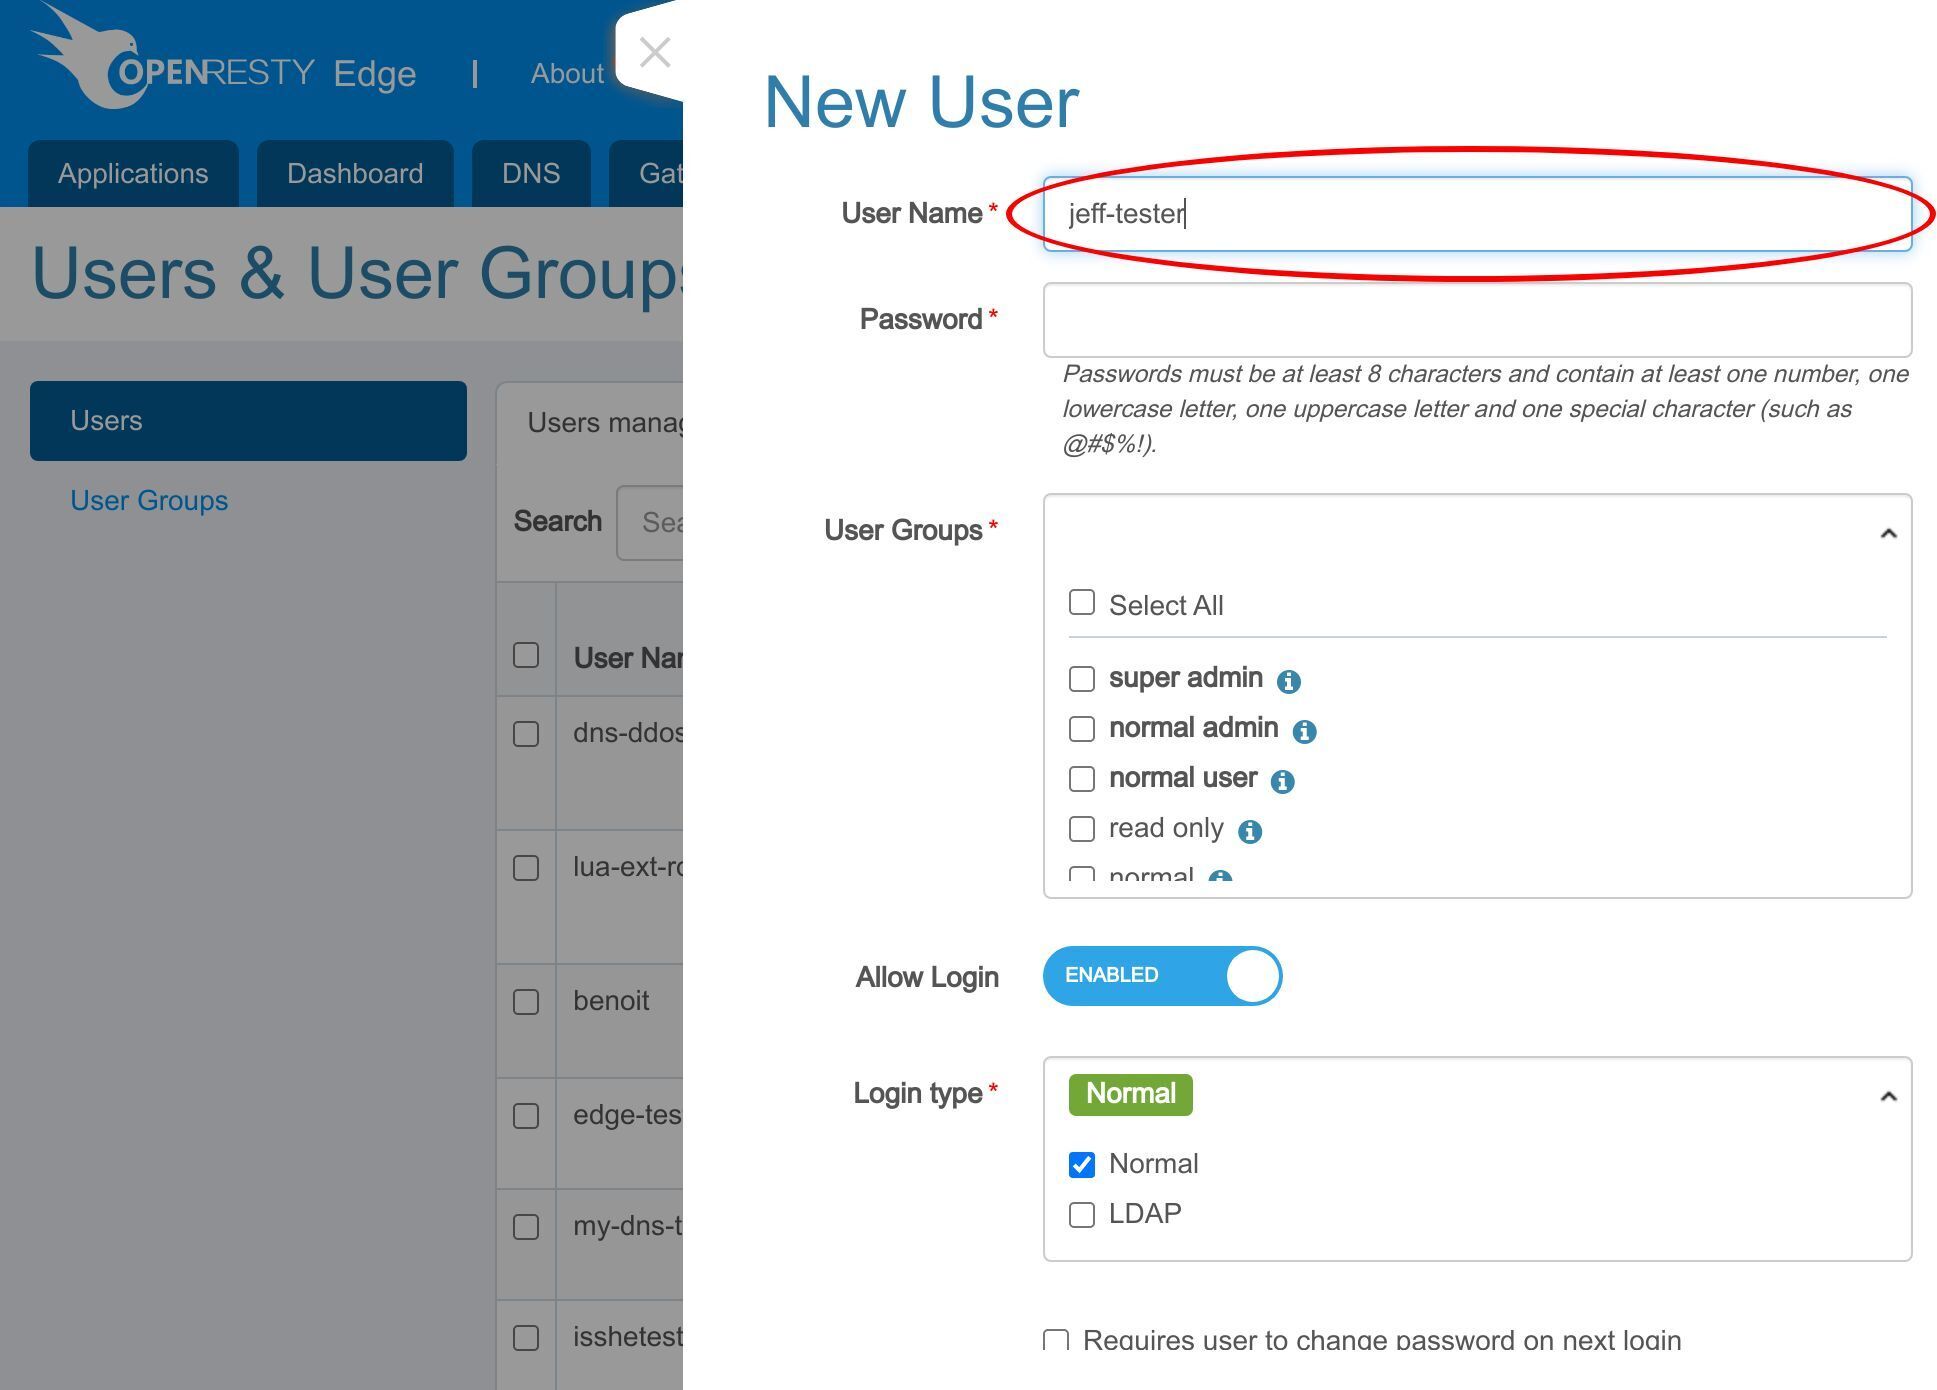
We name it as “jeff-tester”,
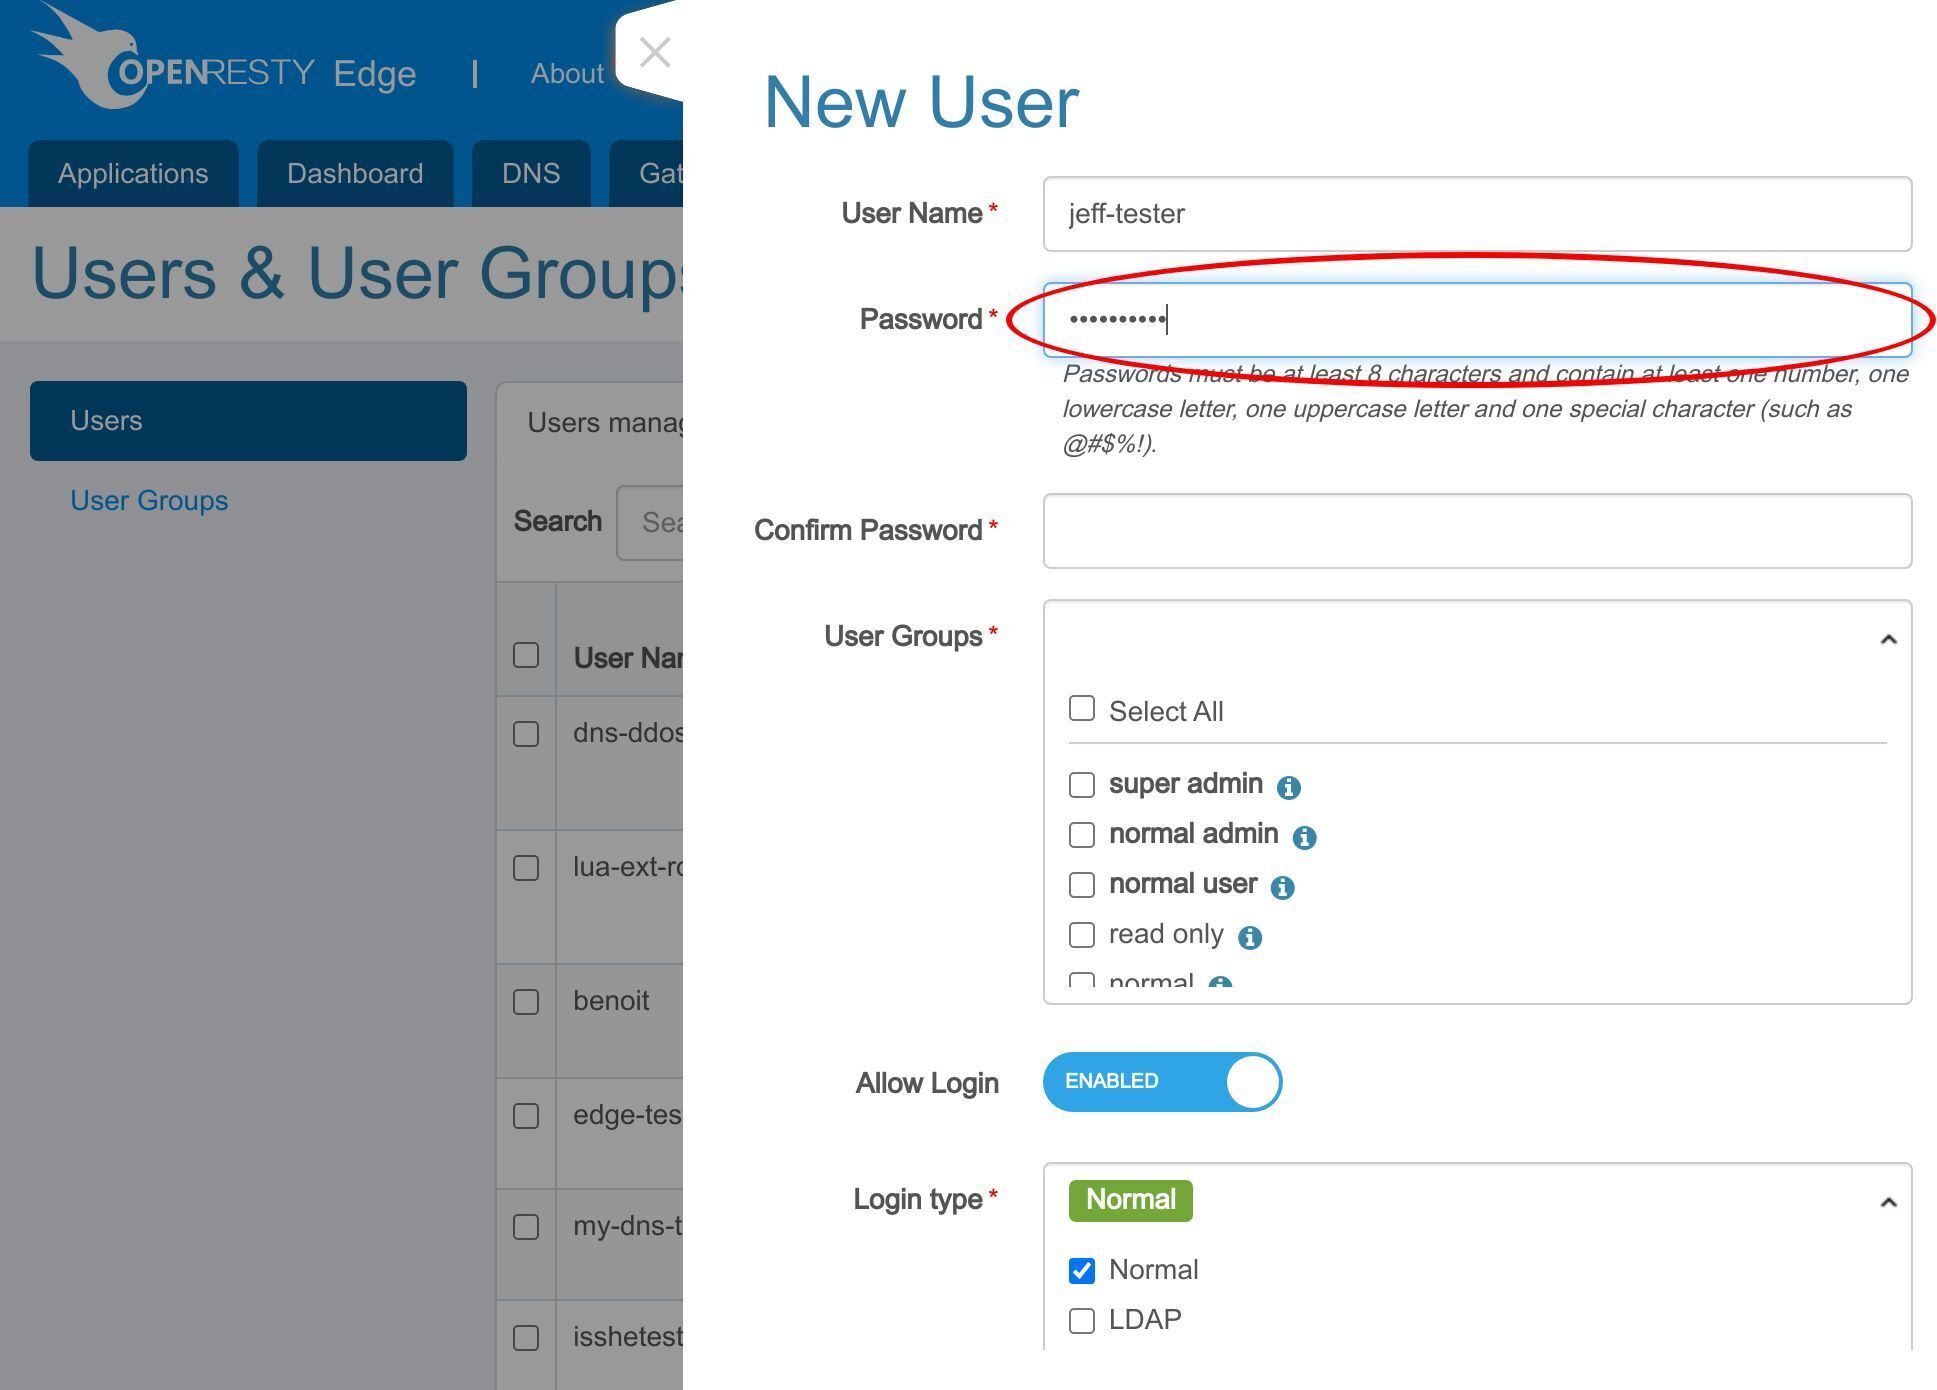
and enter a password.
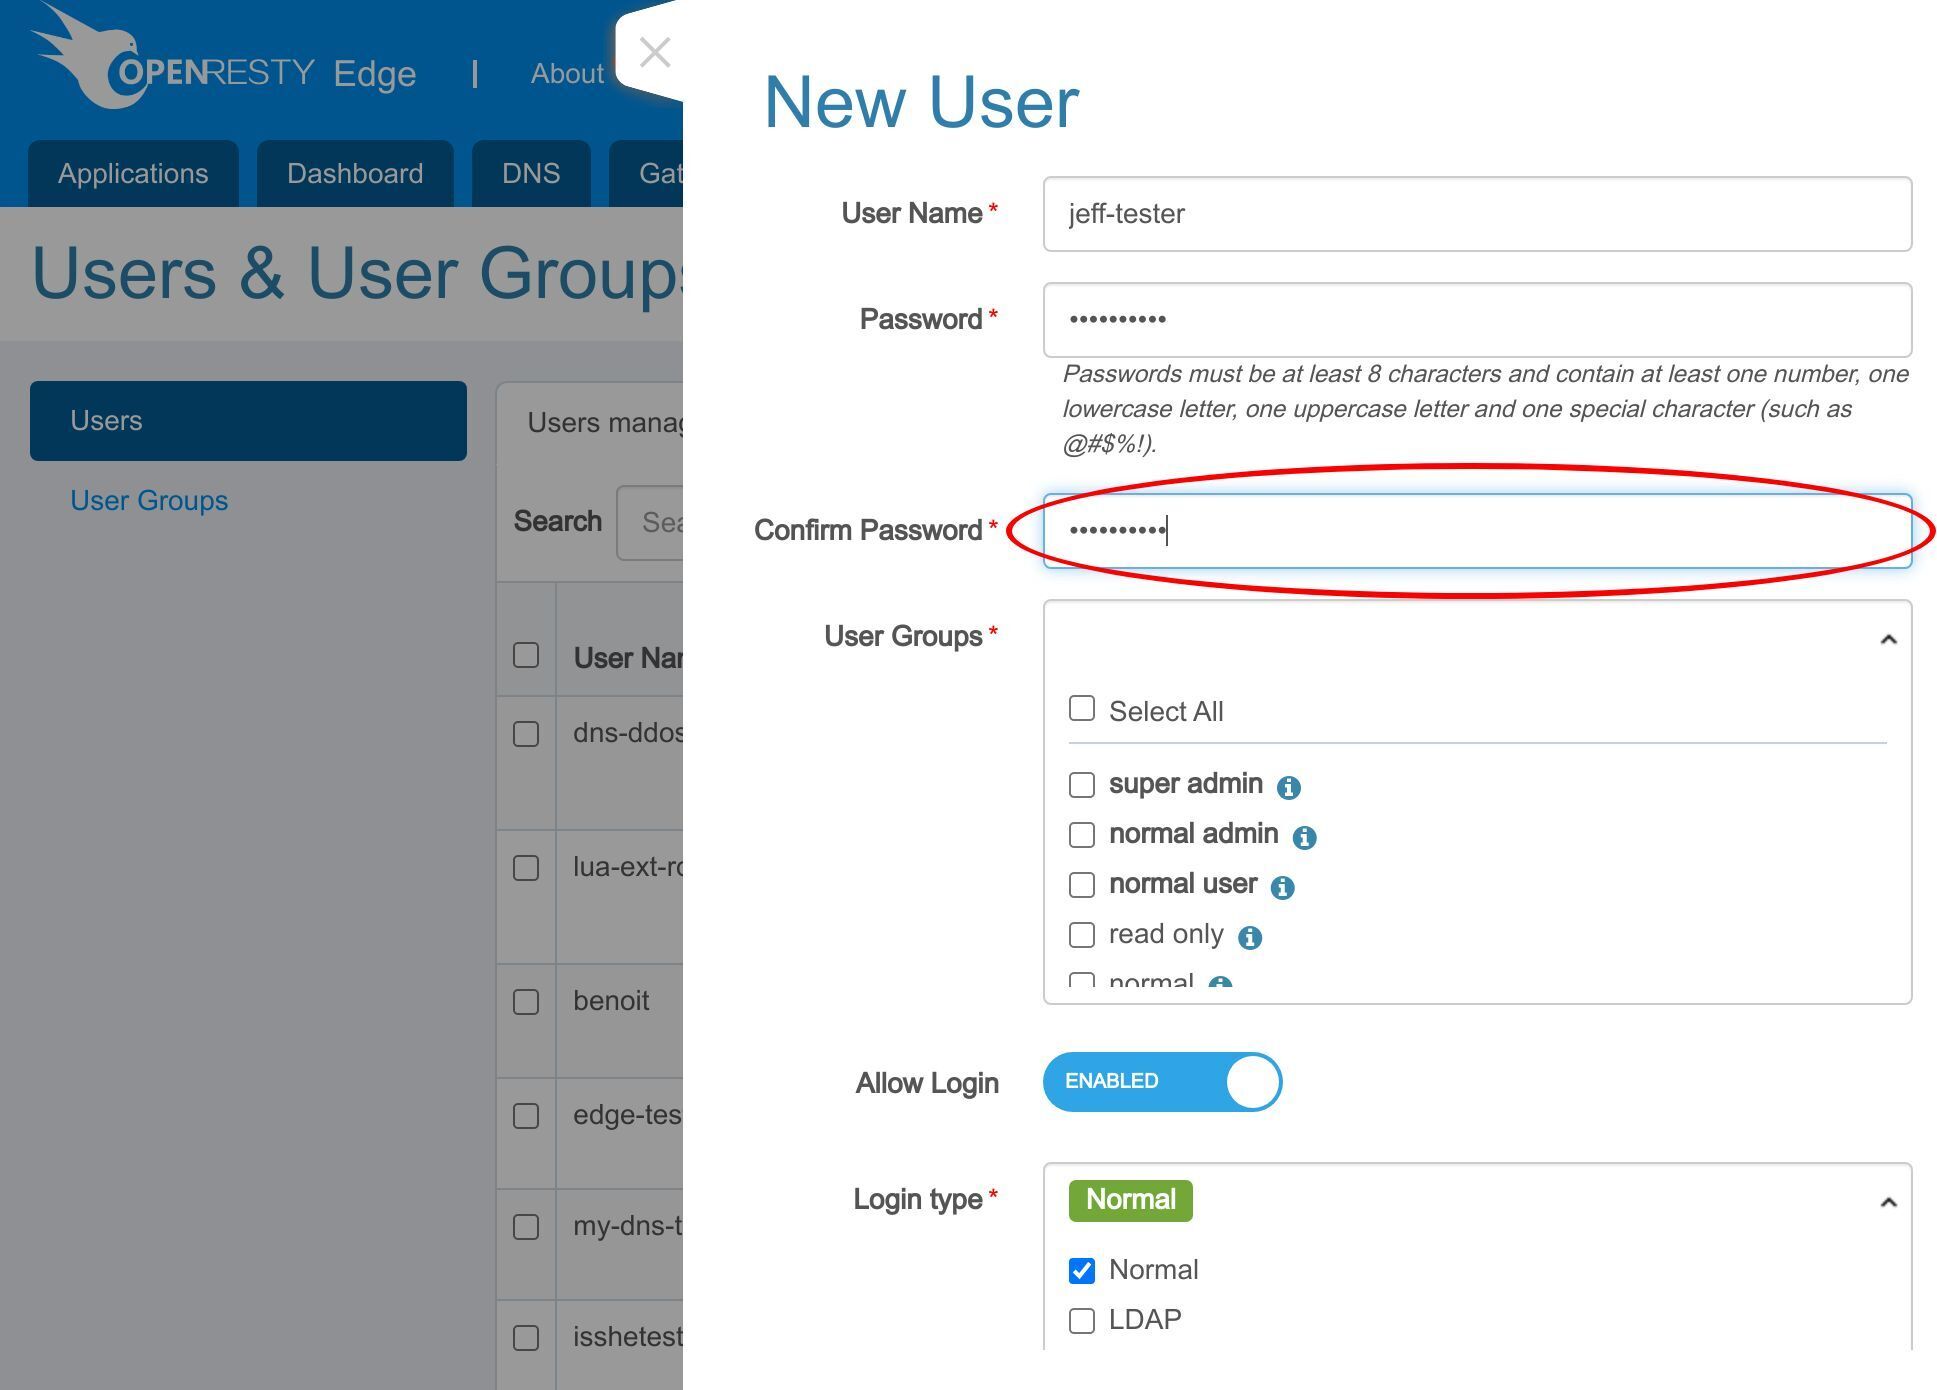
Enter the password again to confirm.
Then choose “test-dns-access” as this user’s group.
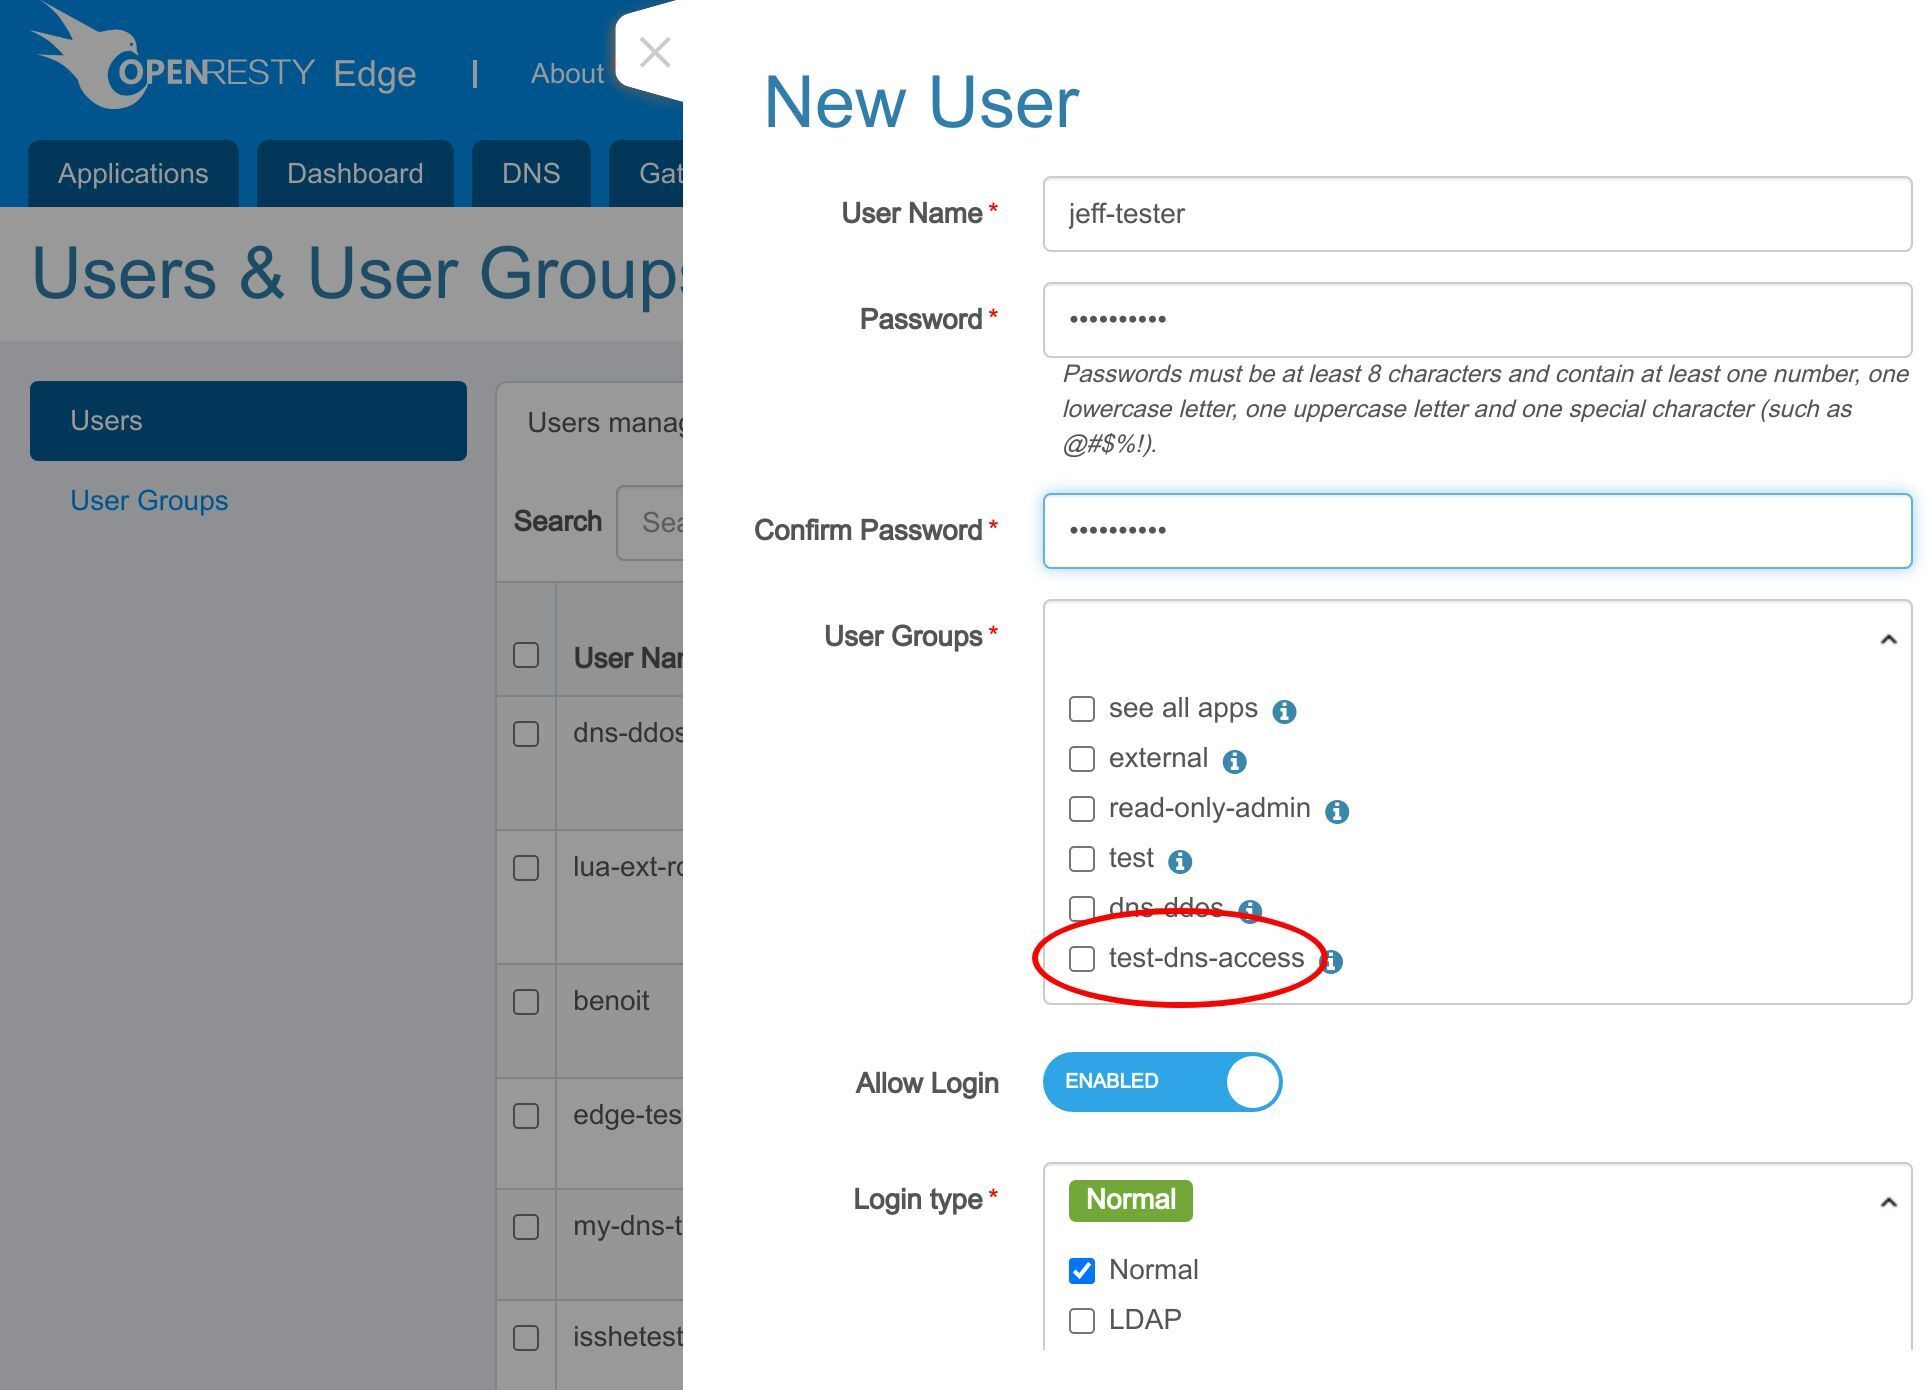
Save it.
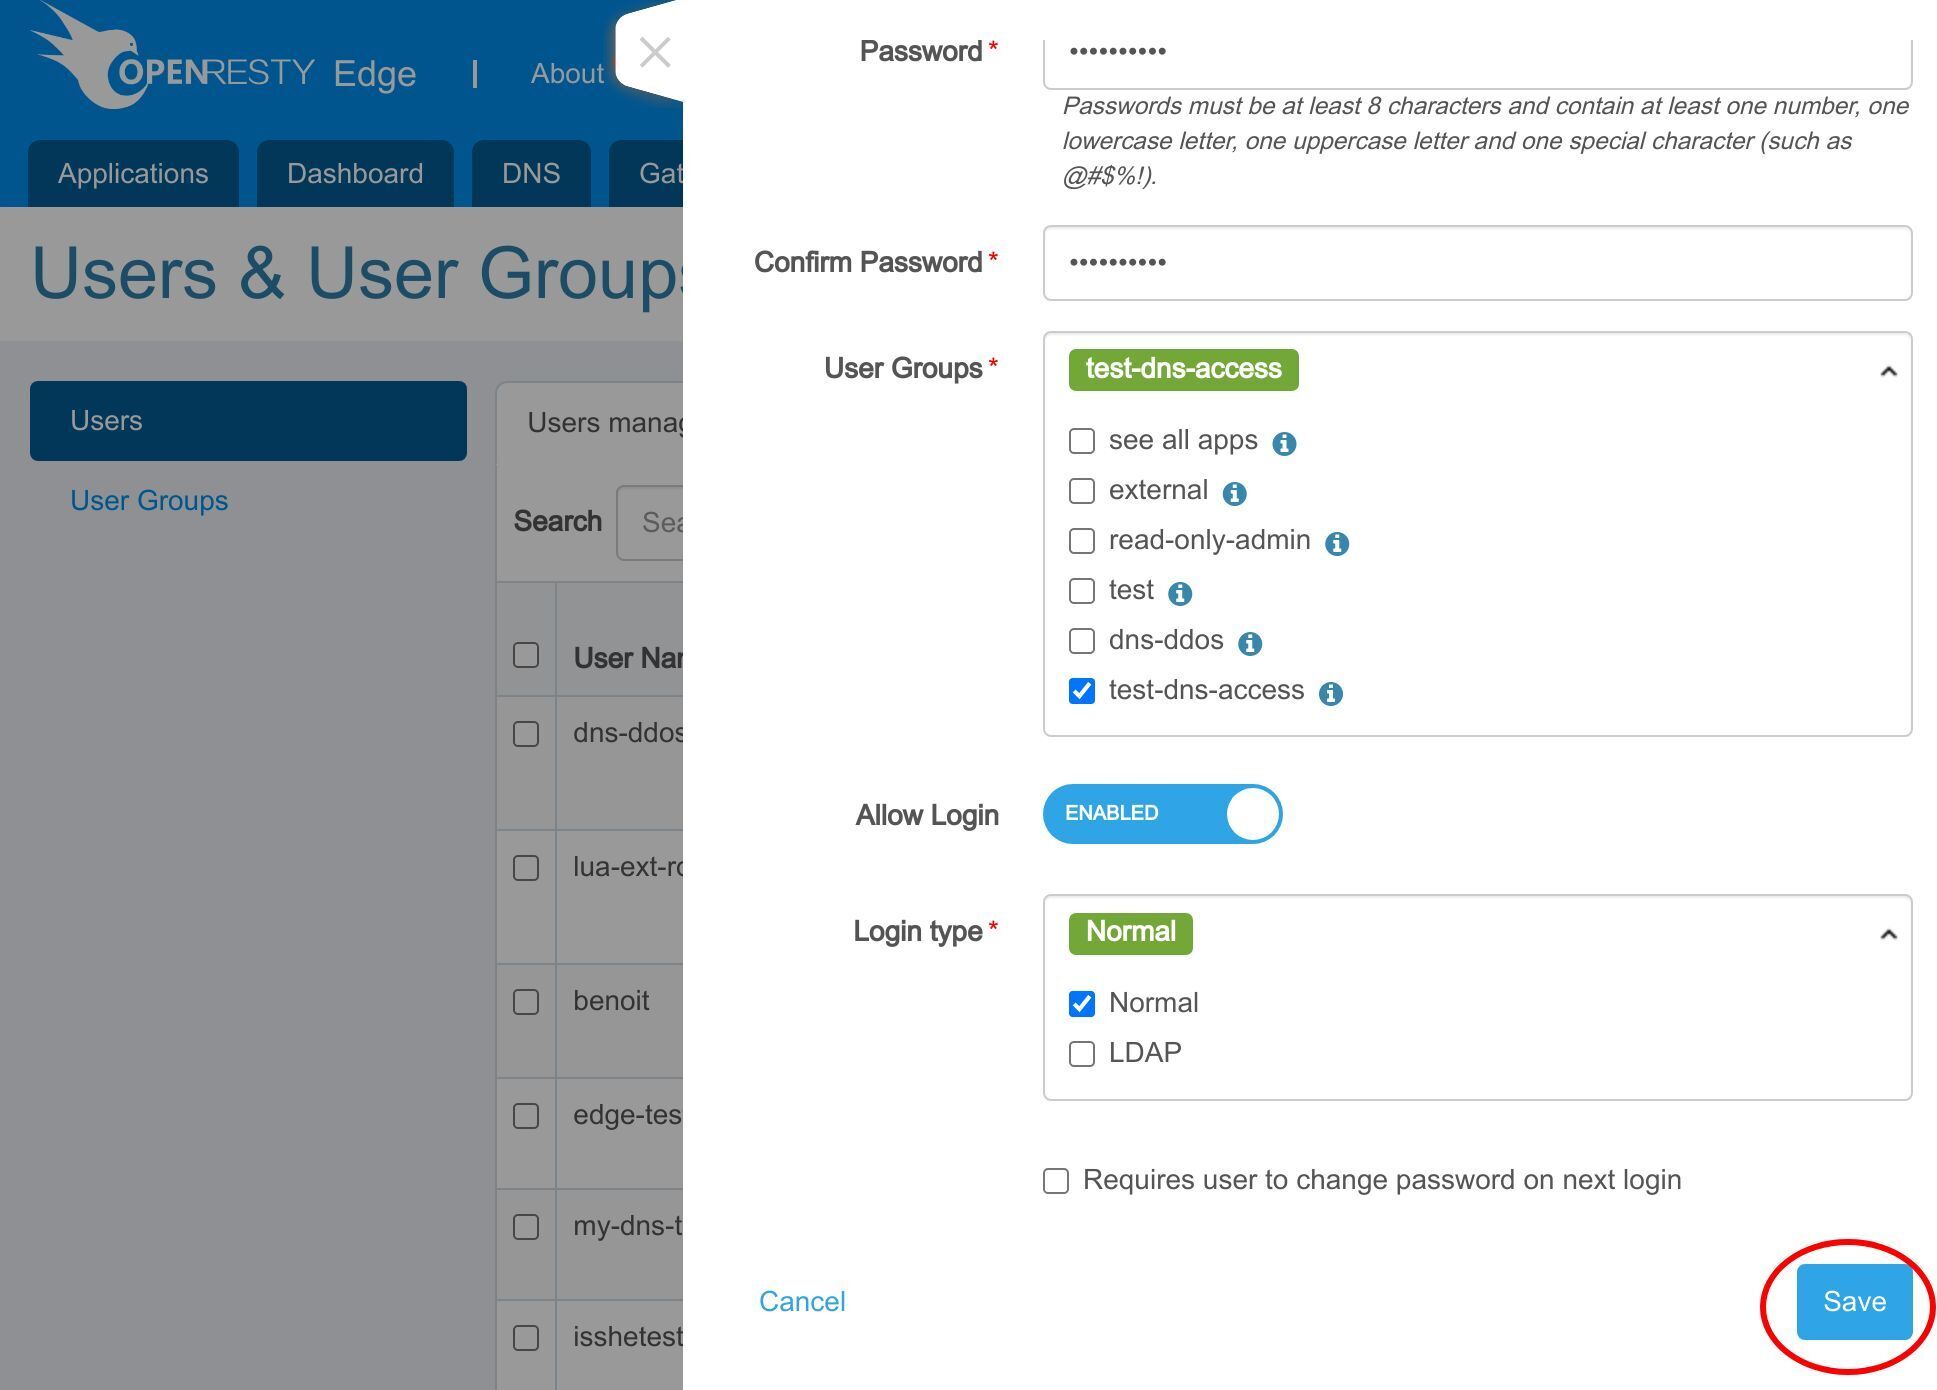
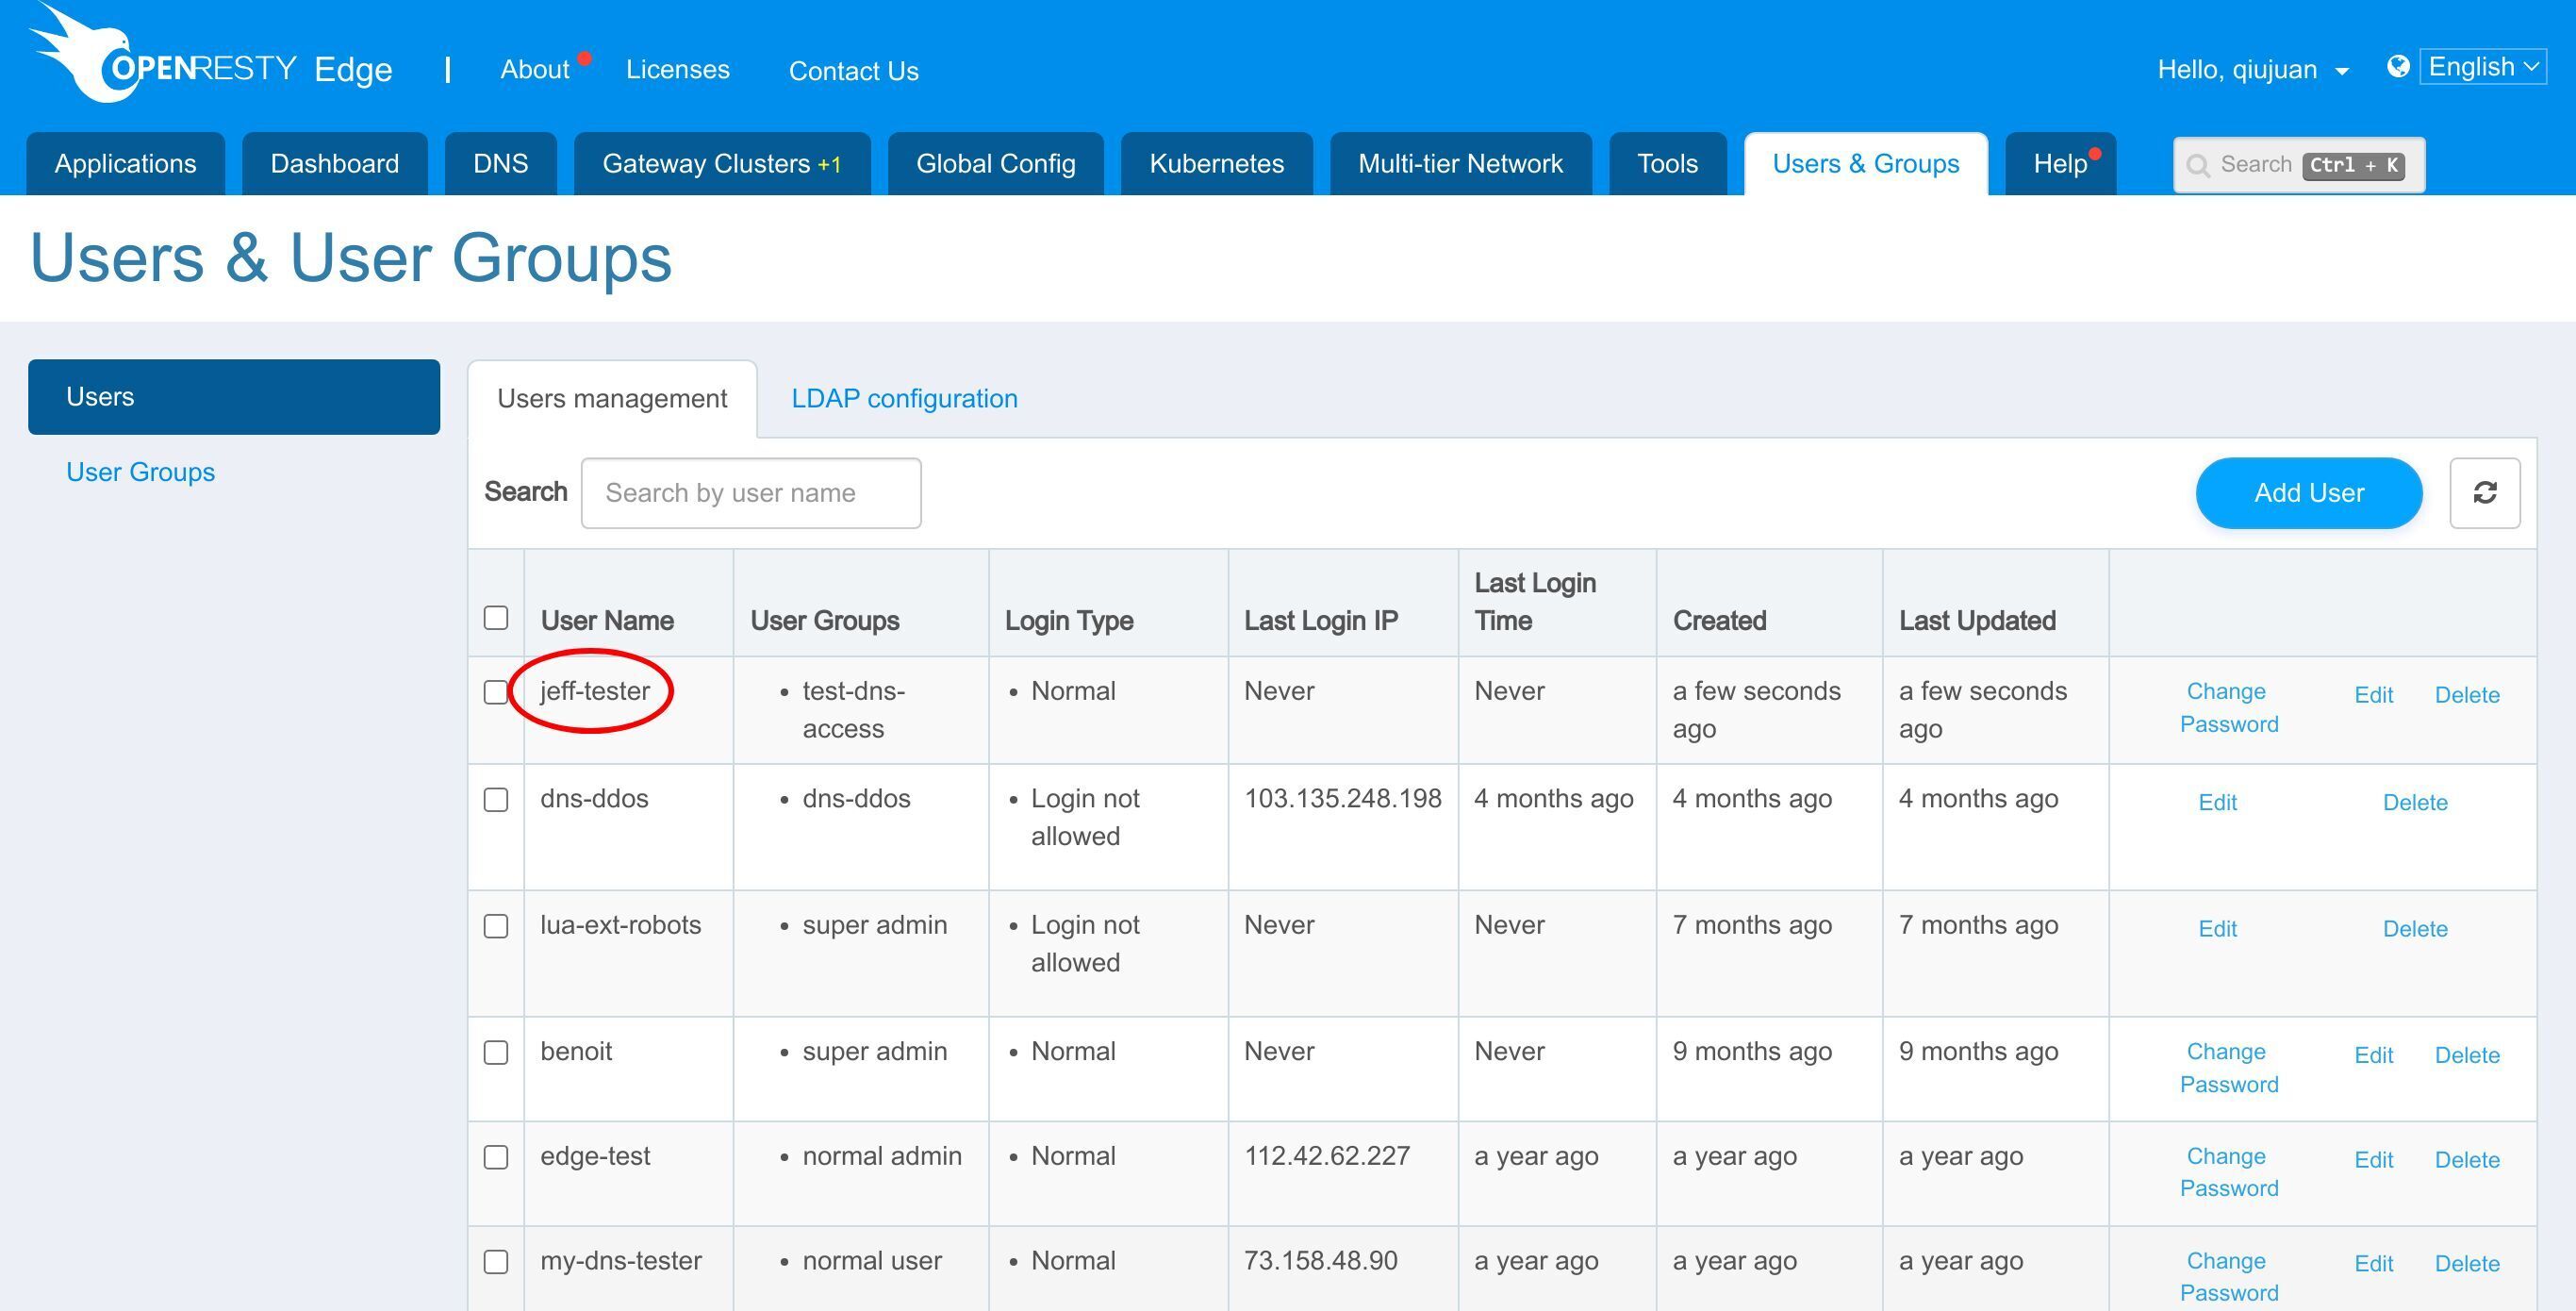
The tester user is created.
Next we switch the account.
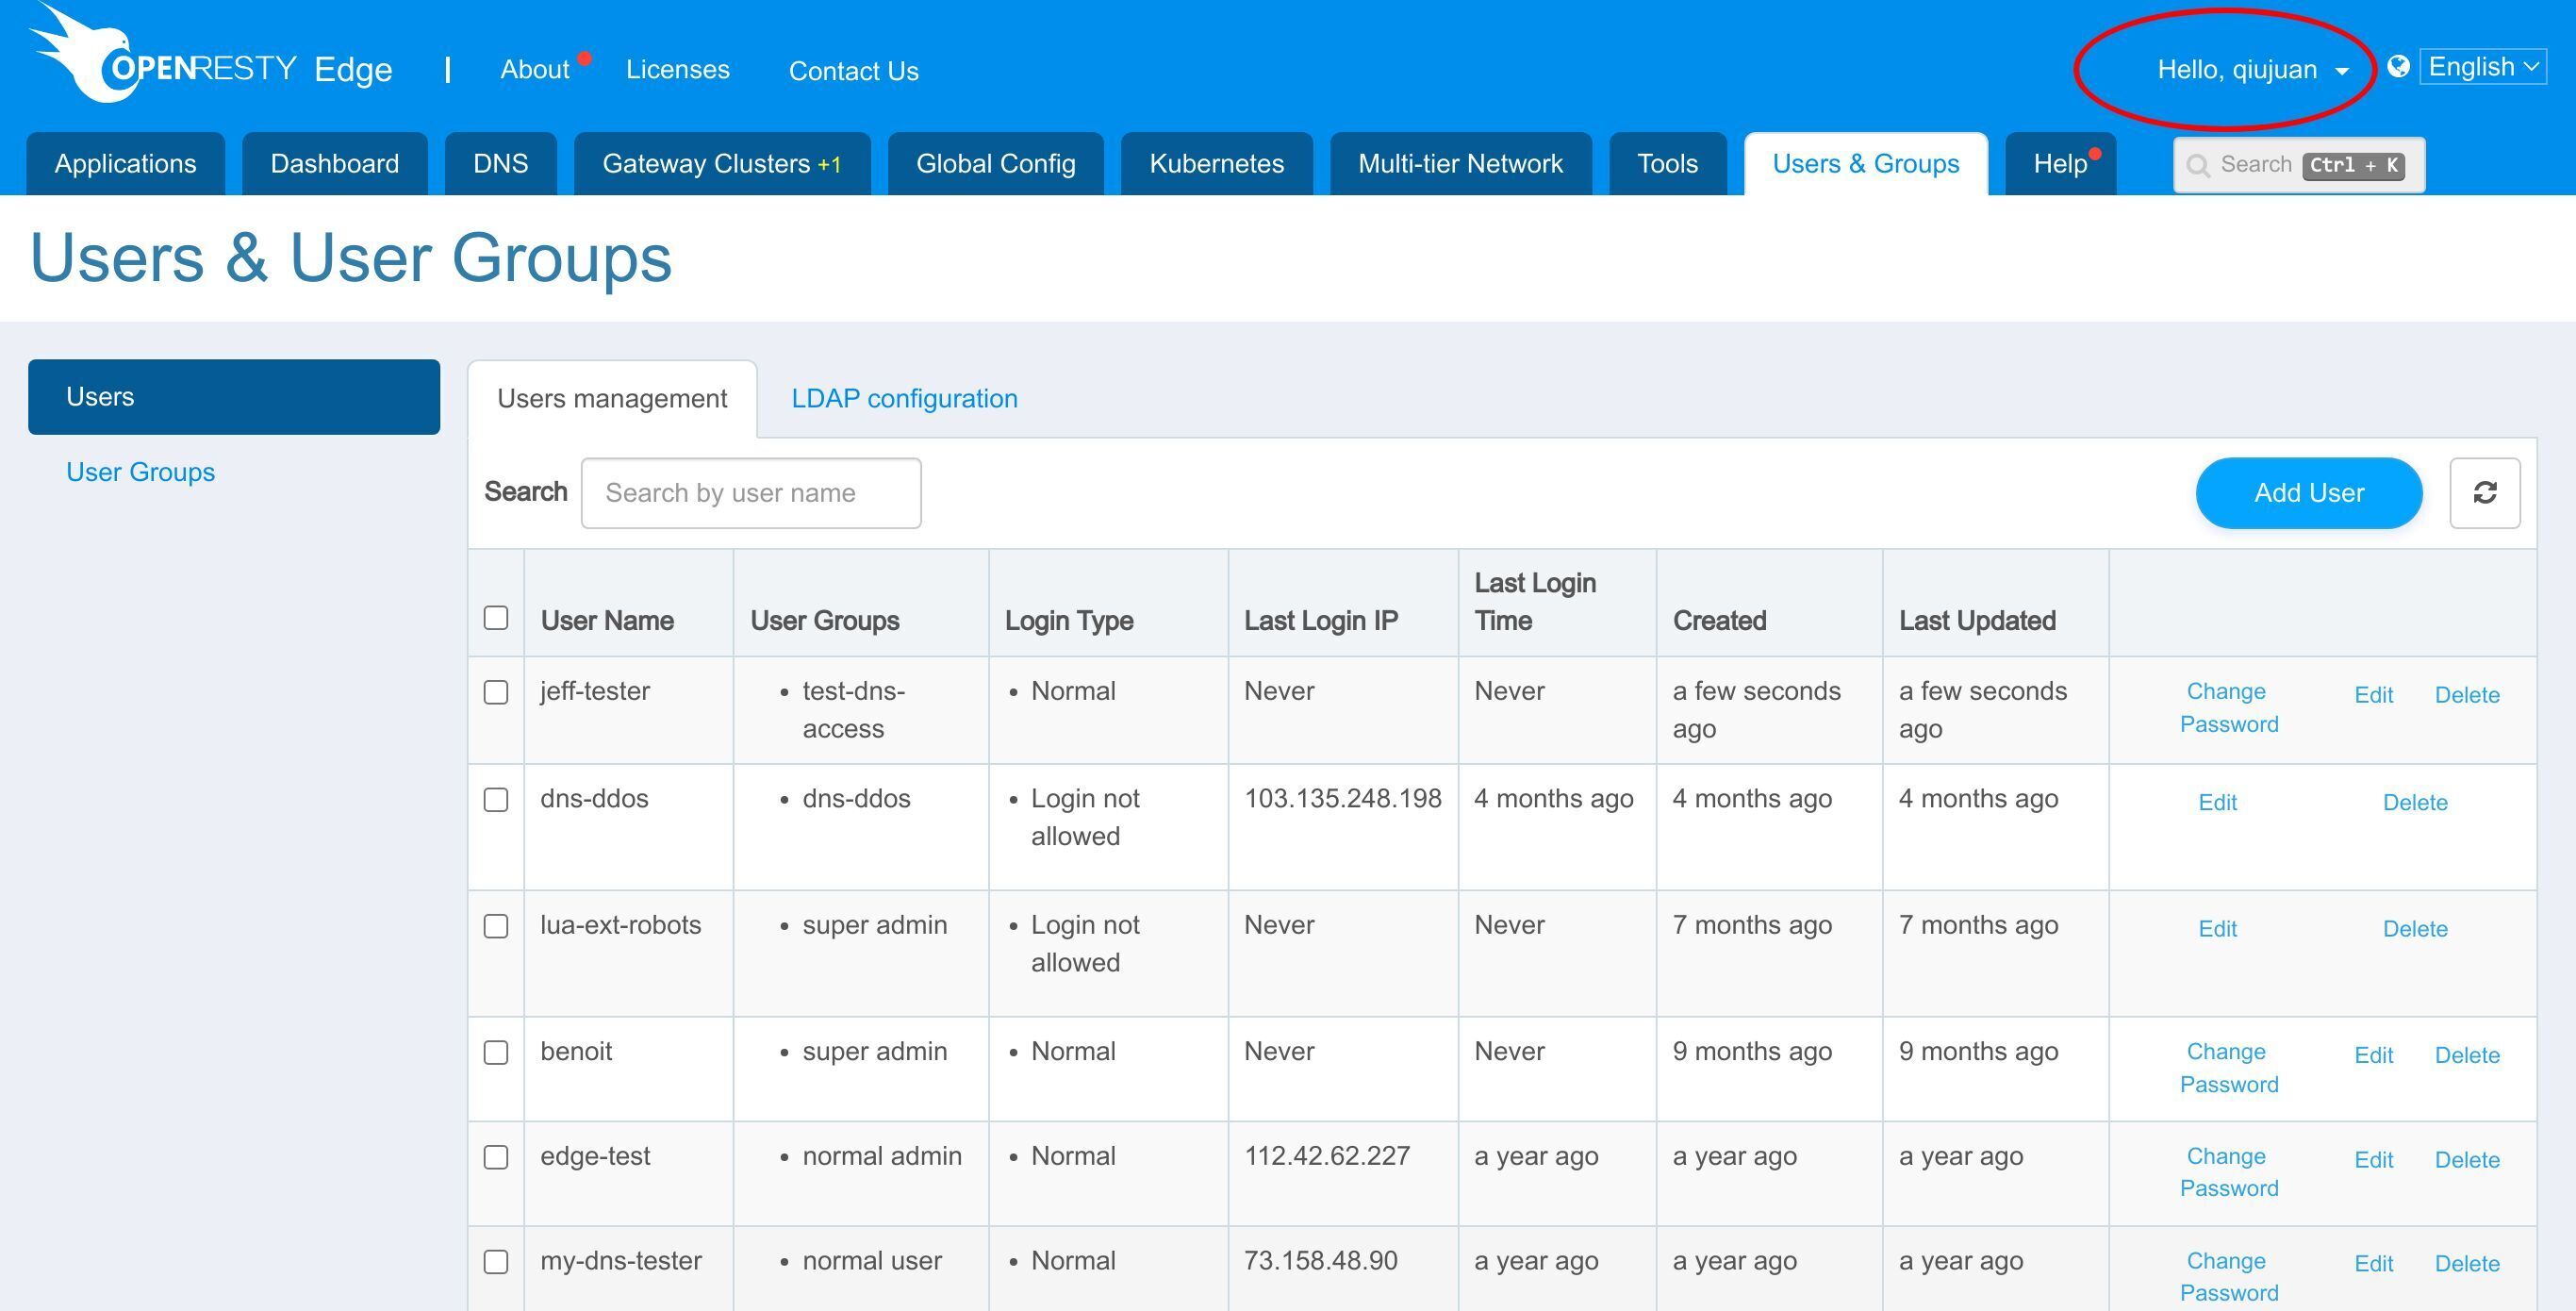
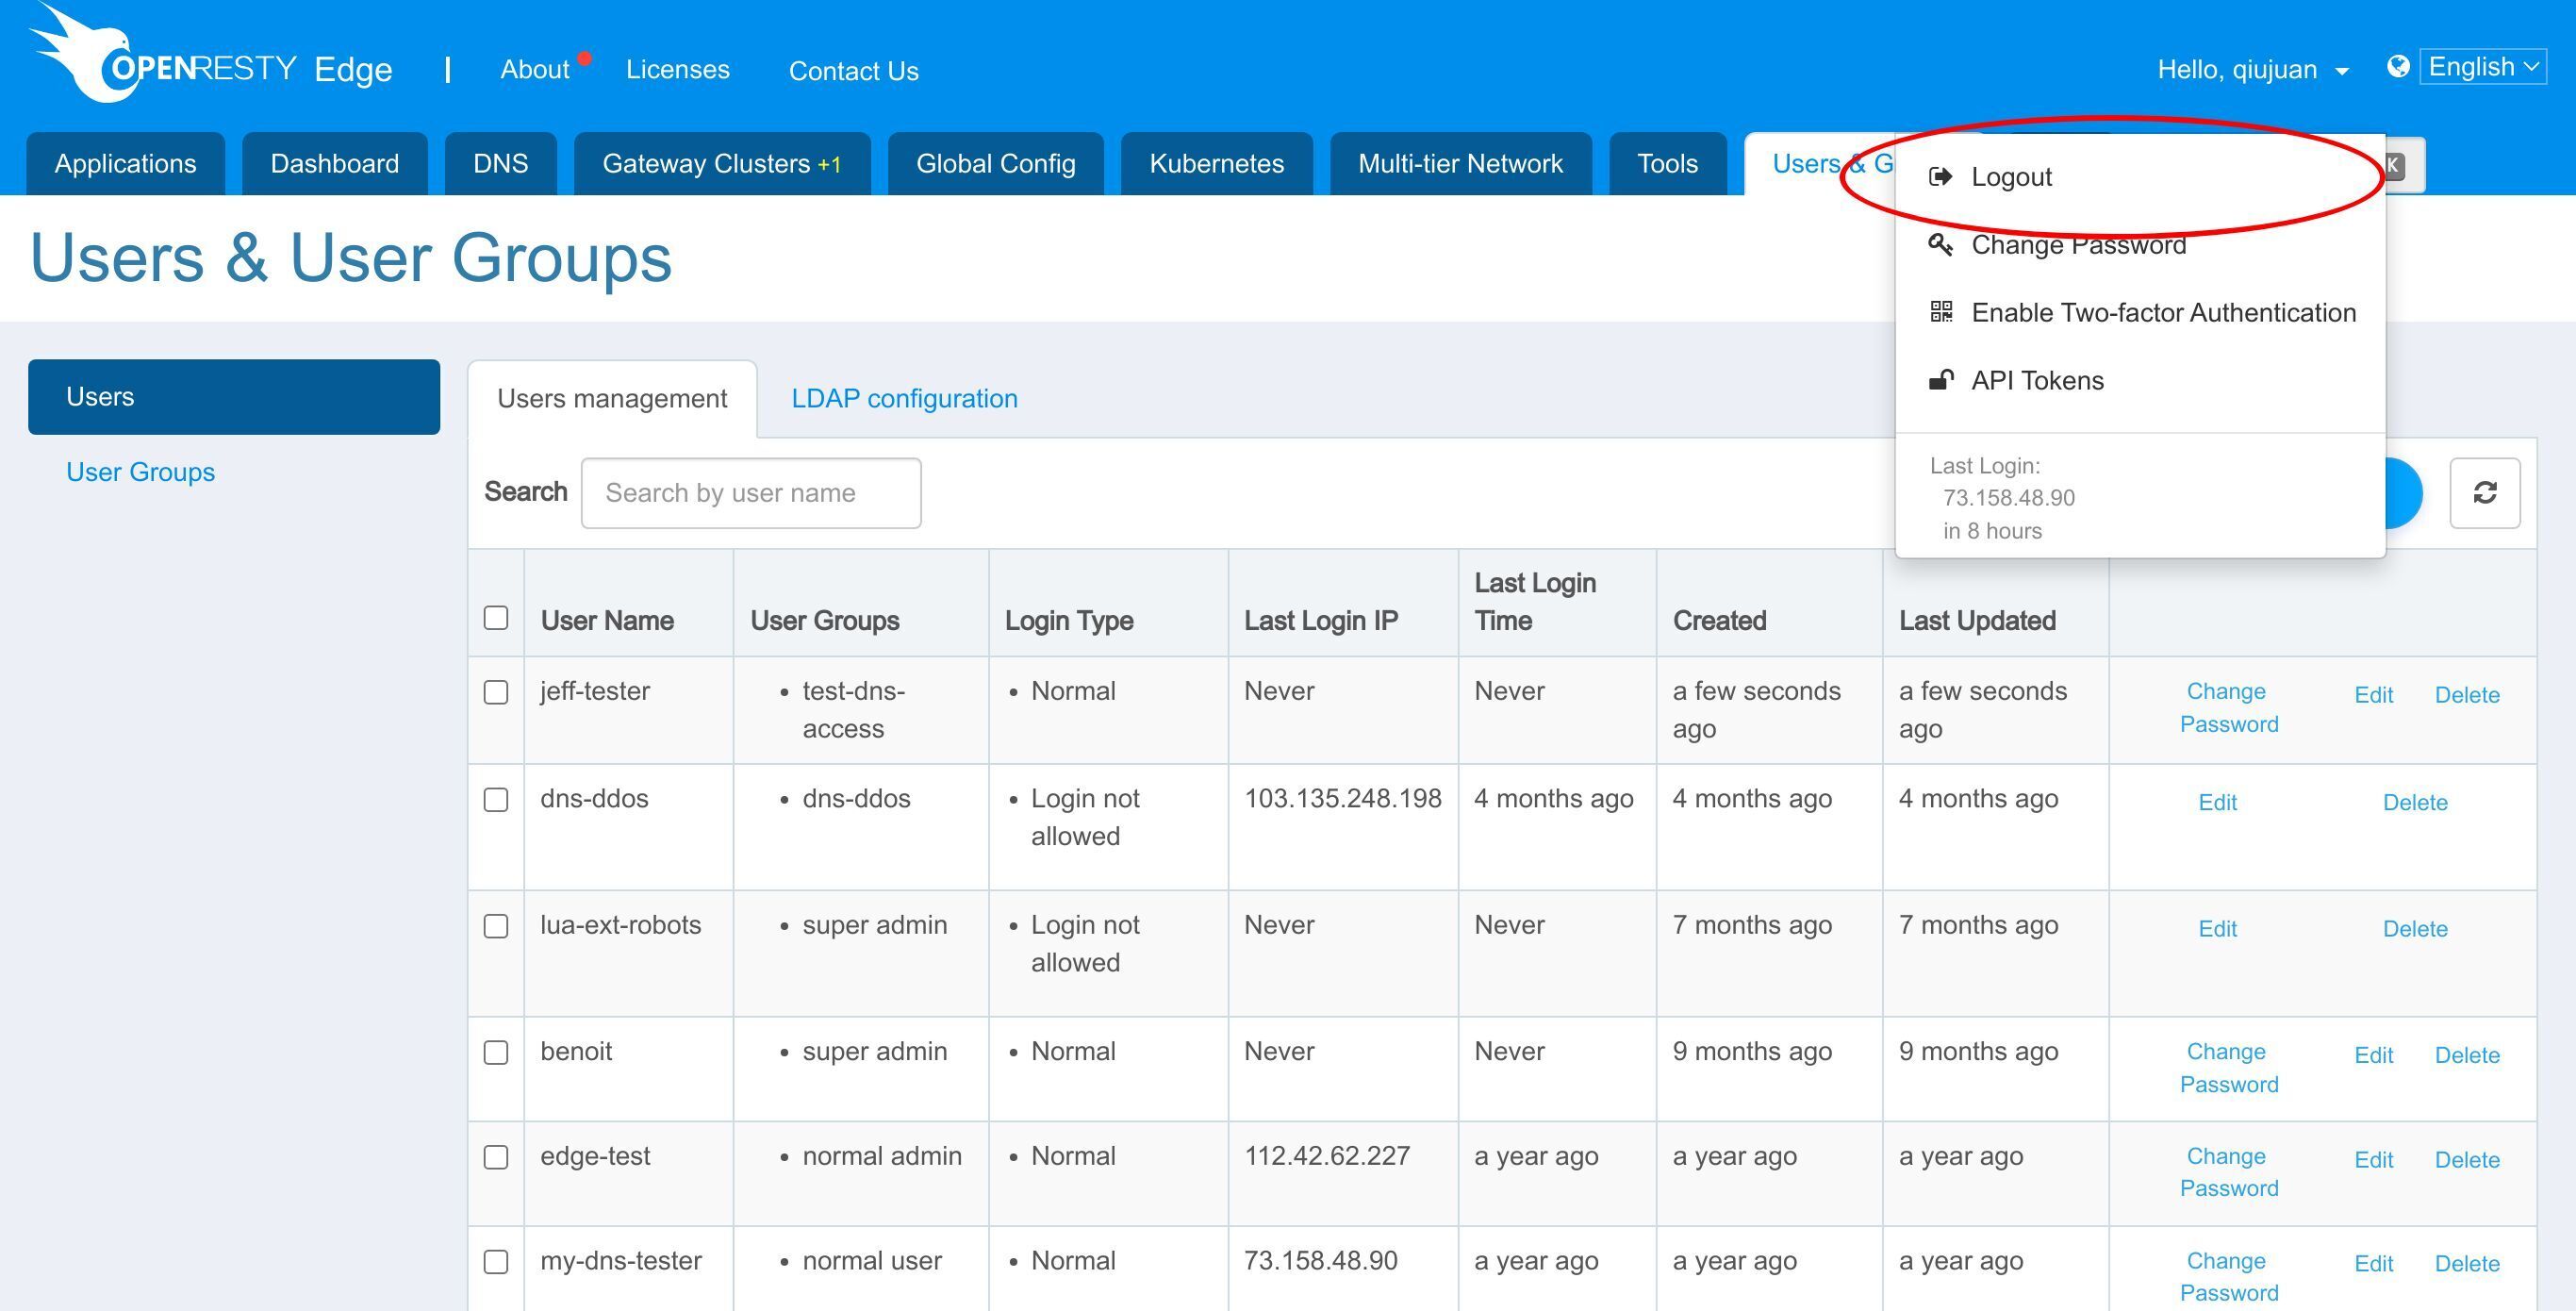
Logout from current account.
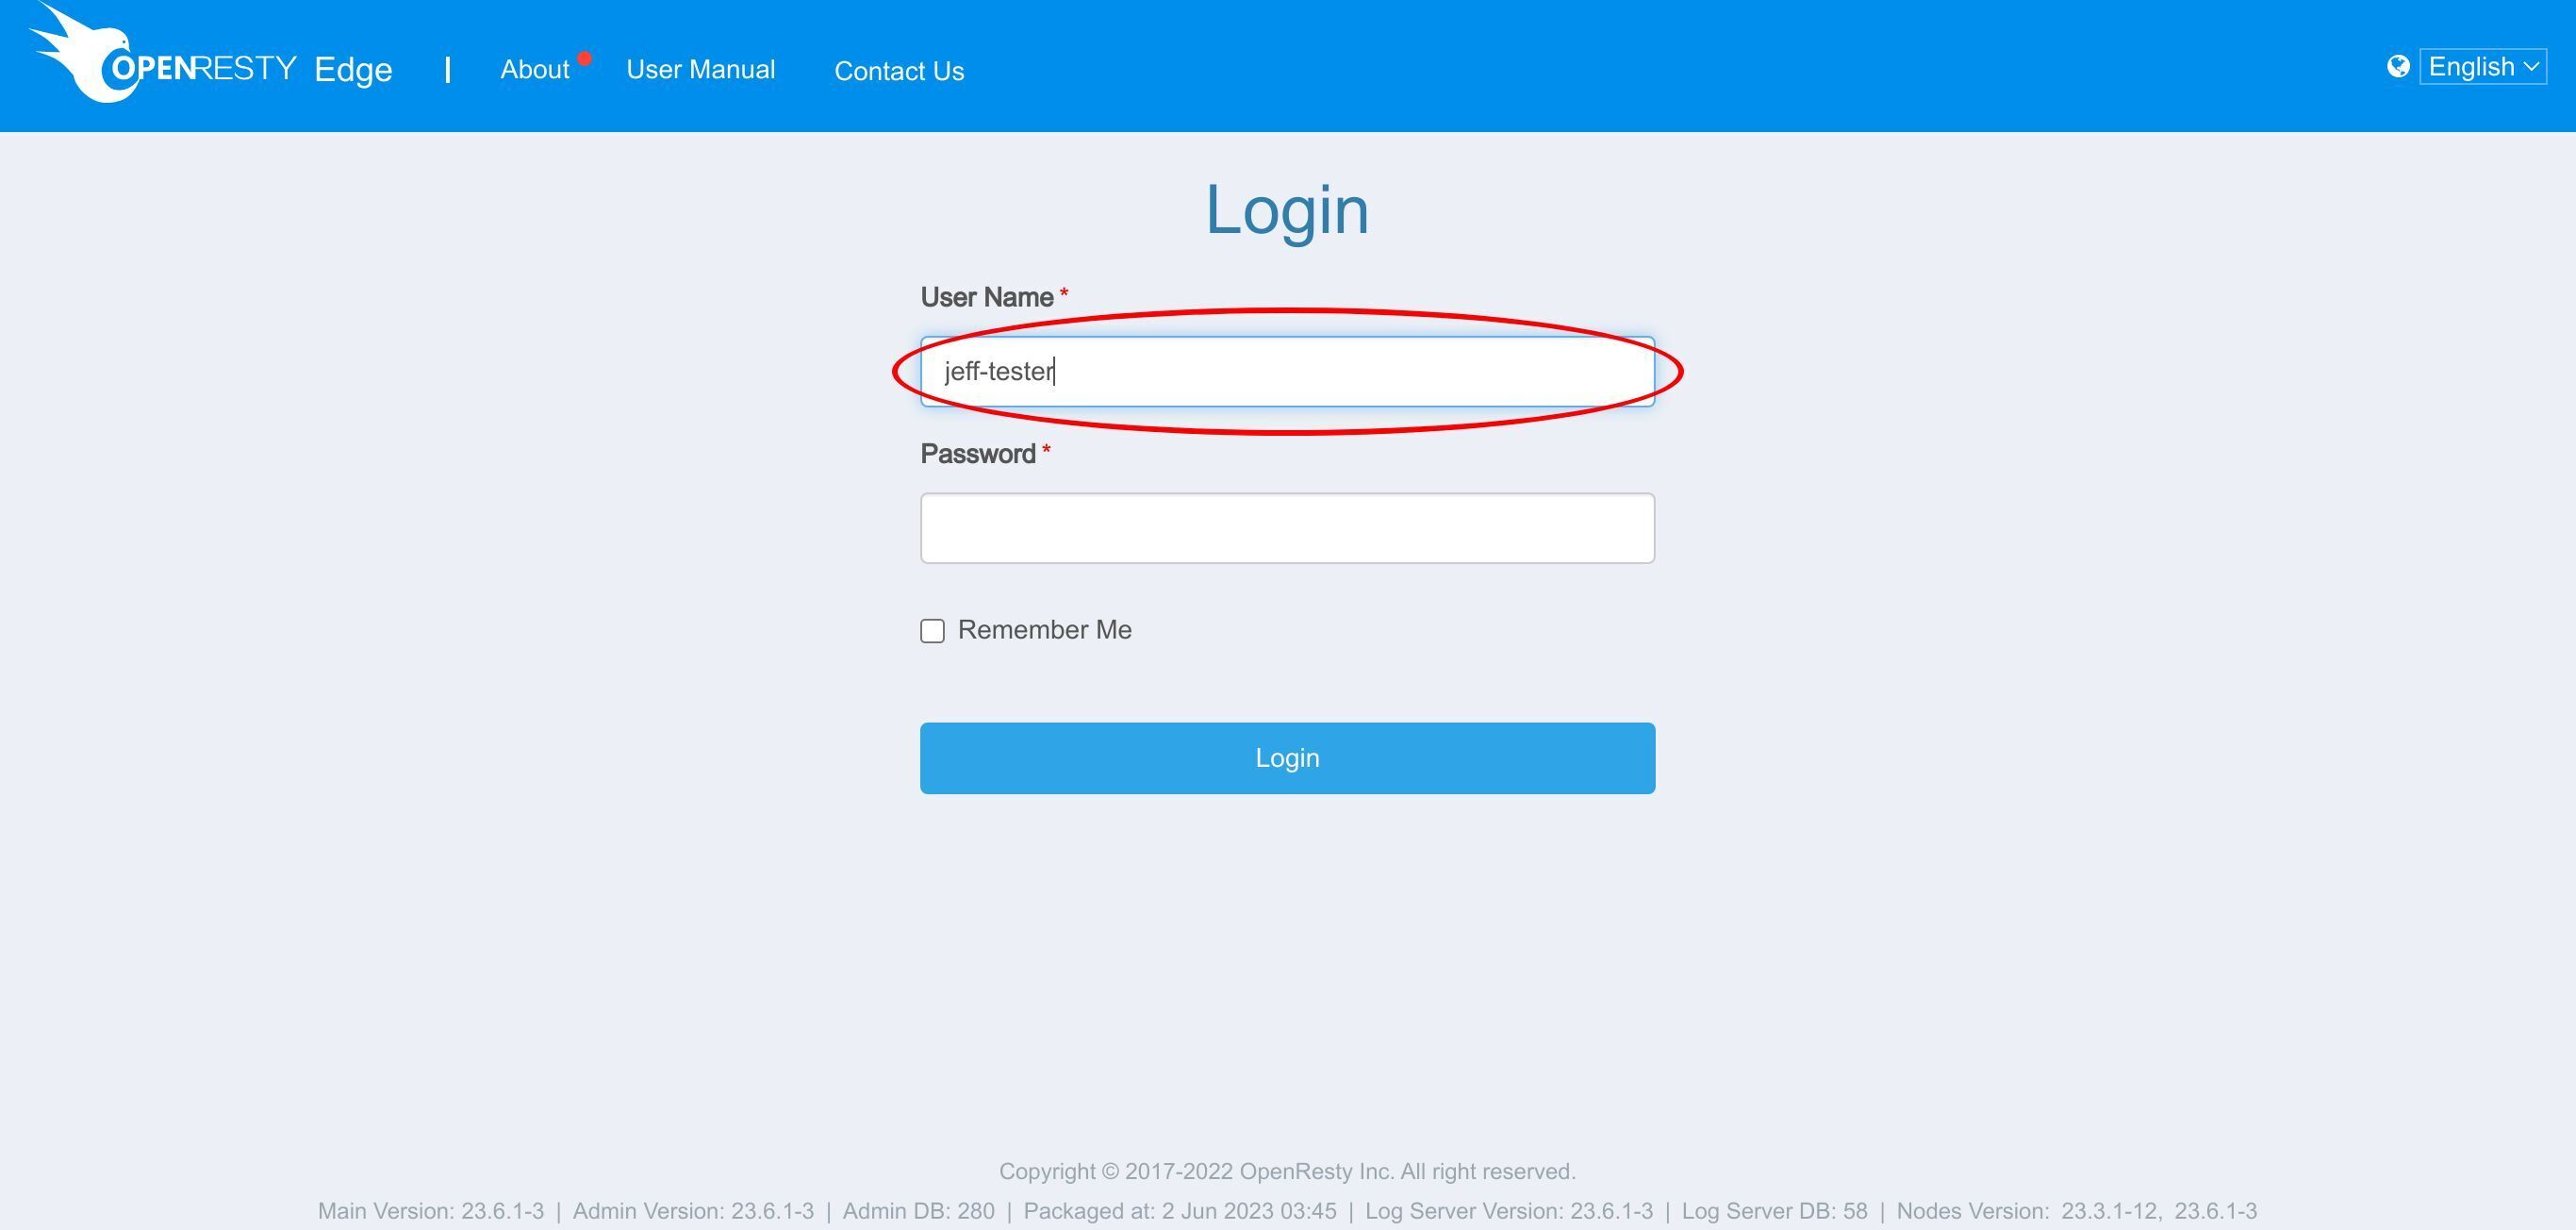
Sign in with the name and password we just set. Enter the name.
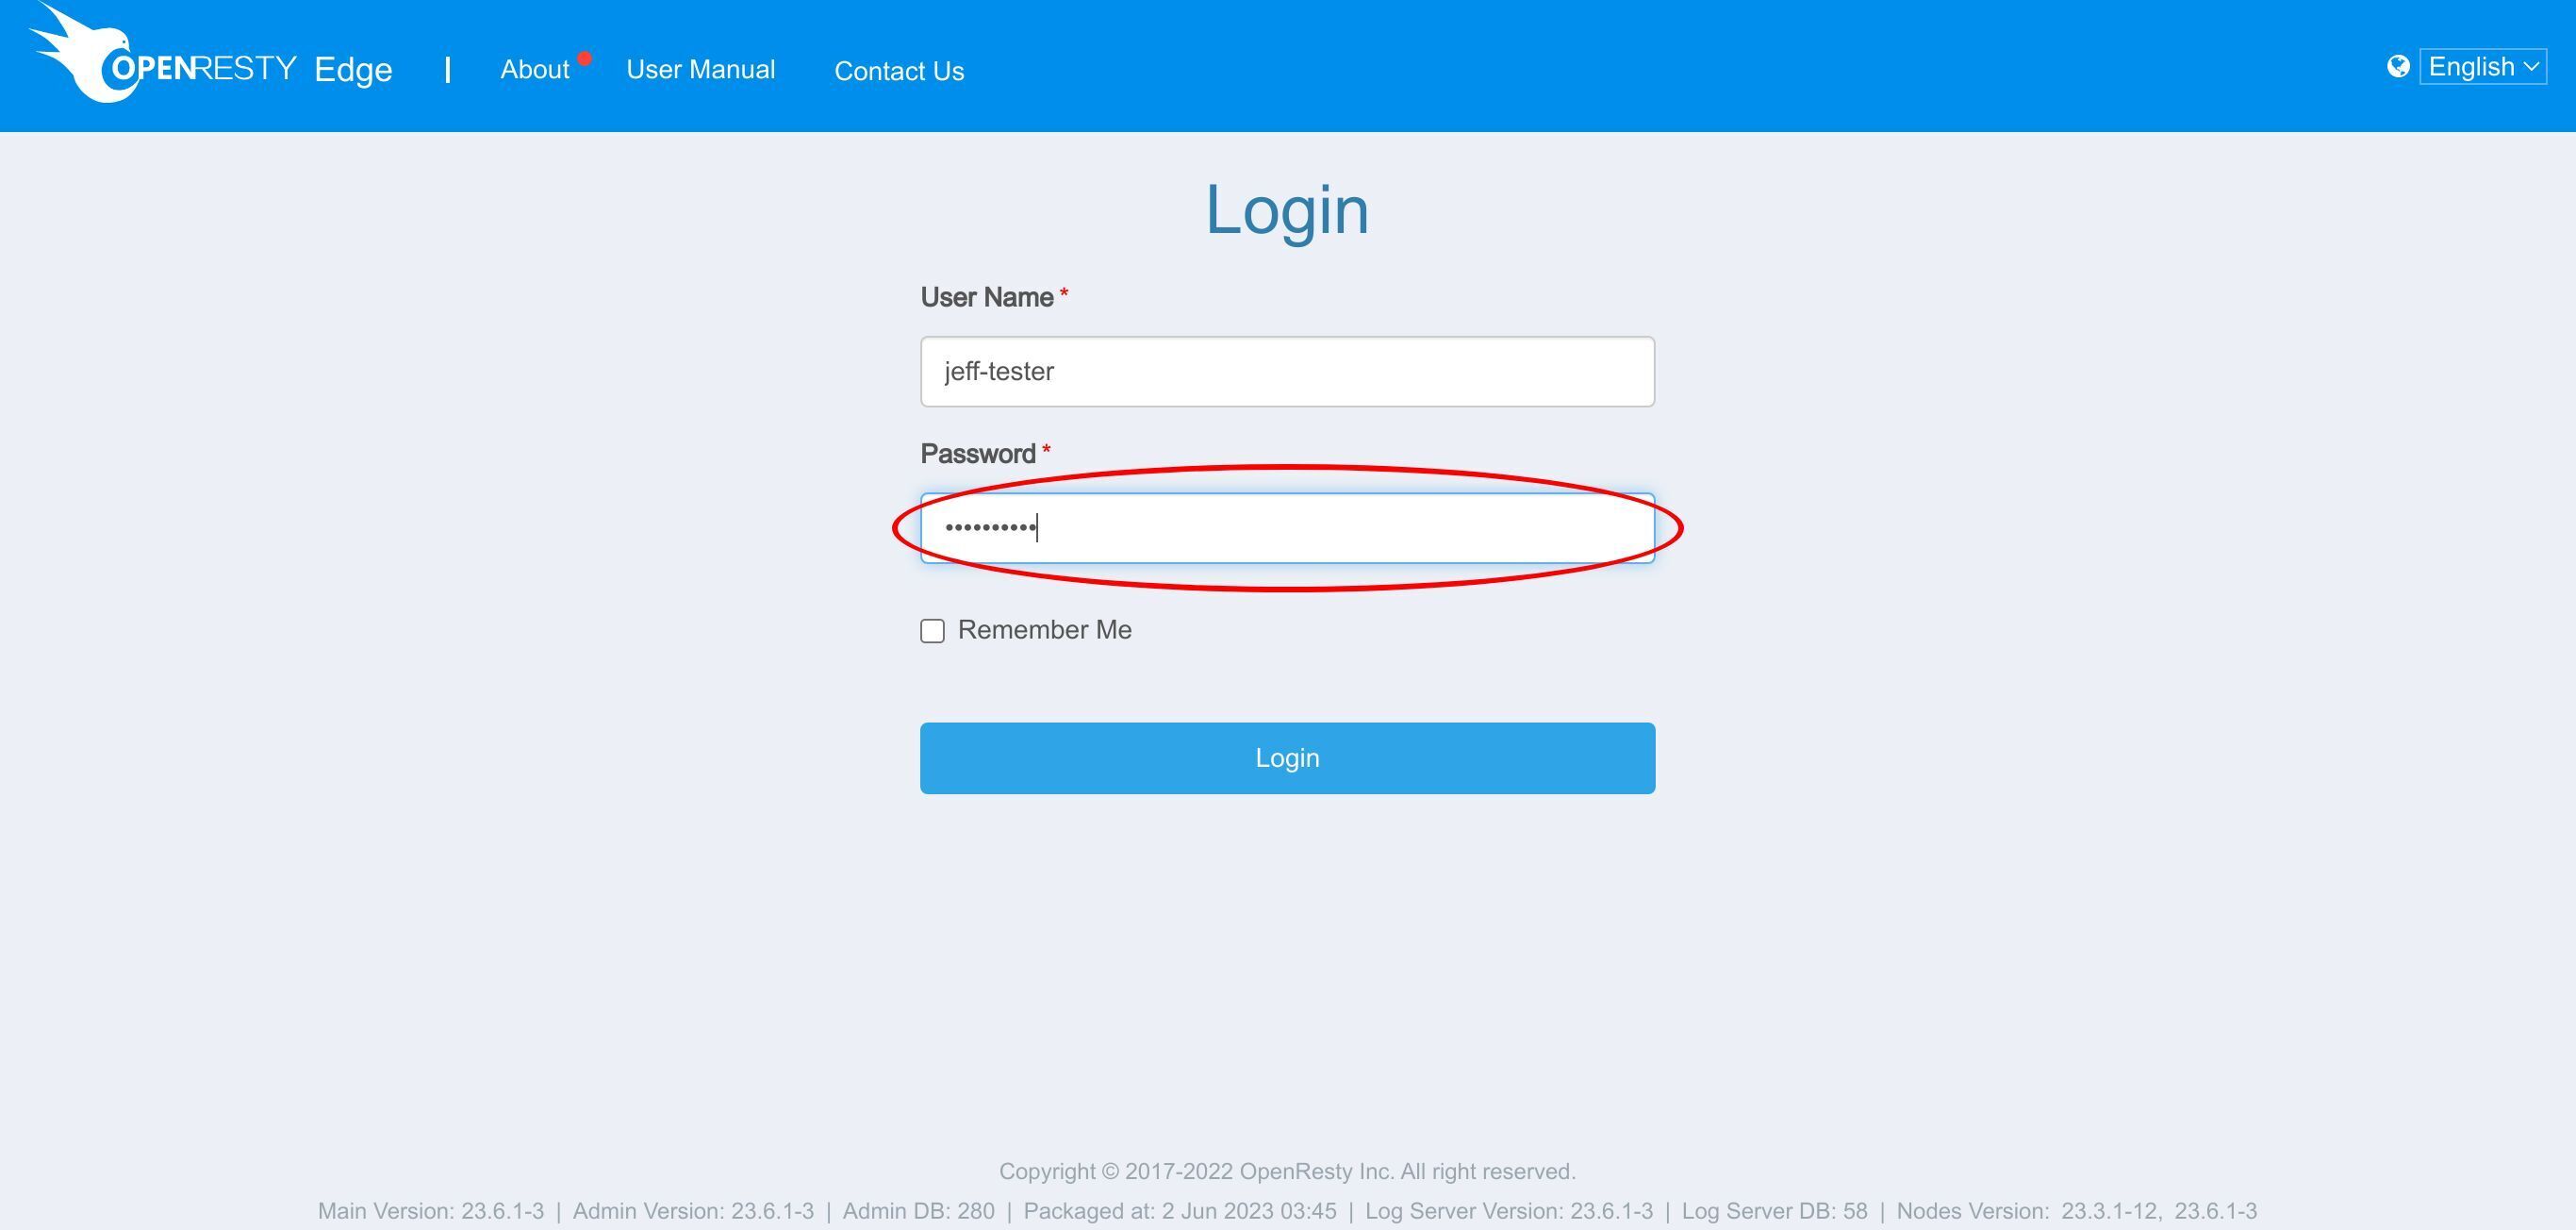
Enter the password.
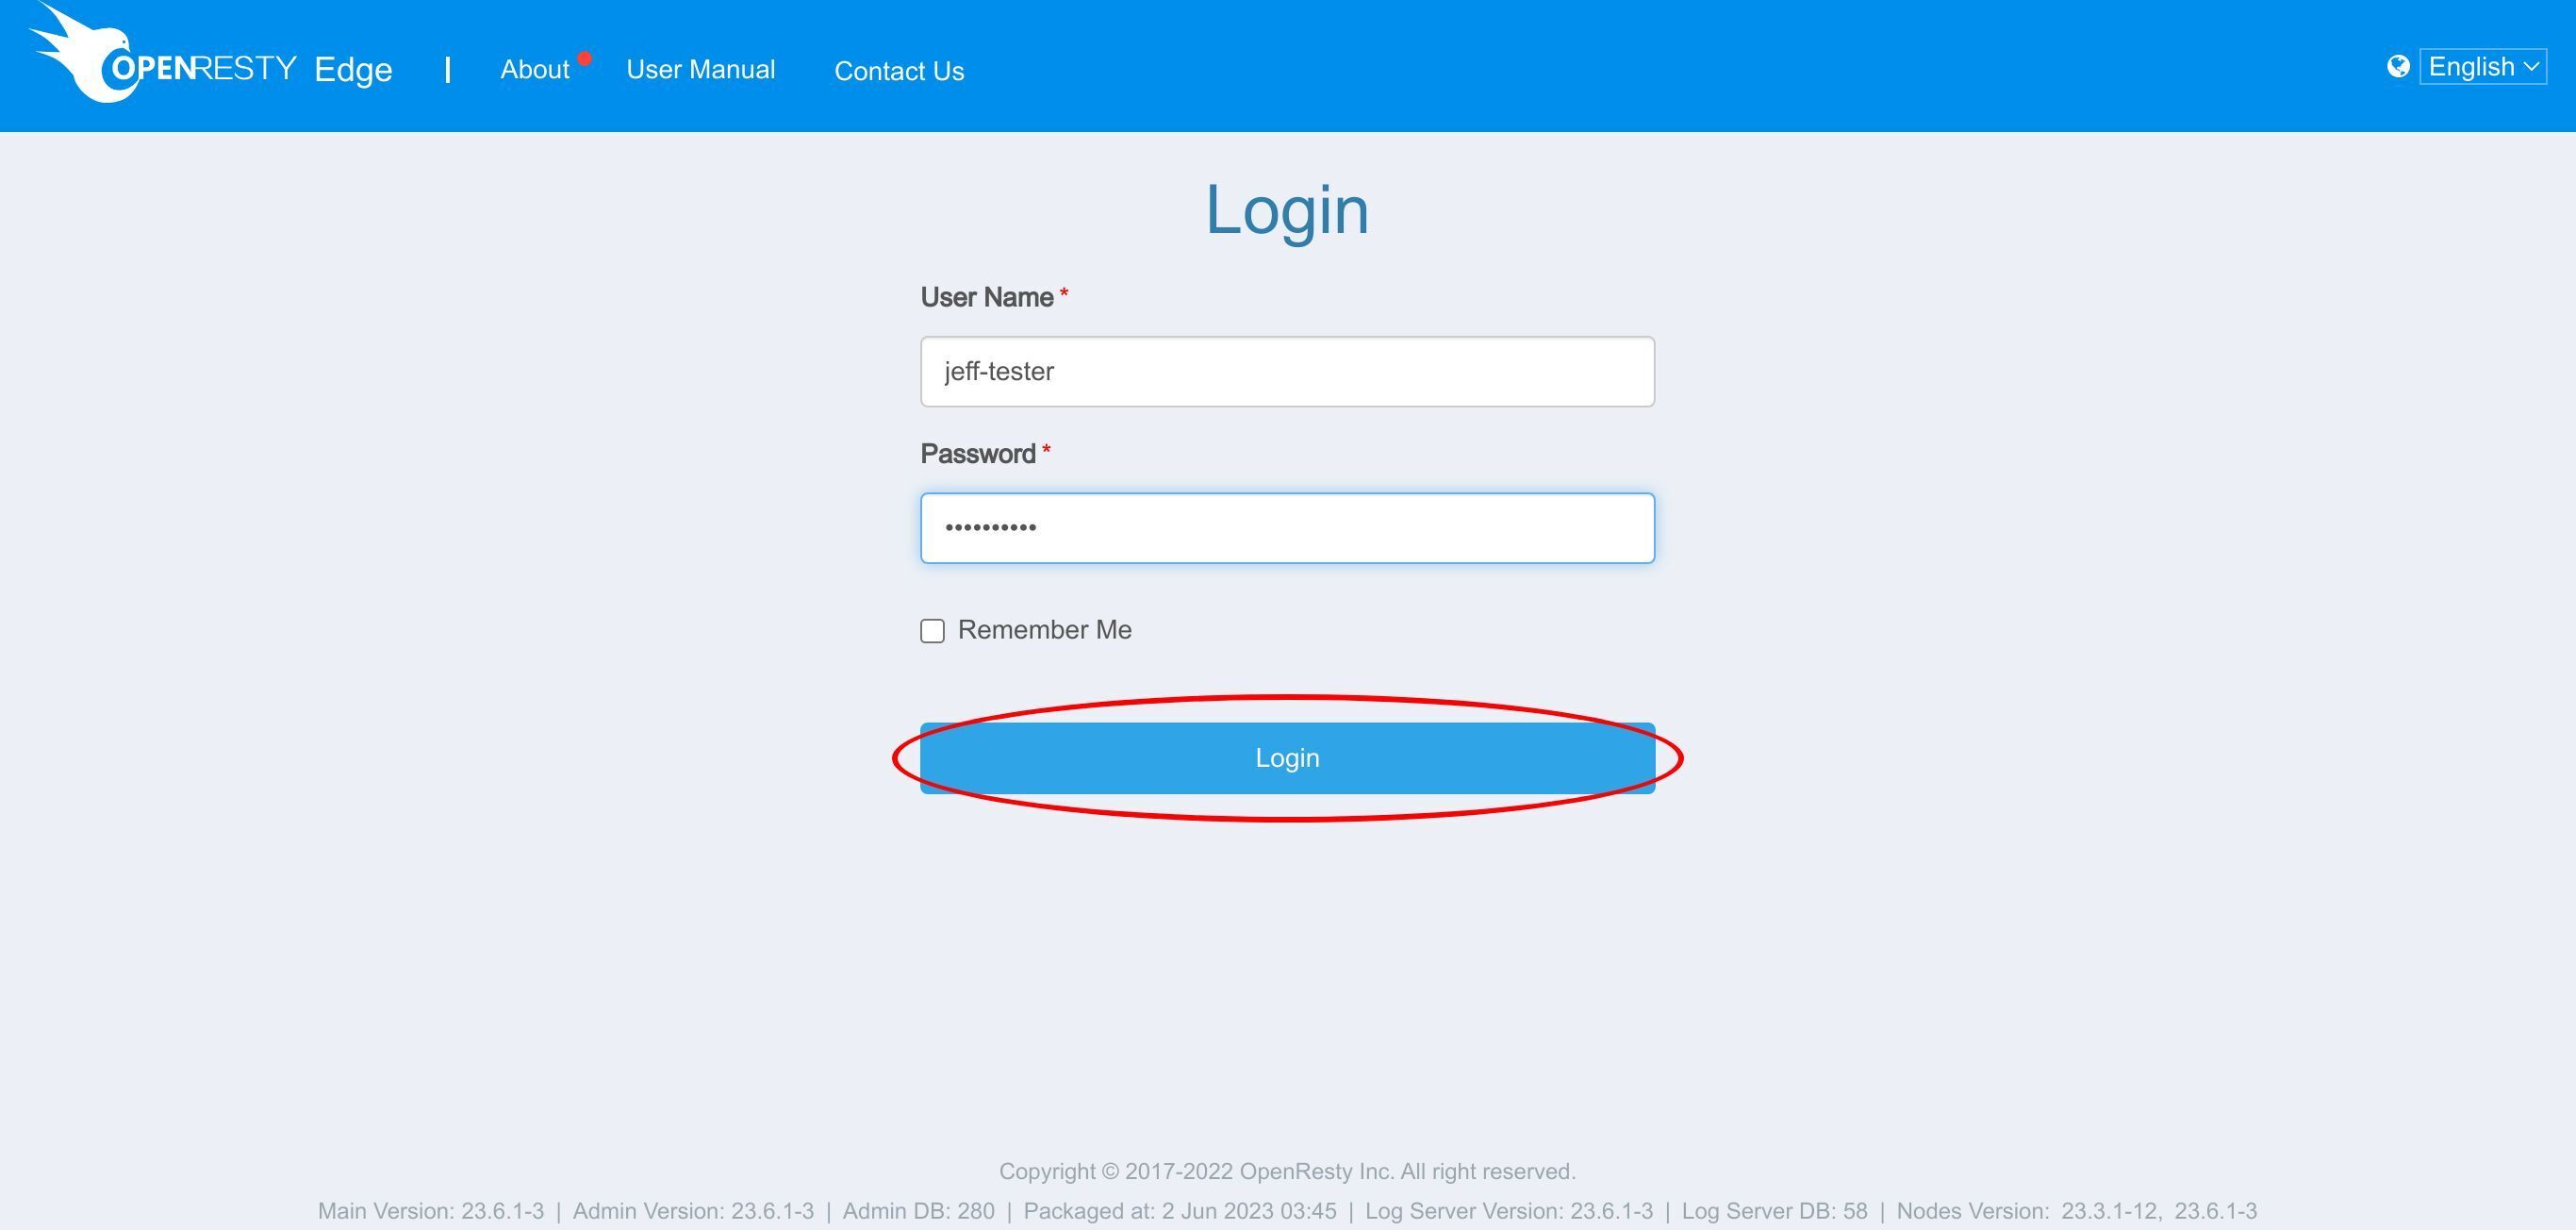
Click to login.
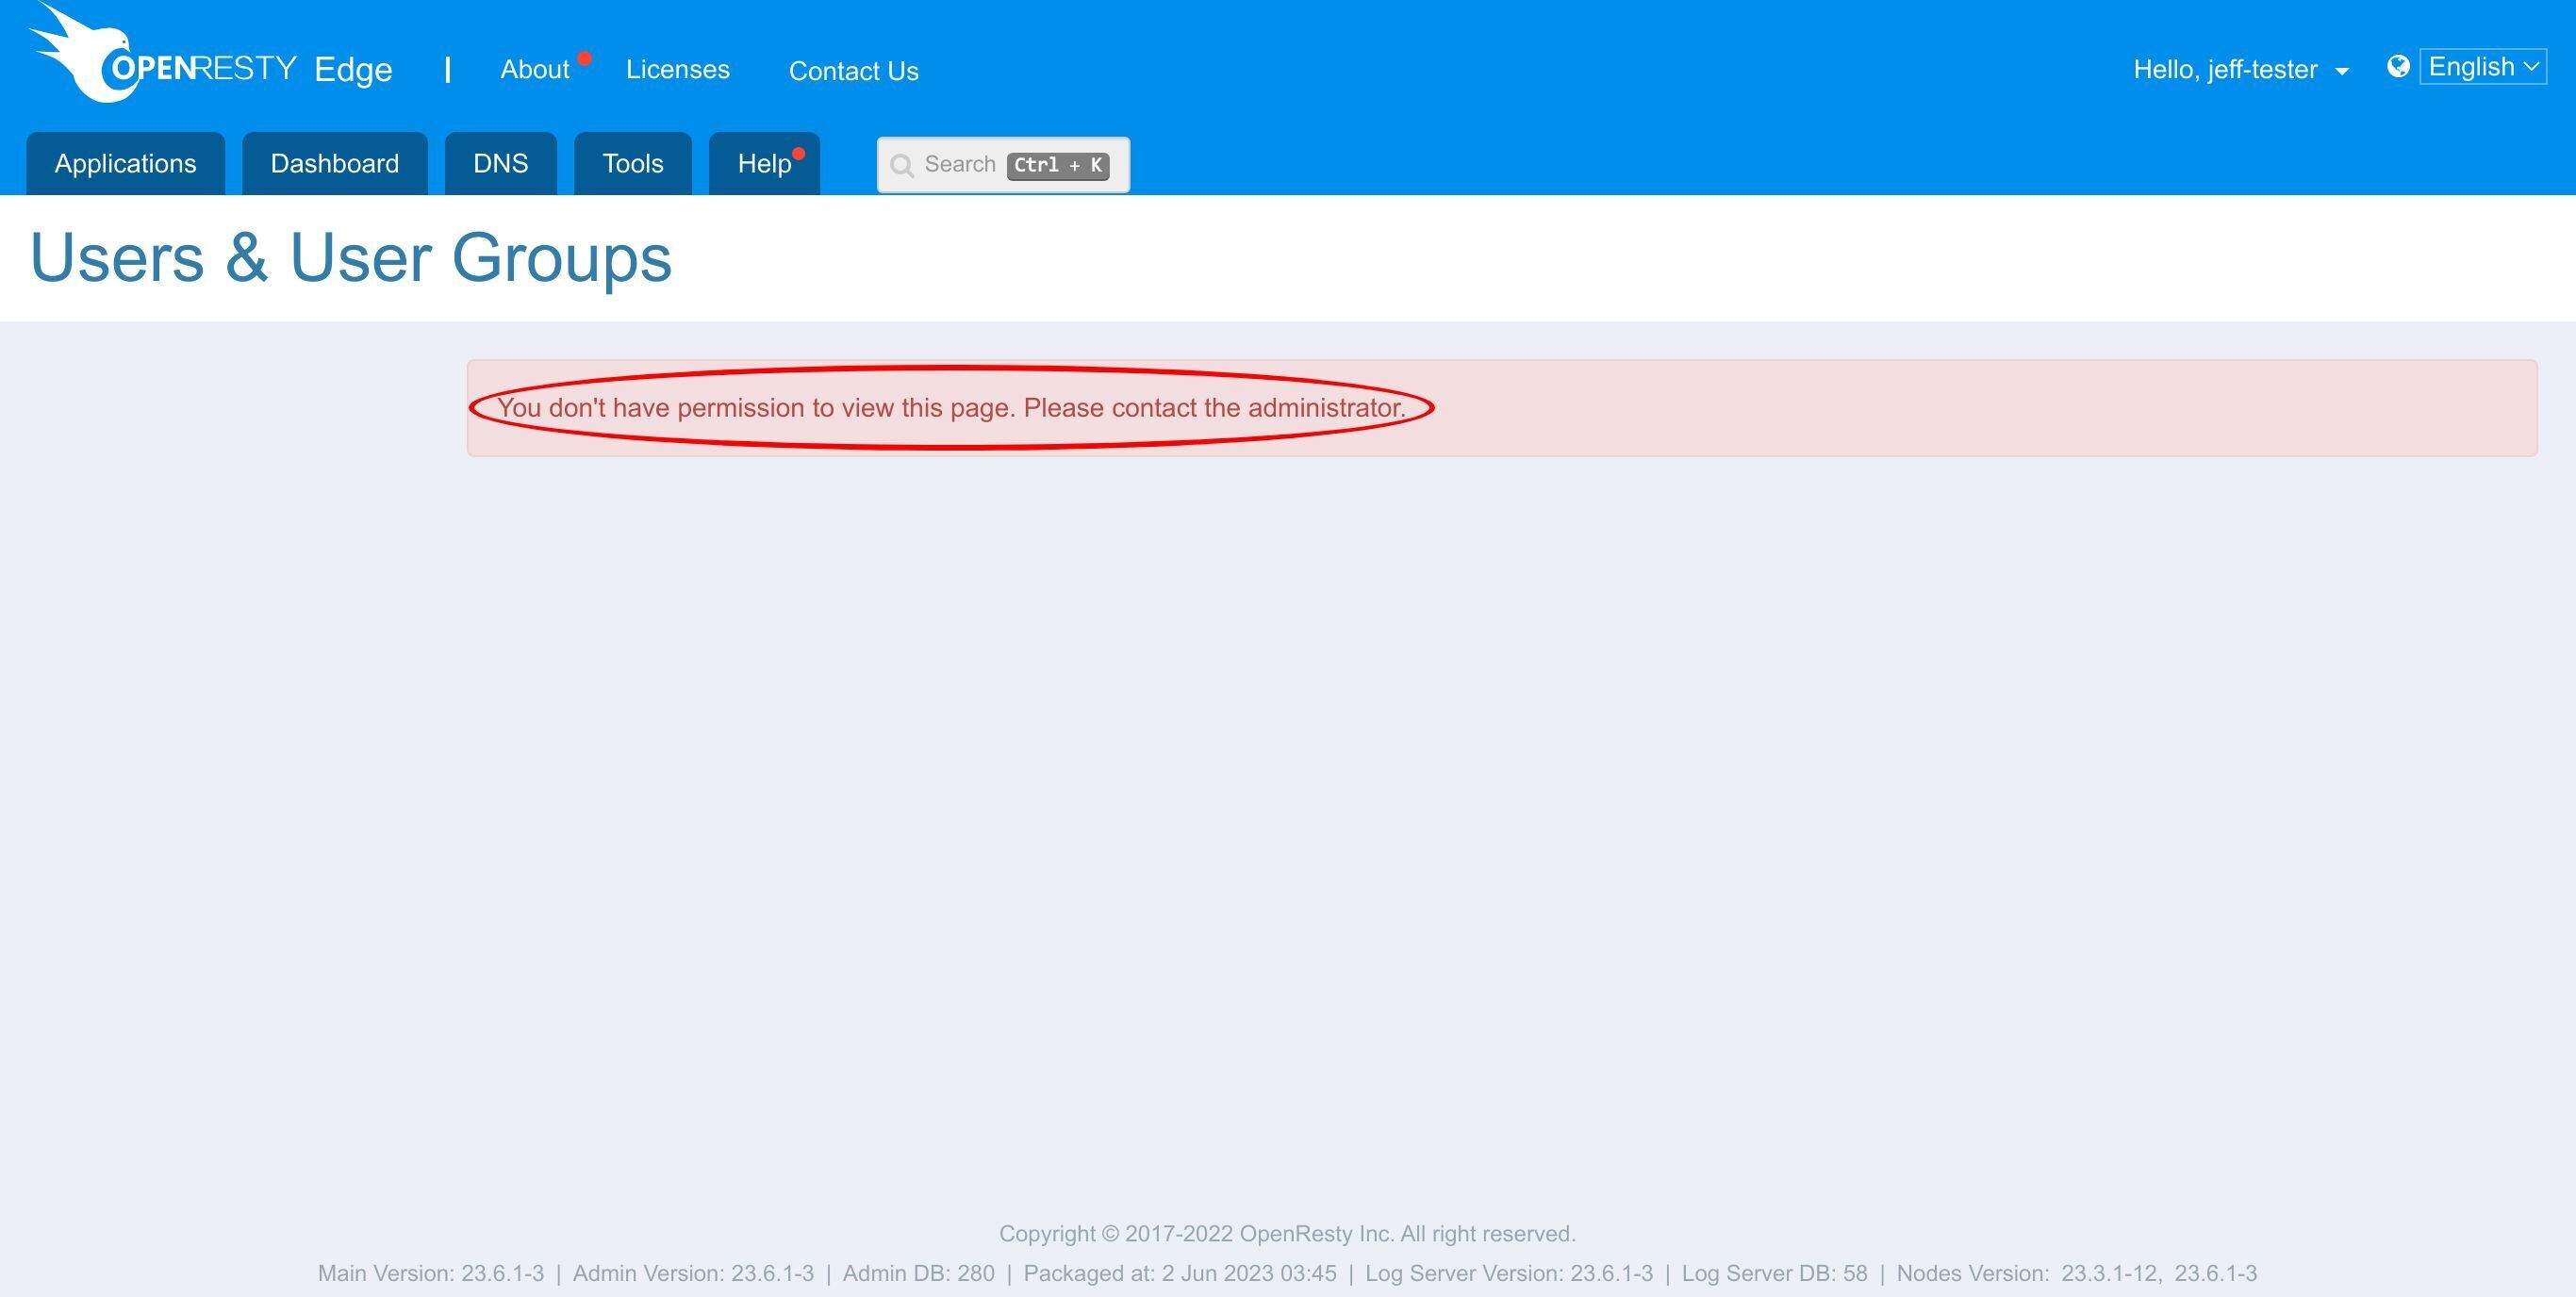
OK, we are now signing in as a normal user. We can see the hint notifying that the normal user doesn’t have the permission to view Users and User Groups section, which is as expected.
See the DNS applications with permission granted
We can go to DNS section.
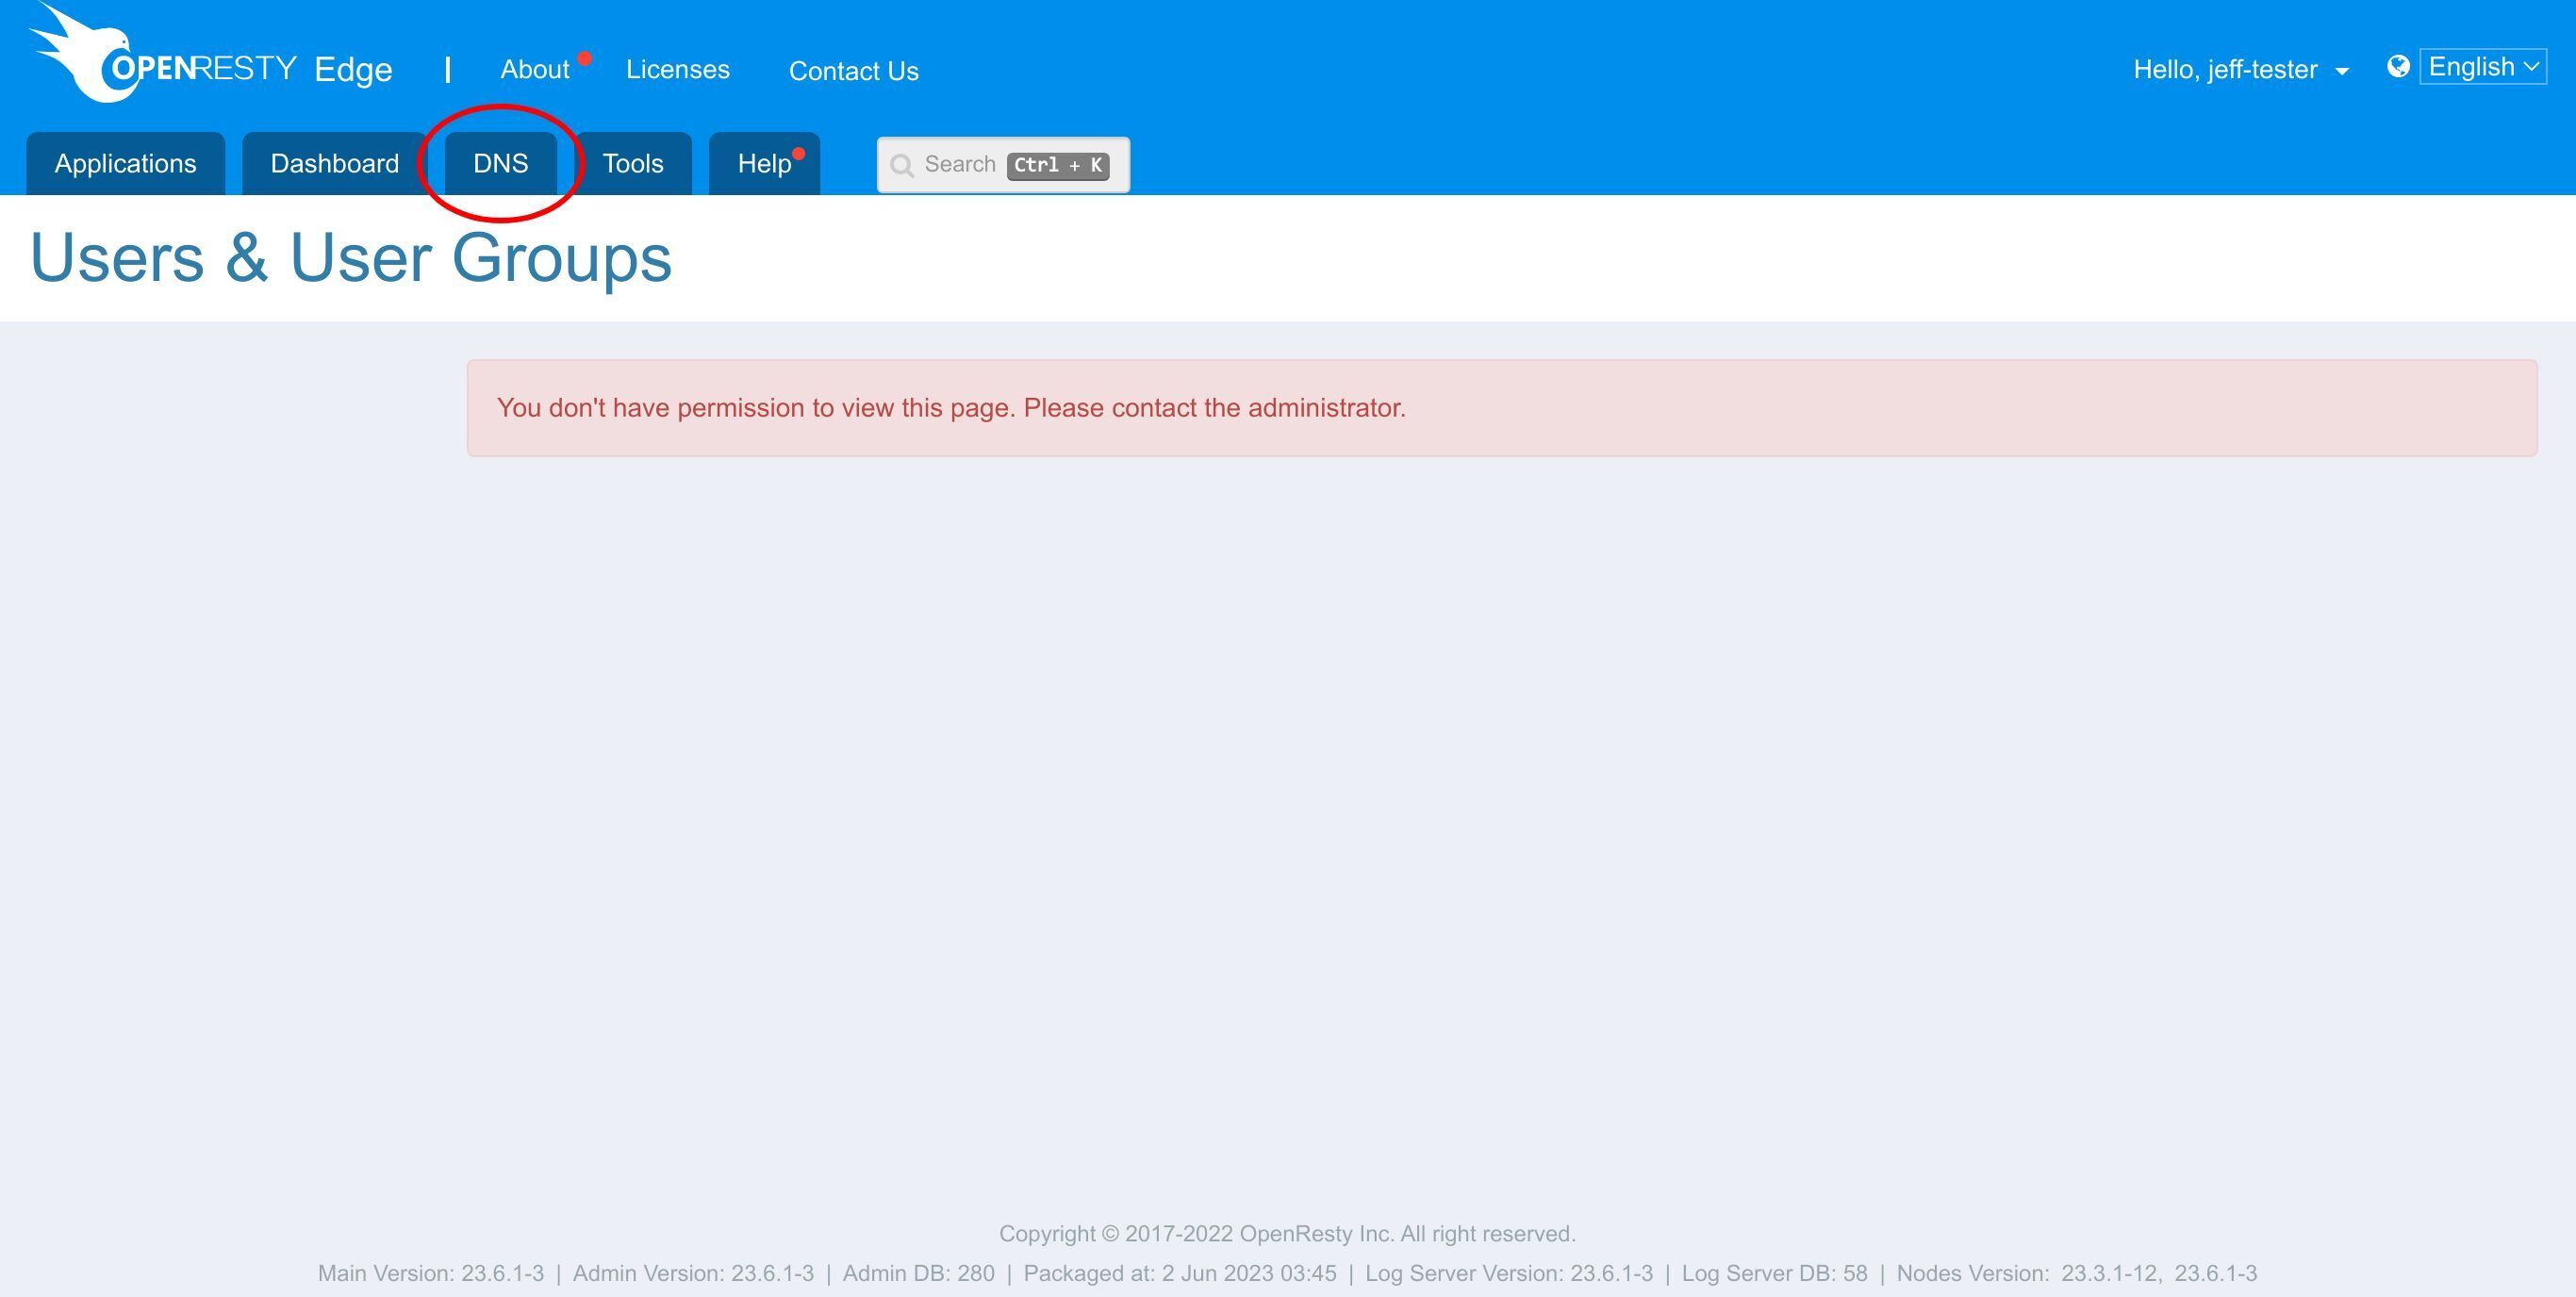
Here we see this tester user account can only see the DNS applications with permission granted to the group the user belongs to. And also adding, editing and deleting buttons for DNS application are all hidden on this page.
If we enter the DNS application.
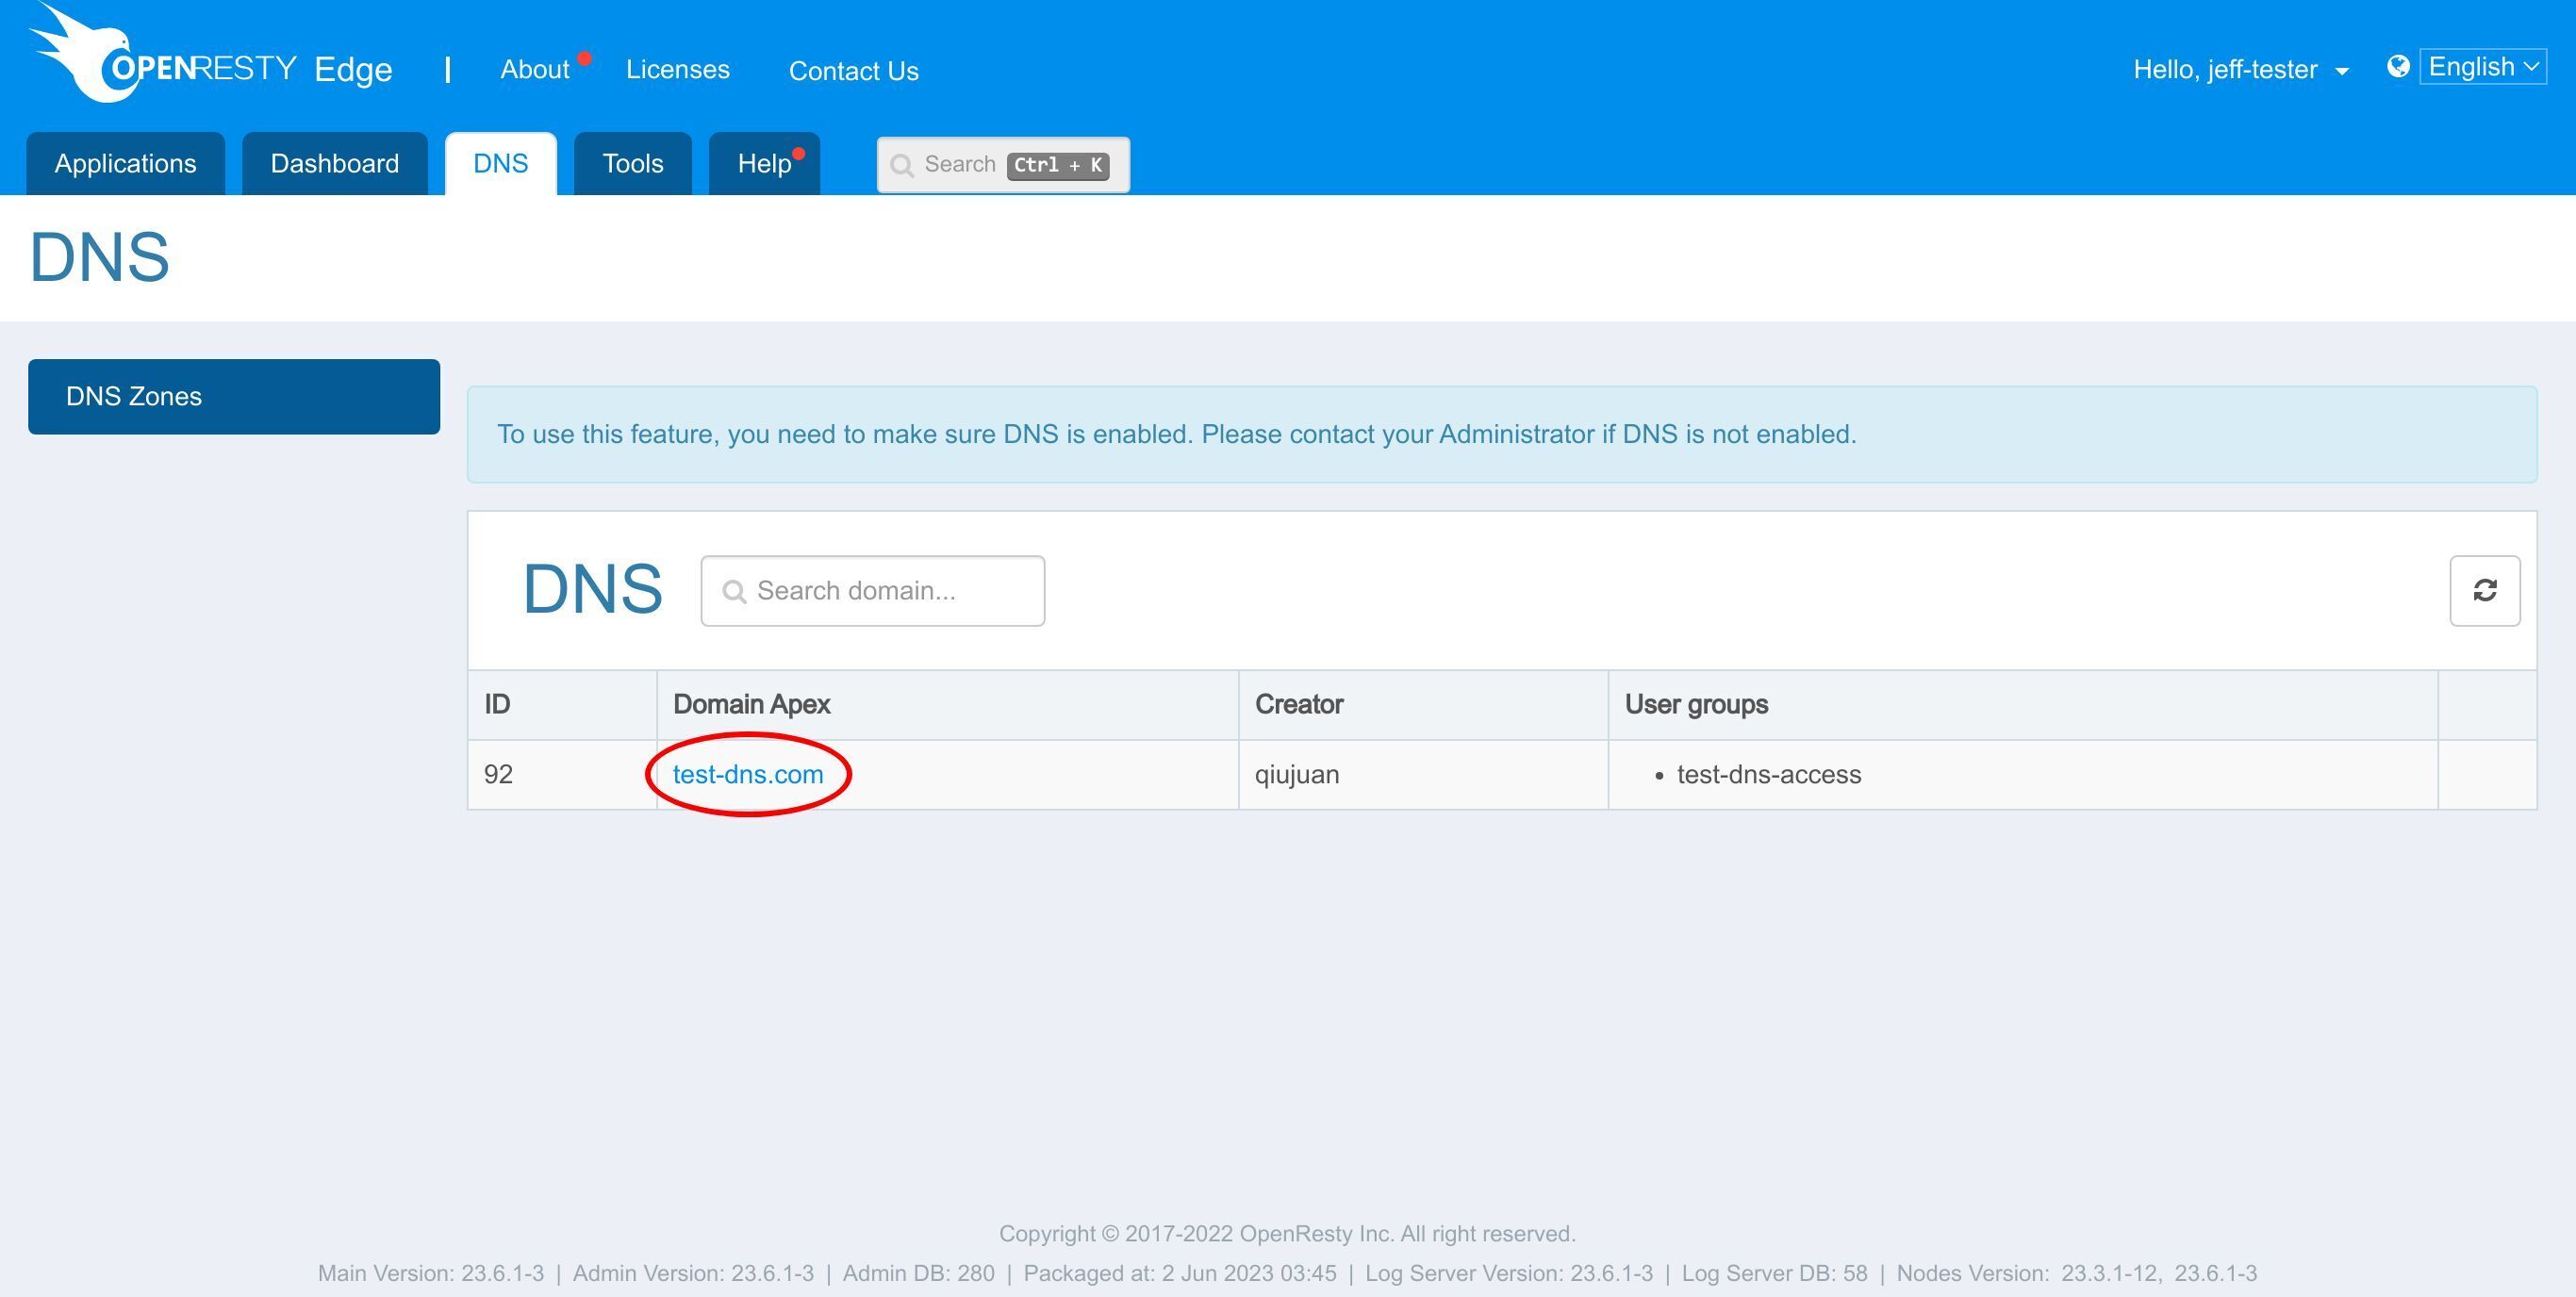
We can see that this tester user can only read all the information. The tester user cannot add, edit or remove DNS records. There are no buttons available.
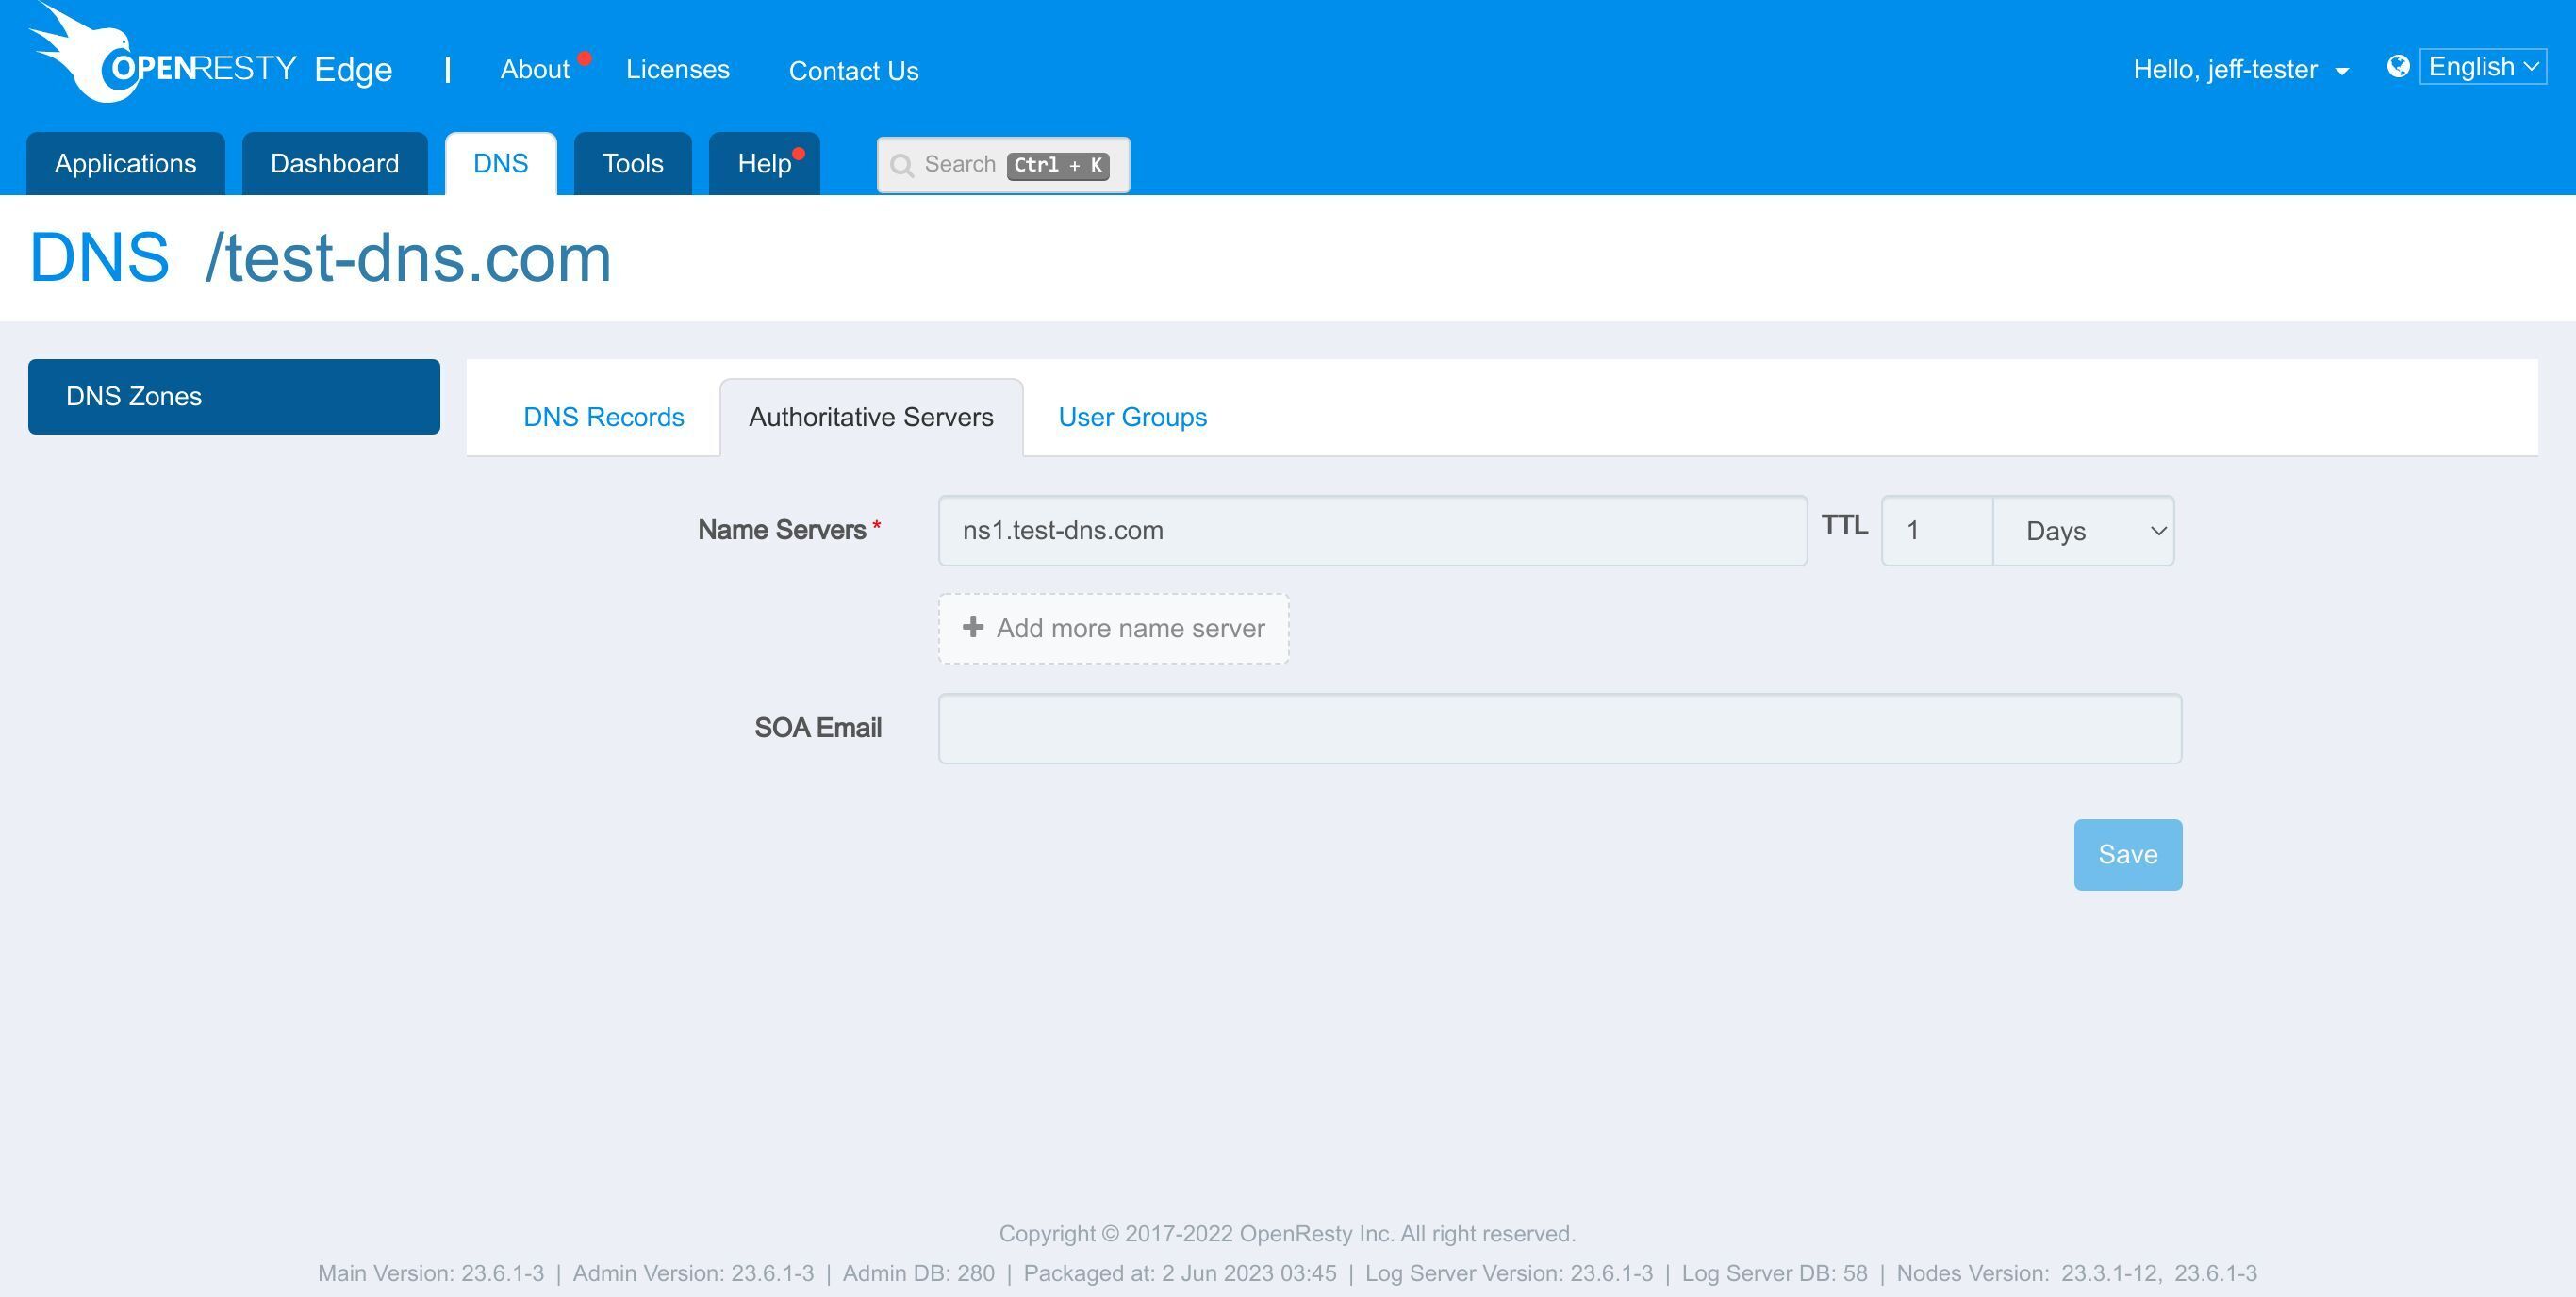
If we go to “Authoritative Servers” tab,
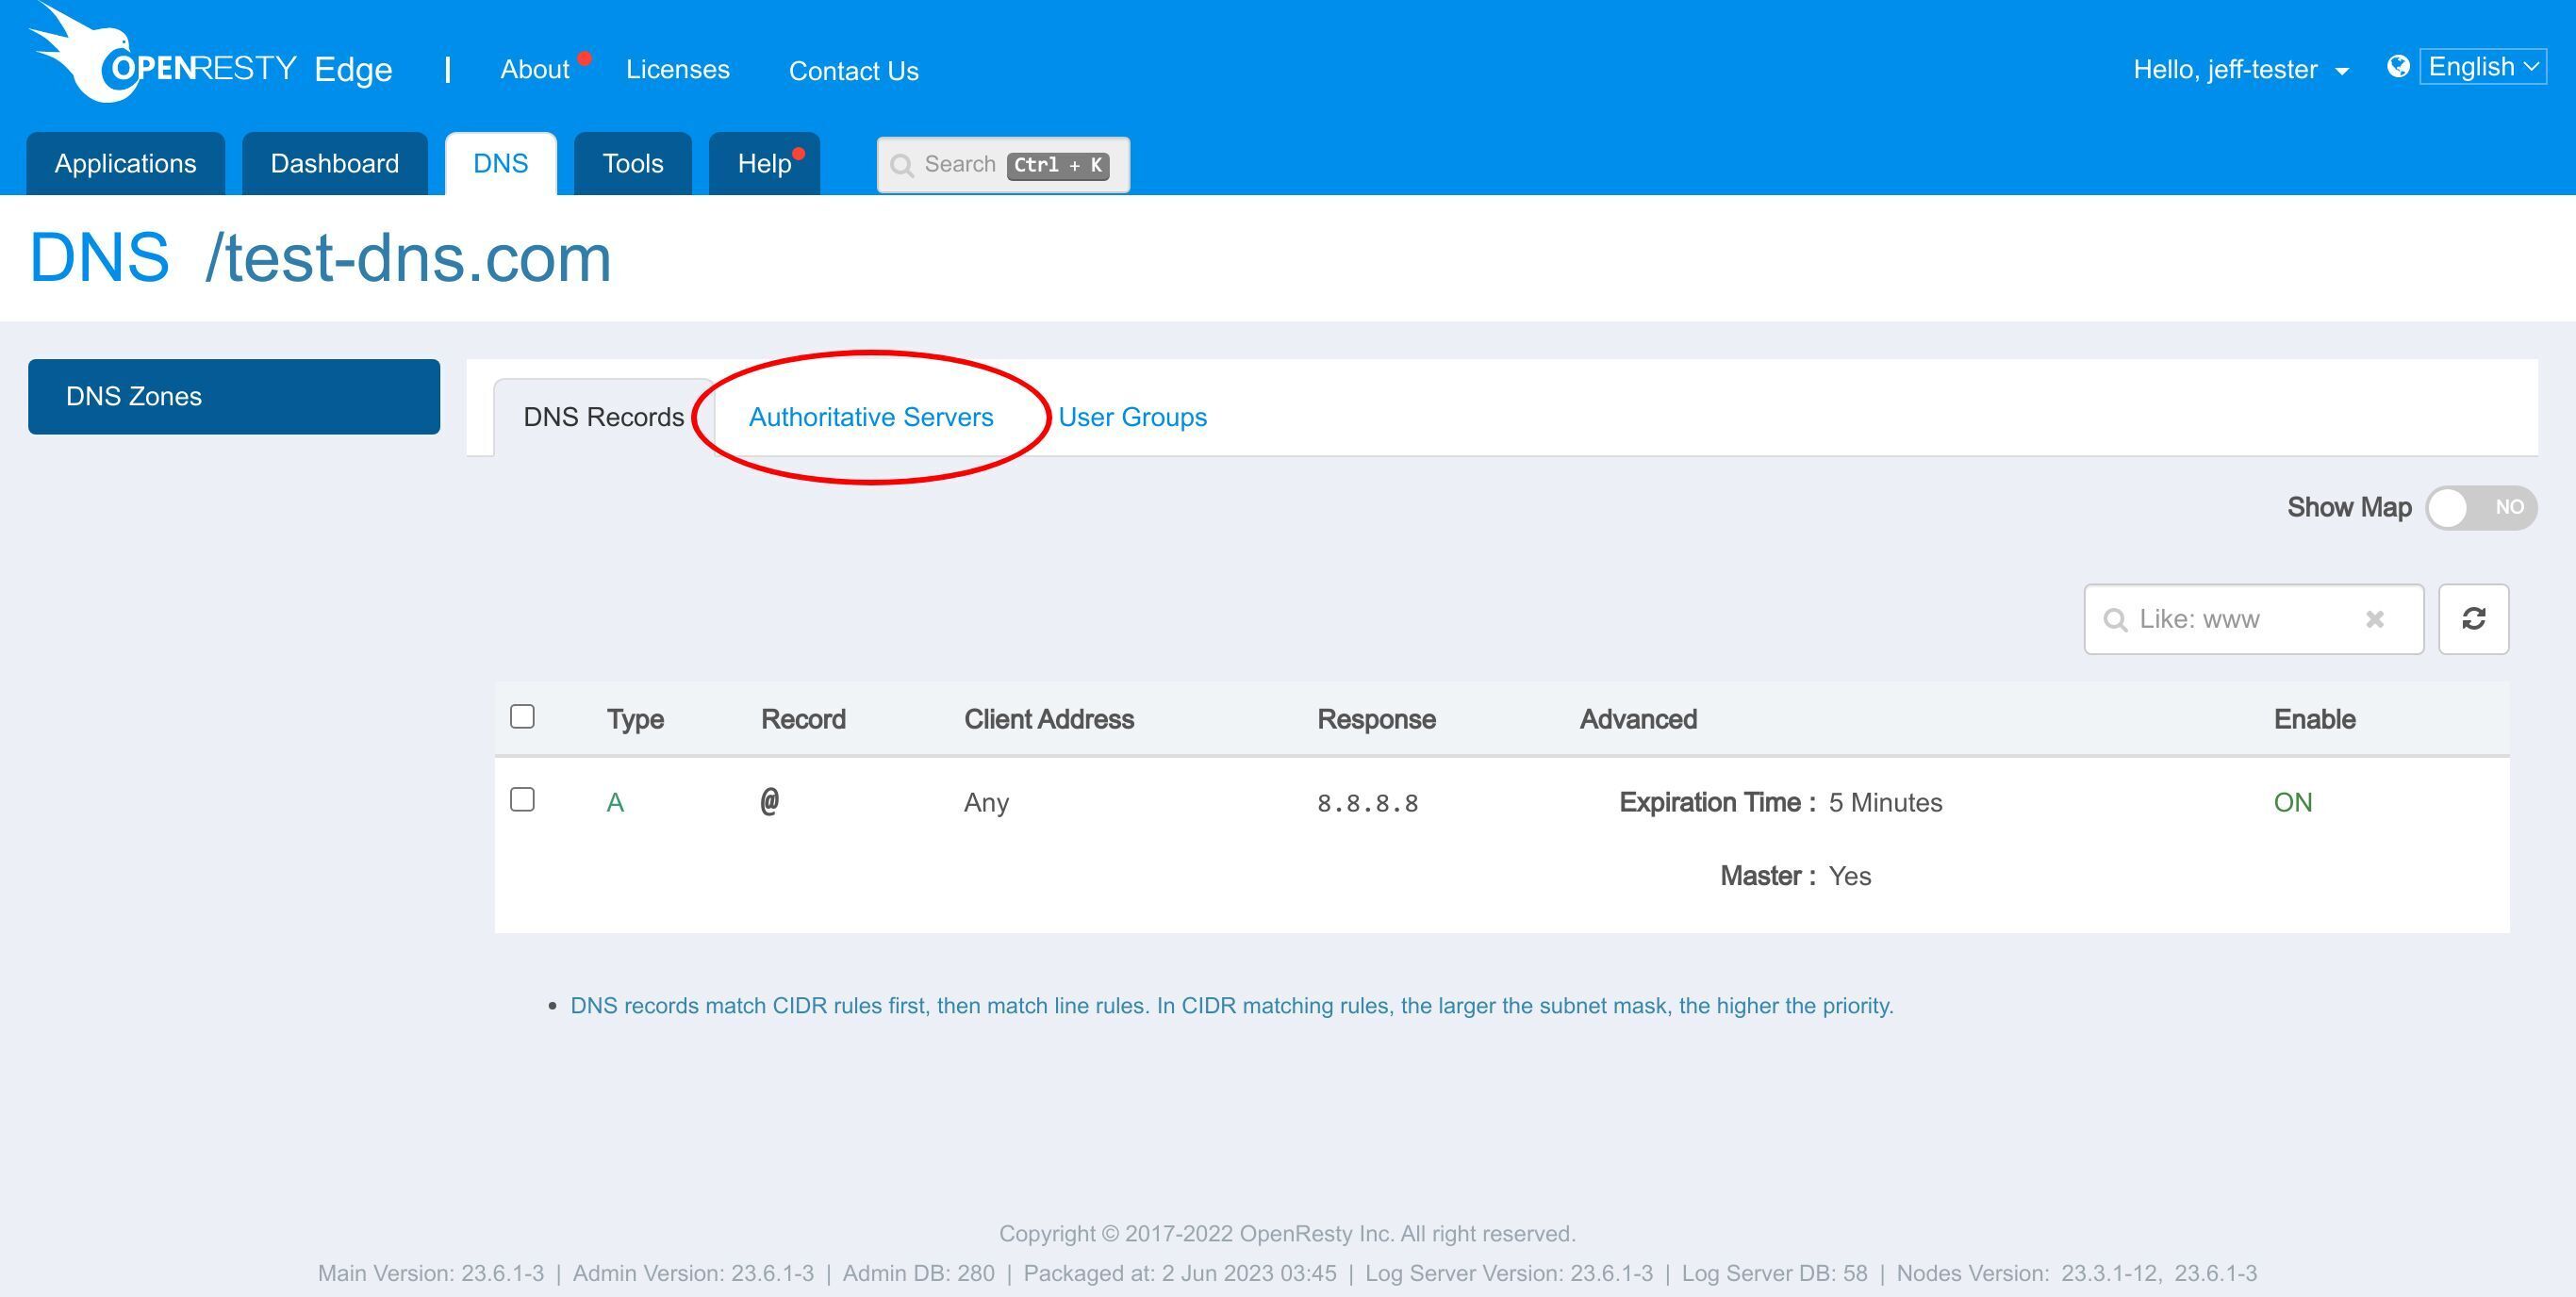
all the configuration is also read-only.
Frequently asked questions
Can a normal user see the DNS section by default?
No. By default the DNS section and the DNS Records page are not available to a normal user or to a newly created user group. You have to explicitly enable read (or write) permission for that group before its users can see anything under DNS.
Do I grant DNS permission to a user or to a user group?
To a user group. You give the group read permission, authorize that group on the specific DNS application, and then place users into the group. Individual users inherit access from the groups they belong to.
What can a read-only user do with a DNS application?
A read-only user can view the DNS records and the Authoritative Servers configuration of the applications their group is authorized for. The add, edit, and delete buttons are hidden, so they cannot modify records or name servers, and they cannot see the DNS applications that were not granted to their group.
What is the difference between read and write permission for a DNS application?
Read permission lets the user only view DNS records and server configuration. Write permission additionally lets them add, edit, and delete DNS records and edit the name servers, which is what a super user has.
What is OpenResty Edge
OpenResty Edge is our all-in-one gateway software for microservices and distributed traffic architectures. It combines traffic management, private CDN construction, API gateway, security, and more to help you easily build, manage, and protect modern applications. OpenResty Edge delivers industry-leading performance and scalability to meet the demanding needs of high concurrency, high load scenarios. It supports scheduling containerized application traffic such as K8s and manages massive domains, making it easy to meet the needs of large websites and complex applications.
If you like this tutorial, please subscribe to this blog site our YouTube channel. Thank you!
About The Author
Yichun Zhang (Github handle: agentzh), is the original creator of the OpenResty® open-source project and the CEO of OpenResty Inc..
Yichun is one of the earliest advocates and leaders of “open-source technology”. He worked at many internationally renowned tech companies, such as Cloudflare, Yahoo!. He is a pioneer of “edge computing”, “dynamic tracing” and “machine coding”, with over 22 years of programming and 16 years of open source experience. Yichun is well-known in the open-source space as the project leader of OpenResty®, adopted by more than 40 million global website domains.
OpenResty Inc., the enterprise software start-up founded by Yichun in 2017, has customers from some of the biggest companies in the world. Its flagship product, OpenResty XRay, is a non-invasive profiling and troubleshooting tool that significantly enhances and utilizes dynamic tracing technology. And its OpenResty Edge product is a powerful distributed traffic management and private CDN software product.
As an avid open-source contributor, Yichun has contributed more than a million lines of code to numerous open-source projects, including Linux kernel, Nginx, LuaJIT, GDB, SystemTap, LLVM, Perl, etc. He has also authored more than 60 open-source software libraries.
Related Articles
OpenResty XRay Nov 21, 2023

OpenResty XRay Nov 9, 2023

OpenResty XRay Oct 30, 2023

OpenResty XRay Jun 27, 2024

OpenResty XRay Jun 26, 2024